Mo'a Keet Shrine: Difference between revisions
Jump to navigation
Jump to search
Want an adless experience? Log in or Create an account.
No edit summary |
Thortok2000 (talk | contribs) No edit summary |
||
| Line 10: | Line 10: | ||
| walkthrough = [https://www.youtube.com/watch?v=ykkemKNKyKY Video Walkthrough] | | walkthrough = [https://www.youtube.com/watch?v=ykkemKNKyKY Video Walkthrough] | ||
}}<section begin=summary /><includeonly> | }}<section begin=summary /><includeonly> | ||
Metal Makes a Path</includeonly><section end=summary /> | Metal Makes a Path<br><br> | ||
'''Requirements:''' None | |||
</includeonly><section end=summary /> | |||
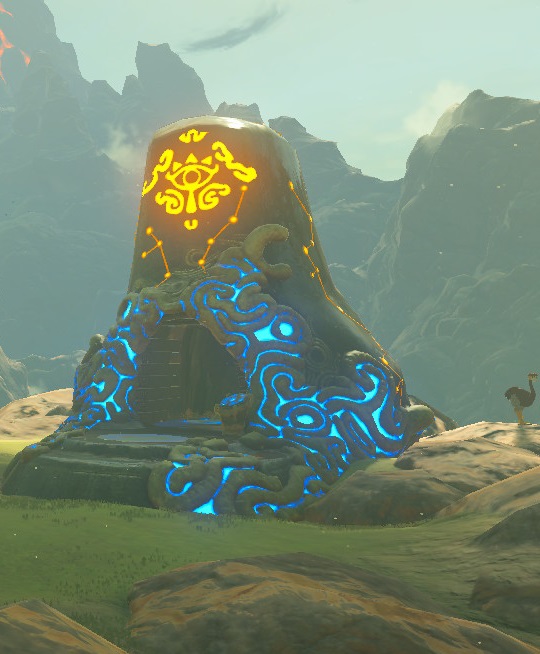
'''Mo'a Keet Shrine''' is one of the many [[Shrine of Trials]] from ''[[The Legend of Zelda: Breath of the Wild|Breath of the Wild]]''. | '''Mo'a Keet Shrine''' is one of the many [[Shrine of Trials]] from ''[[The Legend of Zelda: Breath of the Wild|Breath of the Wild]]''. | ||
==Requirements== | ==Requirements== | ||
{{ | {{Shrine}}{{Clear|left}} | ||
{{Clear|left}} | |||
==Metal Makes a Path== | ==Metal Makes a Path== | ||
On your starting platform, look at the ceiling over the far corner for some destructible blocks. Use a bomb arrow (or come back with the magnetic boulder we'll get in just a minute) to destroy the blocks and open the chest that falls. | |||
Now, when the first rock is out of your way, use Stasis and run up to the next platform. | |||
To the right, grab the boulder with Magnesis and set it aside, then run up and open the chest. | |||
Take the magnetic boulder (and go open the first chest if you need to), then use it to block other boulders from rolling on you as you head to the altar for a [[Spirit Orb]]. | |||
{{Cat|Breath of the Wild Shrines}} | {{Cat|Breath of the Wild Shrines}} | ||
Revision as of 00:24, March 30, 2017
| This article is a stub. You can help the Zelda Dungeon Wiki by expanding it. |
Mo'a Keet Shrine

Games | ||
Inhabitants | ||
Items | ||
| Guides | ||
|---|---|---|
Walkthrough | ||
Mo'a Keet Shrine is one of the many Shrine of Trials from Breath of the Wild.
Requirements
Metal Makes a Path
On your starting platform, look at the ceiling over the far corner for some destructible blocks. Use a bomb arrow (or come back with the magnetic boulder we'll get in just a minute) to destroy the blocks and open the chest that falls.
Now, when the first rock is out of your way, use Stasis and run up to the next platform.
To the right, grab the boulder with Magnesis and set it aside, then run up and open the chest.
Take the magnetic boulder (and go open the first chest if you need to), then use it to block other boulders from rolling on you as you head to the altar for a Spirit Orb.