Gallery:Tri Force Heroes: Difference between revisions
m (Text replacement - "TFH-The-Lady.png" to "TFH-Lady-Maud.png") |
mNo edit summary |
||
| Line 34: | Line 34: | ||
File:Tri-Force-Heroes-Art-8.png|Tri Force Heroes Art | File:Tri-Force-Heroes-Art-8.png|Tri Force Heroes Art | ||
File:Tri-Force-Heroes-Art-9.png|Tri Force Heroes Art | File:Tri-Force-Heroes-Art-9.png|Tri Force Heroes Art | ||
</gallery> | |||
==Concept art== | |||
<gallery heights=180> | |||
File:ALBW-style Link concept art - TFH.jpg|Rejected concept art of an ''[[The Legend of Zelda: A Link Between Worlds|A Link Between Worlds]]''-style set of Links | |||
</gallery> | </gallery> | ||
{{Galleries}} | {{Galleries}} | ||
{{cat|Tri Force Heroes| Gallery}} | {{cat|Tri Force Heroes| Gallery}} | ||
Revision as of 22:58, October 26, 2021
| This article is a stub. You can help the Zelda Dungeon Wiki by expanding it. |
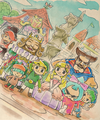
Below is a collection of official artwork and other media from Tri Force Heroes.
Scene Artwork
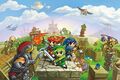
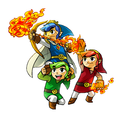
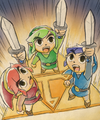
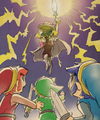
Three Links fighting off enemies
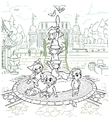
Links trying out outfits
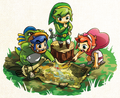
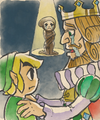
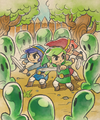
Three Links looking at a map
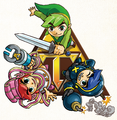
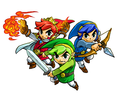
Three Links with different items and outfits

E3 2015 illustration

E3 2015 illustration
E3 2015 illustration
E3 2015 illustration
E3 2015 illustration
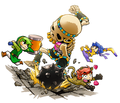
- Totem Links vs Totem Enemies - TFH.jpg
Totem fight
- Links trying Cacto Clothes Legendary Dress Lucky Loungewear - TFH.jpg
Red Link trying on Cacto Clothes, Green Link wearing Legendary Dress, and Blue Link changing from Hero's Tunic to Lucky Loungewear.
- Link and Inactive Doppels - TFH.jpg
Link and a pair of inactive Doppels
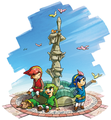
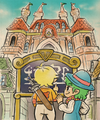
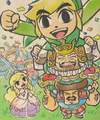
Links with a totem statue
Sketch of the totem statue artwork

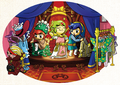
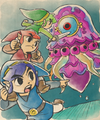
King Tuft and the cursed Princess Styla

Princess Styla in her full regalia
- Sir Combsly - TFH.jpg
- Apprentice - TFH.jpg
Tri Force Heroes Art

Tri Force Heroes Art
Tri Force Heroes Art
Tri Force Heroes Art
Tri Force Heroes Art
Tri Force Heroes Art
Tri Force Heroes Art
Tri Force Heroes Art
Tri Force Heroes Art


Concept art
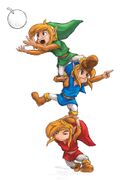
Rejected concept art of an A Link Between Worlds-style set of Links
