Welcome to the Legend of Zelda Twilight Princess Walkthrough for the Nintendo Wii U version of the game. The Nintendo Wii U version resembles the original Nintendo GameCube version; while the Nintendo Wii version is a mirrored version of the other two. As the Wii U version is the newest, and most accessible, this a Twilight Princess HD Walkthrough, with references to the other versions.
The walkthrough below is a complete 100% Twilight Princess Walkthrough that will cover a full run through of the entire game, including strategies for all bosses and enemies, the collection of all heart pieces, treasures, upgrades, and guides that take you through all of the many side quests within the game.
Primary Walkthrough
- Chapter 1 – Ordon Village
- Chapter 2 – The Twilight
- Chapter 3 – Faron Woods: Twilight
- Chapter 4 – Forest Temple
- Chapter 5 – Kakariko Village: Twilight
- Chapter 6 – Death Mountain
- Chapter 7 – Goron Mines
- Chapter 8 – Lanayru Province: Twilight
- Chapter 9 – Lake Hylia: Sidequests
- Chapter 10 – Lakebed Temple
- Chapter 11 – The Master Sword
- Chapter 12 – Gerudo Desert
- Chapter 13 – Arbiter’s Grounds
- Chapter 14 – Scaling Snowpeak
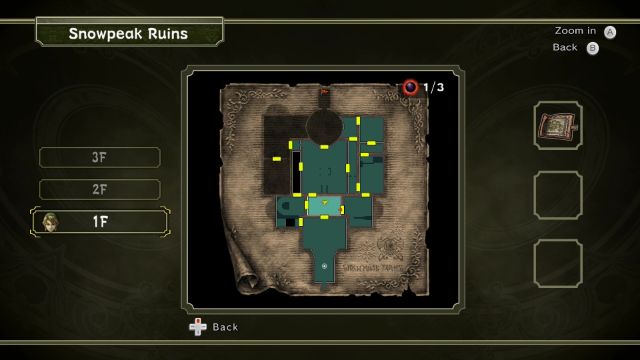
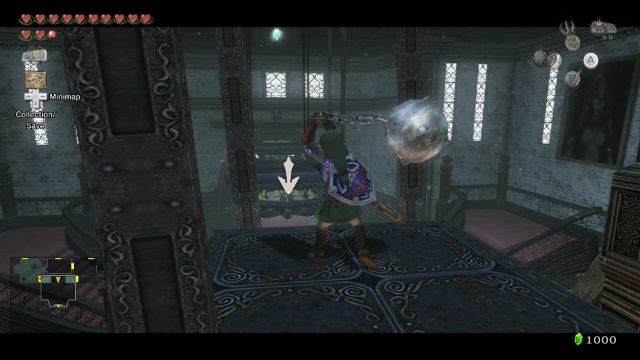
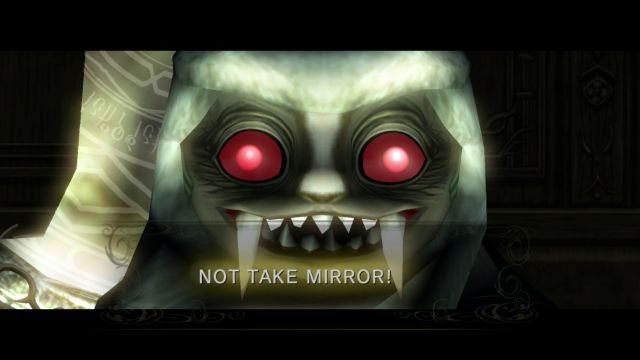
- Chapter 15 – Snowpeak Ruins
- Chapter 16 – Sacred Grove: Round Two
- Chapter 17 – Temple of Time
- Chapter 18 – In Search of the Sky
- Chapter 19 – City in the Sky
- Chapter 20 – Palace of Twilight
- Chapter 21 – Cave of Ordeals
- Chapter 22 – Hyrule Castle
More Guides and Information
- Game Index Page
- Block Puzzle Cavern
- Bosses
- Bottles
- Characters
- Enemies
- Golden Bugs
- Guardian Statues
- Howling Stones
- Malo Mart & Magic Armor
- Pieces of Heart
- Poe Souls
- Story
- Upgrades
Chapter 1 – Ordon Village


Chapter 2 – The Twilight


Chapter 3 – Faron Woods: Twilight


Chapter 4 – Forest Temple


Chapter 5 – Kakariko Village: Twilight


Chapter 6 – Death Mountain


Chapter 7 – Goron Mines


Chapter 8 – Lanayru Province: Twilight

Chapter 9 – Lake Hylia: Sidequests


Chapter 10 – Lakebed Temple


Chapter 11 – The Master Sword


Chapter 12 – Gerudo Desert


Chapter 13 – Arbiter’s Grounds


Chapter 14 – Scaling Snowpeak


Chapter 15 – Snowpeak Ruins
Chapter 16 – Sacred Grove: Round Two


Chapter 17 – Temple of Time


Chapter 18 – In Search of the Sky


Chapter 19 – City in the Sky


Chapter 20 – Palace of Twilight


Chapter 21 – Cave of Ordeals


Chapter 22 – Hyrule Castle