Keibunsha The Legend of Zelda Strategy Guide (1994): Difference between revisions
Jump to navigation
Jump to search
Want an adless experience? Log in or Create an account.
No edit summary |
No edit summary |
||
| Line 36: | Line 36: | ||
==Artwork== | ==Artwork== | ||
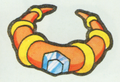
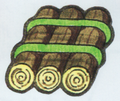
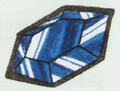
===Enemies=== | |||
<gallery> | |||
File:Keibunsha-Aquamentus.png | |||
File:Keibunsha-Armos-Active.png | |||
File:Keibunsha-Armos-Inactive.png | |||
File:Keibunsha-Blade-Trap.png | |||
File:Keibunsha-Boulder.png | |||
File:Keibunsha-Bubble.png | |||
File:Keibunsha-Darknut.png | |||
File:Keibunsha-Digdogger.png | |||
File:Keibunsha-Dodongo.png | |||
File:Keibunsha-Ghini.png | |||
File:Keibunsha-Gibdo.png | |||
File:Keibunsha-Gleeok.png | |||
File:Keibunsha-Gohma.png | |||
File:Keibunsha-Goriya.png | |||
File:Keibunsha-Lanmola.png | |||
File:Keibunsha-Leever.png | |||
File:Keibunsha-Like-Like.png | |||
File:Keibunsha-Lynel.png | |||
File:Keibunsha-Manhandla.png | |||
File:Keibunsha-Moblin.png | |||
File:Keibunsha-Moblin-Blue.png | |||
File:Keibunsha-Moldorm.png | |||
File:Keibunsha-Octorok.png | |||
File:Keibunsha-Octorok-Blue.png | |||
File:Keibunsha-Patra.png | |||
File:Keibunsha-Peahat.png | |||
File:Keibunsha-Pols-Voice.png | |||
File:Keibunsha-Rope.png | |||
File:Keibunsha-Stalfos.png | |||
File:Keibunsha-Stone-Statue.png | |||
File:Keibunsha-Tektite-Blue.png | |||
File:Keibunsha-Tektite-Red.png | |||
File:Keibunsha-Vire-Keese.png | |||
File:Keibunsha-Wallmaster.png | |||
File:Keibunsha-Wizzrobe.png | |||
File:Keibunsha-Zola.png | |||
File:Keibunsha-Zol-Gel.png | |||
</gallery> | |||
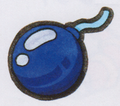
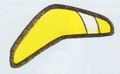
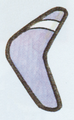
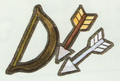
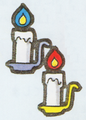
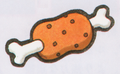
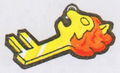
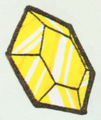
===Items=== | ===Items=== | ||
<gallery> | <gallery> | ||
Revision as of 03:55, October 29, 2021
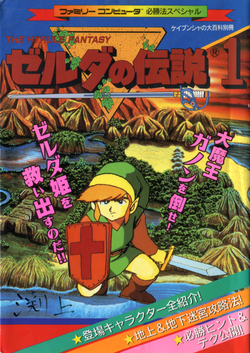
Keibunsha The Legend of Zelda Strategy Guide (1994)

Games | ||
Cost | ¥680 (yen) | |
Release Date | 1994 | |
| Credits | ||
|---|---|---|
Publisher | Keibunsha | |
| Attributes | ||
Type | ||
Language | Japanese | |
Length | 188 Pages | |
ISBN | T1063554790680 | |
Features
- The first 64 pages are in full color, but the remainder of the guide is in black and white.
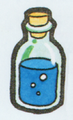
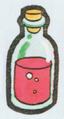
- Individual exclusive artwork for almost every single enemy, including color variations of enemies that have multiple types.
- Very large, full-page colorful artwork near the start of the guide.
- Overworld is broken up into 4x2 rectangles and it has maps, descriptions, and enemy analysis for each section.
- Covers the first Six Dungeons completely, but very little coverage on the remainder of the game.
- Dungeon pages are very detailed with room-by-room analysis, complete with screenshots, descriptions, and artwork.
Artwork
Enemies


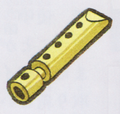
Items


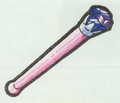


- Keibunsha-Sword-Shield.png