Speedrun:A Link to the Past/Any% (NMG, No S+Q)/Tower of Hera: Difference between revisions
(Created page with "== Tower of Hera Overworld == Hera is the first significant difficulty spike of the game. This segment features two of the more notable tricks in the route and much more difficult random enemy patterns than we have seen up to this point. 400px 400px Pick up the rock on the right and dash off the ledge, then get as far right as possible before dashing down. It's important to get as far over as y...") |
|||
| Line 53: | Line 53: | ||
=== Fake Flippers Tutorial === | === Fake Flippers Tutorial === | ||
Fake Flippers is the second [[Speedrun:A Link to the Past/JP 1.0|JP 1.0]] glitch that we encounter in this game in the standard [[Speedrun:Speedrun Terms/Any%|Any%]] route. | |||
[[File:LTTP toh3b-1 ff skipskip.png|400px]] [[File:LTTP toh3b-2 ff skipskip.png|400px]] | |||
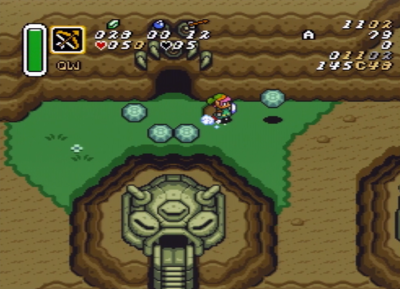
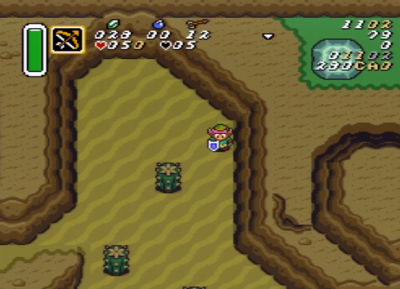
Dash down at the corner of the slope, then dash right through this lower strip of grass. | |||
[[File:LTTP toh4b-1 ff skipskip.png|400px]] [[File:LTTP toh4b-2 ff skipskip.png|400px]] [[File:LTTP toh4b-3 ff skipskip.png|400px]] | |||
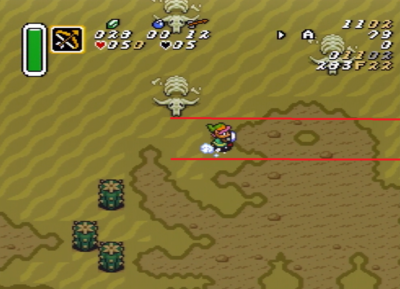
Hold '''Up+Right''' until you get to the opening in the ledge. Normally the game will prevent you from falling off ledges by forcing you to press a direction against it for at least 20 [[Speedrun:Speedrun Terms/Frames|Frames]]. We can get around this by holding a direction and tapping the '''A''' button to jump instantly. This is known as a [[Speedrun:A Link to the Past/Quickhop|Quickhop]] and we'll be using it quite a bit throughout the run. | |||
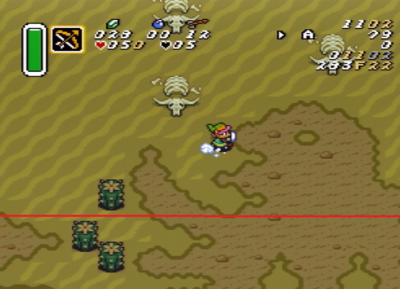
Move '''Down+Right''' until you are below the grass texture. It's ok to nudge the slope here. You want to be lined up with the mountain ledge on vertical position '''FA8''' for the next part but it's ok if you get nudged up a [[Speedrun:Speedrun Terms/Pixel|Pixel]] or two higher. | |||
[[File:LTTP toh4b-4 ff skipskip.png|400px]] [[File:LTTP toh4b-5 ff skipskip.png|400px]] | |||
The vertical position is worth mentioning here because you'll hit the [[Buzz Blob]] in the first example if you are any higher. You may still need to move down if you get a bad [[Speedrun:Speedrun Terms/RNG|RNG]] like in the second example. | |||
=== Death Mountain Climb === | === Death Mountain Climb === | ||
Revision as of 20:34, March 3, 2024
Tower of Hera Overworld
Hera is the first significant difficulty spike of the game. This segment features two of the more notable tricks in the route and much more difficult random enemy patterns than we have seen up to this point.
Pick up the rock on the right and dash off the ledge, then get as far right as possible before dashing down. It's important to get as far over as you can so you don't hit a cactus on the way down.
Start dashing Right when you get to the Eye of the octorock. This is about a 2 tile wide gap. Alternatively you can aim for the lower gap which is a bit bigger.
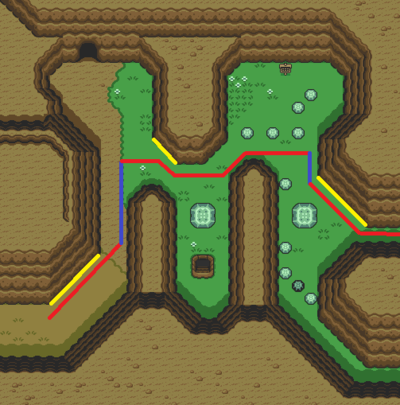
Start dashes while facing slopes indicated in yellow. Dash cancels are indicated in blue.
Fake Flipper Skip
The Fake Flippers glitch is a staple of the JP 1.0 route for A Link to the Past. This trick only saves 8 seconds, however and tends to be a common Reset Point for newer players. I recommend trying both routes to see which you like better.
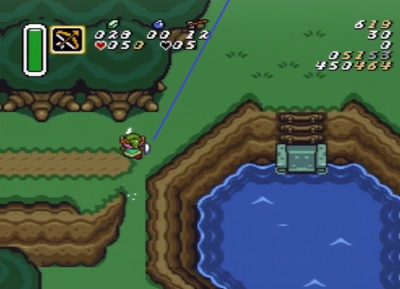
To skip fake flippers, dash up when you get past the slope then Walk up and lift up this rock before dashing. It IS faster to dash here but only if you dash very close to the rock, so the risk of bonking is not worth the very minimal time save.
Walk up to this opening and dash up, then move to the next opening and dash up again.
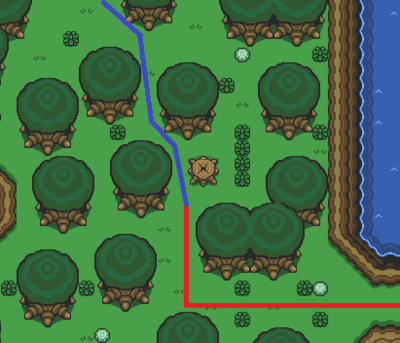
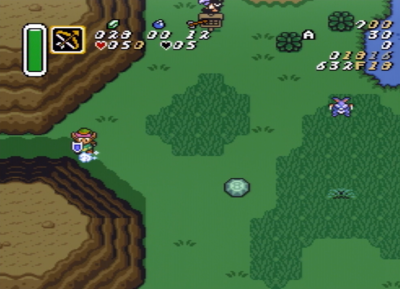
Slash this bush and dash just under the tall grass. It's not a big deal if you dash higher but this grass will slow down your movement a little.
Follow this route for the rest of the screen. Make sure to exit in the middle of the gap to avoid some obstacles on the next screen.
Dash about halfway up this screen being careful not to bonk anything so you don't get swarmed by guards. At this point just hold Up+Left until you get through.
Dash slong the slope until you reach this gap then walk the rest of the way. This screen transition is where we meet up with the other route.
Fake Flippers Tutorial
Fake Flippers is the second JP 1.0 glitch that we encounter in this game in the standard Any% route.
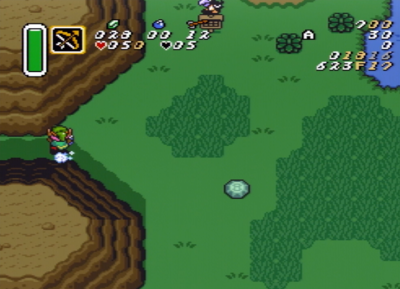
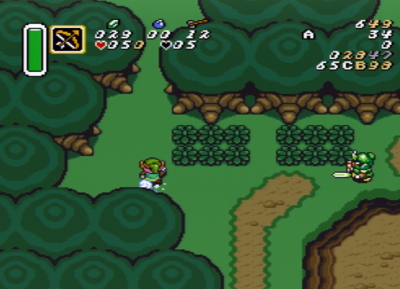
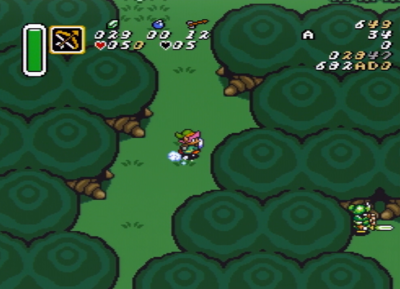
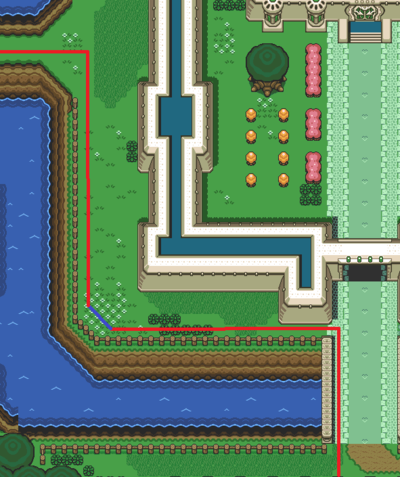
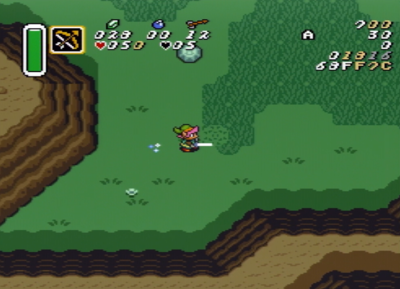
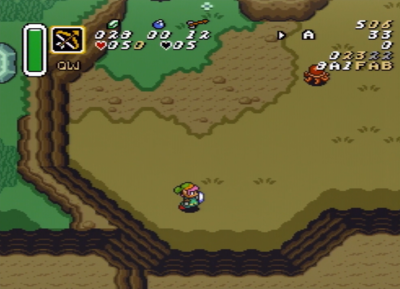
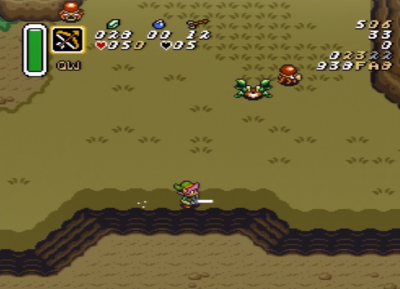
Dash down at the corner of the slope, then dash right through this lower strip of grass.
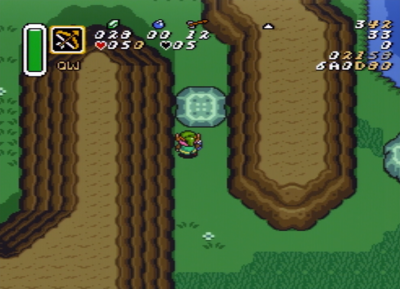
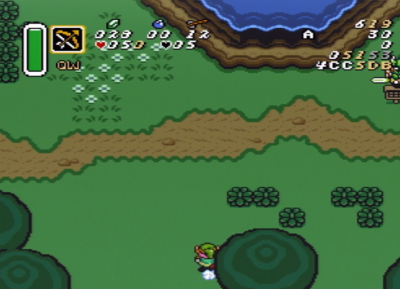
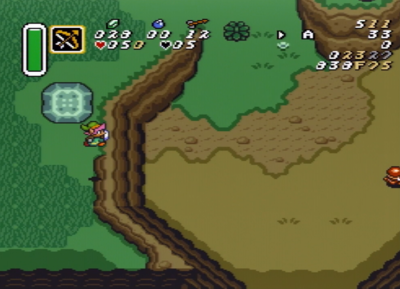
Hold Up+Right until you get to the opening in the ledge. Normally the game will prevent you from falling off ledges by forcing you to press a direction against it for at least 20 Frames. We can get around this by holding a direction and tapping the A button to jump instantly. This is known as a Quickhop and we'll be using it quite a bit throughout the run.
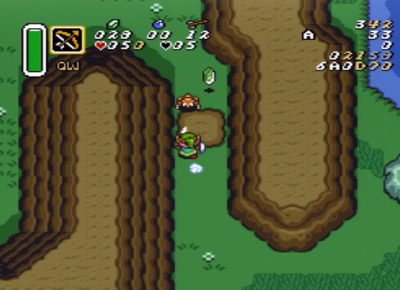
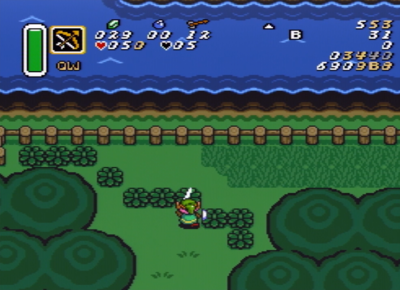
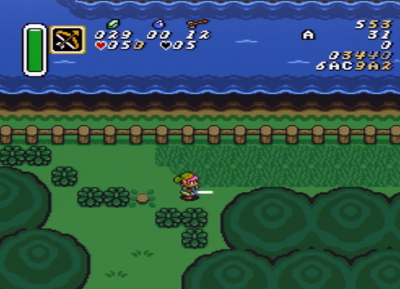
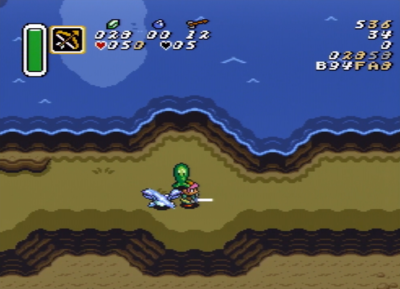
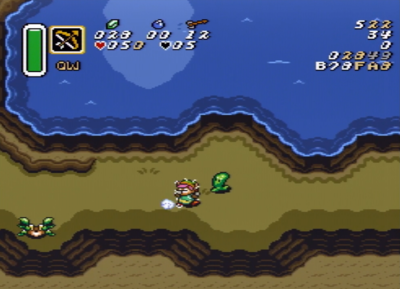
Move Down+Right until you are below the grass texture. It's ok to nudge the slope here. You want to be lined up with the mountain ledge on vertical position FA8 for the next part but it's ok if you get nudged up a Pixel or two higher.
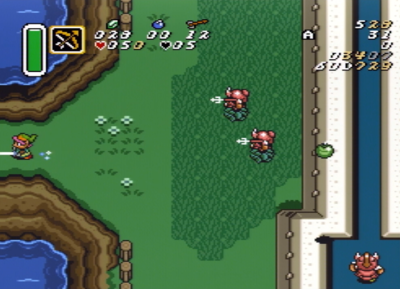
The vertical position is worth mentioning here because you'll hit the Buzz Blob in the first example if you are any higher. You may still need to move down if you get a bad RNG like in the second example.


