Recreating Zelda Nostalgia by Playing on Original Hardware with a Modern Touch
Posted on March 30 2024 by Jared Eubanks

Nostalgia is a powerful emotion for gamers. If you grew up playing games as a kid, there’s a certain connection you’ll always have to the titles and consoles of your youth. It’s not just the memories of the specific games, but also the specific sounds and tactile feelings from the console, the controller, and other aspects of the hardware. Maybe it’s the distinct click when inserting the cartridge, the experience of pushing the power button or switch, the feel of the controller in your hand, or the boot-up screen of the console. For those who grew up with the Nintendo Entertainment System, Super Nintendo Entertainment System, Nintendo 64, and/or GameCube, those memories are often tied to sitting just a few feet from the CRT television with your wired controller in hand (and perhaps your mother yelling at you for sitting too close).
While services like Nintendo Switch Online (NSO) — and the eShop on the Wii and Wii U before it — make it easy to (legally) play classic games in the Zelda franchise, many of us would love to relive those memories and tap into that nostalgia on original hardware. However, there are hurdles to playing both from a technical and convenience perspective. If you still have your old console from your youth (or you have picked one up from your local retro games store or an online marketplace because your mom gave your old one away in a garage sale), the hurdles often center around controllers and video output. Modern TVs often don’t have the red, yellow, and white ports for composite cables that the NES, SNES, N64, and GameCube used. And as fun as sitting crossed-leg on the floor was as a kid, you’d much prefer to be on your comfy couch with a wireless controller on the other side of the room. So what do you do for a playthrough of The Legend of Zelda on your beloved NES, A Link to the Past on your cherished SNES, or Ocarina of Time or Majora’s Mask on your old faithful N64? For those that prefer the original versions of The Wind Waker and Twilight Princess over the HD rereleases on Wii U, how do you play on your prized GameCube?
Disclosure: Below are some example products to check out via the links provided. Please keep in mind that this post is not sponsored by any of these product manufacturers, online sellers, or content creators. These links are only meant to show representative products of how you can create or improve your retro gaming setup with some plug-and-play or lower difficulty modding solutions. We recommend doing your own research, as there may be similar products available on the market that may better suit your needs and/or budget, but we hope these examples might point you in the right direction and give you ideas to explore.
Wireless Controllers
The WaveBird controller for the GameCube, with its wireless receiver that plugs into the controller port, provides an example of what you will ultimately need to have for these four retro Nintendo systems in order to play wirelessly (unless you want to get into complex modding and soldering, which is beyond the scope of this post). Below are some options for the receiver and controllers that could be paired with it.
Bluetooth Receivers
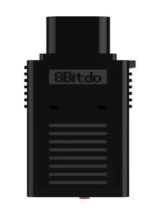
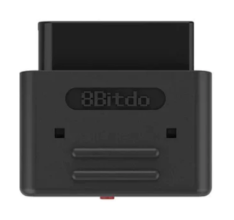
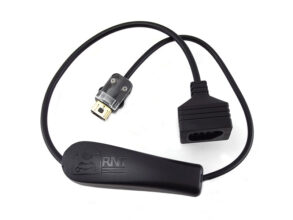
Bluetooth receivers plug directly into the controller ports of the console and allow for the widest variety of controllers to be connected to them. For the NES and SNES, 8BitDo has Bluetooth receiver options. Similar receivers are available from RetroTime for the N64 and GameCube. (A couple online retailers of where to find the RetroTime receivers are Stone Age Gamer or 8BitMods.)
Images of what the receivers look like are provided below.
-

- 8BitDo NES Receiver
-

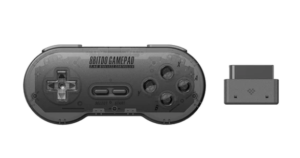
- 8BitDo SNES Receiver
-

- RetroTime N64 Receiver

-
- RetroTime GCN Receiver

Controller Adapters for Original and Classic Controllers
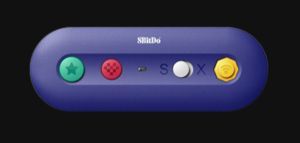
If you’re set on using your original controller without modding it, Raphnet makes adapters for the NES and SNES to convert the plug end of retro controllers into the Wii-style plug (like the end of the Nunchuk that plugged into the bottom of the Wii remote). This effectively turns your retro controller into a Wii Classic Controller (although not with all the buttons). The Wii-style plug can be inserted into the Wii port of a wireless adapter such as GBros. Wireless Adapter by 8BitDo.
The wireless adapter also has a GameCube port on the other side, so a GameCube controller can be inserted directly and there is no need to convert it into a Wii-style plug. Also, if you have NES or SNES controllers from the Classic (or Mini) Console editions, they already have Wii-style plugs and can be inserted directly into the wireless adapter. While the wireless adapter is mainly marketed for Switch, it can be set in “X mode” which allows for Bluetooth connection to many other gaming devices, such as the Bluetooth receivers mentioned above. (An N64 adapter from Raphnet exists, but due to the N64 controller’s unique layout, button remapping quickly becomes convoluted. Less complicated options for N64 are below.)
Images of what the adapters look like are provided below.
-

- Raphnet NES Adapter
-
- Raphnet SNES Adapter

-

- 8BitDo GBros. Adapter
First-Party Modern Retro Controllers
NSO controllers for the NES, SNES, and N64, which are near-exact copies of the Nintendo originals, are also compatible with these Bluetooth receivers. Nintendo first-party controllers are known for being high quality across the board with the plastic shells, button membranes, and the acute attention to detail. In my personal opinion, Nintendo did a great job faithfully recreating the SNES controller. My personal gripe with the NES NSO controller was the inclusion of the JoyCon rails at the top. I would have preferred if it were charged via a USB-C port like the SNES controller. With the N64 controller, the analog stick was a true re-creation of the original, but it unfortunately re-created the worst part of the controller in my estimation. If these design choices got under your skin, consider the controller board mods or third-party controller options in the following sections.
Images of the first-party NSO controllers, with the unique buttons for NSO and use on the Switch, are provided below.
-

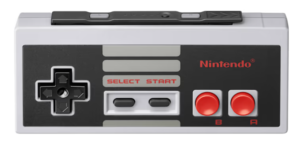
- Nintendo NSO NES Controller
-

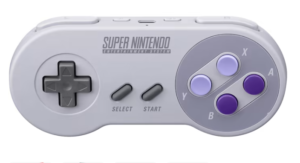
- Nintendo NSO SNES Controller
-

- Nintendo NSO N64 Controller

Controller Board Mods for Original and Classic Controllers
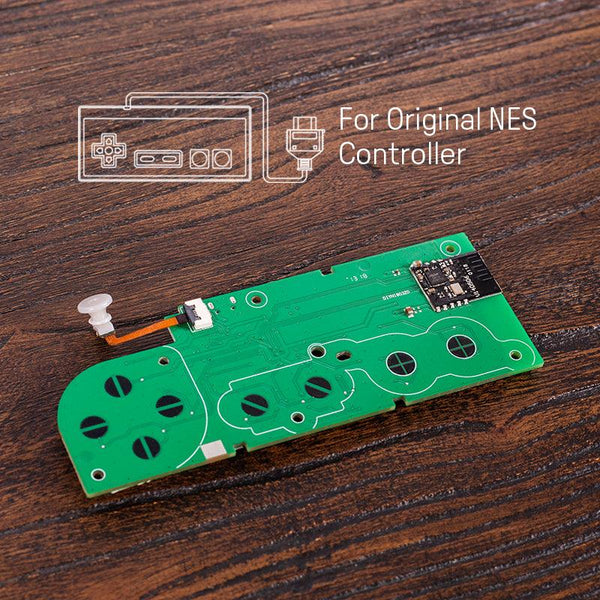
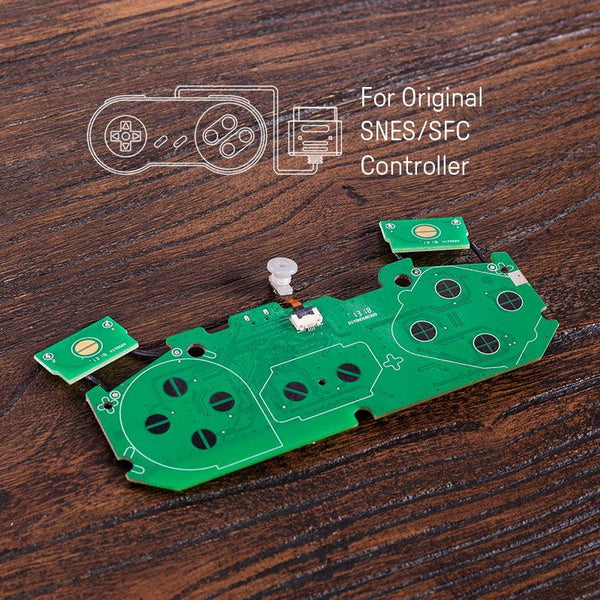
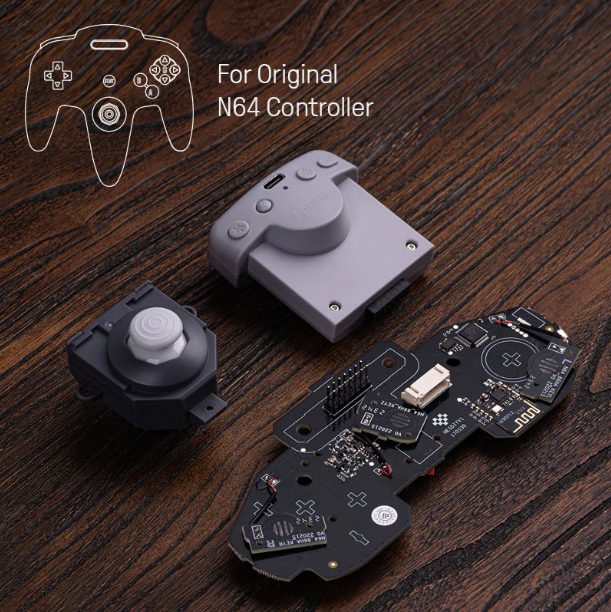
If you’re open to lighter difficulty modding of your retro controllers, there are controller board replacements for the internals of retro controllers that preserve the original shell and buttons. This makes the controller wireless and adds an internal rechargeable battery. 8BitDo has mod kits for NES, NES Classic, SNES, SNES Classic, and N64 controllers. One downside of the NES and SNES replacement boards is that they charge from a barrel plug via the former wire opening. If you go this route, you’ll need to take extra care not to lose this unique cable. The N64 option charges via a USB-C port which is integrated into the rumble pack.
Images of what the controller board mods look like are provided below.
-

- 8BitDo NES Mod Kit
-
- 8BitDo SNES Mod Kit
-

- 8BitDo N64 Mod Kit
Third-Party Retro-Inspired Bluetooth Controllers
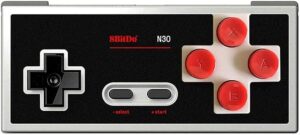
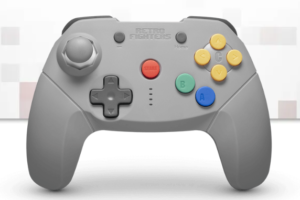
If having an official first-party Nintendo controller isn’t critical to you, 8BitDo has some high-quality Bluetooth controllers such as the N30 for NES and SN30 Pro for SNES, which are inspired by the originals. (8BitDo no longer lists the N30 on its website, but it still can be found through online retailers like Amazon.) RetroFighters has the Brawler64 for N64, which has the advantage of using a two-prong layout like most other modern controllers, instead of the (in)famous three-prong original layout by Nintendo. PowerA makes a GameCube controller that is a close replica (though it lacks analog shoulder triggers) and is officially licensed by Nintendo.
Images of example third-party controllers are provided below.
-

- 8BitDo N30 Controller
-
- 8BitDo SN30 Pro Controller

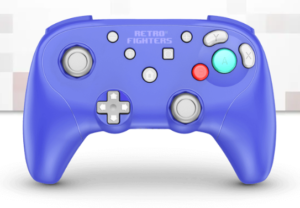
-

- RetroFighters Brawler64 Controller
-

- PowerA GameCube Controller

Third-Party Retro-Inspired 2.4GHz Controllers with Dedicated Receivers
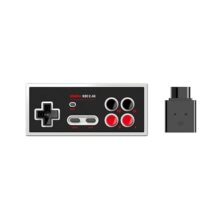
All three of the third-party Bluetooth controllers listed above from 8BitDo and RetroFighters have similar 2.4GHz (i.e., not Bluetooth) models. These controller options come with a dedicated receiver like a WaveBird. 8BitDo has some for the NES and SNES. (Similar to the Bluetooth option, the 8BitDo N30 2.4 GHz version is no longer on its website but is available through online retailers like Amazon.) RetroFighters has a Brawler64 edition specifically for the N64, and they also have the BattlerGC for GameCube, which comes with both a GameCube receiver and USB receiver for use on the Switch.
Images of example third-party controllers are provided below.
-
- 8BitDo N30 2.4GHz Controller
-

- 8BitDo SN30 Pro 2.4GHz Controller
-

- RetroFighters Brawler64 Wireless Controller

-

- RetroFighters BattlerGC Controller
Video Output
If you are not interested in using an older CRT television exclusively for your retro gaming setup, you’ll first need to find out if your modern TV or monitor can recognize signal from your retro consoles. For Nintendo’s first four consoles, supported video options include Radio Frequency (RF) Modulator, Composite (yellow, white, and red RCA cables), Component (red, blue, and green RCA cables for video plus white and red for audio), and S-Video. (RF Modulator is the lowest quality signal of the four and is outside the scope of this post.) RetroRGB has some great explanatory videos on YouTube if you want to take a deep dive.
Example images of those cables from Wikipedia are provided below.
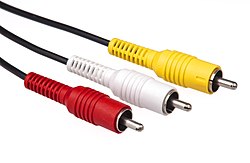
-

- Composite AV Cables
-

- Component Video Cables

-

- S-Video Connector

The most common AV type which could be utilized for all four of these consoles were composite cables with a yellow cable for video, a white cable for left stereo audio, and a red cable for right stereo audio. Some TVs and monitors have these ports, so check your display first, as this may simplify your situation. If your display does not have these ports, the likely scenario will involve converting the audio and video signal over from the red, yellow, and white composite cables to HDMI. This is where a person’s opinion can vary widely on how much is reasonable to pay and what level of visual fidelity is important for play. Options are provided below for two ends of the spectrum.
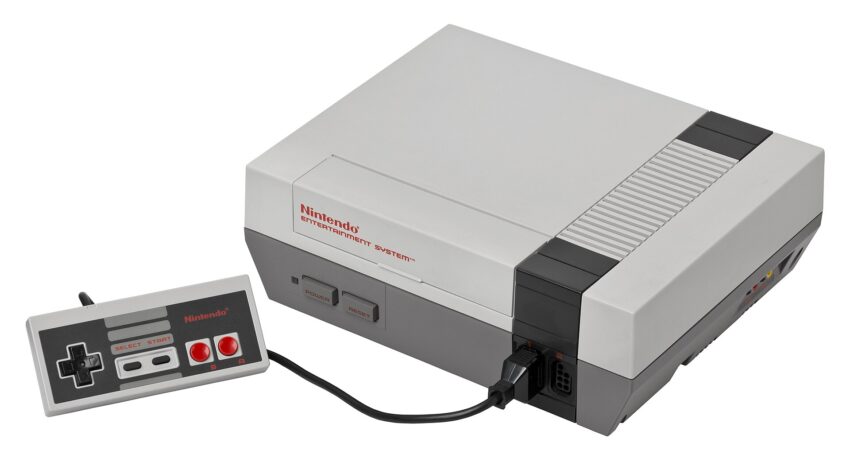
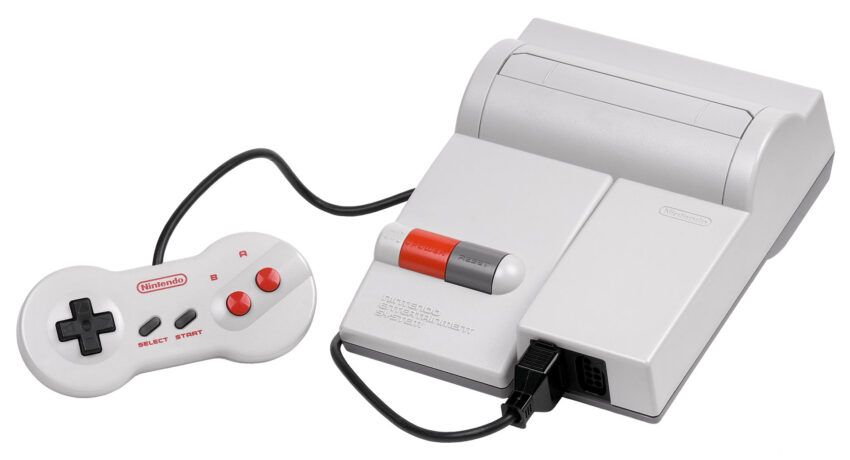
Two notes about the NES though. The original NES console did not have stereo sound where a separate signal was sent to the left and right speakers, but instead had mono sound. So when using composite cables, you will only see one red audio port on the right side your NES when facing it. A splitter cable will be required so that the mono audio signal is duplicated across two cables for stereo sound. Also, if you find the later Top Loader edition of the NES, be sure to confirm its AV output method. Most Top Loaders only included a single RF port for outputting both audio and video over a single cable and dropped the separate red and yellow ports for composite cables. Some Top Loaders included an AV multi-out port for composite cables just like the SNES, N64, and GameCube; however, these are rare and hard to come by.
Images of these two editions of the NES from Wikipedia are provided below.
-

- NES Original Model
-

- NES Top Loader Model
Another note about the GameCube. Earlier models of the GameCube provided both Digital (i.e., component) and Analog (i.e., composite) AV ports. The Digital port output provided a higher quality image; however, in order to reduce production costs, Nintendo dropped the component ports in later editions. So for those later editions, you’ll only see a single Analog AV port. This will be of relevance if you are interested in a higher-end video option discussed below.
Low-End Options for Composite AV to HDMI
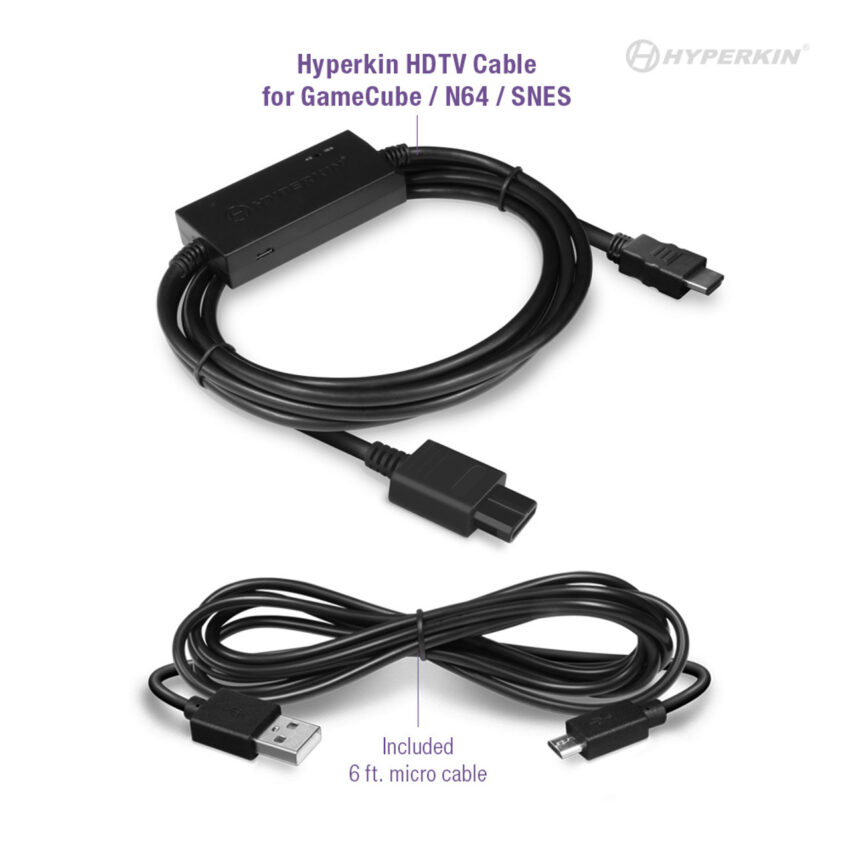
The SNES, N64, and GameCube (plus the rare NES Top Loader with an AV multi-out) all have the same style port for the AV composite cables. Hyperkin has made a converter that works on all of these systems and plugs directly into the console. This is a great simple solution if you only have one retro console. However, if you are connecting multiple retro consoles through an AV splitter or you only have an original NES console, you may want to consider something that allows you to connect the video converter to the console with AV cables. Old Skool makes an AV to HDMI converter that allows you to plug the yellow, red, and white cables in directly. (There are also many different generic AV to HDMI converters available through online retailers like Amazon that are equivalent to the Old Skool product.) While both of these options do the job, lag and flickering may be introduced; and depending on your expectations, it may not be close enough to what you remember on a CRT television.
Images are provided below of what these example products look like.
-

- Old Skool AV to HDMI

-

- Hyperkin AV to HDMI
High-End Options for Composite AV Plus Component and S-Video to HDMI
RetroTink makes products like the 2X-Mini and 2X-Pro (and even fancier ones) for converting video with maximum fidelity and minimal lag. The 2X-Mini provides for composite and S-Video, and it comes in translucent colors inspired by the N64. (At the time of writing this post, the 2X-Mini is out of stock.) The 2X-Pro allows for composite and S-Video like the 2X-Mini and adds component video capability, which can provide even clearer visual quality. It also includes several options for things like mimicking scan lines of a CRT television. However, it is significantly more expensive than the low-end options above.
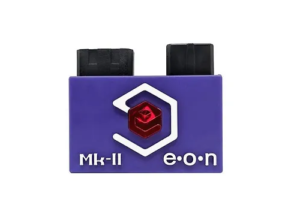
Specifically for the GameCube, EON Gaming created the GCHD MK-II which provides a plug-and-play HDMI solution if you have an earlier model of GameCube which both Digital component and Analog composite AV ports. The converter plugs into the back of the GameCube via both ports, and then has a port for HDMI out. If you have a later model of GameCube with composite AV only, this product will not work with your console.
Images below of the RetroTink and EON products.
-

- RetroTink 2X-Mini

-

- RetroTink 2X-Pro

-

- EON GCHD MK-II
Personal Note
My parents (through their generosity to other children, desire to purge the attic and basement of clutter, and lack of foresight on the exponential increase of value of retro games 20+ years later) disposed of the gaming collections my two brothers and I amassed as kids. As an adult, I have since purchased an NES, SNES, N64, and GameCube for playing retro titles from my childhood. It can be an exciting hobby to get into, but it can quickly become expensive. If you’re interested in starting your own retro gaming collection journey, I would encourage you to find a local retro games store in your community to connect with others and thumb through their collections on sale. The two retro gaming stores near me sell consoles, but they often quickly move in and out of stock as people sell their collections. If you can’t find any consoles for sale locally, online marketplaces like eBay have good deals, but always remember that it can be a roll of the dice. Read item descriptions in detail, look through the product photos closely, and take note of the feedback on sellers and their return policies.
For me personally, I’m much more of a controller snob than a visual fidelity snob. I much prefer the feel of first-party Nintendo controllers. While third-party controllers can have some perks or special uses, I find that they never fully mimic the feel of the original controller’s plastic shell and the button presses. For NES and SNES games, I use the official Nintendo NES or SNES Classic controller (i.e., Wii-style plug) with the 8BitDo GBros. Adapter and the 8BitDo Bluetooth Receiver. Although, there is a wire between the controller and the Bluetooth adapter, I don’t mind it and actually prefer it. It’s an additional touch of nostalgia to see the wire coming out of the controller like I remember.
For N64 games, I use the official Nintendo N64 NSO Controller with the RetroTime Bluetooth Receiver, but I also use Retro-Bit Tribute 64 with its own 2.4GHz receiver for its more comfortable two-prong grip and more responsive analog stick. For GameCube games, I use an original official Nintendo GameCube controller with the 8BitDo GBros. Adapter and the Blue Retro Internal Adapter by Laser Bear Industries. This effectively does the same things as four Bluetooth receivers from RetroTime described above, but through an internal controller board inside the GameCube. It requires an internal mod of your GameCube, including removal of the original controller board plus some rewiring of the power supply and internal fan, but no soldering is required which is a relief. I found the instructional video by Tito at Macho Nacho Productions a huge help. For the video output, I found an inexpensive generic AV to HDMI converter that I connected to my AV splitter box. It works just fine, and I haven’t had any issues. One day I’m sure I’ll break down and buy a RetroTink 2X Pro, but for now what I have suffices.
Resources for Further Exploration
- 8BitDo
- 8BitMods
- EON
- Laser Bear Industries
- Macho Nacho Productions
- Raphnet
- Retro-Bit
- RetroFighters
- RetroRGB
- RetroTink
- Stone Age Gamer
So how do you play your classic Zelda titles? Do you still play on original hardware? If so, have you used any of the products (or similar) mentioned in your retro gaming setup? Is the extra effort and cost worth the nostalgia to you? What aspect is most important to you in creating that nostalgia? Or is it not worth the hassle to you, and playing on the Switch via NSO (or the Wii or Wii U Virtual Console) works just fine? Let us know what you think in the comments below.

Jared Eubanks is a staff writer at Zelda Dungeon, and he is also a husband, father, and engineer. He is originally from the Atlanta, GA area and still lives there. He graduated from Georgia Tech and is a proud Yellow Jacket. He loves to play boardgames, build Lego, and read books with his family. He’s been gaming since childhood with the original NES and GameBoy, and he enjoys retro gaming, collecting, and modding consoles and handhelds. His favorite Zelda game is Breath of the Wild but is also fond of the older classic titles.
