- Chapter 1 – Skyloft
- Chapter 2 – Faron Woods
- Chapter 3 – Skyview Temple
- Chapter 4 – Eldin Volcano
- Chapter 5 – Earth Temple
- Chapter 6 – Lanayru Desert
- Chapter 7 – Lanayru Mining Facility
- Chapter 8 – Isle of Songs
- Chapter 9 – Lake Floria
- Chapter 10 – Ancient Cistern
- Chapter 11 – Lanayru Sand Sea
- Chapter 12 – Sandship
- Chapter 13 – Volcano Summit
- Chapter 14 – Fire Sanctuary
- Chapter 15 – Thunderhead
- Chapter 16 – Song of the Hero
- Chapter 17 – Sky Keep
- Chapter 18 – Final Showdown
18.1 Final Descent
After heading through the Gate of Time and finding yourself within the Temple of Hylia, exit through the front door to get to the Sealed Grounds. A scene will take place with Ghirahim and Zelda down below. Ghirahim will create a fence, forcing you to take the long way down. While the ceremony is going on down there, Ghirahim will send tons of enemies at you.
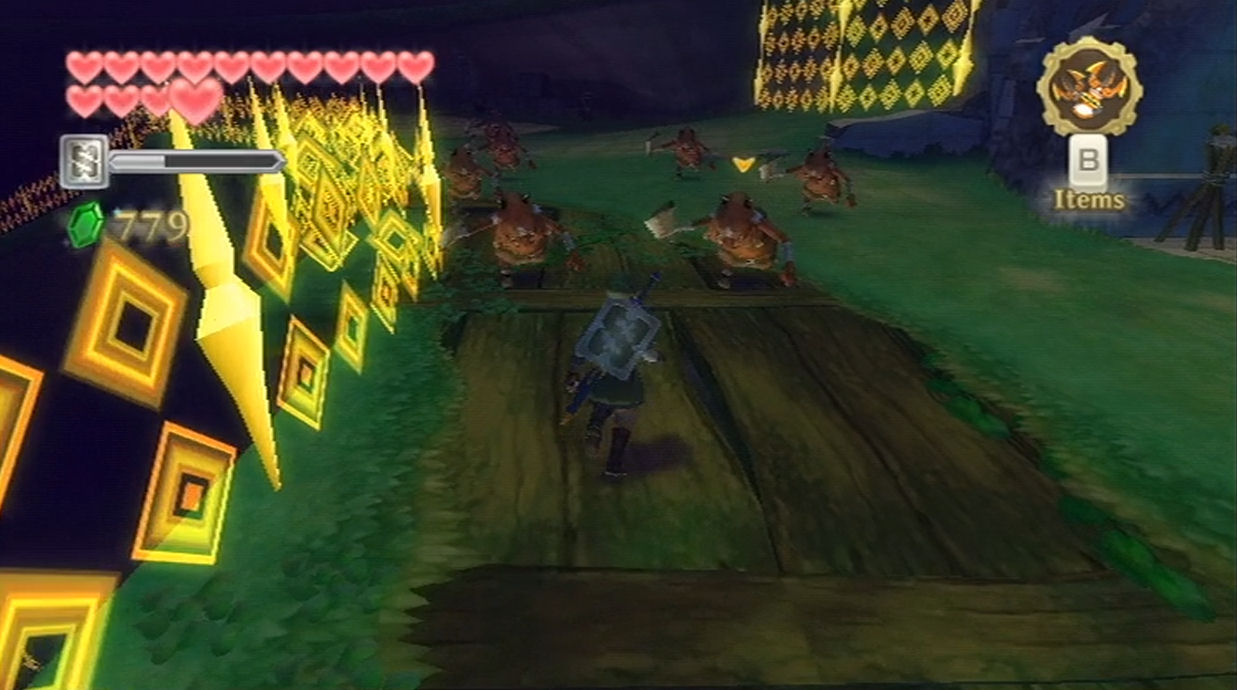

The first batch consists of tons of red bokoblin. These bokoblin will charge right at you and try to attack. Unlike previous bokoblin, you won’t need to make precise sword slashes. Defeat the hoard and progress down the pathway. It’s important to replenish your hearts with the occasional recovery hearts that the bokoblin will drop. Ghirahim will summon five standard bokoblins here and these ones will actually defend. Defeat them and the nearby wall will disappear, allowing you to progress further down.
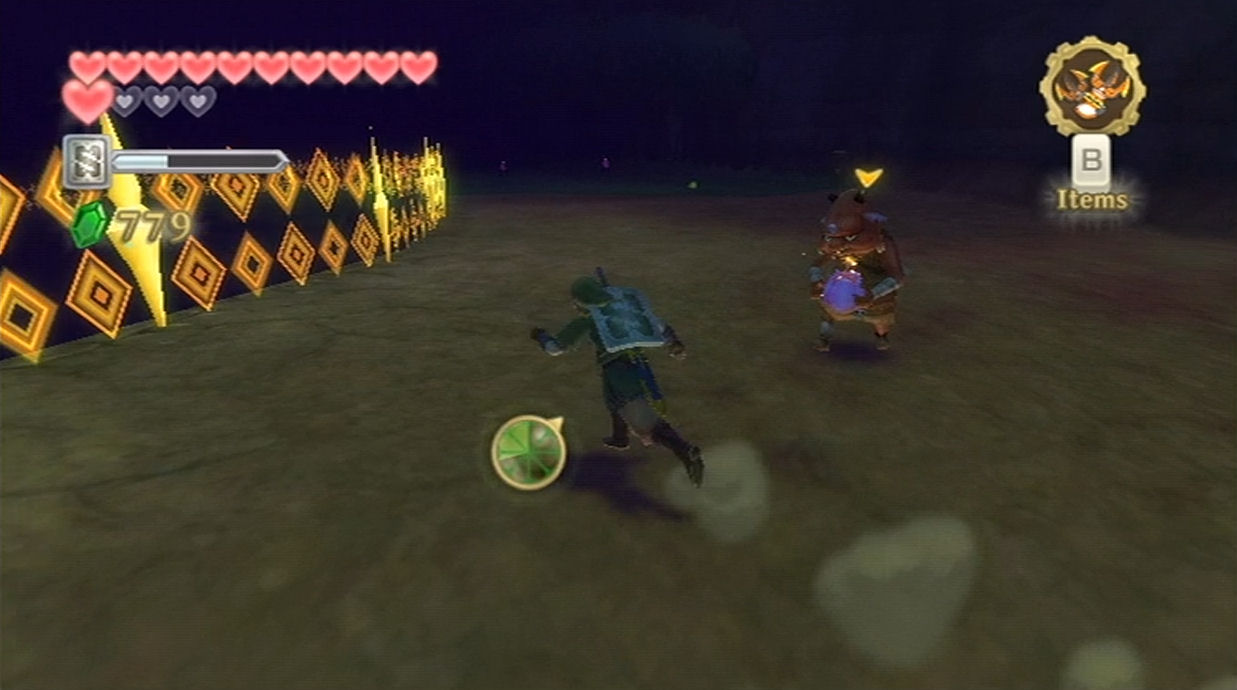
The second batch consists of more bokoblins, but many of them are carrying bombs over their heads. Don’t bother hitting the bokoblins with bombs as it will cause the bomb to explode, hurting you in the process. At the end of the pathway, Ghirahim will summon three wooden shield moblins. The key here is to keep running and defeat all of the bokoblins first. You can use bombs of your own again the moblin, but watch out for their charge attack. Just keep moving, getting some hits in when you can. Be sure to pick up any recovery hearts that are left for you.
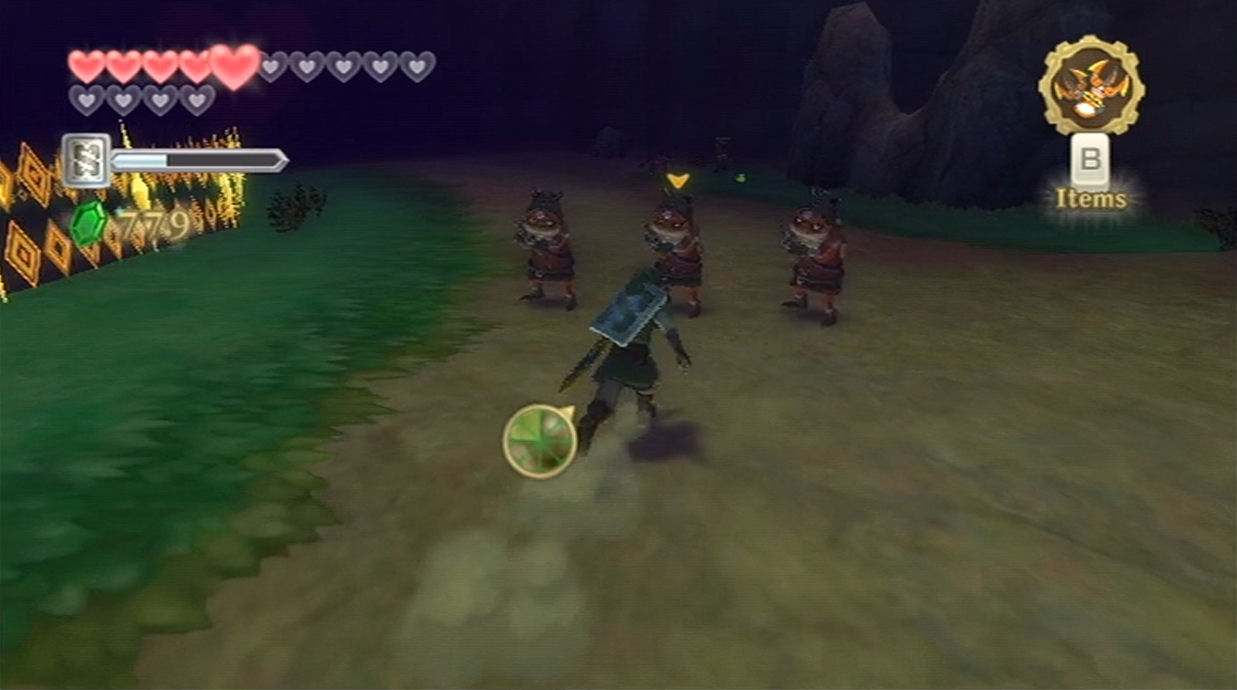
The third batch of enemies consists of even more bokoblins, but this time you’ll also confront some bokoblin archers. These foes can be annoying, but since there are multiple archers in one bunch, you can just run up and deliver a spin attack. There are also some more bomb bokoblins, so avoid striking at them. In fact you can use their bombs against them, as they can explode any nearby bokoblin when they detonate. At the end of the path you’ll find a blue bokoblin, but this one in particular is a bit more aggressive than previous ones, offering some new attacks, while also having more health. Be a bit more careful but after a few strikes, he will be defeated.

The fourth batch has more bokoblin, but one of them has a horn attached. This horn will continuously call more bokoblin, so be sure to get rid of this one as quickly as you can. The bokoblin will drop the horn and the other bokoblin will then try to pick it up. Run and collect this horn yourself to prevent more from being summoned. At the end of the pathway, you’ll face off with two stalfos, which shouldn’t give you too much trouble.
The fifth batch of enemies has a mixture of regular bokoblins, those new more difficult blue bokoblins, two large moblins, and a bunch of bokoblin archers. Once you get past the archers, you’ll finally reach the bottom of the Sealed Grounds, so run on over to Ghirahim. Ghirahim will unleash the last of the bokoblins, and it might be the biggest batch yet. When they have all been defeated, a short cutscene will take place.
18.2 Ghirahim
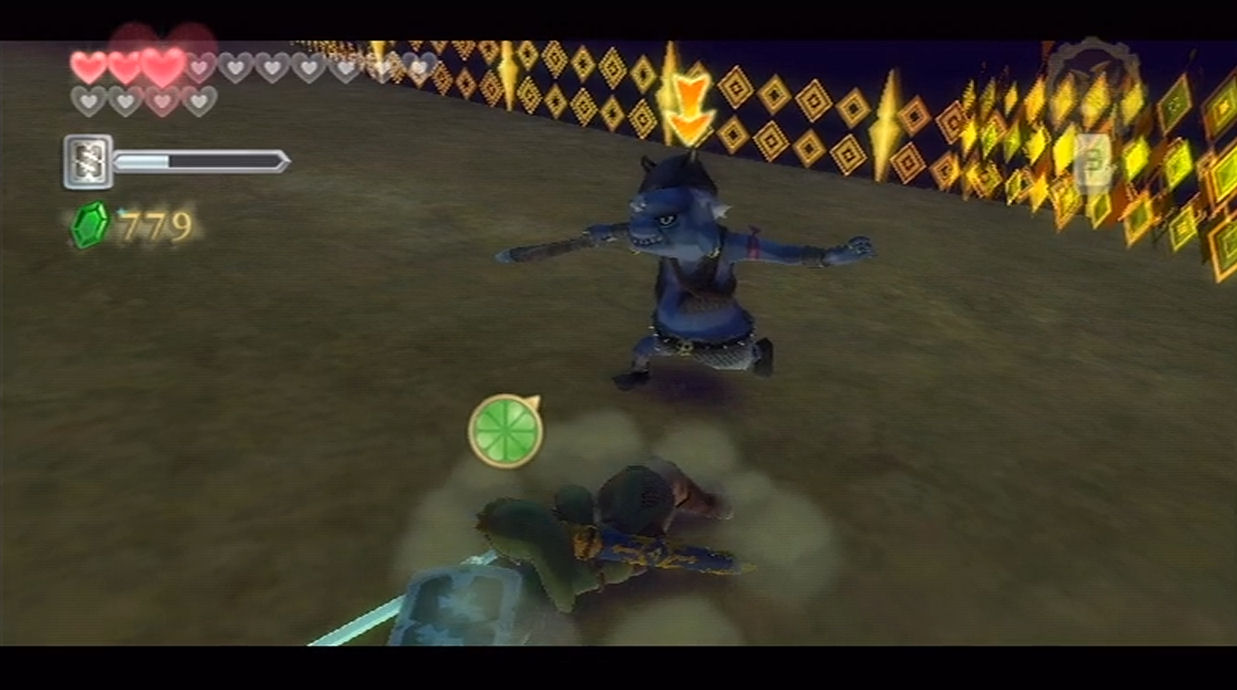
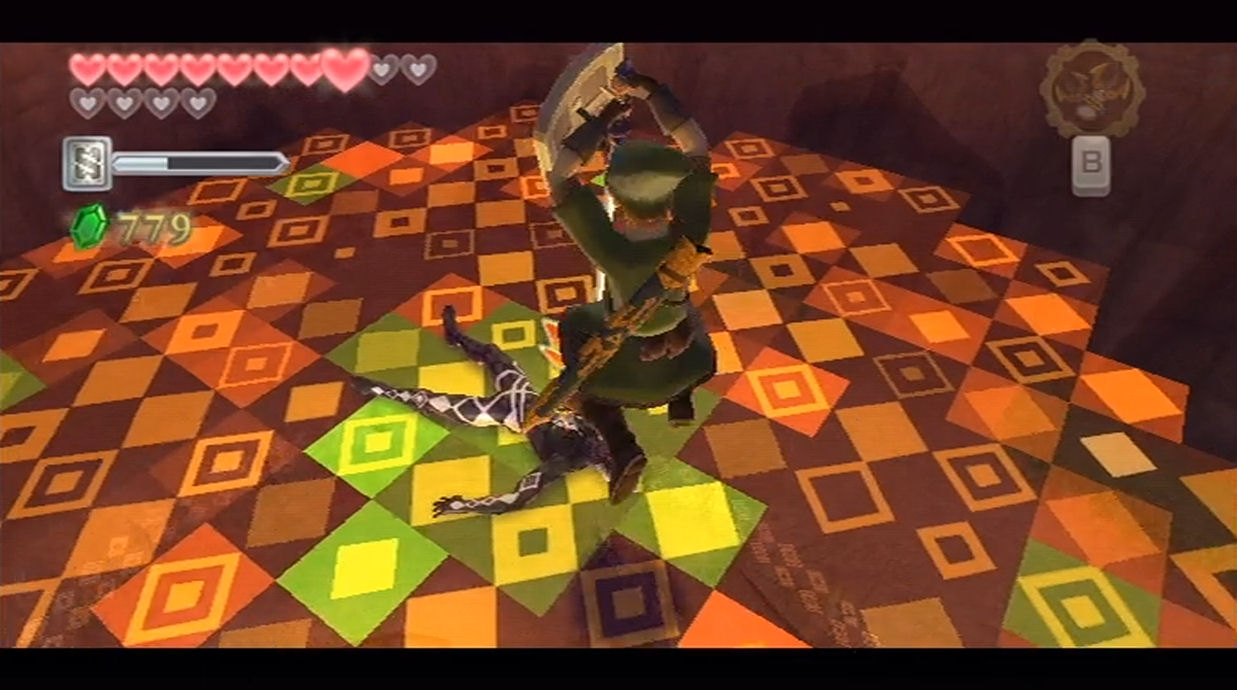
The goal in this battle is to hit Ghirahim down to the platforms below. Ghirahim will occasionally attack with some punches and kicks, so be prepared to jump back. Ghirahim will block your attacks at first, but with each attack, he’ll be sent backwards just a bit. Slash away with your sword to knock him to the edge and then hit him down to the platform below. Once you are here, deliver a fatal blow.

After hitting him a number of times, Ghirahim will start holding these purple rays. You have to still slash at him with your sword, but slash in the directions so that you don’t hit the purple rays that he is holding out. Knock him down to the platform below and deliver another fatal blow. Continue knocking Ghirahim down until the two of you are at the ground level.
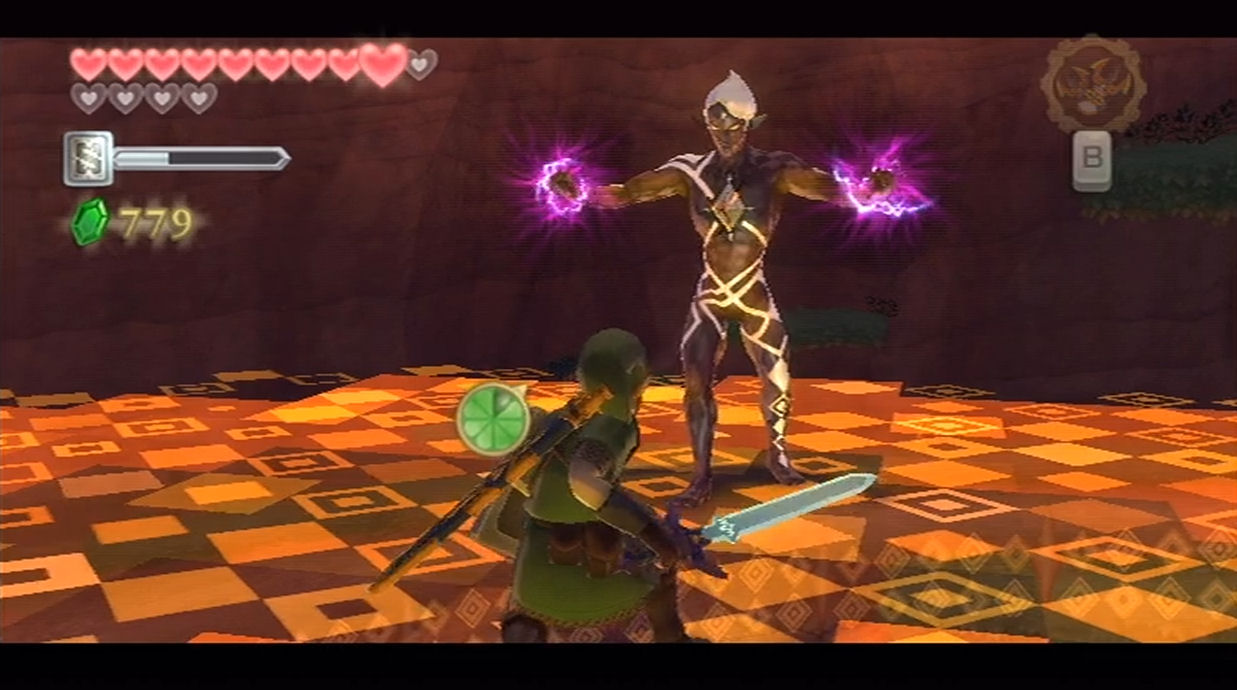
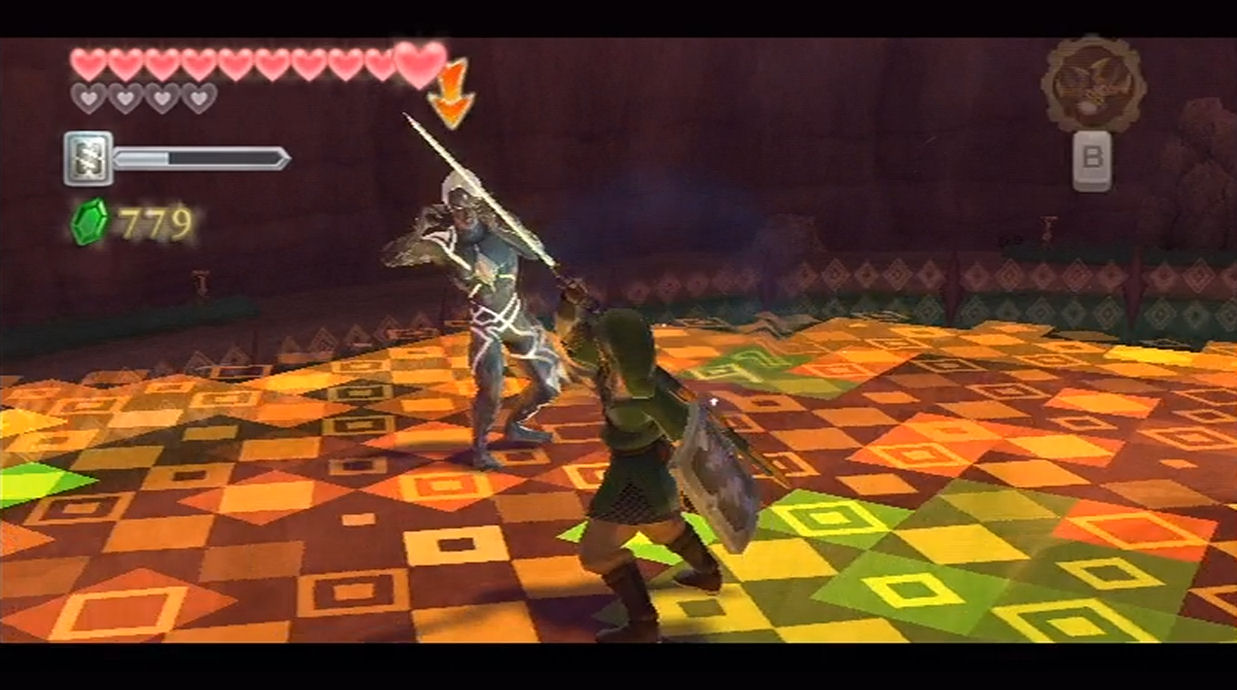
Ghirahim will then pull out his sword. If you run up and try to harm him with sword attacks, he’ll block every last one of them. What you want to do here is keep your distance. When you are further away, Ghirahim will launch a red beam attack towards you. Swipe your sword in the same direction as the beam attack, sending it flying back towards Ghirahim. He will block several of them and some of them he’ll deflect right back towards you. Play a game of pong and keep hitting the beam back at him until it harms him. Run on over and deliver sword thrusts right to his chest. Repeat this same process a few times.
Ghirahim will eventually pull out his much larger sword and will try to swipe you with it. When you run up and swipe at him, he’ll block with his sword, but the sword will take damage. If his sword takes and damage and you don’t capitalize on it, Ghirahim will jump back, snap his fingers, and restore his sword to original form.
What you need to do is hit his sword and then continuously hit it solid as if you were clashing swords. With each continuous hit, the sword will crumble and it will eventually break. Deliver a number of consecutive sword slashes in a row before Ghirahim is able to regenerate his sword. Repeat this process a few times and perform a few thrust attacks with your sword. After enough hits, Ghirahim will be defeated for good.
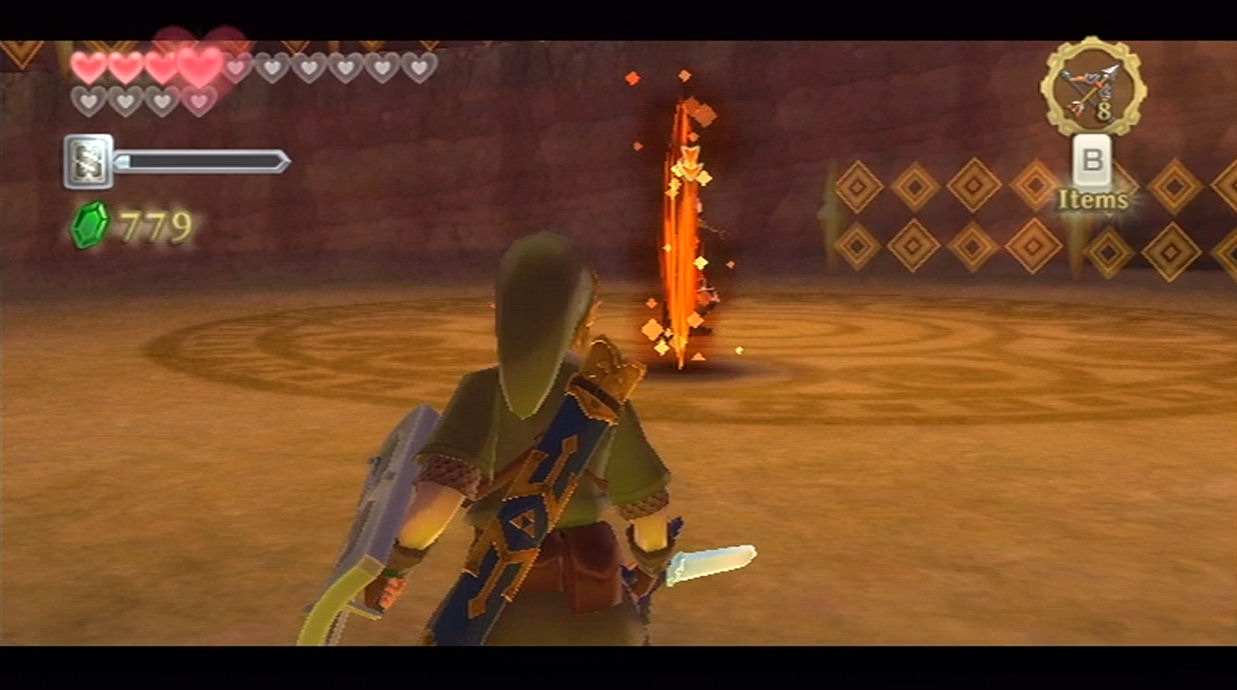
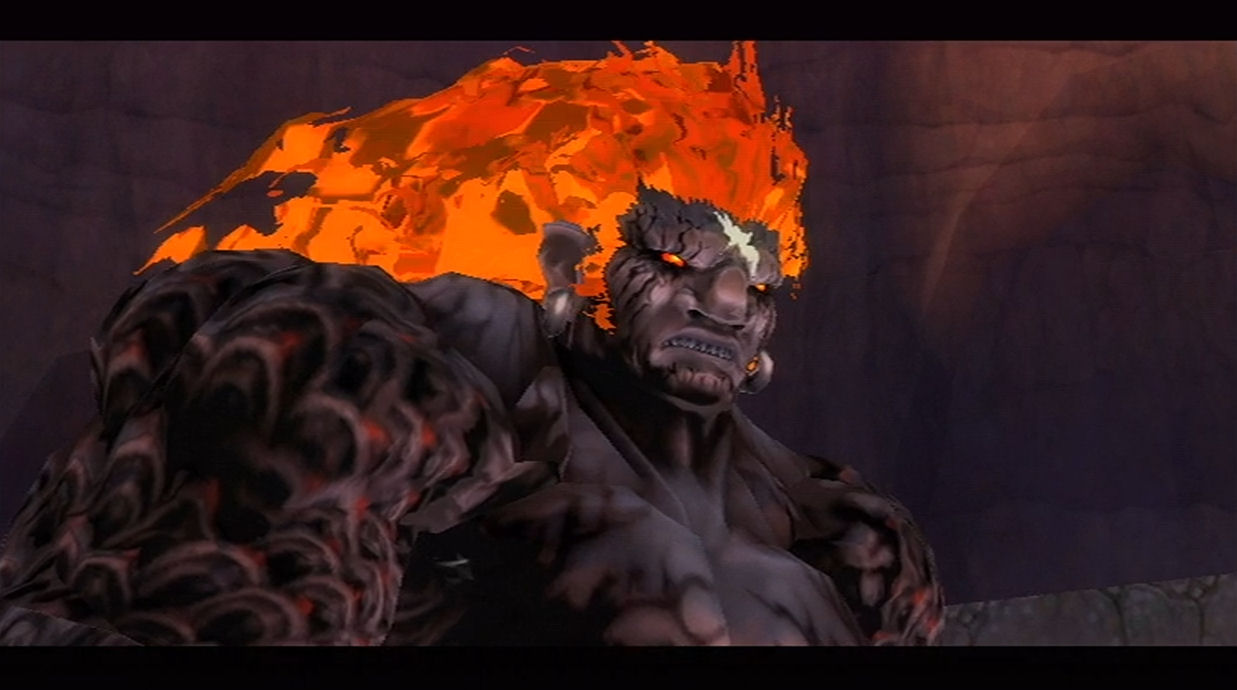
After Ghirahim has been defeated a cutscene will take place. The Imprisoned will appear and suck out all of the energy from Zelda. This will bring to life the Demon King, Demise. This beast will immediately pull a massive sword out of Ghirahim’s body. After some words, Demise challenges you to a battle, but at another location.
Before heading to fight Demise, use the bird statue to save. If you really want to, you can return to the Temple of Hylia and go back to the present. Restore your life and collect any potions that you’d like. Quicker than that, there is a stool next to where you planted the tree within the Temple of Hylia. You can sit on this stool to at least restore your life. Afterwards return to the arena and climb into the darkness.

18.3 Demise
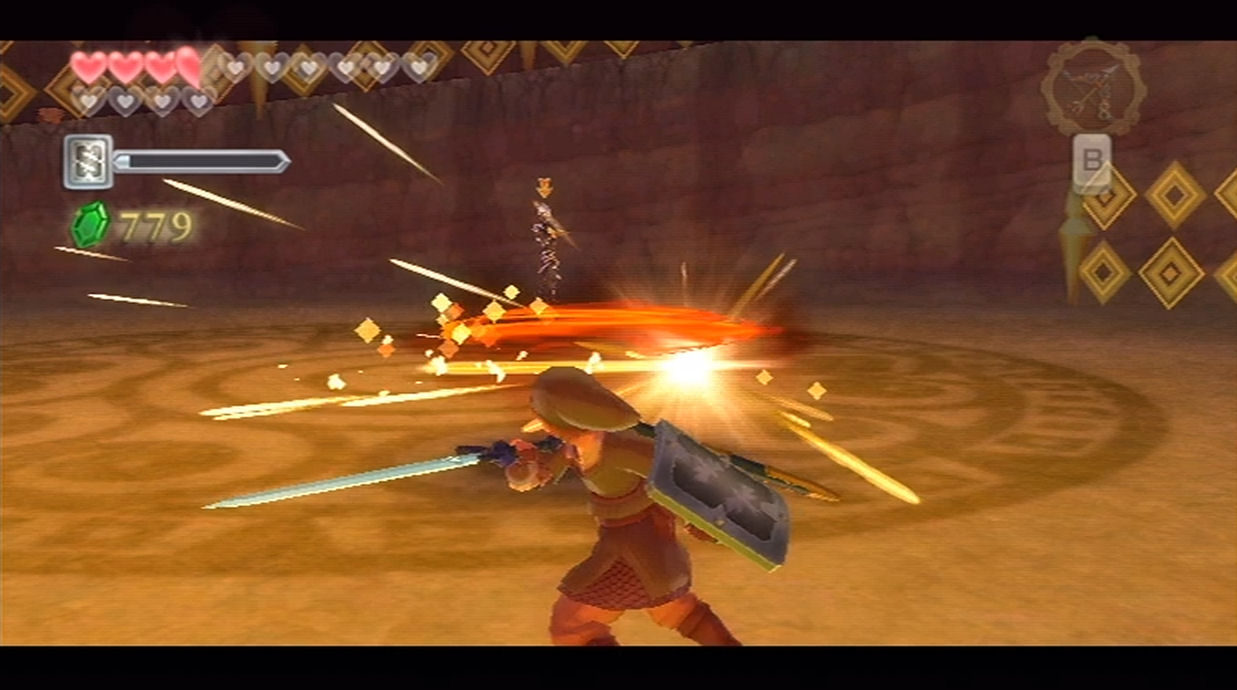
You want to keep close to Demise as much as possible. If you stay distant from Demise, he’ll come at you with a charging sword attack which can be quite damaging. Run on up to him and deliver sword slashes. While he’ll block your initial attacks, follow them up with sword slashes where his sword cannot defend. After a few blocked attacks, you will be able to successfully land one against Demise.
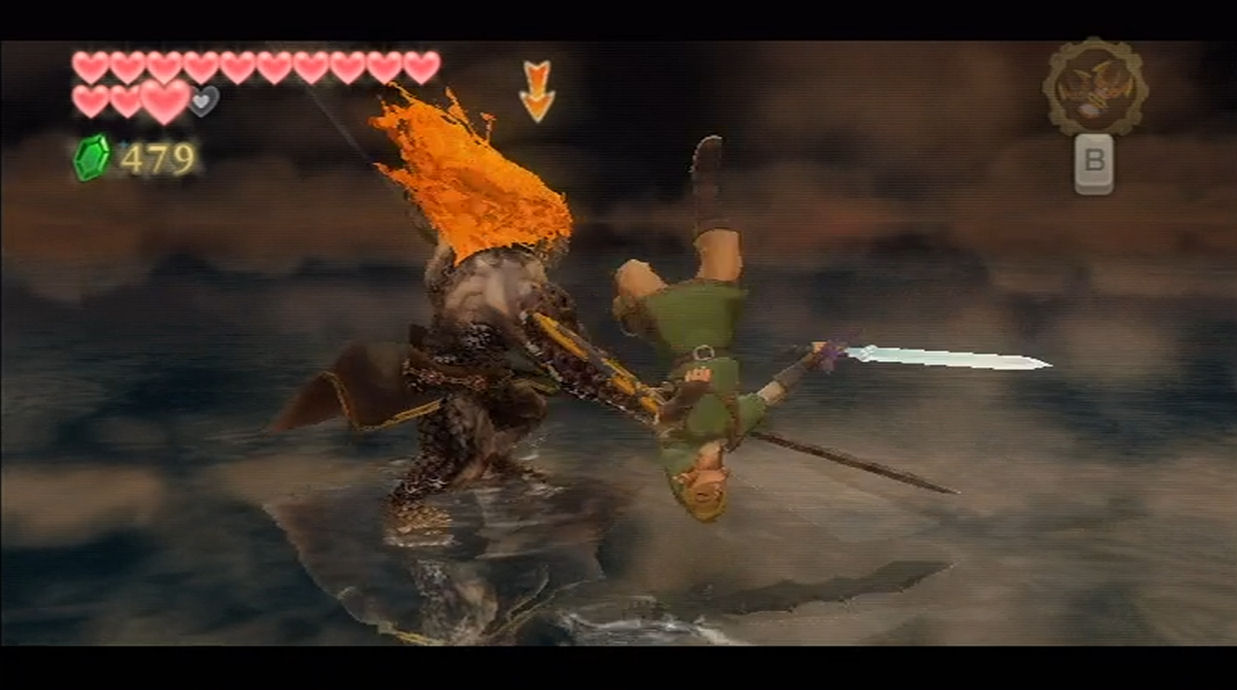
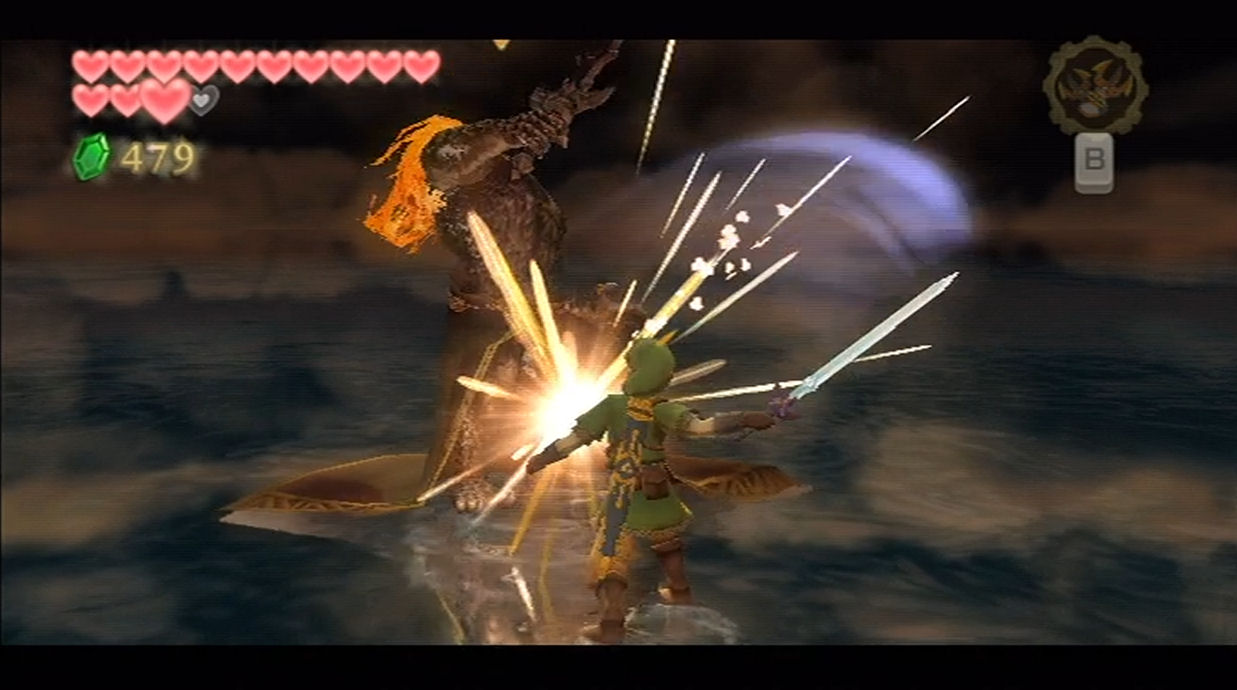
As soon as you see Demise prepare an attack, you should immediately jump back to avoid getting hit. The best way to hit Demise consistently is to run up, deliver a forehand sword slash from right to left, and then immediately follow up with a backhand sword slash from left to right. Just keep alternating between left and right and you’ll eventually hit him. Immediately after you hit him once, jump back as he is likely to attack. Repeat this method until you’ve hit Demise around 28 times with the Master Sword.
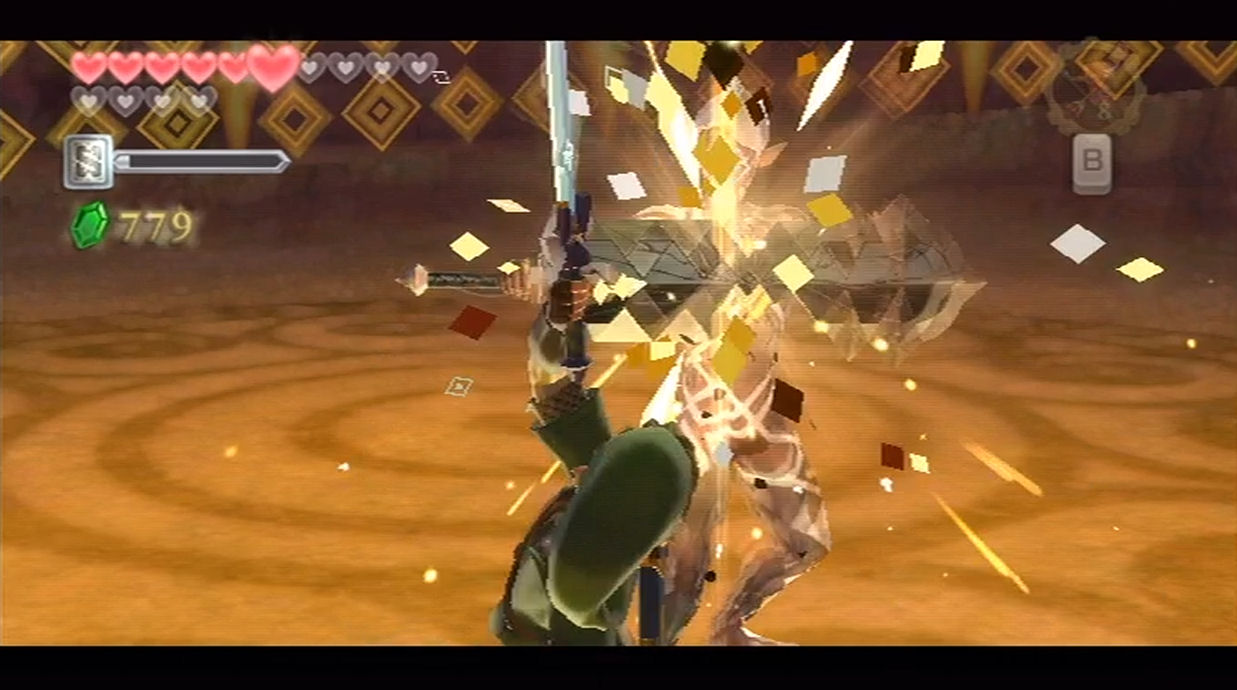
During the next phase of the battle, the entire arena starts to fill with rain, thunder, and lightning. Raise your sword to the Sky to prepare a Skyward Strike. As soon it is ready and you are targeting Demise, unleash a Skyward Strike at him. You have to be quick here, since Demise will try to hit you almost immediately after the Skyward Strike has been prepared.
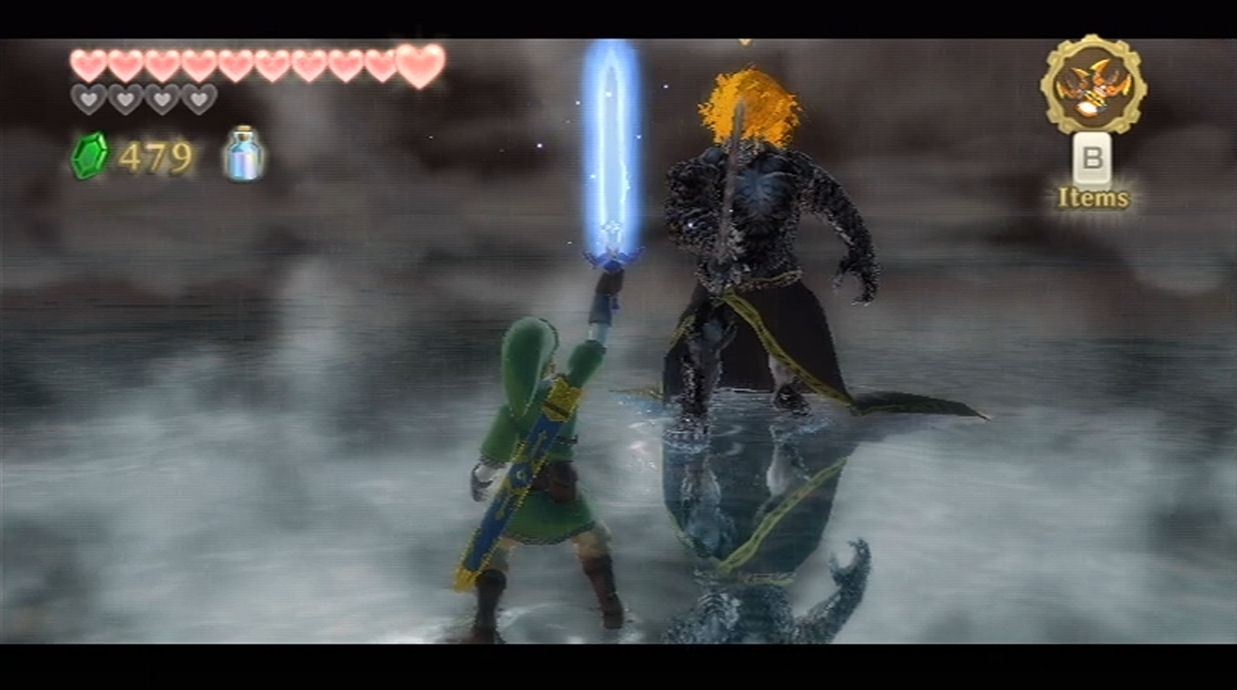

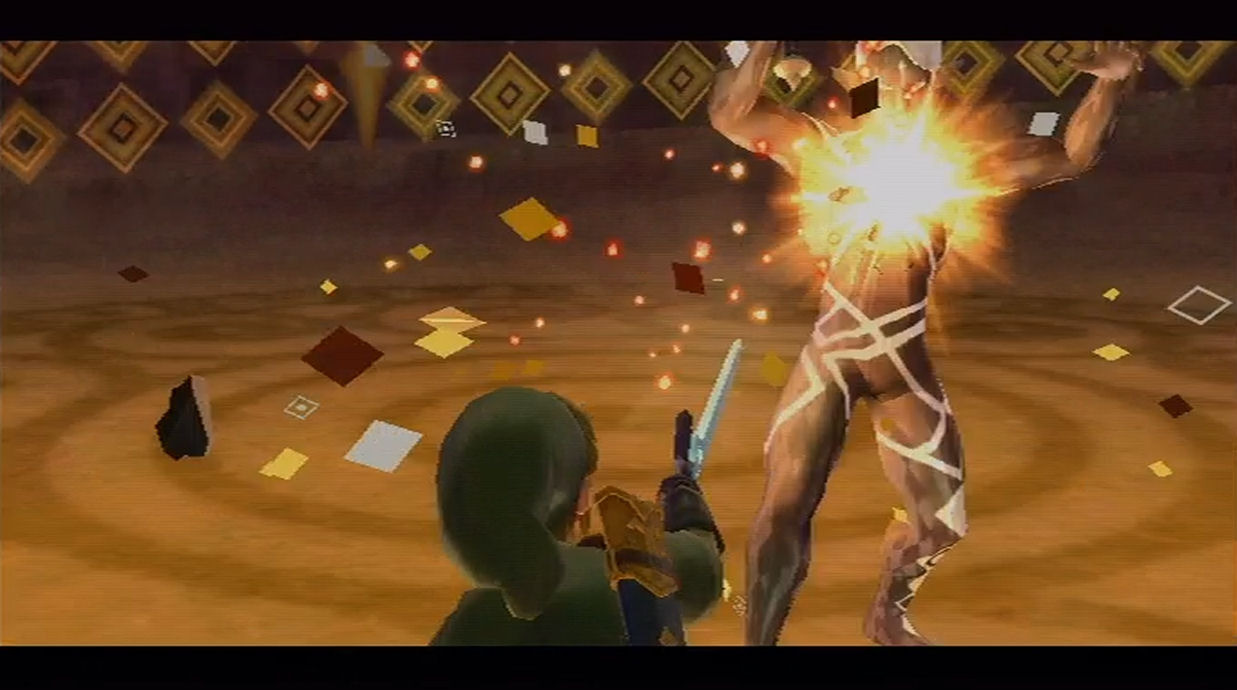
Demise will prepare his own Skyward Strikes during this phase. If he already has a Skyward Strike charged and you toss one of your own at him, they will cancel. After you successful hit Demise with a Skyward Strike run on over and deliver consecutive sword slashes at him. Once Demise falls to the floor you’ll have an opportunity to deliver a Fatal Blow, but don’t do it. Demise is not weak enough for you to hit him.
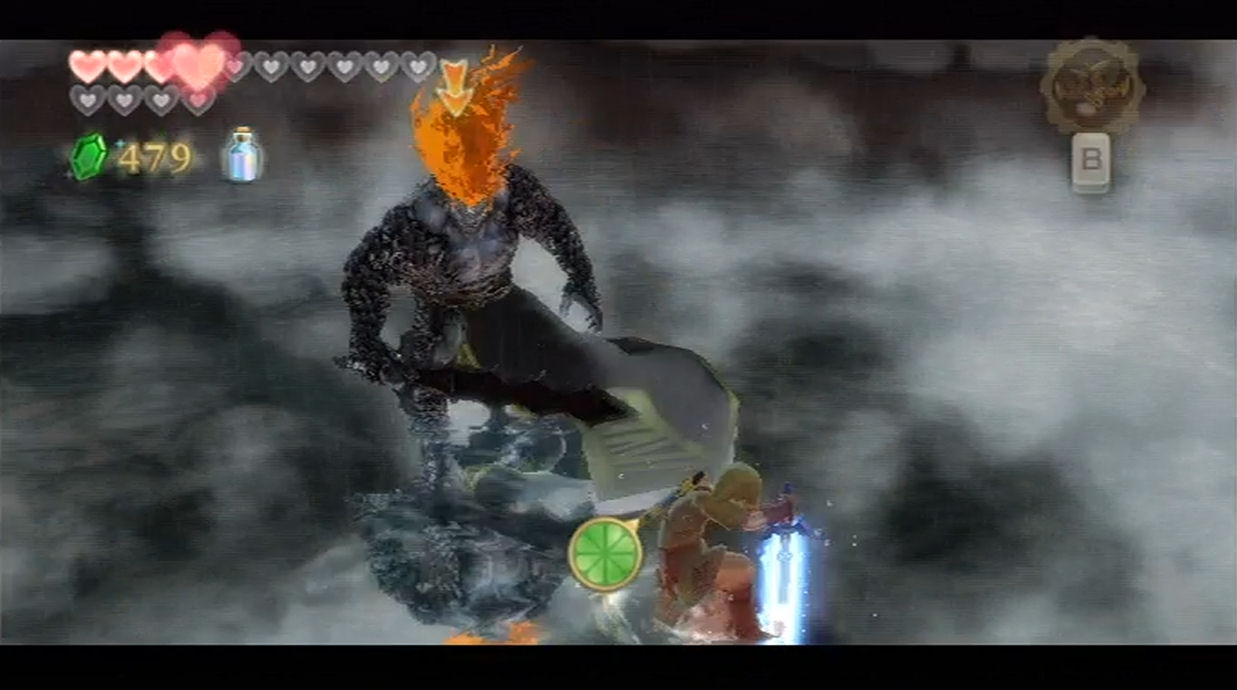

It’s best to try to stay close to Demise as much as possible, as whenever you are distant from him, he will perform a charge attack towards you that is incredibly hard to avoid. He almost always performs a charge attack after getting up from the ground. Repeat this same process of hitting Skyward Strikes and slashing at Demise. The second time that Demise falls to the floor you can deliver a Fatal Blow if you act quickly enough; otherwise, you can deliver a Fatal Blow much easier the third time to defeat him once and for all.
Congratulations on completing the game. Enjoy the ending and credits!
- Chapter 1 – Skyloft
- Chapter 2 – Faron Woods
- Chapter 3 – Skyview Temple
- Chapter 4 – Eldin Volcano
- Chapter 5 – Earth Temple
- Chapter 6 – Lanayru Desert
- Chapter 7 – Lanayru Mining Facility
- Chapter 8 – Isle of Songs
- Chapter 9 – Lake Floria
- Chapter 10 – Ancient Cistern
- Chapter 11 – Lanayru Sand Sea
- Chapter 12 – Sandship
- Chapter 13 – Volcano Summit
- Chapter 14 – Fire Sanctuary
- Chapter 15 – Thunderhead
- Chapter 16 – Song of the Hero
- Chapter 17 – Sky Keep
- Chapter 18 – Final Showdown
