- Chapter 1 – Skyloft
- Chapter 2 – Faron Woods
- Chapter 3 – Skyview Temple
- Chapter 4 – Eldin Volcano
- Chapter 5 – Earth Temple
- Chapter 6 – Lanayru Desert
- Chapter 7 – Lanayru Mining Facility
- Chapter 8 – Isle of Songs
- Chapter 9 – Lake Floria
- Chapter 10 – Ancient Cistern
- Chapter 11 – Lanayru Sand Sea
- Chapter 12 – Sandship
- Chapter 13 – Volcano Summit
- Chapter 14 – Fire Sanctuary
- Chapter 15 – Thunderhead
- Chapter 16 – Song of the Hero
- Chapter 17 – Sky Keep
- Chapter 18 – Final Showdown
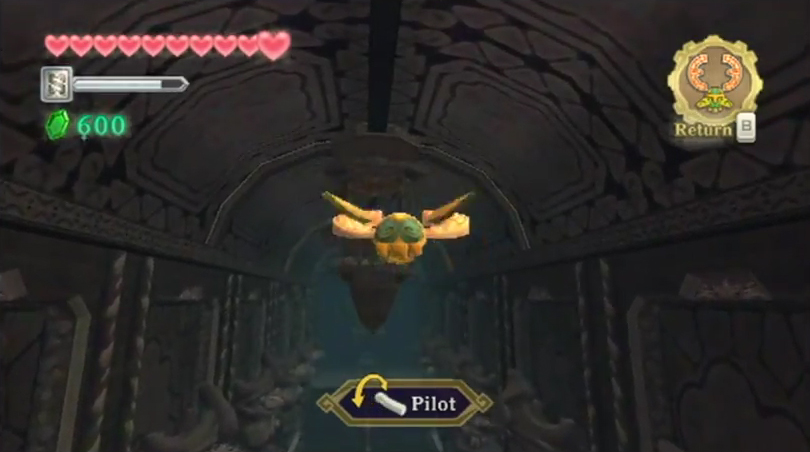
7.1 Gust Bellows
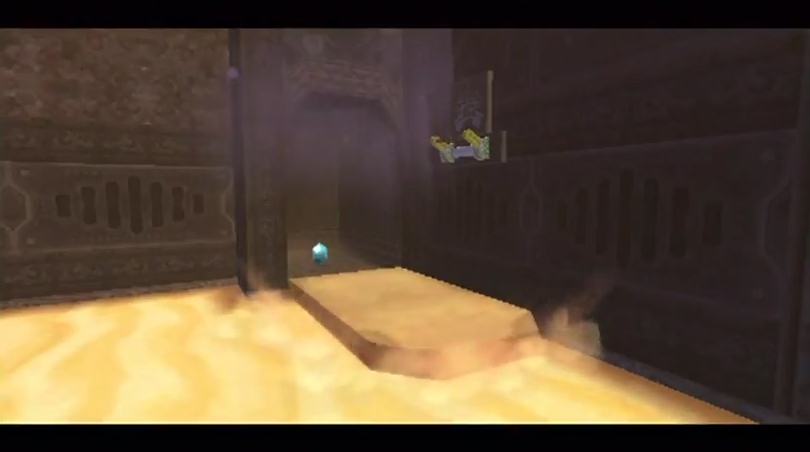
In this initial room, you’ll find a ton of these small enemy scorpions known as Aracha. They are found all throughout this dungeon, but luckily they are almost of no harm to Link. Just deliver a sword slash to defeat them. There are several bomb statues on the sides of the room, and each of them contain some goodies behind, so it’s a good idea to use those if you’d like.
You can use the beetle and the bomb in this room to defeat the electro spumes that are in the sand. Use the beetle and bomb combination to knock down the bomb statue at the northwest corner of the room. Run on over and jump to pull the nearby lever, causing the door to open up. There is also another lever in the other corner that lifts a nearby cage, allowing access to a treasure chest containing a red rupee. Afterwards, go through the door to the north.

There are Staldra in this room, one on each side. It’s a good idea to defeat these guys right away, using a sword to cut off all their heads at once. There are two doors on the side, but you cannot get through either of them for now. Instead, just run on over to the northwest corner of the room, defeat the aracha, and push the wooden block over to the large platform. Jump on top of this platform and head north into the next room.
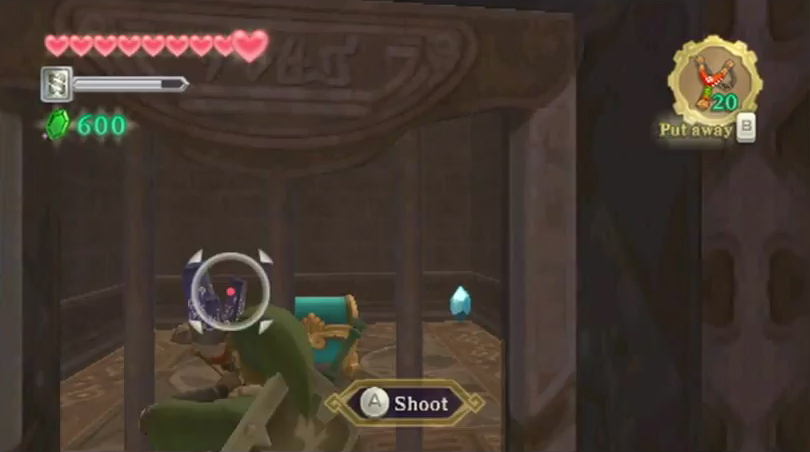
You’ll find a bomb on the higher pillar just to the right. Use the beetle to grab it and then drop it on the wooden boxes just ahead. Jump on over and climb the nearby ladder. You’ll encounter some Thunder Keese in this area of the room. Just as their name suggests, they are keese but with the ability to electrocute you when they touch you. Defeat them when they are not charged up. Open the nearby treasure chest to get a small key. Drop back down and head back to the previous room.
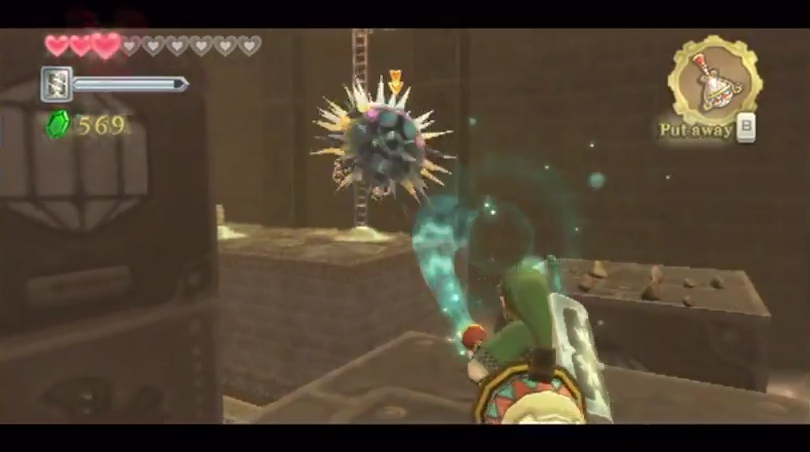
Now that we have a small key, let’s head on through the door to the east. Run on over to the left and you’ll find an enemy Froak. These slow moving spiky balls aren’t much harm to you in this form, but if they come in contact with almost anything, they’ll send out a rather large explosion. Hit them so they move away from you and explode against a distant wall.

Run across the stalled platform and defeat another froak and some arachas. Climb the wall here and you’ll see a ladder to the right. Unfortunately there is a wooden block that is preventing you from climbing. In the distance on the left you will find a bomb on top of a pillar. Use the beetle to grab that bomb and land it on the box. Climb the ladder and step on the switch here to lift the gate in the center of the room.
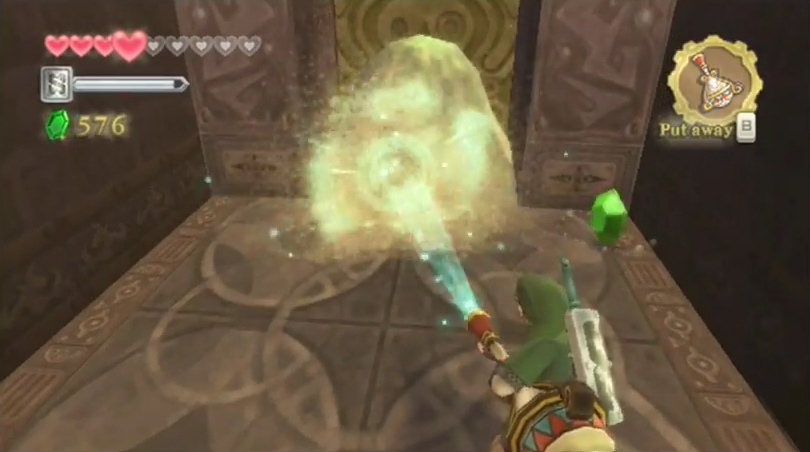
While stepping on this switch, release a beetle and hit the timeshift stone that is now accessible, causing the room to transform. There are new enemy Beamos that appear just below. In order to defeat these guys, you must get them down from their totem poll like structures. Deliver a horizontal slash to cut their body, and then a straight sword jab to hit their eye and defeat them.
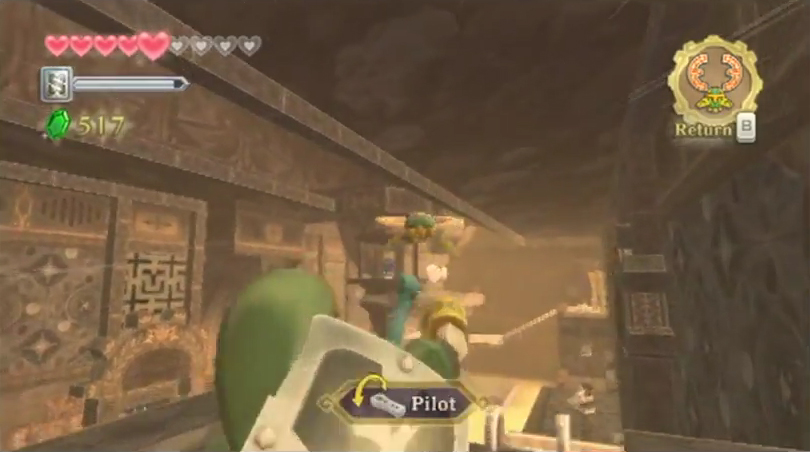
Drop down and defeat one beamos, then run across the conveyor belt and defeat another. Drop down the ladder behind the second beamos and you’ll find yourself next to one of these fast moving conveyor belts. They are constantly moving but will drop stamina fruit while doing so. You can walk on this belt, as long as you are walking against the way it is moving. You won’t make any progress and it will sort of be like you are walking on a treadmill. You need to dash across this platform, avoiding the rocks, while also collecting the stamina fruit as it comes in your direction.

Before running along this belt, you can run across it, climb the ladder, and pull a nearby lever. This will cause a door on the other side of the room to open up. Now you can run across the conveyor and climb the ladder on the left. Open the nearby treasure chest to get a red rupee. Jump back down the ladder and run past the conveyor belt.

Climb the ramps and you’ll find another conveyor belt. Run along it and defeat the beamos that is at the far end. Jump up and pull the lever, causing the door on the other side of the room to open up. Run back along the belt and head through this door.
There are a number of froak and arachas in this room. Just jump off the ledge to the right and climb the ladder found here. Jump northward two ledges and defeat the froak with a sword slash. If you hit it directly northward, it will blow up the boulders that are in your way. If not, use a bomb to blow these up. Jump on over and make your way to the north end of the room. Climb the ladder here and open the treasure chest to get the dungeon item, the Gust Bellows. This item will allow you to blow air, removing dust while also stunning certain enemies.
Drop back down and if you turn to the right you’ll find a treasure chest on the ground. Jump on over and open it to get a blue bird feather. There are small dust piles all over the place and you can remove this dust using the gust bellows if you’d like, as there are plenty of small goodies to be found. Afterwards, climb back up the platform to get back to the ladder that led to the gust bellows.
Jump on over and head to the west end of the room. You can use the gust bellows on the arachas and froak to get them out of the way. Climb the ladder here and remove the dust using the gust bellows. Go through the door to get back to the massive room we were at earlier, but this time now at a higher area.
7.2 Dungeon Map
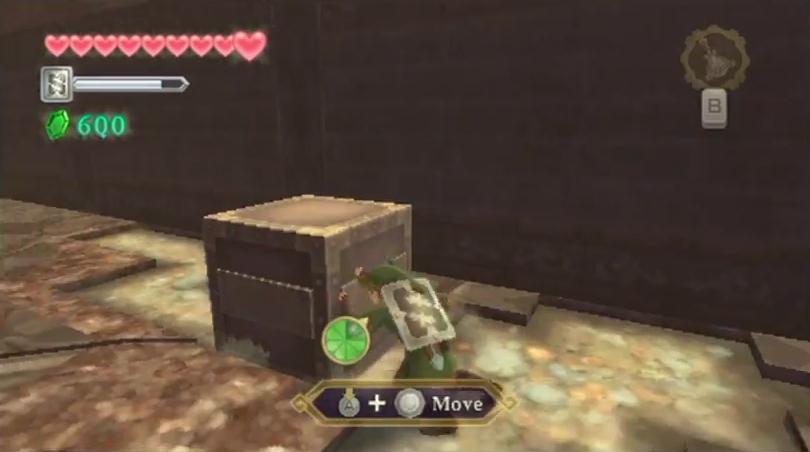
Back in this large room, push the steel box to the side (so the ladder below can be climbed for a shortcut if needed) and then jump down. There isn’t anything new to do in this room so go through the door to the south once again. Now that we have the gust bellows, use it to clear the dust near the northeast portion of the room. You’ll uncover a floor switch in this area but you need something to hold it down. Remove the dust from the nearby box and push it onto the floor switch. Go through the door that opens up at the west end of this room.
There are more froak and aracha found in this room, so defeat them as they come along. Sprint across the sand from platform to platform, making your way to the southeast corner of the map. Use the gust bellows to clear the dust and reveal a timeshift stone. Hit it and it will transform the area.
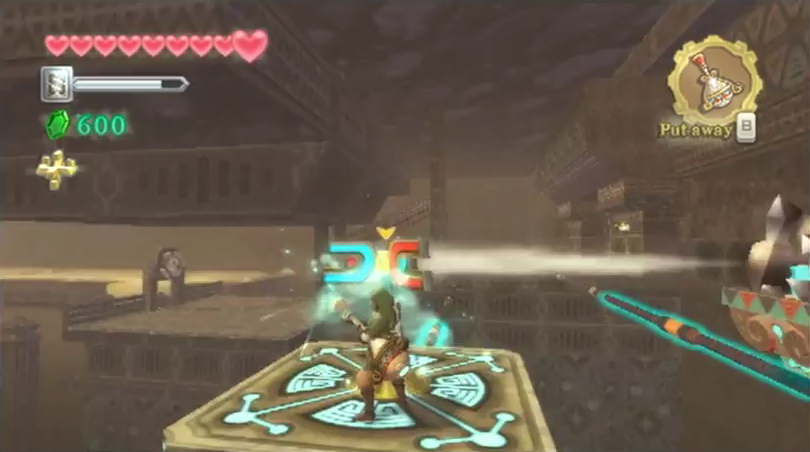
Jump on the nearby platform and you’ll see these magnet shaped devices atop of it. Use your gust bellows to blow dust, causing these magnet-like devices to spin, moving the platform along the rail. There is a locked door here, but if you look just above the lock, you’ll find a pinwheel of sorts. Use the gust bellows to blow this pinwheel, causing the door to open up.

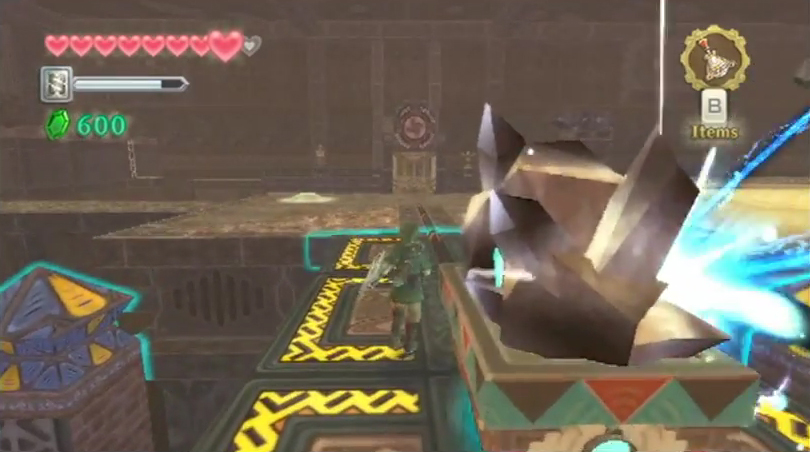
Defeat the beamos that is found here and then drop down the ladder in this area. You’ll meet a new enemy here known as a Sentrobe. It will shoot a few missiles towards you, but you can deflect them with a well-timed shield attack, sending them back towards it. The Sentrobe will then send out two Sentrobe Bombs. Based on the direction they open, you’ll have to make horizontal or vertical sword slashes in order to defeat them. Get rid of them and knock a second missile back at the Sentrobe to defeat it.
You will see a platform against the west wall, but you cannot jump towards it. Use the gust bellows to blow it, causing it to move along the rail. Move while you are blowing the platform to send it across the entire rail. When it is close enough, jump on over and latch on. Continue blowing the platform to get to the nearby treasure chest. Open it up to get a Monster Horn. Afterwards, jump back on that platform we were just moving and blow it to the west end of the room.
Jump on over and climb the ladder at the northwest corner of the room. Defeat the beamos and you’ll find another pinwheel in the corner. Use the gust bellows to spin it, causing the nearby door to open up. Go on through to reach the next room.
There are two more staldra in this room, so defeat them as soon as you enter. There is a higher platform at the north end of the room but we cannot reach it just yet. Use the gust bellows to clean off the steel box and then push it along the sand to the west. Climb on the box and you can then reach the higher platform.
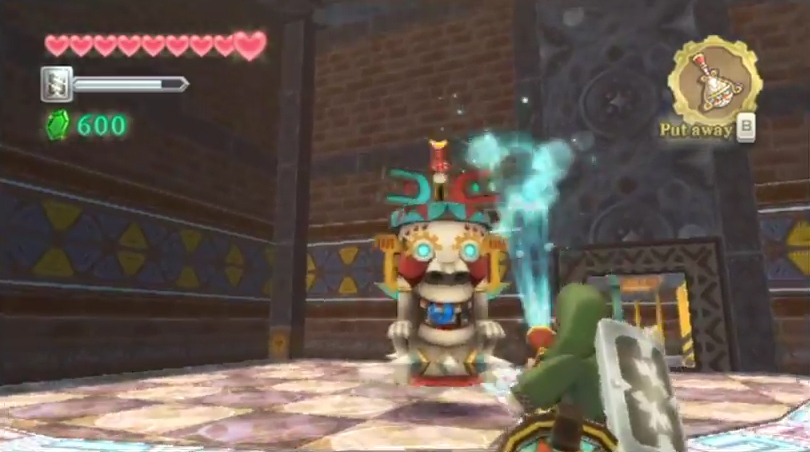
There is a gate that is blocking the route to the treasure chest. Use the gust bellows and you can clear off the dust from a timeshift stone right next to the chest. Use the slingshot to hit the stone, causing the area to change. The gate won’t open but a new enemy Armos will be activated. This enemy will jump towards you rather aggressively. The key to defeating it is to use your gust bellows to spin the top of the Armos. This will open its mouth, revealing a blue crystal point. Slash at this crystal to break it. The Armos will now start jumping further towards you. Repeat the same process of spinning its top and break a second crystal (using a thrust attack), defeating the Armos in the process.
Jump back up to the higher platform and open the treasure chest to get the Dungeon Map. Go through the door that opened to the east to get back to the massive middle room of the dungeon.
7.3 Ancient Circuit
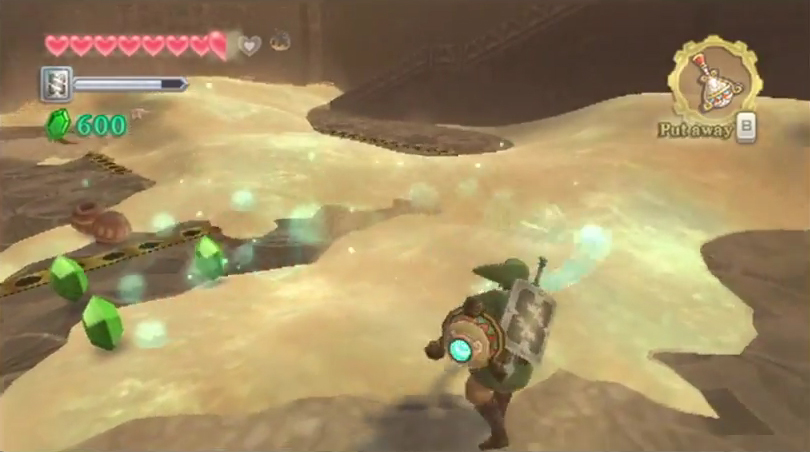
Back within the massive middle room of the dungeon, run eastward and step on the switch to open the nearby gate. This will make for easier transportation throughout the dungeon. You’ll see this seemingly endless road of sinksand that appears impassable. However, if you look at your map, you’ll find that there is a yellow path where you can stand on the sinksand. Do just that and make your way across. Defeat the electro spume in the process.
Clear the first spot of dust from the west wall and you’ll find a small hole that you can crawl through. Do so and it will eventually lead to a treasure chest that contains a random rare treasure. Backtrack through the hole to get back to the sinksand.
Continue along the hidden pathways across the sand and you’ll find a second area of dust against the west wall. Blow it and then crawl through this maze by heading left, right, straight, right, left, right, right, and left.

Drop off the ledge and you’ll find a bunch of dust on the ground, along with spikes. Pull out your gust bellows and do some spring cleaning, revealing the correct pathway that you can go along. It is a bit of a windy road, but once you clear the dust from the ground, the proper pathway is clearly revealed. You can pick up a red rupee from a treasure chest at the northwest corner of the room if you’d like. There is a floor switch just south of the ladder at the north end of the room. Step on it and it will unlock the door. Afterwards, climb up the ladder and head through the door, leading back to the main room of the dungeon.
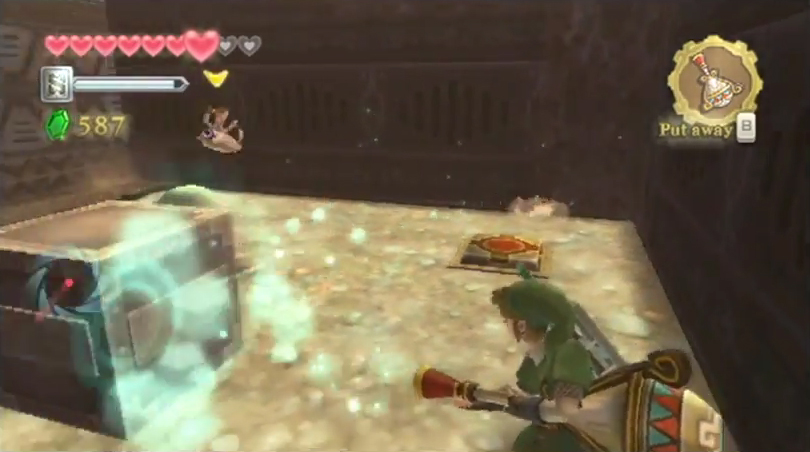
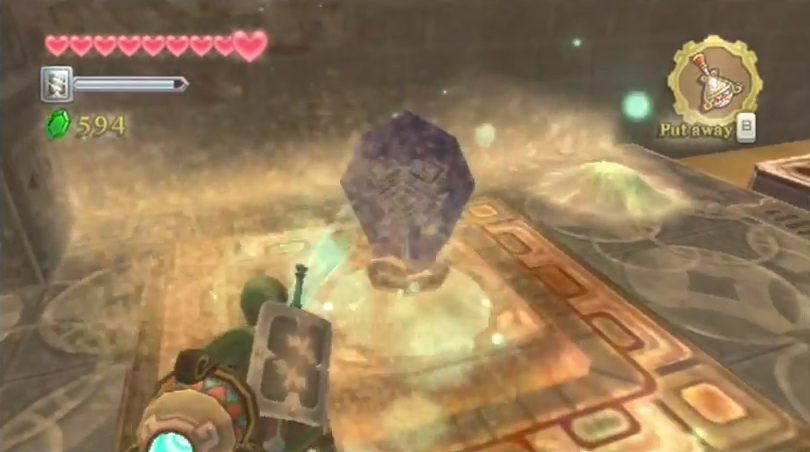
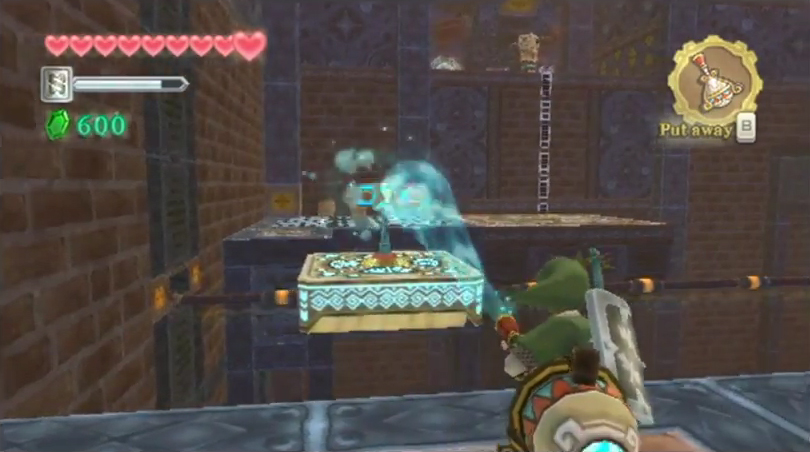
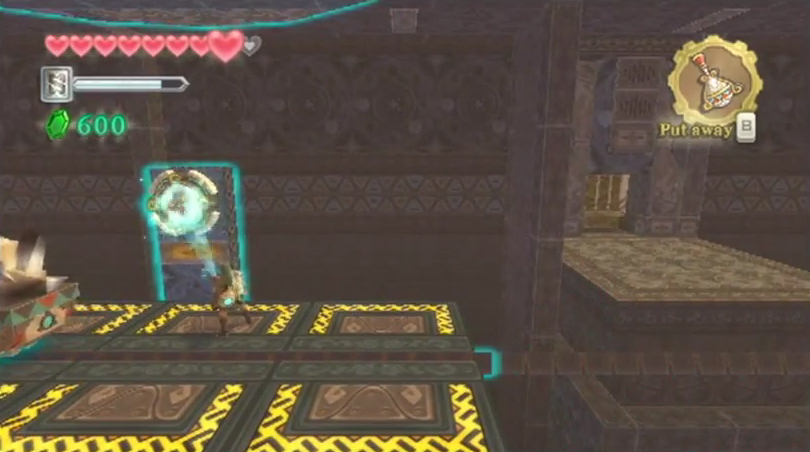
There is a mine cart here that is covered in dust. Use the gust bellows to reveal a timeshift stone on the mine cart. Activate the timeshift stone and follow it along the rail. A Sentrobe will be activated once the cart reaches the area. Defeat it and then use the gust bellows on the pinwheel to open up the gate, allowing the cart to continue along the rail.
Follow the cart and it will activate a few beamos along the way. For the beamos that are on the side, you can hide behind the cart, so that the laser does not harm you. A second beamos will spawn on the rail itself, so you’ll have to get rid of this one so that cart can pass. Pass two more beamos statues to reach a stable platform at the south end of the room. Spin the pinwheel with the gust bellows to open the gate, allowing for easy access to the early part of the dungeon.
From the cart you just escorted, turn left and run across to find another minecart to dust off using the gust bellows. Hit the timeshift stone that is found within this cart and then follow it along the rail. There is a beamos statue that will appear on the right, so jump off and defeat this statue. As you continue to follow along the rail, you’ll see a pinwheel on the right. Use the gust bellows to blow at it, lifting the gate to a nearby door.
Once you reach the edge of the rail, deactivate the timeshift stone and then reactivate it, causing it start going backwards. Once you reach the area where the gated door was, get off the rail and head east to the next room.
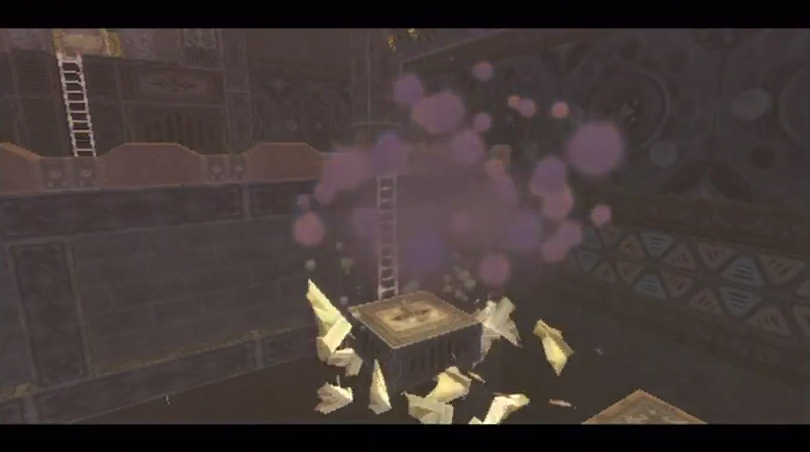
Run across the stationary conveyor belt, avoiding the wind gusts and the aracha along the way. Climb up the wall avoiding the bursts of wind that come in your direction. Climb up to the level platform. Defeat the thunder keese in this area and then turn to the right. Use your bombs and toss them at the two bomb statues here, causing them to fall down. Note, if you are low on bombs some of the nearby barrels will contain some extra bombs. Jump across and use the gust bellows on the pile of dust. Activate the timeshift stone to bring life to this area.
Jump back across the way you came in and defeat the beamos statue here. Run across the conveyor belts by running diagonally. Jump and grab onto the nearby lever to bring the movable platform in your direction.

Jump onto the platform and use the gust bellows to move across to the other side of the room. There are two more bomb statues here, so let’s knock them down. Behind them, you’ll reveal a clue to an upcoming puzzle. We’ll be using this in just a bit. Just in front of the bomb statues, you’ll see another one of those platforms with the magnets above it. Use the gust bellows and move it all the way to the right.
Jump back onto the previous platform you were just at and then over to the one you just moved. Use the gust bellows once again on the magnets, taking you all the way to the north end of the room. Move the steel block over a bit, unblocking the ladder you can use if you fall down.
Run on over to the northeast corner of the room and jump on the magnet-decorated platform here. Use the gust bellows to blow this platform along the rail. There are three bomb statues against the east wall, so use bombs to knock them down. There are diamond switches located right behind them, but don’t hit them just yet. After all three diamond switches are available, stare back across the room and you’ll see the order of 2, 3, 1 from left to right. When we turn around and face the diamond switches, that becomes 1, 3, 2 (left, right, middle). The one closest to the north end of the room is ‘1’, so hit the diamond switch at the north end of the room first. Then hit the southernmost switch, and finally the middle one. Doing so in the proper order will cause the gate at the north end of the room to open up. Ride on over and head through.
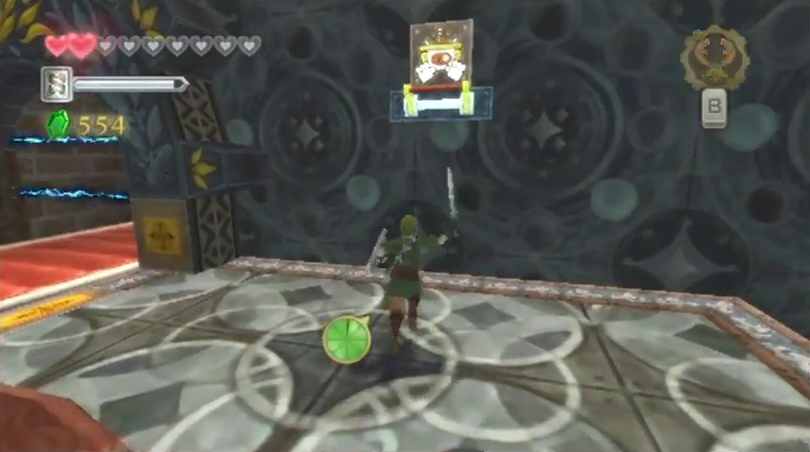
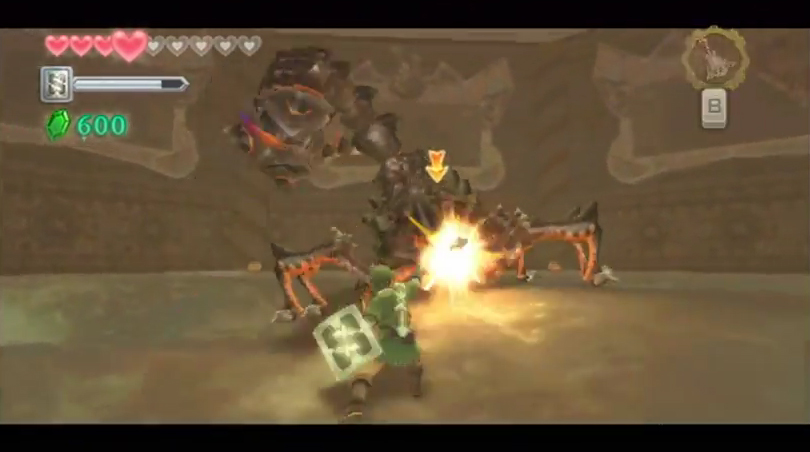
There are two more armos statues found here, so once again use your gust bellows to defeat them. Note, if you look at the ground, you will see a circular radius where each armos was located. These armos are restricted to these areas of the room, so it’s a good idea to fight just one at a time in their restricted areas, as oppose to the overlapping areas. Afterwards open the treasure chest to get the Ancient Circuit. This will also trigger the door in the previous room to open up.
Exit the room and turn to the left. Jump down to the level below and defeat the beamos statue that is found here. Run across the conveyor belt to reach the door that opened up. You have another obstacle this time around as there are wind gusts that could blow you off the conveyor belt. Simply stop running and just walk in place while the wind is in your way, and then run on over when the wind subsides. Go through the door to get back to the main room of the dungeon once again.
You can climb the ladder to your left and run back across this room where you will find a treasure chest containing a red rupee. Also, you’ll find a steel block here, which you can pull to unblock yet another shortcut ladder. Run back over to the northeast corner of the room.
There is a timeshift stone in the mine cart here, so activate it and it will start moving along the rail. Jump on over to the platform with the magnets above it and use the gust bellows to follow along with the mine cart.
Once you reach the boss door, run over to the northwest corner of the room and save your progress at the bird statue. You can also break the nearby barrels in order to get a few recovery hearts. Once you are ready for the boss battle, place the Ancient Circuit into the lock. The door will open and Link will automatically head on in to take on the dungeon boss, Moldarach.
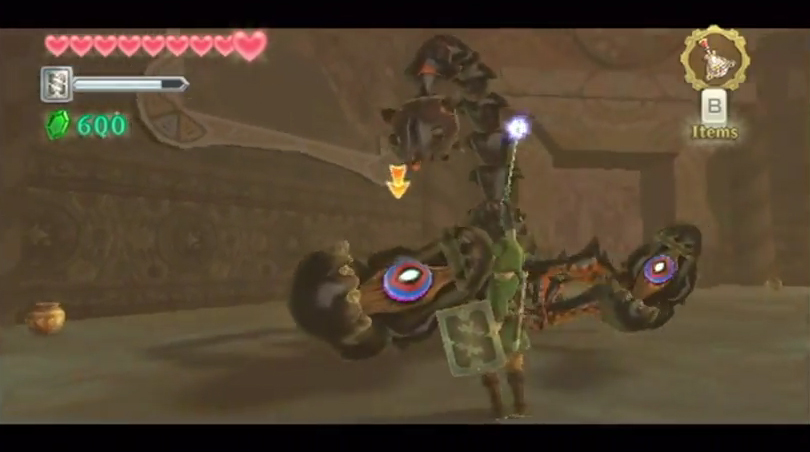
7.4 Thousand-Year Arachnid Moldarach
Once you arrive in the room, Link will walk around, but will feel the rumbling of something in the sand. Moments later, Moldarach will appear from underneath the sand and the battle will begin.
The first phase of the battle involves Link striking at the scorpions’ claws. There are small eyes within the claws and you will need to make direction sword slashes in order to hit them. Moldarach will change the direction he is holding his claws, so you’ll constantly need to adjust how you sword slash. When those small eyes turn red, this means Moldarach is about to attack, so you should take a step back. If Moldarach does grab you, just shake the Wiimote to escape.
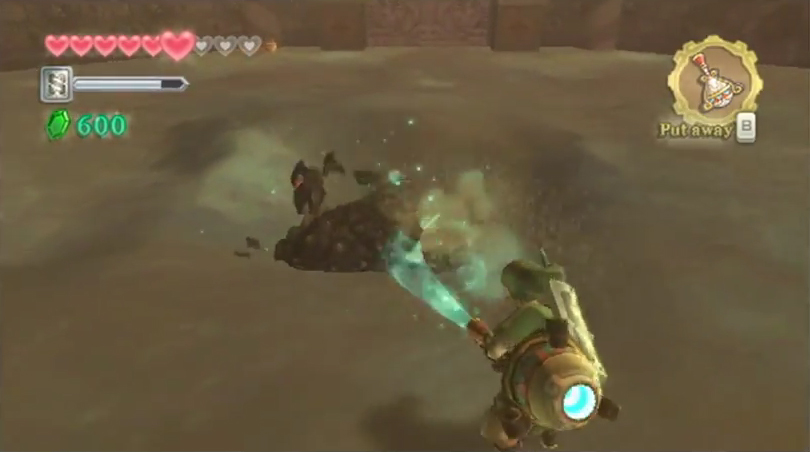
Continue hitting Moldarach’s two pincers until they fall off. At this point an eye will appear at the main part of Moldarach. Perform a thrust attack to hit it. Once he is harmed, Moldarach will burrow underneath the sand. At this point pull out the gust bellows and search for Moldarach with it. Constantly blow the dust below until you unveil enough of Moldarach and he comes back to the surface. Once he does so, hit him with a few more direct sword slashes and he will be defeated.
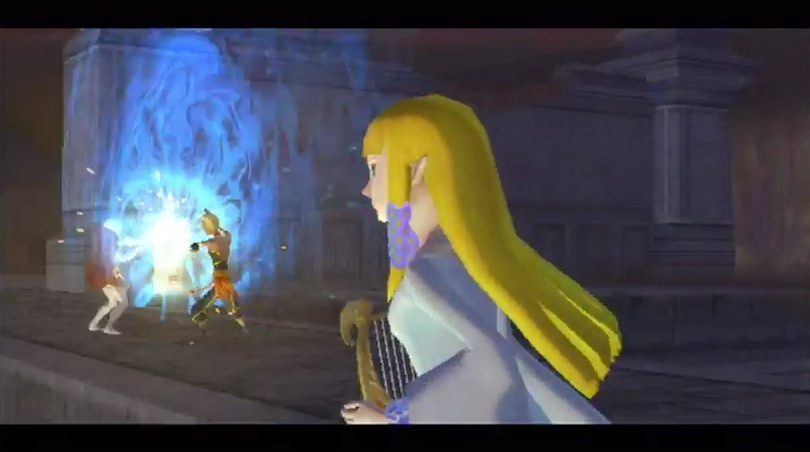
After Moldarach has been defeated, the room will be drained of sand. Run on over and collect the Heart Container. Exit through the door and you’ll find a mine cart here. Turn to the left and use the beetle to hit the timeshift stone that is located near the ceiling. Jump on the mine cart and ride it across the room. Climb up the stairs at the end of the hall to trigger a cut-scene.
In the midst of the cut-scene, Zelda will give you the Goddess’s Harp. Before Zelda and the woman in black leave through the Gate of Time, the woman in black instructs you to go to the old woman in the Sealed Grounds. We’ll take that mission on in the next chapter!
- Chapter 1 – Skyloft
- Chapter 2 – Faron Woods
- Chapter 3 – Skyview Temple
- Chapter 4 – Eldin Volcano
- Chapter 5 – Earth Temple
- Chapter 6 – Lanayru Desert
- Chapter 7 – Lanayru Mining Facility
- Chapter 8 – Isle of Songs
- Chapter 9 – Lake Floria
- Chapter 10 – Ancient Cistern
- Chapter 11 – Lanayru Sand Sea
- Chapter 12 – Sandship
- Chapter 13 – Volcano Summit
- Chapter 14 – Fire Sanctuary
- Chapter 15 – Thunderhead
- Chapter 16 – Song of the Hero
- Chapter 17 – Sky Keep
- Chapter 18 – Final Showdown
