- Chapter 1 – Skyloft
- Chapter 2 – Faron Woods
- Chapter 3 – Skyview Temple
- Chapter 4 – Eldin Volcano
- Chapter 5 – Earth Temple
- Chapter 6 – Lanayru Desert
- Chapter 7 – Lanayru Mining Facility
- Chapter 8 – Isle of Songs
- Chapter 9 – Lake Floria
- Chapter 10 – Ancient Cistern
- Chapter 11 – Lanayru Sand Sea
- Chapter 12 – Sandship
- Chapter 13 – Volcano Summit
- Chapter 14 – Fire Sanctuary
- Chapter 15 – Thunderhead
- Chapter 16 – Song of the Hero
- Chapter 17 – Sky Keep
- Chapter 18 – Final Showdown
1.1 Knight Academy
| This is a tale that you humans have passed
down through uncounted generations…It tells of a war of unmatched scale and ferocity,
the likes of which would never be seen again. One dark, fateful day, the earth cracked wide and malevolent forces rushed forth from the fissure. They mounted a brutal assault upon the surface people, driving the land into deep despair… They burnt forests to ash, choked the land’s sweet springs, and murdered without hesitation. They did all this in their lust to take the ultimate power protected by Her Grace, the goddess. |
The power she guarded was without equal. Handed down by the gods of old, this power gave its
holder the means to make any desire a reality.
Such was the might of the ultimate power that the old ones placed it in the care of the goddess. To prevent this great power from falling into the hands of the evil swarming the lands… the goddess gathered the surviving humans on an outcropping of earth. She sent it skyward, beyond the reach of the demonic hordes. Beyond even the clouds. |
With the humans safe, the goddess joined forces with the
land dwellers and fought the evil forces, sealing them away. At last, peace was restored to the surface.
This is a tale that you humans have told for many ages, generation to generation… But there are other legends, long hidden away from memory, that are intertwined with this tale. Now, a new legend bound to this great story stands ready to be revealed. A legend that will be forged by your own hand. |
As soon as you gain control of Link, head on over and open the cabinet dresser to find a blue rupee. If you open up your map, you’ll find you are located in the Knight Academy. At the south end of the Academy you can meet up with one of the Instructors, Instructor Owlan, and he gives you some basic information on the controls. You can also find out some information about the Wing Ceremony by speaking to Pipit at the south end of the hall.
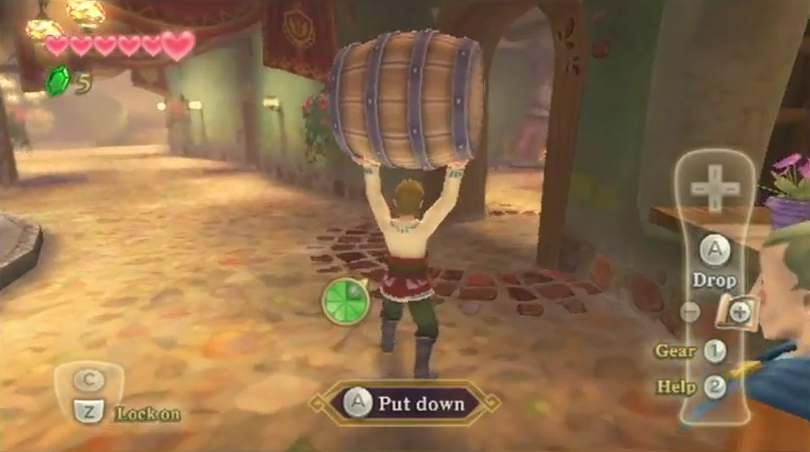
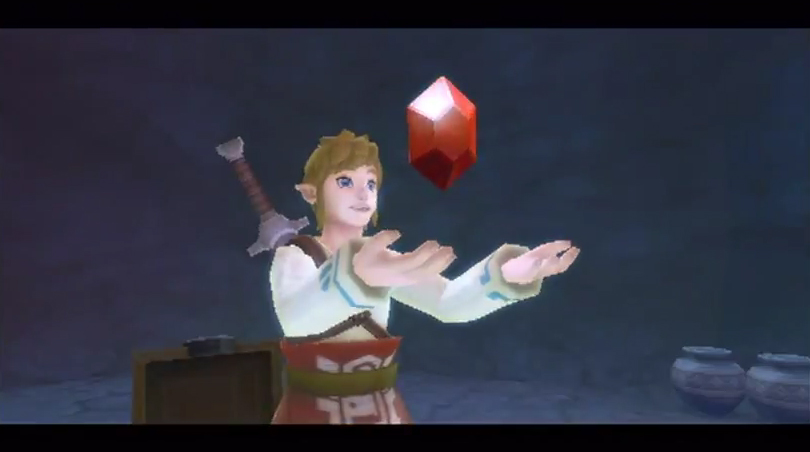
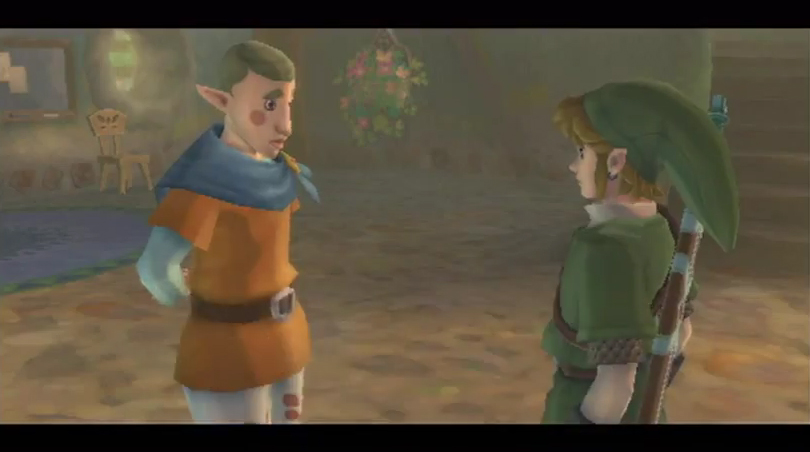
Our first short quest takes place at the north end of the hall. You’ll meet a tall cowardly character by the name of Fledge and he’s trying to lift up a barrel. He agreed to take a barrel to the elderly woman who is cooking in the cafeteria but he is having trouble doing so. Lift up the nearby barrel and slowly carry it over to the woman. Afterwards speak with Fledge once again and he’ll reward you with a red rupee.
Pipit prevents you from heading upstairs and most of the rooms are locked, so there isn’t too much you can do at this point. You could explore the Restroom if you’d like, but your next destination is the double doors near the center of the floor. Go through the doors to head outside.
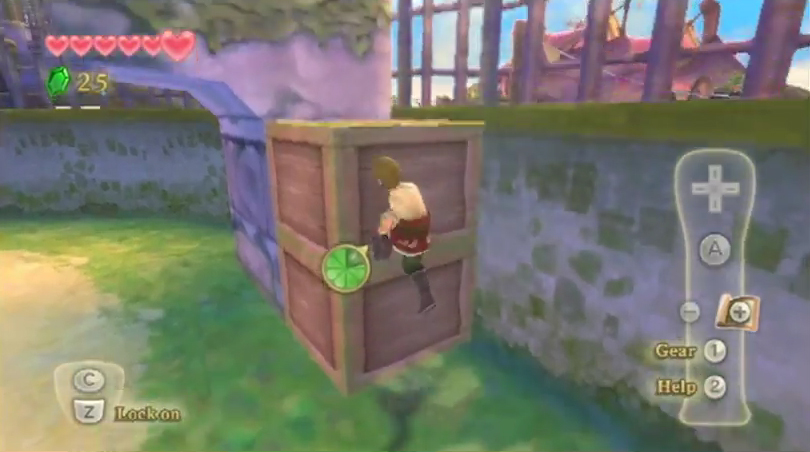
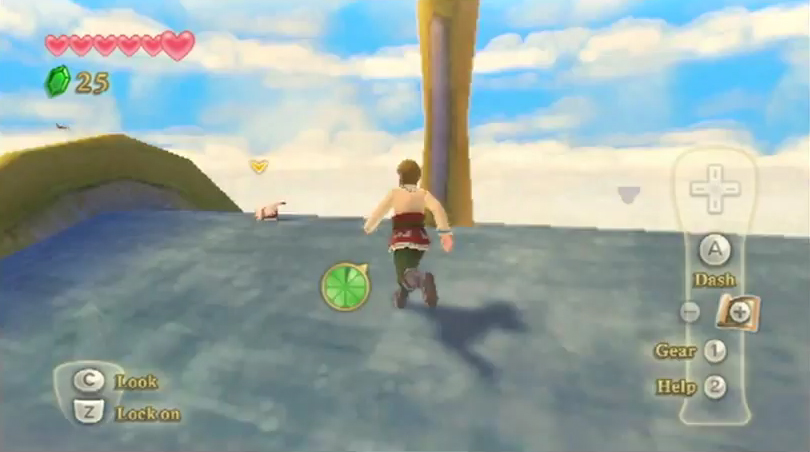
Walk straight ahead and you’ll find a Bird Statue. These statues are found all throughout the game and they allow you to save your progress. Walk around the area and you’ll be summoned by Instructor Horwell. He teaches you how to Z-target, but then requests that you come and talk to him. He tells you how to properly dash to climb up on to larger objects. After he’s done chatting, use A to dash and climb on the wooden box. Climb up once again and then jump over the gap to reach Instructor Horwell.
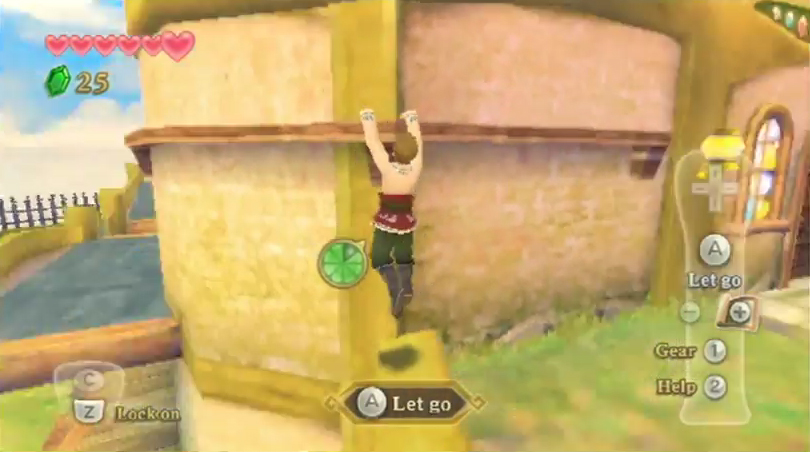
Horwell will ask you to retrieve Headmaster Gaepora’s cat, Mia. Run over to the nearby building and jump up to grab onto the ledge. Carefully move to the left to get around to the other side of the building. From here, run and dash jump over the gap. You’ll find some vines in this area, so climb up to get on top of the building. Horwell will talk to you once again, giving you some advice on pushing blocks. Push the wooden box against the building and then jump on top of it to reach the roof. Walk over and pick up Gaepora’s cat Mia. Now jump off the roof and return Mia to Horwell. Horwell mentions that Gaepora should be up by the Statue of the Goddess, so let’s head on over.
As you make your way over, you’ll come across green Stamina Fruit on the ground. These are found throughout the land and it will immediately fill up Link’s stamina gauge whenever he picks one up. You’ll also meet up with a new character by the name of Jakamar and he teaches you how to save your game. Afterwards, climb the large set of stairs to trigger a lengthy cut-scene.
During the lengthy cut-scene, Zelda will push Link off the edge of Skyloft, thinking Link’s Crimson Loftwing will come to the rescue. After a series of events, Zelda’s Loftwing comes to the rescue instead and we learn that something strange must have happened to Link’s Crimson Loftwing.
1.2 Sparring Hall
After regaining control of Link, run on over to where you met Jakamar. You can talk to him once again and he mentions that he saw Groose’s Bird chasing after your Loftwing. Afterwards, run over and speak with Instructor Horwell and give him the news about your Loftwing. You can also speak with Karane, who is standing just outside the Knight Academy. She is one of the female knight students at the Knight Academy and she mentions that Pipit might know something about your Loftwing. Enter the nearby double doors to get into the second floor of the Knight Academy.
Head downstairs and you can speak with Pipit, but he doesn’t know too much. You could also talk to Fledge here but it’s clear that he is hiding something from you. His cowardliness surely does show. Exit the Knight Academy through the double doors.
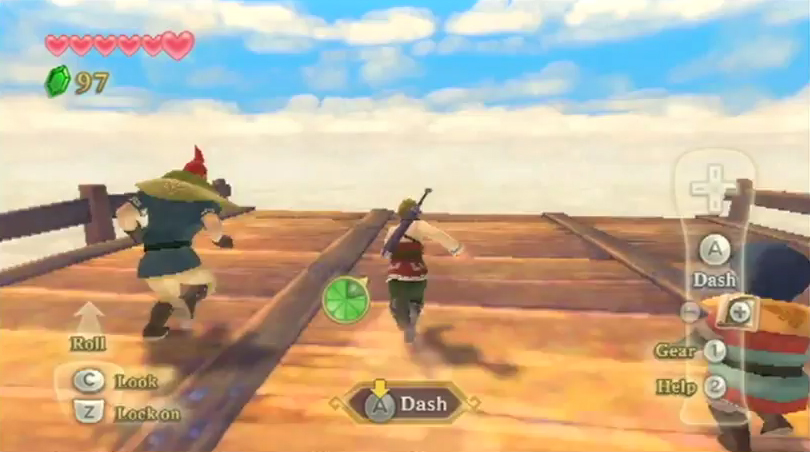
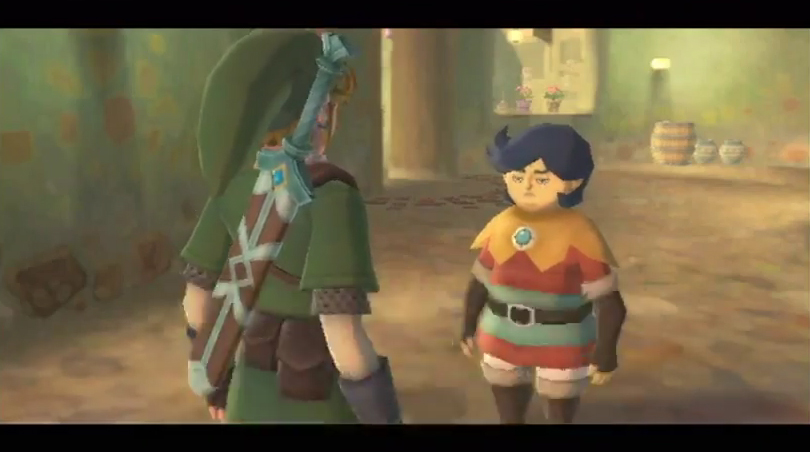
Turn to the right and you’ll find that the gate located here is now open. Run down the steps and speak with the young boy named Gully. He teaches you how to roll into a tree and wants your help. Simply dash by pressing A and then roll by shaking the nunchuck. Successfully roll into the tree and a Sky Stag Beetle will come flying out from the tree, causing Gully to chase after it. Collect the blue rupee that falls and then continue progressing down the pathway. At this point you could run around Skyloft, speaking with many of the residents, but our next objective is to head over to the Light Tower at the south part of the map.

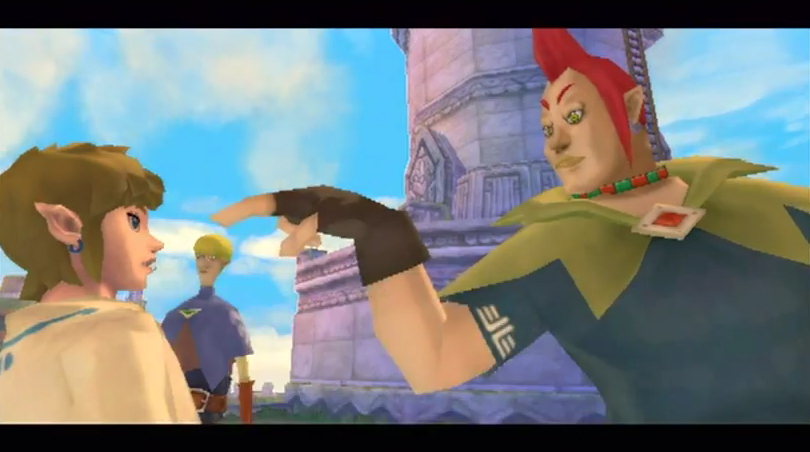
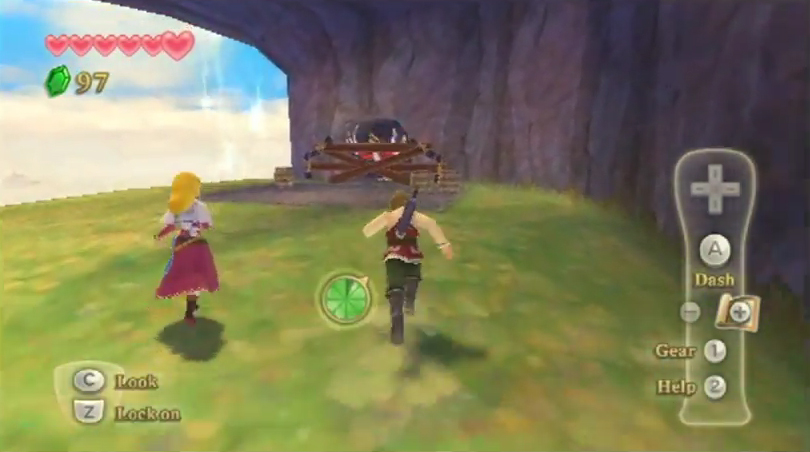
Run over to the Light Tower and you’ll find Groose, Cawlin, and Strich. This will trigger a cut-scene where we find some more information about what happened to Link’s Crimson Loftwing. Zelda agrees to fly around the island in hopes of spotting Link’s bird.
Now that we have a quest objective, let’s find an item that we can battle with! Our next destination is over at the Sparring Hall, located at the northwest part of Skyloft, just north of the Knight Academy. Once you arrive you’ll find Pipit and Fledge chit-chatting. Speak with Pipit and we learn that Fledge heard what Groose had planned for Link’s Bird, but Groose threatened Fledge if he said anything about it. Groose planned to hide Link’s bird near the Waterfall at the northeast part of Skyloft. The location will be marked with an X on your map. After the chat, enter the Sparring Hall.

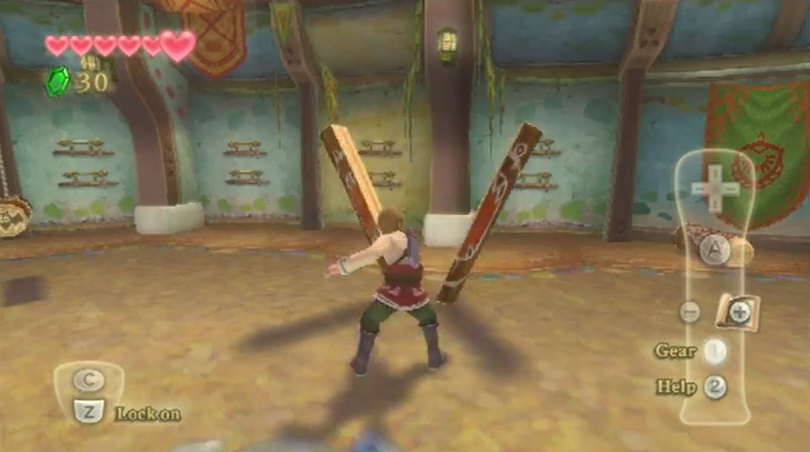
Run over and speak with Eagus, the Knight Commander. He tells you that if you want to practice, you need to run on over and get the Practice Sword. Head through the door and open the treasure chest around the corner to get the Practice Sword! Return to the previous room and speak with Eagus, who will instruct you on some basic sword techniques. There are five logs within the room, each with a distinct cut. Z-target each log and perform a sword slash in the same direction as the cut. After cutting all five of them, Eagus will teach you how to perform the spin attack and the fatal blow. Follow his instructions on both and then afterwards, try to leave the Hall. After explaining your present situation, Eagus will allow you to leave with the Practice Sword.
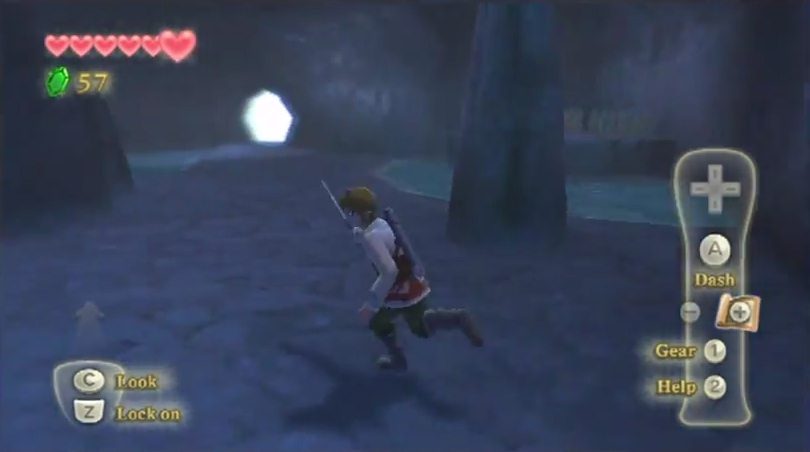
Once outside, run along the pathway and a Sheikah Stone will pop up from underground. You can always return to this stone when you get stuck to get an idea of what to do next. It also has helpful videos. Other stones in the world also give hints, but not videos, and require you to summon them with an item we don’t have yet. They are a bit inconvenient as there aren’t many of these throughout the land.
Our next destination is over at the Waterfall. Pipit marked the spot on your map, so just pull up your map and run on over to the X. You could interact with some of the other townsfolk if you’d like, but we’ll get to that a bit later. Once you arrive at the waterfall, jump across the rocks and make your way to the back of the waterfall. Run over and Link will have a vision of his loftwing. Use the sword to cut down the logs and enter the Waterfall Cave.
1.3 Waterfall Cave
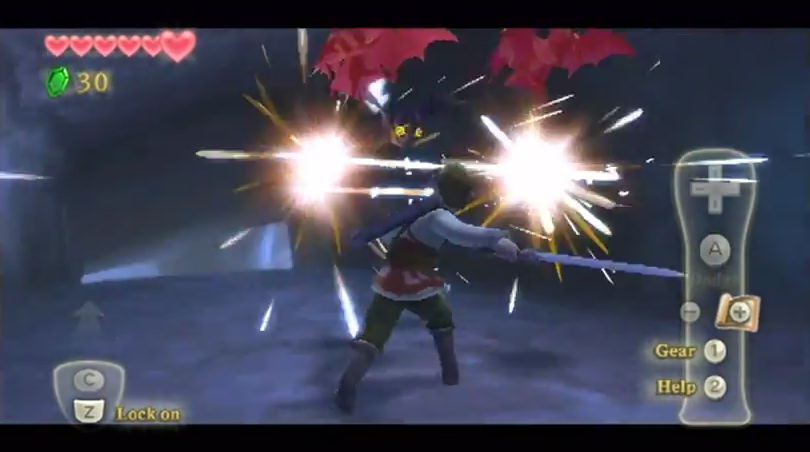
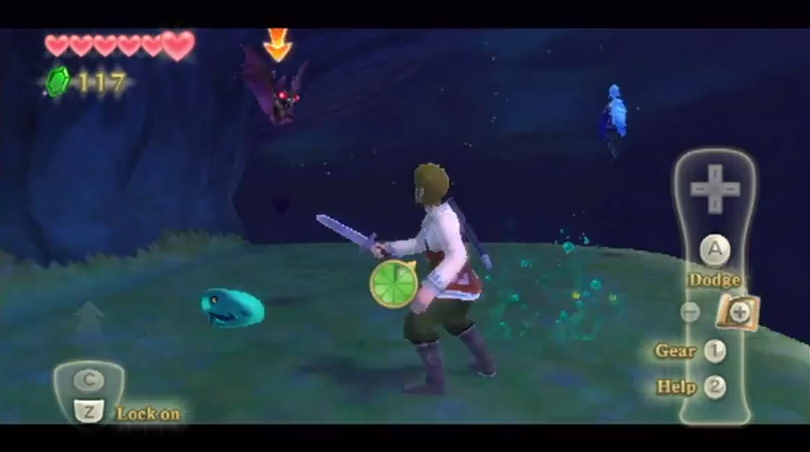
You’ll encounter your first enemies almost immediately upon entering the cave and they are in the form of Keese. These bat-like enemies will fly towards you when you draw near. They take two hits with the Practice Sword to defeat.
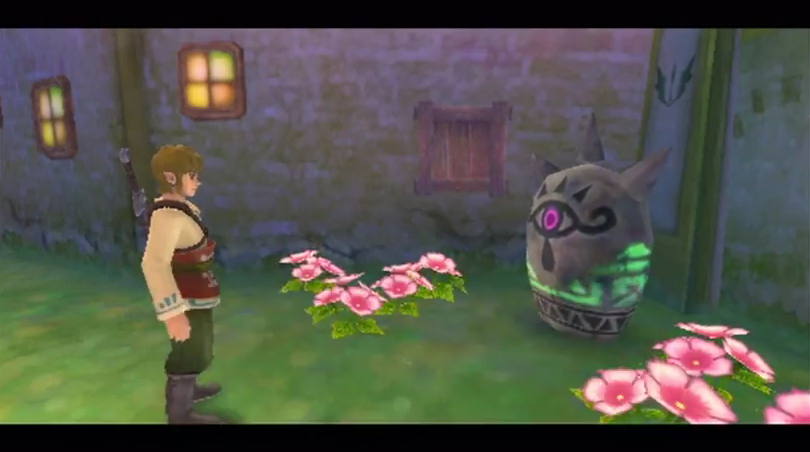
Continue forward and you’ll encounter a Green ChuChu. These jelly like creatures will try to latch onto your leg, making you slow to move. There are larger chuchu that you’ll encounter later in your quest that will split into smaller pieces when harmed. However, these initial chuchu will be defeated with a single sword slash.
Just to the right of where you fought the chuchu, you’ll see a break in the fencing. Jump across the ledge to reach the other side and open the treasure chest to get a red rupee.
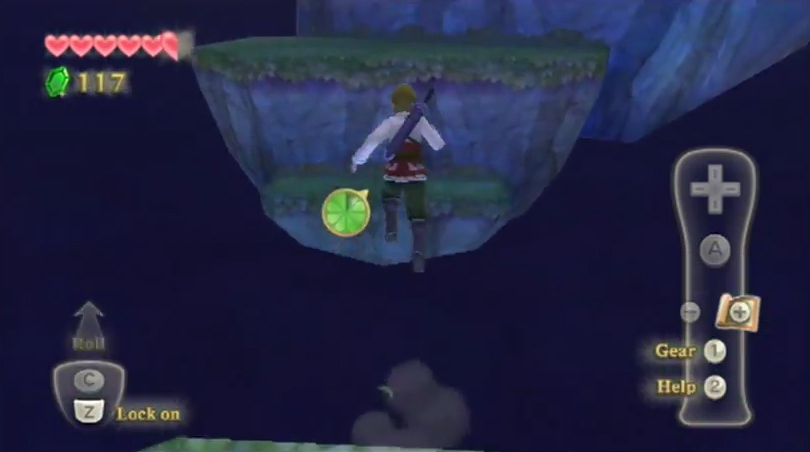
Drop down and turn left and you’ll see a nearby steep incline in the ground. You’ll have to dash up the incline to reach the higher area. Round the corner and on the left side you’ll see some vines hanging from the wall. Climb up the vines and open another treasure chest to get a red rupee.
Drop down and continue progressing through the cave. You’ll reach a higher wall that you’ll need to run and dash jump up to reach. Defeat the enemies and turn to the right to find some weeds that you can chop down. There is a small hole in the wall where Link can crawl through to get two red rupees! There is nothing left to do in this cave so find the exit to get back outside.
You can save at the nearby bird statue and then start to head down the ramp. Zelda will quickly catch up with you. Continue down the ramp and Link will find his Crimson Loftwing. There are four ropes that are holding the wooden planks together. Use directional sword slashes to break all four of them and free the bird.
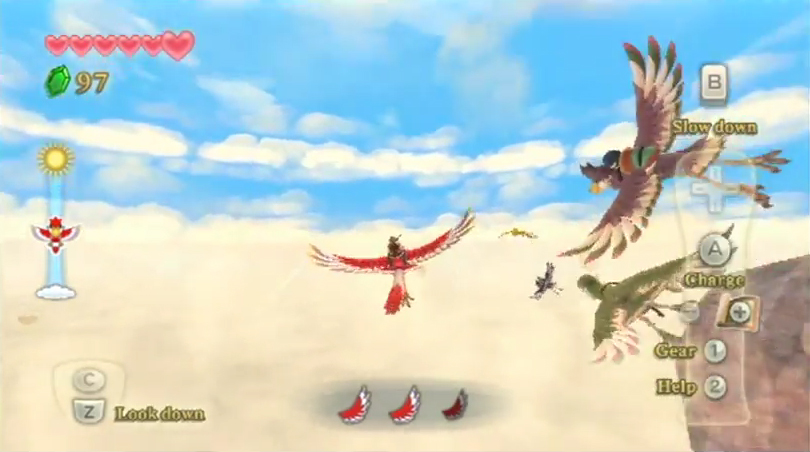
After a short cut-scene, Link will dive off the ledge. Press down on the d-pad to summon your loftwing. You’ll go through a quick tutorial on the various flying mechanics. Tilt the Wiimote left and right to fly your bird in those directions. Flap the Wiimote (like you’re flapping wings) to get your bird to fly up in altitude. While you are at a higher altitude, tilt the Wiimote down to pick up speed. You can press A to get a burst of speed, but you only have three feathers at a time (representing your burst move), so space out your bursts and allow them to regenerate. At any point, you can press ‘B’ to slow down. Go through the process and you’ll next be triggered to save the game.
1.4 Wing Ceremony
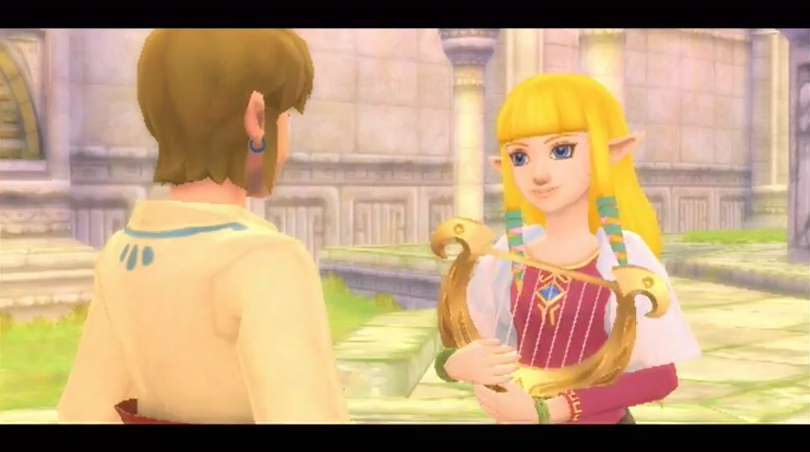
A cut-scene is triggered with Zelda and then later with Groose and his two friends, Cawlin and Stritch. We find that the reward for the Wing Ceremony is Zelda’s Sailcloth. After some more discussion we’ll be ready to finally start the Wing Ceremony.
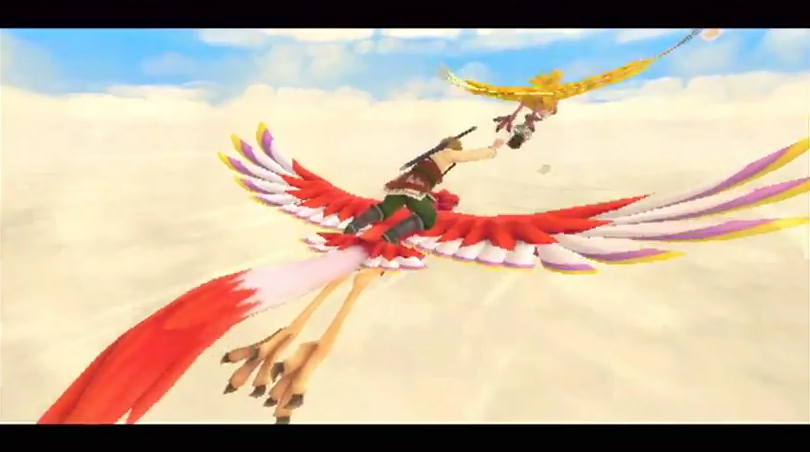
A small statuette has been attached to the yellow loftwing and it will be flying about in The Sky. In order to successfully win the Wing Ceremony, you’ll have to fly with your Loftwing, catch up to the yellow Loftwing, and snatch the Bird Statuette.
All four of you will start the ceremony at the same time, so quickly jump off the ledge and call your Loftwing. The first thing worth noting is that it does no good to just directly trail behind the yellow Loftwing. Once the ceremony starts, flap the Wiimote to get to a higher altitude, looking down on the yellow Loftwing. Stay at a higher altitude whenever possible and point the Wiimote downward to pick up speed. Also, a good strategy is to try to think ahead and keep a close eye on the Loftwing. It will start leaning in the direction when it turns. Once you see it turn, quickly capitalize on that and come in to snatch the statuette.
When you are finally close enough the ‘A’ button will flash on the screen for you to grab the statuette. Just before you are able to do so, Groose will fly over and hit you with his bird, slowing you down. At this point forward, eggs will constantly be thrown at you, so try to dodge them whenever possible. You’ll have to repeat the same process once again.
There really aren’t any other strategies and this could be frustrating early on, since you might just be getting use to the flight controls. Just stick with it, fly up to the yellow Loftwing, and snatch statuette.
After a cutscene at the top of the Statue of the Goddess, Zelda will present you with the Sailcloth. This will allow you to jump from very high areas and make a smooth landing with the sailcloth. Jump off the platform and try not to move the Wiimote too much. You need to land right near the center circle, so whenever you are close enough to the ground, press ‘B’ to pull out the sailcloth for a smooth landing.
1.5 Goddess Sword
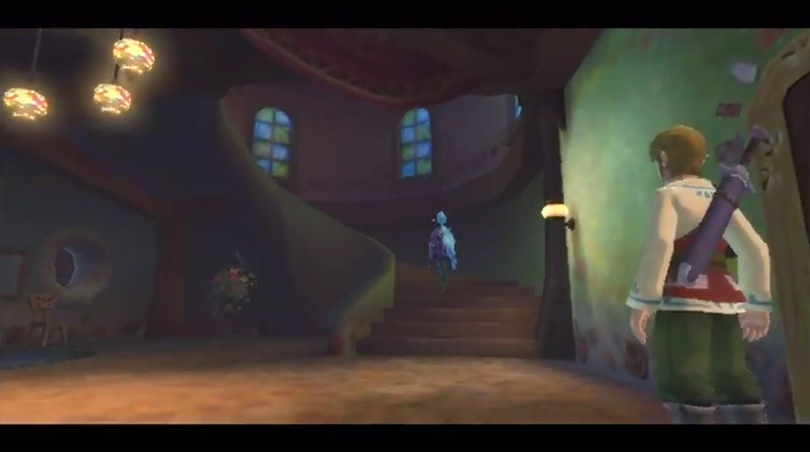
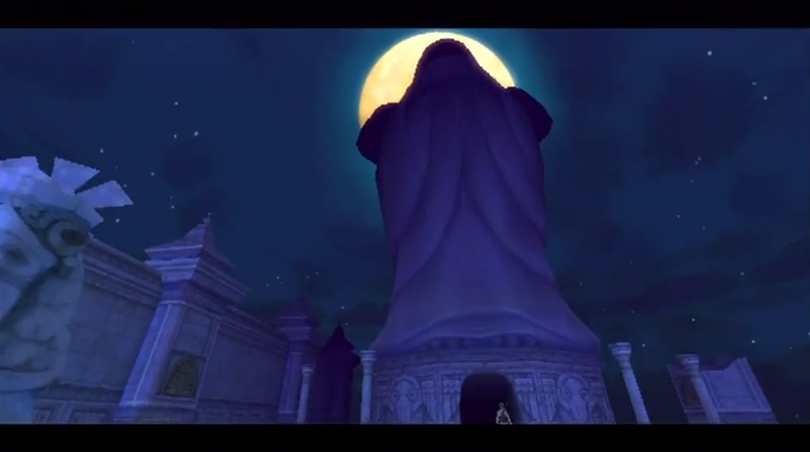
Once you gain control of Link back in Link’s room, leave the room through the door and you’ll see that strange looking character floating near the steps. Follow her up the second floor and then outside. Continue chasing after the floating character and she’ll lead you back up to the Goddess Statue.
The entrance is closed off, so you’ll have to take a detour. Follow the character along the side pathway. You will come across a cat that turns into an enemy Remlit now that it is night time. Deliver a couple sword slashes to the cat and it will scamper off.
Continue following the floating character and you’ll reach the end of the ledge. Don’t drop down, instead, just look at the wall on the left. Climb up and Link can grab onto the ledge. Hold onto this ledge and make your way around the corner.
Continue following the character and you’ll battle with a couple Keese. You’ll also encounter a steep incline, in which Link will need to dash up. Defeat the Chuchu here, but unlike the previous Green Chuchu, this one is a bit larger and will split into two smaller ones. Once they split, defeat the smaller ones as soon as possible since they will combine back to a larger Chuchu if left alone.
Jump across the ledge and then jump over to the vines. Climb up the vines and make your way around the statue. You’ll automatically be taken to the front of the statue, where the character will open up the doorway. Follow her inside the statue.
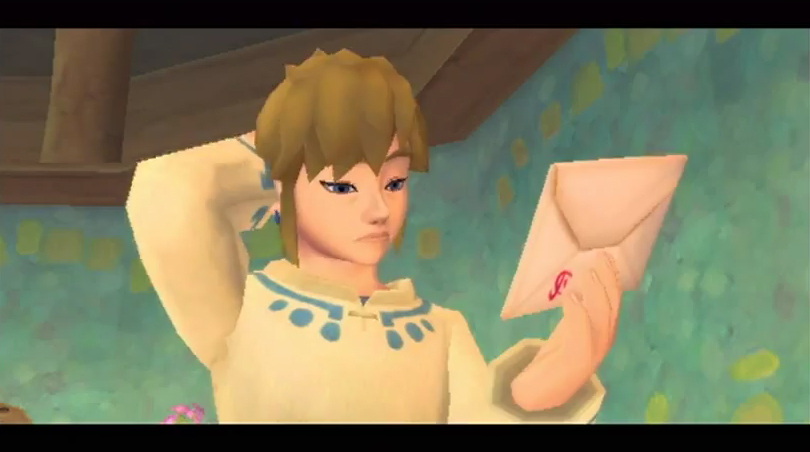
There is an extended cutscene where we learn that this characters name is Fi and a lot of goodies about who she is. After the cut-scene is concluded, run on over and grab the Goddess Sword from the pedestal. You’ll have to lift it up, using the on-screen commands.
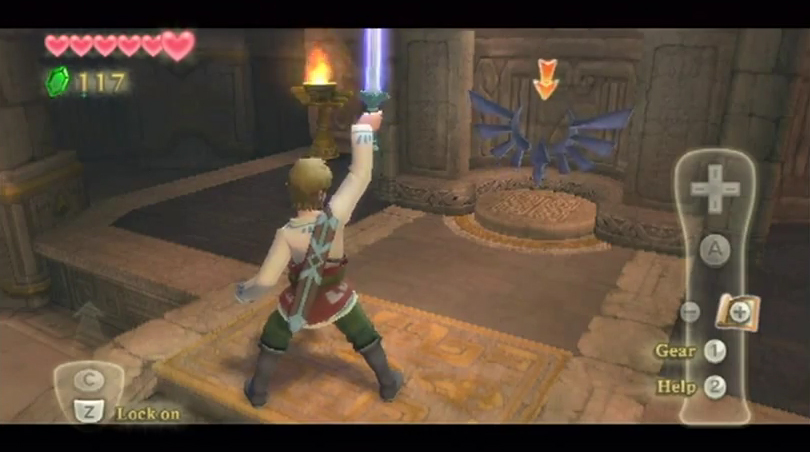
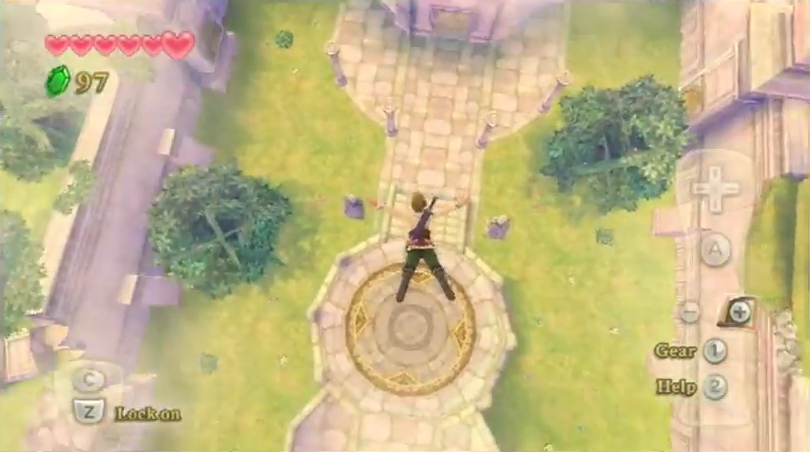
Gaepora will join you and the lengthy cut-scene will continue. Eventually, Fi will give Link the Emerald Tablet and will also teach you the Skyward Strike. Simply point your Wiimote straight up, let it charge, and then swing your sword to release a beam attack. Stand on the altar and deliver a Skyward Strike to the Goddess Crest (it helps to z-target it) to lift a statue from the ground. Examine it and Link will place the Emerald Tablet into the statue. This will send out a beam from the Goddess Statue to an area in the Sky, creating a green light. It is through this green light that you can reach the land below.
Back at the Knight Academy, Gaepora will give Link the green uniform. After some discussion, exit the room and you’ll speak with Fledge on the outside. Fledge will give Link the Adventure Pouch, which allows Link to store all his items and gear inside. It presently allows you to hold up to four things in it, but you’ll eventually be able to upgrade this.

You now have free access to much of the Knight Academy at this point, so you can check out many of the rooms if you’d like. Afterwards, leave through the double doors on the first floor to get outside. Speak with Instructor Owlan and he will give you the Wooden Shield. The Wooden Shield is the weakest of all the shields in the game and it also is vulnerable to fire. Fortunately, we can upgrade the wooden shield at the Bazaar later in the game, as well as purchase new shields throughout the quest.
If you’d like some training with the wooden shield, you can head on over to Eagus at the Sparring Hall and he’ll teach you some basics. Afterwards, run back to the Knight Academy and head south. Fi will pop up and tell you that you should probably get a shield and some potions. Since we already have a shield, potions should be the next thing on the list. Thus, our next destination is the Bazaar. Fi also tells of the on-screen interface that you can now change, removing any clutter that builds up on the screen. It’s nice if you want to basically have an empty interface.
Run down the steps and then climb the steps just to the left. Make your way to the massive tent-like structure at the center of the island known as the Bazaar. There is so much that we can at this point, so it’s a good idea to get acquainted with all the folks here if you’d like.
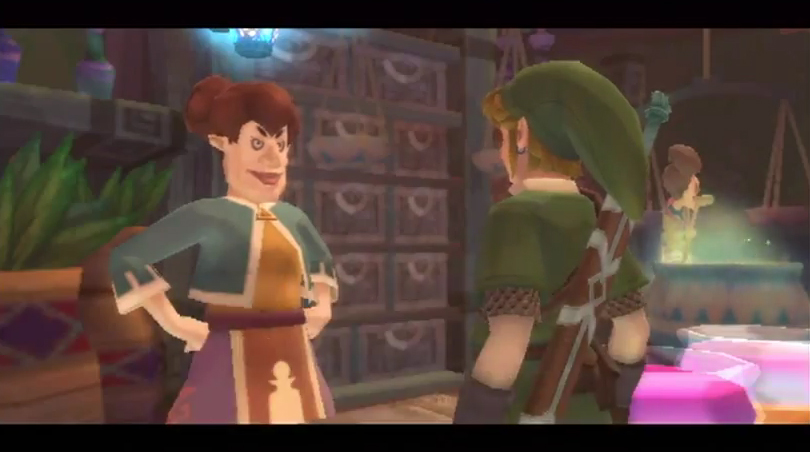
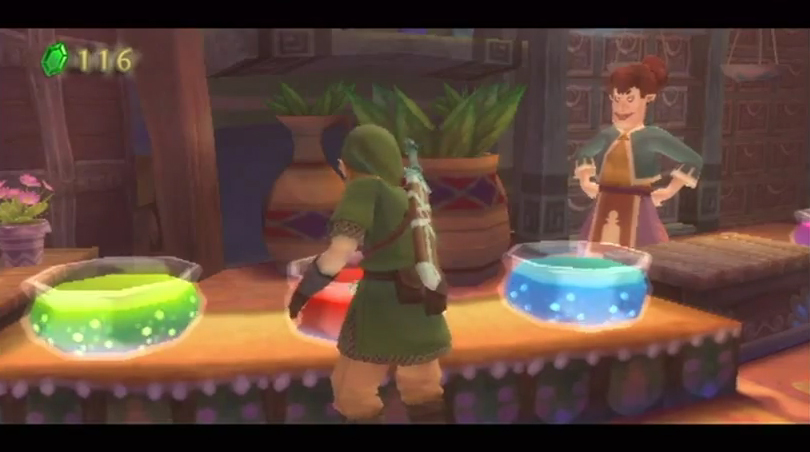
The one person you definitely want to chat with is the Potion Shop owner Luv, who is located at the back-left part of the Bazaar from this entrance. Speak to her and after some potion talk, she’ll reward you with an Empty Bottle! It’s probably a good idea to pick up some red Heart Potion at this point. This can be used to restore your life meter when your health runs low. After messing around a bit with the Bazaar folks, exit the tent.
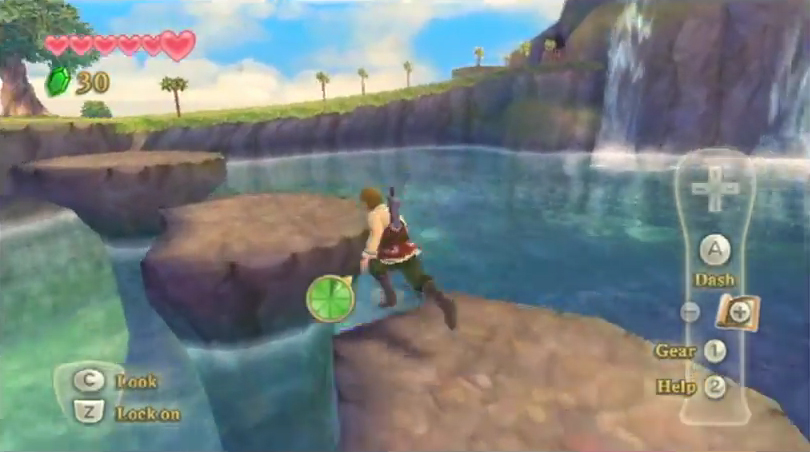
Now that we are geared up and ready ago, it’s time to make our descent to the land below. Walk over to any of the wooden platforms that surround the island of Skyloft and jump off one of them. Immediately when you jump off, summon your Loftwing and you’ll be flying in the Sky.

Our next destination is that glowing green beam that is coming up from the ground. Fly on over with your Loftwing and your best bet is to directly fly into it. While you can jump off your Loftwing and use the sailcloth if you’d like, it’s much easier to just fly right into the hole and it will take care of the rest.
That concludes Chapter 1 in Skyloft. Once you are ready to go, join me in Chapter 2 when we enter the Faron Woods.
- Chapter 1 – Skyloft
- Chapter 2 – Faron Woods
- Chapter 3 – Skyview Temple
- Chapter 4 – Eldin Volcano
- Chapter 5 – Earth Temple
- Chapter 6 – Lanayru Desert
- Chapter 7 – Lanayru Mining Facility
- Chapter 8 – Isle of Songs
- Chapter 9 – Lake Floria
- Chapter 10 – Ancient Cistern
- Chapter 11 – Lanayru Sand Sea
- Chapter 12 – Sandship
- Chapter 13 – Volcano Summit
- Chapter 14 – Fire Sanctuary
- Chapter 15 – Thunderhead
- Chapter 16 – Song of the Hero
- Chapter 17 – Sky Keep
- Chapter 18 – Final Showdown
