- Chapter 1 – Skyloft
- Chapter 2 – Faron Woods
- Chapter 3 – Skyview Temple
- Chapter 4 – Eldin Volcano
- Chapter 5 – Earth Temple
- Chapter 6 – Lanayru Desert
- Chapter 7 – Lanayru Mining Facility
- Chapter 8 – Isle of Songs
- Chapter 9 – Lake Floria
- Chapter 10 – Ancient Cistern
- Chapter 11 – Lanayru Sand Sea
- Chapter 12 – Sandship
- Chapter 13 – Volcano Summit
- Chapter 14 – Fire Sanctuary
- Chapter 15 – Thunderhead
- Chapter 16 – Song of the Hero
- Chapter 17 – Sky Keep
- Chapter 18 – Final Showdown
14.1 Mogma Mitts
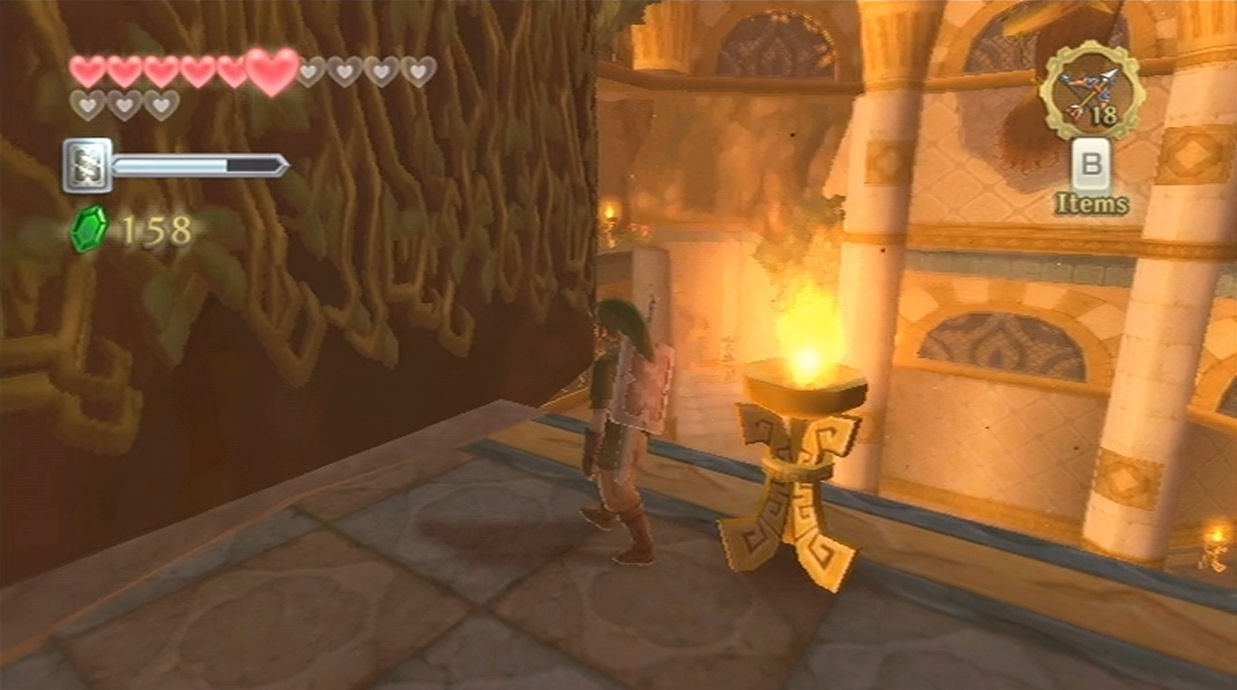
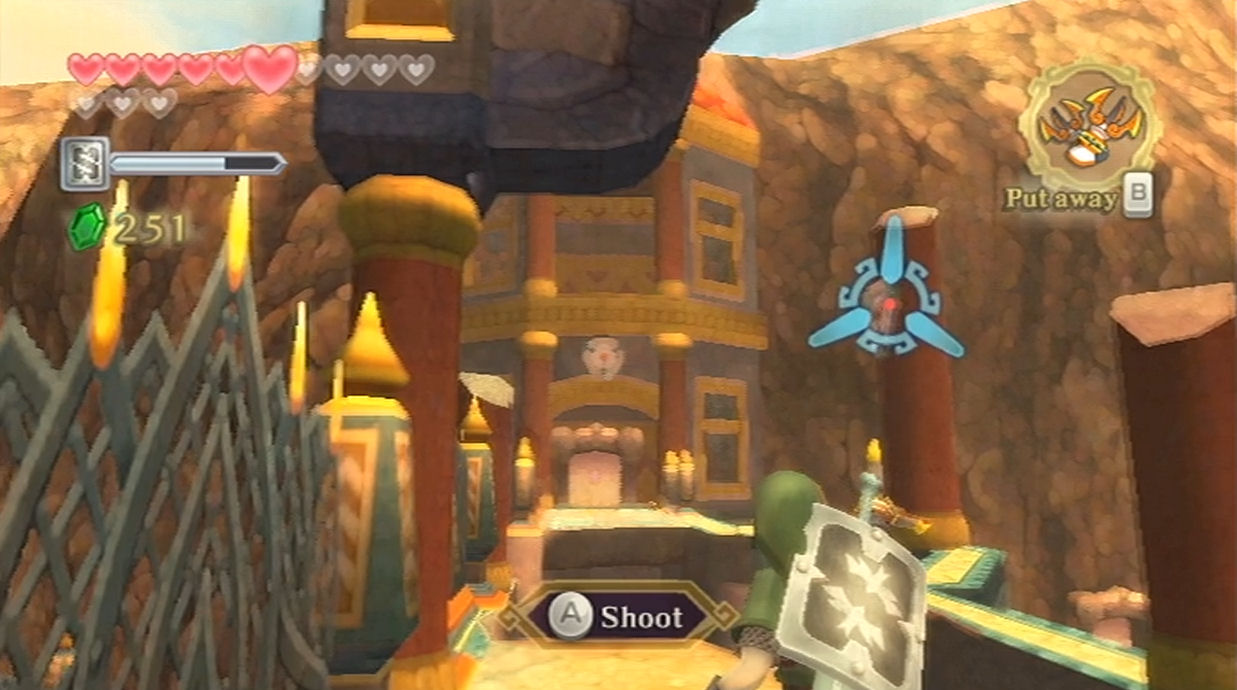
Run straight ahead and you’ll see a strange green plant hovering over the lava. Hit it with the clawshots or beetle and this will cause a water bulb to drop into the lava, creating a platform in the process. Quickly jump onto the platform and jump to the other side before it sinks underneath the lava.
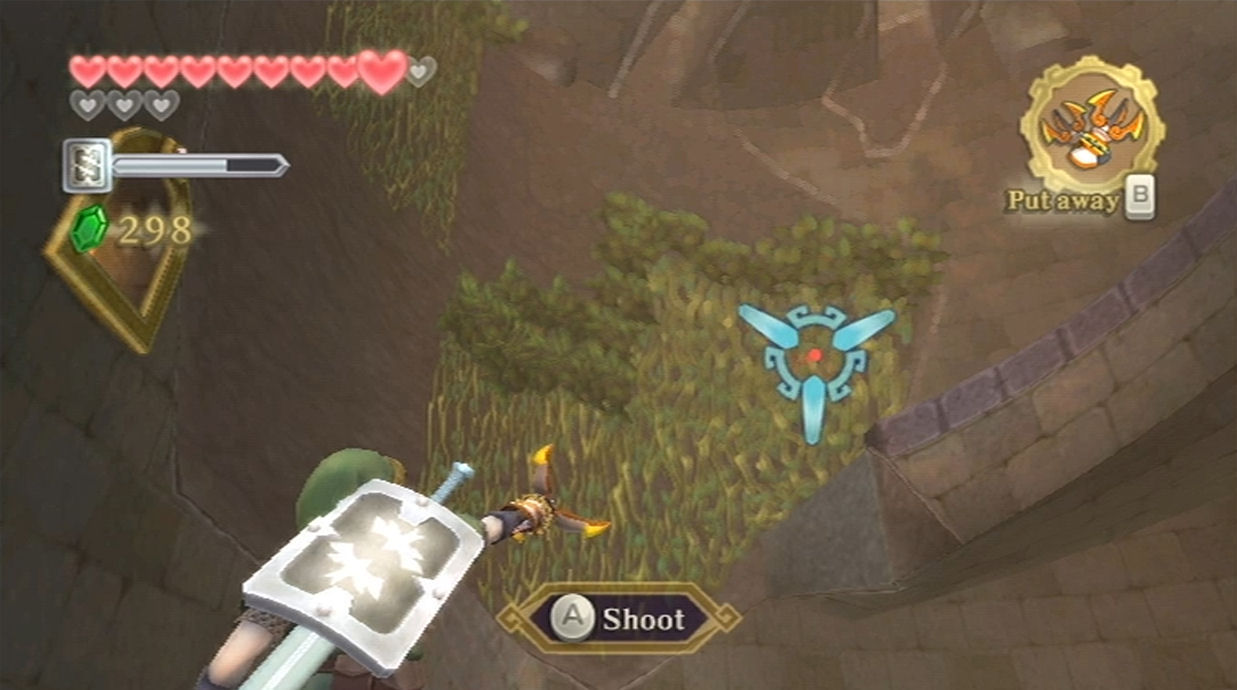
There are some bokoblin archers in the distance to the right, so you might want to get rid of them now to save you some trouble in the future. Hit the nearby plant to drop another water bulb and create a platform. Since the lava below is moving this time around, you can jump on this platform and ride it eastward.
Defeat the bokoblin archers along the way and at the end of the path, jump off the platform. Climb the steps and follow along this pathway. Defeat the blue bokoblin here to open the nearby gate. Open the treasure to get a small key and then jump down to the ground below. A new Mogma by the name of Guld will appear and give you a piece of his mind. After he is done talking, use the small key on the locked door and head to the next room.
Save at the bird statue if you’d like and then run down the staircase. Defeat the Dark Keese here before they can touch you. Much like the Cursed Spume, if one of these Dark Keese touch you, you will not be able to use your sword for a period of time. Continue down the stairs, defeat the two bokoblin, and head through the nearby door.
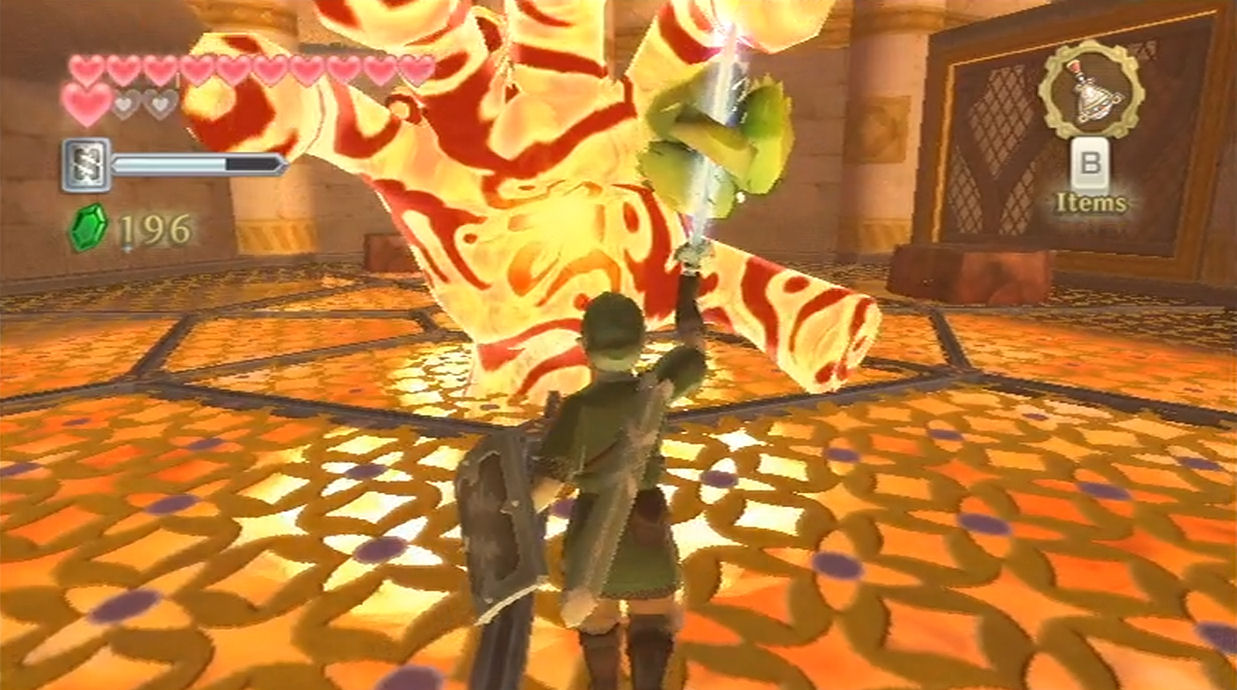
Run down the corridor to the left and you’ll reach a treasure chest containing a red rupee. Head back and this time take the right turn. Run down the ramp and jump down to the cage below. A giant lava hand will appear from underground and this enemy is known as a Magmanos. Unfortunately we cannot defeat this enemy yet, so just stand on the nearby rock. When Magmanos comes up from underground, he will push the rock upwards as well. Safely jump over to the higher ledge.
Climb up the vines here and defeat the nearby bokoblin. Now climb sideways across another set of vines and make your way over to the ledge on the other side. Defeat the bokoblin archer and continue along the pathway. Drop down to the area below, save at the bird statue, and then continue through to the next room.
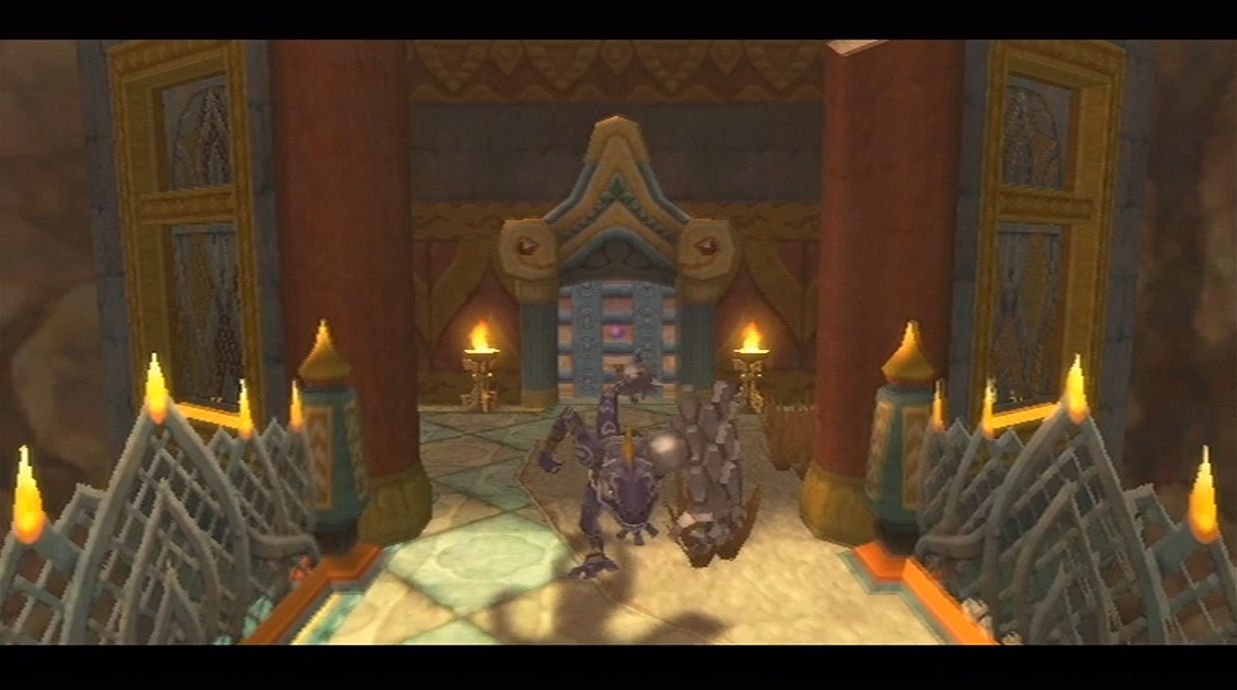
The door will shut behind you and you’ll take on somewhat of a dungeon mini-boss in the form of a Dark Lizalfos. Really, it’s nothing more than a faster Lizalfos that shoots a curse out of its mouth instead of fire. Defeat it the exact same away as a standard lizalfos. Run across this bridge and head through the door that opens up.
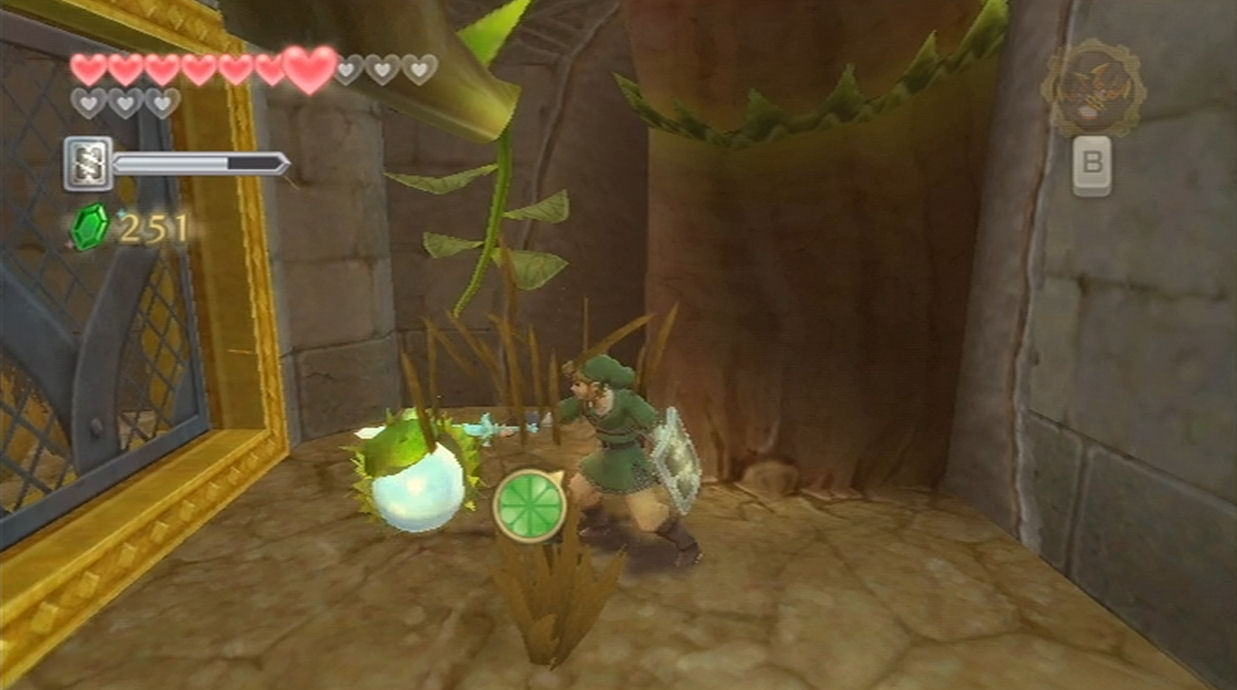
Right when you enter this room, use your arrows to defeat the bokoblin archers in the distance, as well as the cursed spume. If you look to the north end of this room, you’ll see that there is a small boulder that is blocking the flow of lava from the mouth of the statue. Turn to the west and you’ll see a small cavern at the top of the room. Within this cavern, there is a bomb flower waiting for you. This cavern goes through to the other side of the room. What you need to do is send the beetle through either side, grab the bomb, and carry it all the way to the boulder that is blocking the lava. Successfully doing so will blow up the boulder, causing lava to flow.

Now hit the nearby plant and a water bulb will create a platform in the lava. Since the lava is now moving, this platform will take you to the west end of the room. Jump off the platform and notice there are two doors here, but one is locked and we don’t have a key right now. Head through the other door found here instead.
You’ll see an imprisoned Mogma named Silva hanging from the chains above. We cannot do anything to free him just yet, so just head along on the right side of the room. Use the gust bellows to clear out all this magma ash that is on the ground and then head around the corner. Open the treasure chest here to get a small key. Return to the previous room and use the small key on the locked door we passed a moment ago.


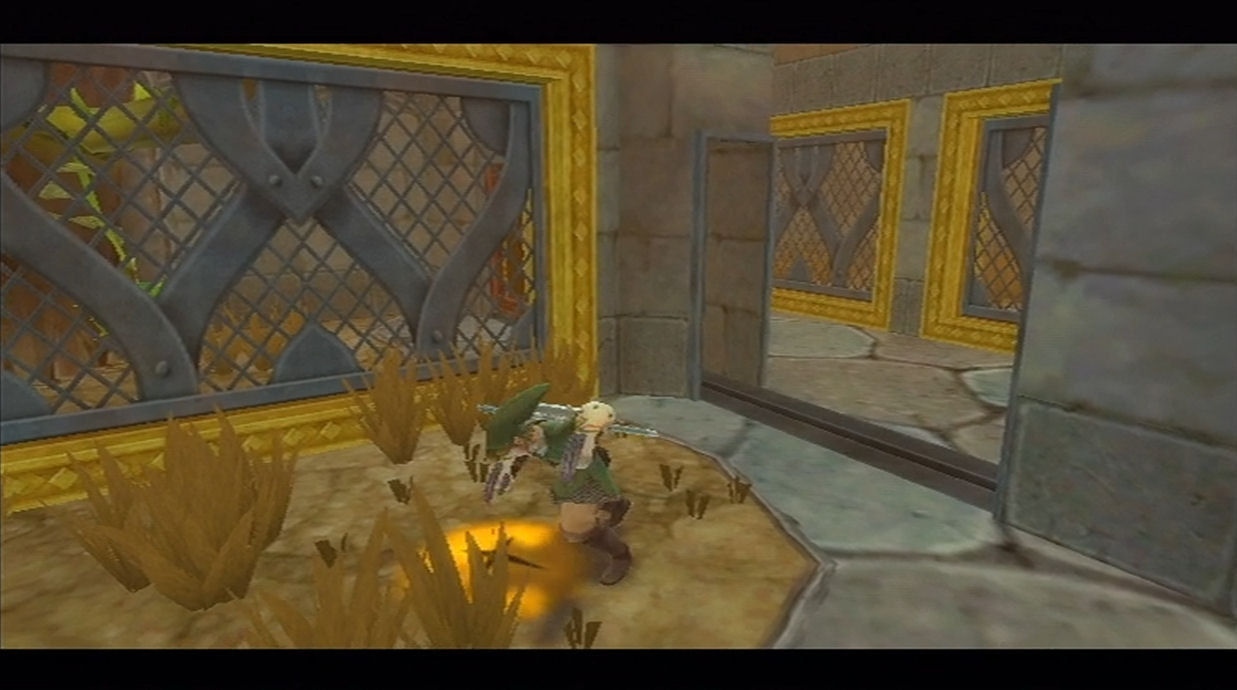
Climb the steps but be careful not to run into these spiked plants. Make your way to the south end of this room and open the treasure chest to get a red rupee. Climb up either set of stairs to reach the higher floor and open the treasure chest on the west side of the room to get a random treasure.
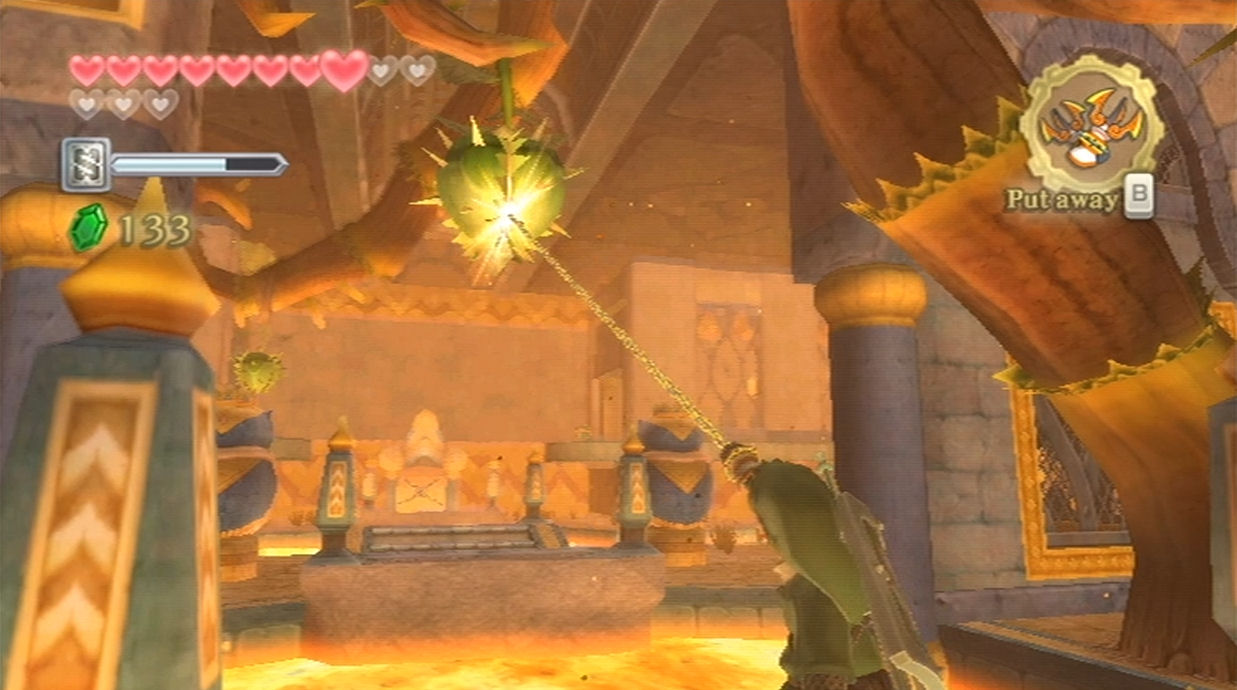
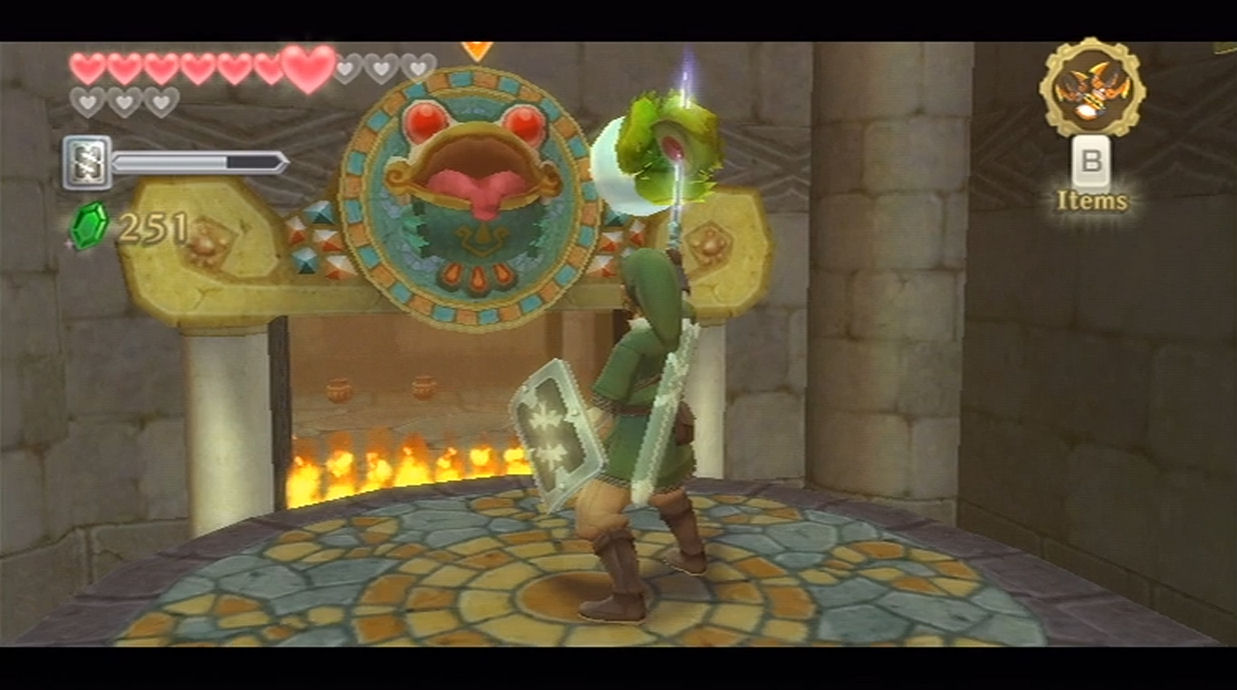
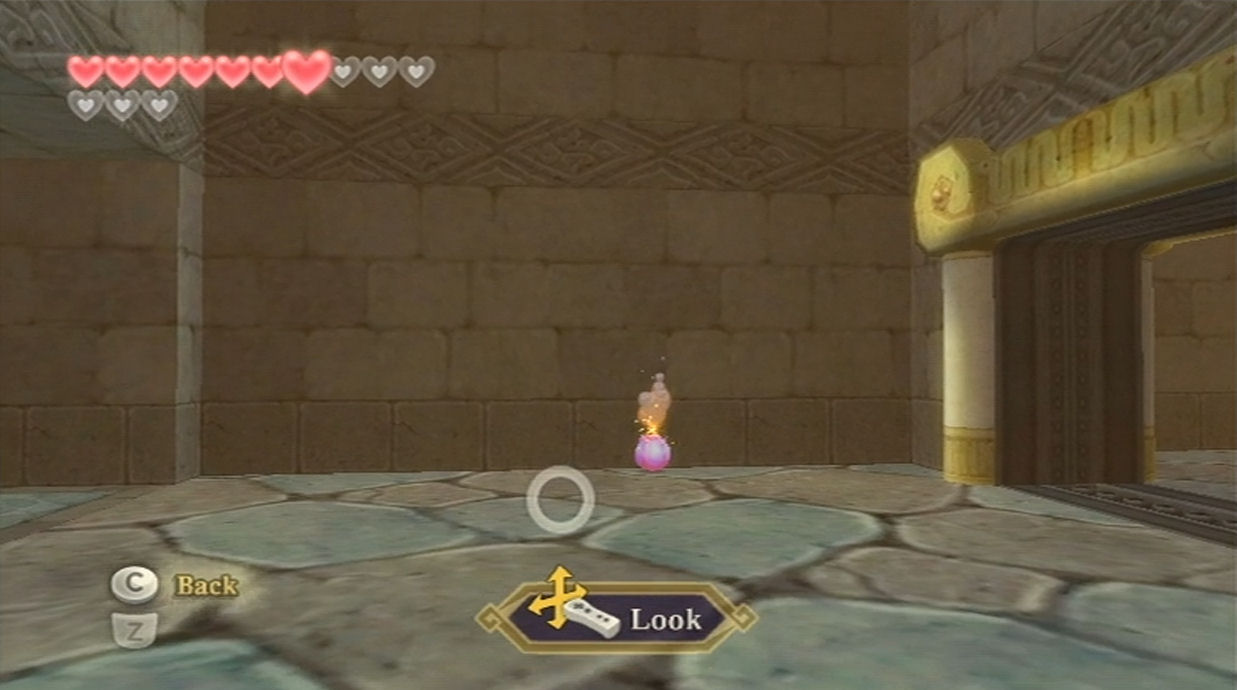
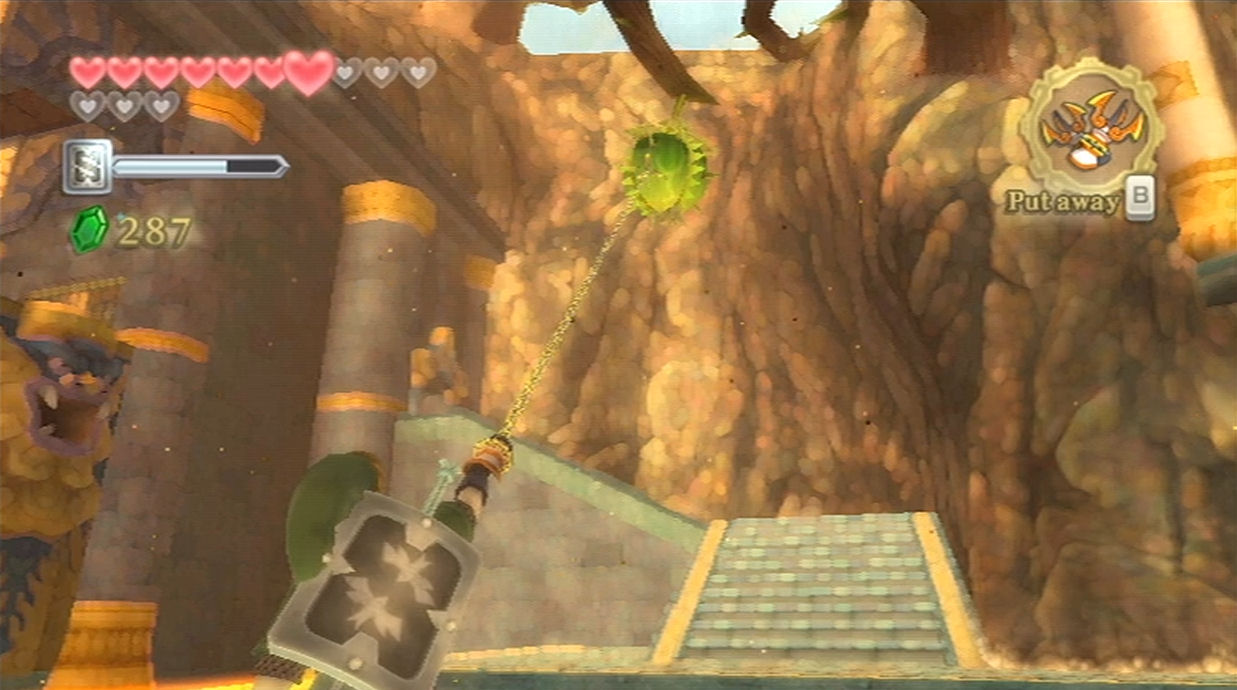
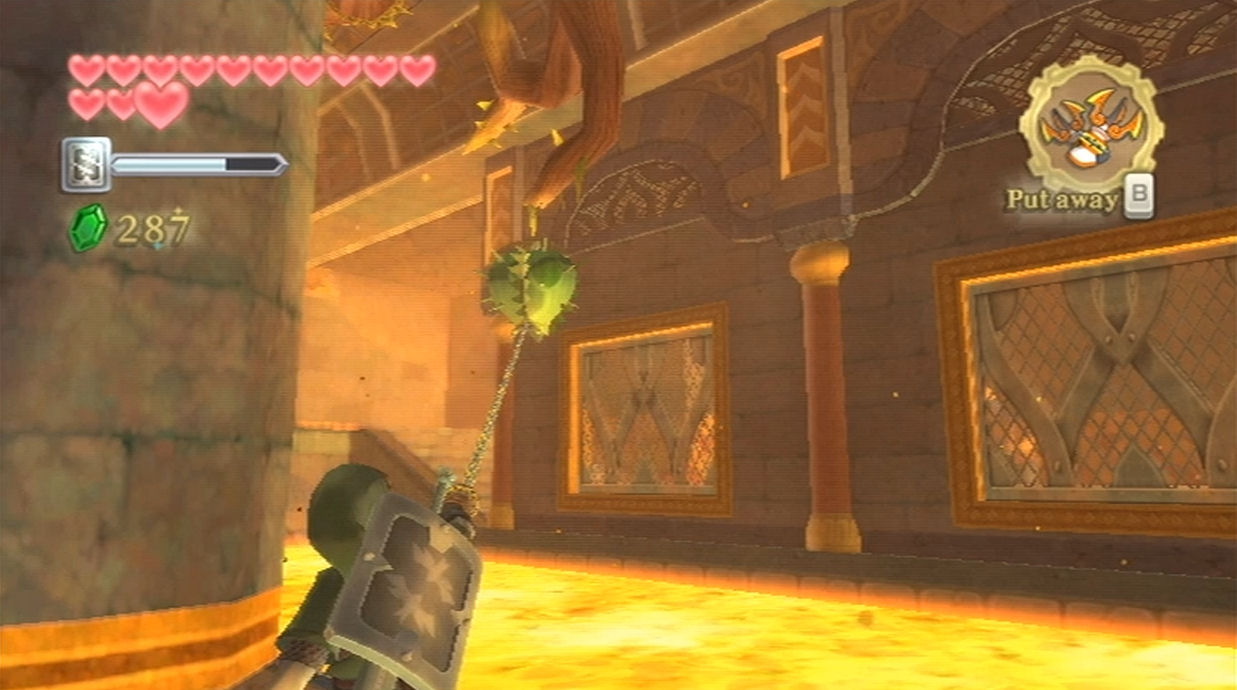
Look to the north part of the room and you’ll see a frog statue with a wall of fire just below. Turn around, facing away from the frog statue. You’ll see one of those plants straight ahead. Thrust your sword at the water bulb and it will attach to your sword. Turn around and walk to the edge of the platform. Swing the sword to toss the water bulb at the frog statue, removing the wall of fire in the process.
Jump down and head through to the next room. Defeat the green bokoblin and the dark keese that are found in this area. Save at the bird statue if you’d like and then defeat the blue bokoblin found here. Continue ahead to the next room and the door will shut behind you.

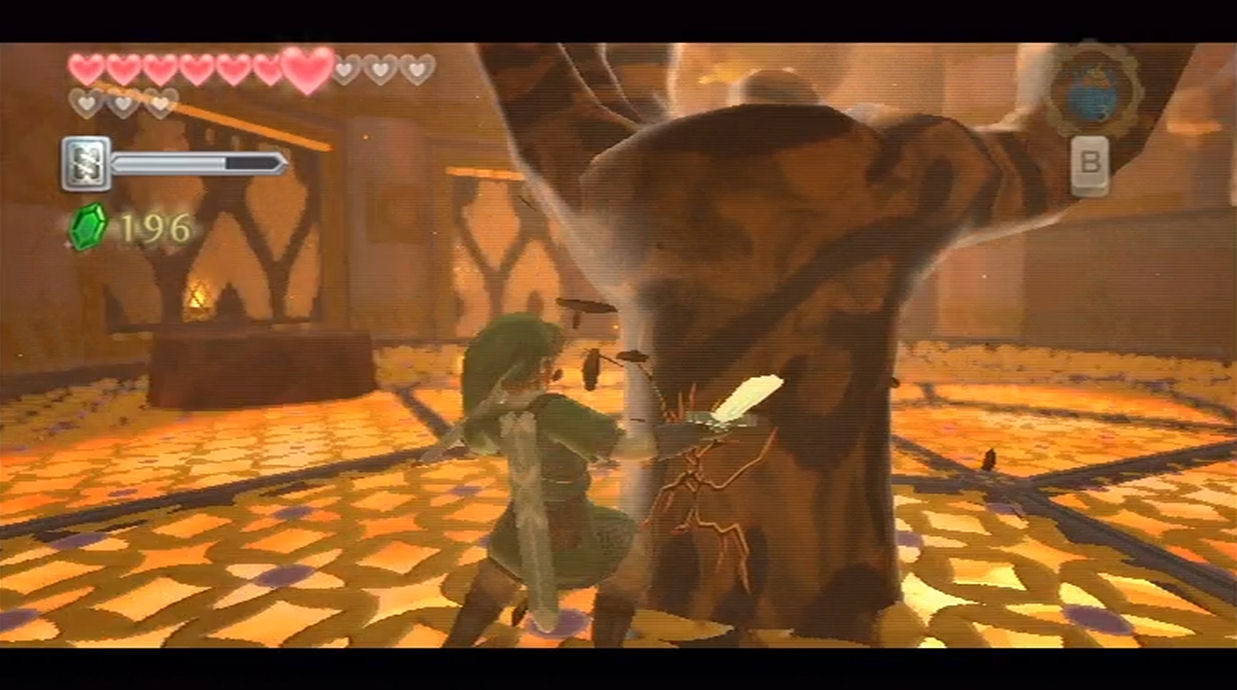
Here you will take on the dungeon mini-boss, the Magmanos pair. Jump down and stand on the rock to the left. One of the Magmanos will appear and push you upward. Jump over and then thrust your sword at one of the nearby plants and attach it to your sword. Keeping the bulb on your sword, jump back down to where the Magmanos are. Walk around the steel cage on the ground and once one of the Magmanos come up, toss the water bulb at it, and it will turn into solid rock. Slash away with your sword and the Magmanos will crumble to pieces. Repeat this same method with the second Magmanos to defeat this mini-boss.
Once both of the Magmanos have been defeated, the lava will drain from this room and the nearby door will open. Silva will talk to you and asks for your help. Go through the door here and pull the lever to get the Mogma down. In thanks for helping him, Silva will give you the dungeon item, the Mogma Mitts. These will allow you to dig your way underground in some areas.
14.2 Dungeon Map
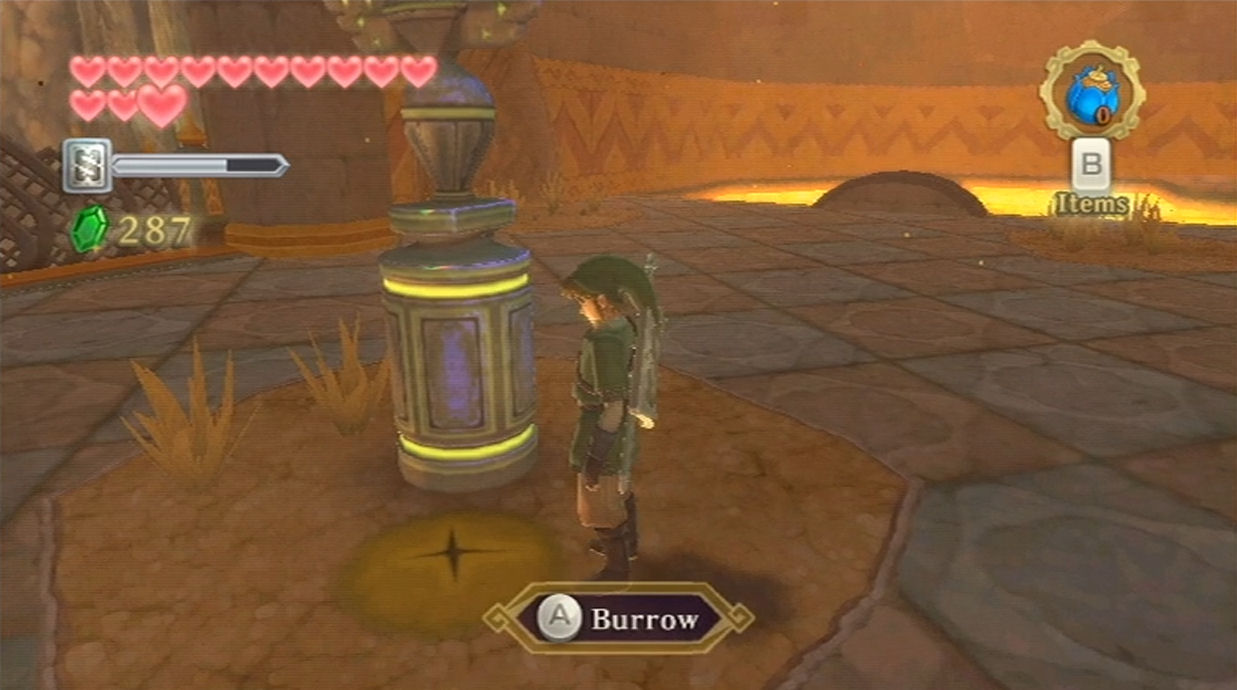
Now that we have the Mogma Mitts, run over to the metal-reinforced window here and you’ll see a soft soil spot nearby. Use the Mogma Mitts to burrow underground. While you are burrowing, you can shake the Wiimote to claw at rocks underground. You can also claw at bombs to roll them in the direction of rocks. Break through the first few rocks here and then roll the bomb to blow up the boulder. Be sure to move out of the way so you don’t get hurt by the explosion. Dig on over to the light and resurface.
There is some nearby magma ash, so use your gust bellows to get rid of it. Burrow underneath the soft soil spot and you’ll see a strange mechanism here. Crawl over and hit the red switch, causing the large object to move. Crawl back to the light and resurface. That object that moved underground was also the gate found here. With it now out of the way, head east to the next room. Climb the steps and go through the door.
Defeat the blue bokoblin to the right and then run down this pathway to press a floor switch. This will move the barrier here, allowing for quicker access to earlier parts of the dungeon. At this point there is a sweet, but completely optional item we can get earlier in the dungeon. You don’t have to get it, so you can skip ahead two paragraphs in the guide if you’d like. If you’d like to do some minor backtracking, make a left and head though the door at the other end of the bridge.
You’ll be back in the first room that had a Magmanos. Turn to the left and there is a soft soil spot that you can burrow underneath. Crawl by the gate and hit the blue switch at the other end to move the gate. Resurface through the hole and the gate will now be moved. Run down this pathway and step on the floor switch at the end to open the nearby gate.
You will now have the ability to defeat the Magmanos that is in this room using the water bulb in this area. Grab it with your sword and then drop down to the gated area to take on the Magmanos. Defeat it just as we defeated the pair of Magmanos earlier and the lava will be drained from this area. Walk through the passage to the west and it will lead to a door. Go through the door and open the treasure chest to get Empty Bottle #4! Afterwards, backtrack all the way back to the floor tile where we diverted from. (Through the door, straight across the Magmanos arena and up a ledge, turn left, through a door next to a bird statue, cross the bridge, but turn right instead of going through that door.)
Back at the northern portion of this outdoor area, you’ll find a gap in the bridge. There are also several bokoblin archers on the other side, so use your bow to get rid of them. Pull out your clawshots and latch onto the pillar on the right. Then latch onto the second target on the other side. Go through the nearby door.
You’ll find another Mogma named Bronzi that is hanging from the ceiling here. Run ahead and you’ll find a wall of fire is blocking your path. Look elsewhere in the room and you’ll find a soft soil spot, so burrow underground.
There are two switches underground that you need to hit. You have to hit them in a certain order. The orientation of which way is towards the top of the screen will change depending on the direction you were facing when you burrowed in. If we consider the little dead end behind the entrance as ‘down,’ then you want to hit the ‘right’ gate first, then the ‘left’ gate, then exit. If you get stuck and can’t reach the exit, you hit them out of order. As long as both blue switches are hit with the red switches sticking out, you’re good.
With both of the gates moved, you can run on over to the plant with the water bulb. Thrust at it with your sword to attach a water bulb. Run back over to the frog and toss the bulb on it to lower the wall of fire.
Pull the lever in the next room to lower down Bronzi. As a reward, he’ll dig up a treasure chest containing the Dungeon Map. Additionally, he’ll give you a hint about a secret room. Walk to the east end of the room and drop a bomb against the wall. This will blow up the wall, revealing the hidden room.
14.3 Mysterious Crystals
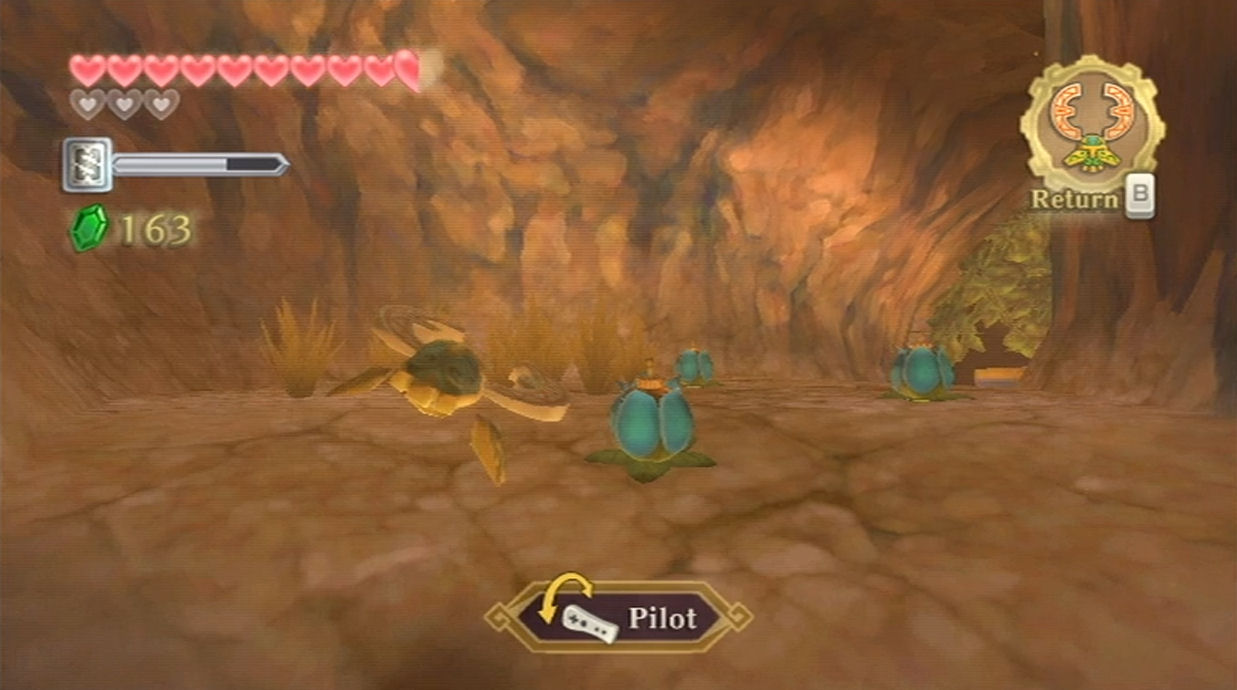
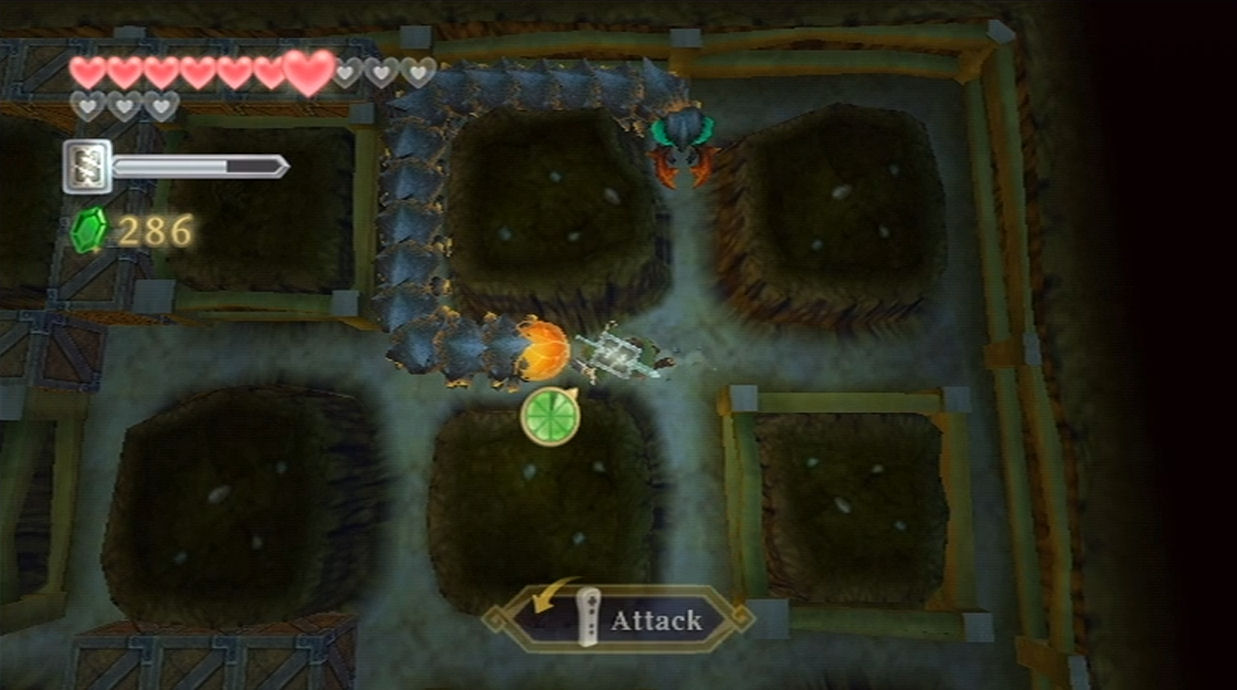
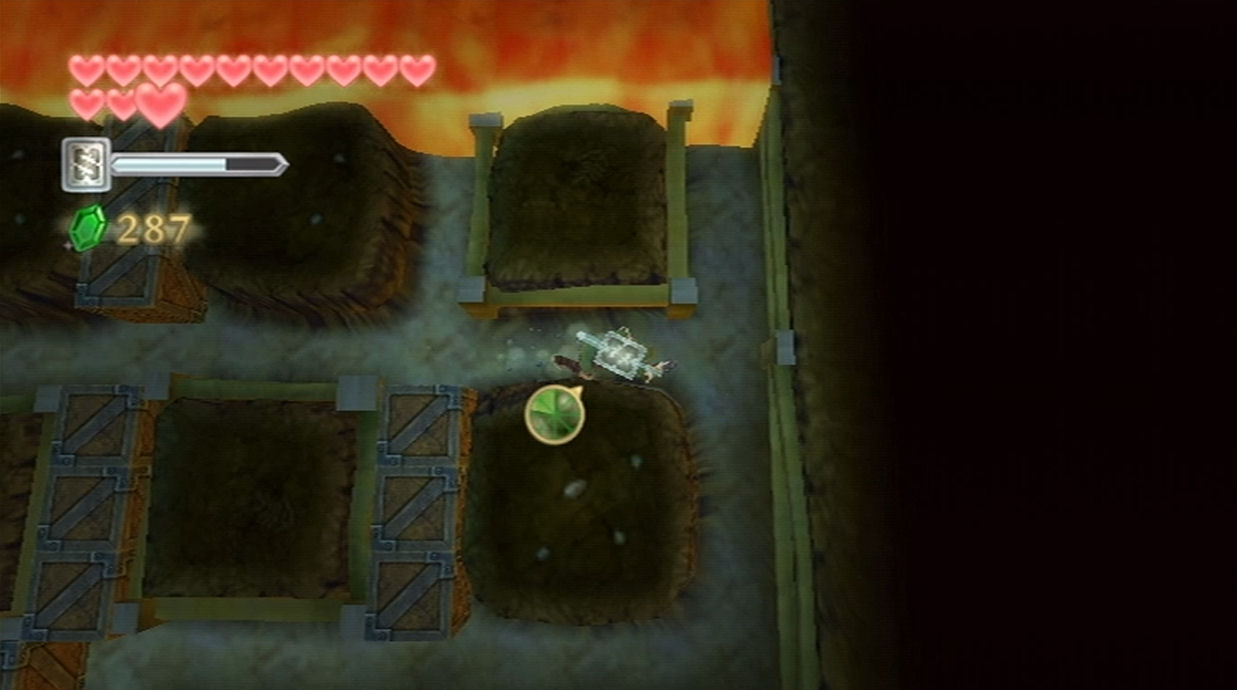
Now that you are in the hidden room, you’ll see a soft soil spot. Burrow underneath and you’ll encounter a new enemy. This enemy Moldorm will crawl around the underground area and its only weak spot is its tail. Your goal is to run up behind it and strike its tail. You need to hit the tail three times to defeat moldorm. Afterwards, crawl over to the other light in the room and resurface.
Open the treasure chest here to get a small key. Climb the vines here and drop off the ledge to be back in the room where you got the map. Backtrack out the nearby door to return to the broken bridge. Use the bow to hit the bokoblin archer in the distance. Use the clawshots to get across and head back through the door here.
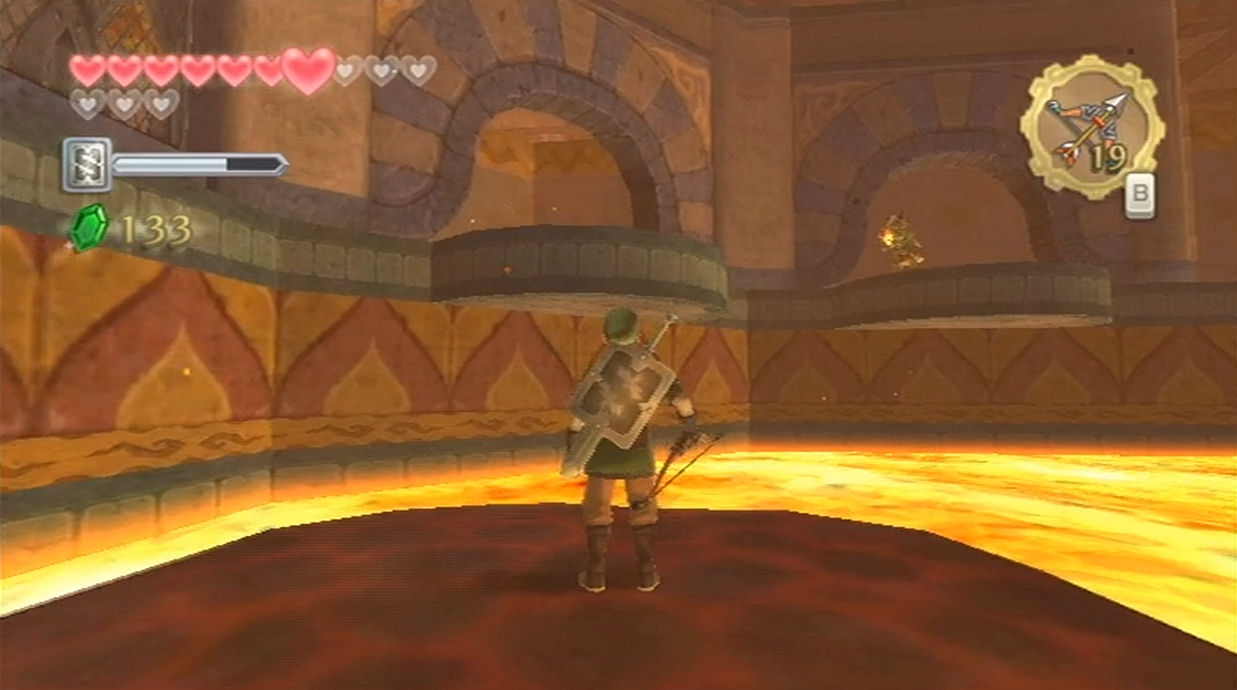
Run down the stairs here and take a right. Use the small key and head through the locked door. Run up and down the staircases here and you’ll come across some more enemies. Defeat the cursed spume to the right and the bokoblin to the left. Hit the plant to drop a water bulb and then jump across to the other side. Climb the steps and head through the door at the end.
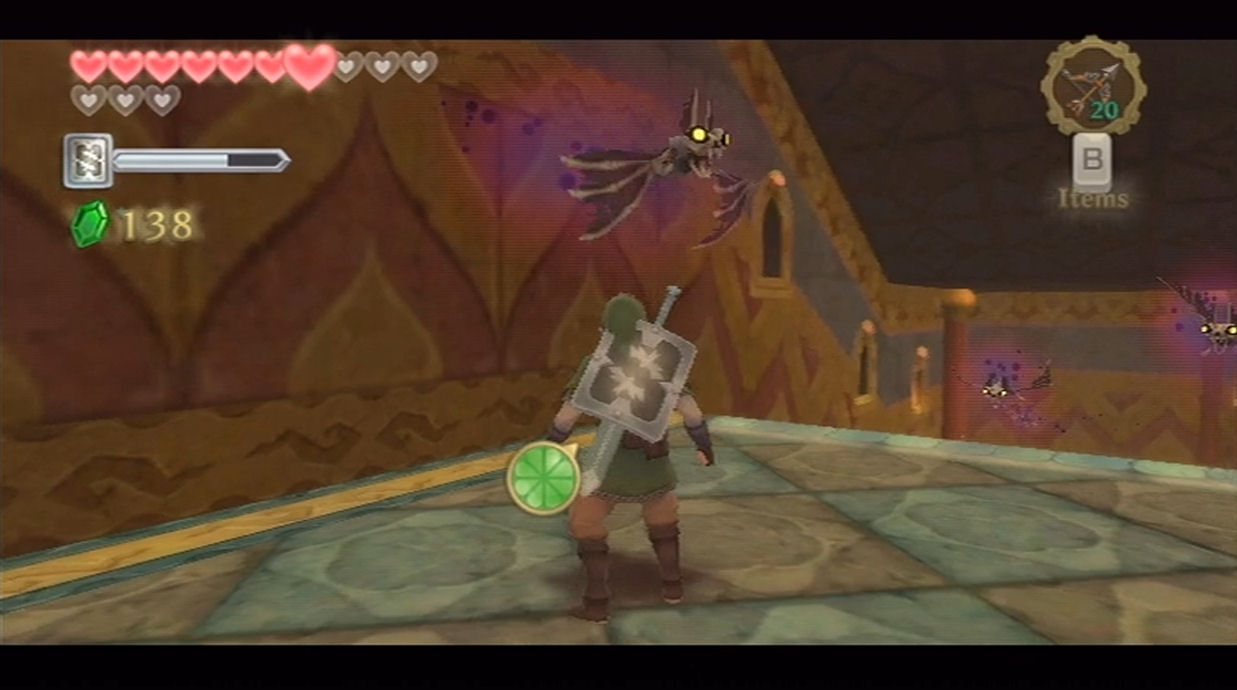
Defeat the blue bokoblin here as well as several dark keese. Climb the steps to the right and use an arrow to defeat the cursed spume in the lava. Run around to the other side of the room and use the Mogma Mitts to burrow underground.
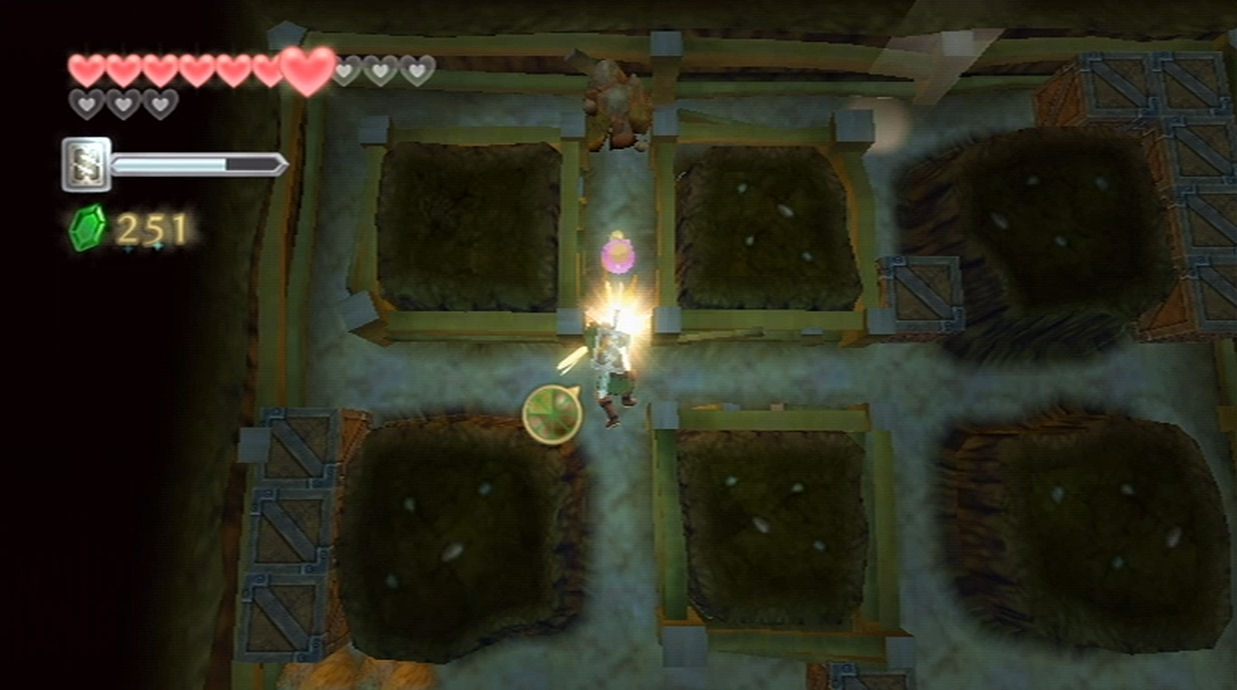
Crawl on over and hit the switch. Continue forward and once you crawl past the gate that just moved, a Mogma in this area will run on over and hit the other switch, causing the gate to move back. You will have to chase the Mogma around within this underground area. It is rather simple if you just stay in the center area. Wait until the Mogma crawls around one of the edges and then cut him off. In return for causing you trouble, he’ll open the gate for you, as well as give you a treasure chest containing a Piece of Heart.

Defeat the cursed spume and dark keese that are found here and then use a projectile attack to hit the nearby plant, causing a platform to appear in the lava. Jump on it and ride it to the end here, before jumping over to safe ground. Now run over and save at the bird statue if you’d like and then burrow underground.
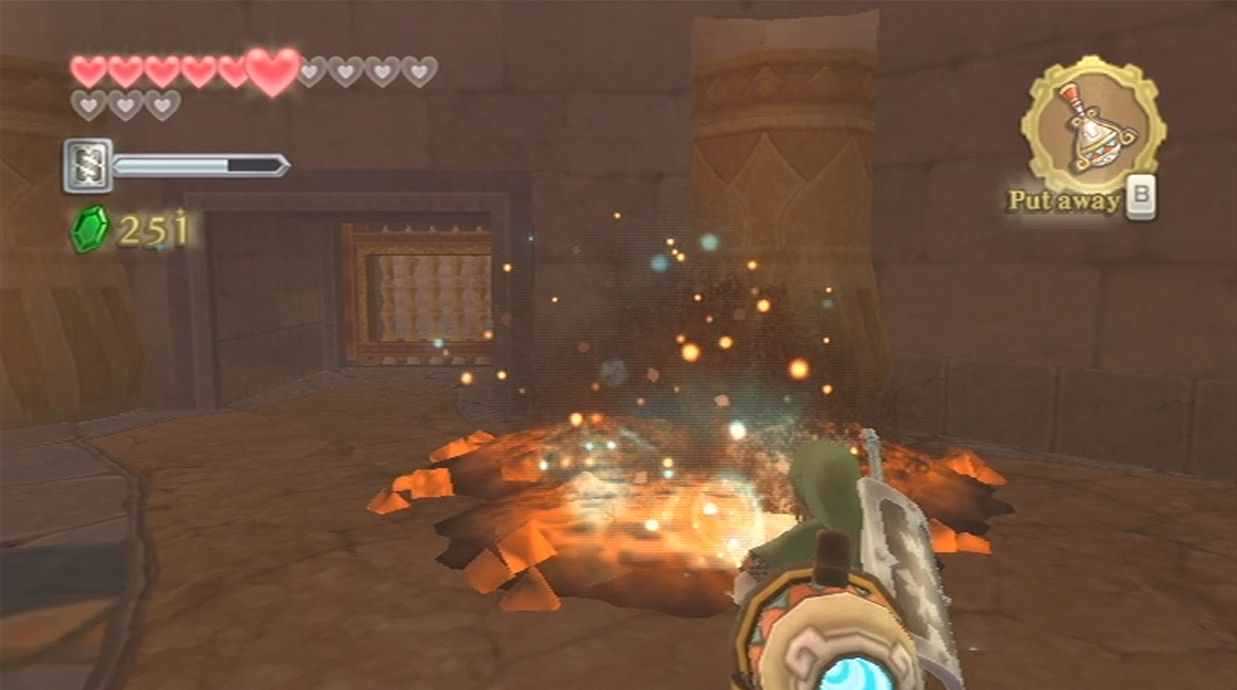
Crawl through and dig by the few rocks near the center of this area. Attack the nearby bomb and it will roll over to the boulder nearby. As soon as you hit the bomb run back towards the light that you used to get underground. As soon as the boulder explodes, lava will start filling up this area. Resurface at the light and you’ll find that the lava is now flowing to the area below.
Step on the tile switch nearby to open the gate (if you didn’t earlier) and then head through the door to the right to get back to the large room. Create a platform from a water bulb using the plant and then jump on top of it. Ride it along the lava here and jump over to the nearby ledge.
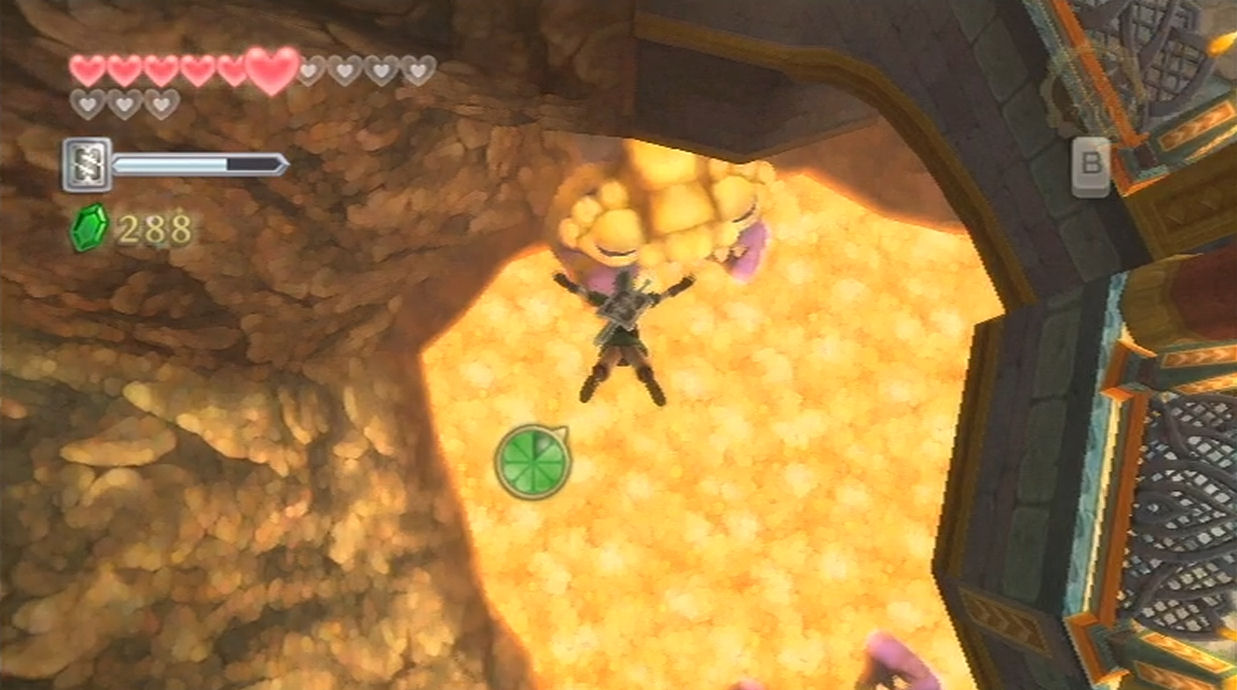
Climb the steps and then take a right. You’ll come to a ledge where you can dive off either the left side or the right side. Jump off the ledge to the left and try to guide yourself so that you are going to land near the large statue below. As you draw near a platform will appear below, so use your sailcloth to make a safe landing. Climb the stairs here and go through the door.
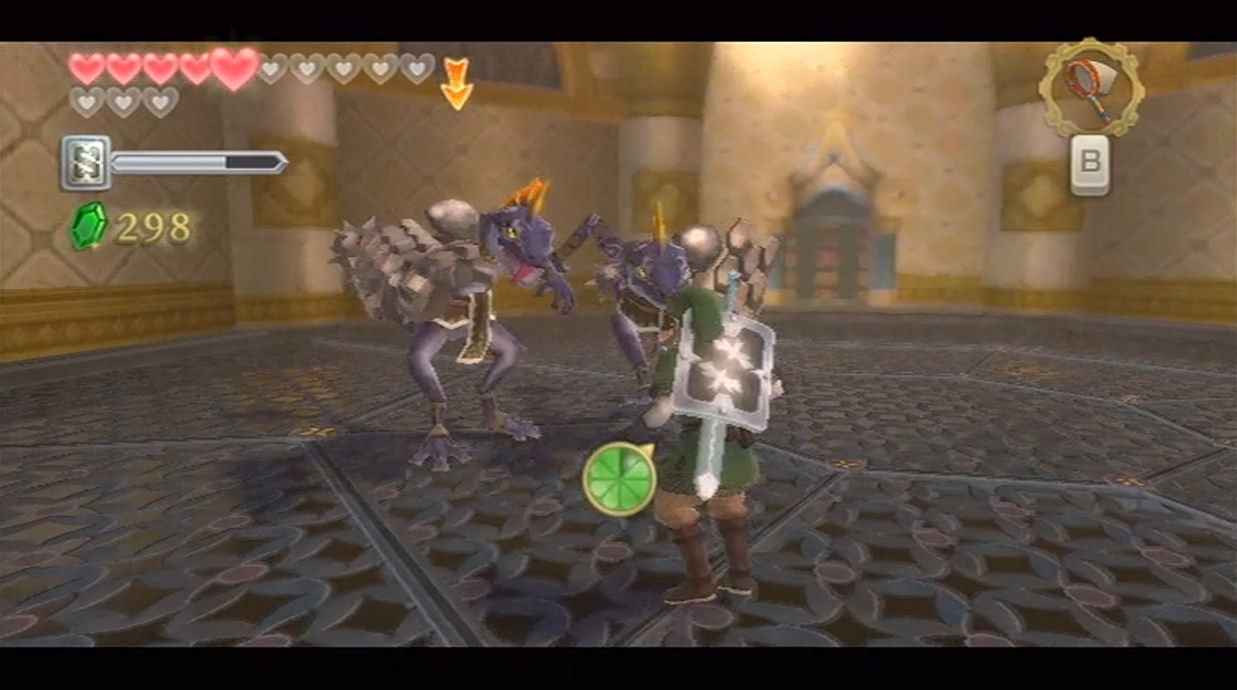
Here you will encounter a pair of dark lizalfos. Defeat them just as you did before, taking out one of them at a time. Climb the nearby ledge and head through the door that opens up. Climb the circular steps here and if you look at your map there is a treasure chest in this room. You can use your clawshots to grapple over to a series of vines to reach the chest containing a random treasure. Continue scaling your way upwards and go through the door at the top of the staircase.
If you read the stone tablet just ahead, it gives you a clue on what you need to do. You have to bring light to the statues in the proper order. If you look just ahead at the statues, you’ll find that each of them have a separate number of wings. The ascending order goes from the bottom-left, to the middle, top-right, bottom-right, and top.
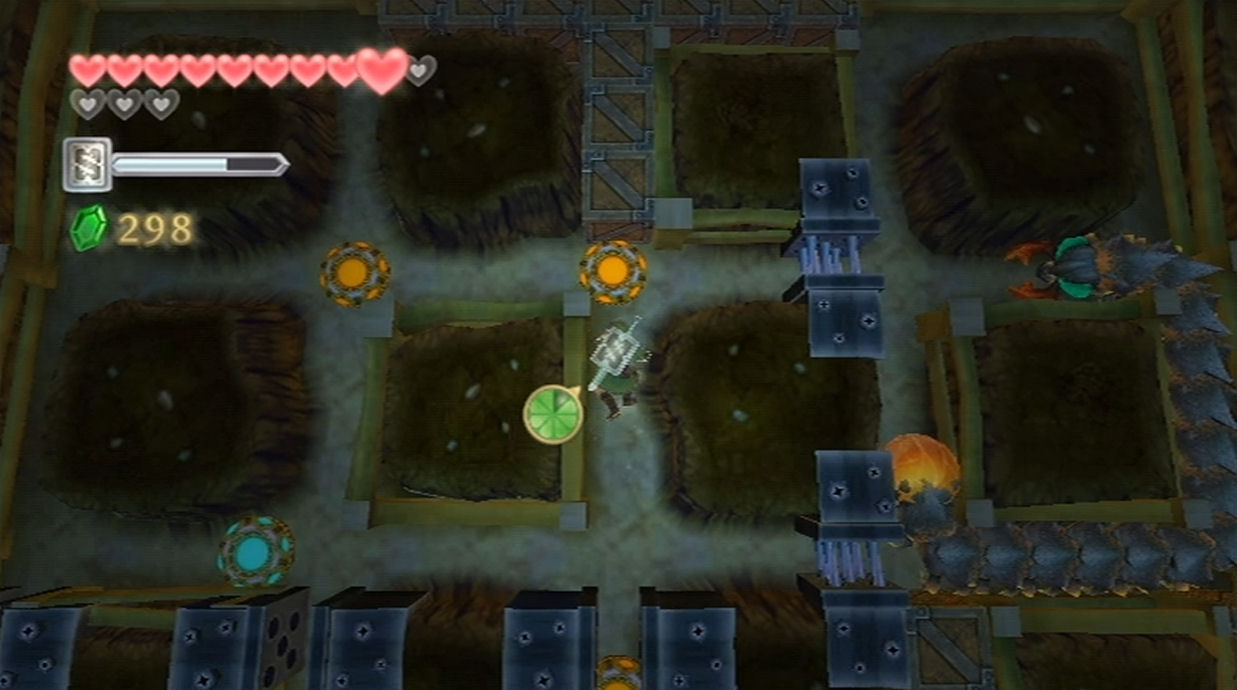

Burrow underground and you’ll see some orange switches. Step on the first two and then use the bomb to blow up the boulder. Be careful though as you don’t want to step on the switch near the bomb just yet. Step on the third one, which completes the diagonal across. Then step on the one near the bomb, and finally the fifth one.
Once all five lights have been lit, the gate by the treasure chest will open. However, this will also cause a battle to begin with the underground moldorm. Defeat him just as you did before, attacking its tail three times. Once it has been defeated, resurface by the light.
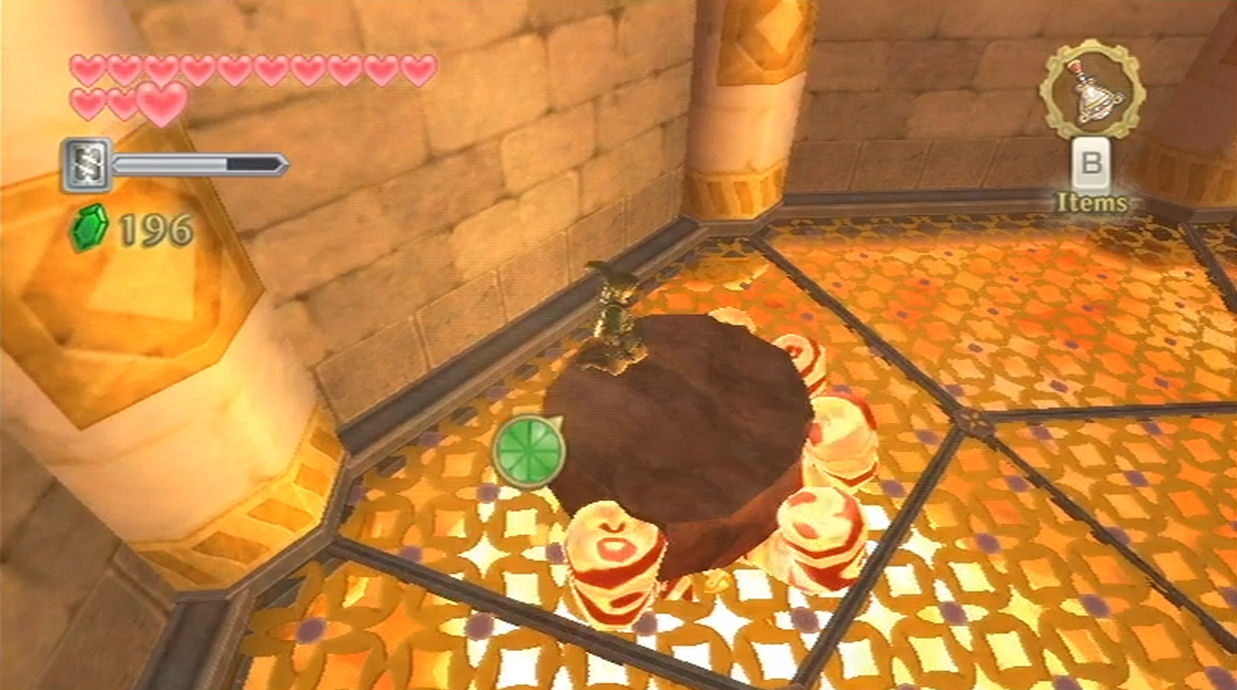
Climb the steps here and open the treasure chest to get the Mysterious Crystals. Climb up the next set of stairs along the west end of the room and head through the door. Run over and slash all the pots in this area to get some recovery hearts and a fairy. Step on the floor switch to open up the gate. Run down the steps and save at the bird statue found here.
You are now ready to take on the dungeon boss, so climb up the steps to the north and use the Mysterious Crystals on the locked door.
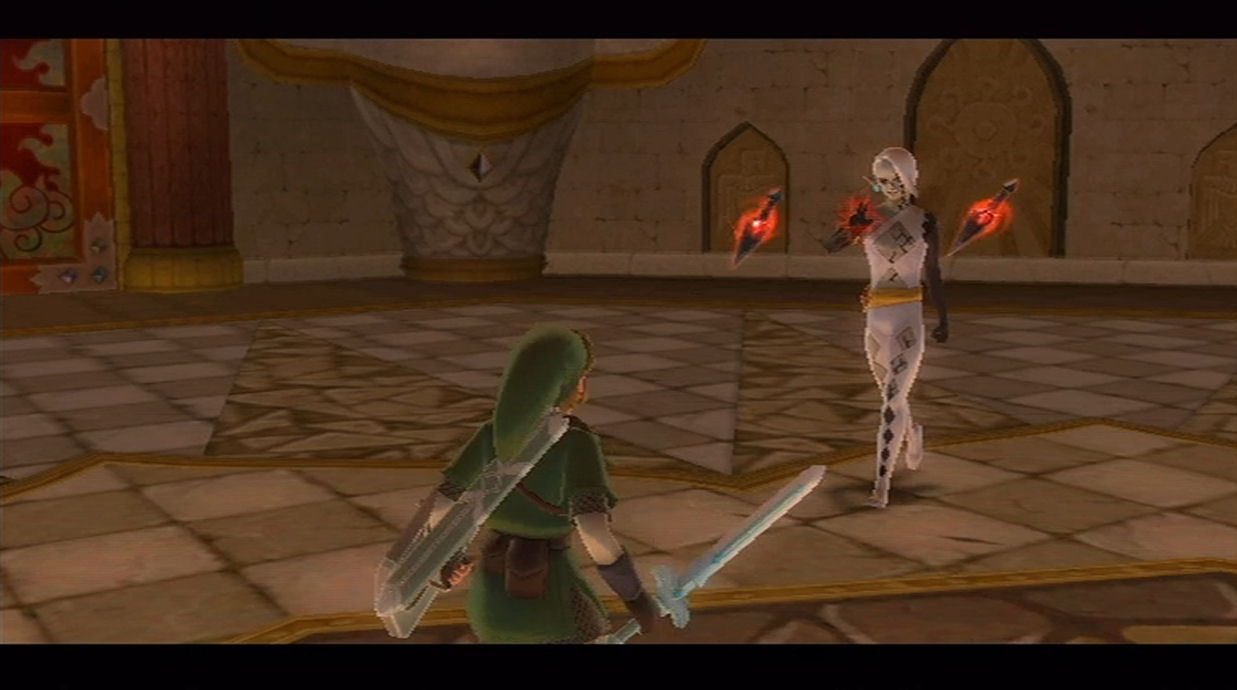
14.4 Demon Lord Ghirahim
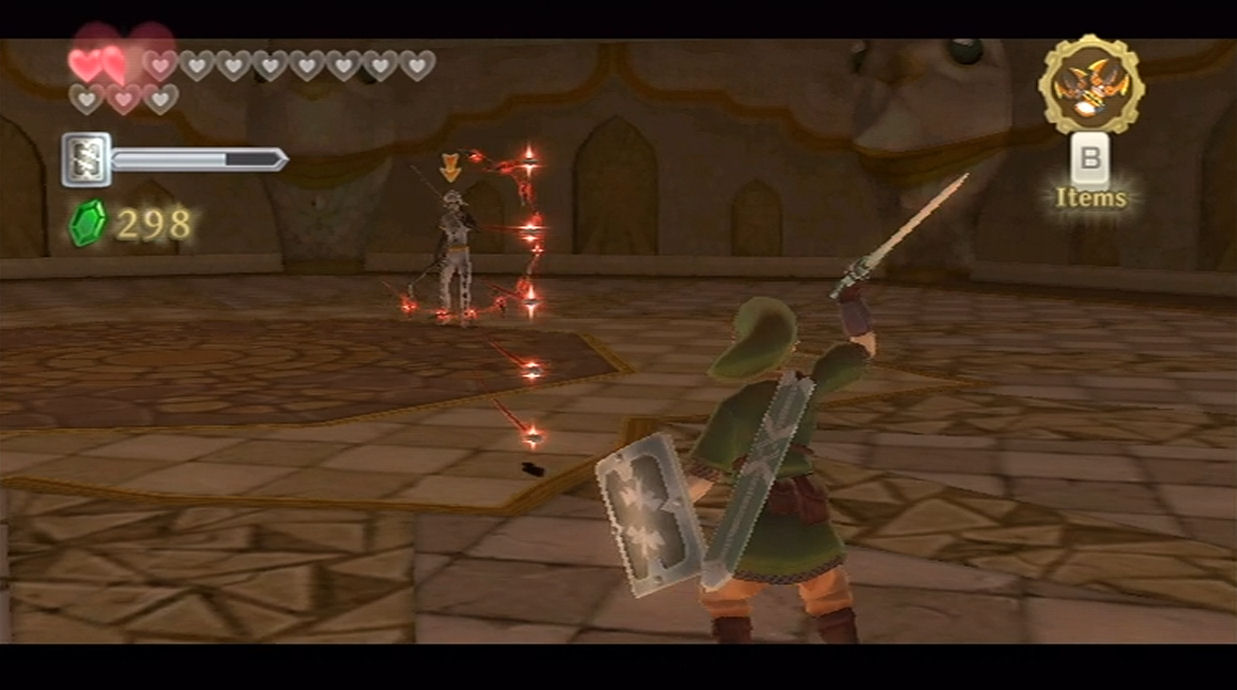
Once you arrive, you’ll go through a cutscene with Ghirahim once again. Afterwards he’ll take off his gloves and ready himself for battle.
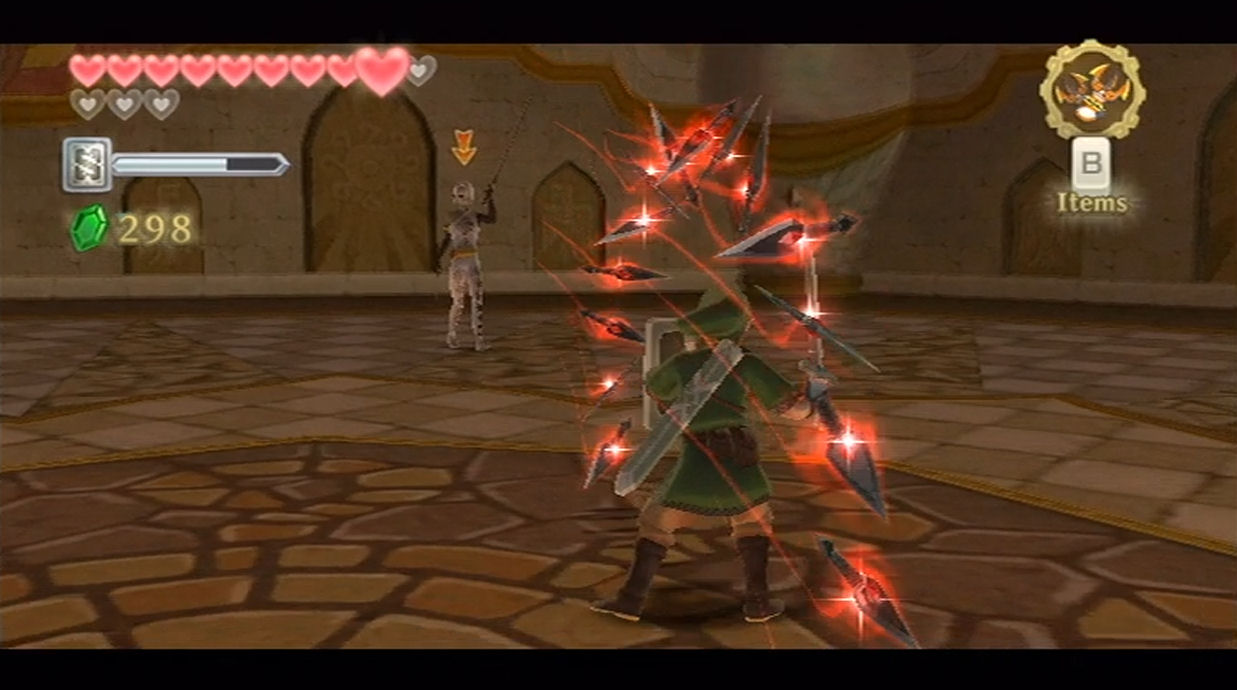
The first phase of the battle will have Ghirahim slowly walk around the room, summoning these small red diamonds. These diamonds serve as both defenders and attackers. If Link is in the distance, Ghirahim will send these red diamonds out towards you trying to harm you. If Link is nearby and tries to slash in one of those directions, he won’t hit Ghirahim, but he’ll hit a diamond instead.

You have to be quick and patient with your sword slashes here. If the diamonds are at the top and bottom, this means you’ll only be able to land horizontal sword slashes. You will have to deal with Ghirahim’s fingers catching your sword. Quickly move your sword around, and deliver a sword slash where his fingers aren’t. This can be incredibly frustrating, but just keep working at it. After a few hits, he’ll summon four diamonds at a time, so you’ll have to be even more precise.
After several hits, Ghirahim will jump back and pull out two swords. This time he’ll summon diamonds around Link in various formations. Sometimes they are directly overheard in a upside down ‘U’ shape. Shake the Wiimote and Nunchuck forward and back to do a vertical spin attack and get rid of these. Other times the diamonds will surround Link, so do a standard spin attack to get rid of them. Draw near Ghirahim and he’ll use his two swords to protect two sides of his body, much like a Stalfos. Quickly hit him in one of his unprotected regions and then follow it up with a number of sword slashes.
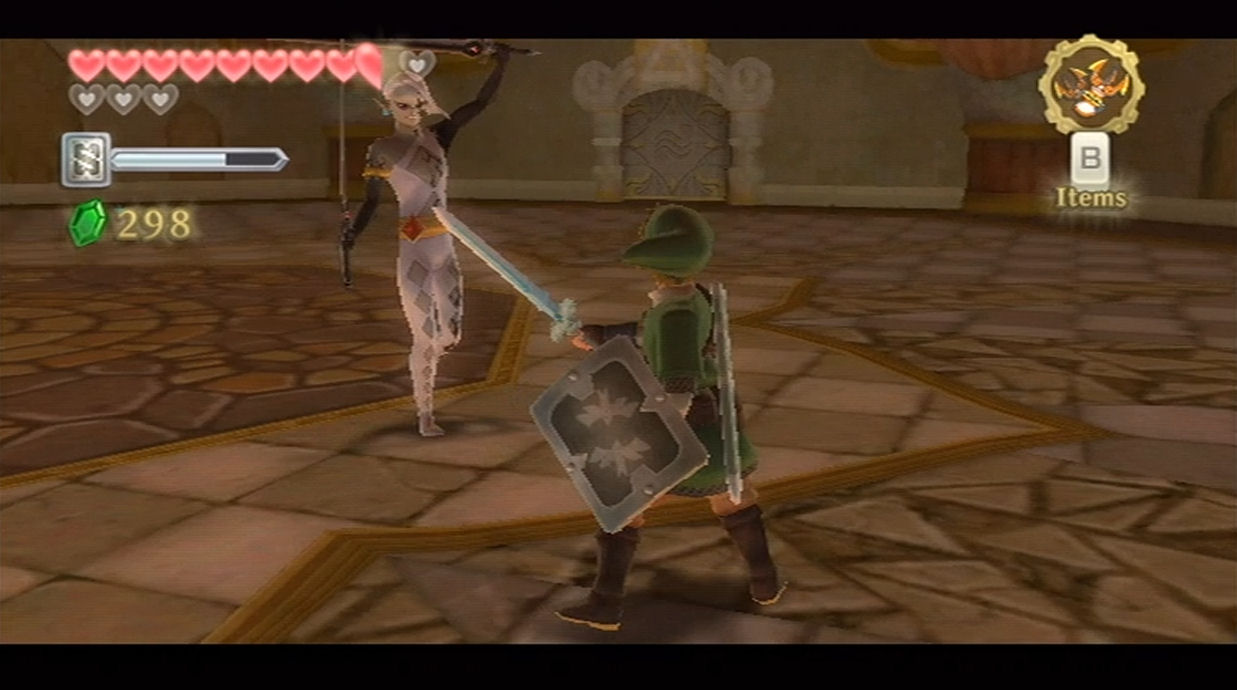
After several hits, Ghirahim will start to get more aggressive. Each time you draw near, Ghirahim will try to slash away with his sword. In this phase Ghirahim will also jump up in the air trying to land right on top of you with his swords. As soon as he jumps, sprint around the area and Ghirahim will miss when he lands. Deliver a sword slash in a different direction than where his sword is blocking and you’ll hit him. Follow it up with a number of sword slashes to harm him.
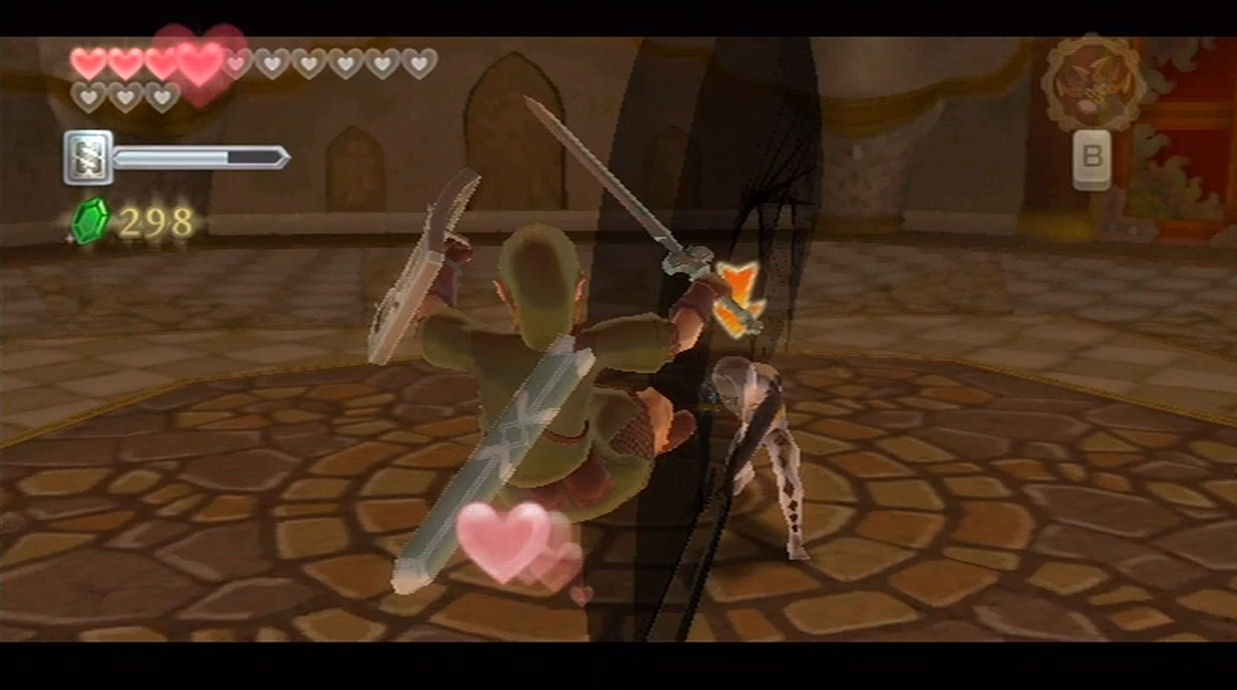
Ghirahim will also shoot out diamonds in groups of five at you, changing the direction they come in, so be quick to adjust and deflect these diamonds. Just hit Ghirahim in the various ways during this phase and after a number of hits, he will be defeated.
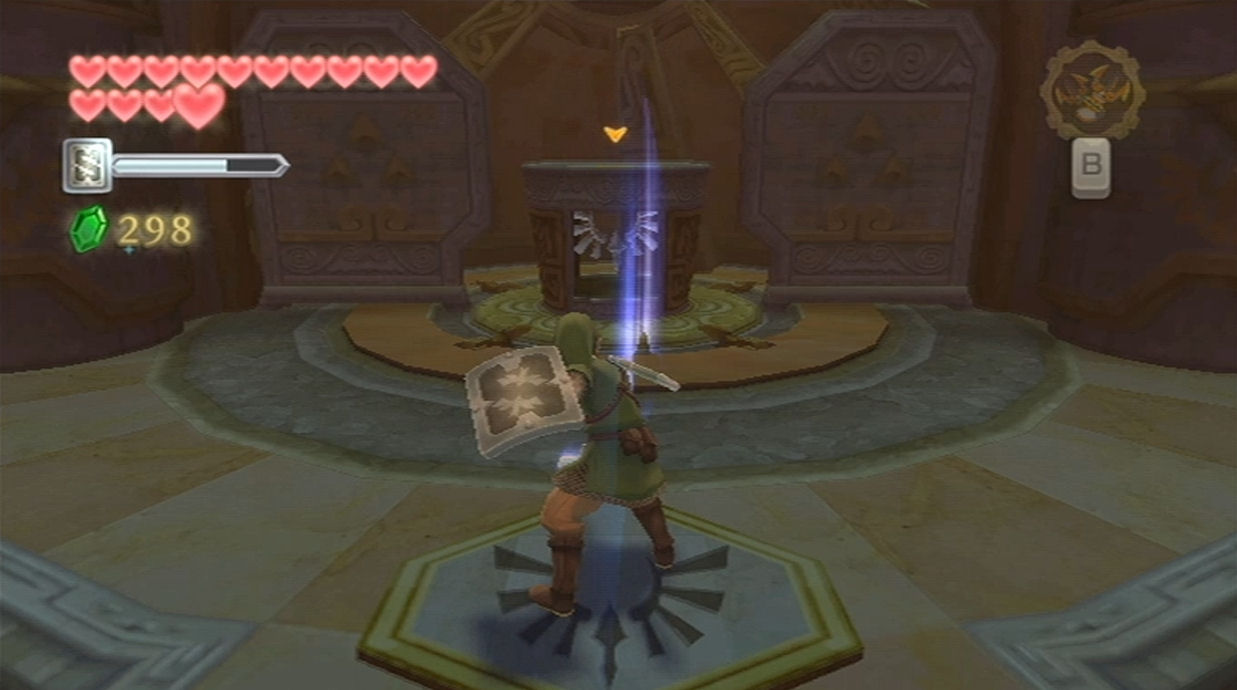

Ghirahim will vanish, so grab the Heart Container that is left for you and then head through the door. Deliver a Skyward Strike to the emblem here and a cut-scene will ensue. With the power from the Flame of Din, the Goddess’s Sword will now be powered up to the point that it becomes the Master Sword! This power can now awaken the Gate of Time in the Sealed Temple. This is our next destination, so we’ll head on over in the next chapter.
- Chapter 1 – Skyloft
- Chapter 2 – Faron Woods
- Chapter 3 – Skyview Temple
- Chapter 4 – Eldin Volcano
- Chapter 5 – Earth Temple
- Chapter 6 – Lanayru Desert
- Chapter 7 – Lanayru Mining Facility
- Chapter 8 – Isle of Songs
- Chapter 9 – Lake Floria
- Chapter 10 – Ancient Cistern
- Chapter 11 – Lanayru Sand Sea
- Chapter 12 – Sandship
- Chapter 13 – Volcano Summit
- Chapter 14 – Fire Sanctuary
- Chapter 15 – Thunderhead
- Chapter 16 – Song of the Hero
- Chapter 17 – Sky Keep
- Chapter 18 – Final Showdown
