- Chapter 1 – Skyloft
- Chapter 2 – Faron Woods
- Chapter 3 – Skyview Temple
- Chapter 4 – Eldin Volcano
- Chapter 5 – Earth Temple
- Chapter 6 – Lanayru Desert
- Chapter 7 – Lanayru Mining Facility
- Chapter 8 – Isle of Songs
- Chapter 9 – Lake Floria
- Chapter 10 – Ancient Cistern
- Chapter 11 – Lanayru Sand Sea
- Chapter 12 – Sandship
- Chapter 13 – Volcano Summit
- Chapter 14 – Fire Sanctuary
- Chapter 15 – Thunderhead
- Chapter 16 – Song of the Hero
- Chapter 17 – Sky Keep
- Chapter 18 – Final Showdown
8.1 Skyloft Goodies
After the lengthy cut-scene with Zelda, Ghirahim, and the woman in black, you can look around the crumbled Temple of Time area to find some treasure and bugs. Afterwards, run on over and use the Bird Statue to retun to the Sky. Now that we have completed the Lanayru Mining Facility and have the Gust Bellows, there are a couple of new goodies for us over in Skyloft. None of these are required at all and if you’d like to progress with the main quest, just jump on over to section 8.2.
First and foremost, if there are any remaining Goddess Treasures for you to collect, go ahead and do so now. We covered some collections just prior to entering the Lanayru Mining Facility, but check out the Goddess Cubes Guide for a full listing.
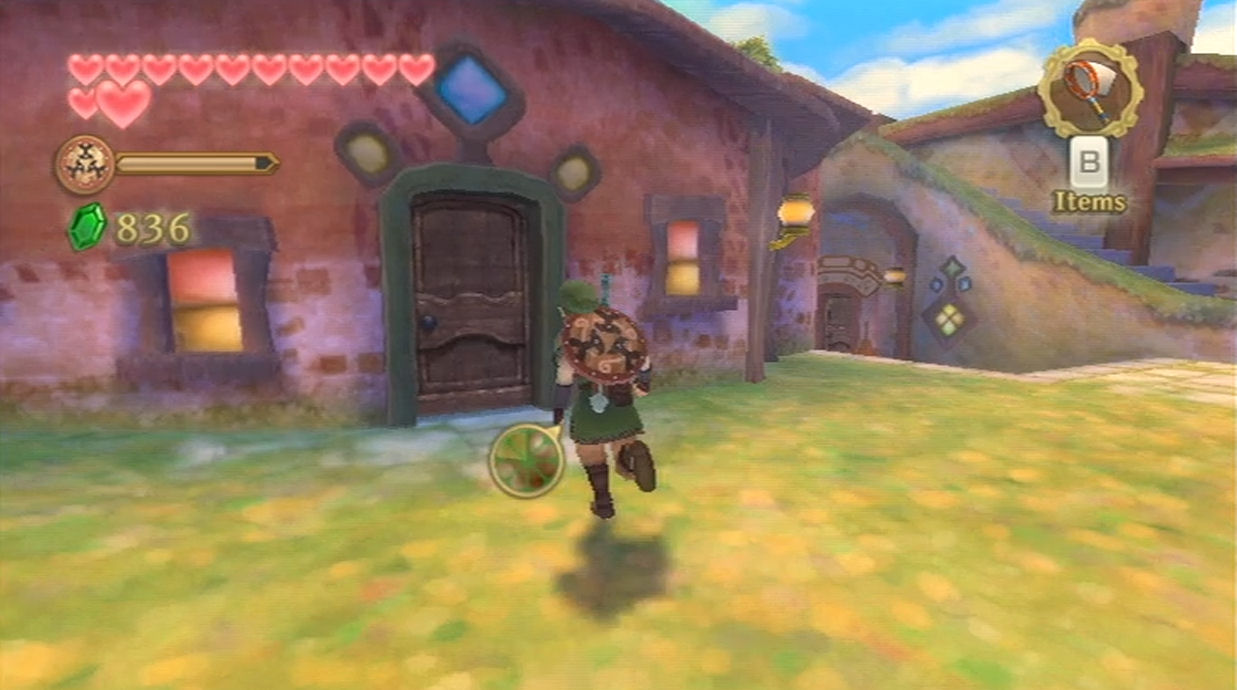
Our next quest takes place at Pipit’s house in Skyloft. Pipit’s House is located at the east part of Skyloft just after you cross the bridge. Enter the house and speak with Pipit’s Mom, Mallara. She mentions that the house is filled with dust and asks Link to clean it up. She even offers to pay him! Of course, Link will agree to do so.
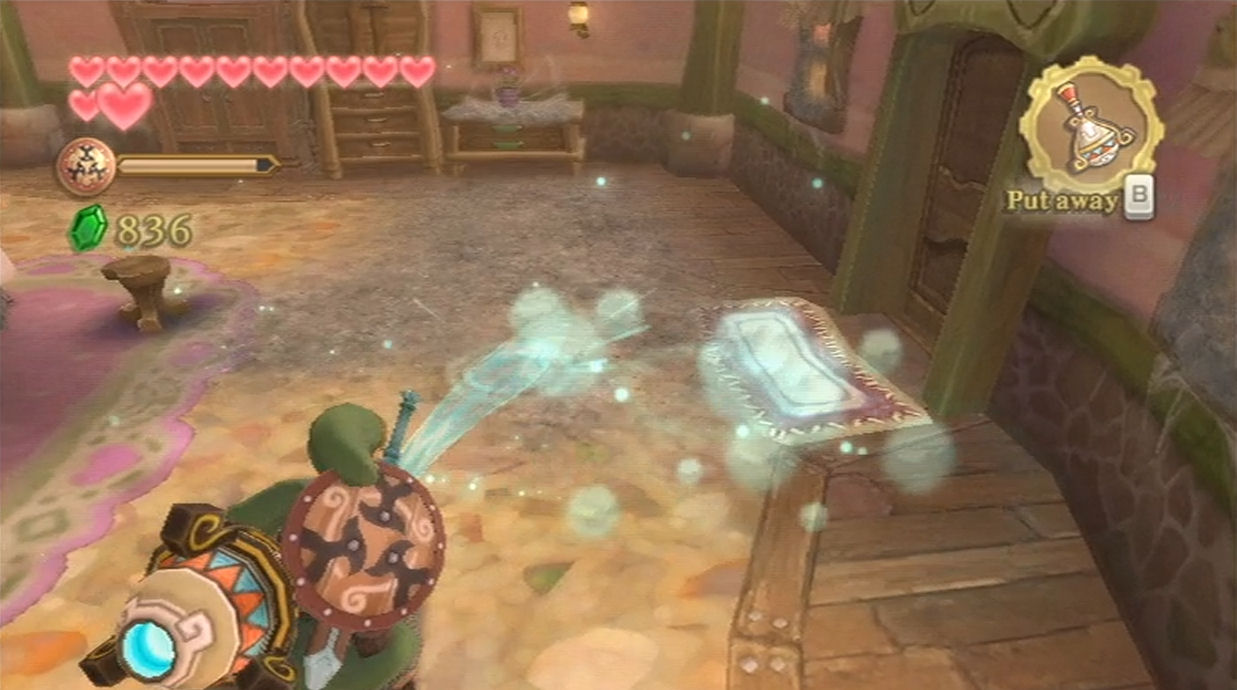
Use your newly acquired Gust Bellows to clean up the house. You have to get every single piece of dust cleaned up, including the dust on the floor and the furniture. Don’t worry if you accidentally break the pots, apparently Mallara does not mind. Don’t worry about talking to Mallara, as she will tell you once every piece has been cleaned.
After all the dust has been cleaned up, Mallara thanks you by rewarding you with a red rupee. More importantly, she will give you 5 Gratitude Crystals, giving us a total of 30 crystals!
Note, you should have 30 Gratitude Crystals by now. If you do not, be sure to check out our Gratitude Crystals Guide to get all the early crystals in. Let’s head on over and speak with Batreaux. It does not need to be nighttime for you to enter his house anymore. Speak to him and as a reward for collecting 30 Gratitude Crystals, Batreaux will give Link the Big Wallet! This will allow Link to hold 1,000 rupees. Along with the 3 additional wallets, Link can now hold 1,900 rupees.
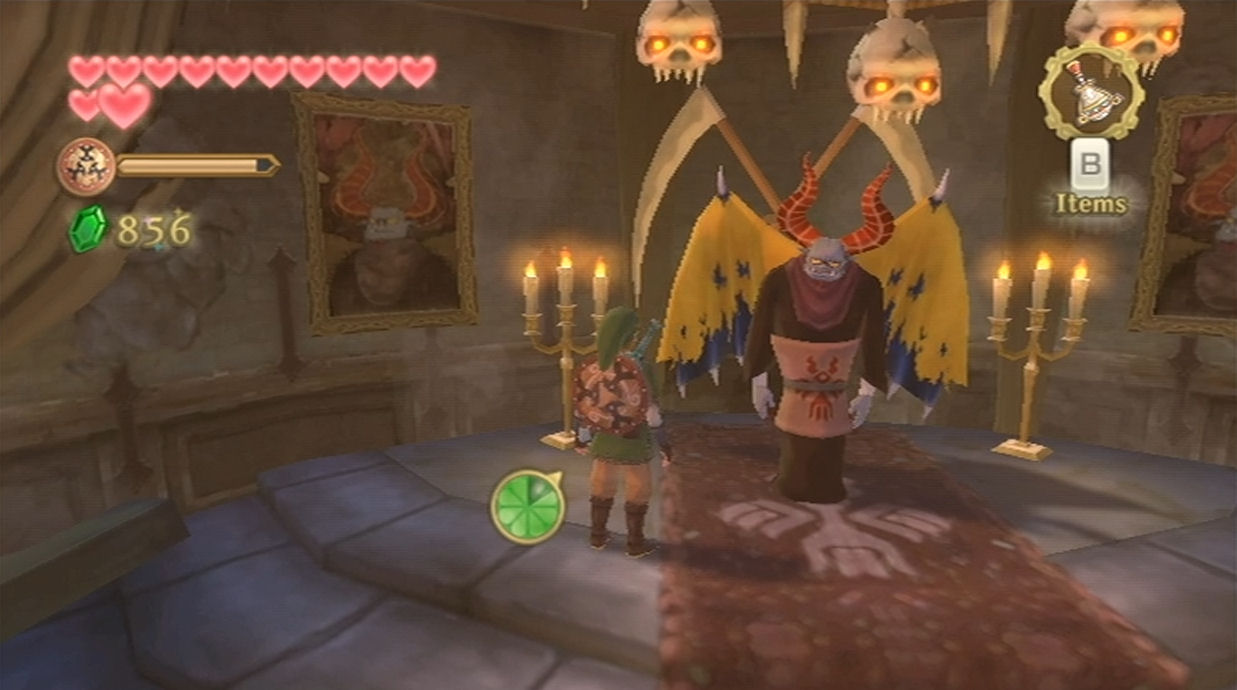
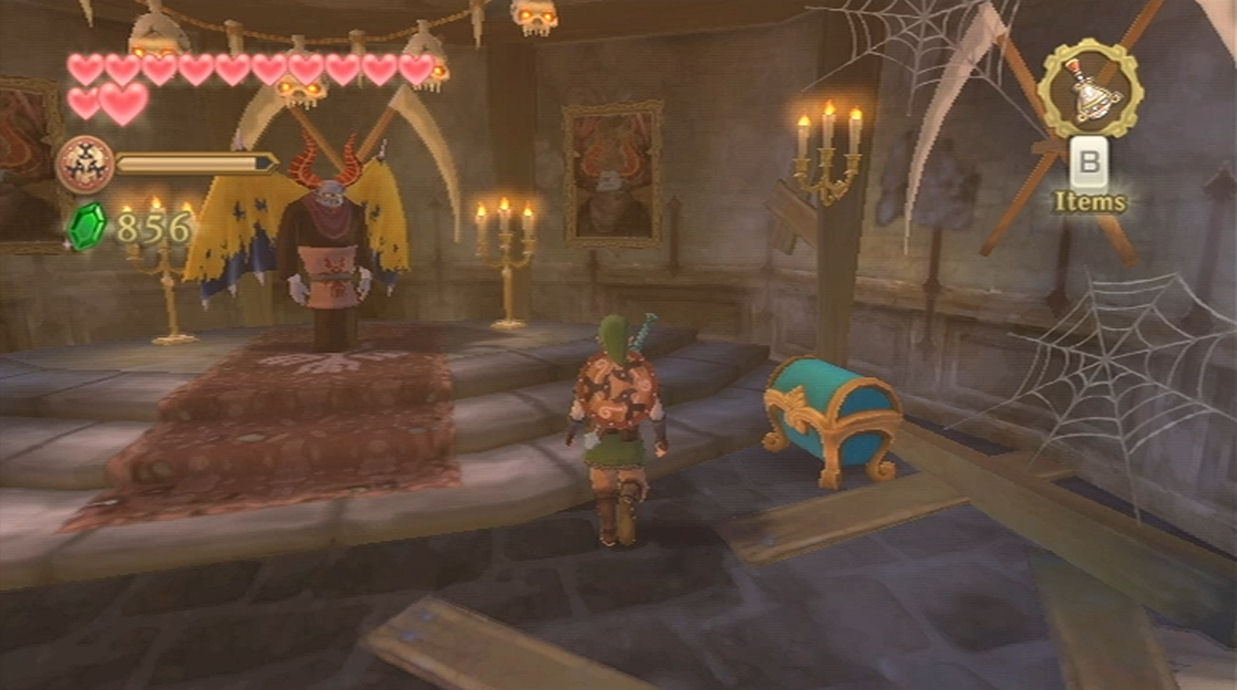
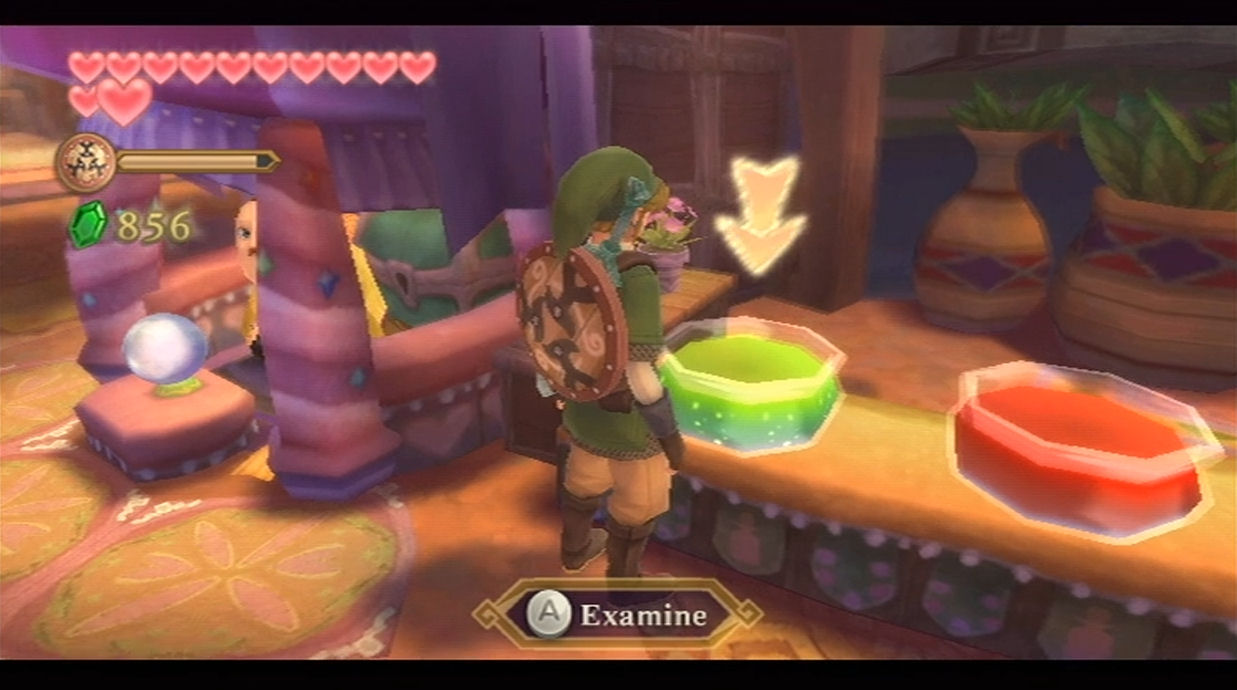
After speaking with Batreaux, a treasure chest will appear within his room. At first Batreaux tries to talk you into not opening it, but eventually you can do so to get the Cursed Medal! When holding the Cursed Medal, rupees and treasure will appear more often, but the curse prevents you from opening your adventure pouch. Really, if you have the Treasure Medal already, I don’t think the Cursed Medal is of much use as the restrictions are too stiff.
You can make your way over to the Bazaar and speak to the Item Bank Teller. She is growing quite fond of you now that you are a frequent visitor. Anyway, make the necessary trades, like dropping off the Cursed Medal.
Our next quest involves our pal Fledge. He’ll be just outside of the Knight Academy and depending on when you last spoke with him, he might say something different. He mentions that he is training at nighttime to become strong. If you head to Fledge’s room at night time you’ll see him doing some push ups. He’s trying to work out so that he can become stronger, but he gets tired too quickly. He hopes that there was a potion that could give him stamina so that he could find that extra bit of strength.
What you need to do is purchase some Stamina Potion from the Potion Shop at the Bazaar. It only becomes available after completing the Lanayru Mining Facility. Stamina Potion costs 50 rupees and you’ll need an empty bottle to store it in. You are going to need to purchase at least two Potions for the duration of this side quest, so you might as well grab the second one now if you have the empty bottle.

Return to Fledge’s room at nighttime and speak to him. Agree to give him the Stamina Potion and he’ll drink it up before continuing his routine. You can speak to him again at nighttime and again during the day, and he mentions that he is going to continue training. Unfortunately, this is as far as we can go with this side quest for now. We’ll have to progress in the game and once we return to Skyloft, we can complete Fledge’s side quest.
If you’ve been following along with the guide and collecting all the rupees, you should have near 600 rupees. Now is a good time to purchase an additional Adventure Pouch from Beedle. However, if you don’t have enough rupees what you can do is sell some of your treasure. If you enter Rupin’s House at nighttime, the one closest to the Graveyard, he’ll offer to buy certain treasures each night. It changes from night to night, but luckily there is a bed in the room. If you got the Treasure Medal you should be grinding some Jelly Blobs so that is the ideal treasure to sell. Make a stop at Beedle’s Air Shop and he’ll have these goodies for sale.
Bug Medal – 1,000 Rupees
Piece of Heart – 800 Rupees
Adventure Pouch Slot – 600 Rupees
8.2 Sealed Grounds
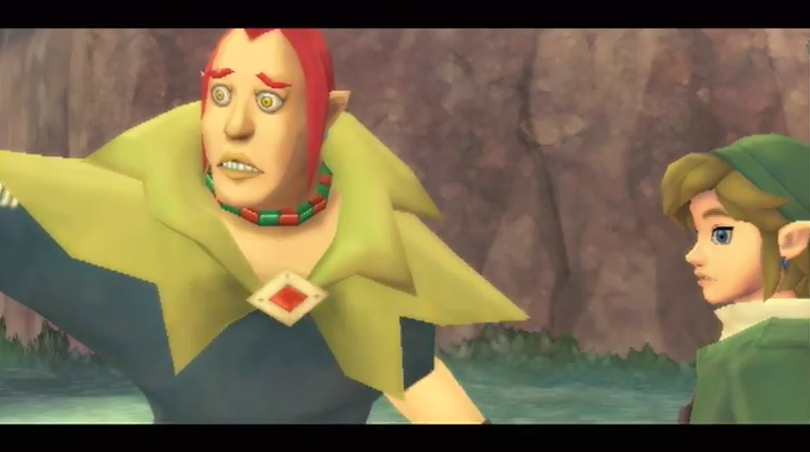
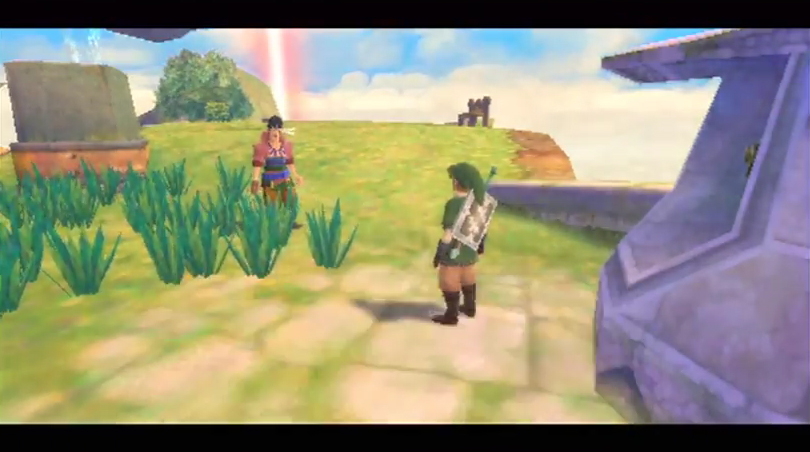
Once you are ready to go, jump on your bird and fly towards the Faron region. As you try to land you will be joined by Groose. After a lengthy cutscene, Groose will run off to the Sealed Temple. Afterwards, you’ll find Gorko the Goron in this area and if you chat with him, he’ll talk about special walls that respond to music, as well as talking statues. No further details just yet, but this will come into play in just a few moments. Also, there are some birds nearby in this area, so you can snatch them up with your bug net to get some bird feathers.
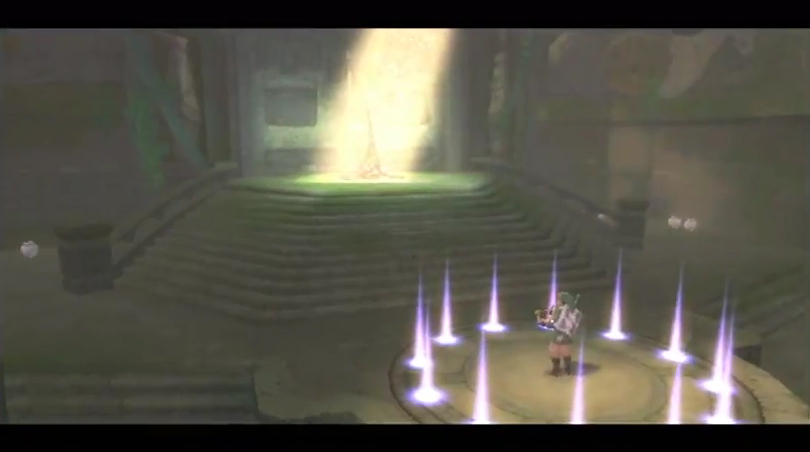
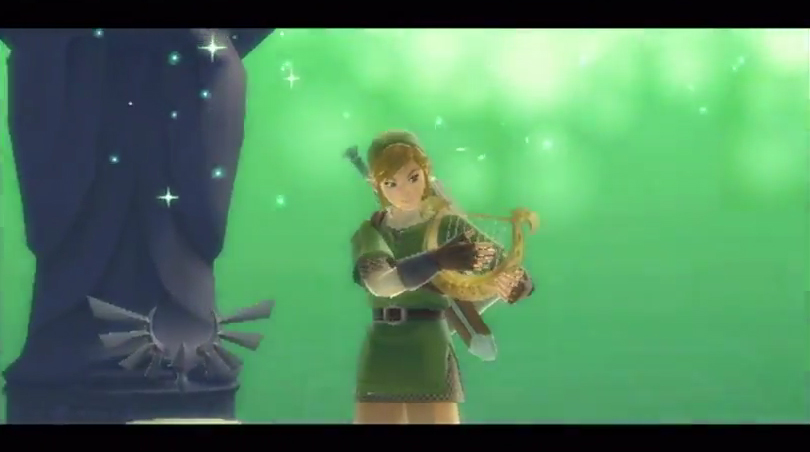
Follow behind Groose to the Sealed Temple and you’ll join with the old woman for another cut-scene. You will learn that the woman that is traveling along with Zelda is Impa. The Old Woman will teach you how to play the Goddess’s Harp that we just got from Zelda over at the Temple of Time. To strum the harp, just hold the ‘A’ button and move your Wiimote. After the basics, the Old Woman will teach you the Ballad of the Goddess. This will cause the Gate of Time to appear within the Temple.
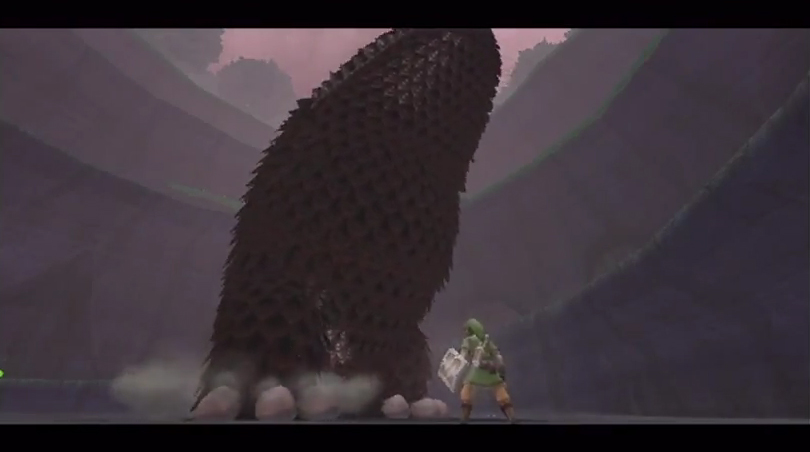
Before the Old Woman can finish talking, a loud noise will come from the Sealed Grounds. Exit the Sealed Temple and jump down to the lower level of the Sealed Grounds. Walk over to the sealing spike and a gigantic monster will come out known simply as “The Imprisoned“. This will trigger an overworld boss battle.
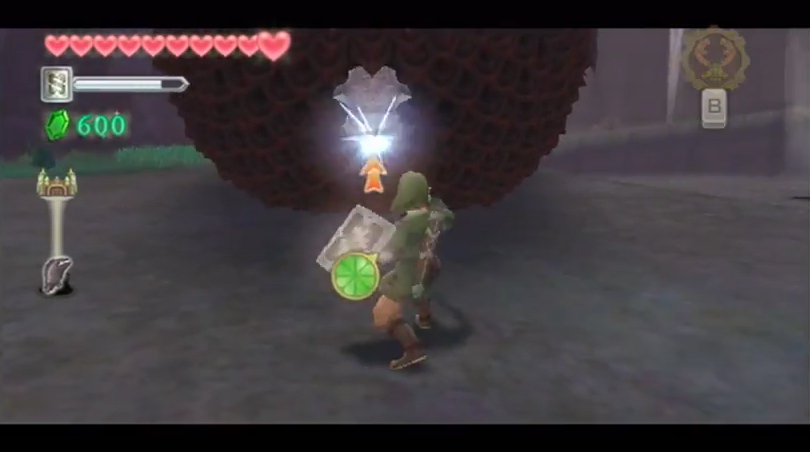
The Imprisoned will start marching up the Sealed Grounds with the goal of reaching the Sealed Temple. The Imprisoned has four large toes on each foot. Three of them are in the front and one of them is in the back. The Imprisoned will take large steps, trying to crush Link, but luckily they are easy to avoid. From time to time, The Imprisoned will give out a red shock with its step, covering a small radius beyond its normal foot stomp. What you need to do is slash away at the toes of The Imprisoned and once all eight toes have been eliminated, the monster will fall to the ground.

As soon the The Imprisoned falls to the ground, run on over to its head and deliver three sword slashes to the Sealing Spike to drive it into the Imprisoned. You must strike it from below, so that the spike goes into its head. Alternatively, you can skip attacking the toes, and instead jump onto its head from a ledge above it. In this case, you must strike the spike from above to shove it into its head.
Afterwards, The Imprisoned will fall on its stomach and start rolling its way up the circular area. Run on over to one of the nearby wind gusts and the wind will take you to a higher level. The Imprisoned will eventually stop and start walking once again. Repeat the same process of hitting its eight toes and then strike the sealing spike.

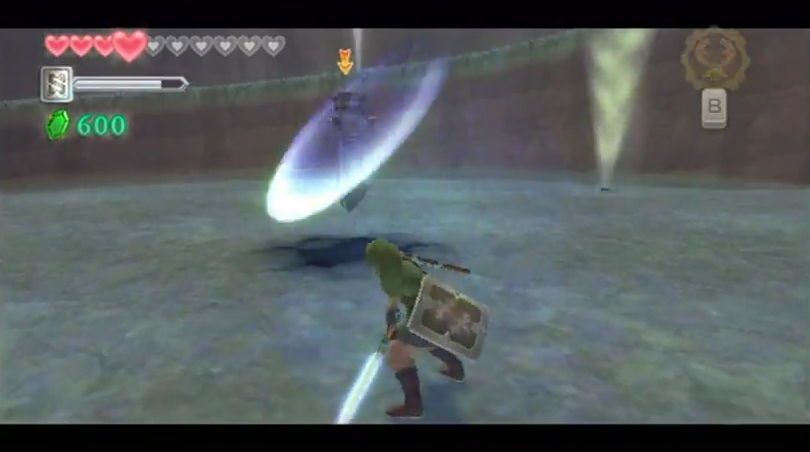
During the third time, The Imprisoned will unleash a red charge each time it stomps its foot. Just be a bit conservative with your attack style, running away from its foot when it’s about to stomp. After 9 total strikes to the sealing spike, The Imprisoned will be sealed. Jump down and deliver a Skyward Strike to restore the seal once again. You’ll have to swing your Wiimote in the direction that is blinking on the screen. Perform the three sword slashes and the seal will be restored.
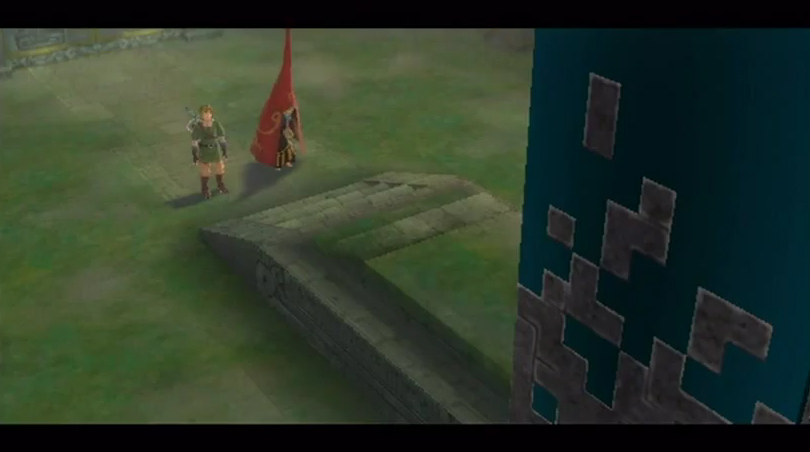
Another cut-scene ensues, and the old woman says your must find the three sacred flames to restore your sword to full power. The Ballad of the Goddess is the key to restoring these flames. Somebody in Skyloft is set to help us out. Exit the Sealed Temple to the east and make your way to the bird statue.
Gorko the Goron will have found one of those special locations where Blessed Butterflies can be found. Walk up to where the butterflies are and play the Goddess’s Harp, causing a talking statue to appear. After some chatting with Gorko, use the bird statue to return to the sky and head back to Skyloft.
8.3 The Light Tower
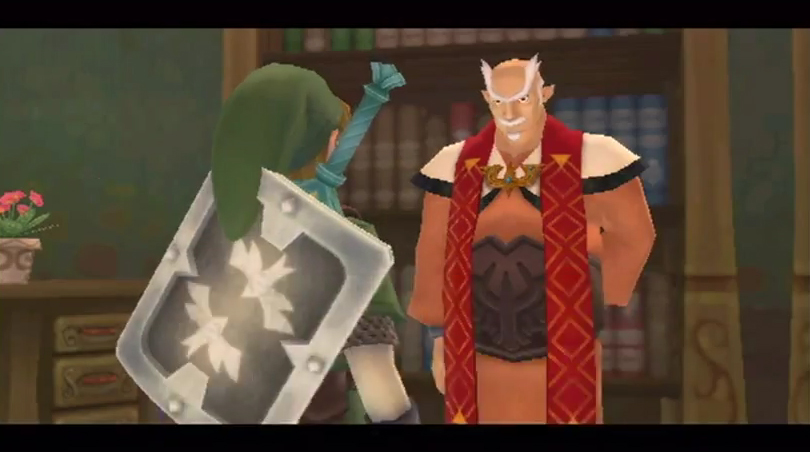
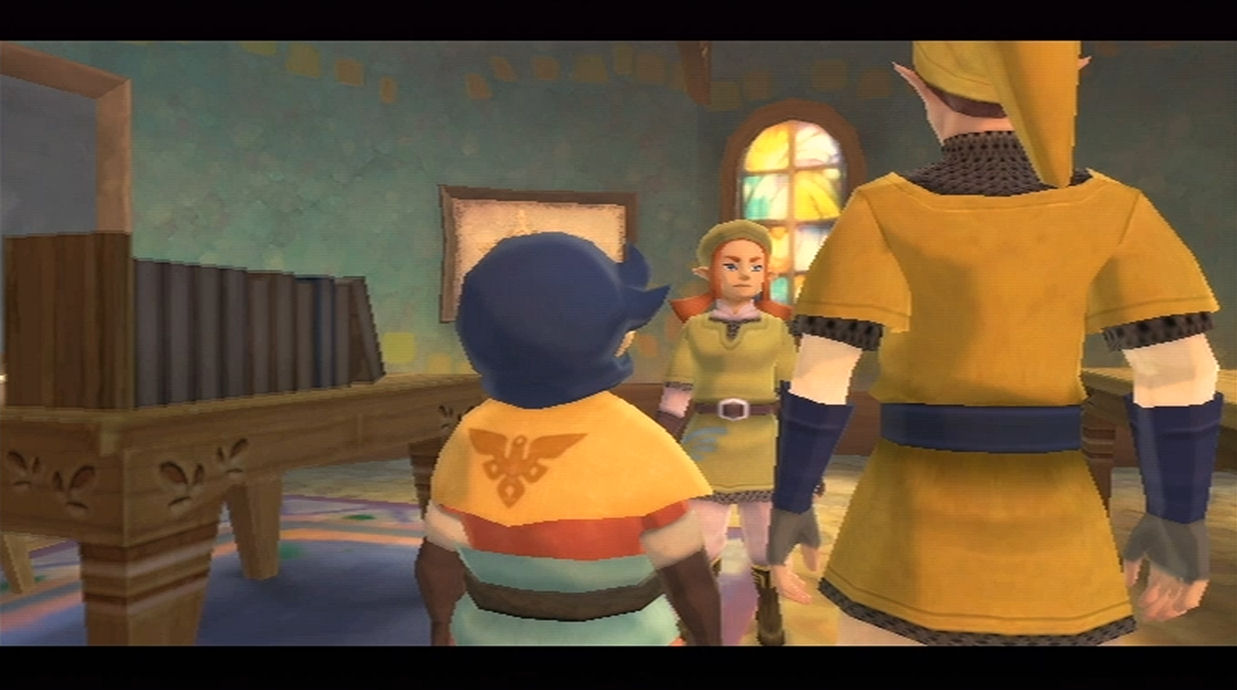
Somebody in Skyloft has the information we need. Once you land back in Skyloft head on over to the Knight Academy. Enter Gaepora’s room on the second floor and Link will ask about the lyrics to the song Zelda sang at the Wing Ceremony. Gaepora will give you the lyrics of the first two verses, but we find that the Light Tower in Skyloft is the real place. The clue here is “two whirling sails”. Exit the Knight Academy along the first floor.
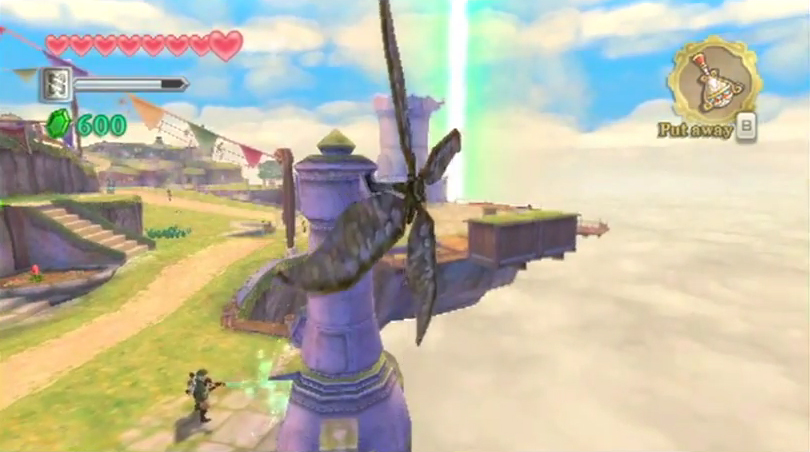
Walk down the gate to the right and make your way over to the Light Tower. Along the way you will see a windmill on the right side. There is a propeller on its backside and if you use the Gust Bellows, you can turn the Windmill. Turn it so that it is facing the Light Tower.
There is a second windmill at the east side of Skyloft, so on run on over. Once you arrive you’ll find that it is missing a propeller from its back. Jakamar can be found right next to the windmill and he tells of a story of how the propeller fell down to the land below. Jakamar suggests that Gondo at the Scrap Shop once had a flying robot that was able to retrieve items from below the clouds.
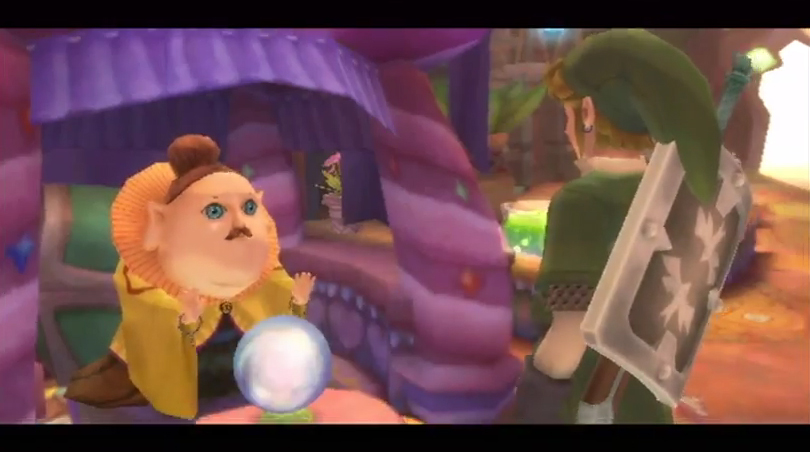
Run on over to the Bazaar and speak with Gondo, the Scrap Shop owner. He mentions that he needs an ‘Ancient Flower’. If you’ve been following along, we picked up a couple of these over at the Lanayru Desert. If you didn’t get one, there is one right by the first mine cart when you warp to the Temple of Time and activate the timeshift stone. Give Gondo the Ancient Flower and it will bring Scrapper the robot to life.
Fi will appear and the propeller will be assigned to one of the your dowsing abilities. After some discussion, Scrapper agrees to do anything Fi asks of him. Once you are all done chatting, leave the Bazaar and jump off of Skyloft. Call your loftwing and fly on over to the Eldin region.
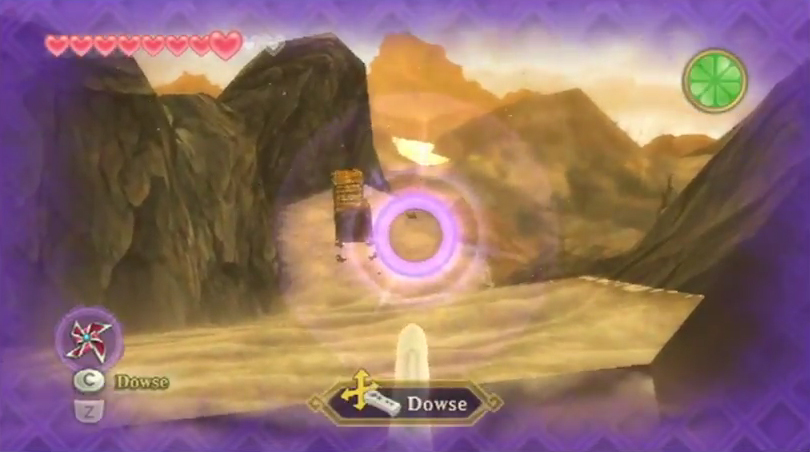
Once you arrive, you want to land at the Temple entrance. You can use your dowsing mechanic to find that the propeller is nearby. Walk just to the west of the entrance and follow this pathway. Slide down the sand and you’ll see the Propeller just to the side. Walk on over to it and examine it. Fi will call Scrapper and he’ll come and lift the propeller for you. Return to the bird statue and then head back to the Sky.
Fly towards Skyloft and as you draw nearer, Link will automatically touch down near the windmill. Scrapper will be right behind and he will drop the windmill propeller in place. Jakamar will fix the windmill propeller, making the windmill operational once again.
Pull out the gust bellows and blow the propeller. Turn the windmill so it is facing the Light Tower. Now that both windmills are facing the Light Tower, the top of the tower will expand.
Run on over to the tower and climb the ladder. Stand in the center of the area and pull out the Goddess’s Harp by pressing up on the D-pad. Start strumming the harp and this will trigger a song sequence. Strum the harp to the pulsing of the circles on top of the Light Tower. Once all the lights have been lit up, Fi will sing and a light will shoot out from the Light Tower, pointing towards the northwest corner of the Sky. This light will pierce that strange wall of clouds that took up the northwest portion of the map.


Jump on your loftwing and ride in the direction of the blue light.
8.4 Inside the Thunderhead
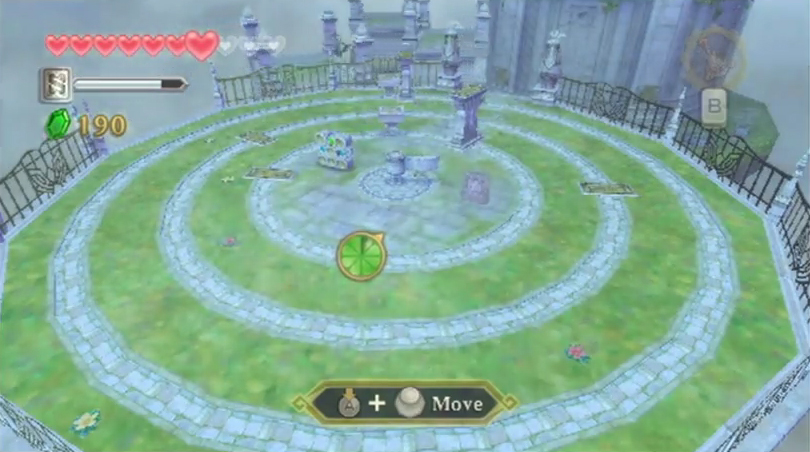
Fly on over to the island in the sky where the light is pointing to. Fi points out that you have landed on the Isle of Songs. You’ll immediately be met with quite the puzzle just to enter the large structure. You can read the nearby stone tablet and it tells you to rotate the center pedestal to complete the bridge.
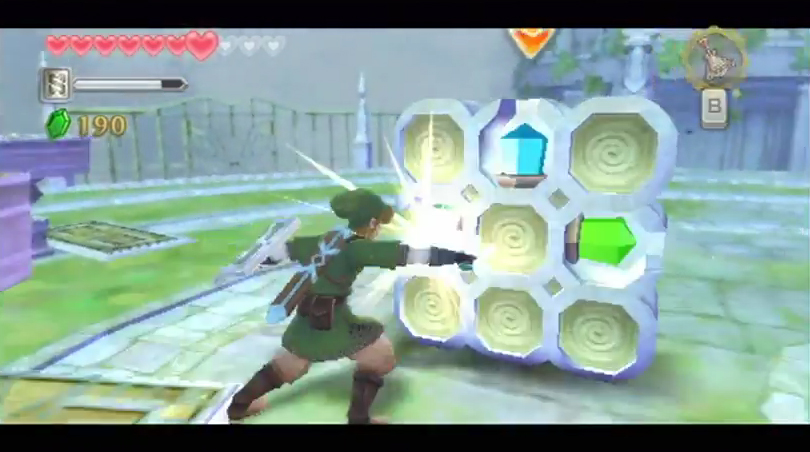
There is a bar that you can rotate in the center of this area, and it will move the small rectangular blocks clockwise. Your goal is to line up all three of the rectangular blocks and have them lead in a pathway to the large building to the north. Just to the left of this rotation device, you will find a statue with a few crystals. If you slash at any of the crystals, it will change which barriers are up.
There are multiple solutions to this puzzle but the one that I gave is what I think is the quickest method for solving this puzzle. Note, if you’ve moved any of the statues in a different order than I mentioned, then the puzzle might be out of whack for you. You’ll have to come up with your own solution, but with enough trial and error, it shouldn’t be a problem.
- Start off by rotating the center block clockwise 7 times.
- Hit the crystal that is on the right side to change which barriers are up.
- Rotate the center block clockwise 6 times to line up the blocks all in a row.
- Hit the top crystal to change the barriers.
- Rotate the center block clockwise 1 time.
- Hit the crystal on the right side once again.
- Rotate the blocks 9 times to align the bridge properly.
Crawl inside of the building, then run on over to the emblem here and deliver a skyward strike to activate it.
After a short cutscene, Link will learn a new song entitled Farore’s Courage, which can be used within the Faron Woods. Fi will also allow your dowsing ability to search for the gate leading to the first trial you must face.
Several new side quests opened up once we defeated The Imprisoned. However, much of these are optional. If you’d like to continue on in the main quest, Faron Woods is the next destination, so jump on over to Chapter 9. Otherwise check out section 8.5 for tons of side quest goodies.
8.5 Tons of Optional Sidequests
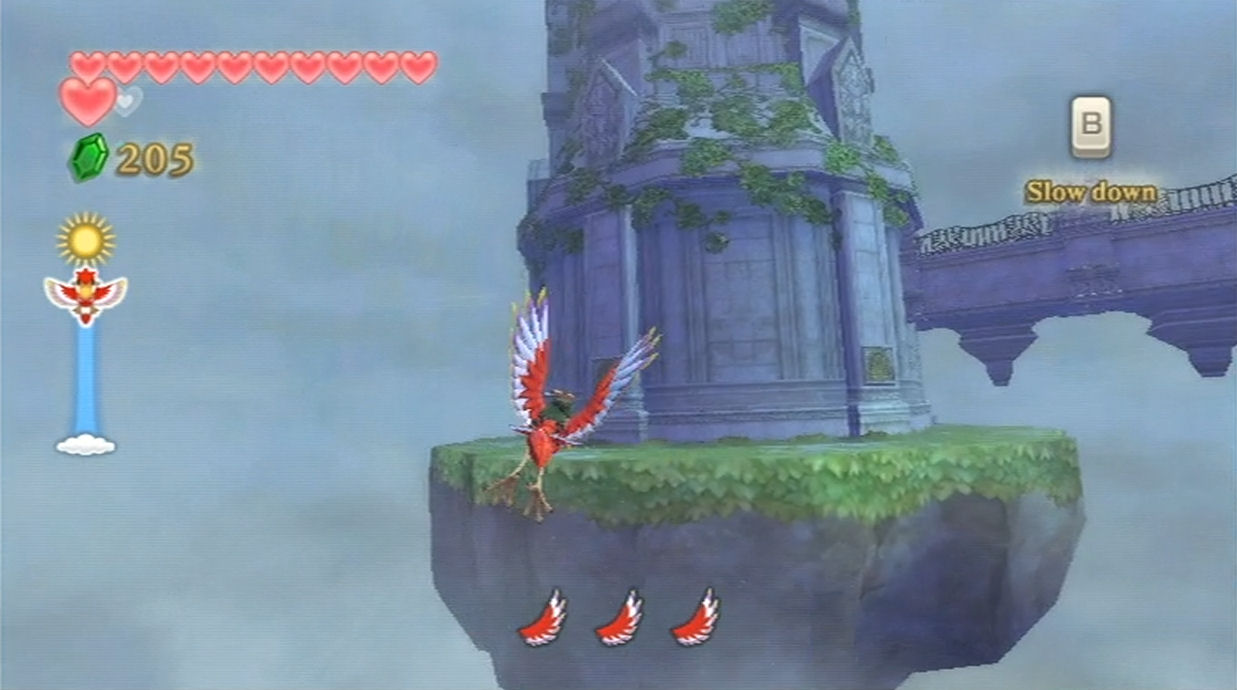
Now that we are Inside of the Thunderhead, we can access Goddess Chest #6. It is actually located right here on the Isle of Songs, but you need to jump back on your Loftwing. It is located along the perimeter of the large structure, near the bottom of the island. Ride over on your Loftwing to reach the treasure chest and open it to get a Gold Rupee.
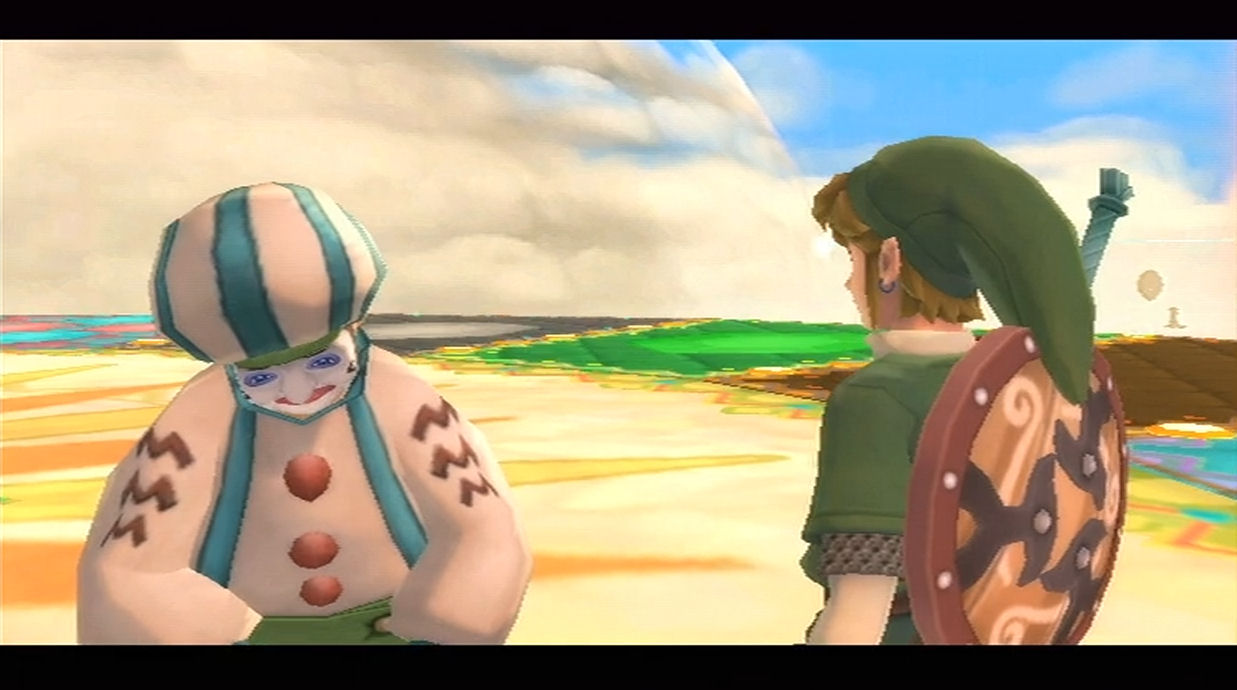
Our next stop is over at Fun Fun Island. If you haven’t been there yet, it is the colorful island found just to the west of the Lanayru Desert. Fly on over and land on the island to meet with the island’s manager, Dodoh. He’s currently in bad spirits because his Party Wheel has fallen down beneath the clouds. Thankfully, Link with his pal Scrapper will agree to retrieve it for him. Fi will register Dodoh’s Party Wheel using the dowsing mechanic. Jump back on your Loftwing and head towards the Lanayru Region.
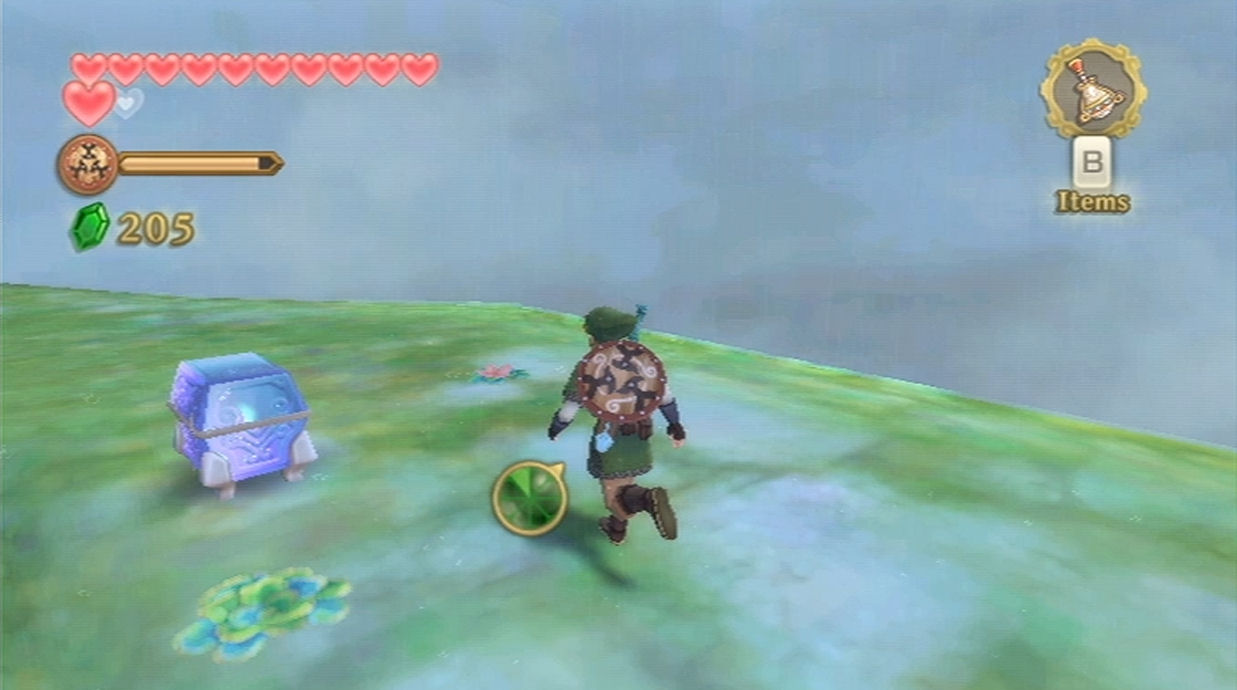
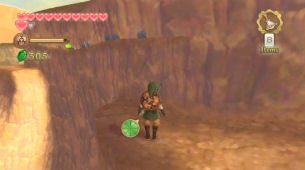
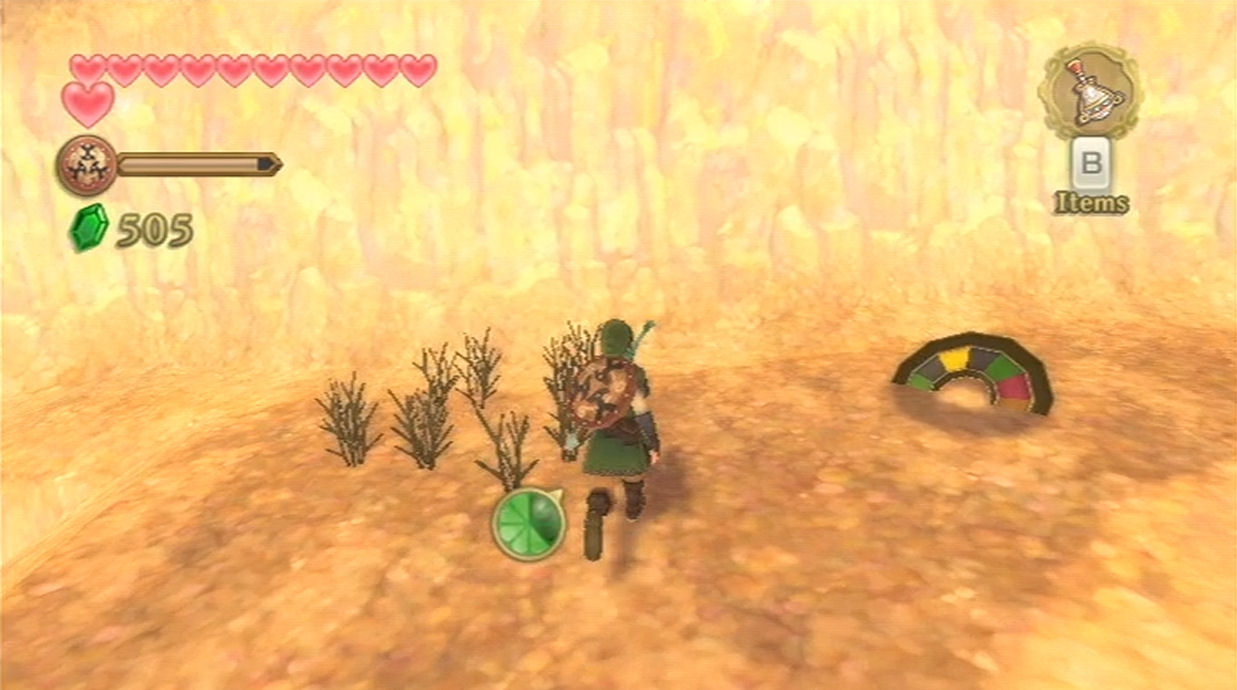
When you arrive, heads towards the Desert Entrance bird statue. Once you descend, activate the nearby Timeshift Stone that is underneath one of the boulders. Climb the vines that appear and follow the pathway against the side of the wall. There is a very narrow ledge here that Link can grab onto. Do so and climb your way over and you’ll come across a Stamina Fruit while you are halfway across. Once you see level ground below you, drop down and continue down this pathway to find the Party Wheel. Fi will call Scrapper to come and pick up the item.
Before returning to the sky, peek over the ledge to the south. It looks like it’s just a big black empty hole, but there is a ledge just below with a treasure chest. Jump on down and open it up to get a rare piece of treasure. Afterwards, run back over to the Bird Statue and return to the Sky.
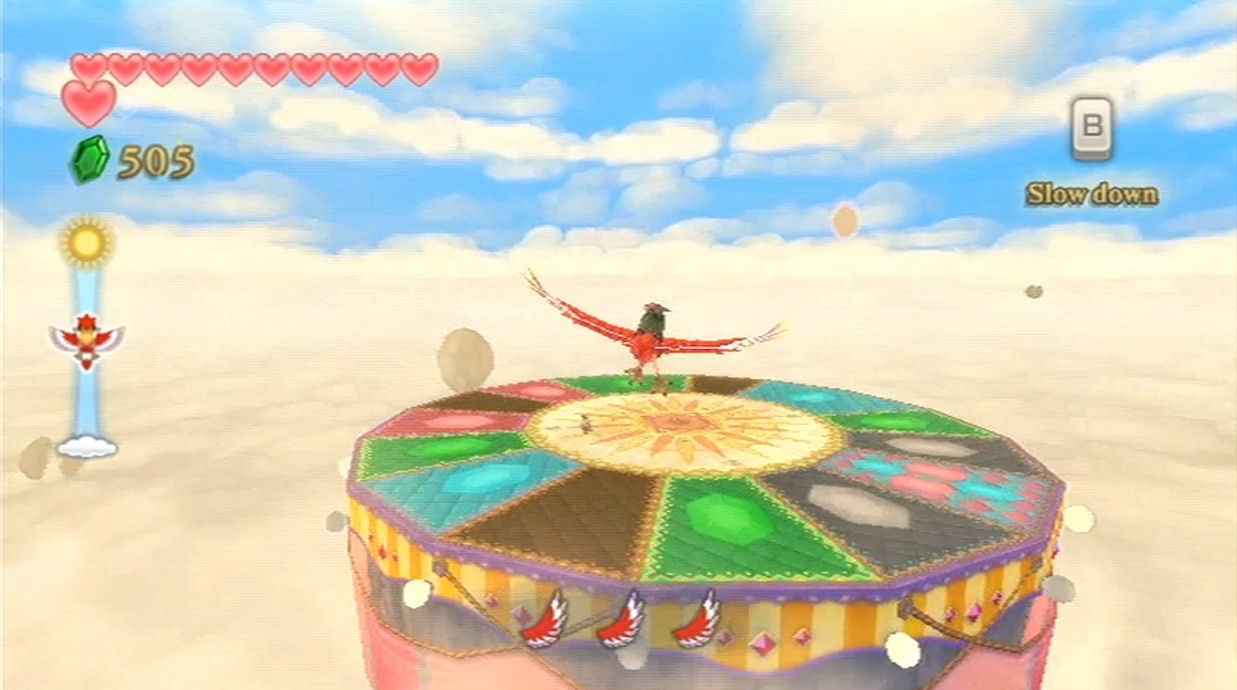
Fly back over to Fun Fun Island and Scrapper will drop the Party Wheel on the ground. Dodoh will be delighted, allowing you to be the first customer over at Fun Fun Island. Link will also get 5 Gratitude Crystals out of it!
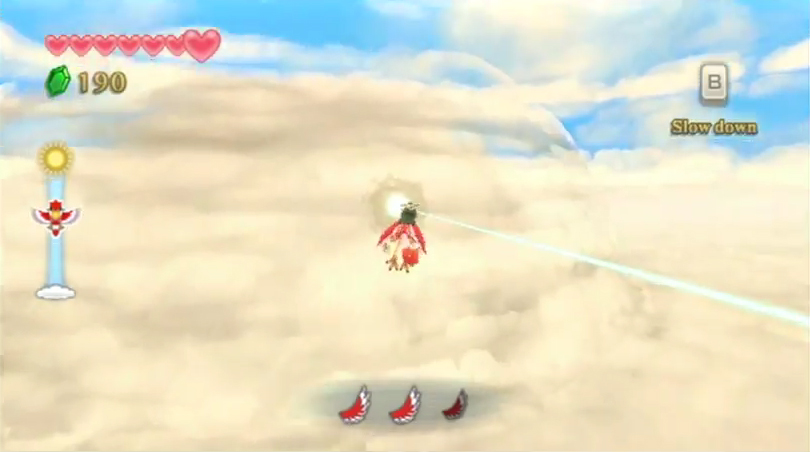
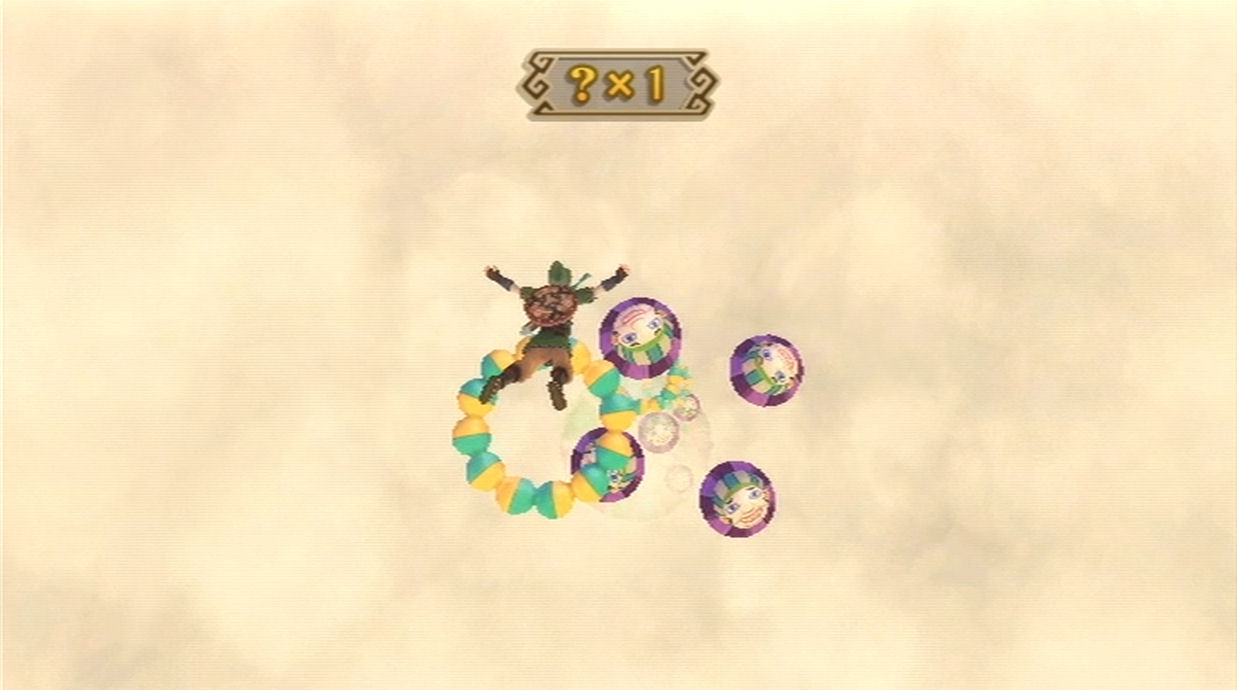
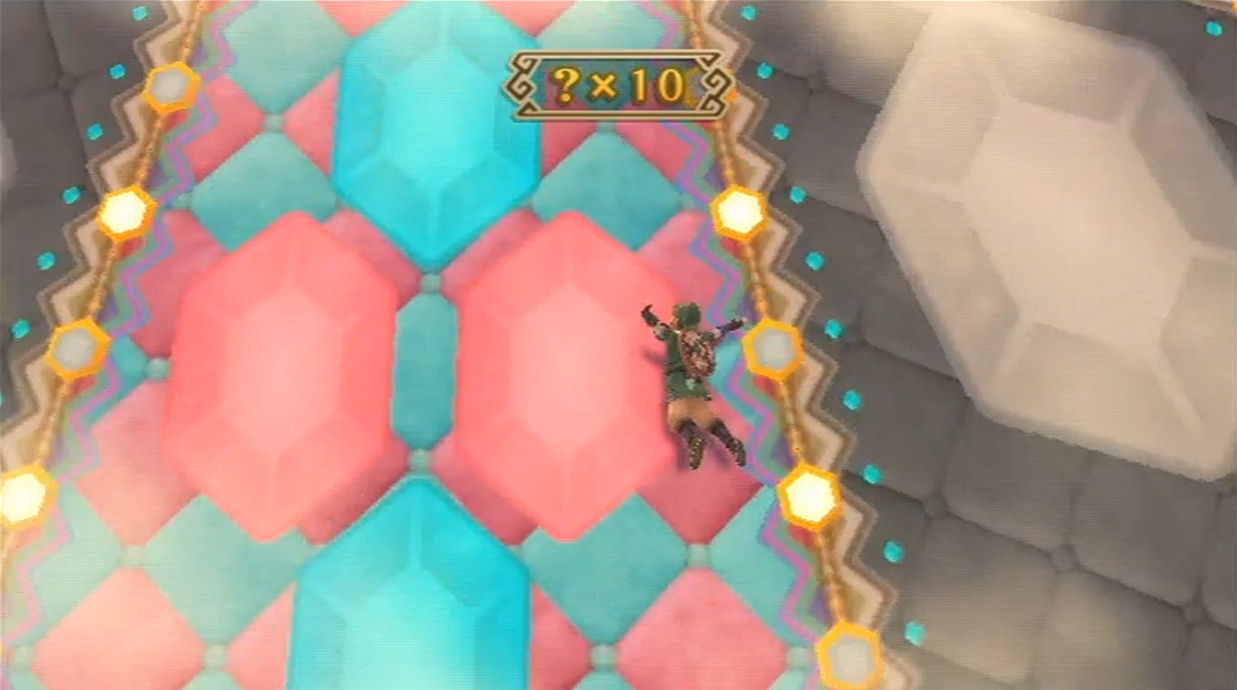
Speak to Dodoh to play his minigame. Normally it costs 20 rupees, but he’ll let you play the first game for free since you found his Party Wheel. The game is pretty simple, you’ll first shoot up into the Sky and you’ll have to glide your way through the Fortune Rings, while avoiding the balls. After all the rings, you can land on one of the colors along the island, and you’ll get that amount of rupees, multiplied by the number of Fortune Rings you went through. If you pass through all 5 of the Fortune Rings and then land on the grand spot, you’ll be rewarded with 500 rupees as well as the grand prize of a Piece of Heart! You can play this game several times in order to really rack up the rupees.
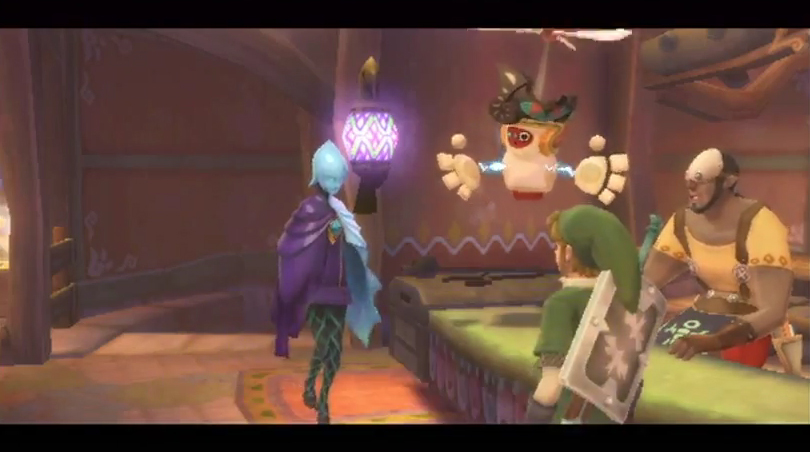
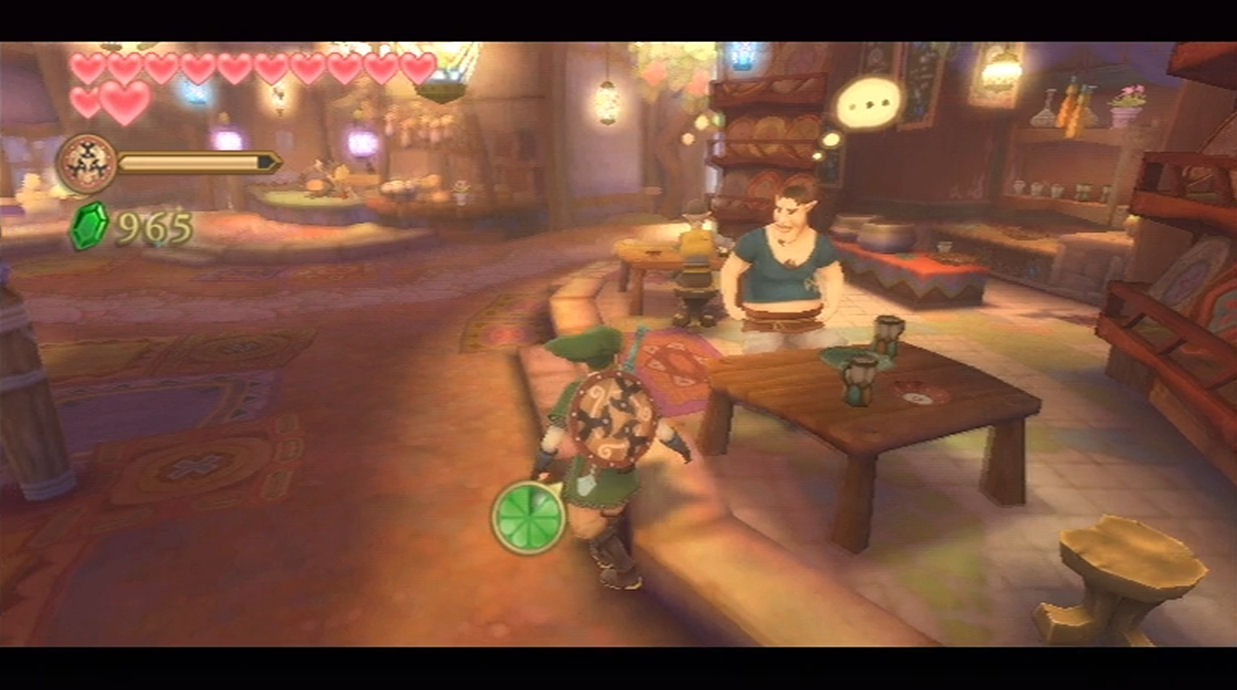
Fly back over to Skyloft and enter the Bazaar. You’ll see a bubble over the head of one of the two men who are sitting in the diner area of the Bazaar. Speak with him and he mentions that he has heard a weird rumor that people have been hearing a woman sobbing in the dormitory at nightfall. Well, let’s investigate!
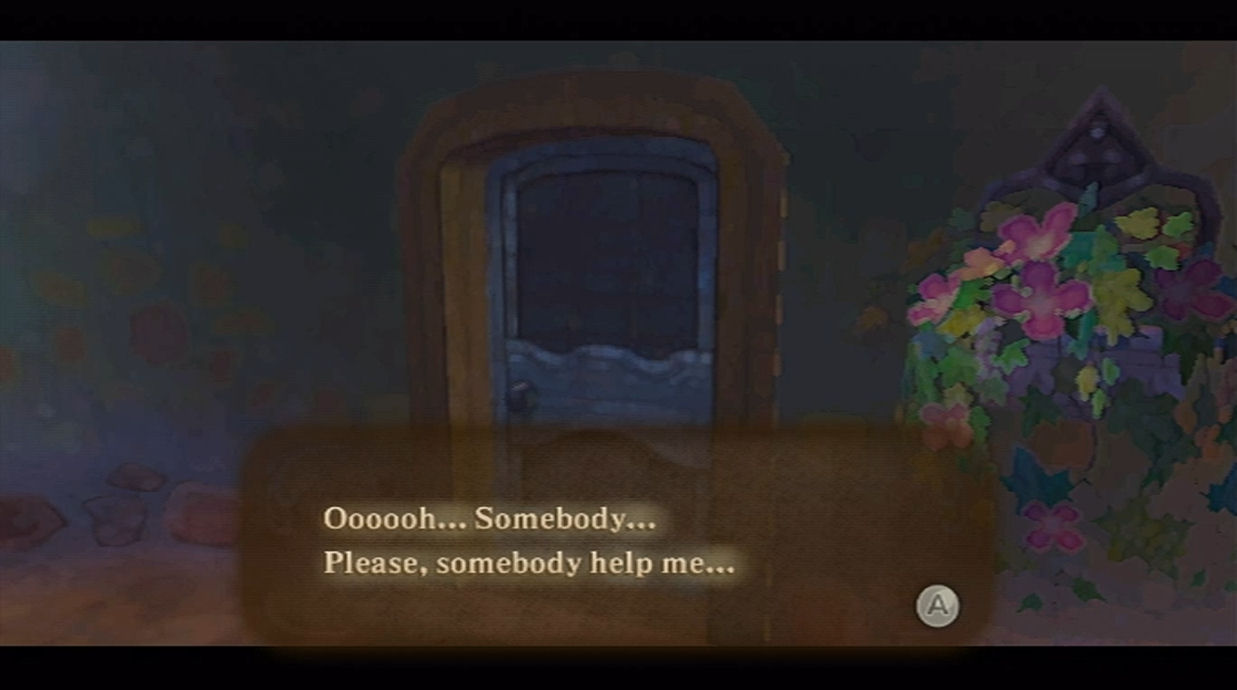
Run on over to the Knight Academy and sleep at any of the beds to make it nightfall. Run on over to the restroom and you’ll hear a strange voice crying out for help. If you try to open up the door, it is locked but you’ll hear that voice call out for paper.
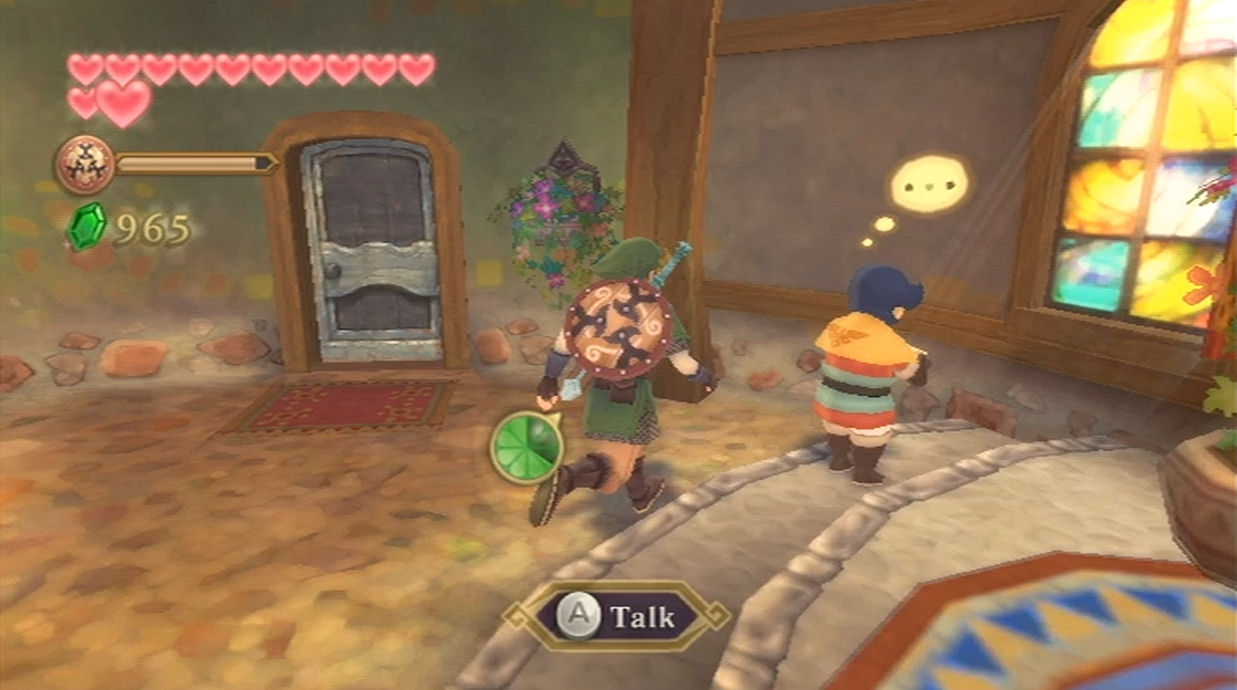
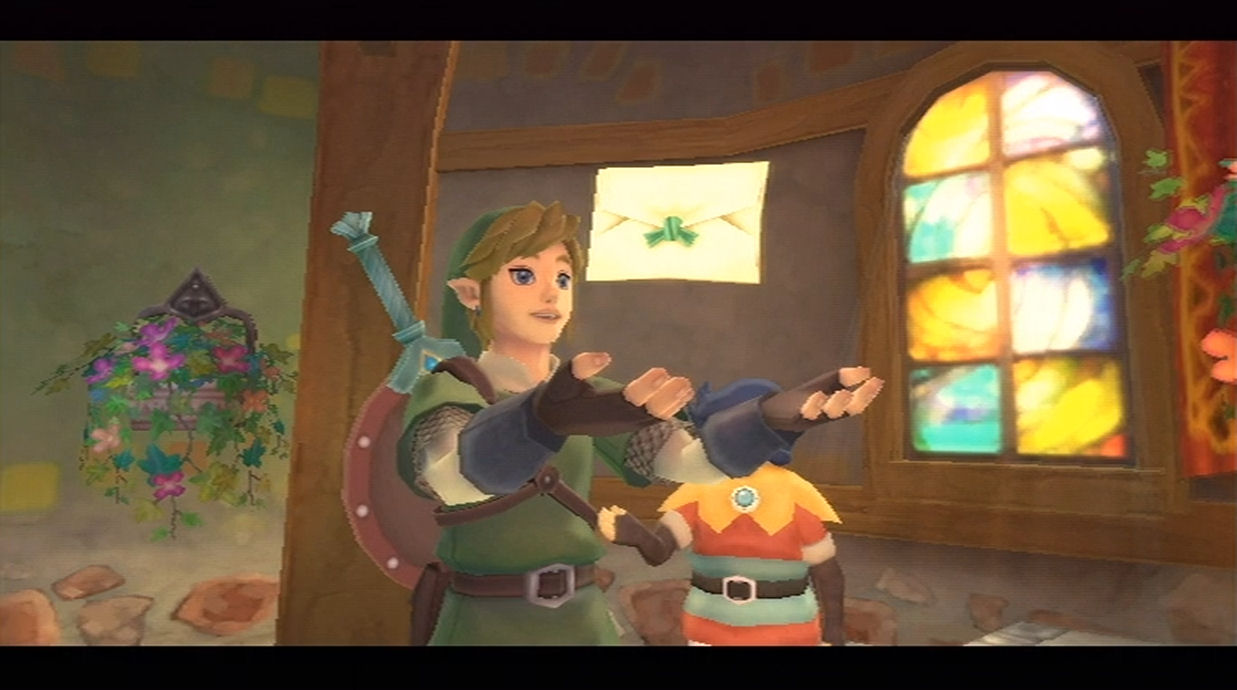
Sleep until the morning and then find Cawlin at the first floor of the Knight Academy. There will be a bubble over his head, so speak to him. He is apparently having a dilemma of sorts and asks for Link to perform a duty. He wants you to deliver the piece of paper to that special somebody. He specifically states that he does not want this to be used as toilet paper, but instead, wants you to deliver it to Karane, one of the female upperclassman at the academy.
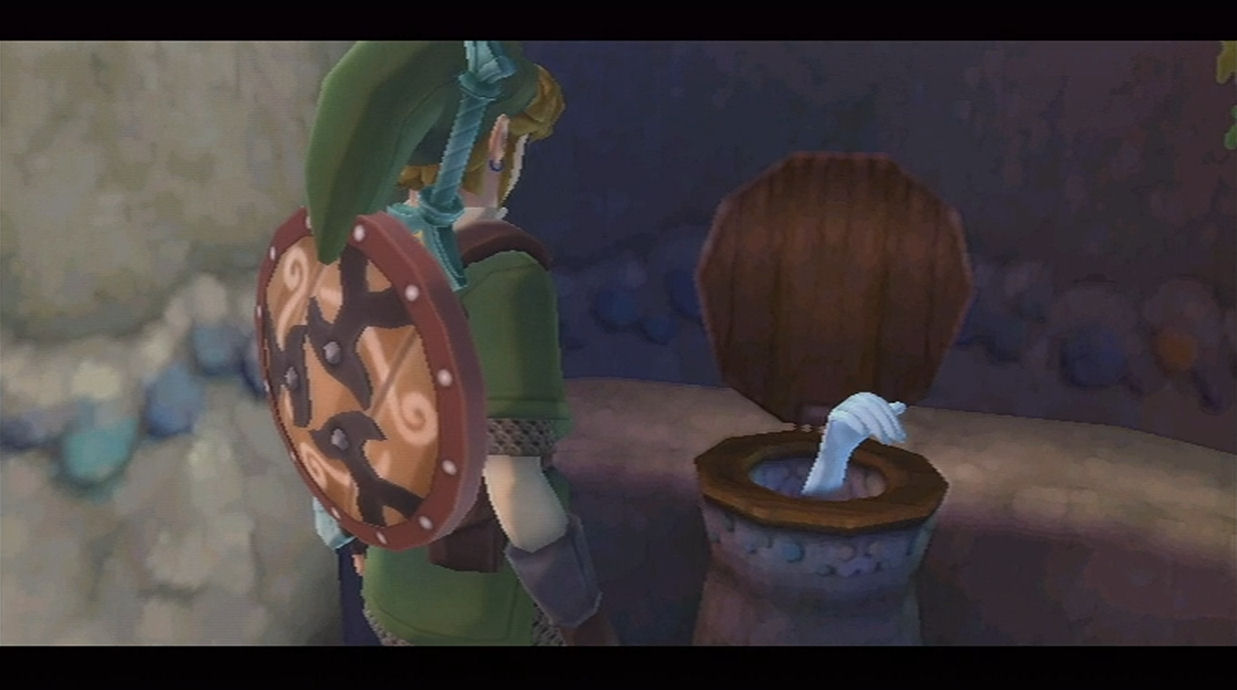
There are two options here. The first option is that you can give the paper to the woman who needs it in the restroom. The person will unlock the door for you after you try to open it up. There is a hand sticking out of the toilet and you can walk on over and give the letter to the hand.
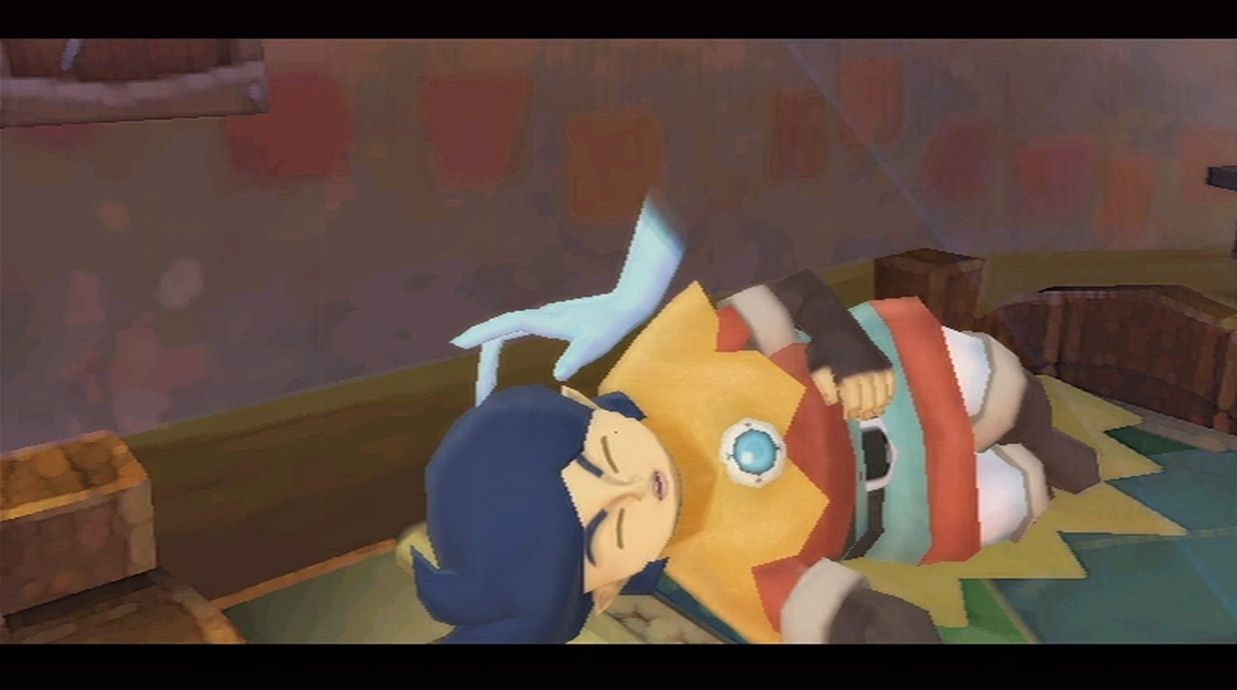
Take a nap until it is daytime and then speak with Cawlin in the Knight Academy. After hearing the news Cawlin will angrily run off to Groose’s room. You can follow him in, but you’ll see that he is quite upset. Sleep until night in one of the academy rooms and then enter Groose’s room. You’ll find that hand caressing over Cawlin who is sleeping! Run over and speak to him to earn yourself 5 Gratitude Crystals!
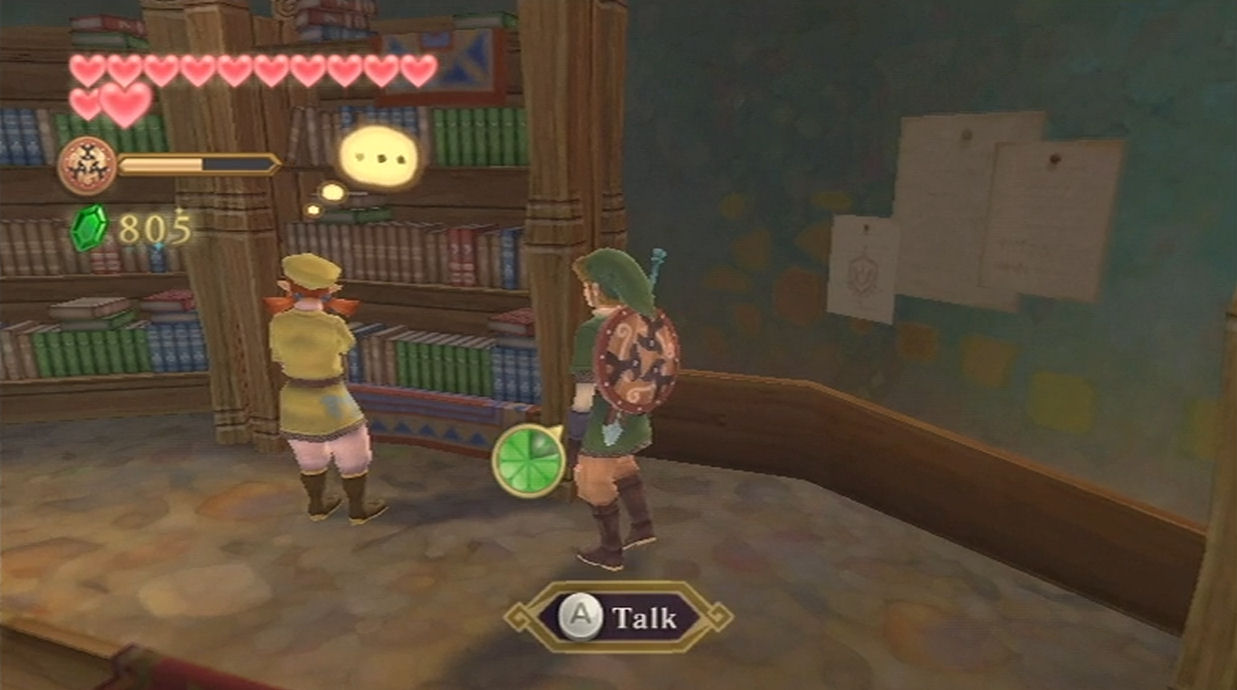
The second option is for you to deliver Cawlin’s Letter to Karane. During the daytime Karane can be found within the classroom area at the south end of the Knight Academy. After speaking with Karane you’ll find that she truly is in love with Pipit and not Cawlin. She does make the statement that it was a nice love letter.
Run upstairs to the second floor of the Knight Academy and speak with Pipit. After hearing about the letter, he sort of gives off the impression that he has feelings for Karane as well. Afterwards run back downstairs to the classroom where you will find Cawlin and Karane. After a cut-scene takes place, Pipit will join them and Karane chooses Pipit over Cawlin. After Cawlin runs off crying, Pipit will reward Link with 5 Gratitude Crystals.
Now that you should have at least 40 Gratitude Crystals, run over to the Graveyard and down to Batreaux’s house. Speak with him and in return for gathering 40 Gratitude Crystals, Batreaux will reward you with a Gold Rupee. The next goal is to collect 50 Gratitude Crystals. Unfortunately we cannot reach that goal until after the next dungeon.
After you’ve beaten The Imprisoned, return to the Bazaar and head on over to the Item Shop. Rupin has a new item for sale in the form of the Sacred Shield. This item is not nearly as durable as its Wooden or Iron counterparts, but it has the ability to handle both Fire and Electric attacks. It will also automatically repair itself when damaged. Purchase it for 500 Rupees, which you should have gotten from winning Dodoh’s minigame at Fun Fun Island.
Depending on what Treasures you have collected, you might be able to upgrade some of your items at the Scrap Shop. You might be able to upgrade the Hook Beetle, depending on whether or not you have at least two Hornet Larvae. If not, not worries, as we can get some over in the Faron region. If you’ve gotten at least 1 Evil Crystal, you should be able to upgrade your Bug Net as well. However, we will cover these upgrades again in section 5 of chapter 9.
It’s a good idea to pull out your Iron Shield once again from the Item teller. Despite the fact that we just purchased the Sacred Shield, the Iron Shield is sturdier and might be a better fit for the Faron Woods area. Furthermore, you should be able to upgrade it at this point in time. You need the following material to upgrade the Iron Shield to the Reinforced Shield.

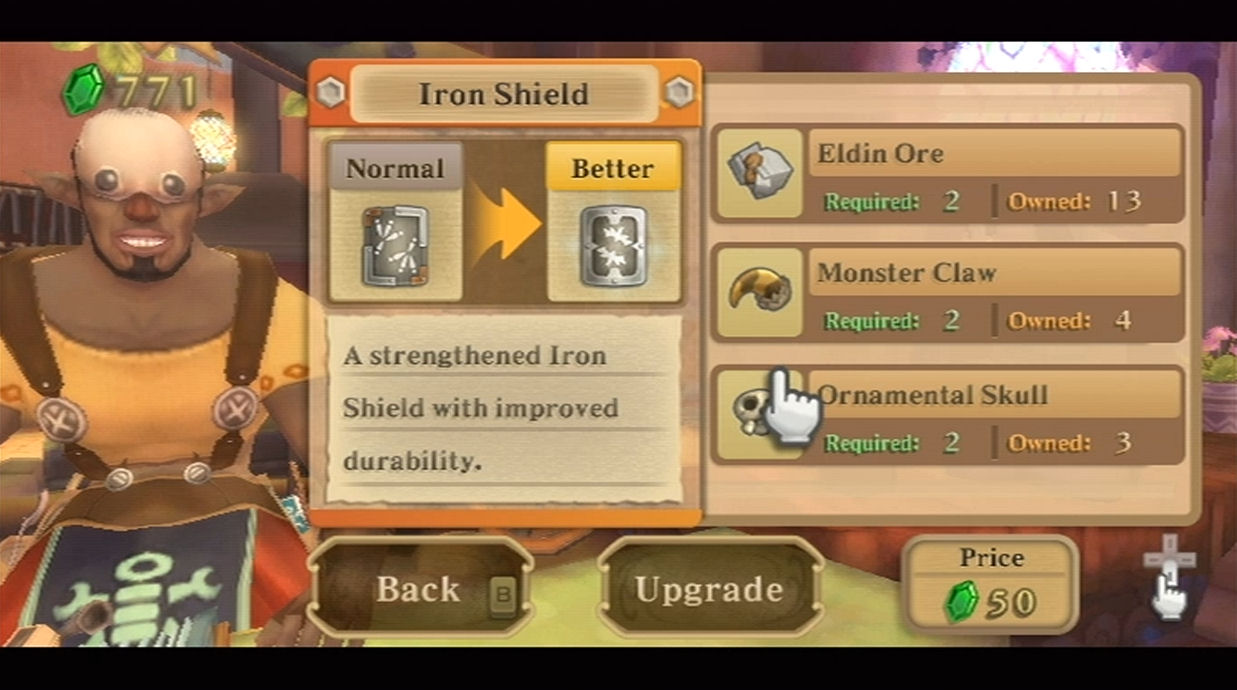
- 2 Eldin Ores
- 2 Monster Claws
- 2 Ornamental Skulls
- 50 Rupees
Much earlier in the game you might have broken the Chandelier over at the Lumpy Pumpkin. Fortunately, now that we have the Goddess Harp, we can take the steps to repair the Chandelier. Fly on over to the Pumpkin Landing and enter the Lumpy Pumpkin. If you haven’t already, run up to the second floor and roll into the balcony twice, causing the chandelier to come falling to floor.
Speak with Pumm, the owner of the Lumpy Pumpkin and he’ll demand you work off the debt to repair the chandelier. The first request of you is to deliver some Hot Pumpkin Soup over to Eagus at the Sparring Hall in Skyloft. If he gave you Hot Pumpkin Soup earlier and you didn’t deliver it, you’ll have to pay 10 rupees for it this time. You only have 5 minutes to do so, but that should be plenty of time.

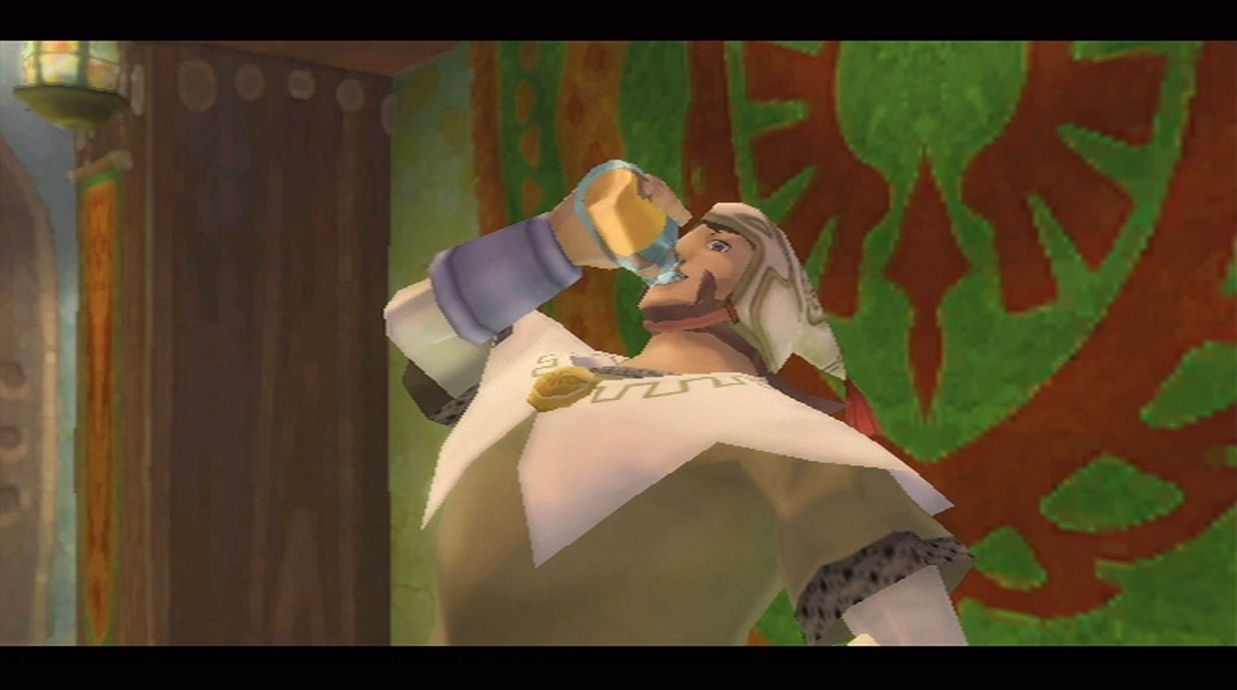
Fly on back to Skyloft and head towards the Sparring Hall at the northwest portion of the island. Speak with Eagus and he’ll sniff out the Hot Pumpkin Soup. Agree to give him the soup and he’ll drink it all up. He asks you to give regards to the owner of the Lumpy Pumpkin.
Hop back on your Loftwing and head right back towards the Lumpy Pumpkin once again. Speak with Pumm the owner and he’ll have a second job for you. This time he wants you to help harvest the pumpkins. Agree to do so and he tells you to speak with Kina out back. He wants you to carry the pumpkins to the storage shed. Exit the Lumpy Pumpkin using the door near the owner.
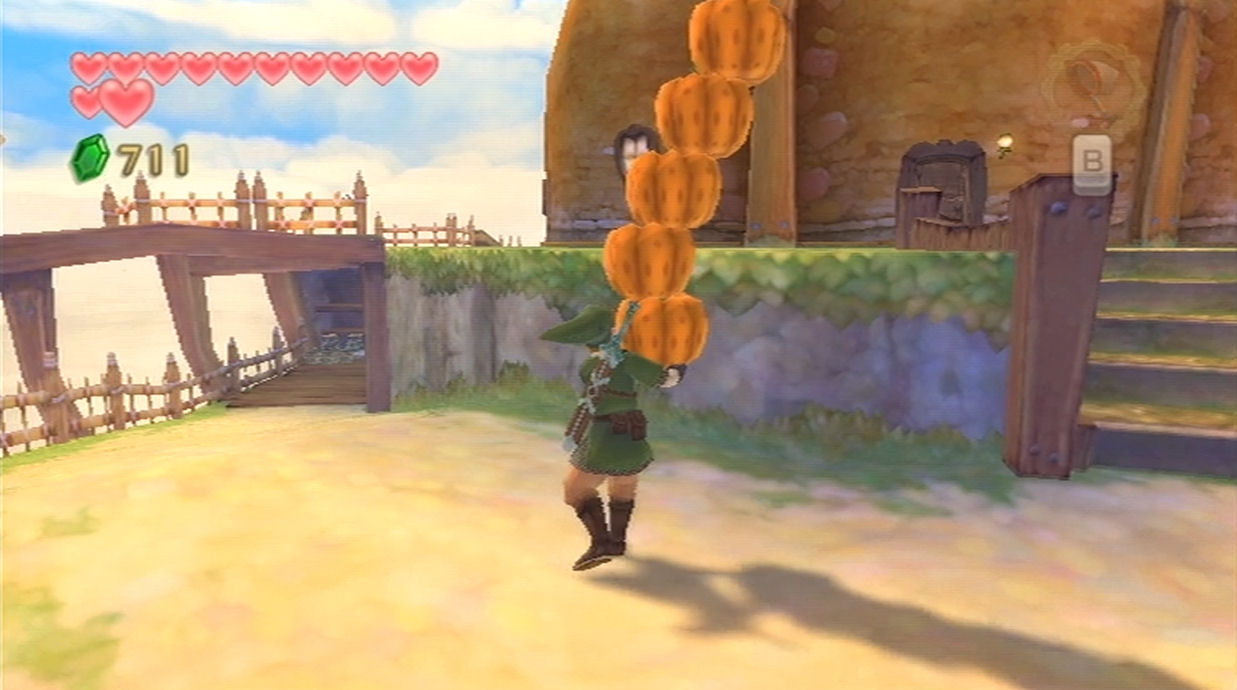

Run straight ahead and you’ll find Kina. Speak with her and she gives you the basics of what you need to do. You’ll have to carry five pumpkins at once, and balance them carefully. If they start to lean right, then move to the right yourself. If they start to lean left, then move to the left yourself. It really isn’t too hard at all. Successfully carry five of the pumpkins to the storage shed to complete this second mission.
Afterwards, head back inside and speak with Pumm once again. He makes note of the harp that you have, but mentions that the next job can only be performed at night. In the room adjacent to Pumm you will find two beds. Take a nap using one of them to make it nighttime.
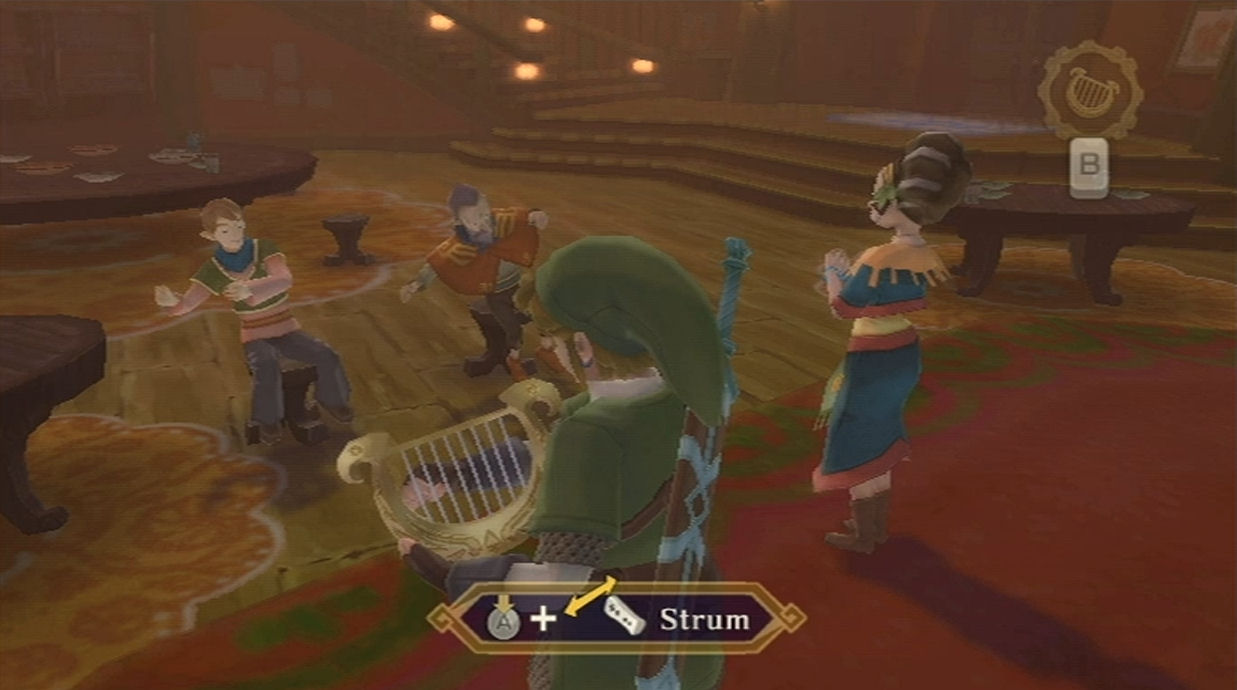
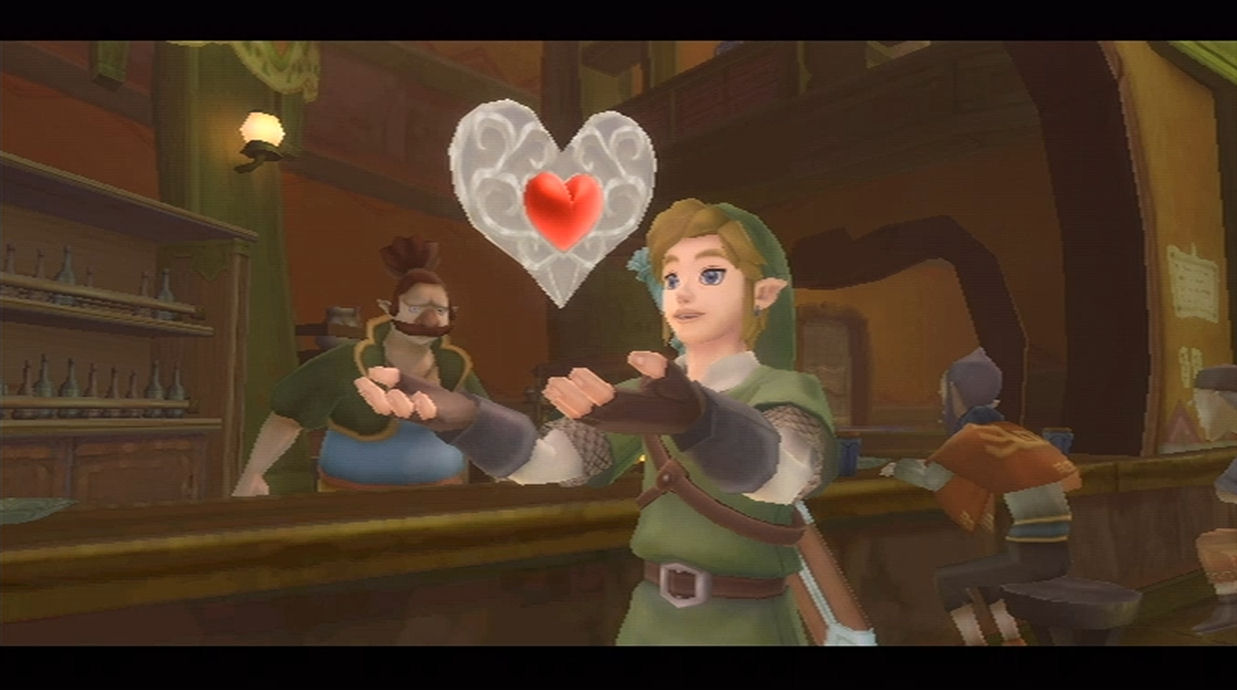
Speak with Pumm while it is nighttime and he mentions that Kina is quite the singer. Agree to do a duet with Kina. You will need to play the Harp based on the waving of the customers hands. You don’t have to be perfect, but as long as you aren’t awful, you’ll progress enough to carry on with the quest. Pumm now states that your debt has been paid and even rewards you with a Piece of Heart!
Since we are here, we might as well pick-up the two individual Gratitude Crystals here at Lumpy Pumpkin. Neither of them are hard to find or take much work to get.

- Found on the second floor of the Lumpy Pumpkin.
- Found within the Storage Shed, just down the ramp from the Pumpkin Patch.
Afterwards use the bed inside of the Lumpy Pumpkin to sleep until daytime. You can now admire the sweet new chandelier that is hanging within the Lumpy Pumpkin. I’m sure you’ll try it… but despite the amount of rolling into the railing, this chandelier will not fall to the ground. Anyway, that is all the side quests for us to do now, so let’s jump back on our Loftwing and head to the Faron Region.
- Chapter 1 – Skyloft
- Chapter 2 – Faron Woods
- Chapter 3 – Skyview Temple
- Chapter 4 – Eldin Volcano
- Chapter 5 – Earth Temple
- Chapter 6 – Lanayru Desert
- Chapter 7 – Lanayru Mining Facility
- Chapter 8 – Isle of Songs
- Chapter 9 – Lake Floria
- Chapter 10 – Ancient Cistern
- Chapter 11 – Lanayru Sand Sea
- Chapter 12 – Sandship
- Chapter 13 – Volcano Summit
- Chapter 14 – Fire Sanctuary
- Chapter 15 – Thunderhead
- Chapter 16 – Song of the Hero
- Chapter 17 – Sky Keep
- Chapter 18 – Final Showdown
