- Chapter 1 – Skyloft
- Chapter 2 – Faron Woods
- Chapter 3 – Skyview Temple
- Chapter 4 – Eldin Volcano
- Chapter 5 – Earth Temple
- Chapter 6 – Lanayru Desert
- Chapter 7 – Lanayru Mining Facility
- Chapter 8 – Isle of Songs
- Chapter 9 – Lake Floria
- Chapter 10 – Ancient Cistern
- Chapter 11 – Lanayru Sand Sea
- Chapter 12 – Sandship
- Chapter 13 – Volcano Summit
- Chapter 14 – Fire Sanctuary
- Chapter 15 – Thunderhead
- Chapter 16 – Song of the Hero
- Chapter 17 – Sky Keep
- Chapter 18 – Final Showdown
6.1 Skyloft Goodies
Now that we have completed the Earth Temple there are a couple of new goodies for us over in Skyloft. First and foremost though, lets take care of that Amber Tablet that we got from the Earth Temple. Return to the Sky and fly with your bird to land on Skyloft.

Make your way over to the Goddess Statue and head inside. Walk on over and place the Amber Tablet just aside the other tablets we’ve already placed. This will cause a yellow beam to appear from the sky leading to the next region, the Lanayru Desert.
At this point you have the option of completing some side quests right now or jumping straight into the Lanayru Desert region. If you’d like to continue with the main plot, just jump on over to section 6.2.
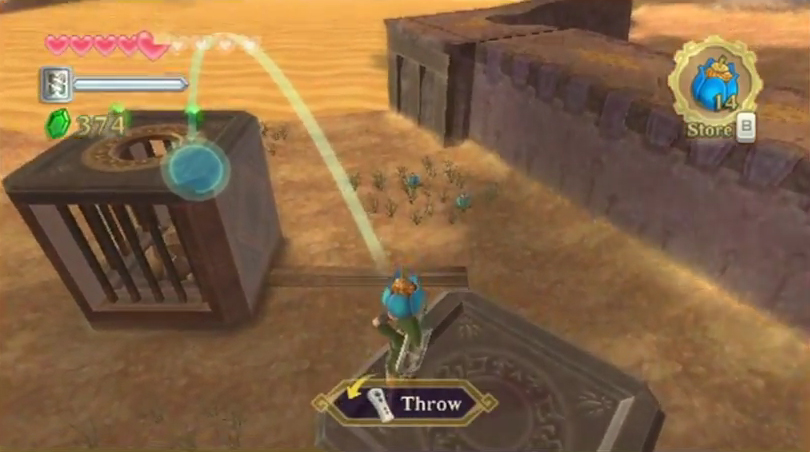
There are several Goddess Treasure Chests that we can now open up. While we activated 6 Goddess Cubes in the Eldin Volcano region of the game, only 4 of these are accessible right now and you can find them at the locations listed below.
- Goddess Chest #4 contains a Small Seed Satchel and is located at the southwest part of the Sky.
- Goddess Chest #5 contains a Silver Rupee and is located at the far northeast part of the Sky, just east of Bamboo Island.
- Goddess Chest #7 contains a Gold Rupee and is located on Bamboo Island at the north part of the Sky.
- Goddess Chest #8 contains a Treasure Medal and is located at the easternmost portion of the northeast part of the Sky. Land on the higher level of this island and then climb down the vines. Work your way over to the treasure chest that is behind the gated area.
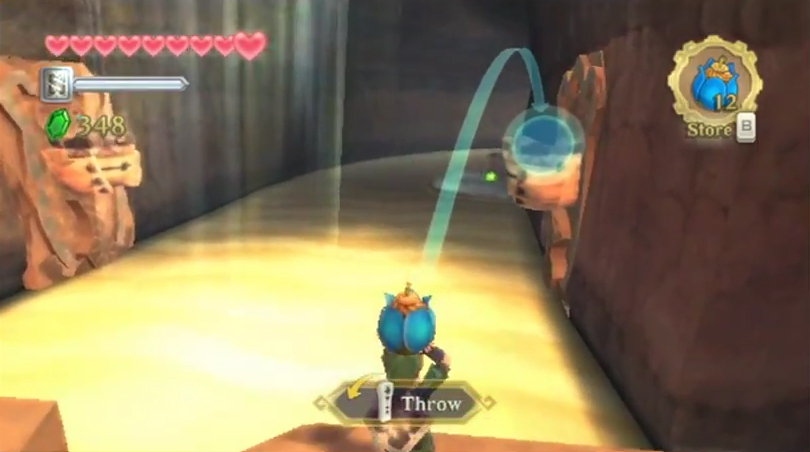
At this point in time, you will not be able to open Goddess Chests #6 or #9. You’ll need to reach a new area in the Sky for #6 and you’ll need a new item to get #9. We’ll tackle those at a later point in the game. It’s also worth noting that you’ll get 400 rupees from just 2 of those Goddess Chests. Keep an eye out on your rupees and you might want to purchase goodies from the Bazaar or Beedle’s Air Shop to ensure that you don’t fill up your wallet and waste rupees.
The next area that we are going to visit is the Lanayru Desert and we will encounter enemies that utilize electricity. Thus, our Iron Shield is not going to be much use to us. Run back over to the Item Bank Teller and speak to the woman. Drop off your Iron Shield and pick up your Wooden or Banded shield that you previously purchased. Note, if you don’t have a wooden shield, you can purchase one from the shop in the Bazaar. You could also drop the small seed satchel off as you won’t be needing the Slingshot too much. Alternatively, you could drop off a third bottle if you’d like to have the extra slingshot ammo. Another option is to drop off both the Slingshot Ammo and a Bottle, as we’ll soon be getting an additional useful item.
If you run on over to the shop in the Bazaar, you will find a new goody for sale: the Small Bomb Bag. This item will allow you to hold five additional bombs. You could purchase one if you’d like, but you’ll find one in a goddess treasure chest in the future. Here are the items for sale at the item shop.
Small Seed Satchel – 100 Rupees
Small Bomb Bag – 150 Rupees
10 Deku Seeds – 20 Rupees
Arrows – (Not Available)
10 Bombs – 20 Rupees
Wooden Shield – 50 Rupees
Iron Shield – 100 Rupees
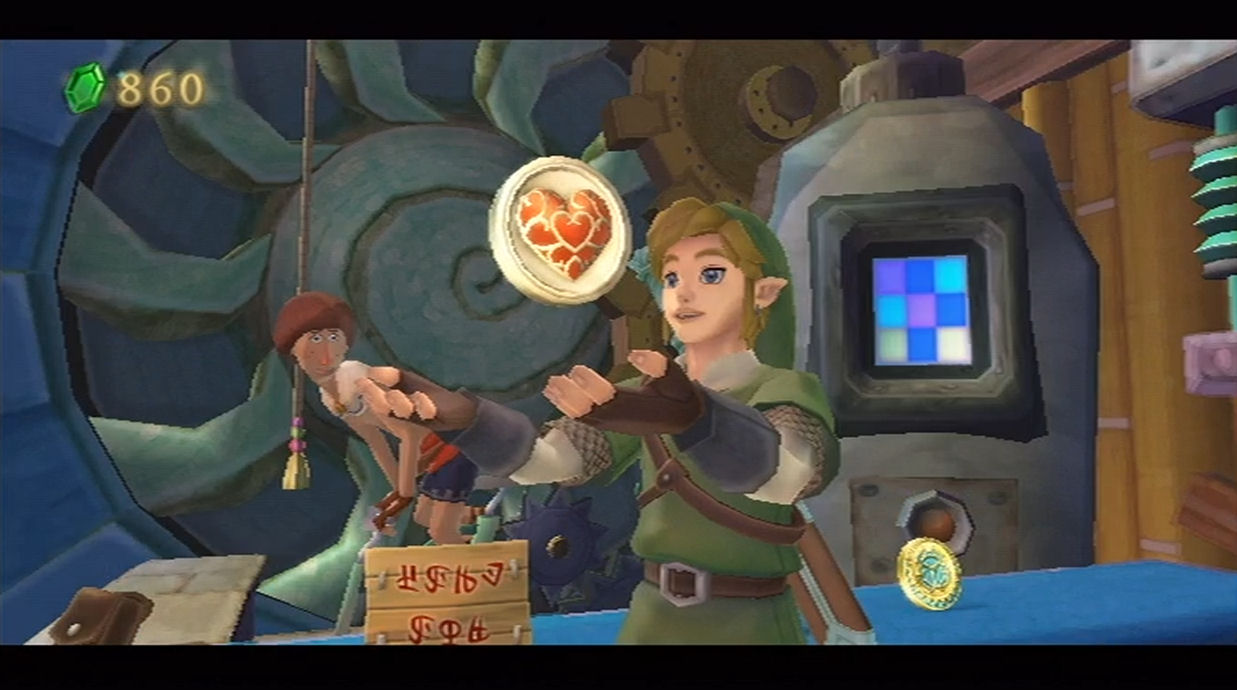
Our next stop is at Beedle’s Air Shop and our goal is to have 800 Rupees by now. If you have 800 Rupees you will be able to purchase the Life Medal. The Life Medal is incredibly valuable as it will increase your total life by a full heart container! You’ll want to have this item in your adventure pouch at all times. If you have 900 Rupees or more, you can purchase the Extra Wallet as well as the Life Medal.
Bug Medal – 1,000 Rupees
Extra Wallet – 100 Rupees
Life Medal – 800 Rupees
Adventure Pouch Slot – 600 Rupees
That is about all there is to do here. If you haven’t done some of the previous Gratitude Crystal quests, you can head back to Chapter 4 to complete some of them. Afterwards jump off the ledge and land on your Loftwing, riding to the new region.
6.2 Lanayru Mine
When you first arrive you’ll actually find yourself within the Lanayru Mine. Before we get too far ahead, jump off the ledge and run behind this structure where you will find Goddess Cube #10. It’s in plain sight right here on the ground, so deliver a Skyward Strike. Note, this Goddess Cube unlocks a treasure containing a silver rupee.
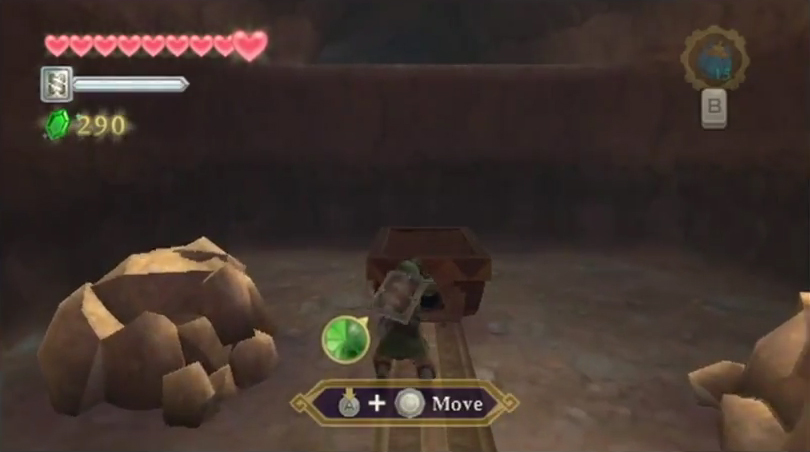
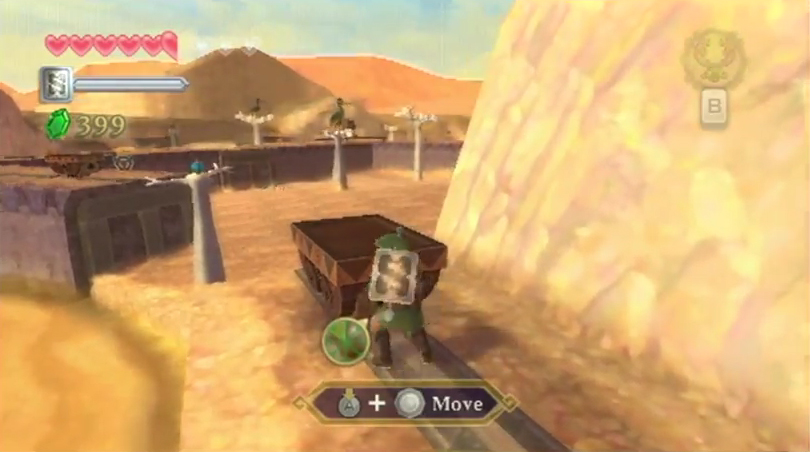
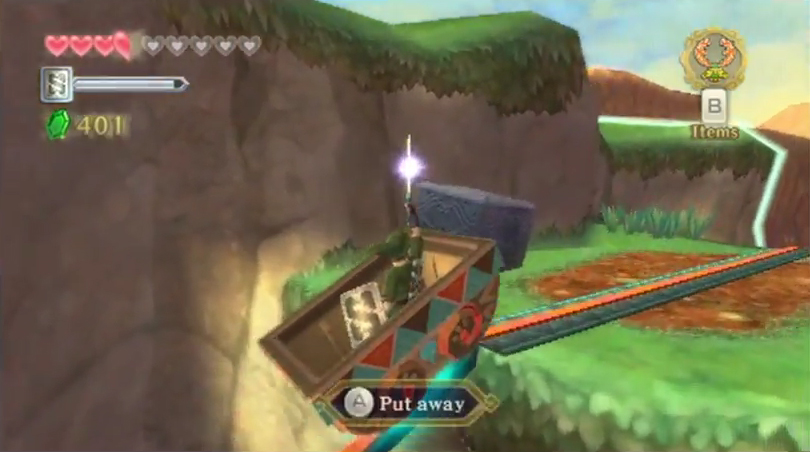
Jump off the ledge and run straight ahead into the mine. You’ll face off with some basic keese, so get rid of them with a few sword slashes. At the end of road you’ll find a mine cart that is blocking your path. Grab on to it and push it all the way until it falls to the tracks below. Jump on down and pull and push the mine cart so that it is against the opposite wall, allowing you to climb up on that side.

You’ll encounter some new Yellow ChuChu in this area. Much like previous games, yellow chuchu are capable of generating electricity. The key to defeating them is to strike them just after their electric charge has gone away, to prevent yourself from getting electrocuted.
Keep progressing forward and you’ll come to a room with a strange item in the center of it. This is referred to as a Timeshift Stone and it does exactly what it sounds like it does. It shifts time. Slash at it with your sword and it will turn this location of the mine back in time to when it was robust.
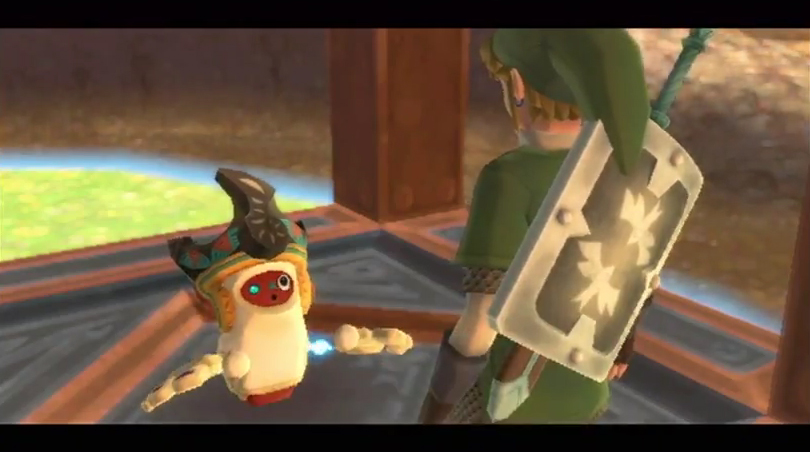
There is a new race of characters found here known as Ancient Robots. They are a robotic race from the past that specialize in these timeshift stones. As you might guess, they are very technologically advanced and you’ll find a number of high-tech gadgets in this region.
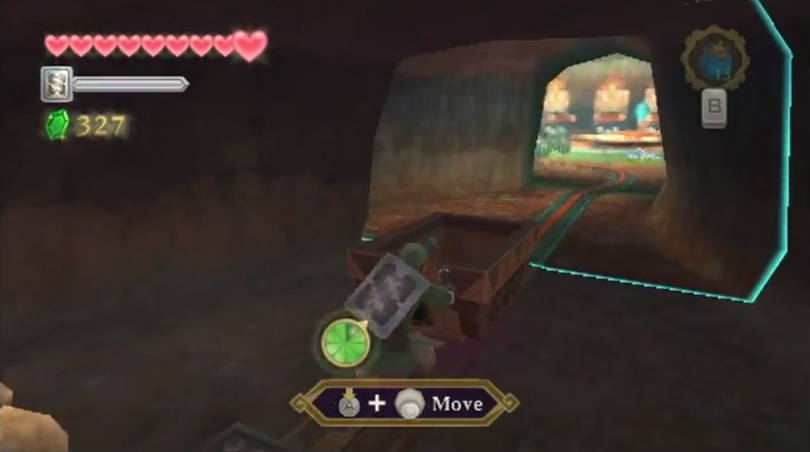
Jump into the nearby mine cart and it will start to move along the track, heading through to the next room. You can open the treasure chest found here to get a red rupee. Talk to the robots if you’d like but then jump back into the cart to return to the previous room.
If you backtrack to where you entered this room originally, you’ll find a mine cart, but it is outside of the range of the timeshift stone, so it actually is in the present when the mine is rather empty. Drag the mine cart into the timeshift stone area and then hop on in to ride it to the next room.
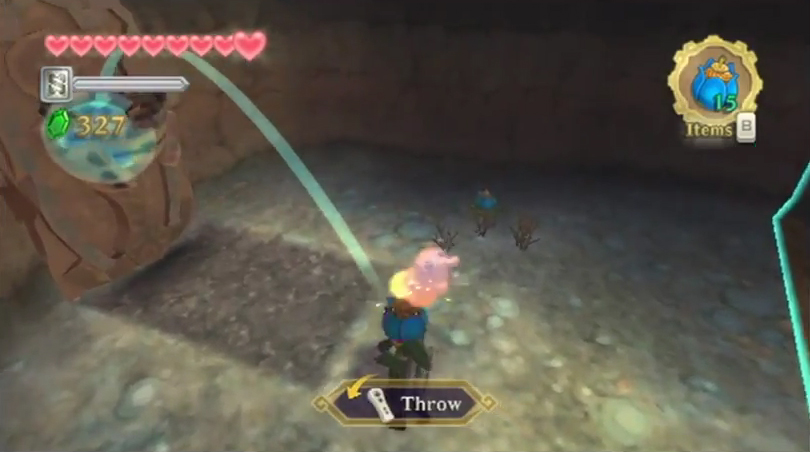
Pick up the Ancient Flower that is in this room and then look at the structure that is blocking your way. Carefully toss a bomb so that it lands in the holder, causing it to fall. Run on through and defeat the yellow chuchu.
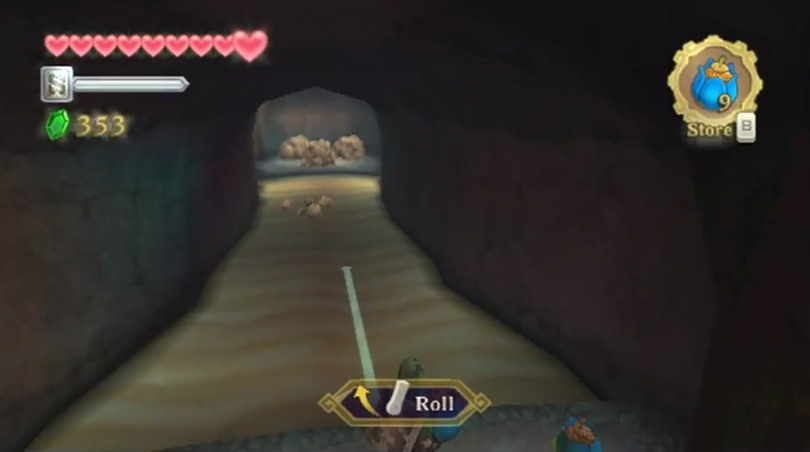
In this area you’ll come across some quicksand and you must dash across, otherwise you will sink below. Run on over to the platform to the left. There are a number of those bomb structures in this area, so use your bombs to knock them down. Behind the first one on the right you’ll find an area you can crawl through that leads to a red rupee. You may also find some Lanayru Ants crawling around on the ground here, so catch them with your Bug Net. Continue down this path, dashing from platform to platform until you reach a more open room.
You’ll encounter some new enemies here known as Electro Spume. Much like the Magma Spume in the Eldin region, these creatures are best defeated using bombs. However, since they attack so incredibly slow, you could simply just avoid them. You could block their electric attacks by using a wooden shield.
Run from platform to platform to get to the north end of the room and then head up the pathway. There is a boulder that is blocking the tracks here. Blow it up as it will make our pathway easier in the near future. Make a left and you’ll find some quicksand along with tons of rocks. You cannot run across this area, so what you’ll need to do is use bombs and roll them over the sand. The large rock in the middle contains a timeshift stone, so hit it to send this area to the past.
A Quadro Baba will appear, hanging from the ceiling. An easy way to defeat these creatures now is to simply toss a bomb towards it. The quadro baba will gobble it up, exploding in its mouth in the process. Alternatively, you can use the beetle to cut down its stem. Continue ahead and you can speak to the robot if you’d like. Take the other pathway and you might find another new bug known as a Gerudo Dragonfly, so catch it using your Bug Net. Further down the path, you’ll eventually reach a treasure chest containing a random rare treasure.
Drop down and head back to the north end of this room. You’ll see a mine cart but it is just outside the reach of the timeshift stone. Push it into this area and it will activate. Hop inside and ride it to the door to the north. This will take you outside to the Lanayru Desert.
6.3 Lanayru Desert
Be sure to save at the Bird Statue here once you enter the desert. Blow up the two nearby boulders with bombs and one of them has a timeshift stone underneath it. Hit it with your sword and it will change the area just a bit. Climb up the vines that have appeared and pick up an Ancient Flower.
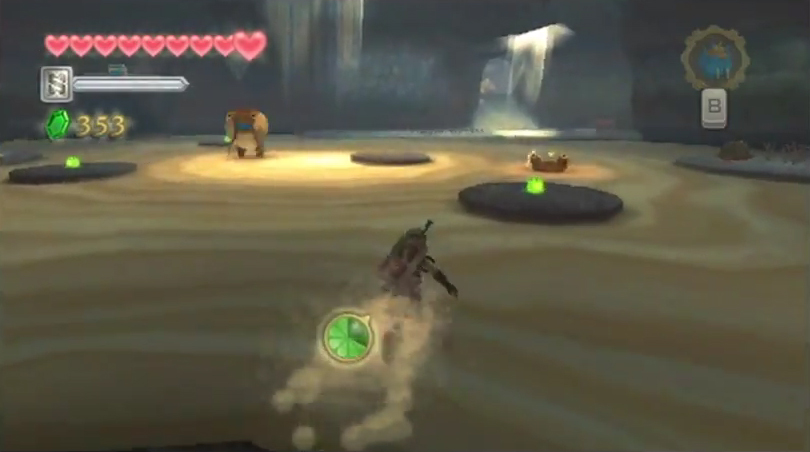
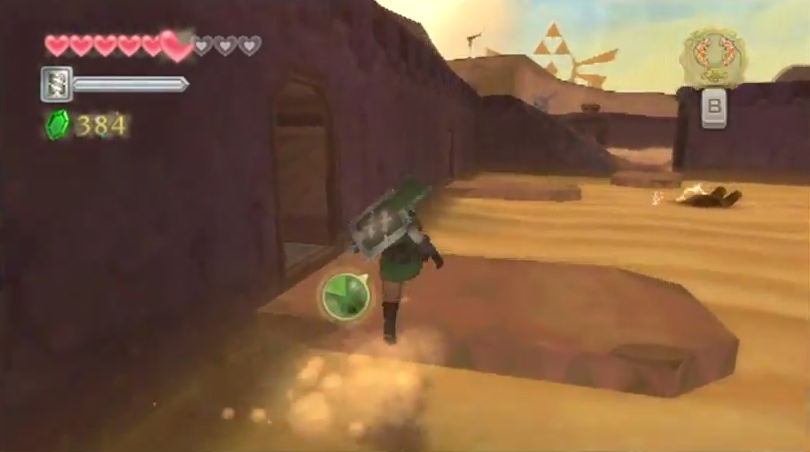
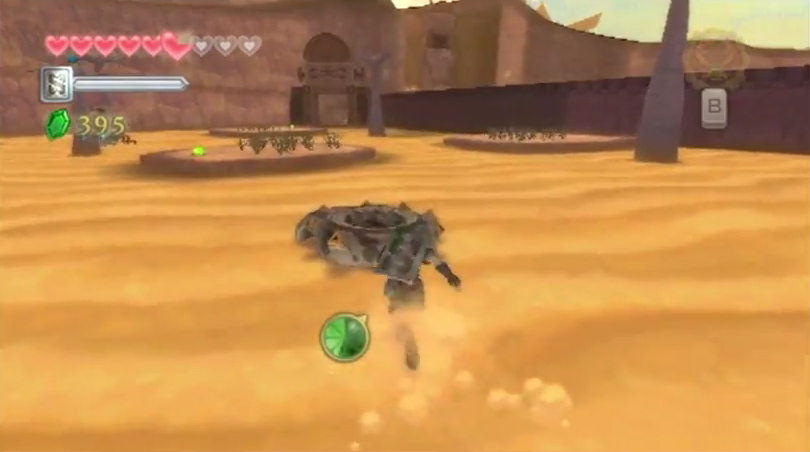
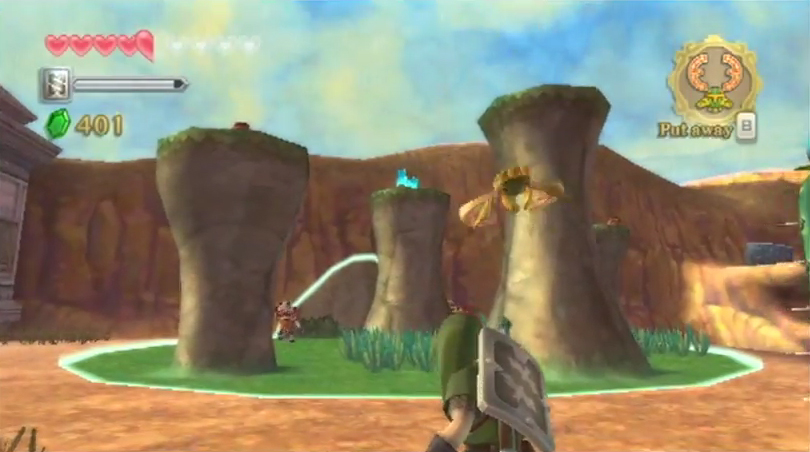
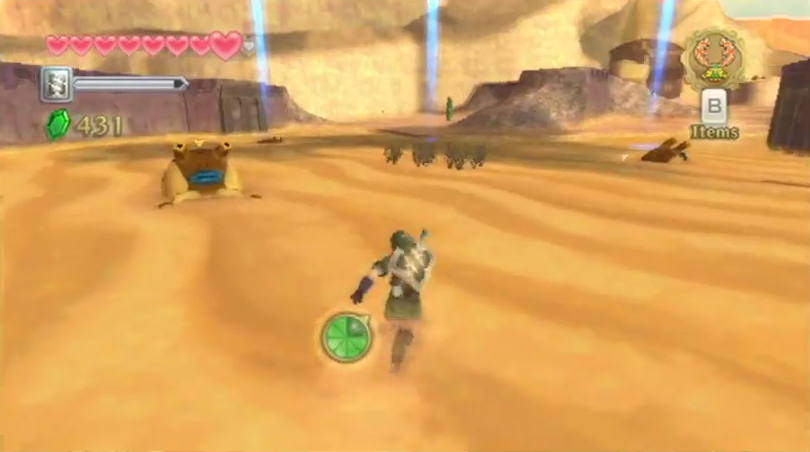
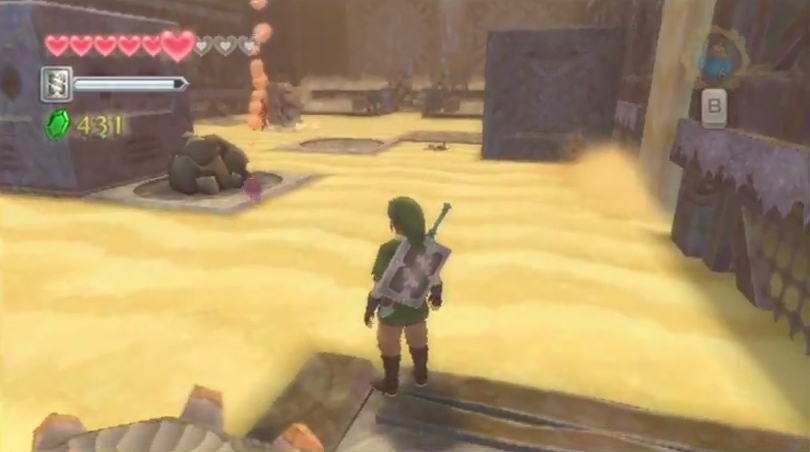
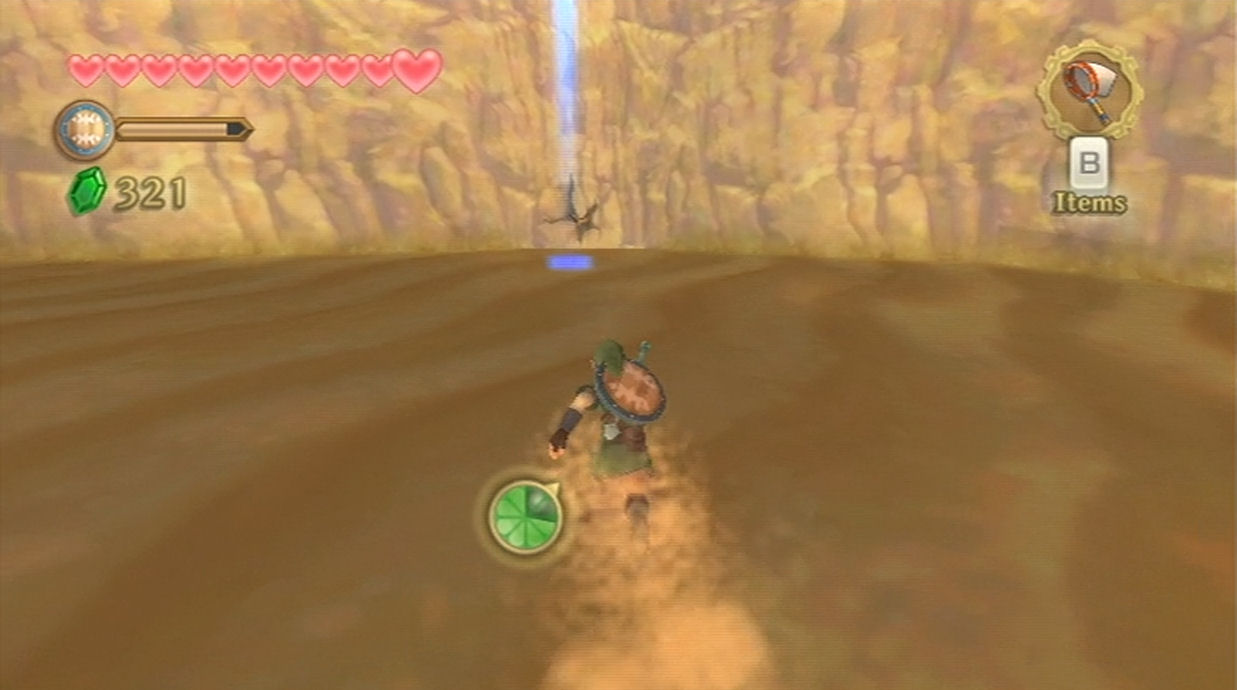
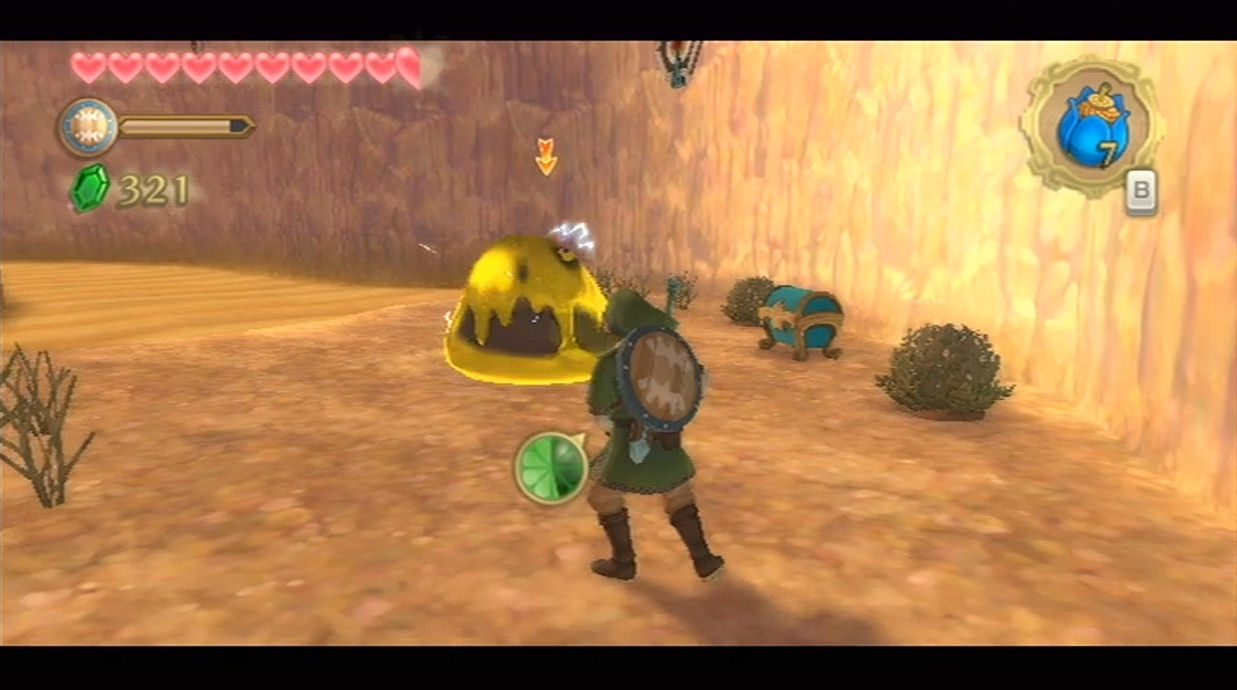
Run down the ramp and as soon as you jump off the ledge, you might see some Tumbleweed crawl behind you. Quickly pull out your Bug Net and catch this treasure. It is hard to believe that Tumbleweed is a treasure, but it actually is quite valuable. Continue forward and you’ll almost immediately encounter a new enemy known as an Ampilus. Once these creatures spot Link, they’ll roll up into large electronic balls and will spin towards Link. They are quite difficult to defeat so your best bet is to try to avoid them.
If you walk directly straight, you’ll see a treasure chest on a higher platform. You can reach this treasure chest by running up the ramp on the left. Directly north of this treasure chest, you will find a large metallic box. Jump on top of it and you’ll see another similar type box right next to it. This one has a hole in the top of it. Pull out your bombs and aim precisely through the hole and blow up the boulder within the metallic box. A timeshift stone is uncovered by doing this. Toss a second bomb and this will activate the timeshift stone, sending this area back to the past.
A new type of bokoblin will appear known as a Technoblin. These creatures wield more sophisticated weaponry and will give off an electric shock if you touch their electrified weapon. Your best bet is to use your wooden shield to deflect its attack and then defeat it with sword slashes. Alternatively, just wait until the Technoblin is protecting a sword slash from the right, and after a minute he will move his weapon, freeing up the right side for attack. Once the two technoblins have been defeated, the gates will open and you can speak with the nearby robot. As a reward for saving him, this robot will upgrade your beetle to the Hook Beetle. This upgraded version will allow you to grab objects and release them at other points.

You can test out your new gadget almost immediately as you’ll find a nearby bomb on top of a dead tree. Send out the beetle to grab it and then press ‘Z’ to look down below. Aim carefully and land a bomb on the nearby bomb holder to cause it to fall down. There are some rupees behind these two areas.
Just to the southwest of where you got the beetle upgrade, you’ll see another bomb on top of a tree with three of those structures. Blow them all down, so that you can quickly run across the sinksand that is found in this area. Be careful of the electro spume that is also in this area.
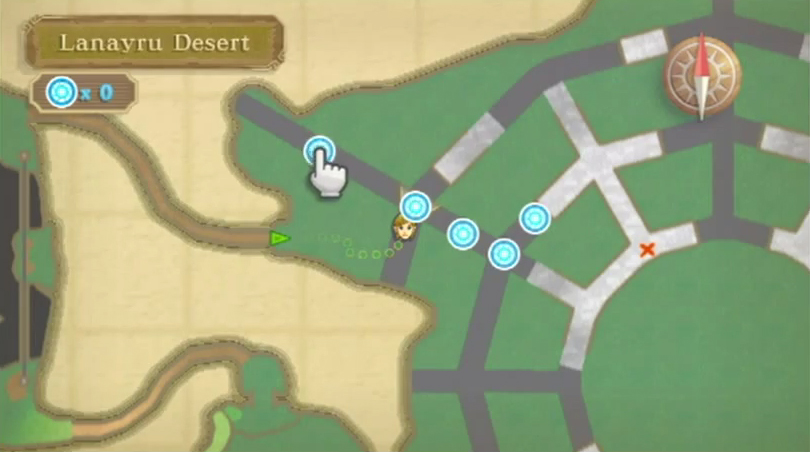
Once you get across this area, you’ll reach an even larger sand region. Use the beetle to grab onto the nearby bomb and drop it on top of the ampilus that is located in the sand. Quickly run through the sand and you can stand on top of the shell of the ampilus. From here you can reach the safe area in the middle. Use the beetle once again to defeat another ampilus and use its shell to reach Goddess Cube #11, which can be found at the south end of this region. Run on over and deliver a skyward strike.
You will likely need to wait for another ampilus to respawn, but once it does, repeat the process of using the beetle and bomb. Continue westward in this sandy region until you reach the bird statue. There is a ledge that you can climb up nearby that circles back around the area you just came from. At the end of this pathway, you can push the mine cart down, allowing for quicker access to this region.
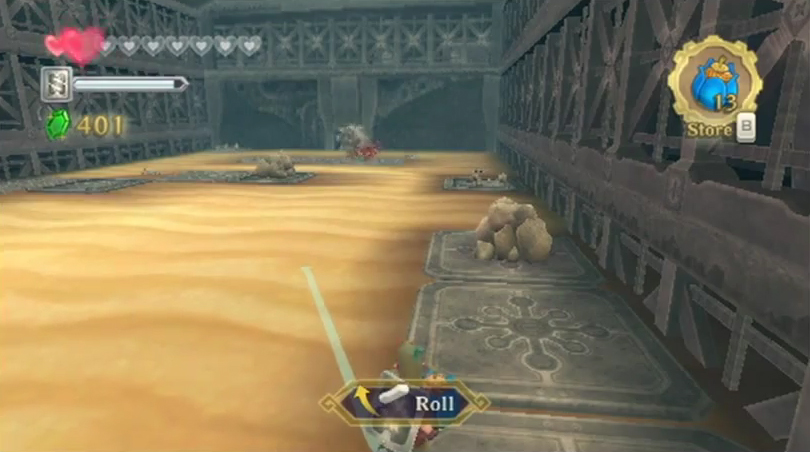
This is a very similar sand region, but the exception is that there is a waterfall of sand to the west that is pushing you eastward. Once again use the beetle and bomb combination on the Ampilus to create a steady landing spot within the sand. Jump on top of one and ride it eastward while the sand is moving. Progress from platform to platform and then exit this area to the north, once the platforms reach an end. Walk through the cave here to enter a new region of the desert, the Temple of Time.
6.4 Temple of Time
Run over to the bird statue and save your progress if you’d like. Afterwards run over to the first mine cart that you can reach. Look at the top of the nearby pillar and you will find a timeshift stone. Hit it with the beetle and it will send this area to the past. Defeat the technoblin and grab the ancient flower that is sitting on the ground here. You can also capture some Gerudo Dragonflies that appear. Afterwards, jump into the mine cart.

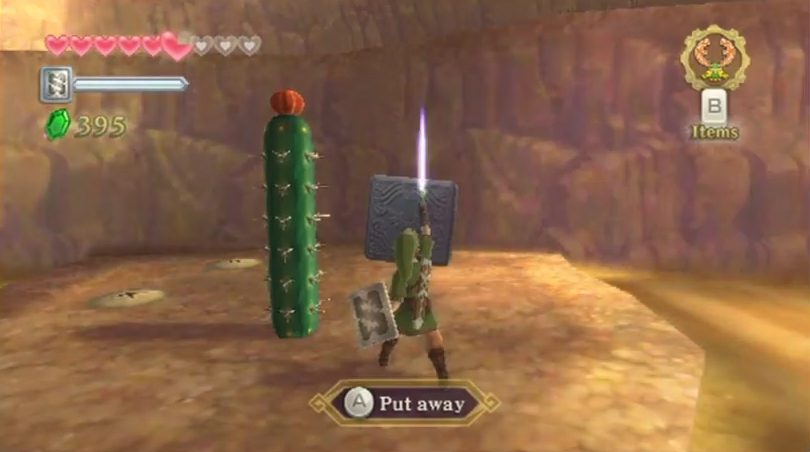
There is another mine cart located here, but this one is not activated. Use the beetle and grab the bomb from the nearby cactus. Carry the bomb above the structure where the mine cart leads into. There is a small hole at the top where you can drop the bomb into. Do so and it will hit a timeshift stone, activating this area.
You could send your beetle into the tunnel where you will find a deku baba and a diamond switch on your left. The switch will open up the gate. Alternatively, you can just jump onto the mine cart and hit the switch with your slingshot while your cart rolls by.


Grab the ancient flower on your right and then run ahead. You’ll find a rock variety of octorok in this area and they are pretty much identical to their grass counterparts that we encountered in the Faron Woods. Deflect their rocks with a shield bash or a sword slash.
Afterwards, run on over and talk to Gorko the Goron to find out some information about what happened with Zelda. Afterwards turn to the north end of this area. Use the beetle to grab the nearby bomb and drop it on the boulder that can be found on the second pillar. This will unveil another timeshift stone. Use the beetle to activate it.
Defeat the technoblins that appear and then speak with the robot. The robot mentions that there is an alternate way to enter the Temple of Time and that is via the Lanayru Mining Facility. The robot will adjust your map, as well as mark an ‘X’ on it to show the location of the entrance to the Lanayru Mining Facility.
Afterwards, use the beetle to activate the timeshift stone that is further along the tracks. You’ll find an ancient flower in this activated region, so collect it before progressing. Push the mine cart into the activated region and then jump in it to ride across. As you are riding across, you’ll come across Goddess Cube #12. You can hit it while riding on the mine cart by performing a skyward strike.
At the end of this area and you’ll see a timeshift stone on a higher pillar to the right. You can activate this timeshift stone to activate the nearby mine cart. Ride on over and you’ll find an ancient flower and some gerudo dragonflies. Afterwards head through the tunnel to get back to the Lanayru Desert.
6.5 Entering the Lanayru Mining Facility
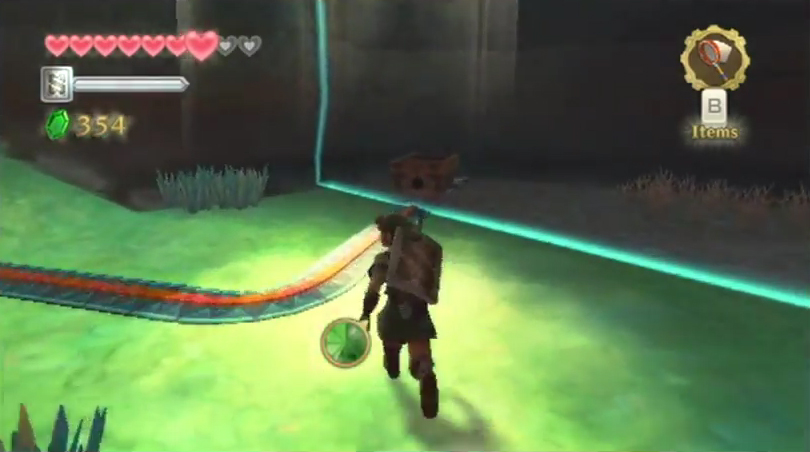
This new area has these large birds known as Hrok that will fly over you and try to drop rocks. Thankfully they are incredibly slow and easy to avoid, so they are pretty harmless. If you look at your map, you’ll find gray areas along the way. While it appears these are covered with sinksand, you can actually stand on them without sinking. Fi will point this out to you when you come close to these areas. It’s a good idea to mark the intersections of these gray pathways using beacons.
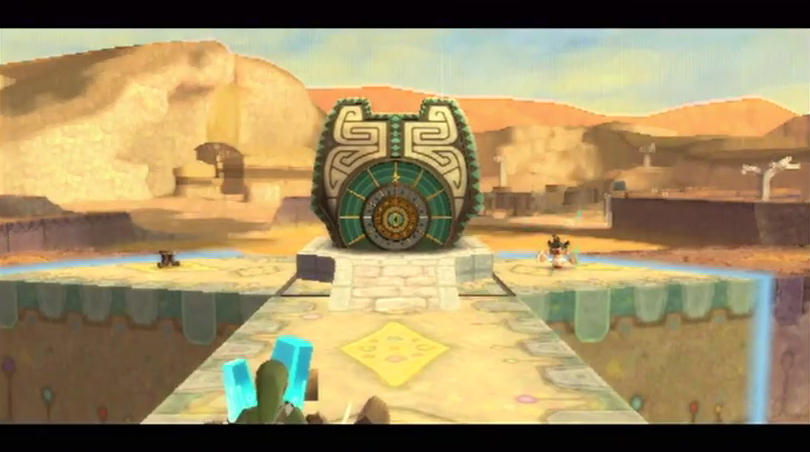
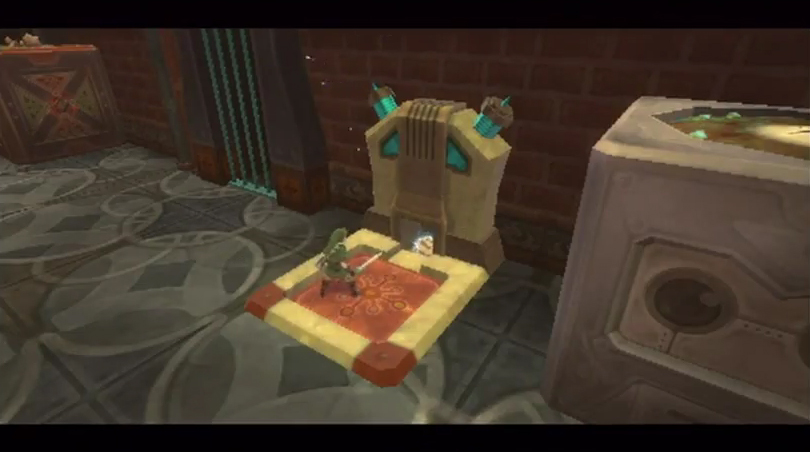
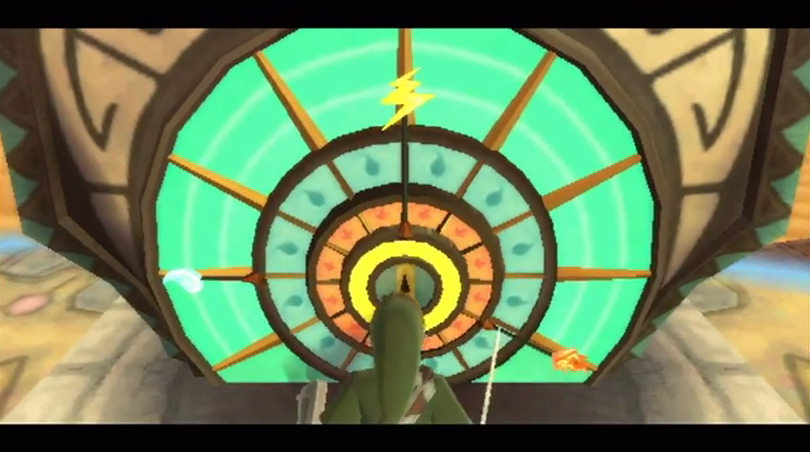
Make your way over to the ‘X’ on the map and you’ll find the entrance to the Lanayru Mining Facility. It isn’t much at all and it’s actually a beaten down turn dial power generator. There are two boulders nearby and if you blow them up, you’ll find a timeshift stone. Activate it and it will bring to life the lock to the temple.
Defeat the technoblin in the area and then speak with the nearby robot. He mentions that this is a power generator and you’ll find that there are three dials that you must turn in order to access the dungeon. Fi will track these three pieces using the dowsing mechanic.
The first power generator is located just southwest of the larger machine. Remember to place beacons in the areas where you can safely walk across the sand. Use the dowsing mechanic and you’ll discover the first power generator behind one of those bomb holding structures. Toss a bomb to bring down the structure, revealing the power generator.

The generator is not activated, so you’ll need to hit a nearby timeshift stone. Just outside the entrance to this power generator, you’ll see a crack in the wall. Toss a bomb here to blow a hole in the wall and reveal a timeshift stone. Activate it and then run back to the power generator. Stick your sword into the generator and turn the dial to the left before pressing it in. This will illuminate a symbol on the keylock, as well as on the map. We’ll get to this in just a bit. Two more power generators to activate!

If you look at your map, there is a rectangular structure at the northern most section and this is our next destination. Run on over and you can use the dowsing mechanic if you get lost. There is a crack against the wall in this area, so place a bomb and blow up the hole to this building.
Inside you will find an ampilus walking around; defeat it using a bomb if you’d like. However, your main objective at this point is to break the boulder in the center of the room. Doing so will reveal a timeshift stone; so hit it and activate this room.
Defeat the three technoblins that appear to make this area a bit easier. You’ll notice that the ampilus that we saw before have now regressed to Ampilus Eggs. These are small spheres that have an electric charge. You want to use your hook beetle to grab one of these eggs and bring it over to the orange platform of an electric device near the north end of the room. Step on the orange part of the device and the small gate will open. Carefully hit the ampilus egg with your sword to fit it in this small hole, charging the device and opening the nearby gate.
Run through to the next room and activate the power generator here using your sword. Doing so will activate another one of the key slots, as well as make a second marking on your map.
While standing in this room, use the Beetle and send it over to hit the timeshift stone once again. You’ll be able to run over to the treasure chest found here and it contains a rare piece of treasure. That’s all there is to do in this area, so exit this building. Only one more power generator left to go.
The next power generator is located at the southeast corner of the desert in another rectangular building. Make your way through towards the building, using beacons to mark the areas in which you can walk on the sand. Watch out for the electro spume and the ampilus that are found along your path. Note, just southwest of the building, you’ll find a gate with a lever nearby. Jump up and pull the lever, lifting the gate and thus, making it easier to travel throughout the desert. Be sure to save at the bird statue to open this as an entrance to the desert and then enter the rectangular building.
The sand in this room is all moving northward, so keep that in mind. Much like the previous building, the timeshift stone can be found underneath the boulder in the center of the room. Blow up the boulder, but we don’t quite need to hit the timeshift stone just yet. Stand on the platform just northwest of the timeshift stone and defeat the nearby ampilus. Quickly run over and stand on top of its shell, riding it to the north end of the room.
From the north end of the room, climb the platforms in the corner and then make your way to the treasure chest to get an Eldin Ore. You can push the block down to the lower level, to make it easier to access the other part of the room. Use the beetle to hit the timeshift orb, changing the landscape of the room. Use the beetle to grab one of the ampilus eggs and bring it over to the north end of the room. Step on the orange tile and hit the egg into the device to activate it. Run into the next room and activate the final power generator. Head outside and back over to the main power generator.
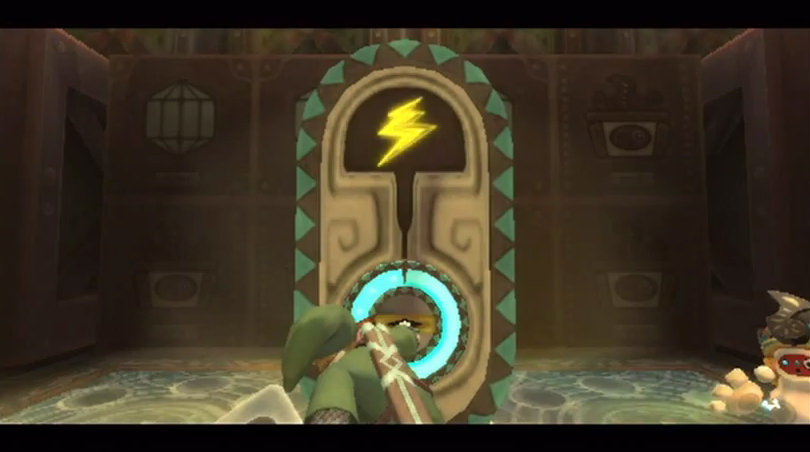
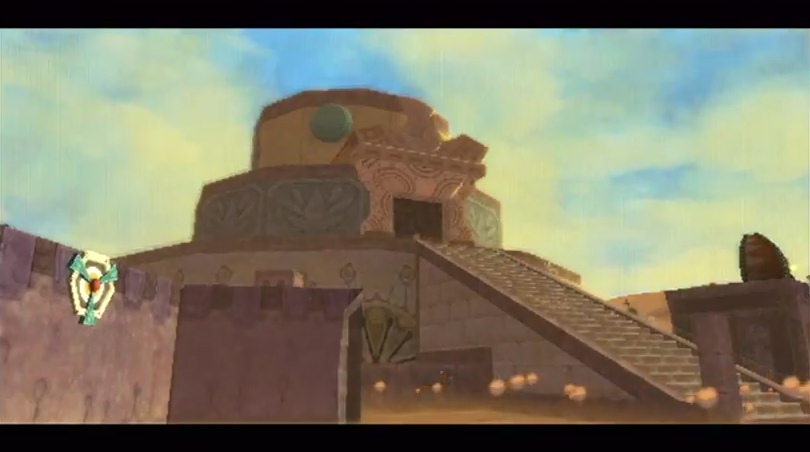
The power generator has an order that the turn dial is pressed, and it goes green, red and yellow. Turn the dial directly to the left and insert the first layer. Then turn the dial all the way to bottom-right and push in the second layer. Finally turn the dial so its pointing straight up and insert the final layout. This will cause the massive dungeon to appear from underneath the sand.
You are now ready to enter the temple if you’d like, but there a few goodies in the sky, as well as one right here in the Lanayru Desert that you could get. These are all completely optionally so you can progress to the dungeon if you’d like.
If you pull up your map, you’ll see an area at the northeast part of the Lanayru Desert that we have not reached. In particular if you look at the gray pathways, one of them leads to the area at the northern corner, but there is a wall there. Run to the east end of the desert and from there you can make your way to this wall. There is a crack in the wall so use a bomb to blow up the wall, revealing a passage. Follow this narrow corridor, defeating several yellow chuchu, and open the treasure chest to find a Piece of Heart!
Afterwards run back to the power generator just near the entrance to the temple. Use the nearby bird statue to return to the sky if you’d like to pick up some last minute goodies before entering the temple.
6.6 Quick Extras in the Sky
There are three Goddess Cubes that we unlocked while we were in the Lanayru Region and we can get all three of the Goddess chests at this point. One of these Goddess Chests contains the Heart Medal, which is very valuable as it increases the chance of finding recovery hearts in your quest. Another one of the Goddess Chests holds Piece of Heart #8, which is important as it will give you an additional full heart container before you enter the Lanayru Mining Facility.
- Goddess Chest #10 contains a Silver Rupee and it is located at the same far northeast island that we previously got the Treasure Medal. This time you can land on the lower part of the island and blow up the boulder using a bomb.
- Goddess Chest #11 contains a Heart Medal and is located just southeast of the entrance to the Lanayru region. There are multiple treasures on this small island and this one can be found on the outside part of the island.
- Goddess Chest #12 contains Piece of Heart #8 and it is located on Beedle’s Island at the northeast part of the map. Just land on top of the large structure and open the treasure chest to get the Piece of Heart.
Note, you should have 8 pieces of heart at this point if you’ve been following along. It is possible to get the 9th Piece of Heart back at the Faron Woods. You can check out the Skyward Sword Heart Piece Guide to get that one now, but otherwise I’m going to be getting it in our next trip to that area.
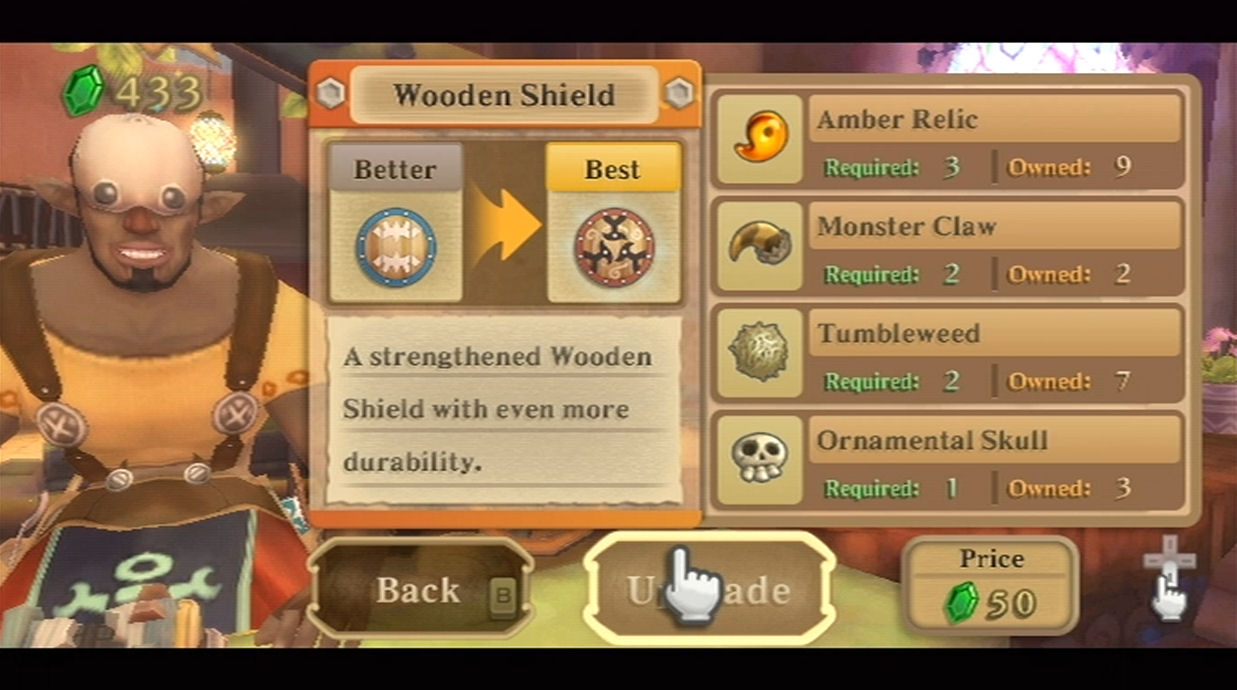
Make a stop at the Bazaar in Skyloft and head on over to the Scrap Shop. Now that we have acquired a couple of Tumbleweed Treasures, we can upgrade our shield. If you’ve been following along with the walkthrough, we previously upgraded our Wooden Shield to the Banded Shield. However if you have the following items, you can upgrade to the Braced Shield.
- 3 Amber Relics
- 2 Monster Claws
- 2 Tumbleweeds
- 1 Ornamental Skull
That is all that you need to do at the moment. You could visit Beedle’s Air Shop to purchase any extra goodies that you missed earlier, but afterwards, jump back on your Loftwing and fly back to the Lanayru Region.
Before you enter the temple, you’ll notice a small stool next to the power generator. You can sit on this stool to restore your health. Once you are ready, head inside to enter the third dungeon of the game, the Lanayru Mining Facility.
- Chapter 1 – Skyloft
- Chapter 2 – Faron Woods
- Chapter 3 – Skyview Temple
- Chapter 4 – Eldin Volcano
- Chapter 5 – Earth Temple
- Chapter 6 – Lanayru Desert
- Chapter 7 – Lanayru Mining Facility
- Chapter 8 – Isle of Songs
- Chapter 9 – Lake Floria
- Chapter 10 – Ancient Cistern
- Chapter 11 – Lanayru Sand Sea
- Chapter 12 – Sandship
- Chapter 13 – Volcano Summit
- Chapter 14 – Fire Sanctuary
- Chapter 15 – Thunderhead
- Chapter 16 – Song of the Hero
- Chapter 17 – Sky Keep
- Chapter 18 – Final Showdown
