- Chapter 1 – Skyloft
- Chapter 2 – Faron Woods
- Chapter 3 – Skyview Temple
- Chapter 4 – Eldin Volcano
- Chapter 5 – Earth Temple
- Chapter 6 – Lanayru Desert
- Chapter 7 – Lanayru Mining Facility
- Chapter 8 – Isle of Songs
- Chapter 9 – Lake Floria
- Chapter 10 – Ancient Cistern
- Chapter 11 – Lanayru Sand Sea
- Chapter 12 – Sandship
- Chapter 13 – Volcano Summit
- Chapter 14 – Fire Sanctuary
- Chapter 15 – Thunderhead
- Chapter 16 – Song of the Hero
- Chapter 17 – Sky Keep
- Chapter 18 – Final Showdown
16.1 Sealed Grounds
Our next stop is over at the Faron Woods, so let’s fly on over. Once you arrive you’ll find that you are unable to land in any of the Faron Woods regions. So instead, just make your landing within the Sealed Grounds.
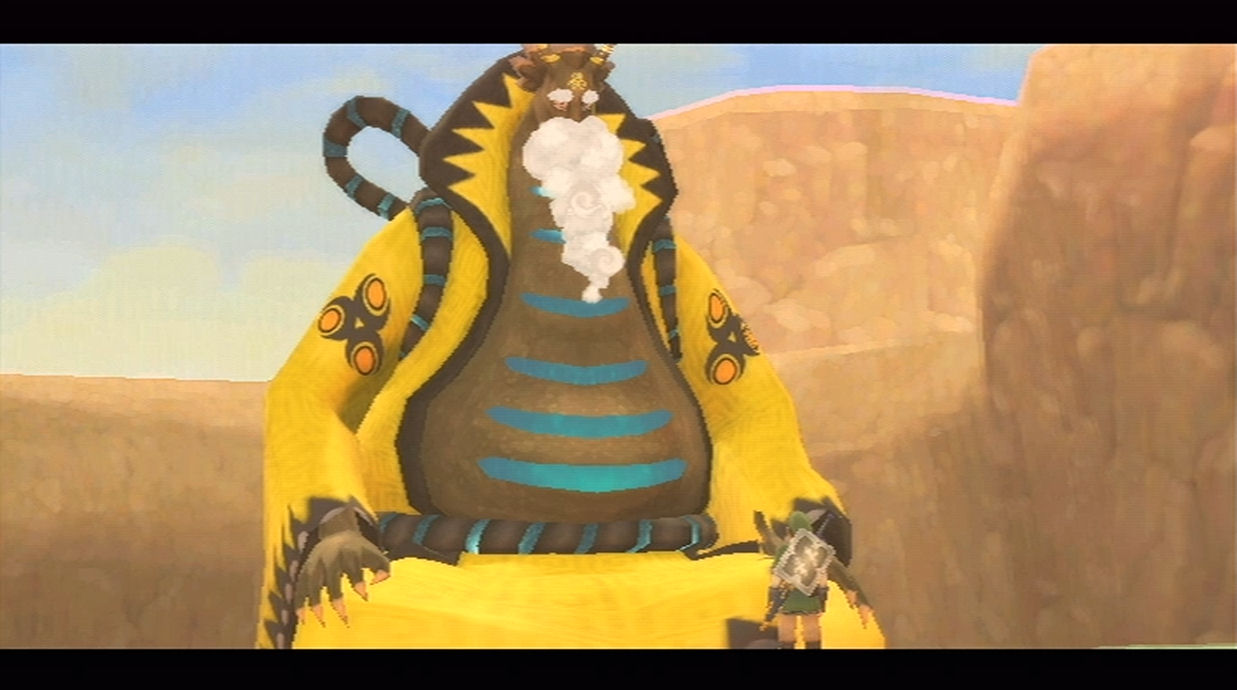
Immediately when you arrive in the Sealed Grounds, Groose will come running towards you. It appears The Imprisoned is about to break through from the seal yet again! Jump all the way down to the bottom of the Sealed Grounds and The Imprisoned will break through.

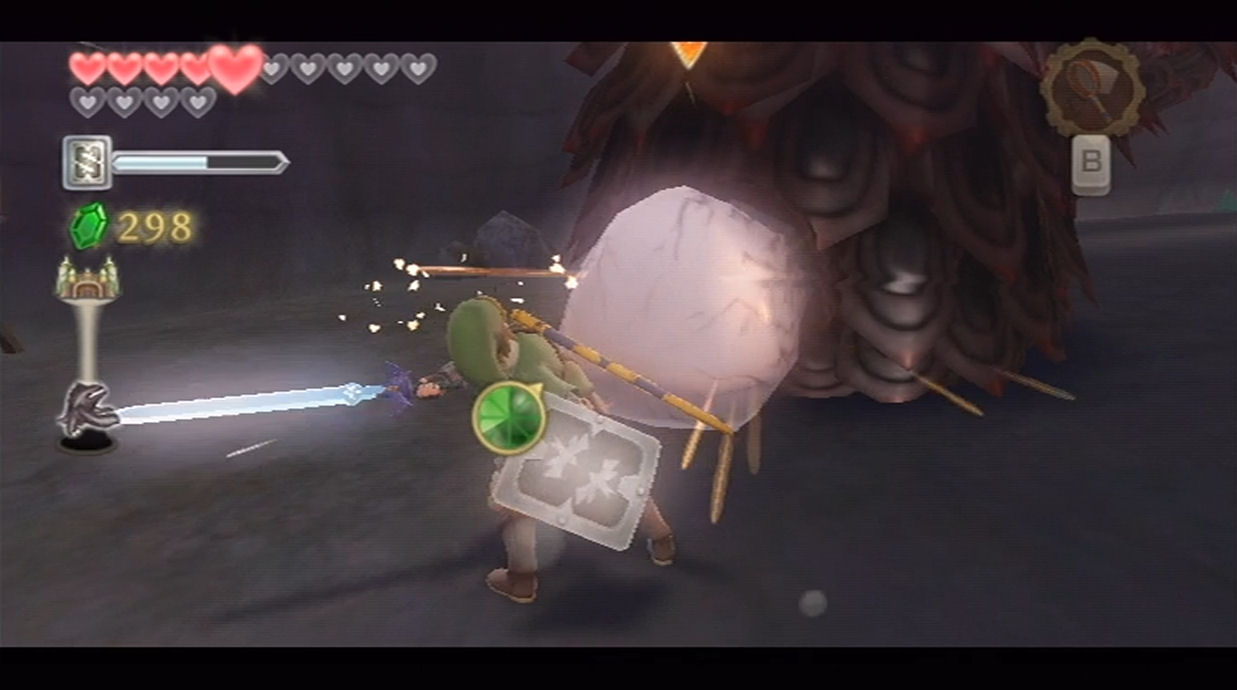
The first part of The Imprisoned battle is identical to the previous battle. Smack at its toes and use the Groosenator to keep it at bay. After hitting the seal on its back three times, The Imprisoned will begin to fly! Yeah, that’s right. Once Groose is ready to operate, hit The Imprisoned with another bomb, causing it to fall to the ground. Run on over and deliver several strikes to the seal on its head.
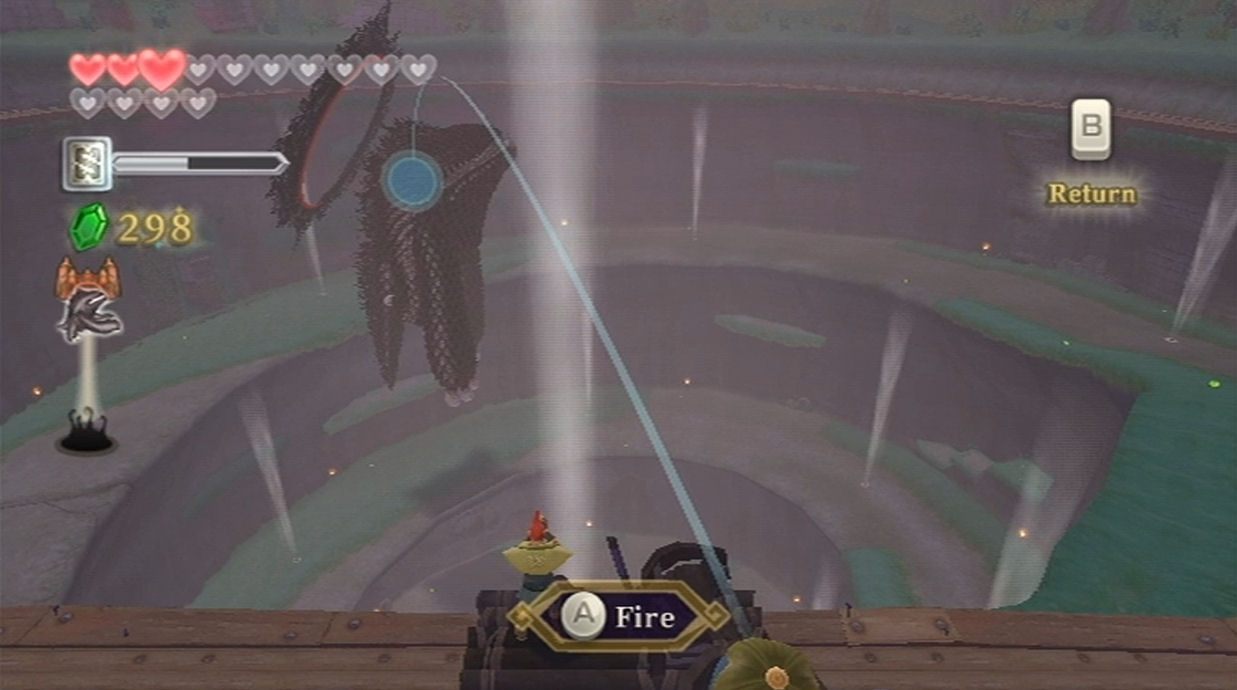
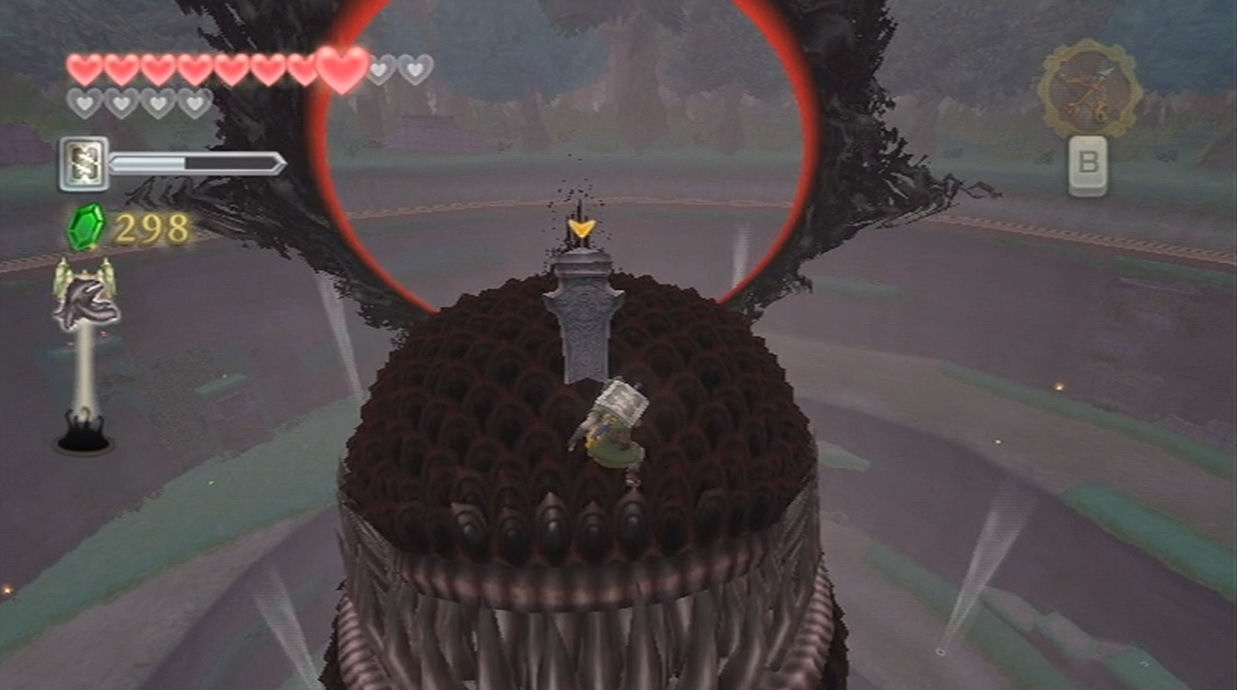
During the third phase, problems will arise as Groose has been cut-off from his bomb supply. Run on over and use a series of wind geysers to ride all the way to the top of the Sealed Grounds. Run on over to Groose and he’ll suggest to catapult you onto The Imprisoned’s head. Jump into the catapult and use it to shoot yourself on the Imprisoned’s head. Deliver three overhead sword strikes to defeat The Imprisoned once again. Deliver a Skyward Strike and then perform directional swipes with the sword to restore the seal.

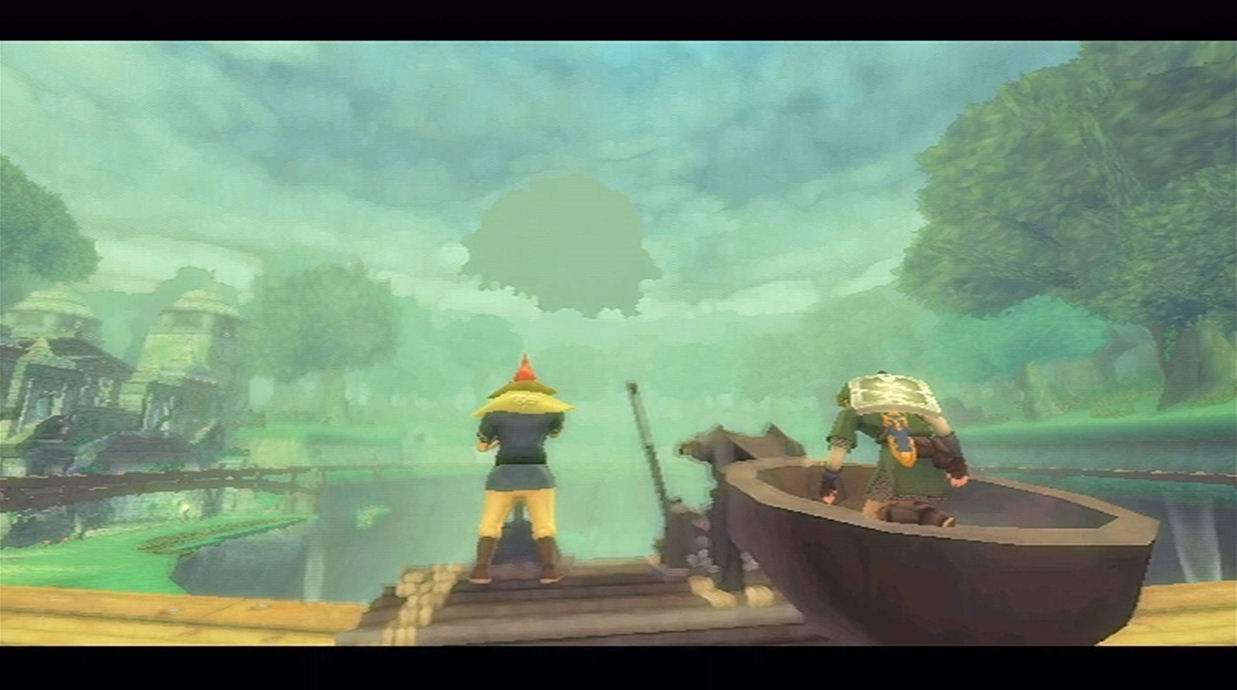
With The Imprisoned sealed away once again, ride the geysers to the top of the area and reenter the Sealed Temple. Speak with the Old Woman here to find out that the Faron Woods have been flooded. The entrance to the Faron Woods has been closed off, but Groose suggests using the Groosenator to catapult into the woods. Exit the Sealed Temple and run back over to Groose. Jump into the catapult and you’ll be sent flying in the flooded Faron Woods.
16.2 Flooded Faron Woods
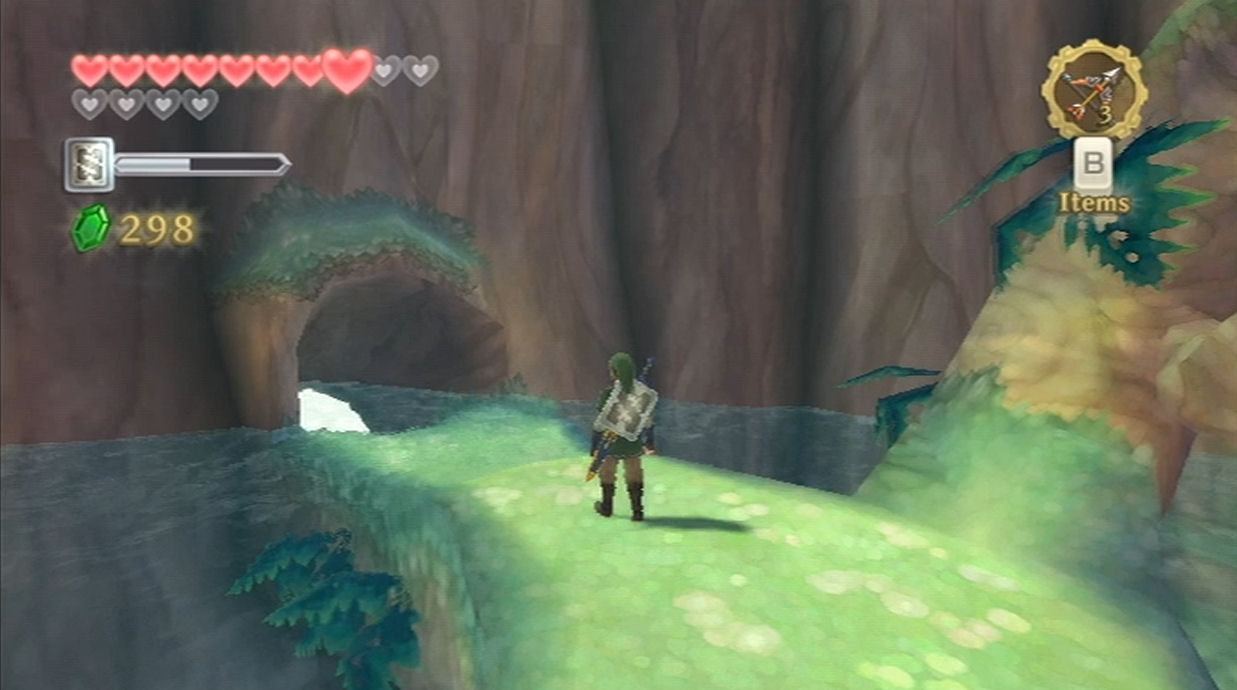
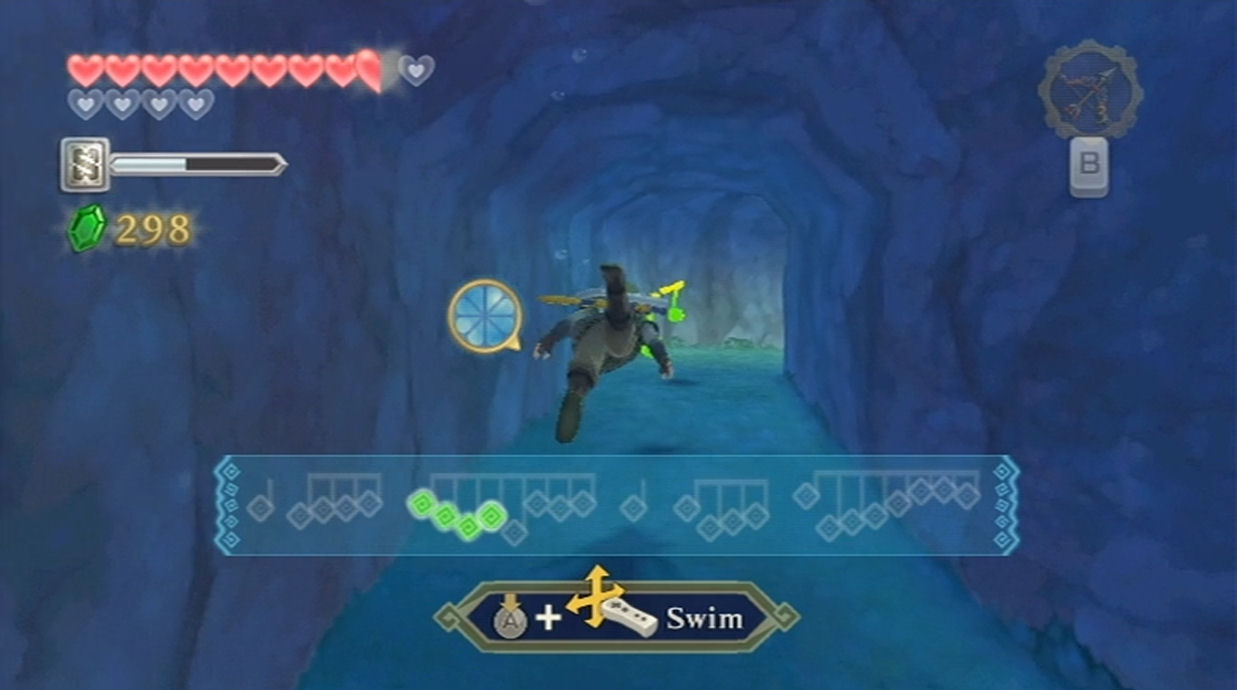
Once you arrive you can swim on over and speak with the nearby Kikwi. Bucha mentions that the water came from the base of the tree. Let’s go and investigate. You cannot enter the tree from anywhere near the top of the water. So instead, we’ll have to dive to the bottom of the woods. The entrance to the Great Tree is located just to the southeast, where there previously was a small pond of water. Dive down and swim through the tunnel.
Once you arrive inside the Great Tree, swim up to the very top and climb up to the land here. Walk around and Faron, the Water Dragon will appear. After hearing that you are looking for the Song of the Hero, Faron states that she cannot just give it to you. Instead, you’ll have to pass one final test. Faron will break up the notes of the song and spread them across the woods. You will have to swim amongst the water and collect all of the notes, referred to as Tadtones.
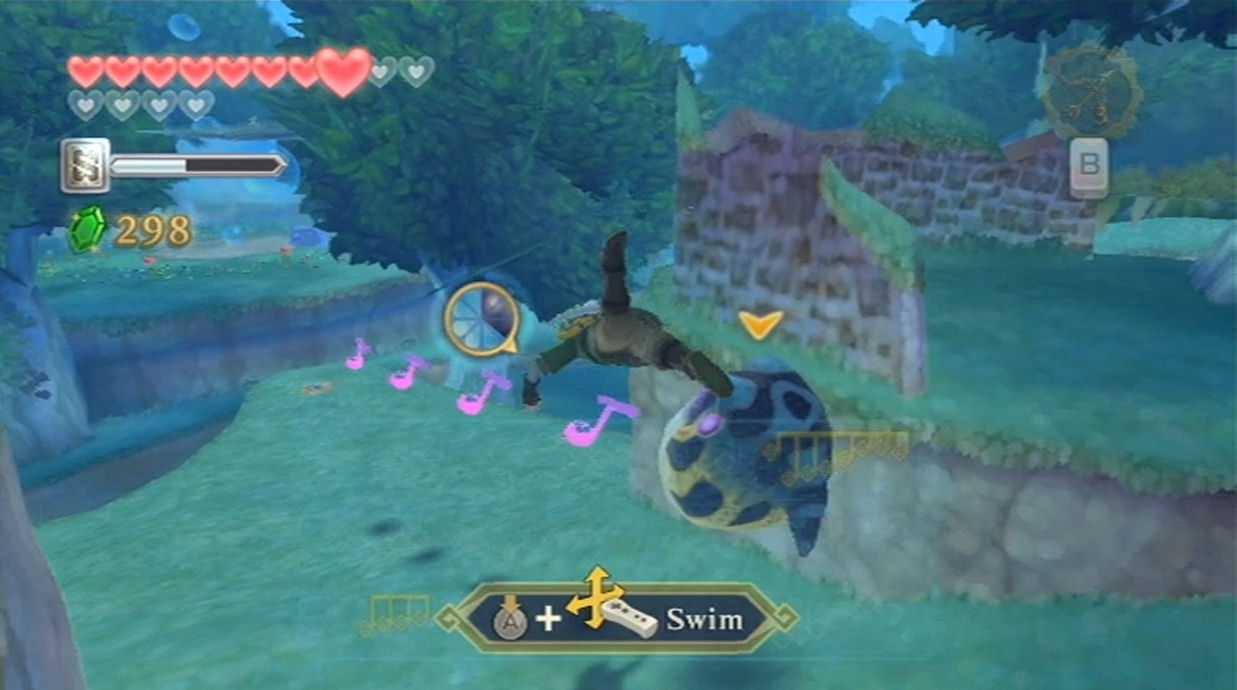
Faron will give you a score to see how many notes there are in each group. You have to collect all of the notes that are in a group in a timely manner, otherwise you’ll have to start that group over again. If you perform a water dash attack, you’ll be able to grab any of the nearby notes. We have a map and list below for you, but the first note to find is before you even jump into the water.
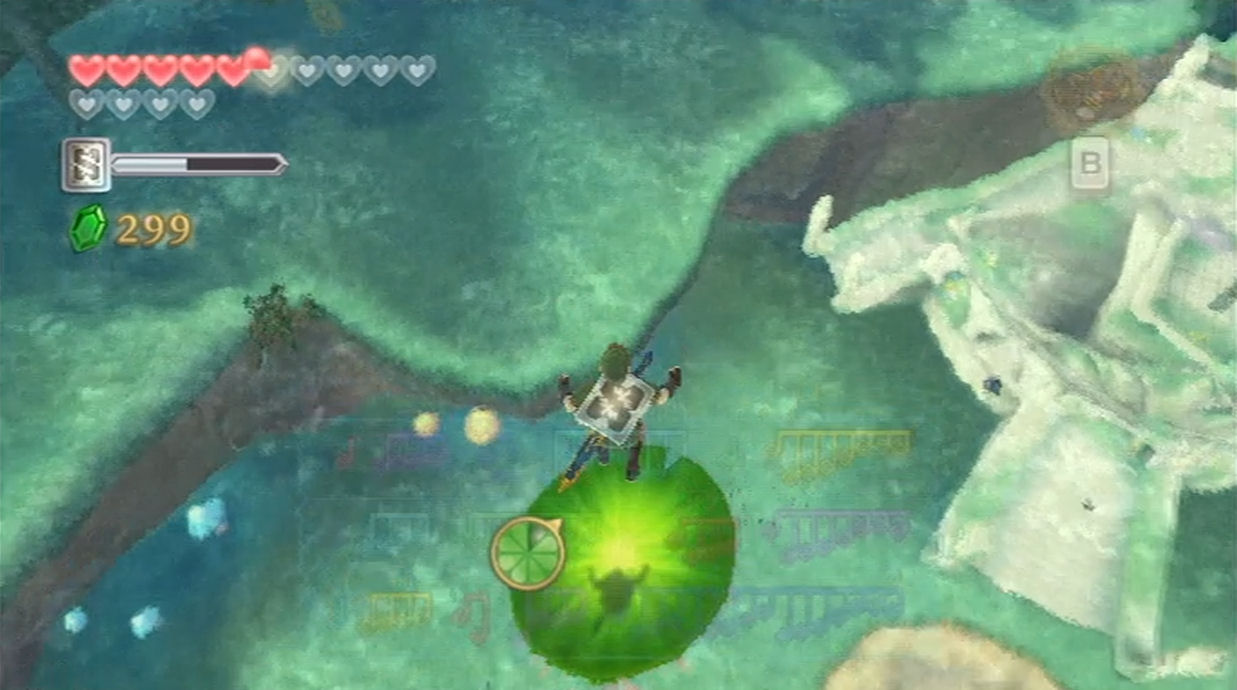
Start to climb the tree here. Defeat the bokoblin that appear and further ahead you’ll see a part where a ledge extends over the water. There are some blessed butterflies flying around in this area. If you walk to the edge and look down, you’ll see two lilypads right underneath this ledge. What you want to do is run off the cliff and land at the second lilypad that is straight ahead. Doing so will spin the lilypad around and you’ll find one of the musical notes right here. This was probably the toughest one to find, so it’s nice to get it out of the way this quickly.
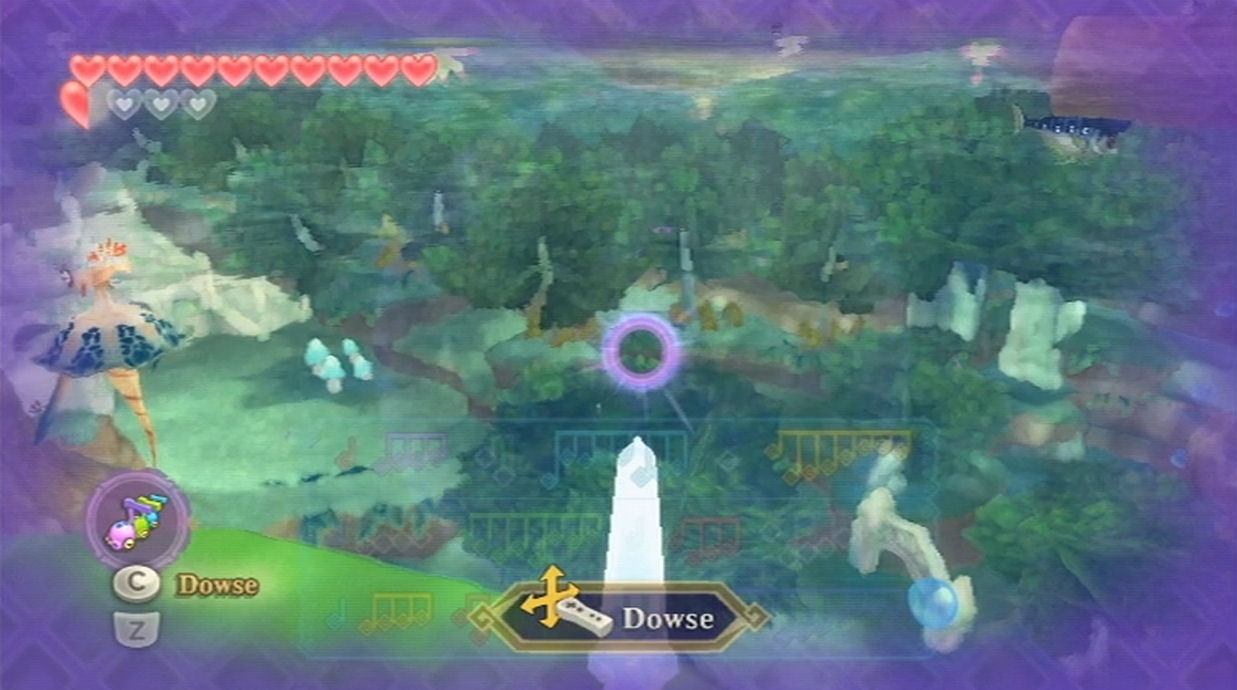
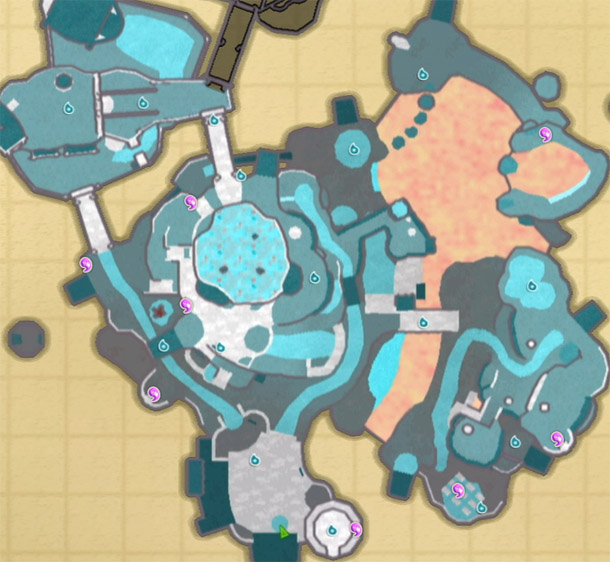
There are 17 sets of notes that you need to find and this was just the first one. After you’ve collected seven of these notes, several Cranioc enemies will appear in the water. After you’ve collected twelve of the notes, Bucha will call for you above and Fi will now allow for you to dowse for the remaining notes. However, you can only dowse when you are standing on a surface above water. Here is a map showing their locations:
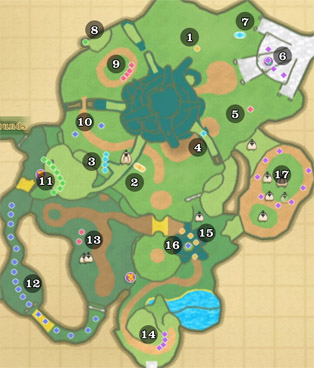
Here is the quick list as well, showing a description of the location, the color of the notes, and how many there are in the sequence.
- Northeast of the Great Tree underneath the lilypad. You need to jump on it from the higher ledge. (Yellow – 1 Note)
- South of the Great Tree right next to Bucha. Use the water dash attack. (Yellow – 8 Notes)
- Southwest of the Great Tree at the very bottom of the woods. These notes will move in a circular pattern along this area, going underneath the higher platform here. (Turquoise – 4 Notes)
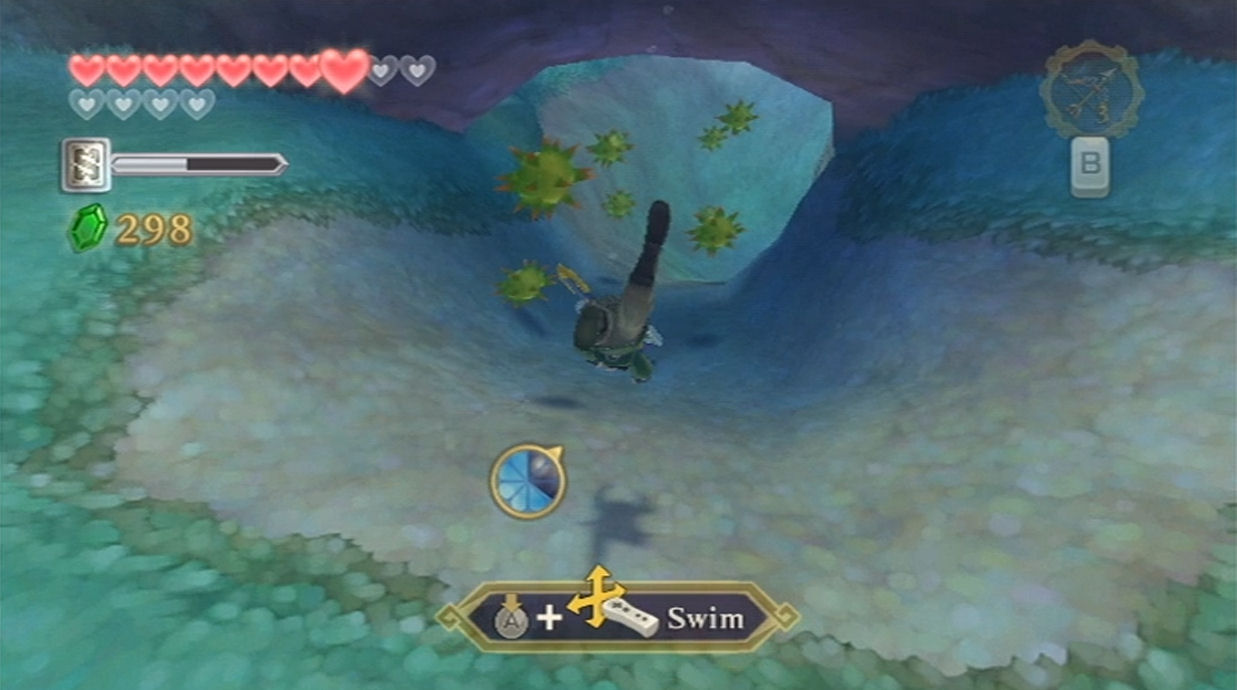
- Southeast of the Great Tree at the very bottom of the woods. This is located just near the underwater entrance to the Great Tree. The note is surrounded by spiked balls that will blow up when you touch them. (Turquoise – 1 Note)
- East of the Great Tree at the very bottom of the woods. It’s located right near where the entrance to the Silent Realm was. It will move in a circle in this small area. (Red – 1 Note)
- Near the northeast part of the woods by that stone structure. There are four notes in a row but they are surrounded by spiked balls. (Purple – 4 Notes)
- Near the northeast part of the woods, but not all the way at the bottom. There are several notes in a circle. Use a water dash attack to collect them all at once. (Turquoise – 8 Notes)
- Northwest of the Great Tree against the far wall. There is a boulder with a Froak in front of it. Use a water dash attack on the enemy to cause it to blow up the boulder. (Green – 1 Note)
- Northwest of the Great Tree, you’ll find a few notes circulating around the pathway that can be seen on the map. (Red – 4 Notes)
- West of the Great Tree, you’ll find two notes in the grass area. There is one note on each side of the pathway and both of them are mixed with some grass at the bottom of the water. Use the spin attack to quickly move from one to the other. (Blue – 2 Notes)
- A bit further west of the Great Tree you’ll find a Parella floating around near a tunnel. There are several notes in a row here, so carefully follow through and grab them. (Green – 8 Notes)
- At the Southwest corner of the Faron Woods in the narrow gap. There are 16 notes in a row, but they are also surrounded by purple poison bubbles. If you grab the poison bubbles, you’ll lose some air. However, since the notes are also purple, they can be hard to avoid. In the middle of the pathway there is also an air bubble that you could get if you run short on air because of the poison bubbles. (Purple – 16 Notes)
- Located at the Southwest part of the Woods, just north on the map where Machi and Lopsa are labeled. These two notes are at the very bottom of the woods, hidden within some grass. (Red – 2 Notes)
- At the far south part of the woods near the entrance to Lake Floria. There is a circular pathway in this area and the notes will circle around. (Purple – 4 Notes)
- Located at the Southeast part of the woods, just south of where Erla is labeled on the map. The notes are located in the tunnel underneath the tree. (Yellow – 4 Notes)
- Also located just south of where Erla is, you’ll find this lone note hidden a bit higher up in the enclosed area of the tree. There are several small gaps you could use to enter this hidden area. (Purple – 1 Note)
- Located in the large circular area at the east end of the Faron Woods. These notes are spaced out quite a bit, so you’ll need to dash between them in order to reach them in time. (Purple – 8 Notes)
After you’ve collected all 17 sets of notes, the song will play. However, we will have to make our way over to Faron to get our reward. Enter the inside of the Great Tree at the bottom of the woods once again. Swim on over and up to the top of this area. Resurface and speak with Faron. The Water Dragon will now sing the song to you and you will have learned part of the Song of the Hero!
Faron will head back to her hall near the Floria Waterfall and she’ll unflood the woods, returning them to normal. You’ll appear back outside, so use the nearby bird statue and take off for the sky.
Now that the Faron Woods has been cleared of water, there is an optional side quest that has opened up. If you’d like to skip this one, just head on over to the Eldin region and skip down to 16.3.
Fly on over to Skloft and enter the Knight Academy. Speak with Instructor Owlan within his room and he asks you to find him an exotic plant that you discovered throughout your travels. Fi will allow you to dowse for such a plant. Leave the Academy, jump on your Loftwing, and fly towards the Faron Woods.
Land at the Viewing Platform in Faron Woods and then use your dowsing mechanic. Dowsing will take you to the east side of Faron Woods where it will target Oolo, one of the Kikwi. Speak with Oolo and he wishes live in a safer environment. Fi will call over Scrapper and he’ll come and grab Oolo.
Fly back towards Skyloft and enter the Knight Academy. Speak with Instructor Owlan and he’ll be grateful that you brought him a rare plant. Link will be rewarded with 5 gratitude crystals.
16.3 Bokoblin Base
Our next destination is back at the Eldin Volcano. Fly on over, but once you arrive you’ll find that the Volcano is erupting. You won’t get a choice as to where you land, but as you land the eruption will cause you to fall to the ground. When you next awaken, you’ll be imprisoned with absolutely no items!
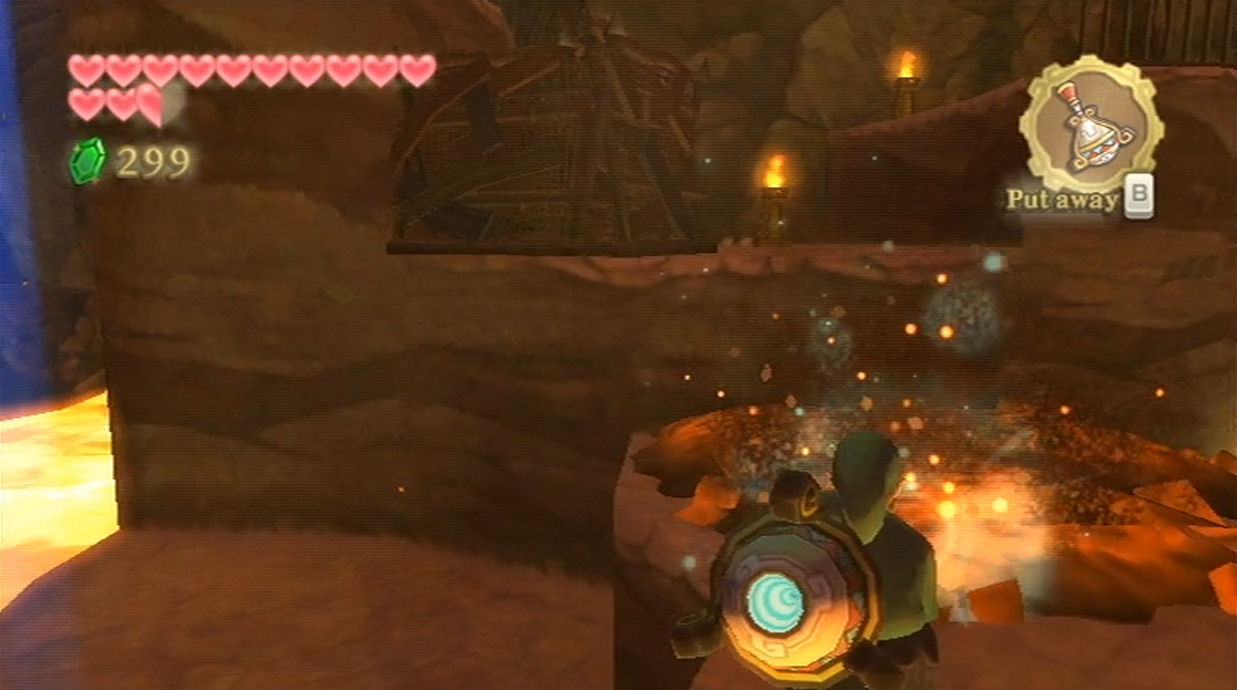
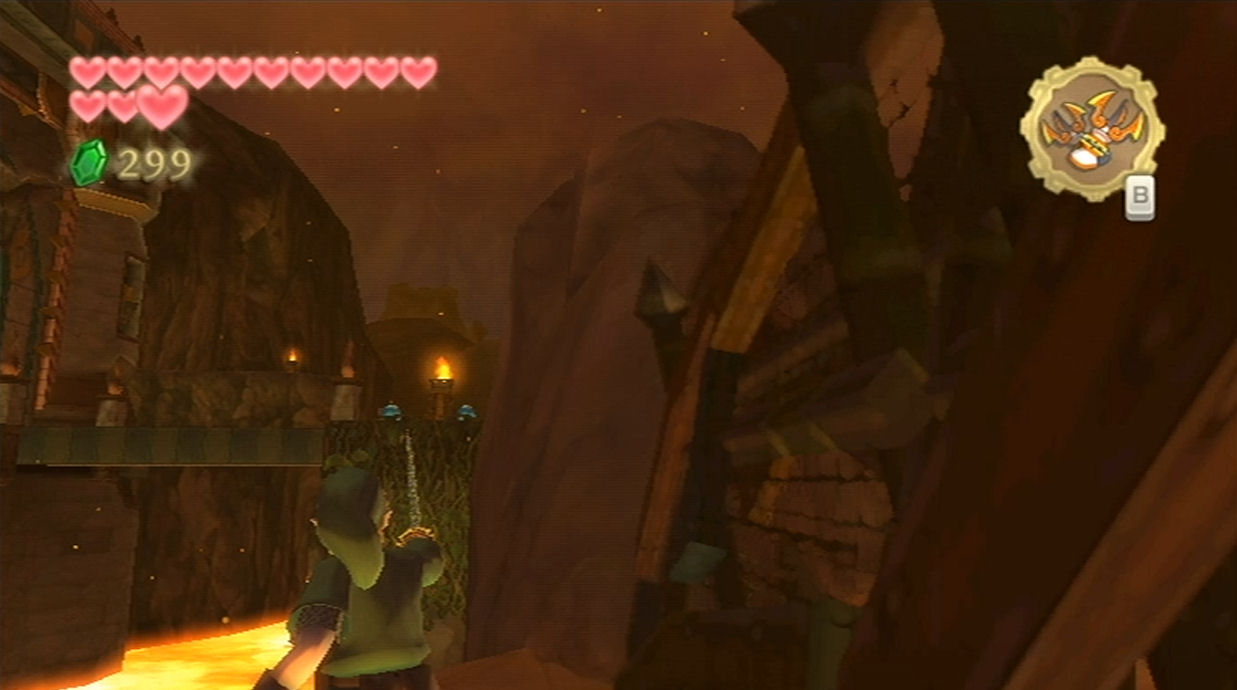
Break the pots in this room to get some recovery hearts. Try to pick up the barrel and you’ll be met by Plats, the Mogma you helped out in the Fire Sanctuary. The Mogma helps you out by giving you back your Mogma Mitts.
Now that you have the Mogma Mitts, you can at least escape this cell that you are in. Burrow underground using the nearby soft soil spot. Crawl over to the light and emerge. There is a nearby hut and if you go inside you can sit on the stool to recover all of your hearts. Afterwards head down the pathway until you reach a bird statue.
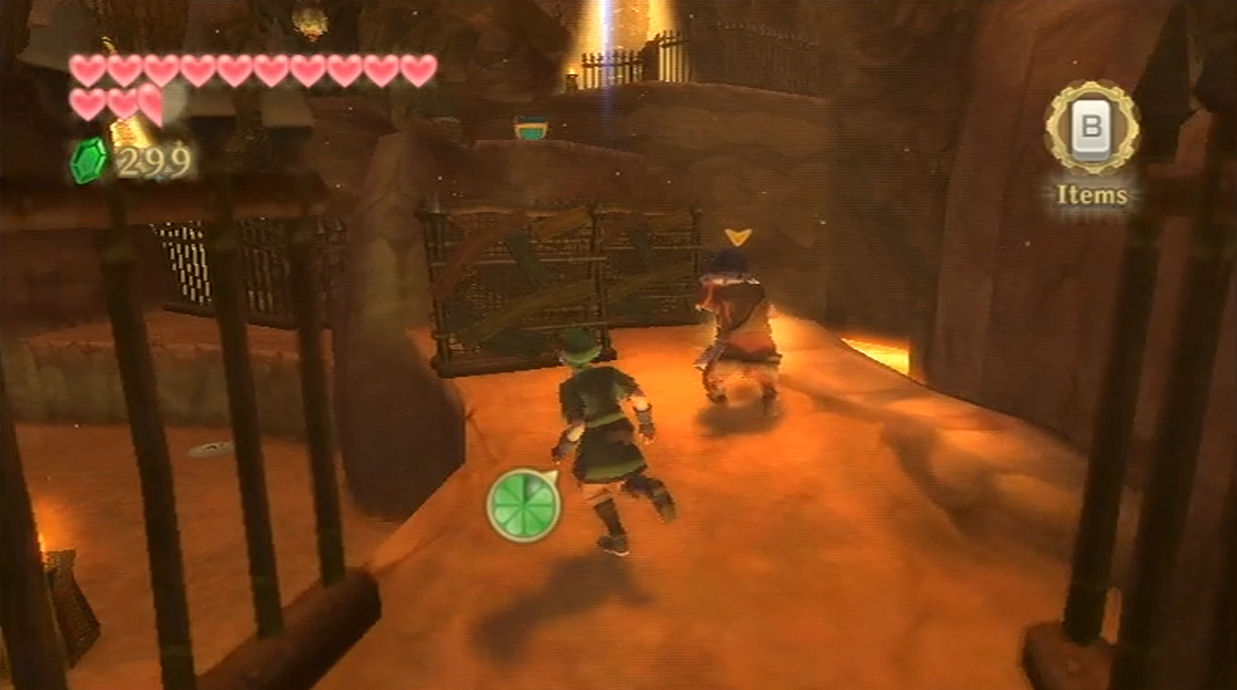
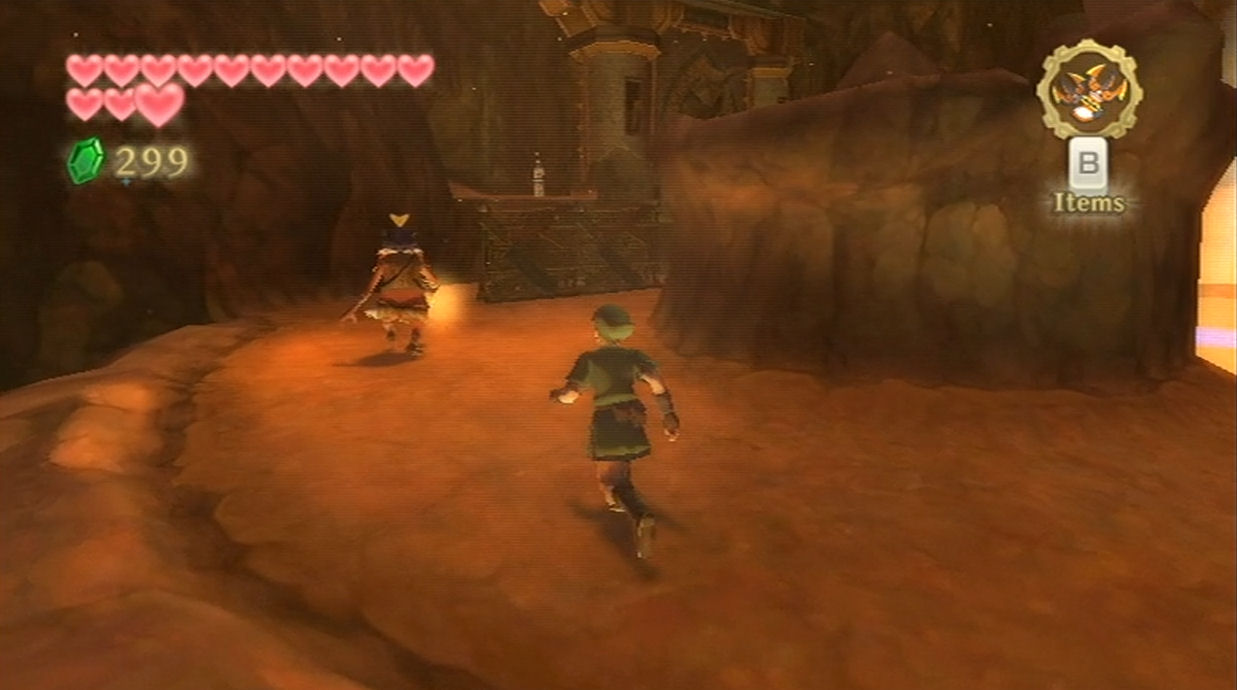
Walk ahead and drop down to the lower platform. You’ll be met by Plats the Mogma once again. This time he’ll help you out by marking which items are in each of the treasure chests. He warns you to try not to get caught but honestly, it’s not that bad. If you do get caught, you’ll just be placed at a nearby location and you’ll be down two hearts. (You won’t have to start the whole Bokoblin Base over.) Also note, the bokoblins have awful vision and it’s quite difficult to get caught as long as you are trying to avoid it.
Climb the wall here and you’ll see the first bokoblin in this area. Wait until he is walking away from you and then follow behind. Once he is far enough ahead, jump off the platform to the left. There is hole in the ground here where you can burrow, so go ahead and do so.
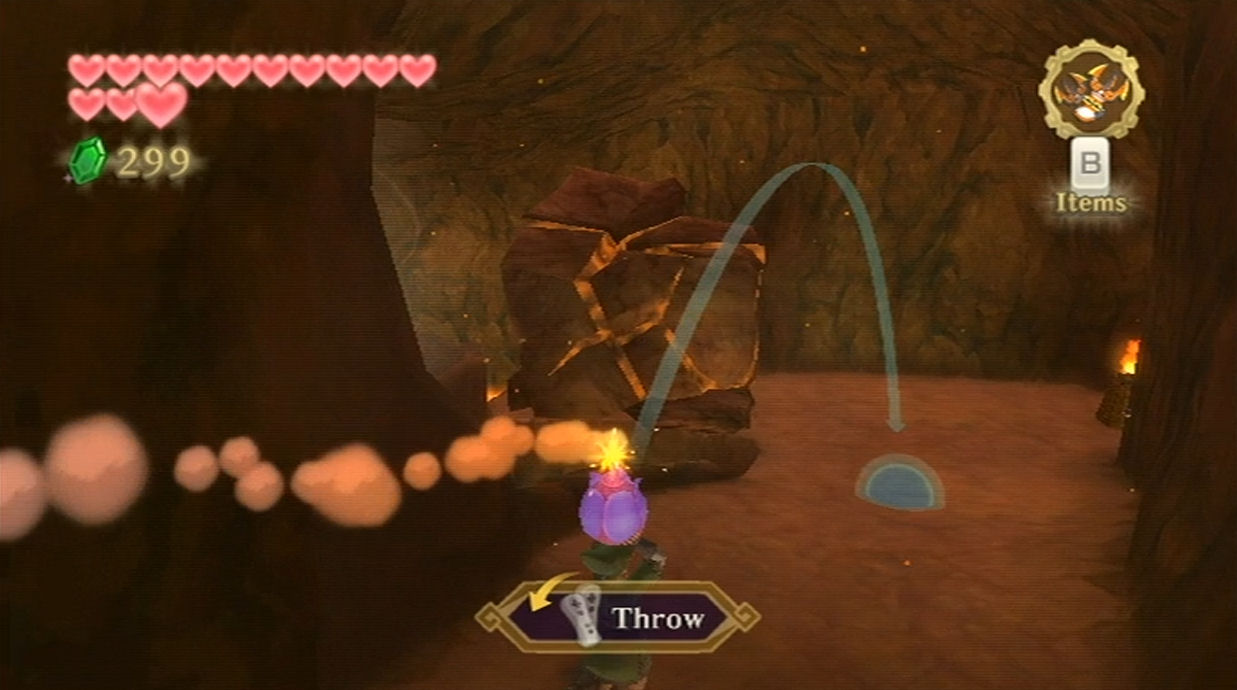
Break up the rocks that are nearby and crawl around the room. You’ll even come to a bomb, so activate it and push it ahead to blow up the boulder. Crawl along and use a second bomb to blow up another boulder here. With the pathway cleared, resurface at the other light.

Run up the ramp here and you’ll find a tower with a light shining down. You want to avoid walking beneath the lighted areas, otherwise a Bokoblin will spot you. Drop down and burrow underneath the nearby soft soil location. There is a moldorm burrowed underneath here, but you don’t actually have to defeat it. Just make your way over to the light in the corner of this area and resurface. Climb up two platforms and open the treasure chest to get the gust bellows.
Now that you have the gust bellows, clear out the nearby lava ash and climb up a series of platforms. You’ll come across an area with two bokoblin and a treasure chest in the distance. Sneak past the bokoblin to find a soft soil spot nearby, and use it to burrow underground.
There is another moldorm in this area and you don’t have to defeat it if you don’t want to. Break the rocks to get where the moldorm is and you’ll find some more rocks on the other side of the moldorm. Break those rocks and then resurface using the nearby light. Jump down to the treasure chest and open it to get your clawshots back.
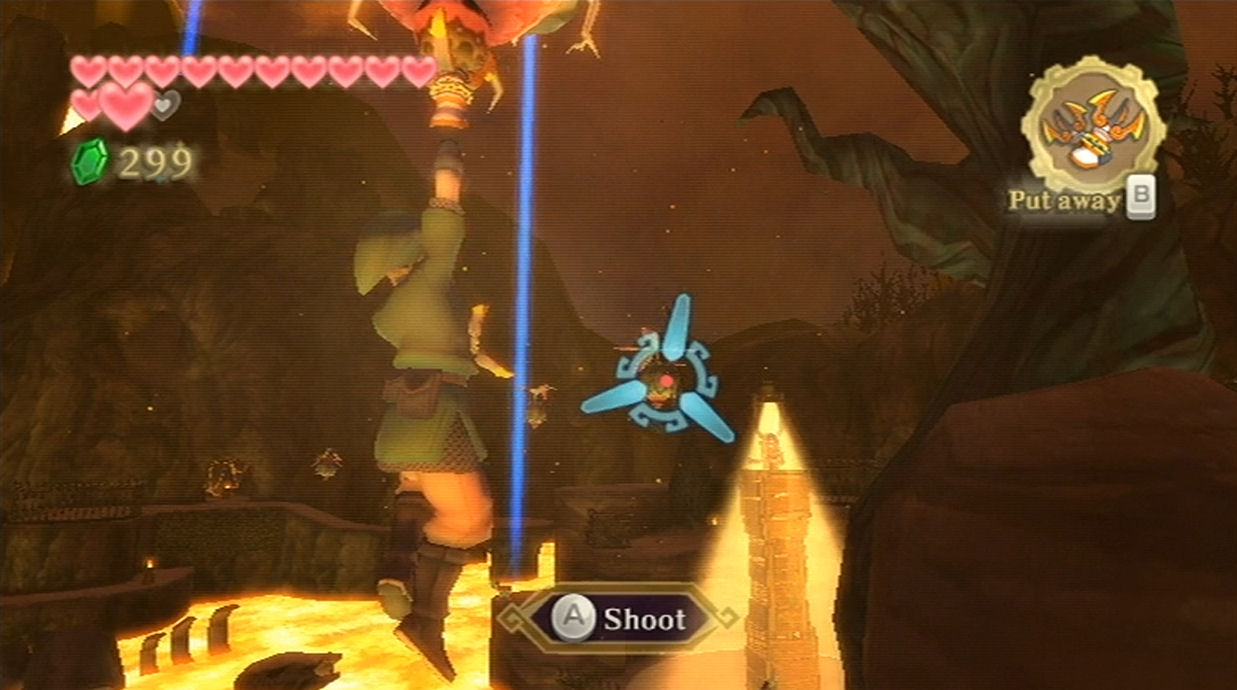

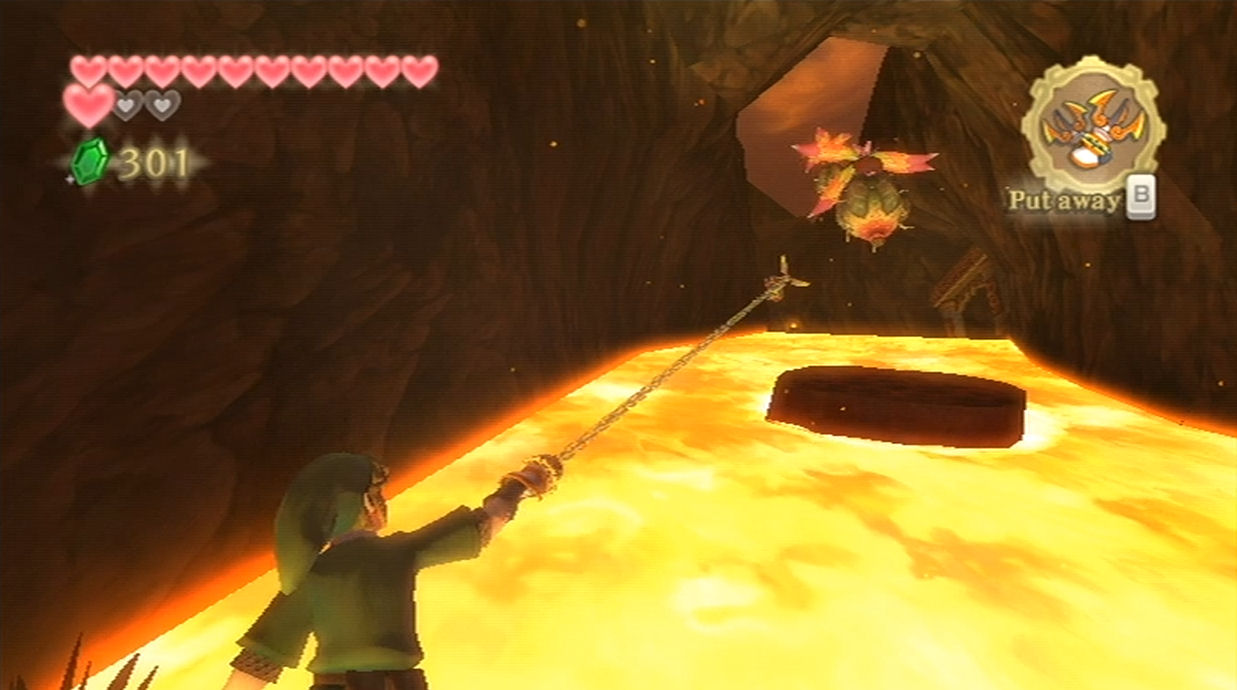
With your clawshots back, turn to the north and you’ll see a series of peahats floating in the air. Use your clawshots and make your way from one peahat to another. When you reach the final peahat, look to the north and claw over to the vines. Drop down from the vines and walk around the corner. An occasional platform will float by in the lava. Jump on one of them and ride it until you see a platform on the right with a torch. Jump off the moving platform here.
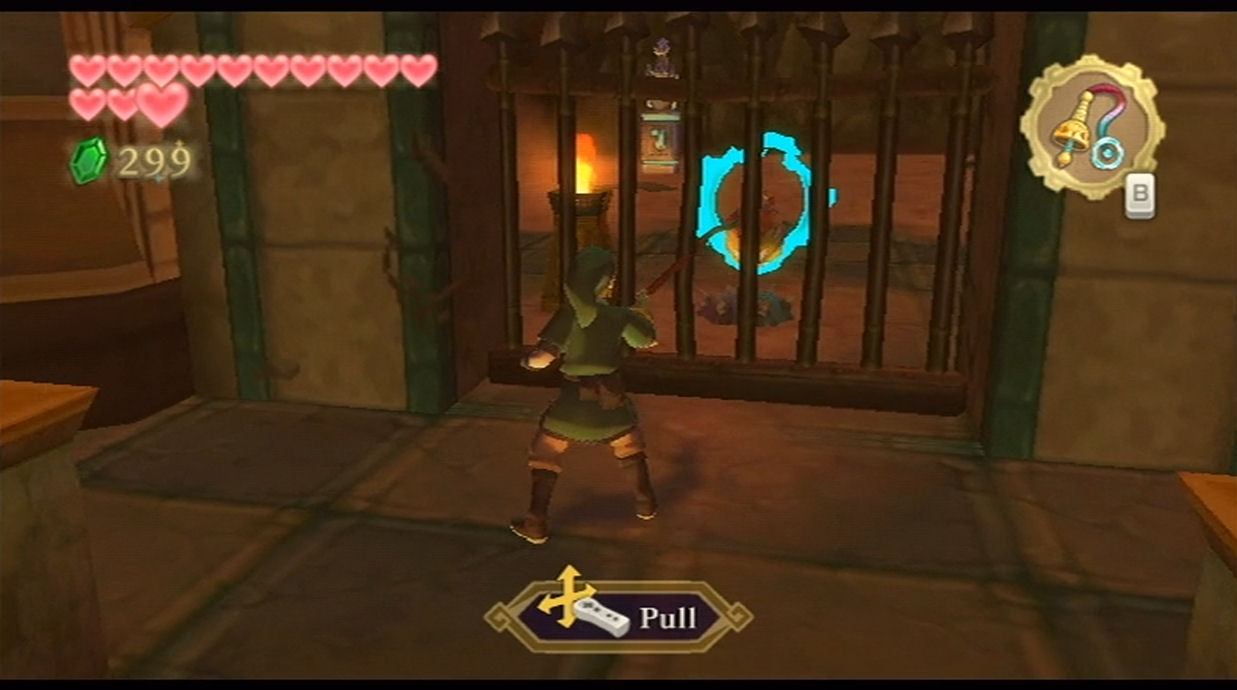
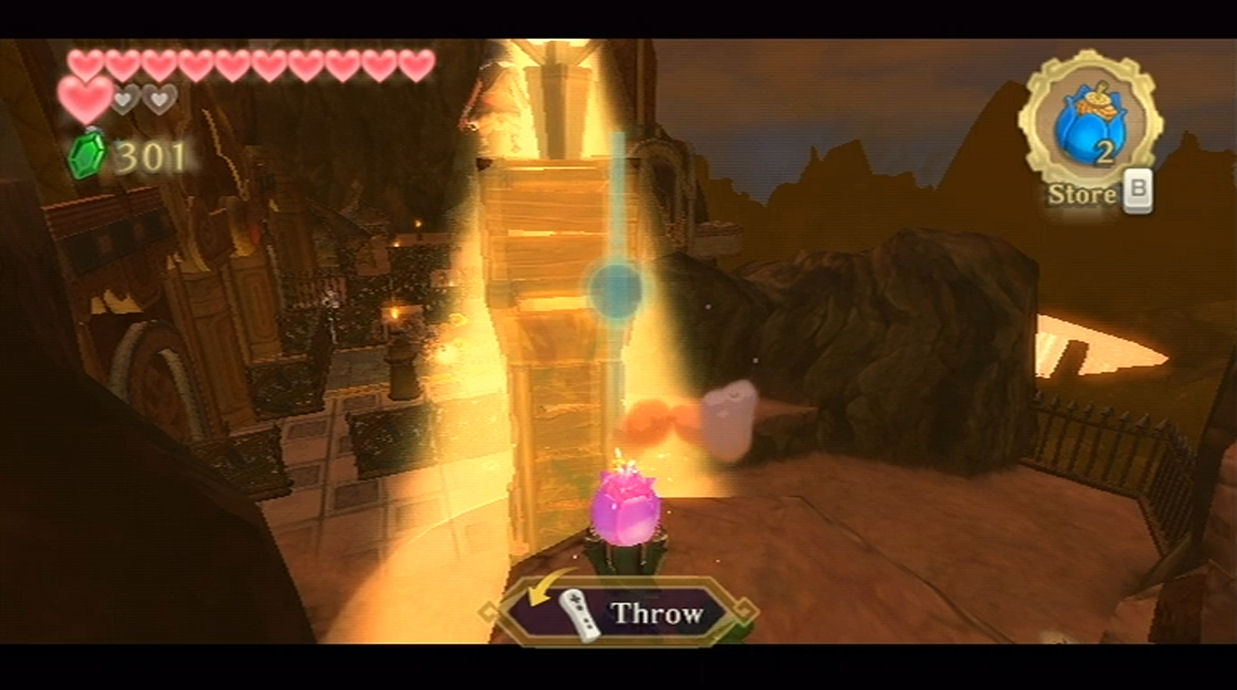
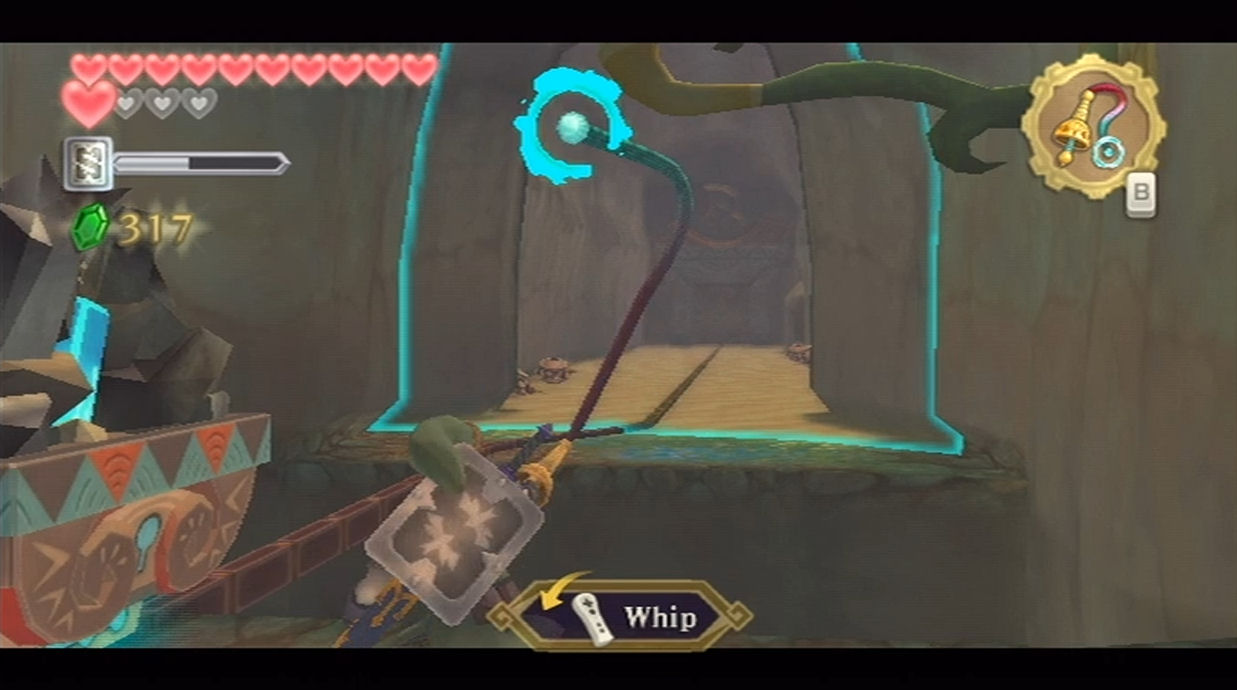
There is a bokoblin patrolling this area. Your goal is to run to the north end of this area on the backside of the gate here. Wait until the pathway is clear and do so. Use the clawshot to grapple over to the vines and climb up. If you turn to the right, you’ll find a watch tower here. Pick up one of the nearby bomb flowers and toss it at the tower, causing it to fall to the ground. Run on over and open the treasure chest to get the whip.

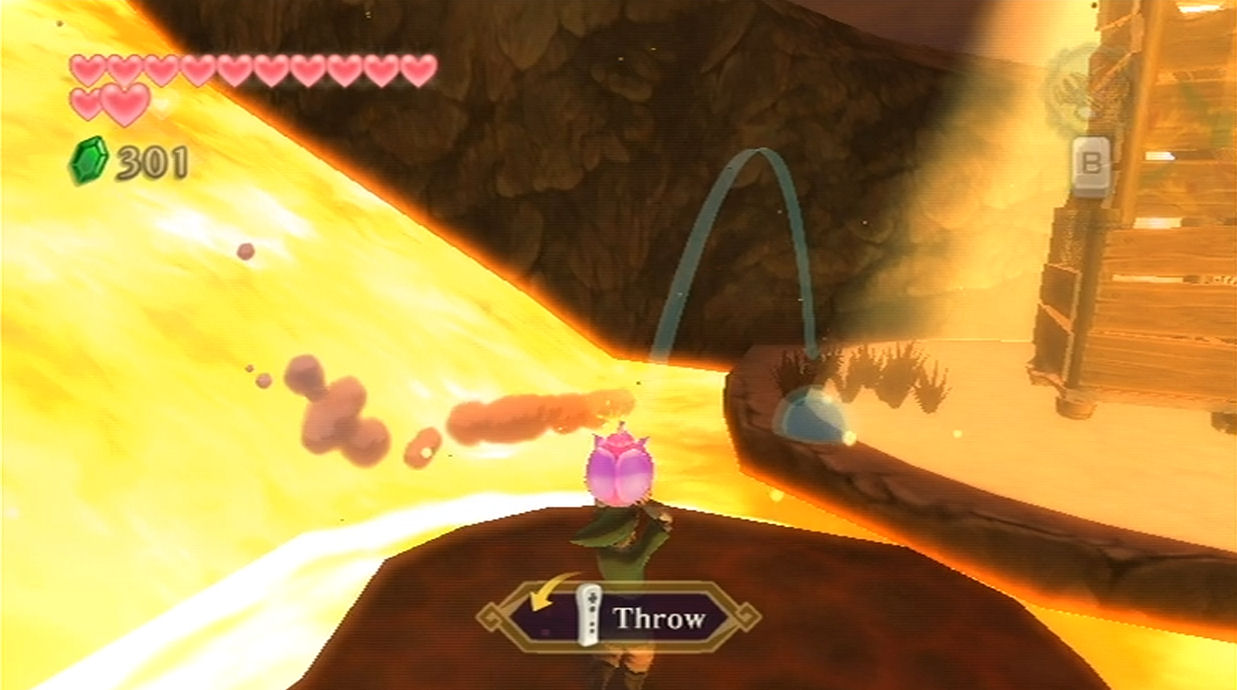
Now that you have the whip, run on over to the bridge and use it on the plant on the other side of the gate. This will create a peahat, so use the clawshots to grapple over. Turn to the right and you’ll see a boulder that is blocking the pathway. There is a nearby bomb flower so use it to blow up the boulder. There is a second boulder here that needs to be blown up, so use that same bomb flower once again. Jump into the giant wind geyser to get to the top of the area.
Cross the bridge here and head down the pathway. There are some enemies here that you could defeat with the clawshots, but otherwise just avoid them. You’ll see some peahats off to the left here. Move in that direction and jump onto one of the moving platforms here. Use it to ride down the lava waterfall and jump to the ledge on the right.
Pick up a bomb flower here once one of those moving platforms is nearby. Jump onto the platform and toss the bomb flower at the tower, causing it to come crumbling down. Jump on over and open the treasure chest to get your slingshot back. Now use your clawshots on the peahats that we just saw and work your way back up this area.
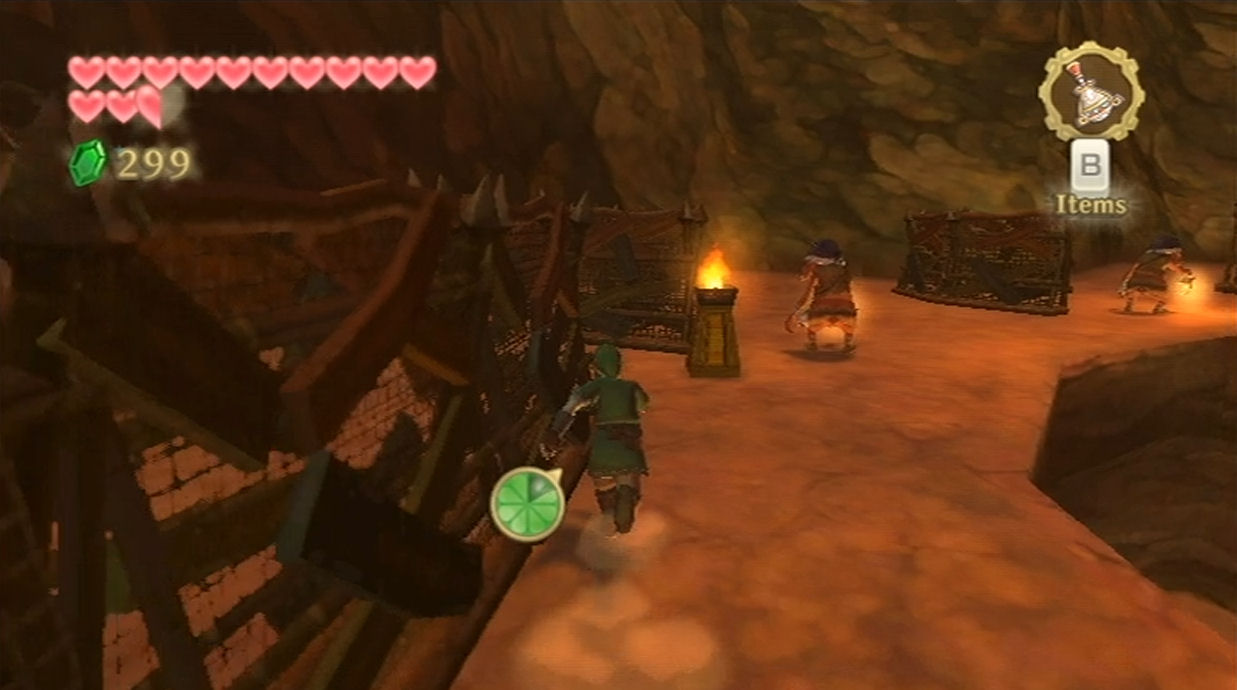
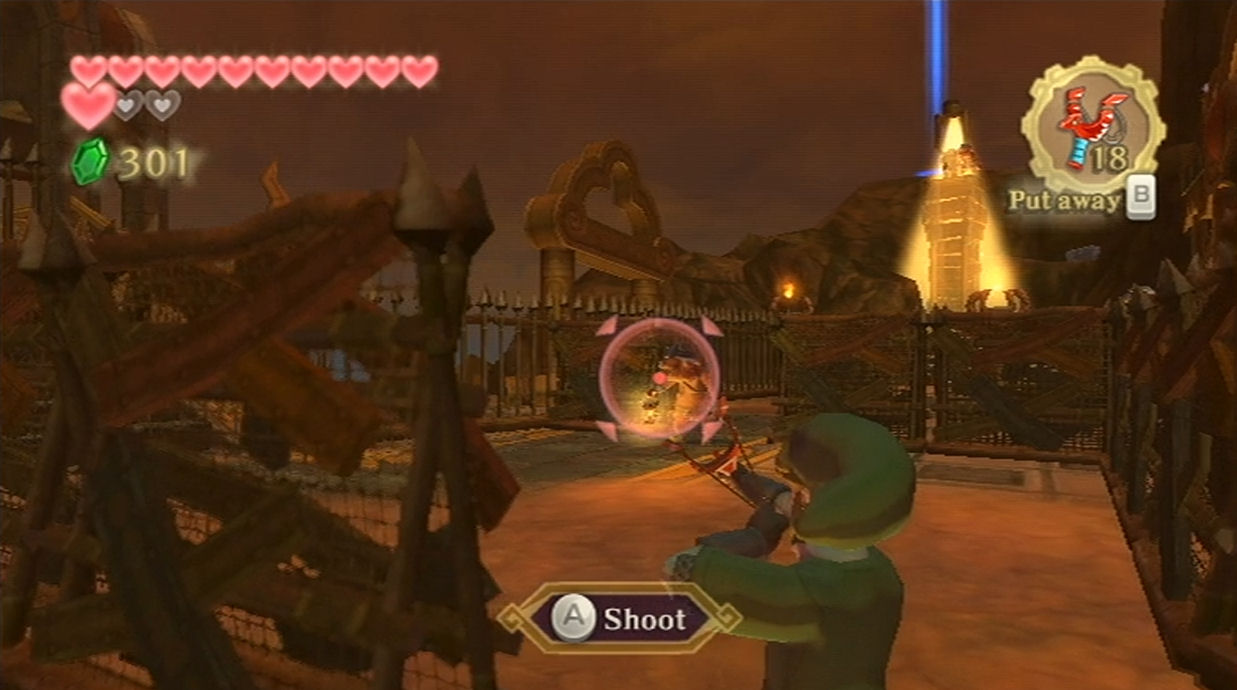
Climb back up and head towards the entrance to the Earth Temple. You’ll find a few bokoblins here and in particular the first one is blocking the only pathway. If you look at its movements it looks left, then right, then left, then right, etc. Stand on one of the sides and as soon as it turns to look in the other direction, step into the open and hit it with a slingshot bullet. While the bokoblin is stunned run past it. You’ll find a second bokoblin here, so once its back is turned to you, hit it with a slingshot and then run by.
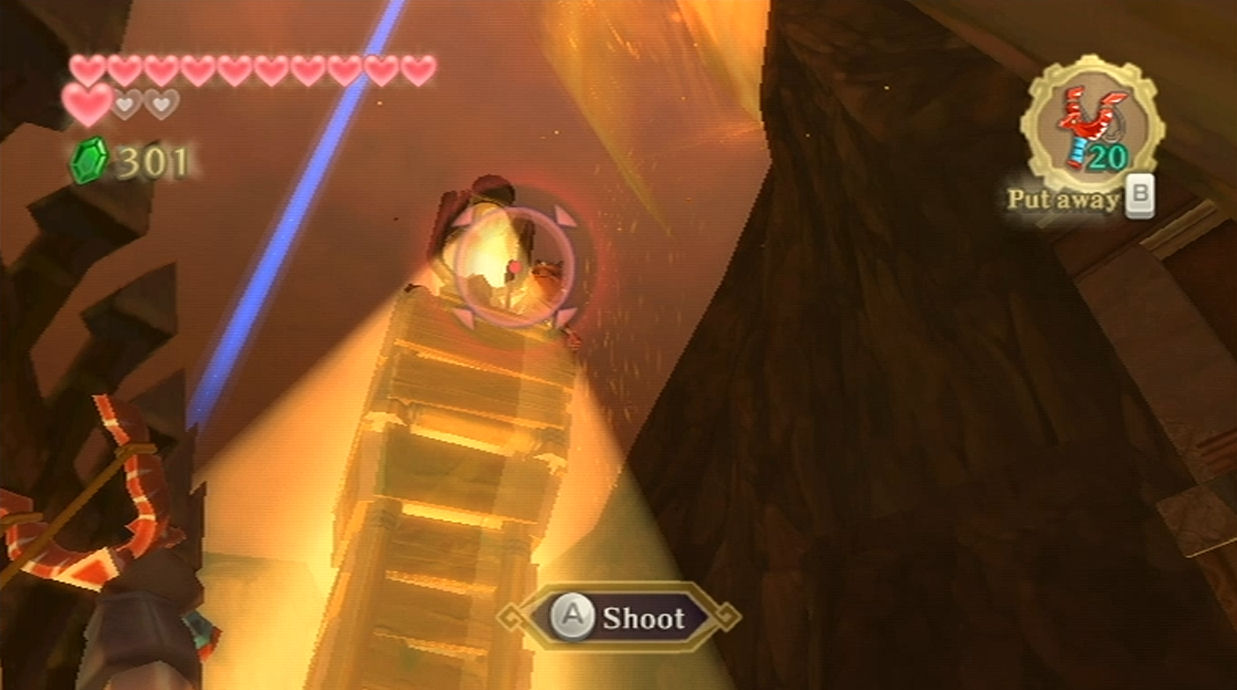
Look up to the top of the tower and you’ll find a bokoblin. Use the slingshot to hit the enemy and the light from the tower will go off momentarily. Run across and then burrow underground using one of the soft soil spots. Break the rocks underground and then use the bomb to blow up the boulders. Crawl on over and resurface at the other light. Open the treasure chest here to get the bomb bag back.
Dig up the nearby soft soil spot to create an air geyser. Ride it upwards to the higher platform. From here you can use a bomb and toss it at the pillar to knock it down. We now want to do some backtracking and head all the way to the bridge area by the very large geyser. Sneak past the two bokoblins here and make your way on over to the bridge.
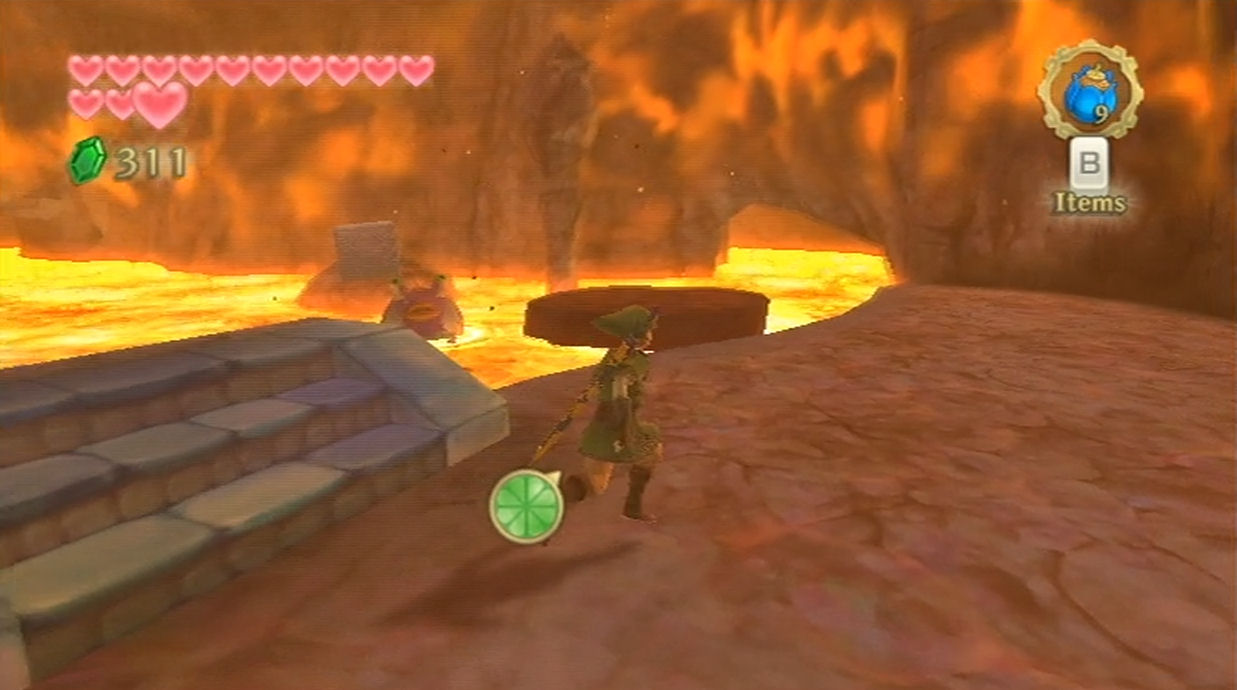
Continue forward and you’ll find your mogma friend here. Use the bombs to blow up the nearby rocks. Climb up the ramp and enter the Volcano Summit. Jump up to the cliff and pull out the sword to get back your Master Sword.
Now turn right and head east and you’ll find some Cursed Spume. Just ignore them for now and jump on the moving platform. There is a Goddess Cube found on the right side here. Use a well timed Skyward Strike to activate Goddess Cube #26. Ride the platform to the east and then take a left before going through the tunnel ahead.
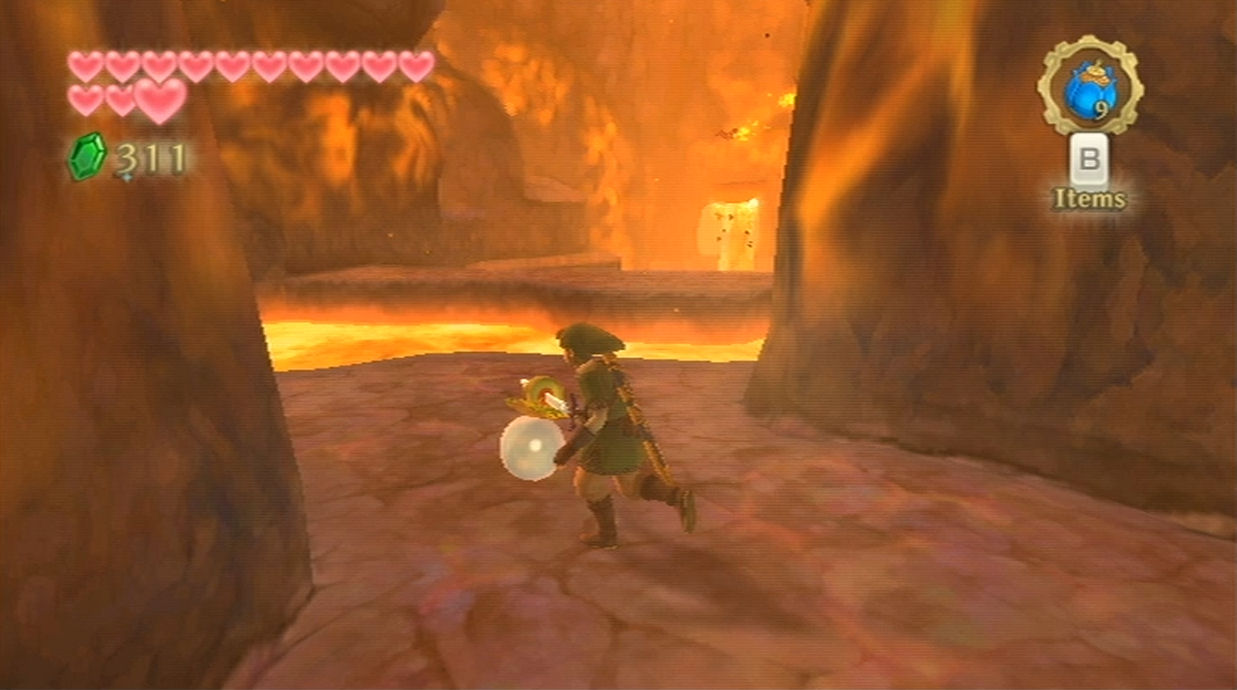
Follow this pathway to the next room and use your sword to grab a water bulb. Continue on to the next room and use that water bulb to create a platform and then jump over. Drop down and defeat the bokoblin and keese found here. Run on over and open the treasure chest to get your Adventure Pouch back, along with all of your items.
Climb up a couple of the nearby ledges and use a bomb to blow up the boulder. Slide down and then head back to the room with the cursed spume. Ride across the platform once again and this time head into the tunnel ahead we avoided earlier.
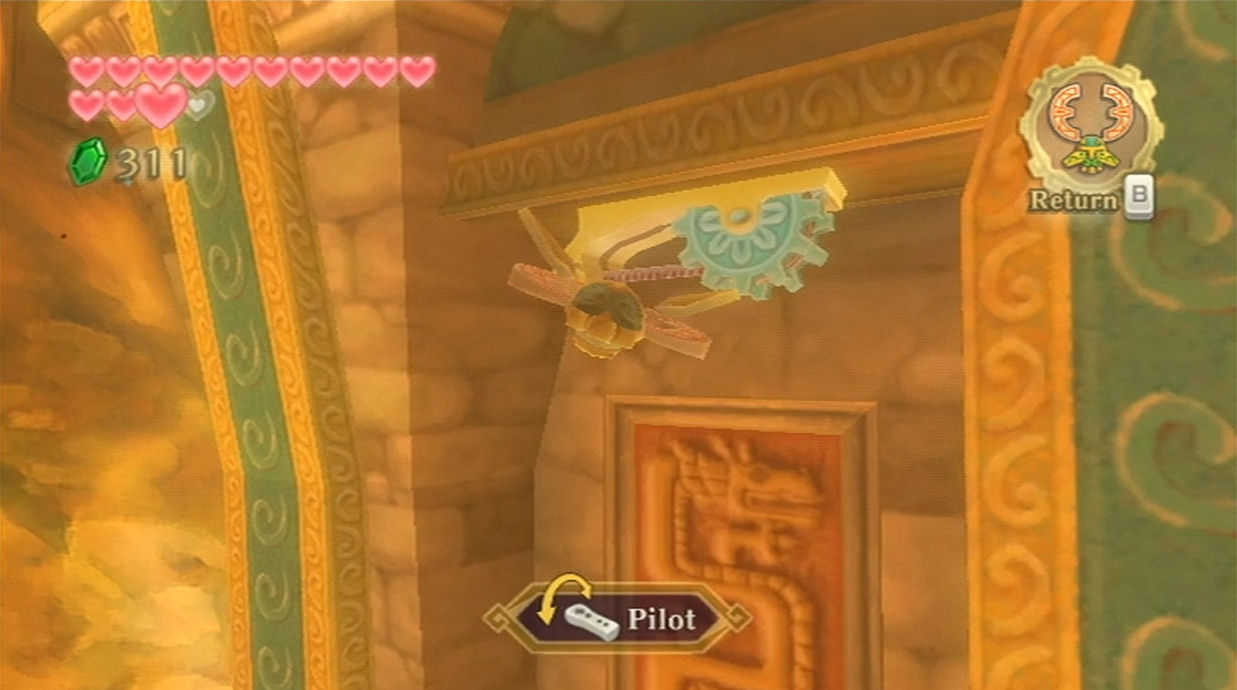
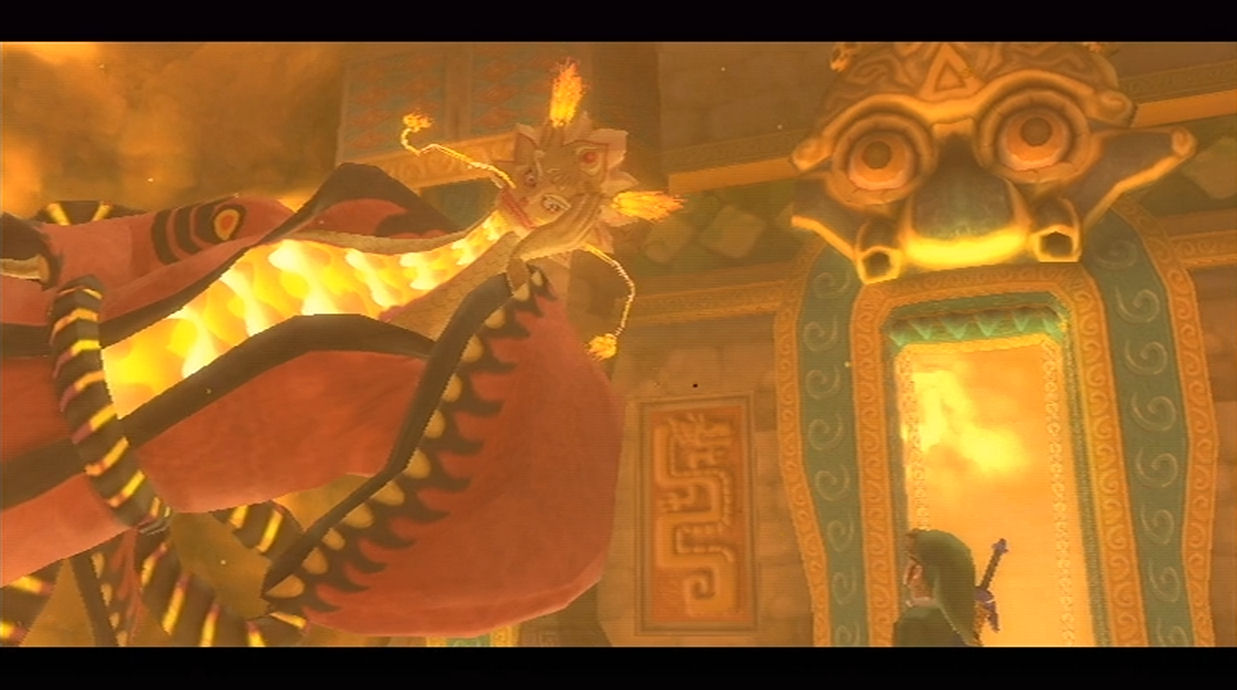
Run ahead and you’ll find a gear with a rope nearby. Slash the rope and the drawbridge will come down just a bit. There are two more ropes on the sides of the bridge, so use your beetle to cut those down. Make your way into the next room and you’ll meet up with Eldin, the Fire Dragon. The dragon will teach you the next part of the Song of the Hero! Only one more part to go!
The volcano will now be back to normal and you’ll next appear outside of the Earth Temple. Run on over to the nearest bird statue and return to the sky.
Now that the Eldin Volcano has returned to normal, there is an optional side quest that has opened up. If you’d like to skip this one, just head on over to the Lanayru region and skip down to 16.4.
Fly on over to the Pumpkin Landing and speak with Kina who is in the pumpkin patch. She mentions that she needs somebody to help her plow the pumpkin patch. Agree to help her find somebody and then fly on over to the Eldin Volcano region.
Once you arrive, land at the Volcano East bird statue. Run north slightly and look for the ledge above two wind geysers, where we went much earlier in the game to get the Digging Mitts. Head in here and drop down, but you’ll need to glide your way to one of the pillars located at the north end of this area. Here you will find the leader of the Mogmas, Guld. Speak with him and you’ll find that he loves the idea of working in the Sky. Call over Scrapper and he’ll lift up Guld into the sky. Ride the nearby Air Geyser to get back outside.
Run back to one of the nearby bird statues and return to the sky. Fly on over to the Lumpy Pumkin and speak with Kina. Guld will help Kina plow the pumpkin patch and she’s grateful for it. Link will be rewarded with five gratitude crystals!
Now that you’ve found all 80 Gratitude Crystals, run on over to speak with Batreaux at the graveyard. As a final gift, Batreaux will award you with the incredibly useless Tycoon Wallet. This Wallet will allow you to hold up to 9000 rupees. With the three additional wallets, you will now be able to hold 9900 rupees.
More importantly, this will complete Batreaux’s transformation to being somewhat human! Note, once you’ve completed all the Gratitude Crystal side quests and transformed Batreaux, enemies will no longer appear in Skyloft at nighttime. With that out of the way, let’s jump back on our Loftwing and fly towards Lanayru.
16.4 Lanayru Gorge
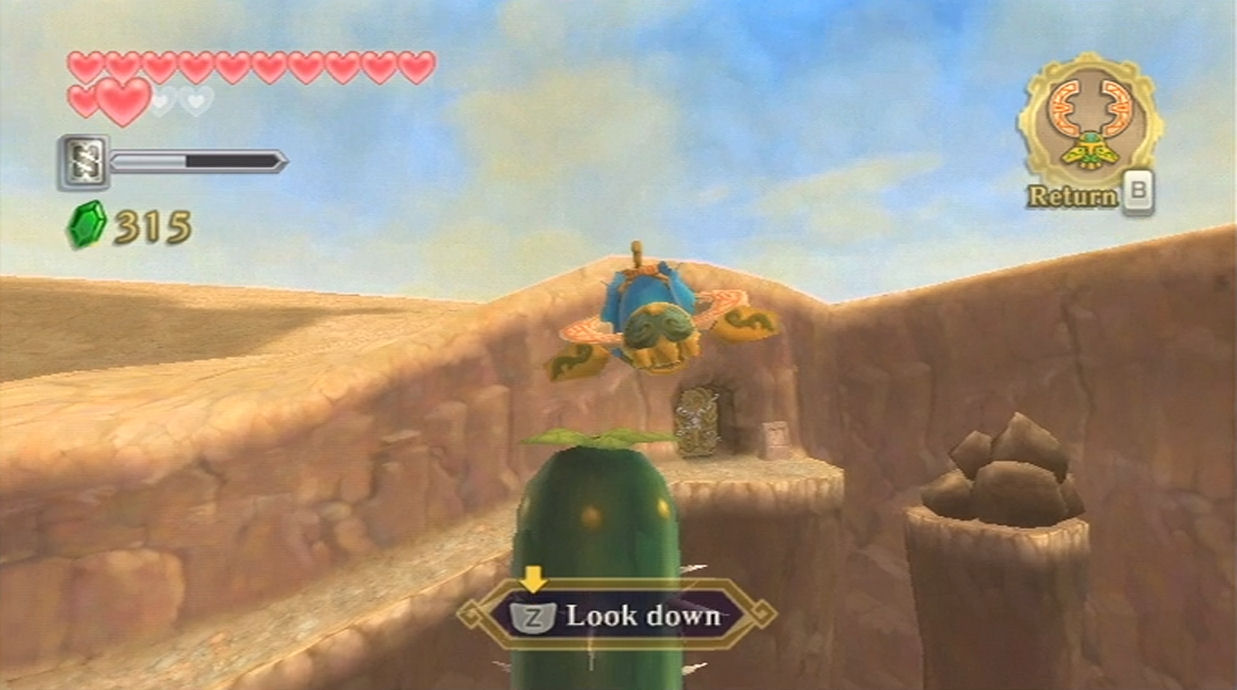
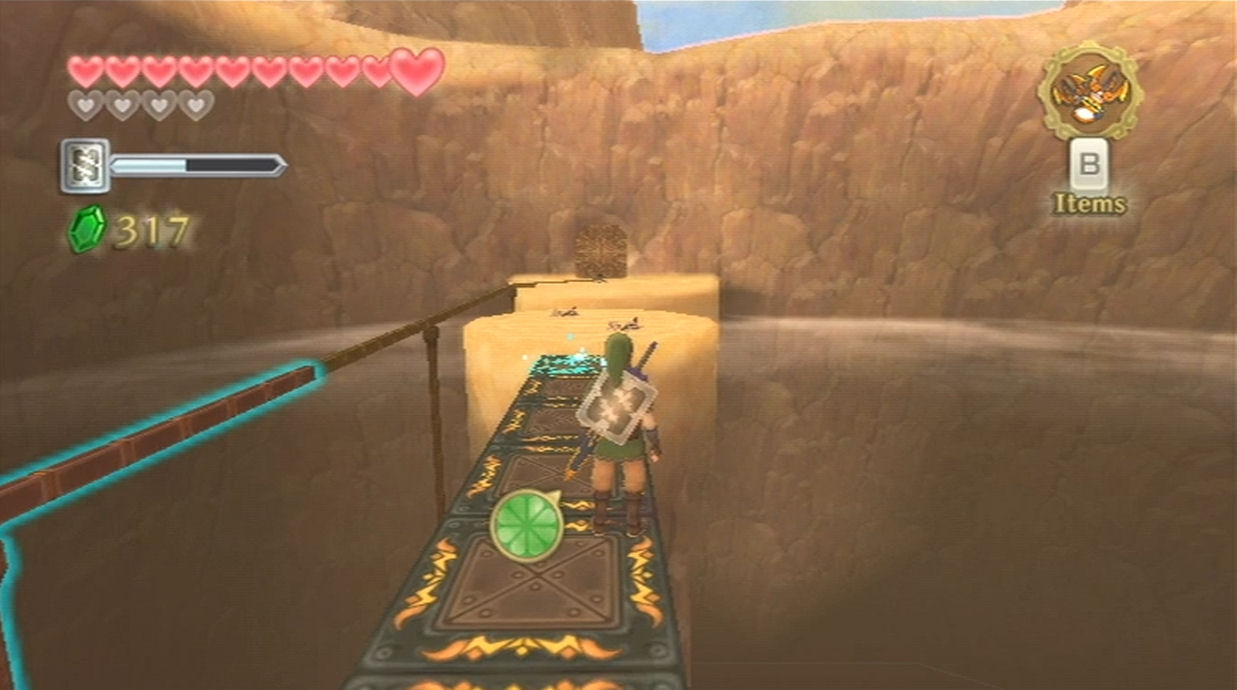
Back in the Sky, set your course for the Lanayru Desert. Once you arrive, choose the bird statue located at the Lanayru Mine Entry and fly on over. Once you arrive, use your clawshots to grapple over to the nearby target. The Goron here will mention that he found a narrow passageway, but it was too tight for him to fit through. Run on to the edge of this platform and you’ll see a number of clawshot targets. Claw yourself from target to target and enter the cave at the end of the pathway.
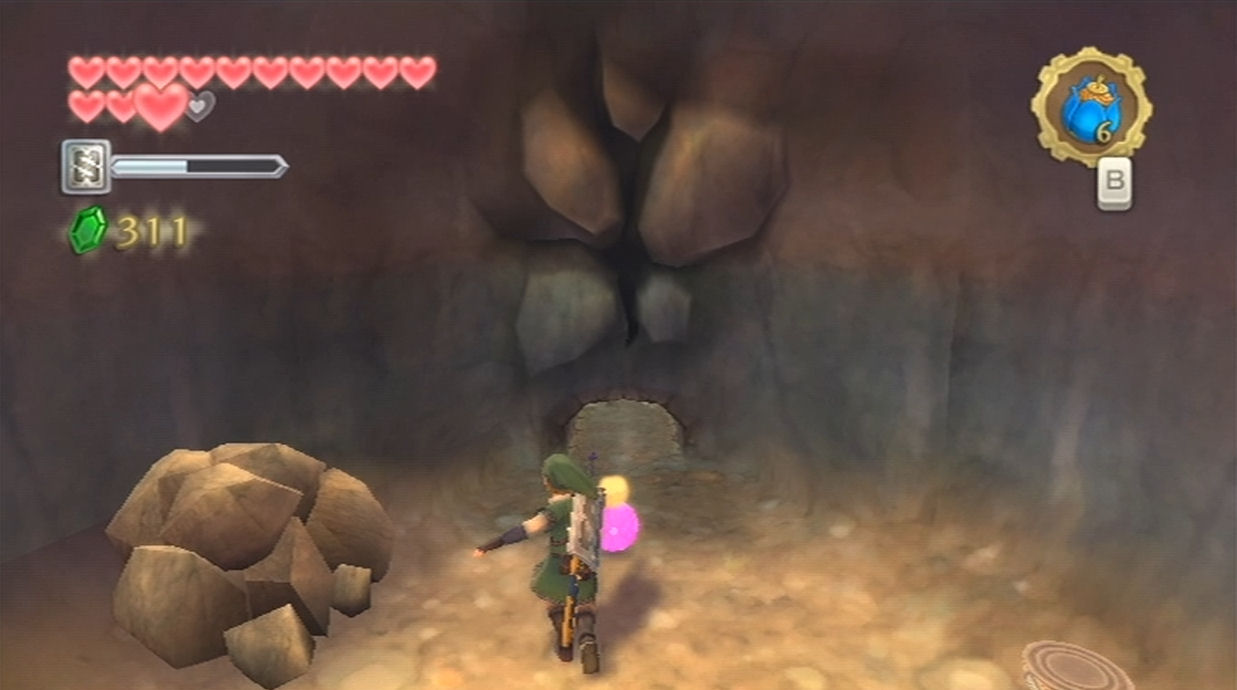
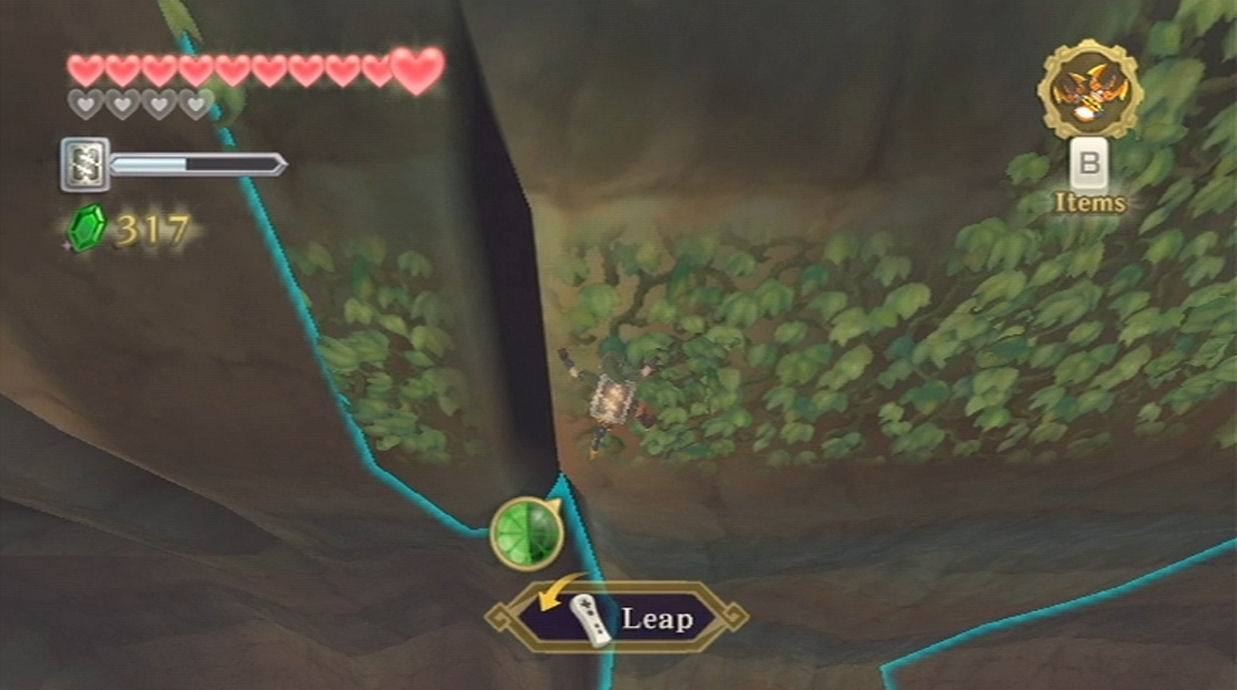
Jump off the ledge and turn to the left. You’ll see the narrow passage here but there are rocks below. Pull out a bomb and roll it into the passage, causing an explosion. Crawl on through the hole and run ahead to enter the Lanayru Gorge.
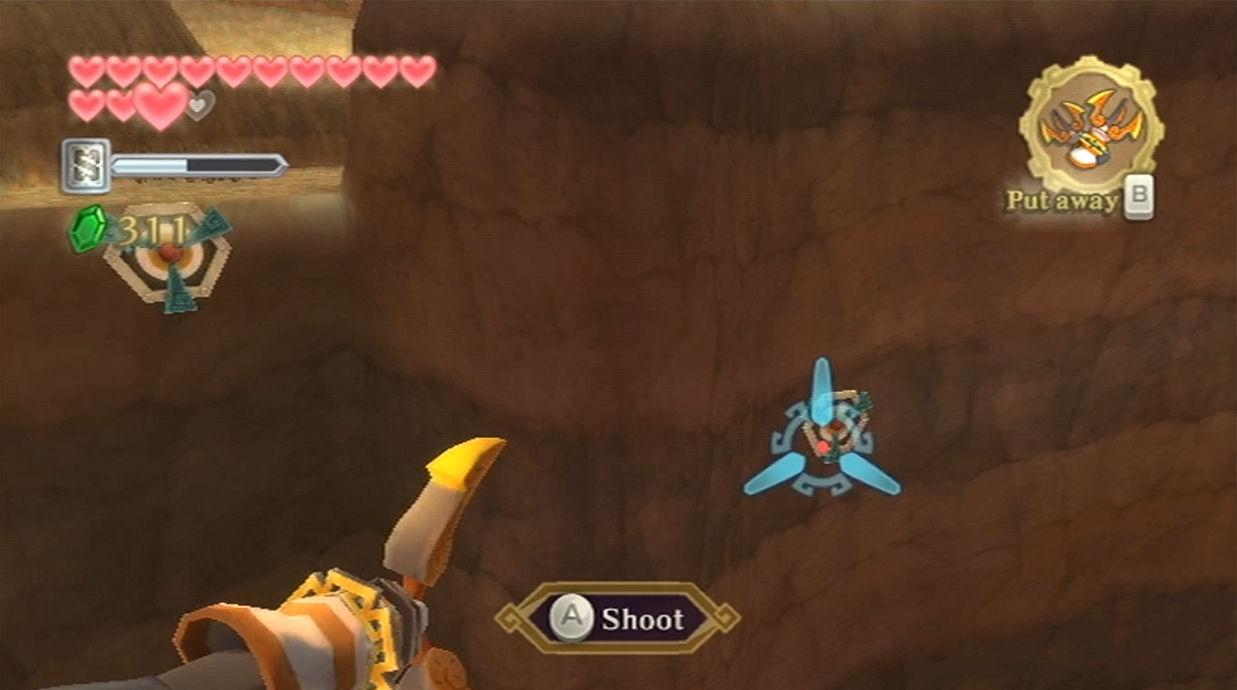
Run ahead and in the distance you will find a bunch of large bones. This is the dragon, but we need to bring a timeshift stone to this area to awaken him. Run back over to the bird statue near the entrance of the gorge and interact with it to add it to your map. There is a boulder in the way here. Use your beetle and grab the bomb that is nearby. Use the bomb to blow up this boulder and then jump across the gap.
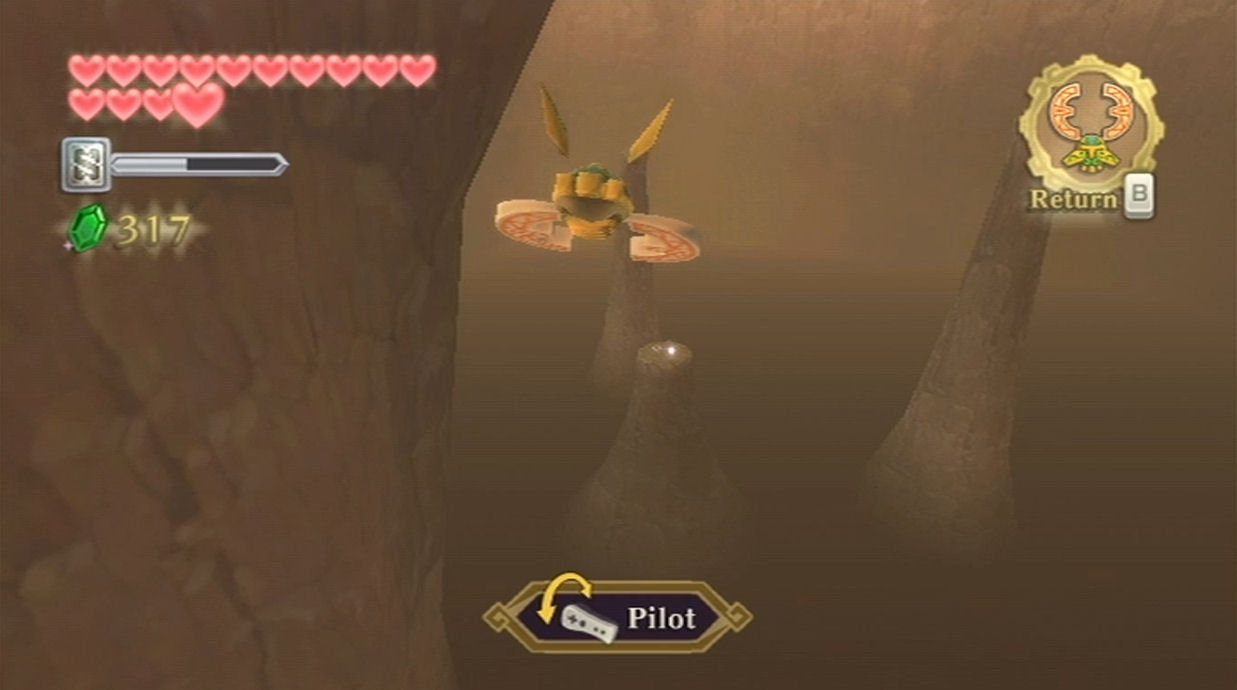
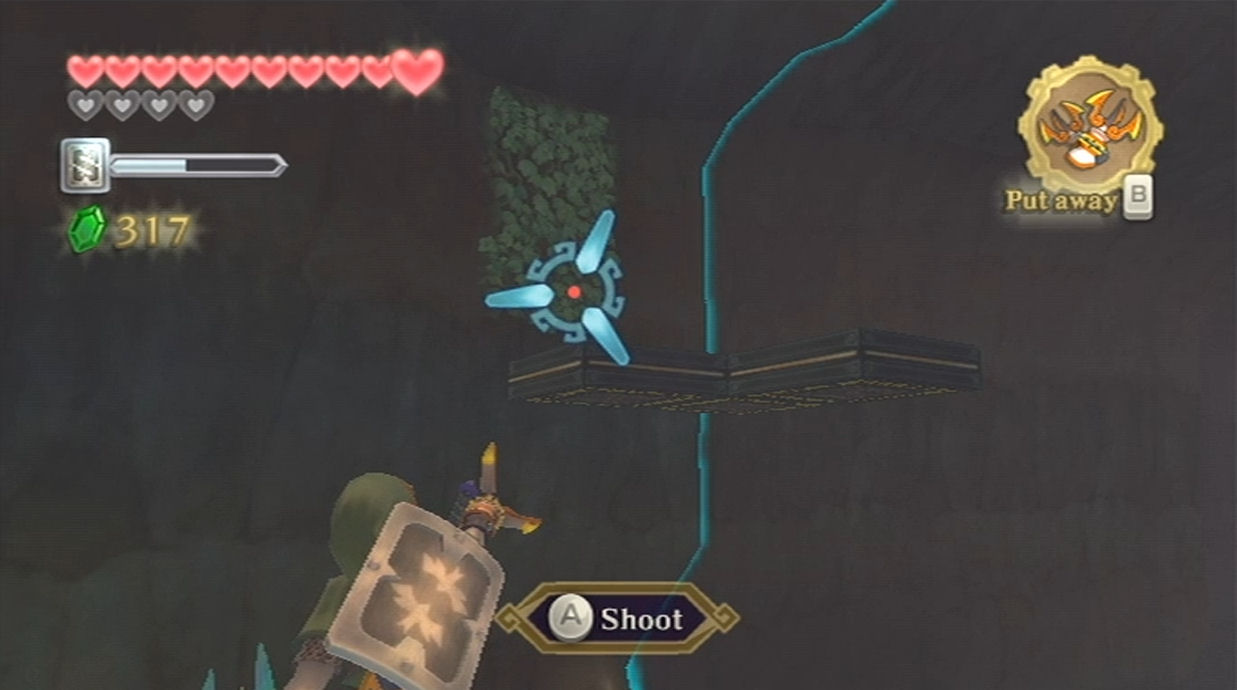
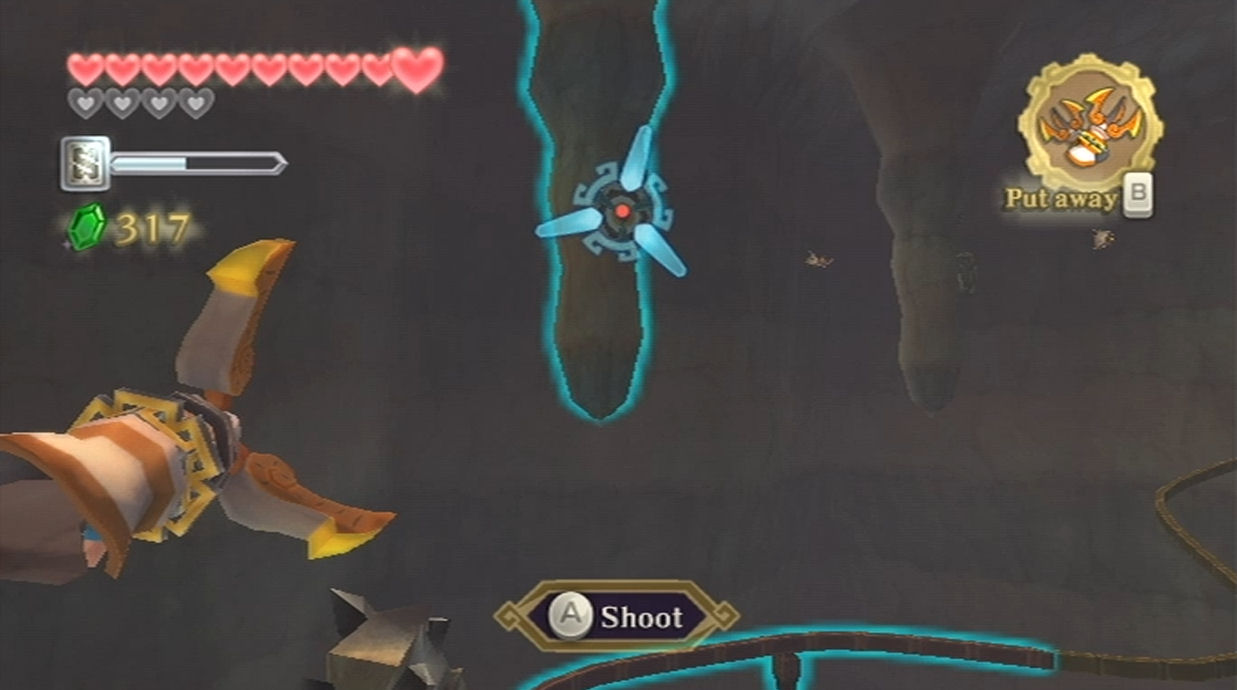
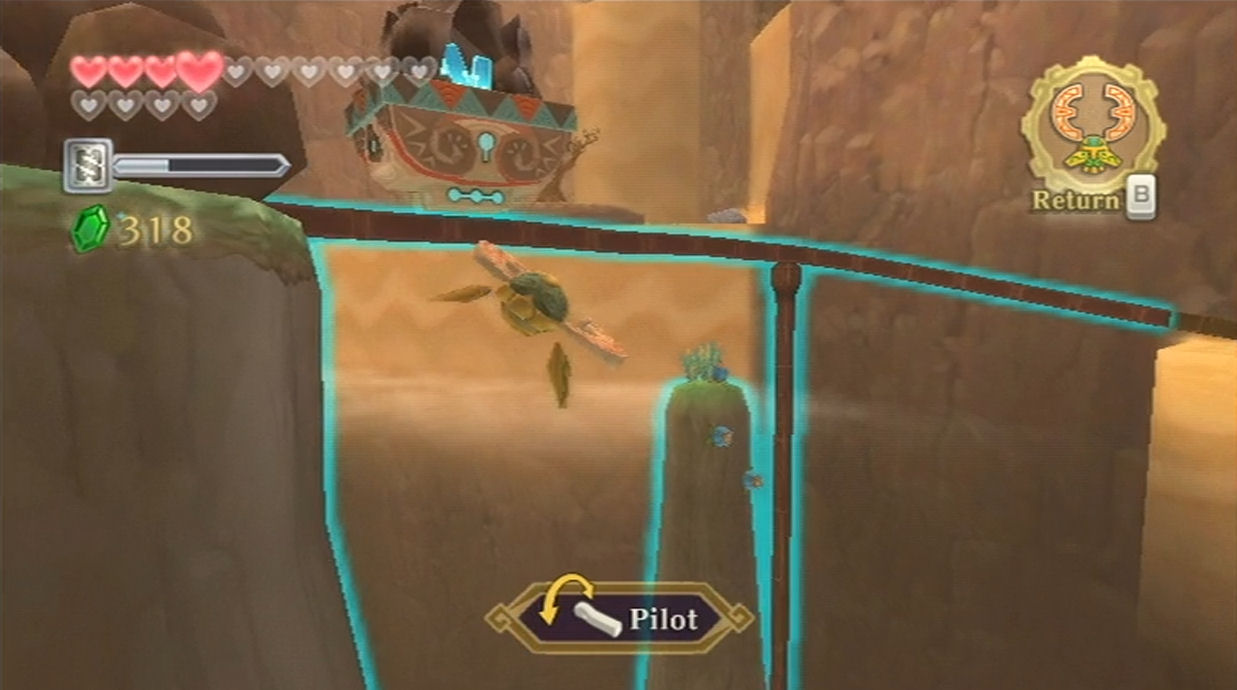
Run down the ramp here and if you look in the distance you will find a pillar with something shiny. Send out the beetle to grab a small key. Run up the ramp and use the small key on the locked door. Continue on and you’ll find a number of peahats here. Use your clawshots and move from peahat to peahat across this gap.
On the other side you will find a mine cart that has a timeshift stone sitting inside of it. Strike it with your sword to activate this area. Speak with the nearby ancient robot and the mine cart will be activated. Follow it along the rails and step on the floor switch in the next area.
Defeat several deku baba and technoblins in this area and then step on the floor switch at the end. Jump over the platforms here and defeat the technoblins. At the end of the pathway use the clawshots on the nearby vines and climb up. Step on the tile switch here to open the door. Drop down and head on to the next room.
The mine cart will follow the rail in this room while you will need to jump across the platforms that appear. Round the corner and use the vines to climb up to the higher area. Cross over to the other side and defeat the deku baba. Use your clawshots to get back to the other side at the higher platform. Step on the floor switch here to allow the mine cart to continue forward.
Clawshot over to the vines on the other side of the room and then work your way against the wall. You’ll have to make several leaps across the vines while picking up stamina fruit along the way. Clawshot over to the target found on the other side of the room and then target back to the other side using the next target. Step on the floor switch here to allow the mine cart to continue forward.
Use the clawshots on the target across the room. There are a series of targets that you need to claw on over to, but you’ll have to wait until the mine cart is far enough along the room to activate them. Progress from target to target and then over to the vines at the end of the room.
In the next room defeat the chuchu and deku baba found here and then run over to the gate. Use the whip through the gate and pull on the lever to lift the gate. Continue along the pathway and avoid the blade traps that appear. Defeat the technoblin and then pull out your whip. Use it on the higher bar to swing across the gap. Defeat a series of deku babas here while swinging across another gap.
Avoid the spikes on the ground and follow the mine cart to the end of this room. Once it reaches the door, turn around and run up the ramp of sand, collecting the stamina fruit along the way. At the very top of this ramp, pull down the lever to open the door. Continue on to the next room.
You will find a series of technoblins, beamos, and sentrobes in this room. Most of the enemies will be activated along the way, but the mine cart will likely move on and they’ll be deactivated in the process. You’ll have to defeat one of the beamos along the way as it is blocking the path of the mine cart. At the end of the road defeat both of the beamos found here and then use your whip to pull the lever. Quickly run to the next room, following behind the mine cart.
The mine cart will veer off to the right while platforms appear on the left. Jump over, defeating a deku baba along the way. The mine cart will come to a halt because of a boulder that is blocking the path. There are some bomb flowers on the lower pillar to the right, so use your beetle to grab them and drop them on the boulder. Continue jumping along, defeating some deku baba and a quadro baba.
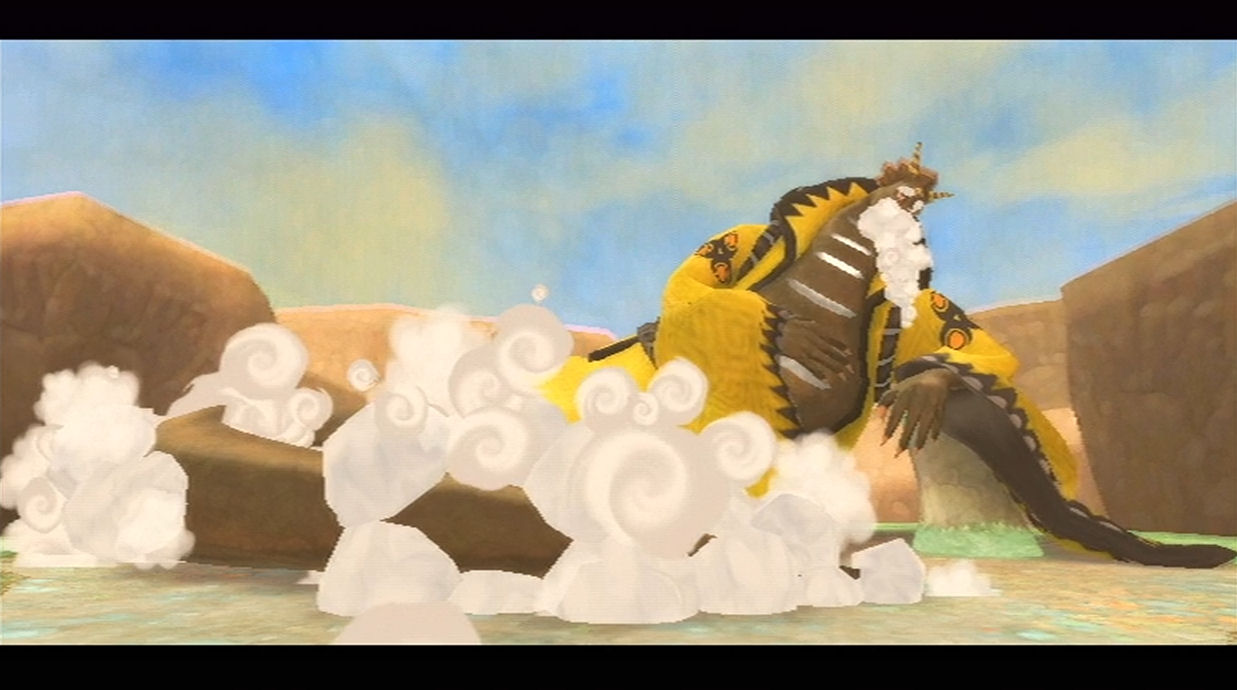
The mine cart will reach its destination and it will bring life to this area. It will also bring life to the Thunder Dragon, Lanayru. Run on over to the Thunder Dragon to find that he is quite ill. At this point he is in no shape to teach you the new song. Speak to him again and he mentions the robots planted a seedling from the Tree of Life, but it just won’t grow.
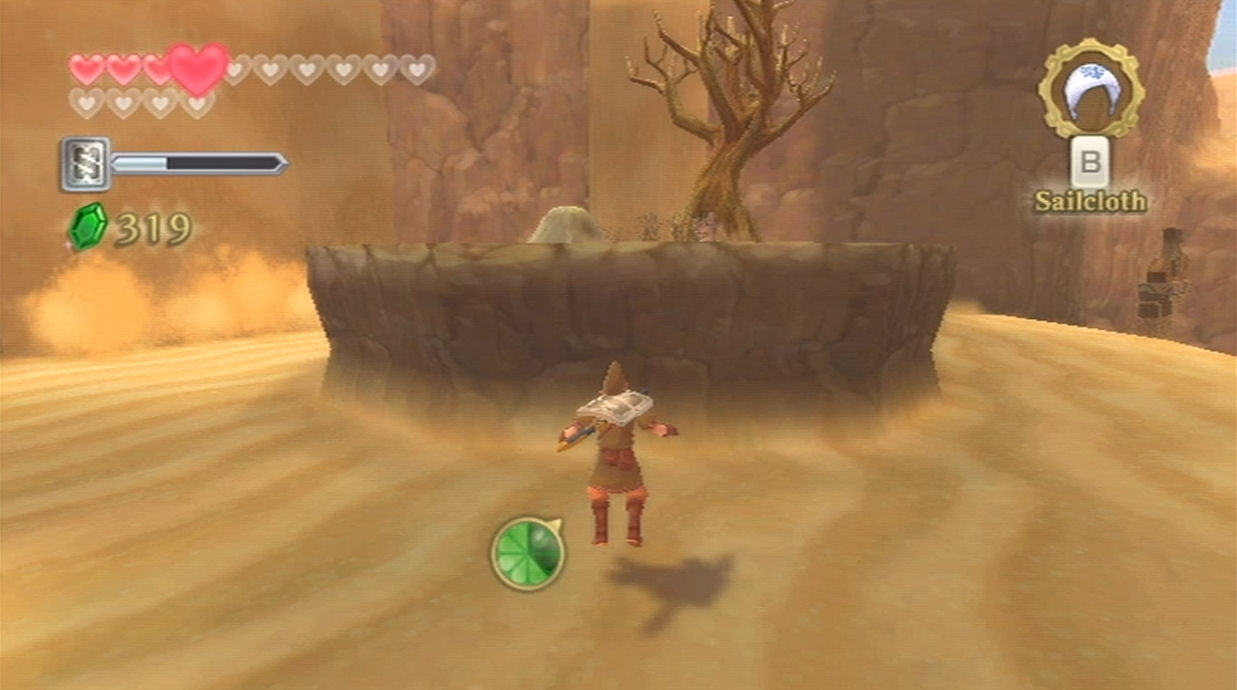
Run on over to the northeast end of the area and cross the bridge. Follow along this pathway until you reach some sand. Sprint across the sand to the platform and then once again to reach the higher platform. Here you will find the Tree of Life that the Thunder Dragon spoke about. However, it’s hardly filled with life. Use the gust bellows on the nearby sand to reveal a timeshift stone. Hit it to bring this area back to the past. That dead tree will turn into a small seed, so pick up the Life Tree Seedling! The robot here immediately questions what you’re doing, but when he finds out you are here to help, he suggests planting the seedling somewhere outside of the Lanayru Province.

While you are here, jump off the ledge and perform a Skyward Strike on the Goddess Cube nearby. There isn’t anything we can do here in the Gorge anymore, so run on back to the Bird Statue. Along your way, you’ll be blocked off since the bridge doesn’t exist. Use your beetle to activate the timeshift stone in the distance to create the bridge once again. Run on over to the bird statue and return to the sky.
We need to head on over to the Faron region, so set your course. Once you arrive, drop in the Sealed Grounds and enter the Sealed Temple. If you recall, Groose mentioned there is a spot where you can plant a tree right here within the Sealed Grounds. However, doing so is not going to make the tree grow. It takes quite a long time for this to happen. Hmm. So instead, head through the Gate of Time to go to the past.
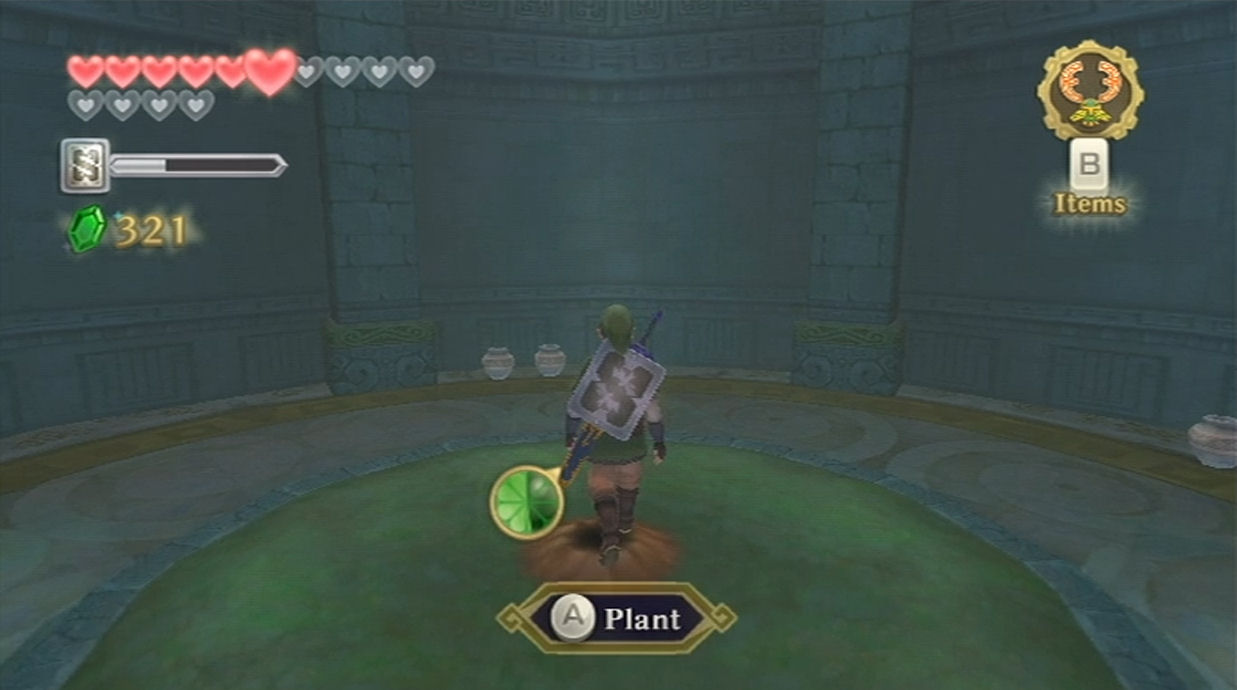
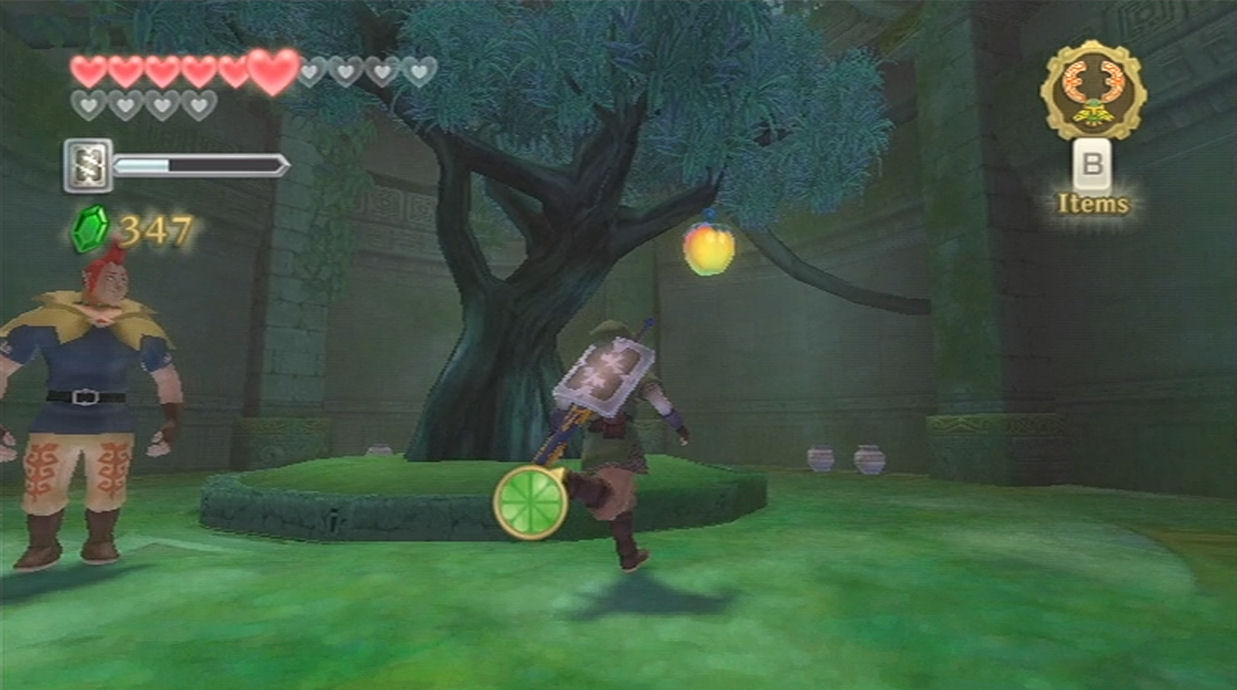
Run on over to the side of the Temple and you’ll be able to plant the Life Tree Seedling here. Now go back through the Gate of Time to return to the present. The Life Tree Seedling has flourished into a tree and has a fruit. Roll into the tree to cause the fruit to fall. Pick it up to get a Life Tree Fruit! Exit the Sealed Temple and run over to a Bird Statue. Return to the Sky and then head back over to the Lanayru Gorge.
Once you arrive back at the Lanayru Gorge, run on over to the Thunder Dragon. Speak to him and give him the Life Tree Fruit and in just seconds his sickness will go away. Now that the Thunder Dragon is back to health he’ll teach you the final part of the Song of the Hero. The Thunder Dragon promises to repay you for your deeds and tells you to return. Once he’s done chatting, run back over to the bird statue and head back to the sky.
Note: Once you leave the Lanayru Gorge, you can immediately return and play the Thunder Dragon’s Lightning Round. This essentially is a chance to replay the Silent Realm areas as well as take part in a Boss Gauntlet where you fight a number of previous bosses once again. This is really a bonus feature of the game and not really meant to be an essential part of the storyline or anything. However, there are notable goodies to be collected. Here is how the game works. Speak with Lanayru and you’ll have two choices, Battle and Silent Realm. If you choose the Silent Realm, you’ll be able to choose whichever Silent Realm area you’d like to play. Furthermore, you’ll be timed and here are the times to beat.
- Faron Woods: 3:00
- Eldin Volcano: 4:15
- Lanayru Desert: 6:00
- Skyloft: 4:00 (Available after performing it in the main quest.)
If you beat the times listed, or if you beat your personal high scores, you will be rewarded with some rare treasure.
The second option is for you to choose battle. You can choose from what part of the game you’d like to choose your first battle. All 12 bosses can be replayed here (although only 10 of them will be accessible if you haven’t completed the game). After completing the first boss, Lanayru will reward you with 50 rupees. Furthermore, he gives you the option to quit now and win an additional 20 rupees. Alternatively, you can risk it and face a second boss. You can keep going through the gauntlet as long as you’d like, but listed below are the prizes you can win.
- 20 Rupees
- Small Treasure
- 100 Rupees
- Piece of Heart (200 Rupees 2nd time)
- 300 Rupees
- Rare Treasure
- 500 Rupees
- Hylian Shield (1000 Rupees 2nd time)
- 2000 Rupees
- 3 Rare Treasures
- 3000 Rupees
- 9900 Rupees
It’s worth playing the game at this time to get the final Piece of Heart. If you are really ambitious you can get the Hylian Shield as well as its durability is outstanding. However, beating 8 bosses in a row is significantly harder than just beating the end game bosses in the main quest. Thus, it isn’t worth getting this shield just to prepare for the final boss. This is more of a bonus game for you to do after completing the main quest. Keep playing as much as you’d like, but then return to the Sky.
16.5 Skyloft: Silent Realm
Now that you have learned all the parts of the Song of the Hero from the dragons, let’s fly back into Thunderhead and speak with Levias.
- Goddess Chest #26 and 27 are located on a small island in Thunderhead. Land on the island and use the Mogma Mitts to dig at the soft soil location. There are two exits from this area in the far corners. For #26, go to the corner behind some boulders you have to destroy, and climb up the vines for an and it contains an Empty Bottle. For #27, head to the other corner and exit to get a Small Quiver. Return to the light in the small dead end to leave.
Once you arrive in Thunderhead, go ahead and land on the back of his head. Speak with him and he’ll teach you the final part of the Song of the Hero. You will be joined by all three of the dragons in singing of the Song of the Hero.

Now that we know the Song of the Hero, one last trial awaits us. Jump off of the back of Levias and onto your Loftwing. Fly out of Thunderhead and land on Skyloft. Run on over to the Light Tower. You can use your dowsing mechanism here to find a gate that leads to the final trial.
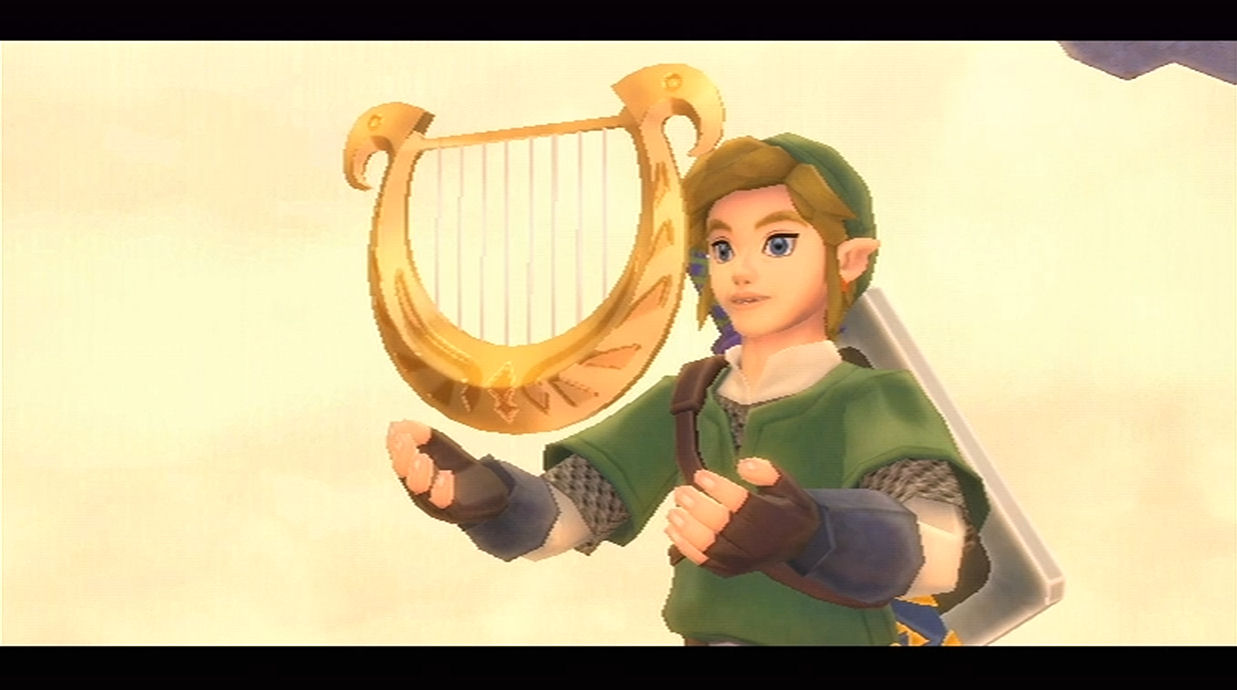
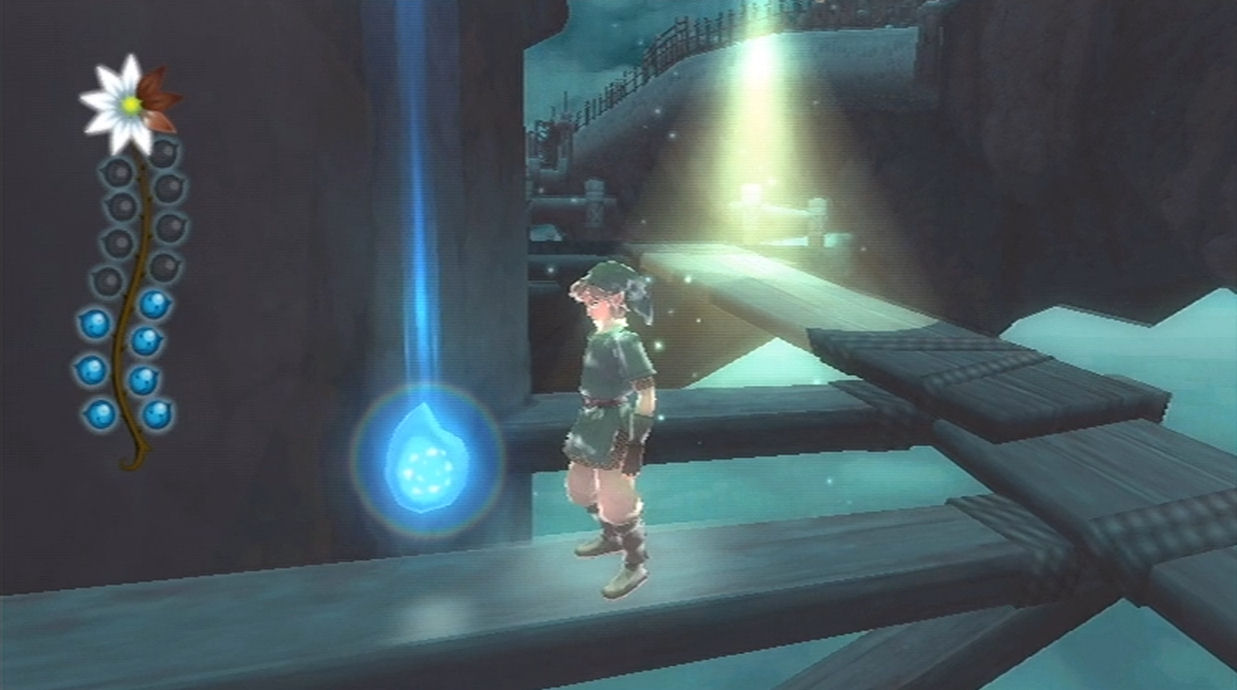
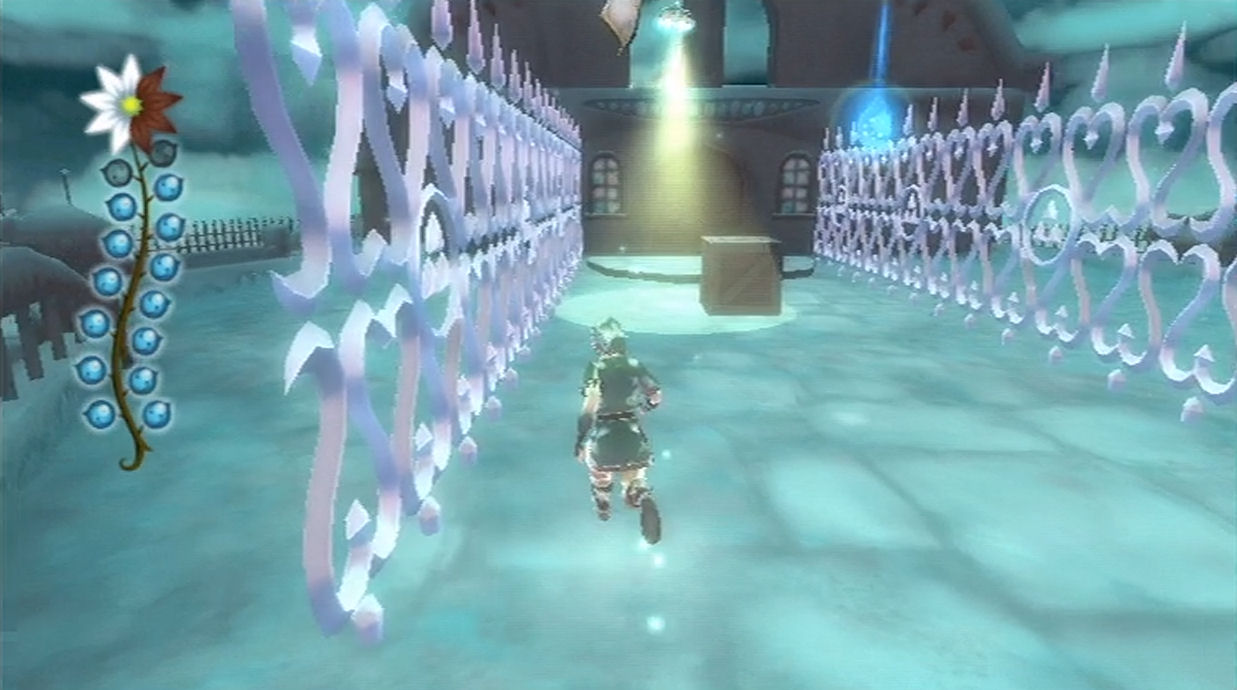
Pull out your Harp and strum to the pulsing on the ground. Play the Song of the Hero and it will open up the final trial. Thrust your sword into the ground to enter the Goddess’s Silent Realm. Much like previous Silent Realms, you’ll have to capture all of the Tears to fill the Spirit Vessel.
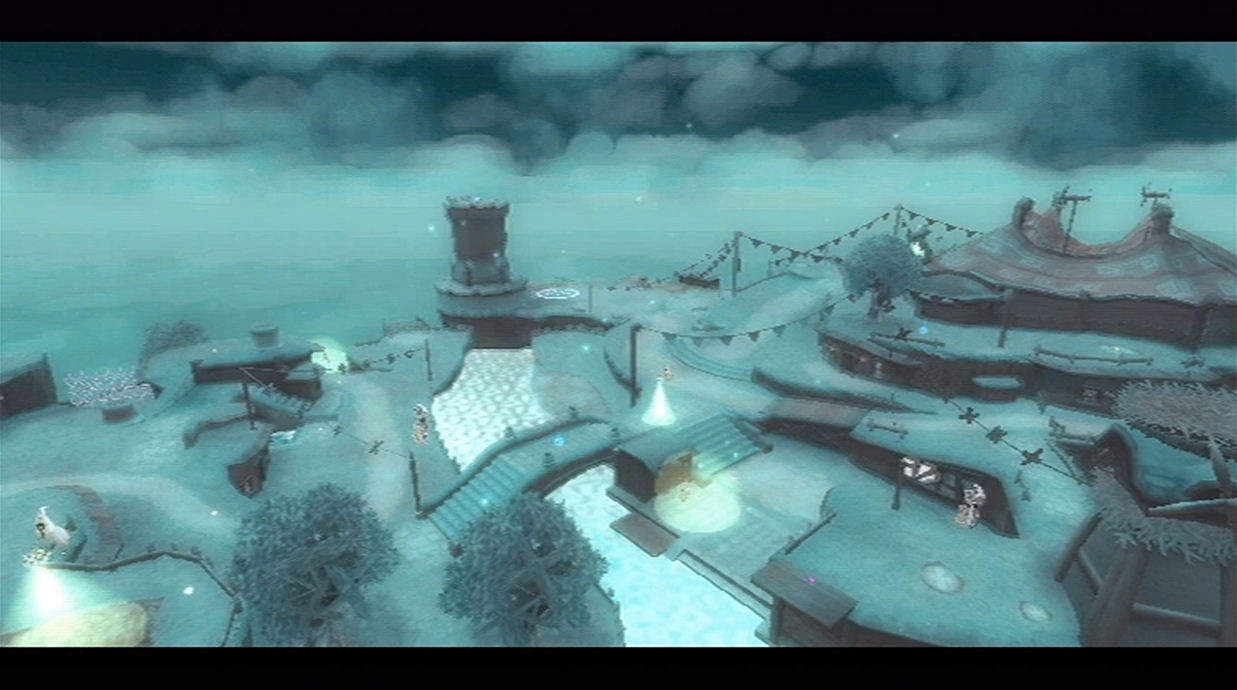
Overall, the Skyloft Silent Realm might be the most difficult of the Silent Realms, but it’s very packed together. If you follow the best route and are careful, you should be able to complete this one faster than the rest.
After collecting all of the Tears and returning back to the trial point, you will be rewarded with the Stone of Trials. This item will lead you to the hidden location of the Triforce.
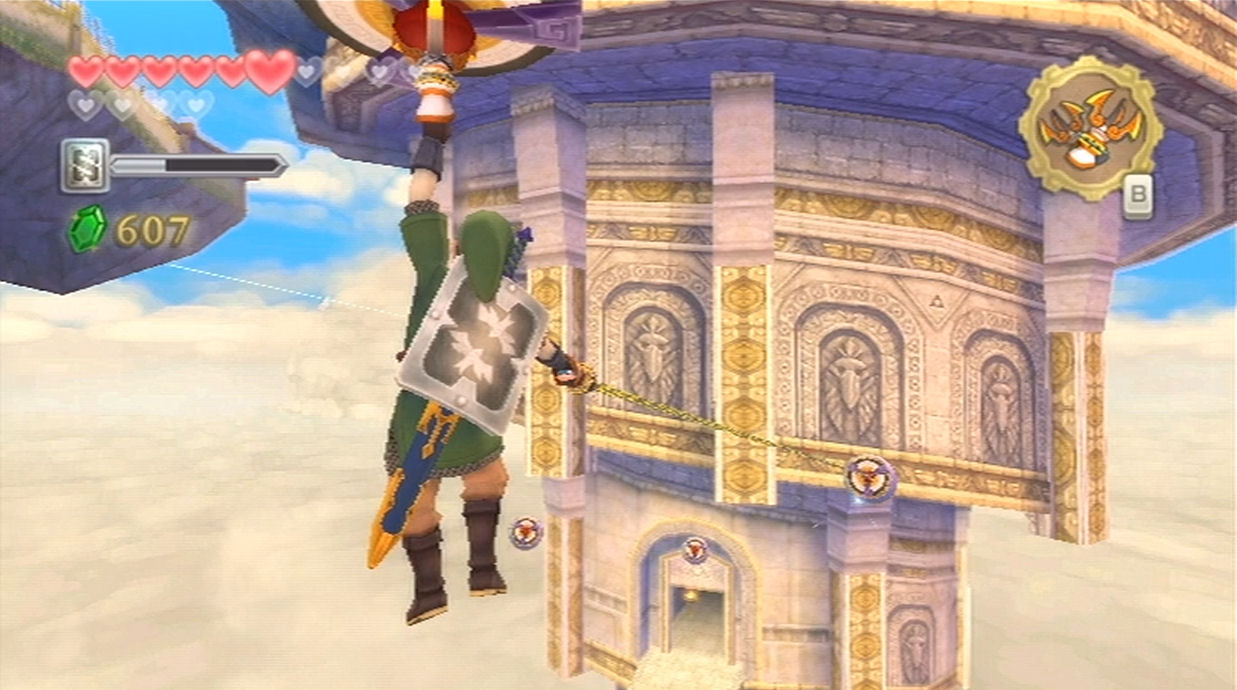
You have to match the Stone of Trials with another one of its type. Thankfully it’s right nearby and there is no other questing to be done beforehand. Run on over to the northeast part of the Island, just as if you were heading to the Waterfall. Once you cross over the platforms above the water, turn to the left. Walk over to this statue and examine to place the Stone of Trials.
With the Stone of Trials in place, the statue will shoot a rock towards the Goddess Statue and part of the ground will fall from underneath it. Some targets will drop in place as well, allowing you to use your clawshot.

You can stock up on goodies if you’d like, but once you are ready clawshot over to the targets and make your way towards the entrance of the final dungeon, Sky Keep.
- Chapter 1 – Skyloft
- Chapter 2 – Faron Woods
- Chapter 3 – Skyview Temple
- Chapter 4 – Eldin Volcano
- Chapter 5 – Earth Temple
- Chapter 6 – Lanayru Desert
- Chapter 7 – Lanayru Mining Facility
- Chapter 8 – Isle of Songs
- Chapter 9 – Lake Floria
- Chapter 10 – Ancient Cistern
- Chapter 11 – Lanayru Sand Sea
- Chapter 12 – Sandship
- Chapter 13 – Volcano Summit
- Chapter 14 – Fire Sanctuary
- Chapter 15 – Thunderhead
- Chapter 16 – Song of the Hero
- Chapter 17 – Sky Keep
- Chapter 18 – Final Showdown
