- Chapter 1 – Outset Island
- Chapter 2 – Forsaken Fortress
- Chapter 3 – Windfall Island
- Chapter 4 – Dragon Roost Island
- Chapter 5 – Dragon Roost Cavern
- Chapter 6 – Forest Haven
- Chapter 7 – Forbidden Woods
- Chapter 8 – Nayru’s Pearl
- Chapter 9 – Tower of the Gods
- Chapter 10 – Hyrule Castle
- Chapter 11 – Earth Temple
- Chapter 12 – Wind Temple
- Chapter 13 – The Triforce
- Chapter 14 – Ganon’s Tower
11.1 Eye-Reefs
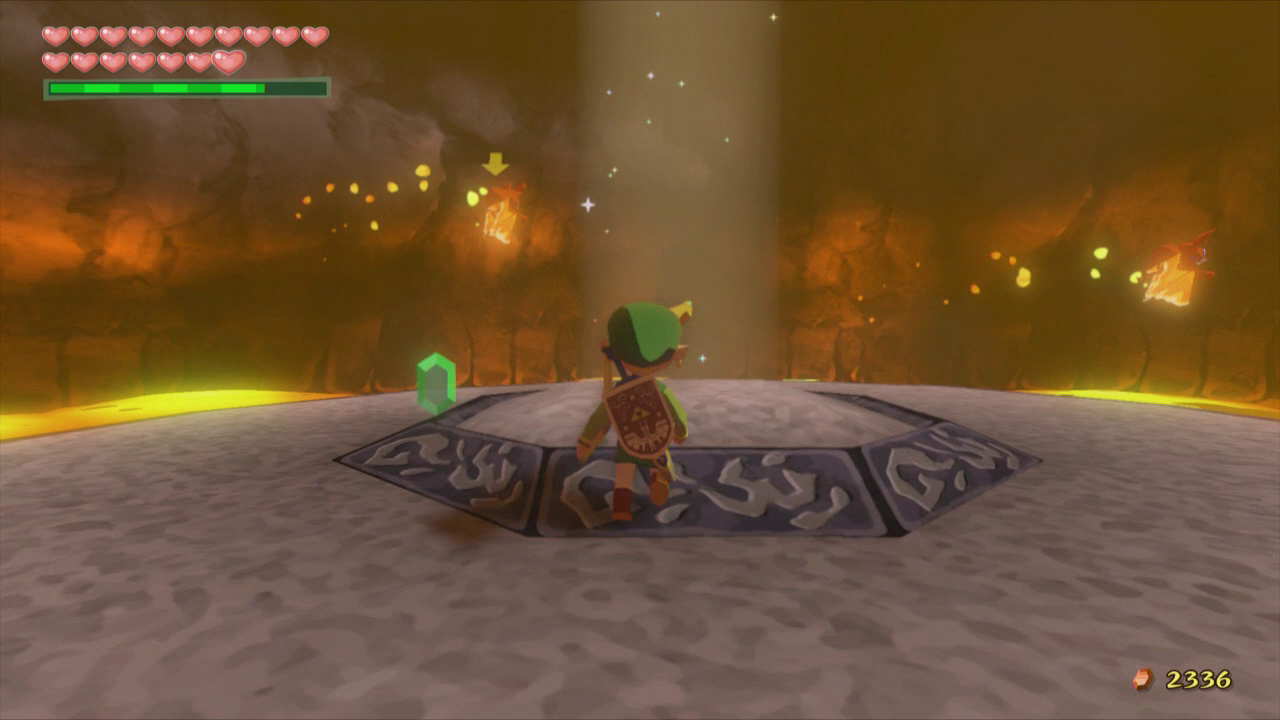
Now that we have completed the Forsaken Fortress, many things in the Overworld will now have been activated. In particular, there are six different Eye Reefs located throughout the Great Sea that will now have cannons that shoot towards Link. These all contain various rewards and we’ll be collecting them in this section. Most of sections 11.1 and 11.2 are optional, so jump onward to 11.3 to continue along in the main quest.
Link can complete the Eye Reefs in any particular order. I will just give a brief description of each of the various islands, along with the rewards.
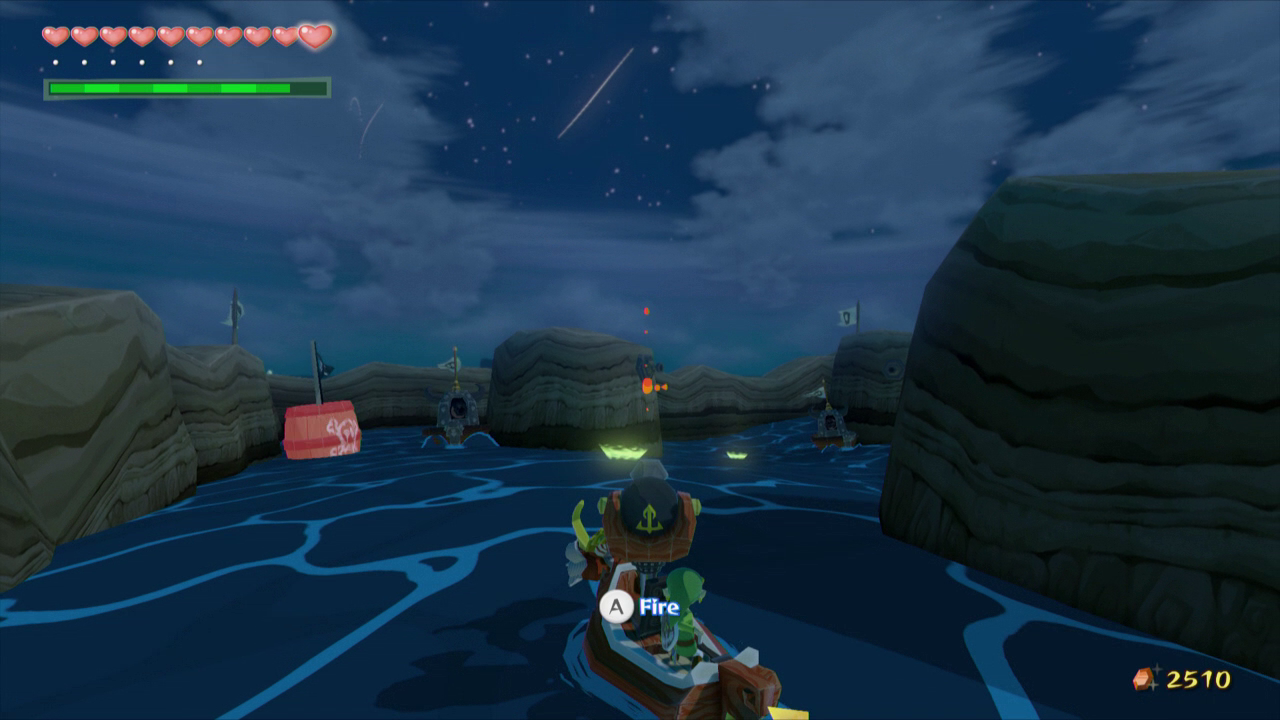
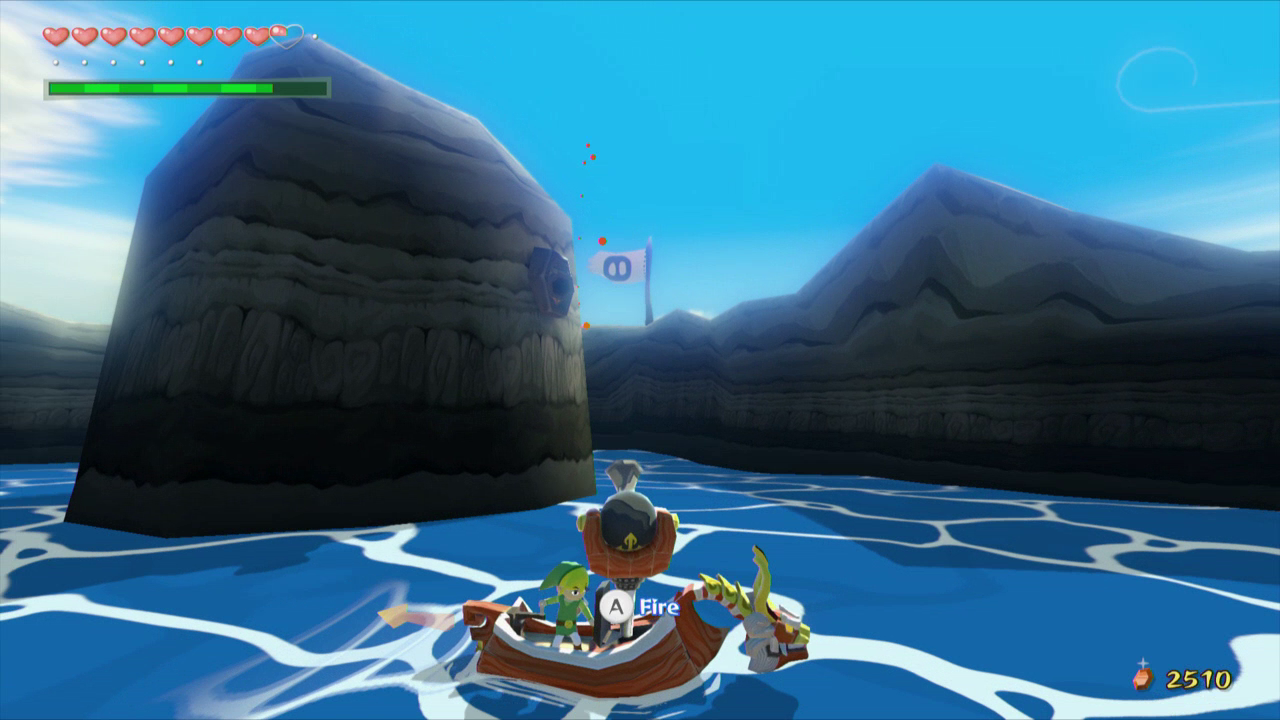
– Cyclops Reef – Located two square regions West of the Tower of the Gods.
– Two-Eye Reef – Located two square regions East of Outset Island.
– Three-Eye Reef – Located three square regions South of the Forsaken Fortress.
– Four-Eye Reef – Located one square region South of the Forsaken Fortress.
– Five-Eye Reef – Located one square region North of Outset Island.
– Six-Eye Reef – Located one screen west of the Tower of the Gods.
– Treasure Chart #21 – Cyclops Reef (Two West of the Tower of the Gods) – Light Ring Chart
– Treasure Chart #13 – Overlook Island (Northeast of Dragon Roost Island) – Secret Cave Chart
– Treasure Chart #32 – Boating Course (South of Forest Haven) – Sea Hearts Chart
– Treasure Chart #19 – Flight Control Platform (East of Dragon Roost Island) – Island Hearts Chart
– Treasure Chart #41 – Four-Eye Reef (South of Forsaken Fortress) – Great Fairy Chart
– Treasure Chart #26 – Northern Triangle Island (South of Windfall Island) – Octo Chart
Each of of the Eye Reef Treasure Charts corresponds to a special chart. If you have been using this guide, then these Charts are not particularly useful. Most of the material found in these charts has already been covered throughout the walkthrough. If you haven’t gotten the goodies you can use these charts to help finish up some of your collection.
11.2 Even More Great Sea Goodies
Now that Link has the Skull Hammer, there are a few upgrades that we can get along the Great Sea. One of the locations is at the east end of the Great Sea at Thorned Fairy Island. Warp over to the Tower of the Gods and sail east two square regions to reach the island. Once you arrive, use the Skull Hammer to hit the switch three times, causing the vines to disappear. Inside, Link will meet the Great Fairy who will upgrade Link’s Quiver so that he can hold 60 arrows!
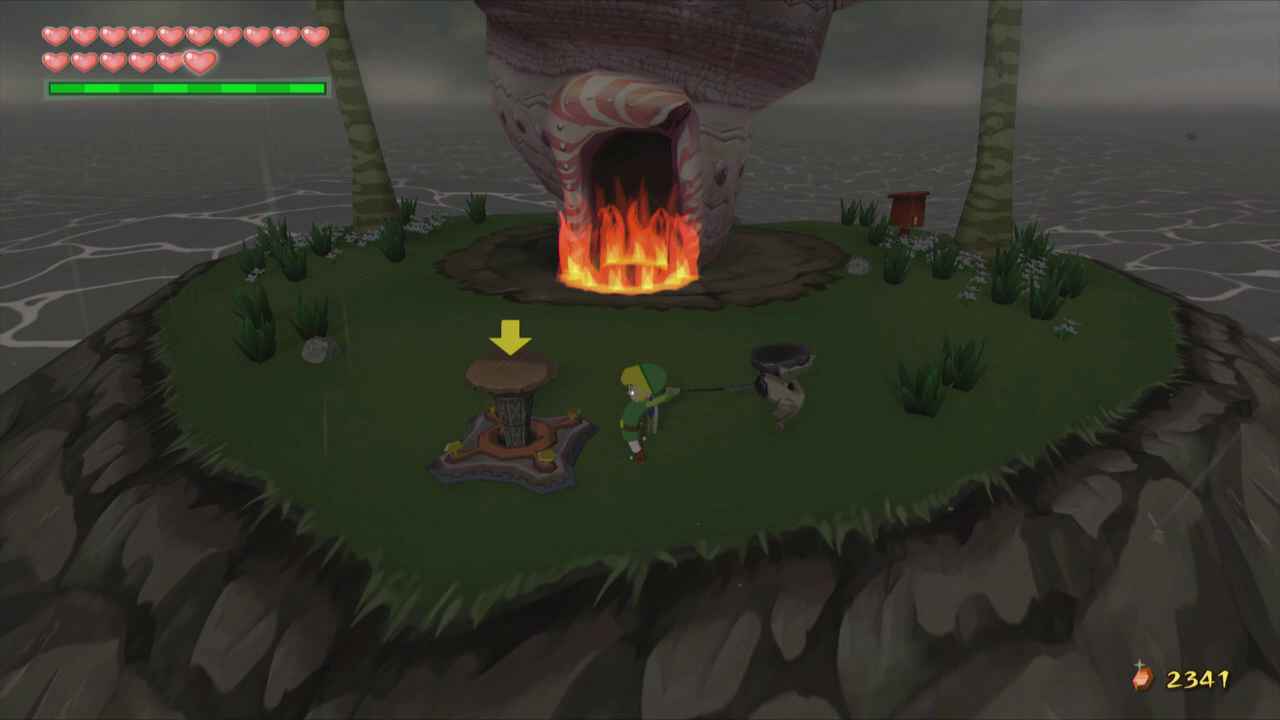
The second Quiver Upgrade can also be acquired at this point in time. It is located at Western Fairy Island, which is two square regions south of the Forsaken Fortress. Warp over to Tingle Island and sail west to reach the island. Hit the switch on the island, causing the fire to disappear, giving Link access to the Fairy Fountain. The Great Fairy inside will upgrade Link’s quiver so he can hold 99 arrows!
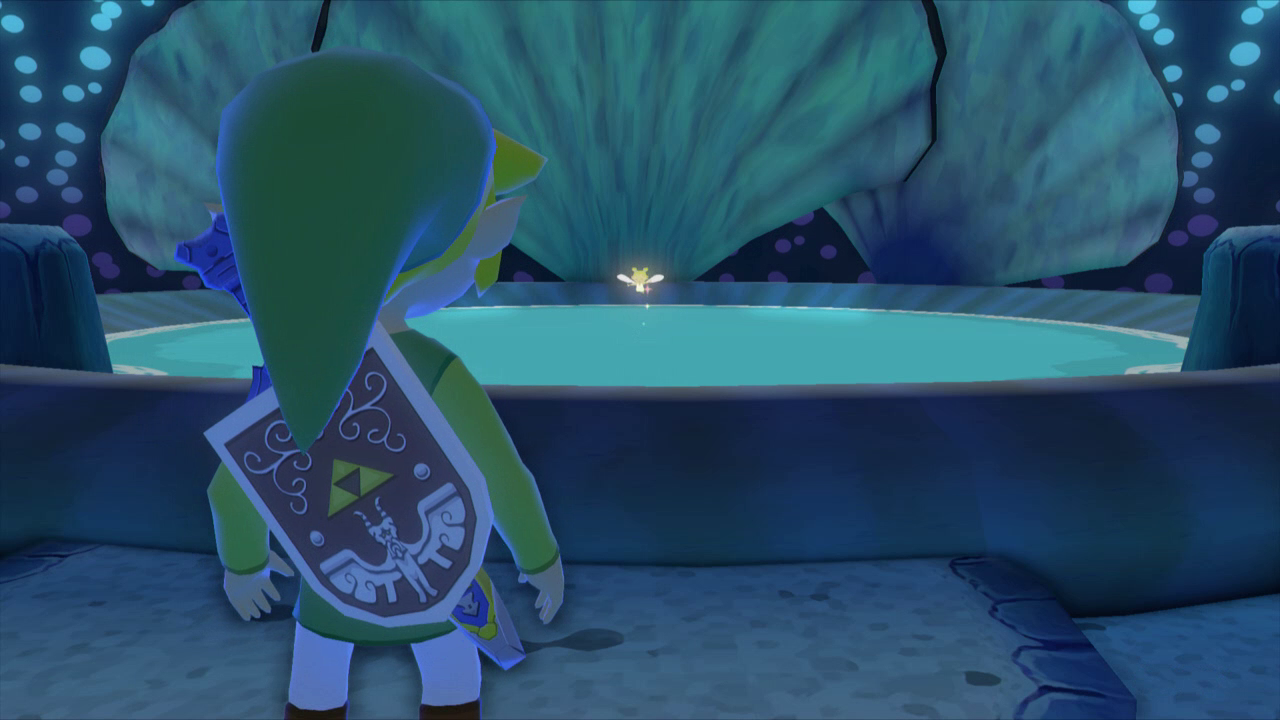
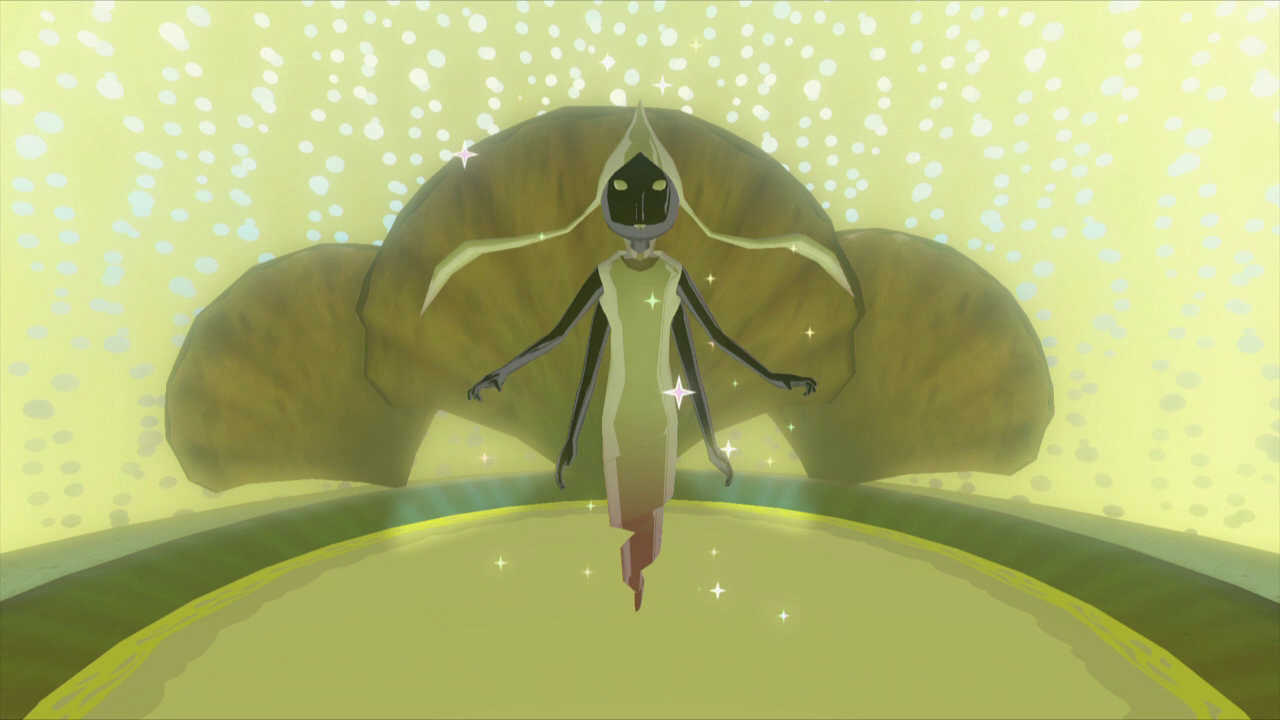
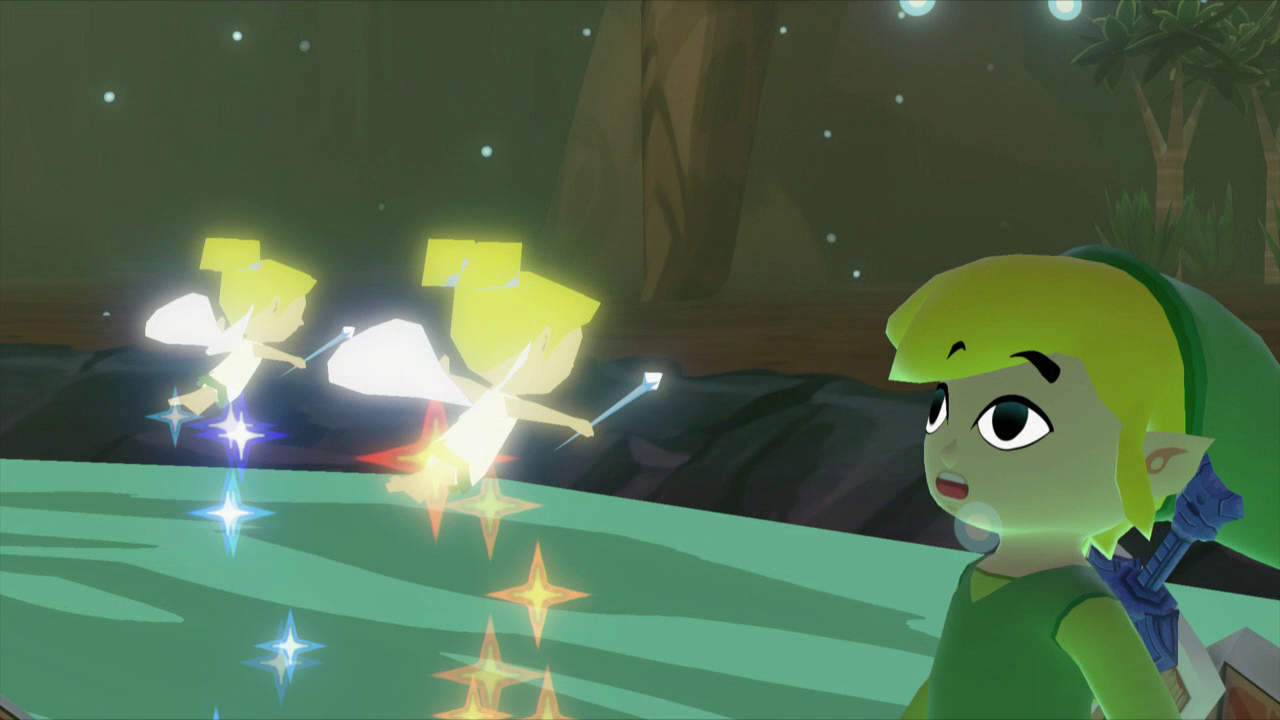
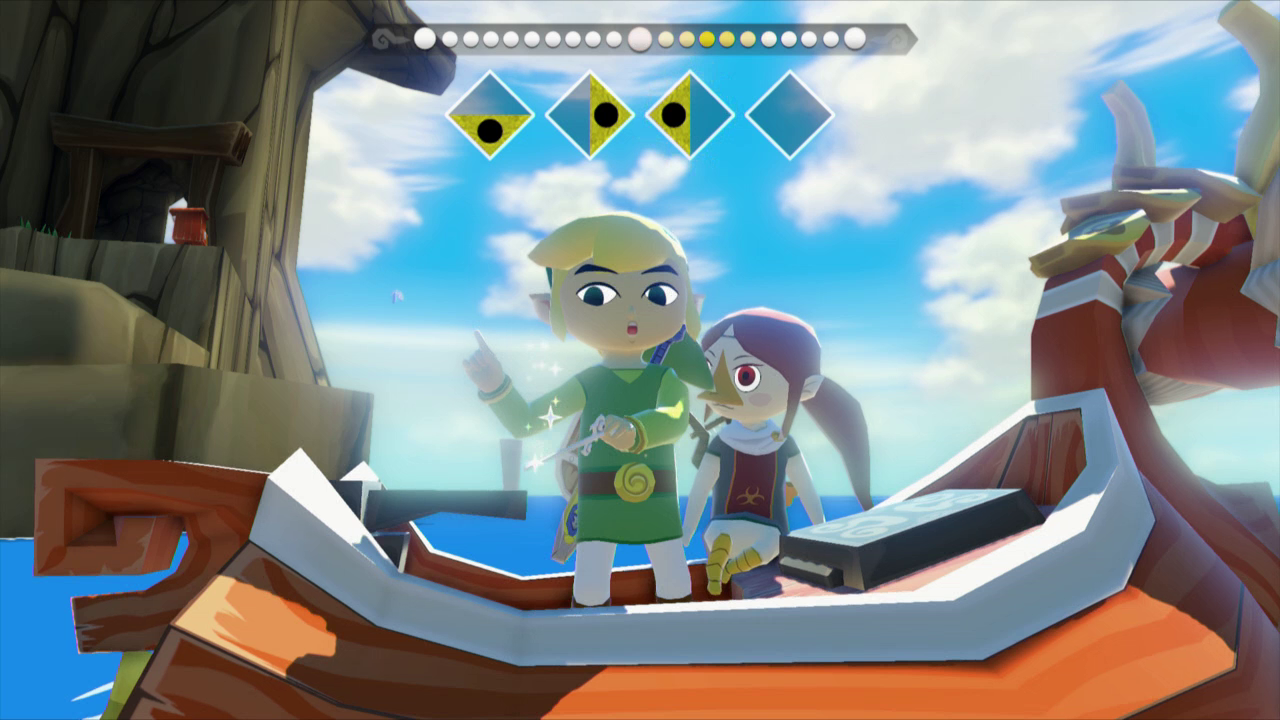
Our next stop is over at Mother and Child Isles. You could have warped here earlier in the game and it will have taken you inside of Mother Isle. However, since we hadn’t completed the Forsaken Fortress, we could get the reward that was found inside. Now that we have, you can warp there and speak with the Fairy Queen who gives Link the Fire and Ice Arrows!

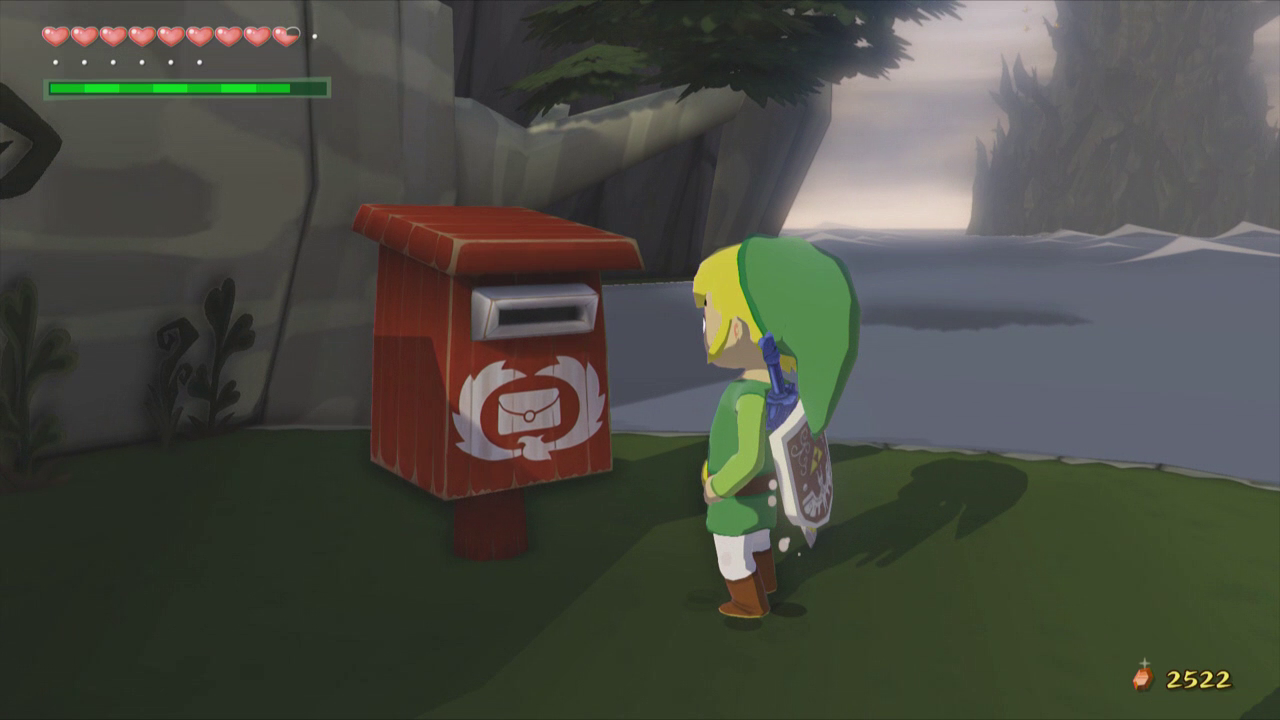
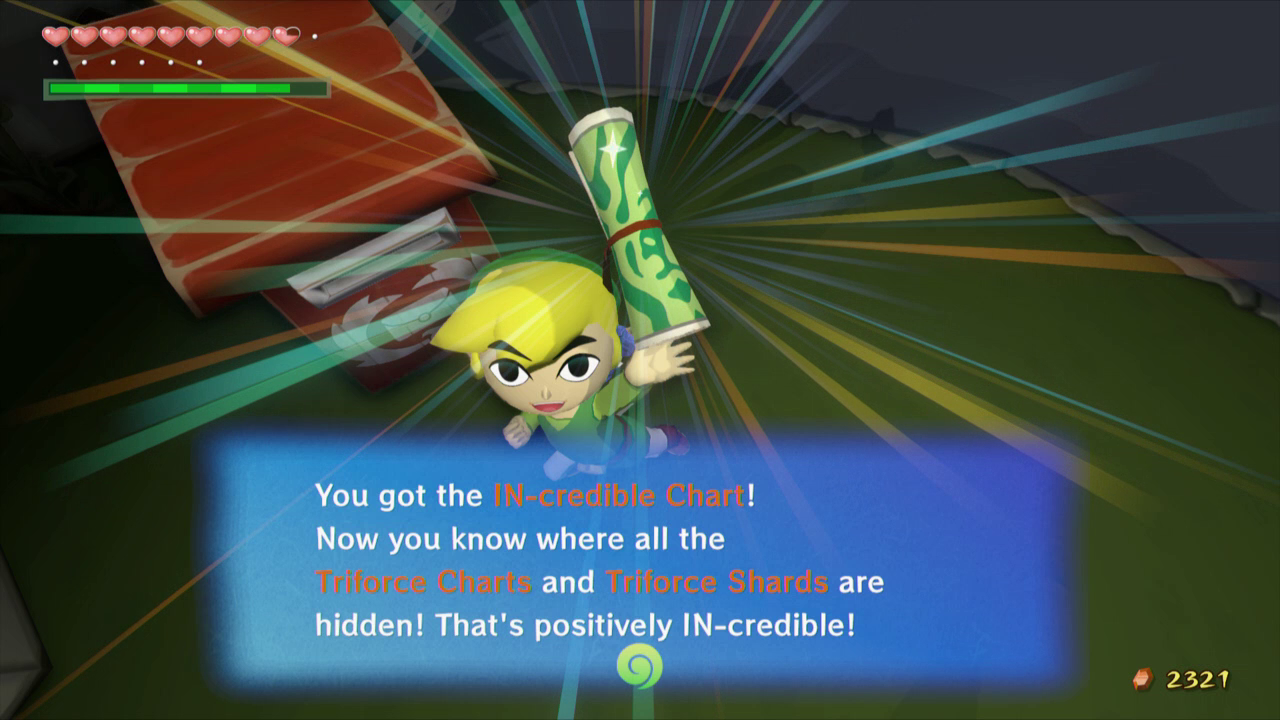
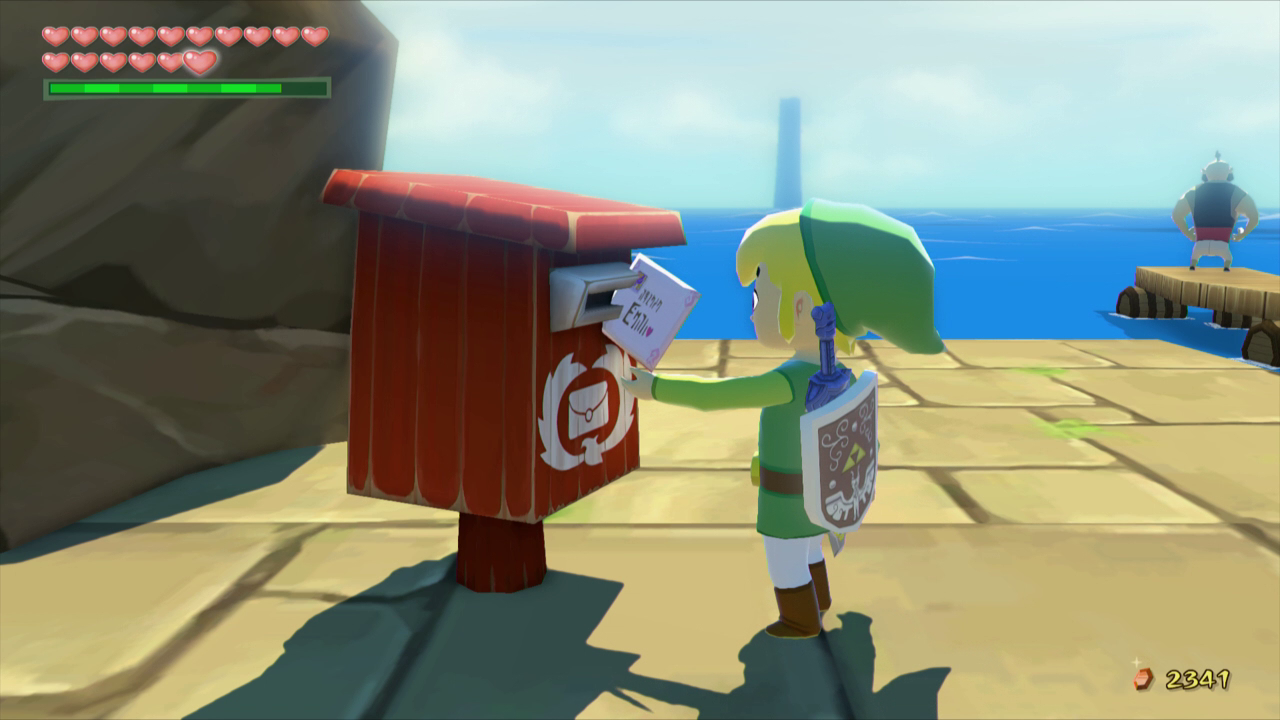
Once you have acquired the Fire and Ice Arrows, warp on over to Windfall Island. You may have noticed that the mailbox was jumping around at the various other islands on the Great Sea. If not, run over to the Mailbox in order to get a pair of letters. The first one comes from Tingle, who forces you to pay the 201 rupees of postage! Inside, Tingle will attach the IN-credible chart, which shows the locations of the Triforce Charts and Triforce Shards. We will be using this a bit later. Link will also get a letter from Aryll, which comes with 20 rupees.
Play the Song of Passing to make it night time. If you have yet to do so already, walk behind Salvatore’s Mini-Game and climb the ladder. Step on the switch here to cause the Windmill to start moving.
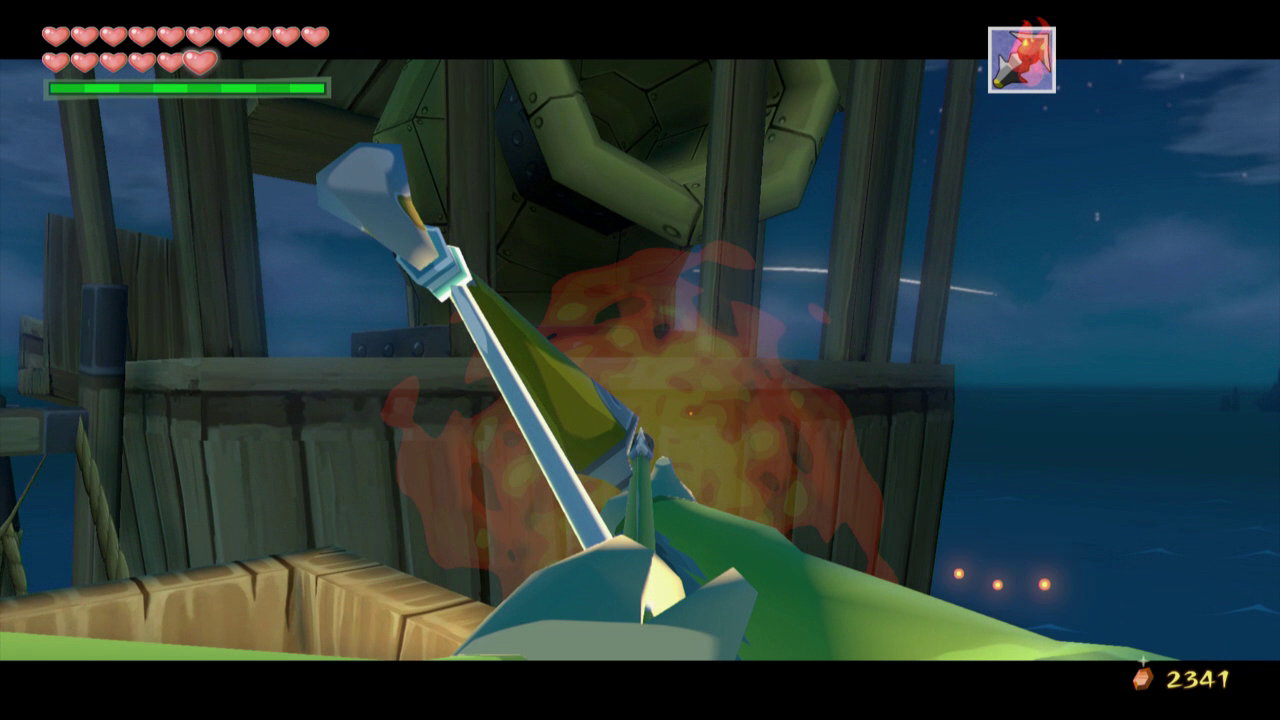
Enter Salvatore’s mini-game and climb the stairs on the left to get back outside. Walk around and jump onto the moving Windmill. Once it has reached its peak, shoot a Fire Arrow into the spinning center of the Windmill.

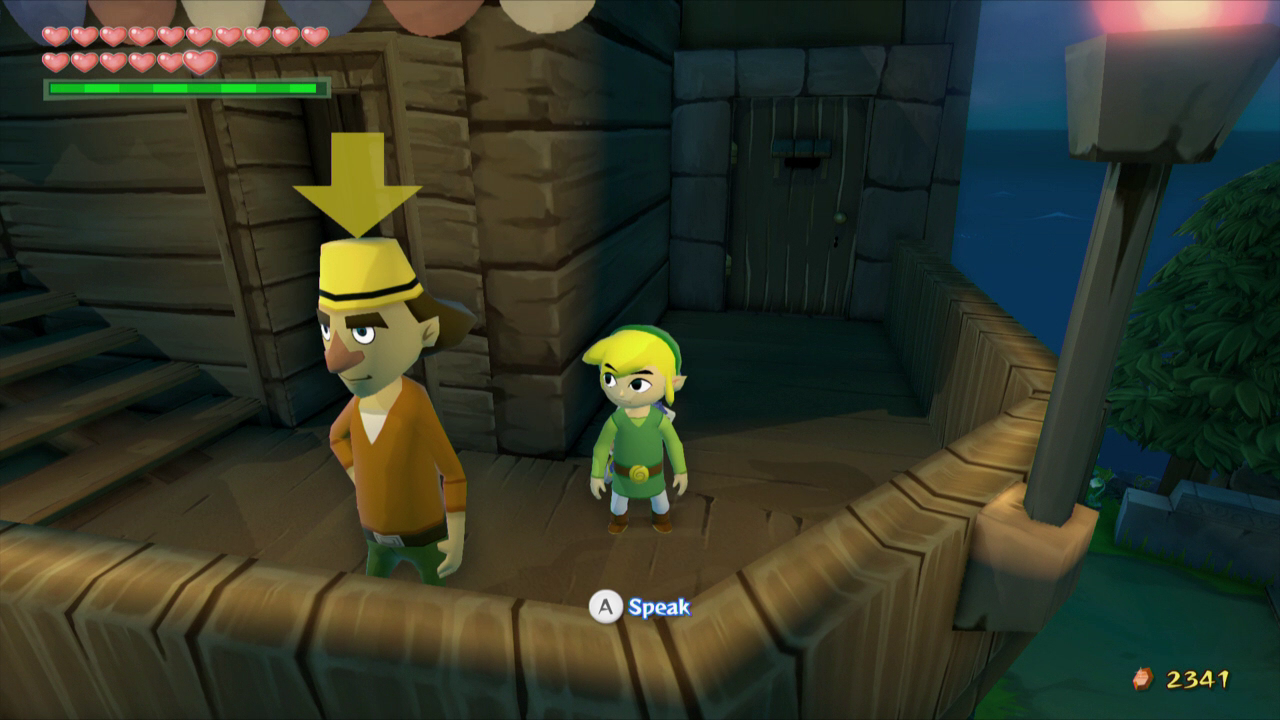
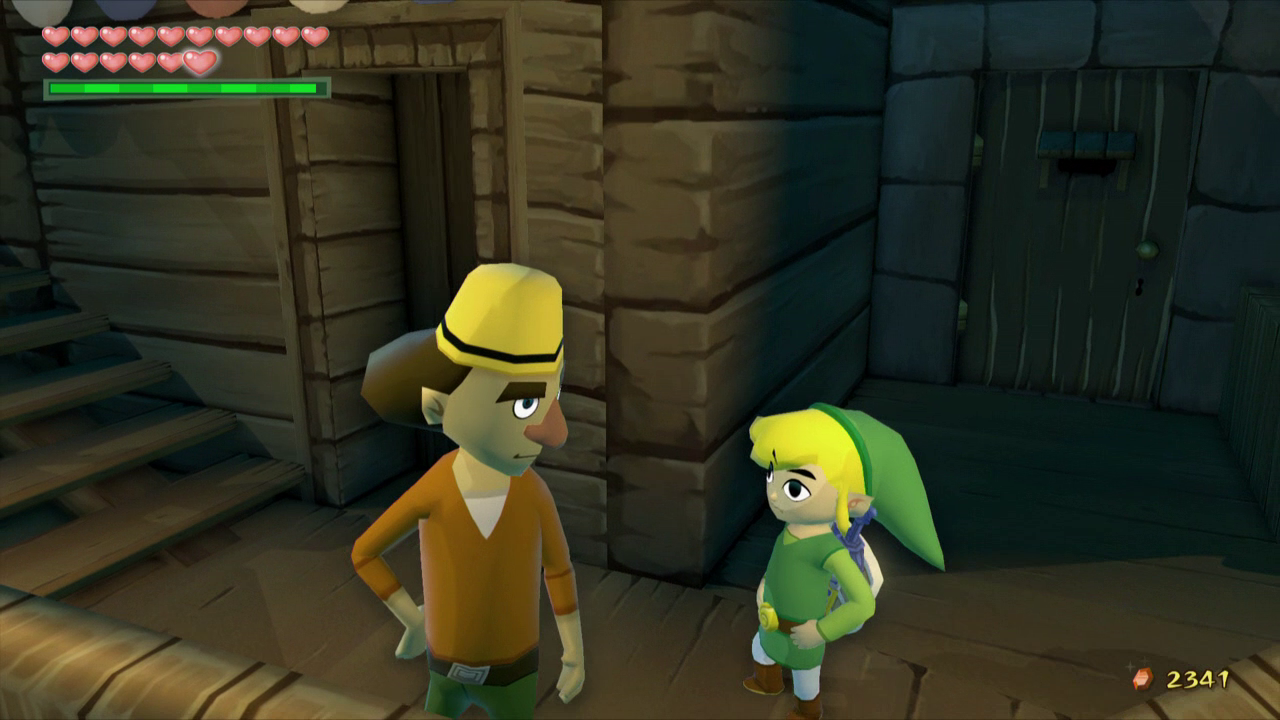
Once the center of the Windmill is on fire, a treasure chest will appear on the small island just to the southwest of the main Windfall Island. Before jump in that direction, jump back down to where we just got onto the Windmill. Speak to Kreeb, the man wearing a yellow hat that is just standing there. For re-lighting the lighthouse, he will give Link Piece of Heart #37.
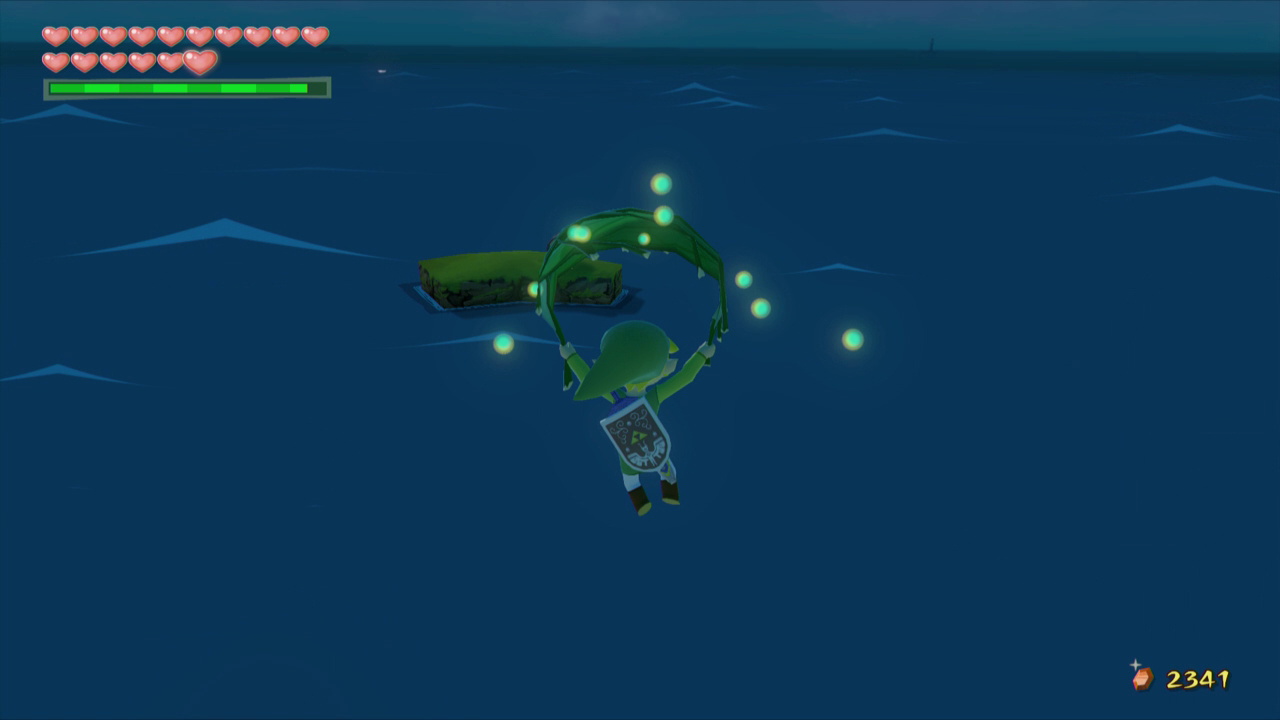
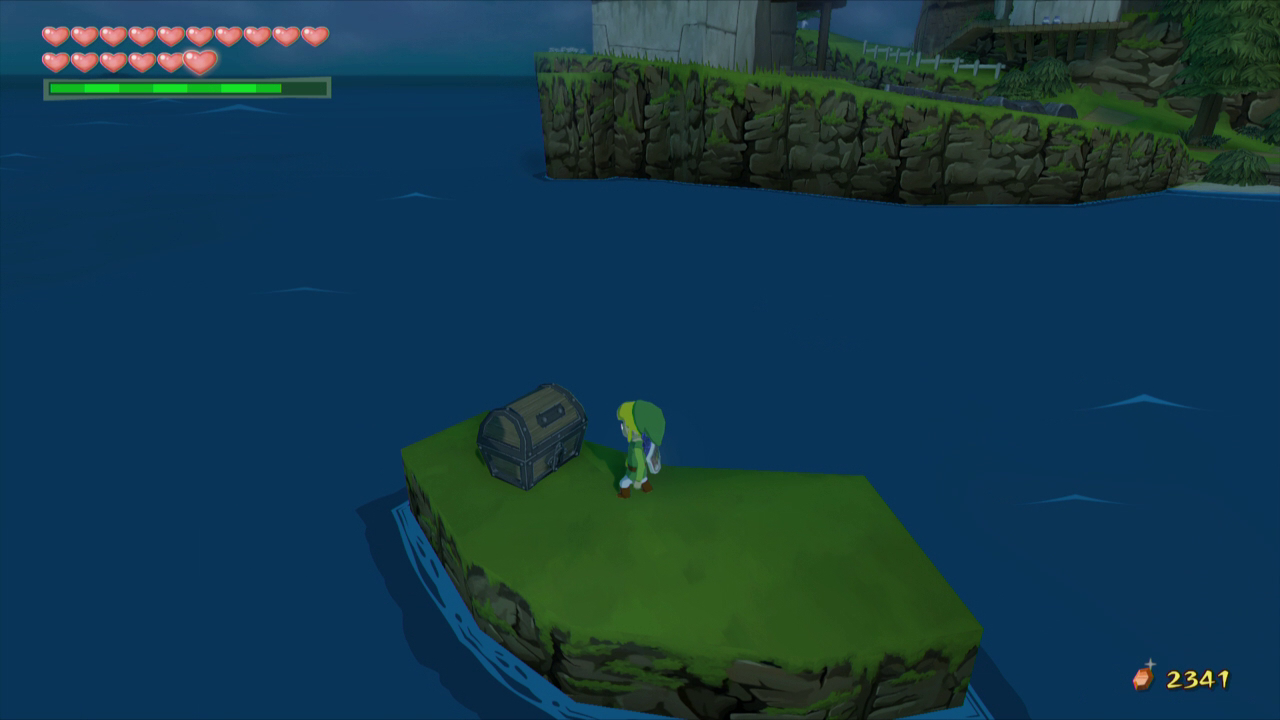
Link can then change the direction of the wind to the southwest and then jump on over to the small island, floating to the island using the Deku Leaf. Link can also use the Deku Leaf near the Bomb Shop. Open the treasure chest here to get Piece of Heart #38.
Return to Windfall Island and if it isn’t already, play the Song of Passing to make it nighttime. Between the Auction House and the Potion shop, Link will find a young woman named Mila. She was one of the girls held captive at the Forsaken Fortress. She use to be part of a rich family, but her family had to pay the pirates a hefty amount of rupees to free her, and now she is poor, resulting in a life of crime.
After talking to her, walk up the steps and then look back. She will begin to sneak off a bit, occasionally checking behind her to see if anybody is watching. She will walk around the island all the way until she gets to Zunari’s Shop. Stay behind her, but don’t get too close, otherwise she’ll catch you spying on her.

Eventually, she’ll make her way to Zunari’s safe that is behind his shop. Walk up to her while she is there and catch her in the act. You have to answer her questions in the proper way to earn your reward. Answer them as follows and she’ll reward Link with the 4th and final Empty Bottle!
– An ally of justice!
– Sure
– That’s terrible
– Very well
– Unfortunately, no
– Because I’m honest
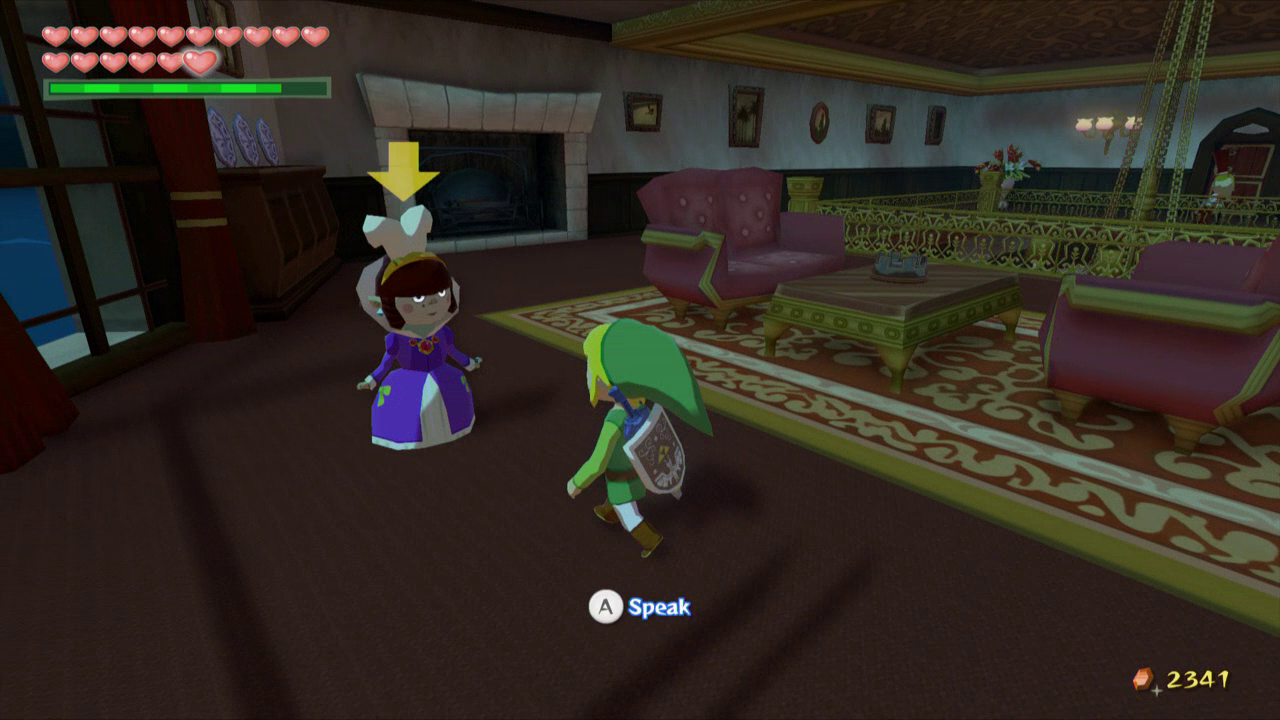
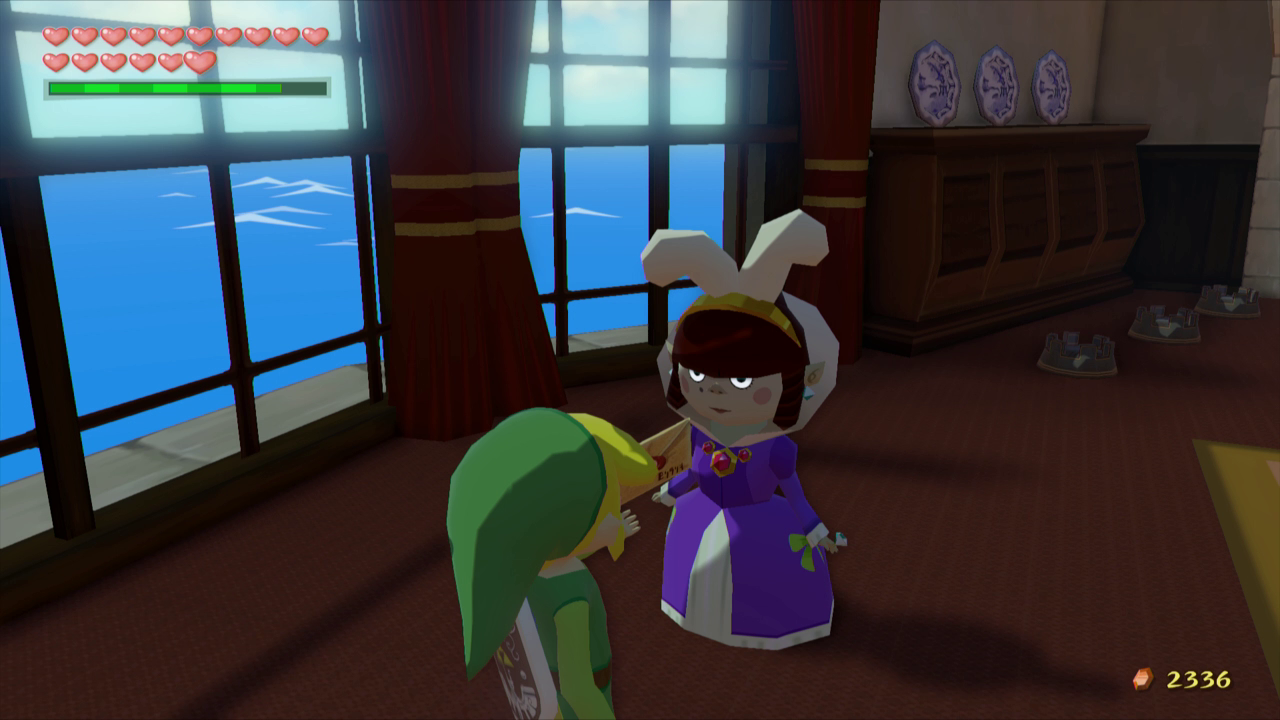
Also on Windfall Island, climb up to the top area, near Salvatore’s mini-game. Nearby there are some steps that go even higher up. Climb the steps and then enter the first doorway that you see to reach the top floor of the mansion. This is actually the same building where the Auction House takes place. Speak to Maggie, the rich girl that now lives here. She was one of the girls trapped at the Forsaken Fortress. Agree to mail her a letter and she will give you Maggie’s Letter.

Exit the building and run over to the Mailbox to deliver the letter. Return to the second floor and enter the Auction House once again. Inside you will hear a fight going on between the Postman and Maggie’s Father. Leave the Auction House and then make your way to the Cafe, located above Zunari’s Shop. The Postman will now be found here, so give him the letter and in return, Link will get the Moblin’s Letter. Return to Maggie and show her the letter and she’ll reward Link with Piece of Heart #39.

Return to the top floor of the Auction House where we first saw Maggie. Walk over to Maggie’s Father and speak with him. Agree to give him 20 Skull Necklaces and in return, Maggie’s Father will give Link Treasure Chart #2. The Skull Necklaces are acquired from Moblins, so you probably should have near 20 of them by now.


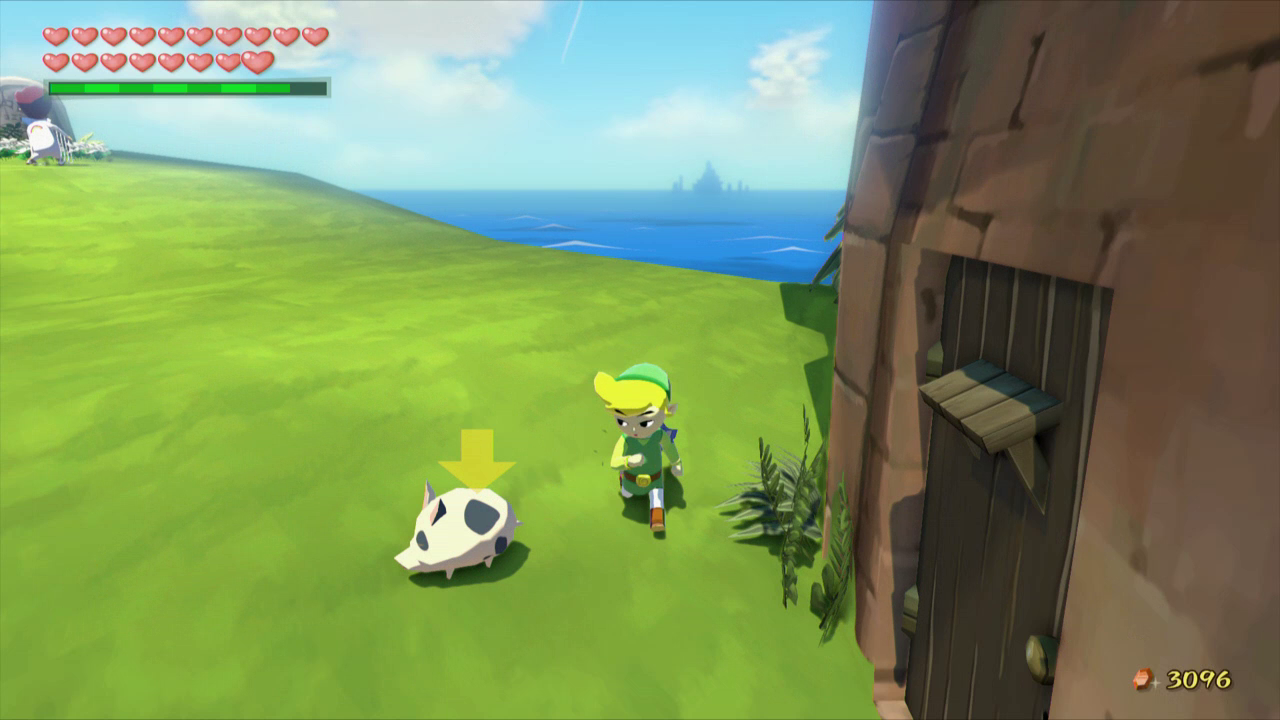
There is one more use of the Skull Necklaces here on Windfall Island. Near the Bomb Shop during the day there is a many who you can speak with. Walk over to him and show him some Skull Necklaces. Offer him three necklaces and he’ll thank you by offering to play a really fun game. He asks Link to collect the three pigs located along the island within 2 minutes and he’ll reward Link.
Two of the pigs are right nearby towards the coastline. These two shouldn’t give too much trouble. Just pick them up, bring them back to the man, and drop them. The third pig can be a bit trickier and he’s located near the Gravestone. This one is an angry pig and is much harder to catch. Once you do get ahold of it, bring it back to the man. If you’ve collected all three within 2 minutes, he’ll reward Link with Treasure Chart #42 in the HD version, otherwise he will obtain a Purple Rupee.
We can now collect both of the sunken treasures from the two Treasure Charts. In particular, the sunken treasure from Treasure Chart #2 can be salvaged over at Rock Spire Isle to get Piece of Heart #40!
-Treasure Chart #02 – Rock Spire Isle (Four North of Outset Island) – Piece of Heart #40
-Treasure Chart #42 (HD only) – Gale Isle (North of Windfall Island) – 100 Rupees
11.3 Fire and Ice Islands
The only requirements in the previous two sections was to acquire the Fire and Ice Arrows. To get them just play the Ballad of Gales and warp over to the Mother and Child Isles to meet the Fairy Queen.
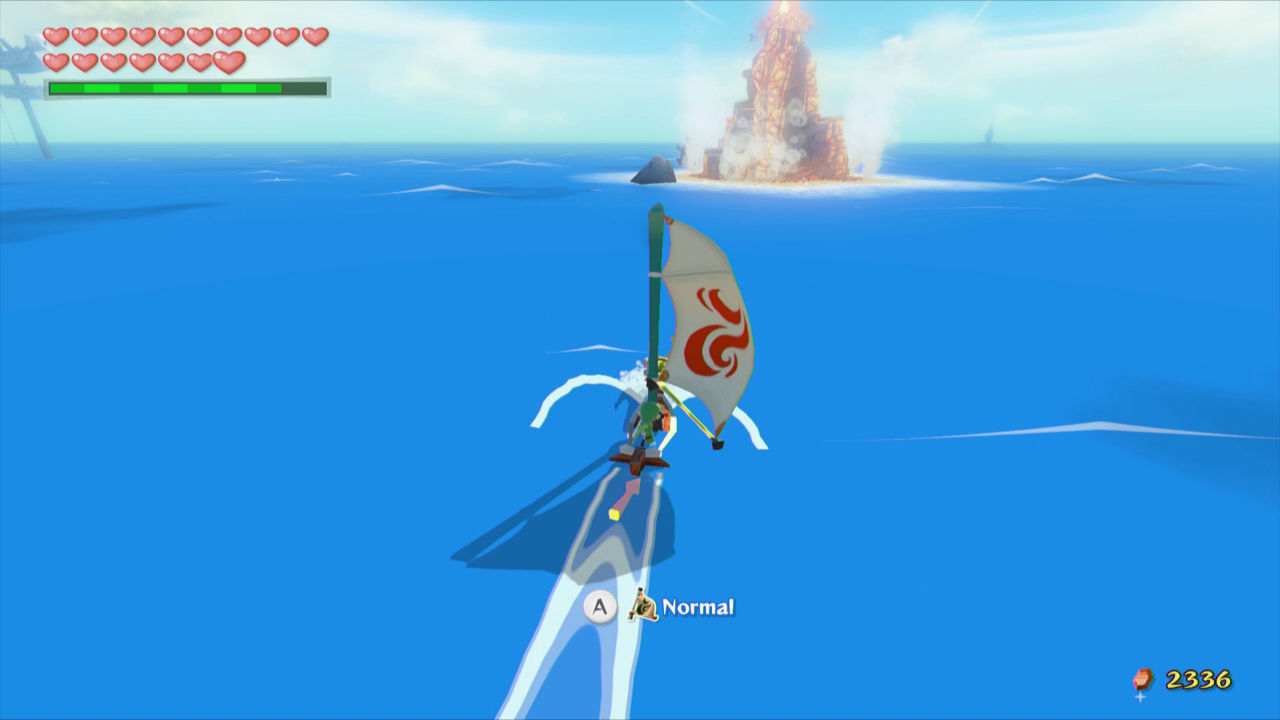
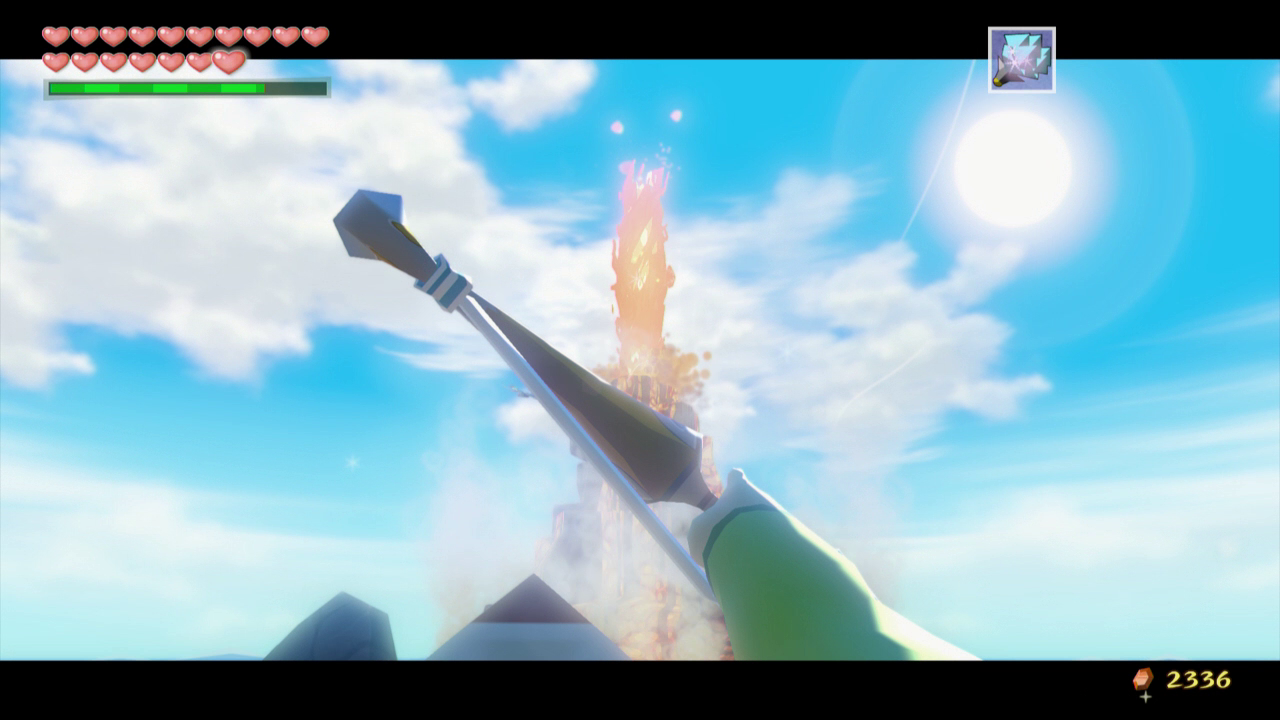
Let’s first journey to Fire Mountain. Warp on over to Dragon Roost Island and sail south one square region. The mountain here is burning with flames, preventing Link from climbing up the mountain. Pull out the ice arrows and shoot through the lava shooting out of the mountain, causing all of the lava to freeze and break into pieces.
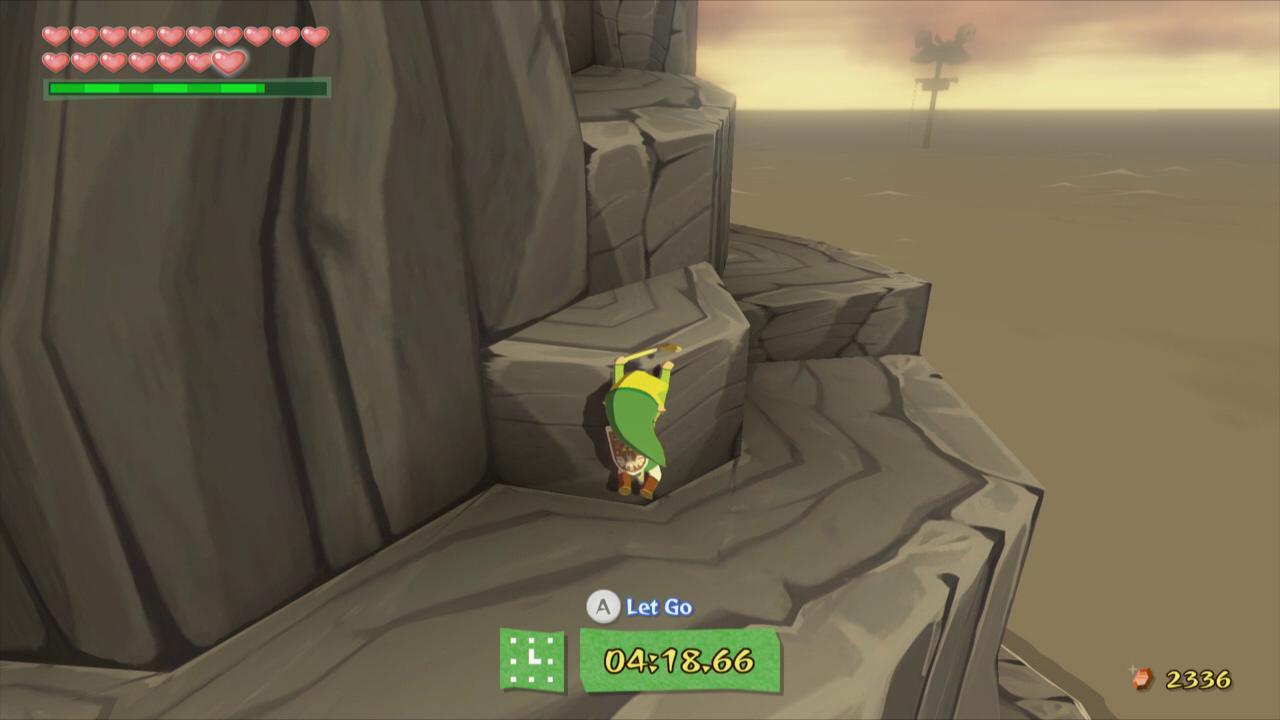
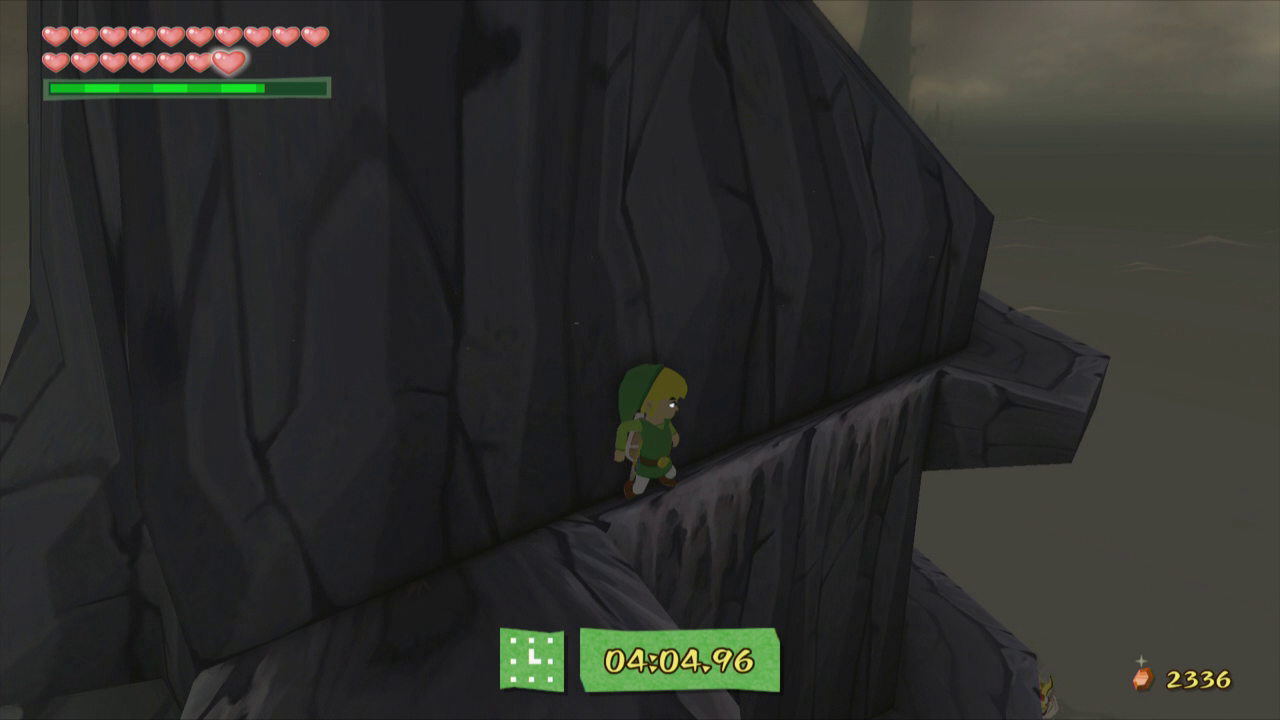
Climb up the windy mountain, sidling against the wall when needed, and drop down the hole at the peak.
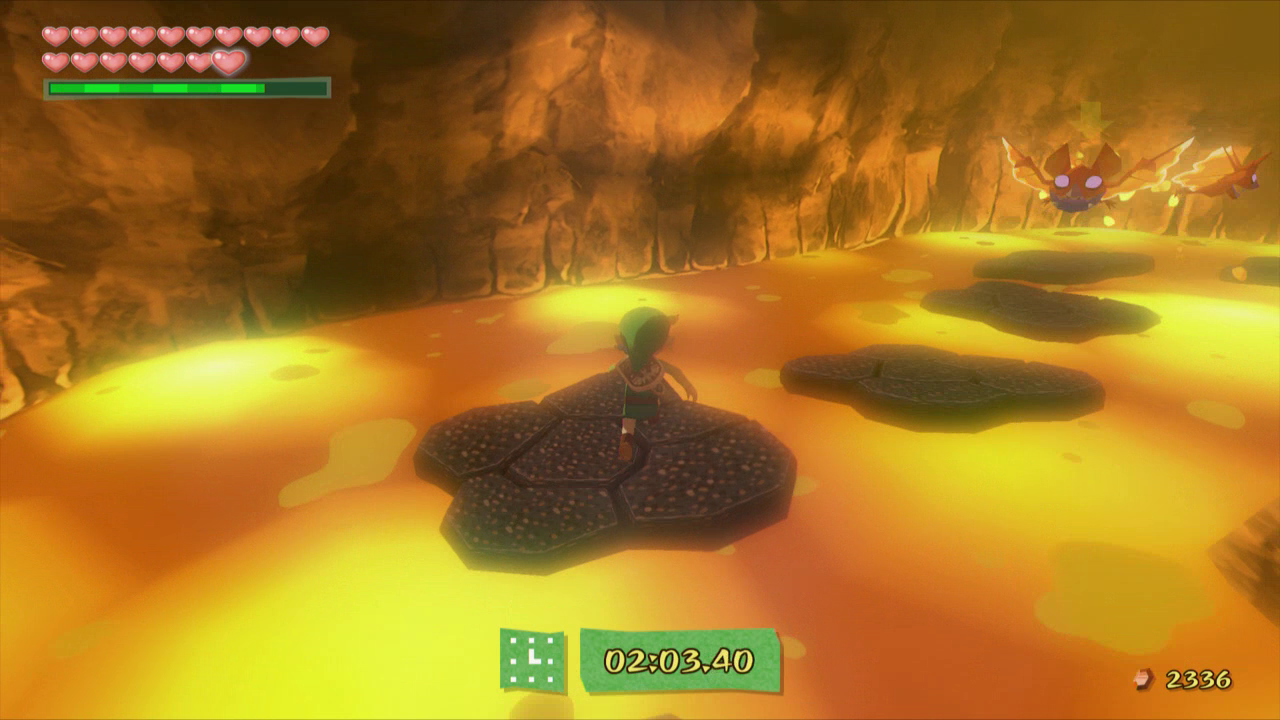
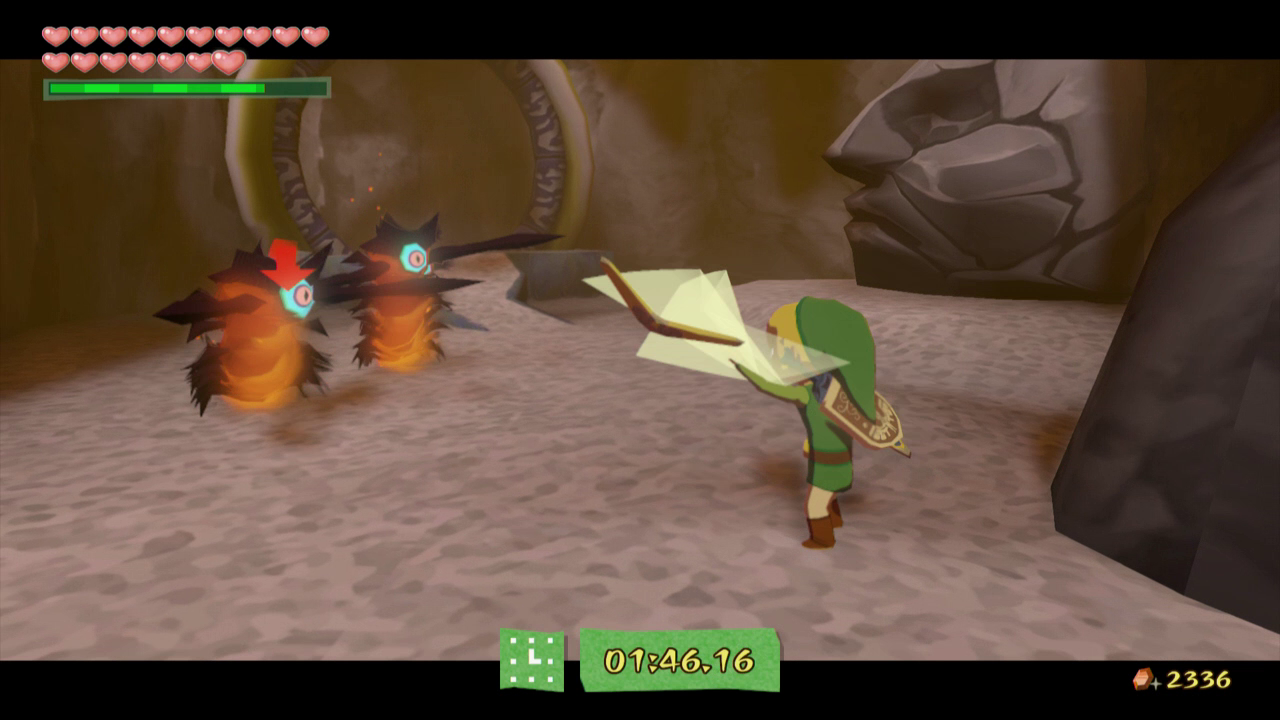
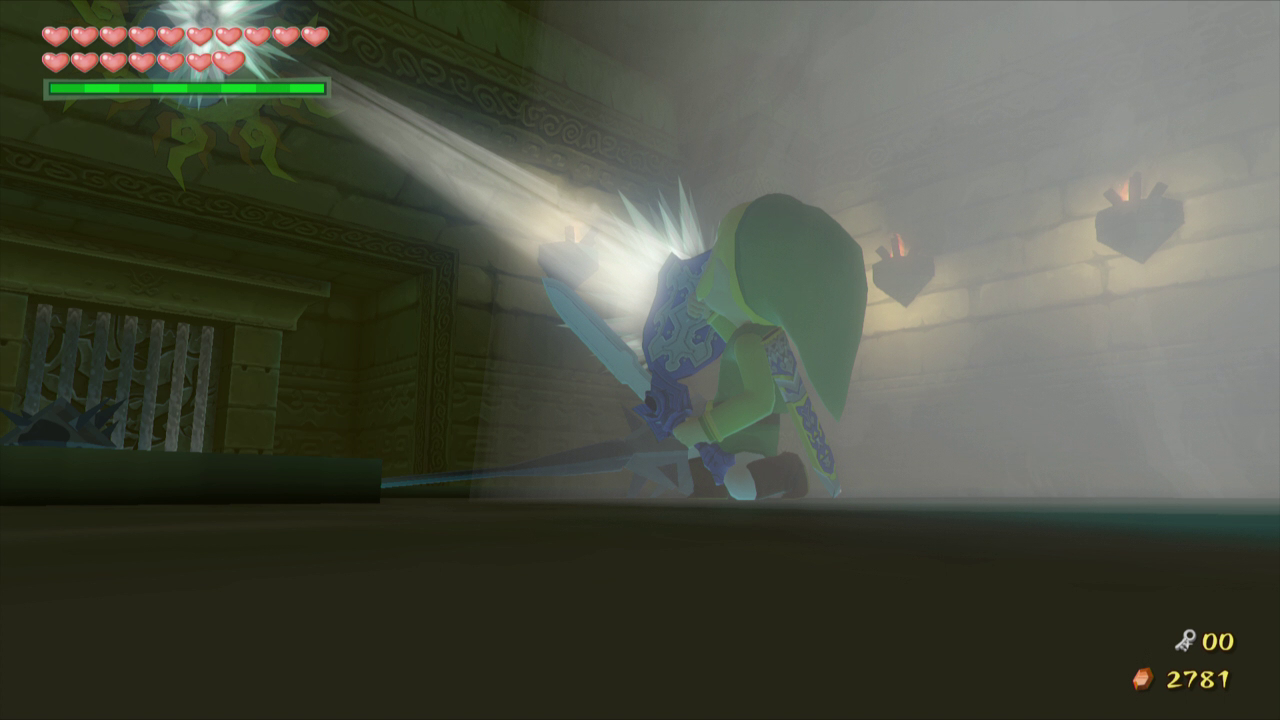
Inside of the mountain, you will find a series of Fire Keese. Link can easily defeat these guys by tossing his boomerang out at them. Leap from platform to platform until you come across some magtails. You’ll have to defeat these guys, so you can use a variety of weapons to defeat them. Once defeat, a treasure chest will appear containing the Power Bracelets!
Just nearby the treasure chest there is massive headstone that Link can now pickup with the Power Bracelets. Lift it up to create a shortcut to the entrance of the mountain. Walk over to the beam of light to get back outside.
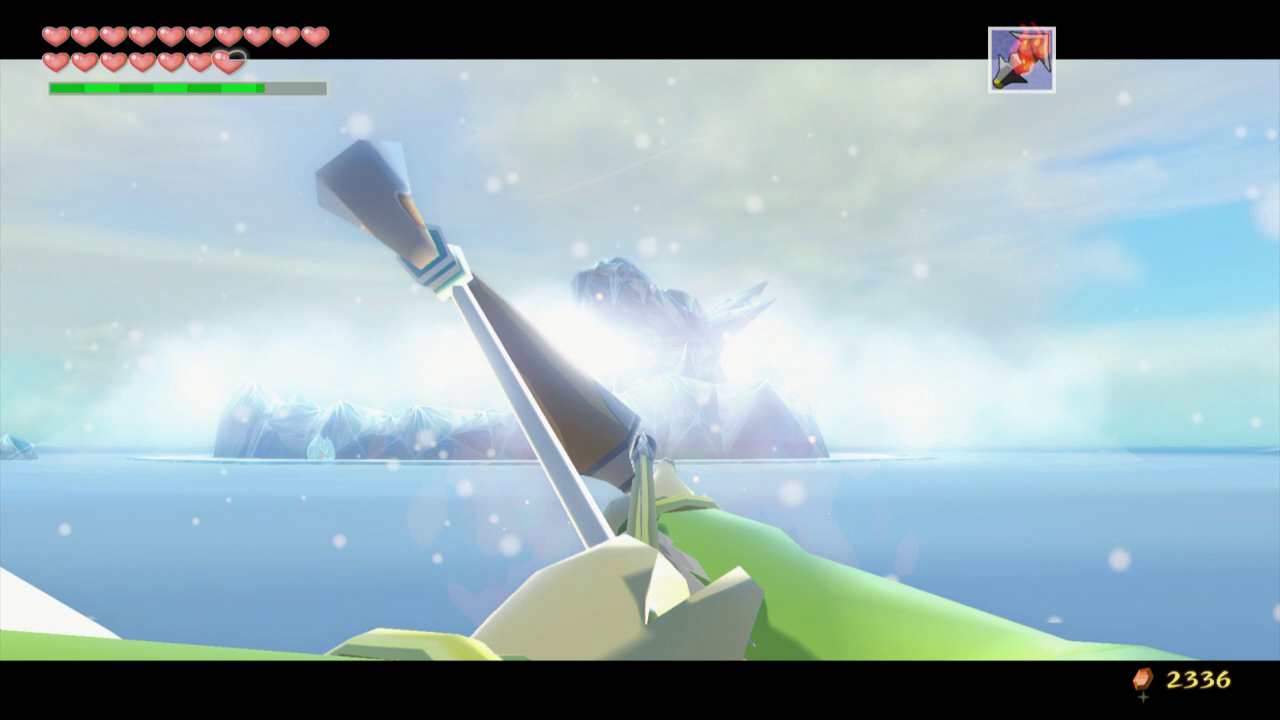
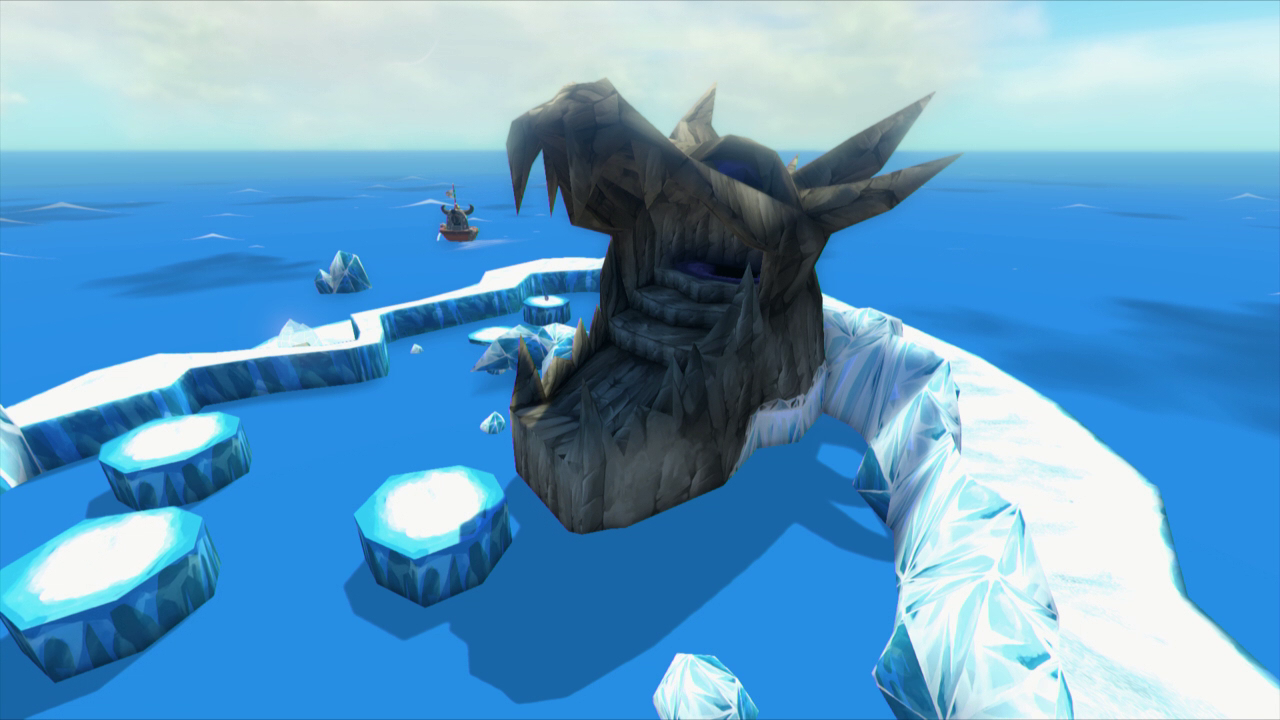
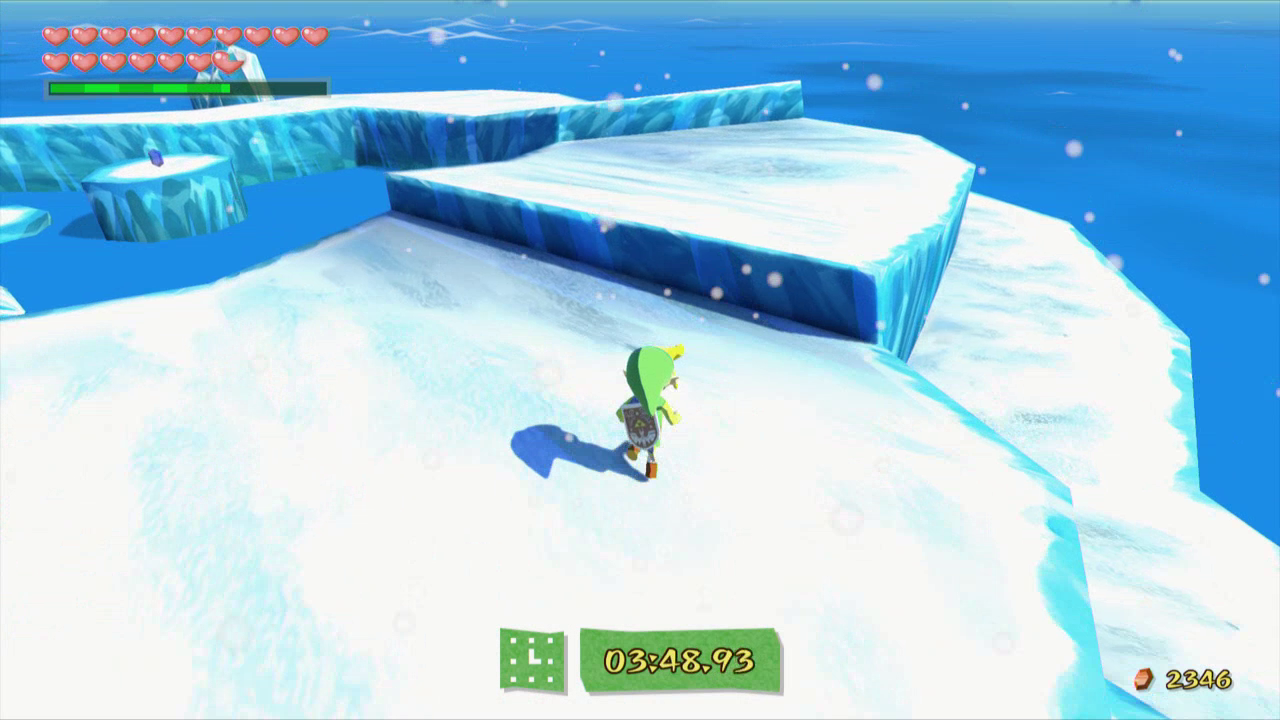
Our next destination is over at Ice Ring Isle, located just to the west of the Forest Haven. Warp and sail on over to find a similar scenario at Ice Ring Isle that we found at Fire Mountain. This time instead of fire, the island is surrounded by ice. Shoot a fire arrow at the mountain, causing much of the ice to melt, and thus allowing Link to jump onto the island.
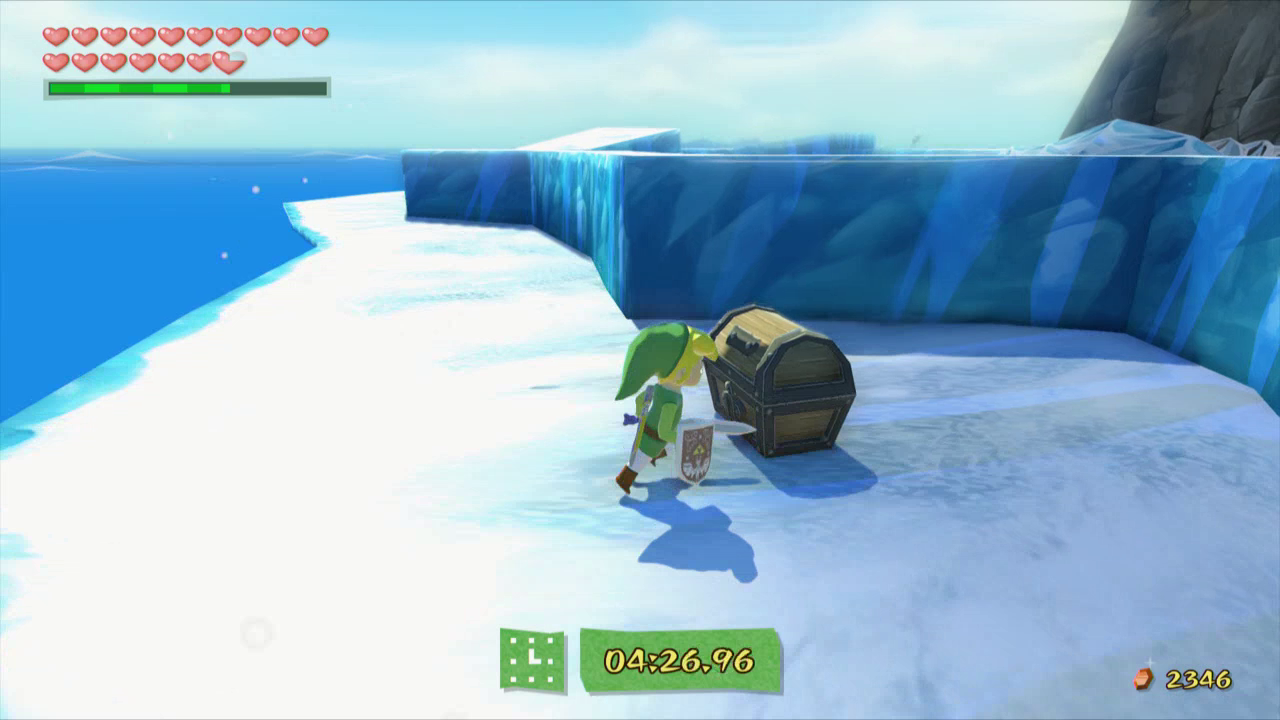
Walk around the island and you’ll find a treasure chest that is covered in a sheet of ice. Shoot it with a fire arrow and open the treasure chest to get Treasure Chart #36.
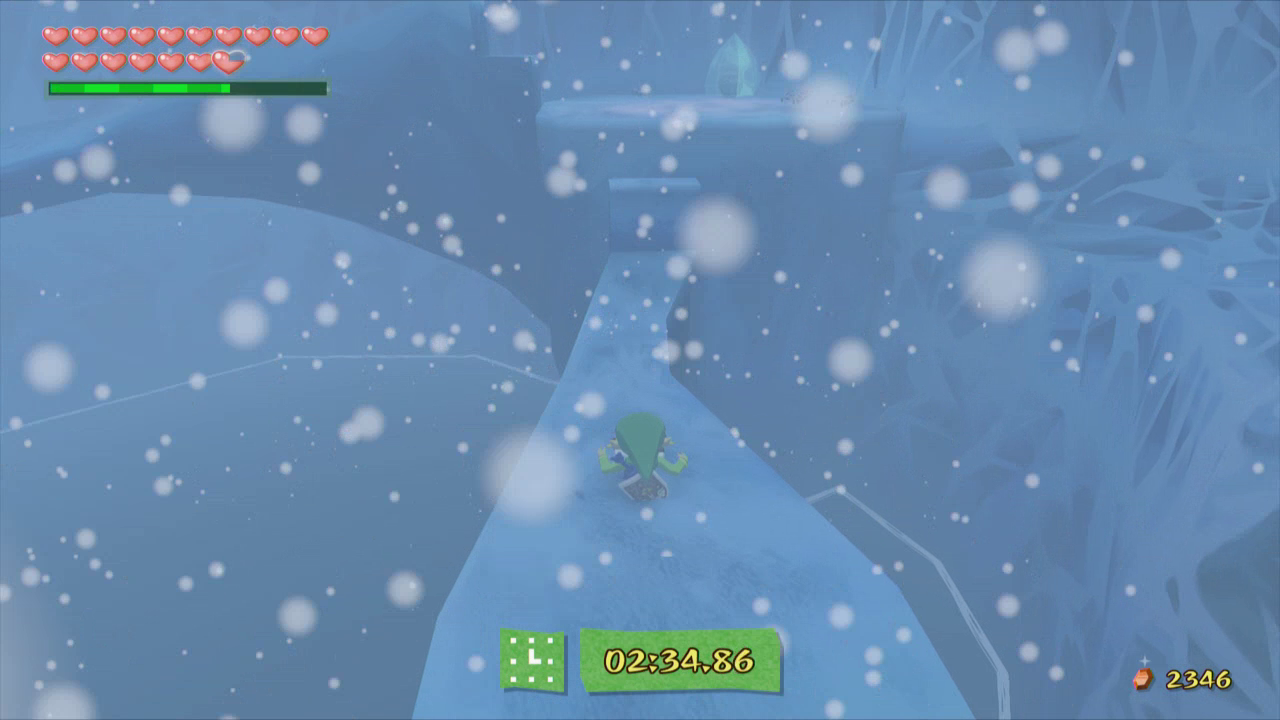
Walk around the island and climb the small platform and continue climbing. You’ll have to carefully make your way across the ice. Link will slip rather easily if you move quickly, which could cause Link to fall down. At the other end of the ice, jump over to the platform, and then to the moving platform. Continue to the center of the mountain and drop down the hole.
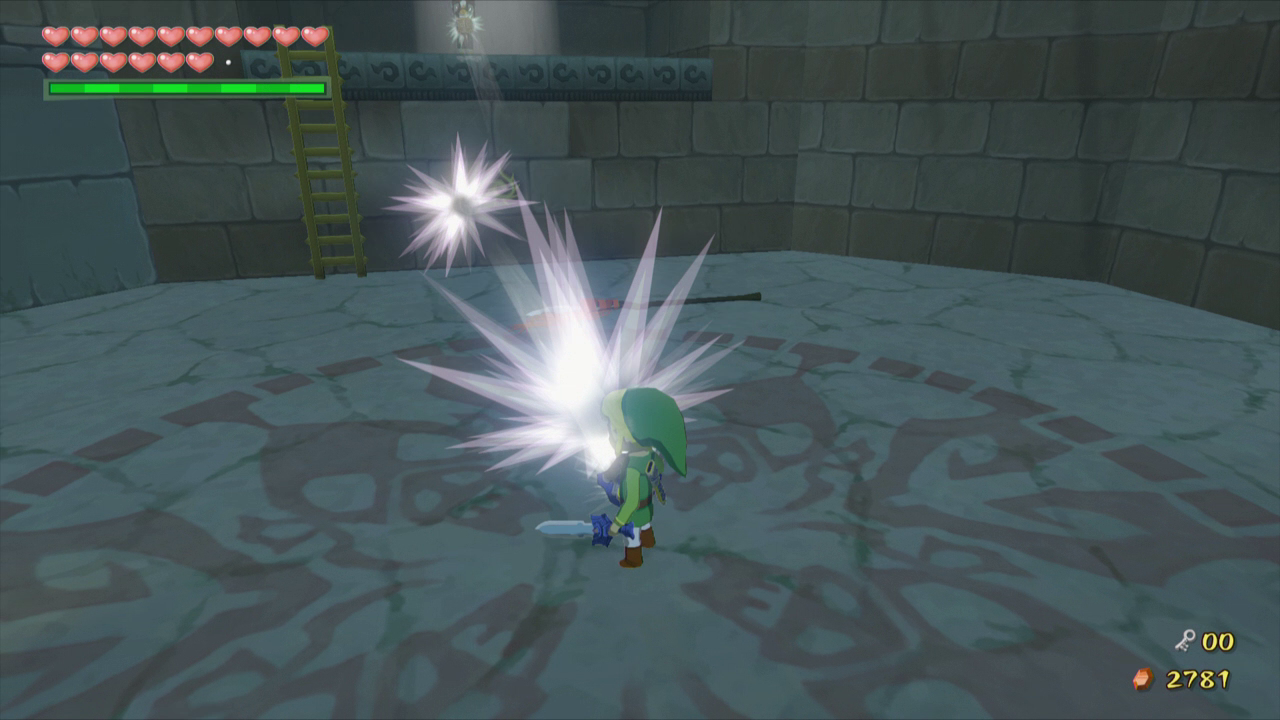
Once inside, slide down the small ice slope and climb up to the top of the platform. There is another area where you can climb up here, so do so. Make your way down the larger slide and you’ll come across a treasure chest. Open it up to get the Iron Boots!
Equip the iron boots and you can walk by the strong wind. From where the wind is coming from, there is a secret cave that Link can drop in. Inside, there are a series of frozen enemies that Link can unfreeze by using his fire arrows. Defeat all of them and a treasure will appear containing an orange rupee. Go back up the portal to get back outside.

11.4 Quick Overworld Goodies
Now that we have the Power Bracelets, there are a few quick goodies for us to collect over at Outset Island. Play the Ballad of Gales and warp on over.
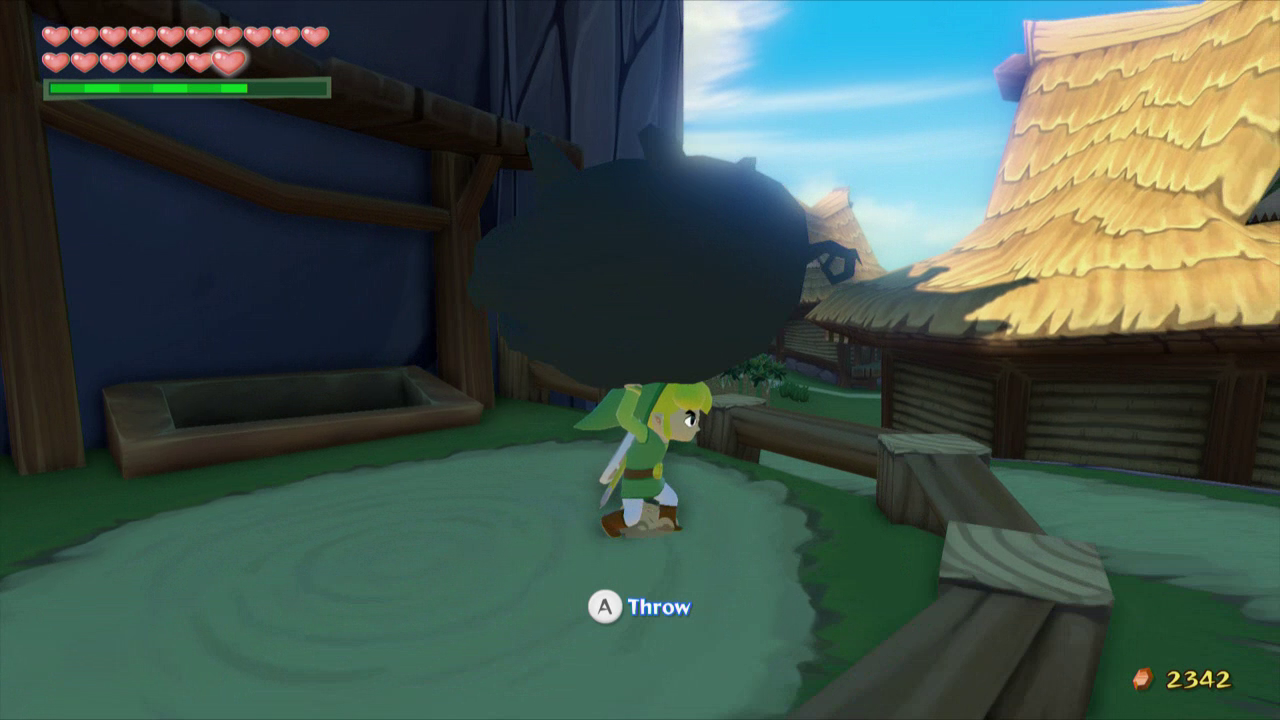
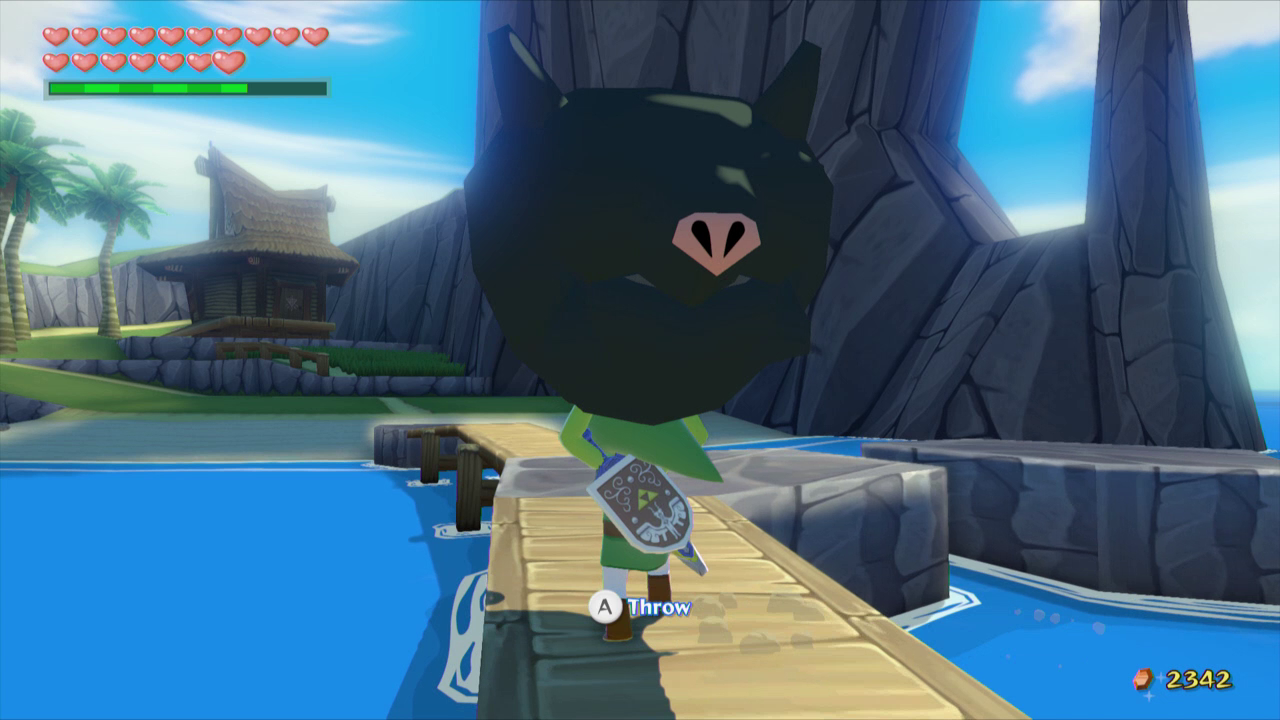
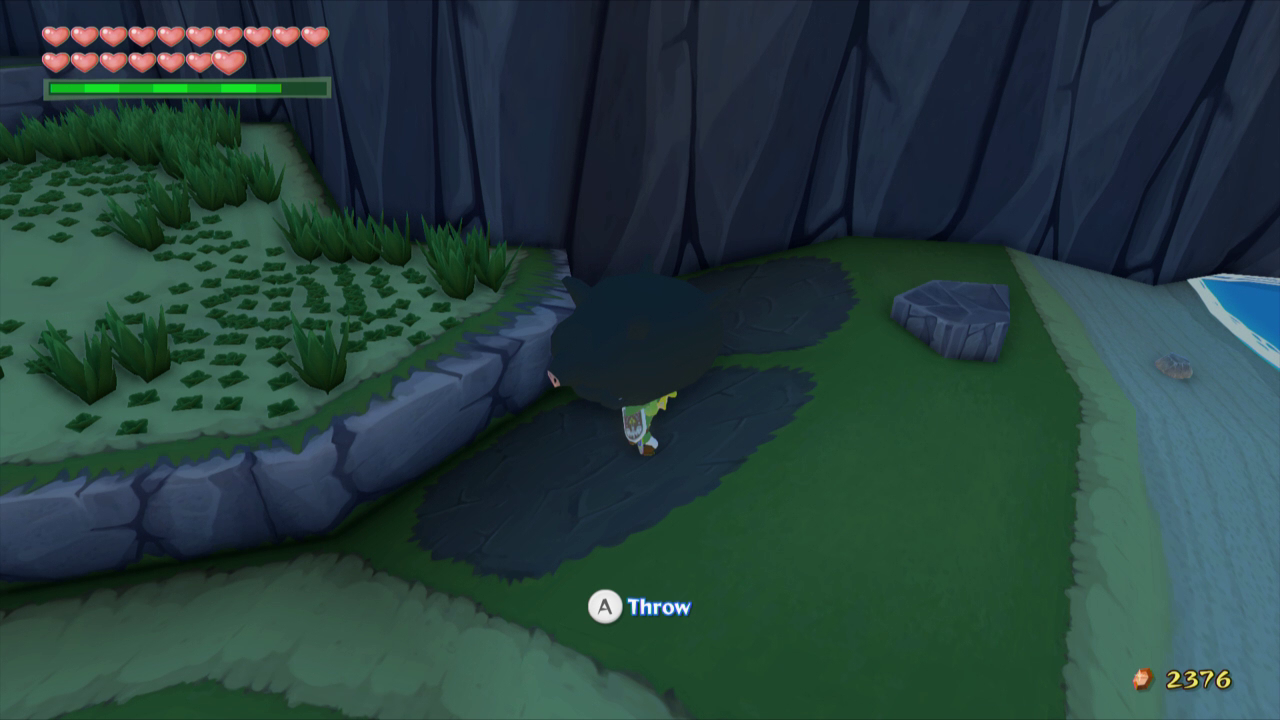
If you completed the quest very early on in the game involving the pigs on Outset Island, then one of pigs will have grown to become incredibly large. Run over to where the Pig is located, just higher up on the hill from Orca’s house. Using the Power Bracelets, lift the pig (aptly named Link) over your head and ever so slowly walk all the way across the bridge to the other side of the island.
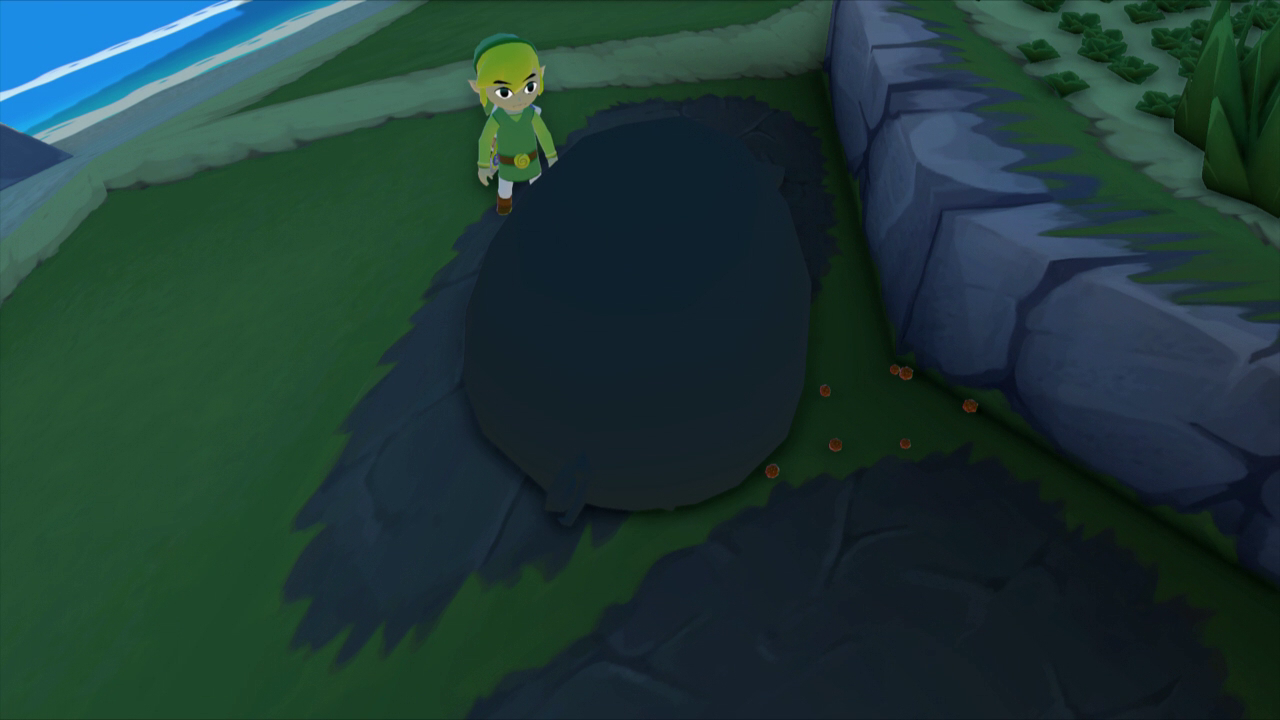
Just to the right of the bridge on the other side of the island, there is a darker area on the ground of soil. Drop some All-Purpose Bait here and the Pig will go and dig up the soil, revealing Piece of Heart #41.
By this point in the walkthrough, you should have collected at least 10 Knight’s Crests from the Darknuts we’ve encountered. If so, you can also obtain an optional sword technique here known as the Hurricane Spin.
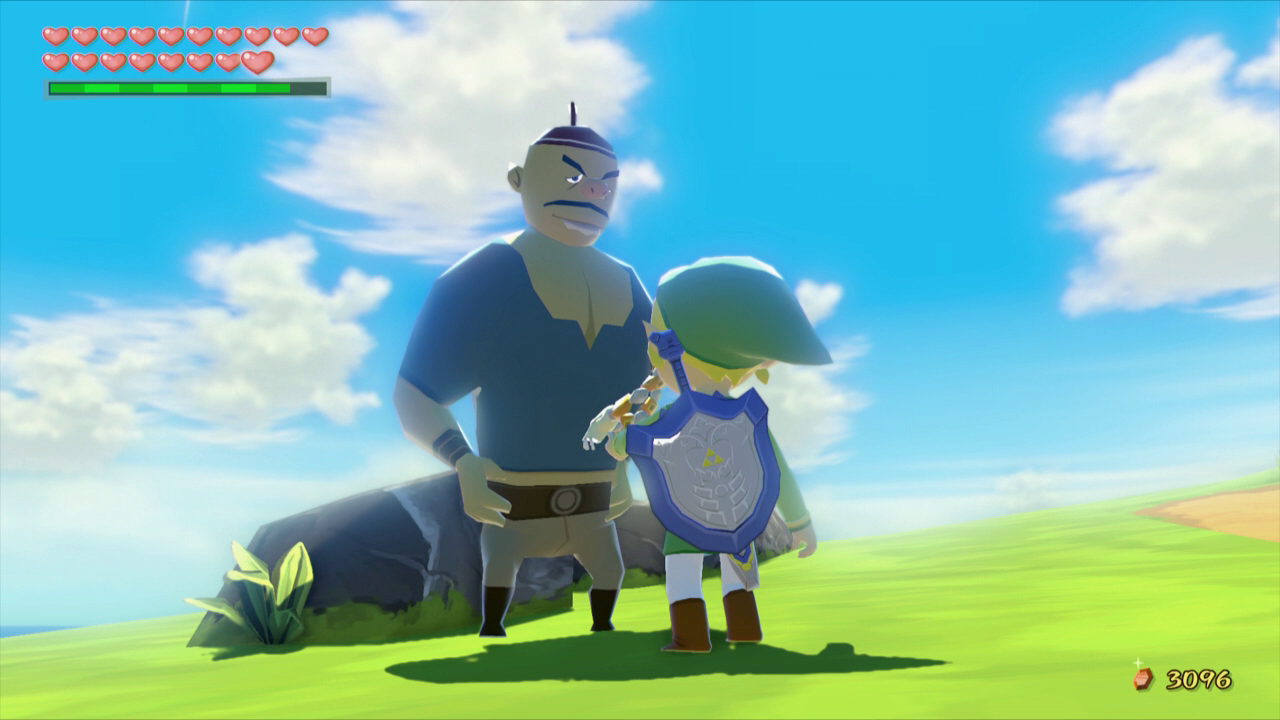
Head over to Orca’s house and show him the Crests that you’ve collected. Orca will explain that he had always dreamed of learning a new technique that would come with collecting these Crests. This will initiate a battle with Orca, who will explain the simple nature of performing the Hurricane Spin.
Press and hold the B button for a few seconds, then release. Link will rapidly spin across the room, knocking down anything in his path. This move is extremely effective for attacking large groups of enemies, rather than attacking them all individually. The move does have its drawbacks however; it uses magic power, and Link will be dizzy after performing it, making him momentarily available to attacks.
Now sail northeast one screen to Shark Island. Climb onto the mainland, and then stand on top of the switch at the far end of the island (the fin) with your Iron Boots to depress the switch. Take them off and run to the main portion of the island. Run to the right and hit the switch with your Hammer, then turn around and head towards the crystal switch nearby. Hit it with your Boomerang and climb up the ledge to the right to step on the final switch. This will turn off the fire on the main strip of land and let your enter the hole.
Inside you will face a gauntlet of enemies, ranging from Wizzrobes to the most dangerous Darknuts. Once you have defeated them, a treasure chest will appear containing another 200 rupees!
There is also one Sunken Treasure to be found from the Treasure Chart that we just collected.
-Treasure Chart #36 – Bird’s Peak Rock (Northeast of Forest Haven) – 200 Rupees
11.5 Finding the Earth Temple
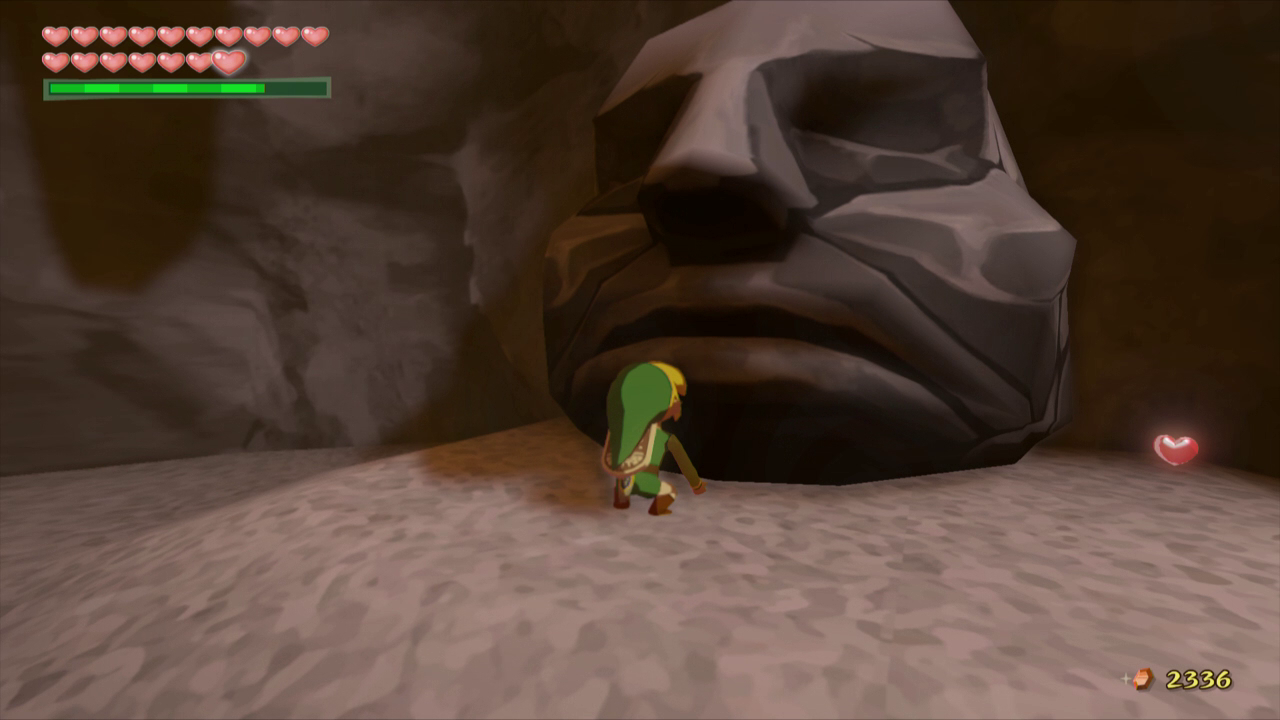
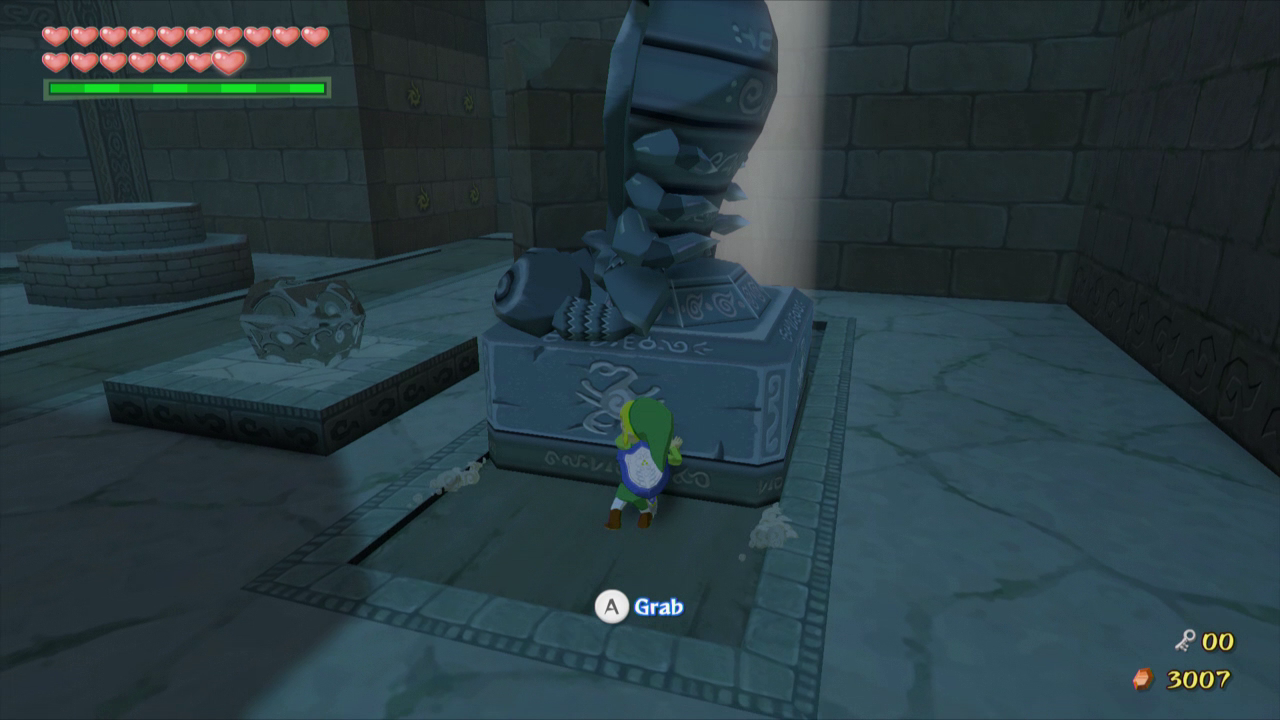
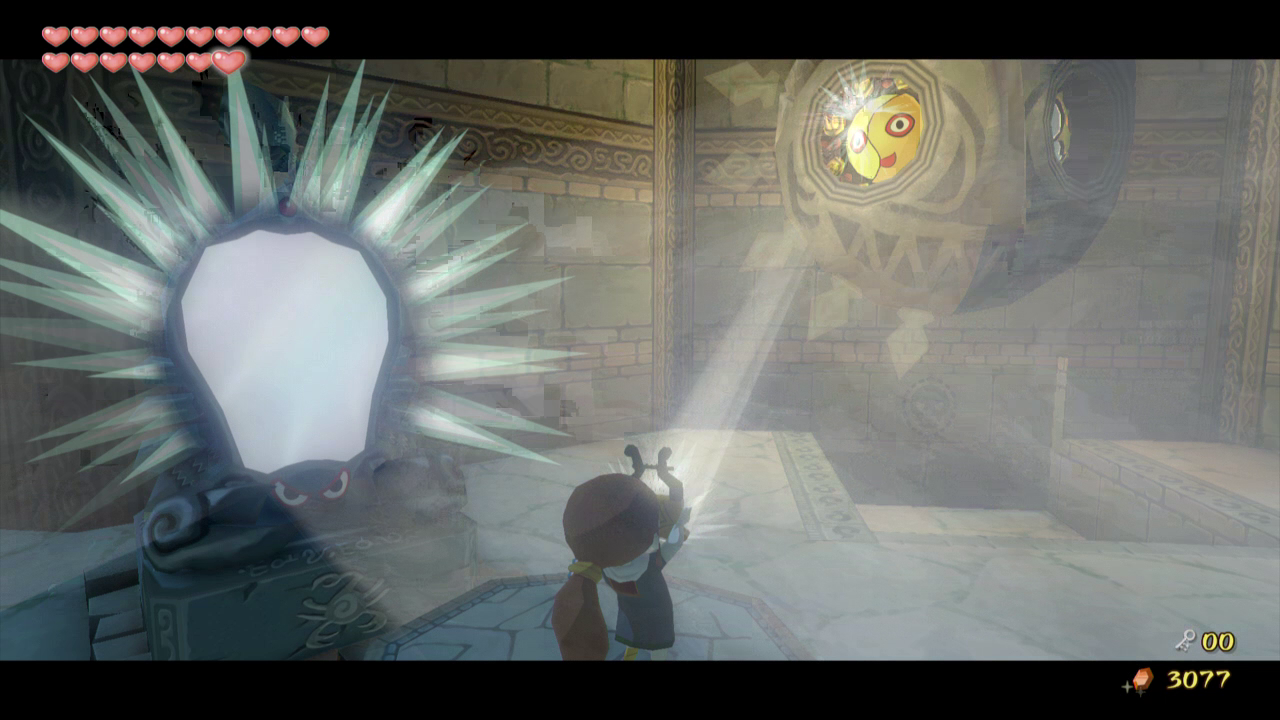
We can now make our way over to the next dungeon, the Earth Temple. From Outset Island sail east one square region to land at Headstone Island. As the name of the island suggests, there is a large headstone blocking the entrance to the main part of the island. Use the Power Bracelets to lift it up and enter the inner portion of the island.


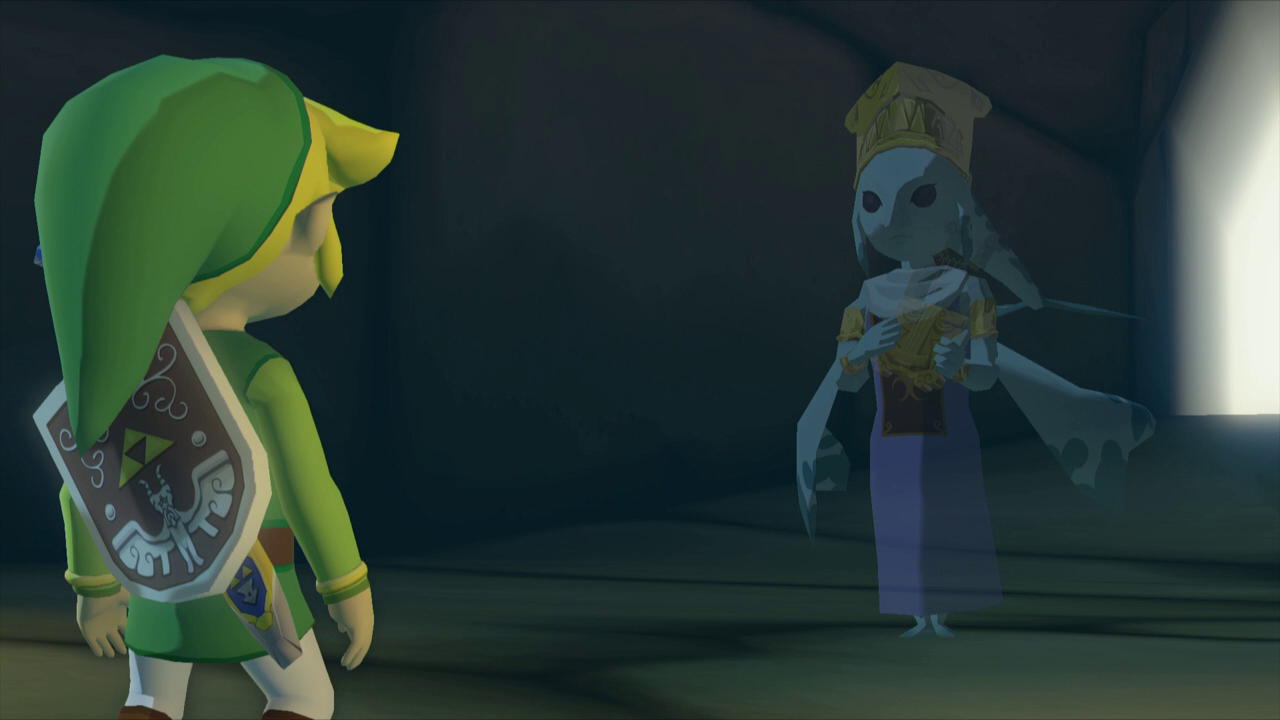
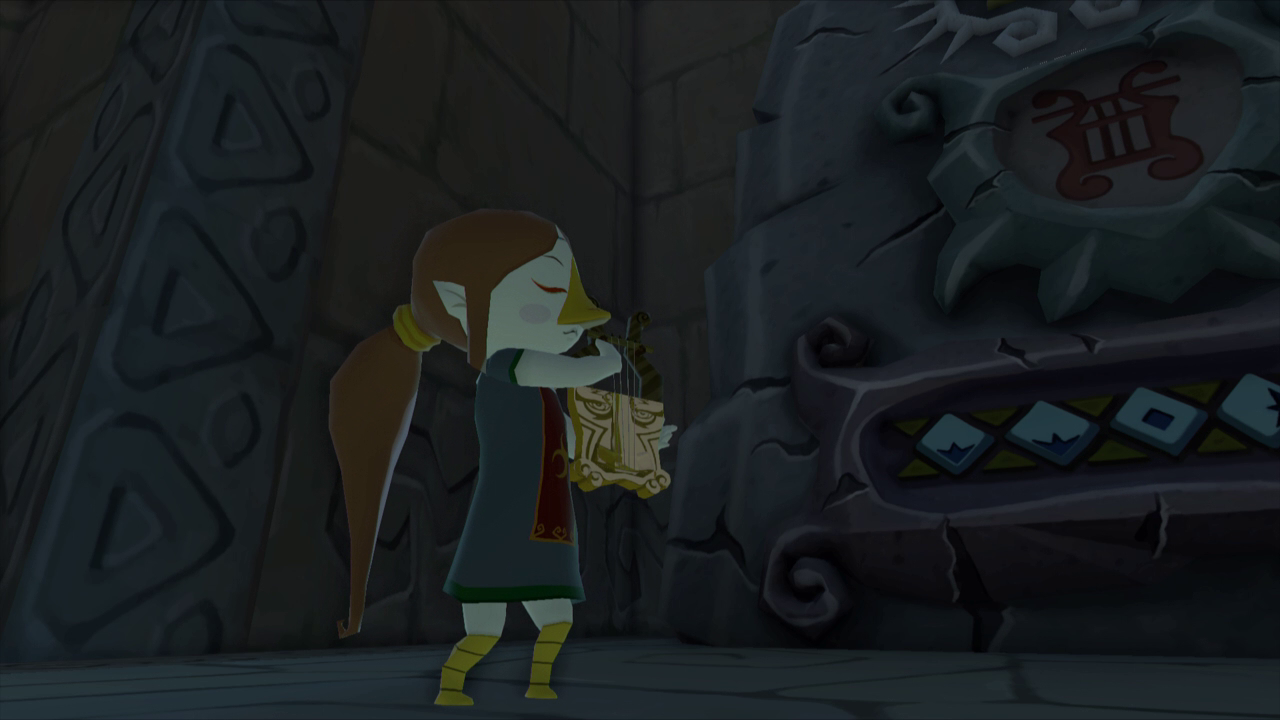
There is a large stone tablet here with some musical notes. Pull out the Wind Waker and Link will meet up with the ancient Zora Sage, Laruto. After hearing some back story, Laruto will teach Link the Earth God’s Lyric. She tells Link that she must find the descendent of her race.

Our next destination is back at Dragon Roost Island, so head back to the King of Red Lions and warp on over. Climb up and enter the area where most of the Rito reside. Climb to the top of the area and head outside to reach the higher ledge.

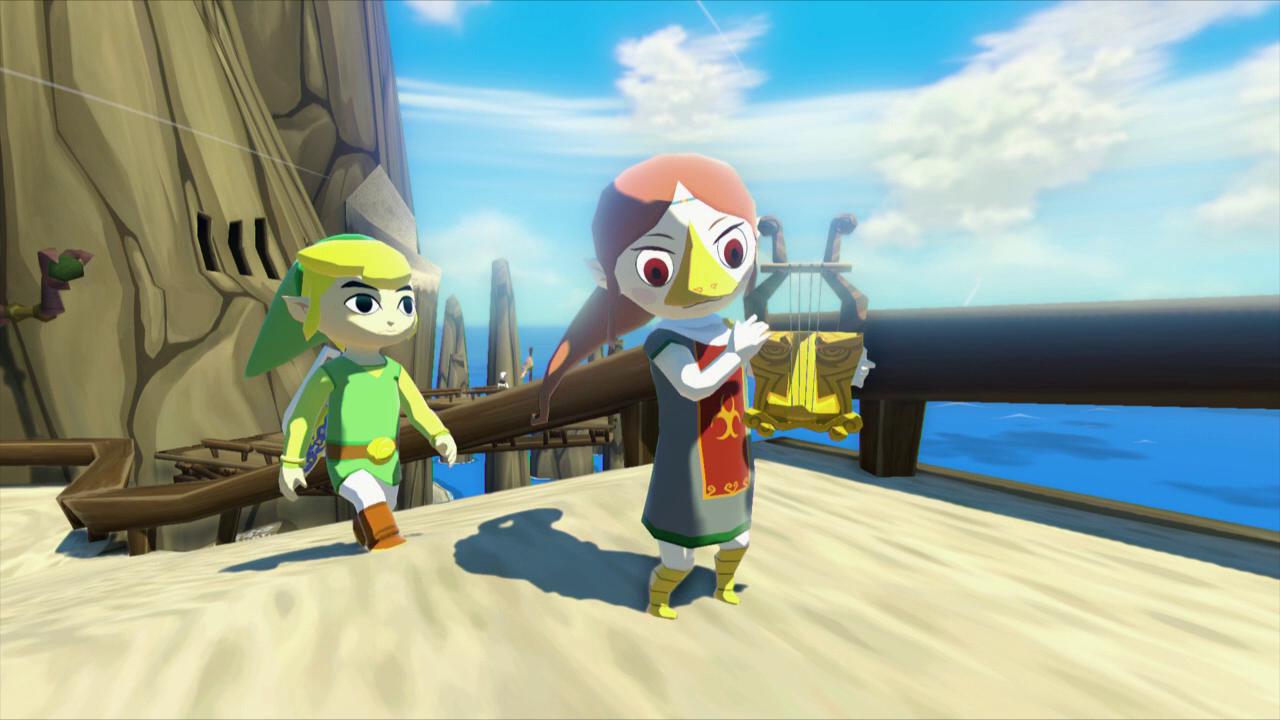
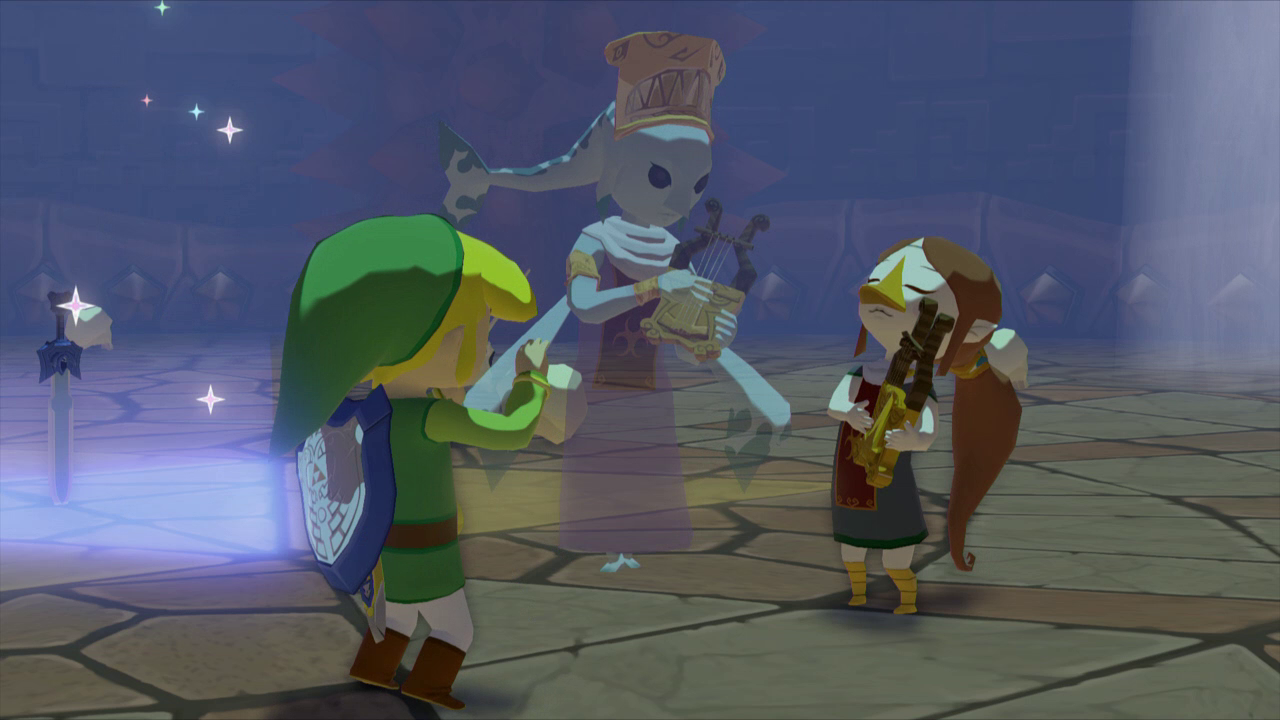
Once outside, turn to the right and use the Grappling Hook to get across the gap. Climb up the stairs to meet with Medli, who is playing her harp. After speaking with her, pull out The Wind Waker and this will cause her to have a dream sequence of herself with Laruto.
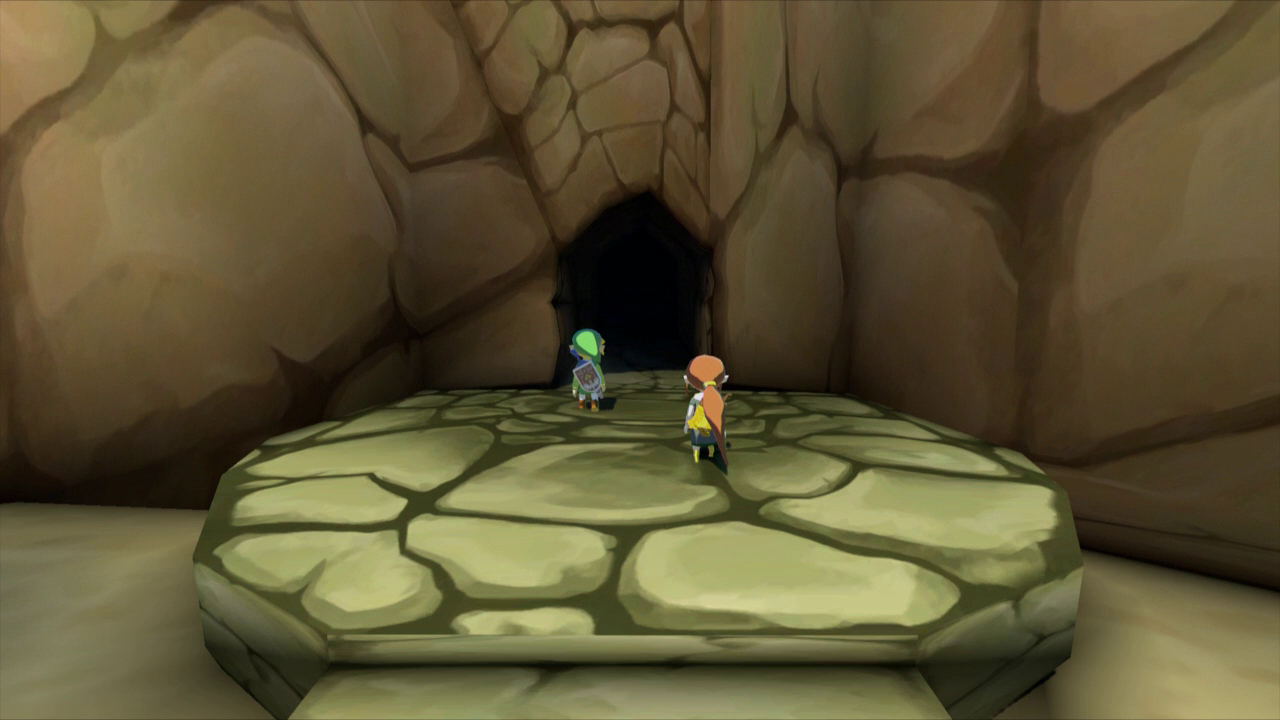
After the cutscene, Link and Medli will both appear in the King of Red Lions. Warp on over to Outset Island and then sail east to Headstone Island. Once you arrive, the King of Red Lions will give Link and Medli some advice. Run onward into the mountain here and then play the Earth God’s Lyric alongside Medli. After a short scene, Link and Medli will enter the next dungeon of the game, the Earth Temple.


11.6 Earth Temple
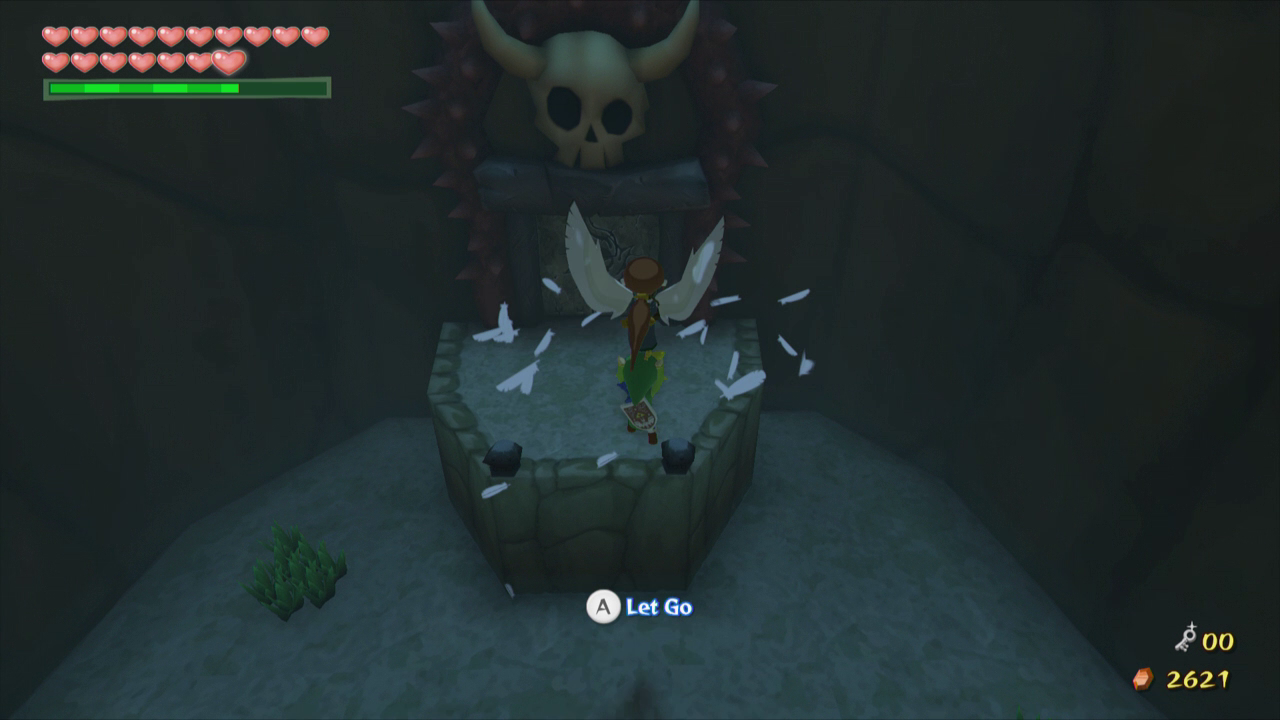
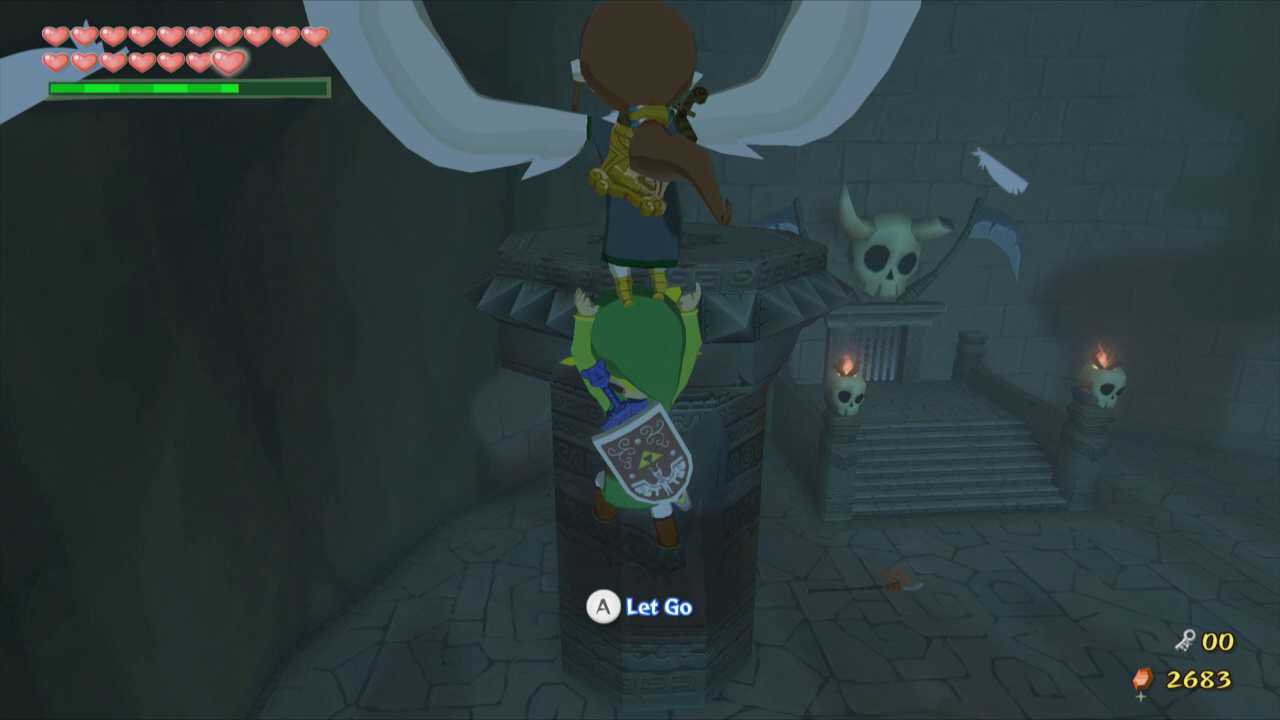
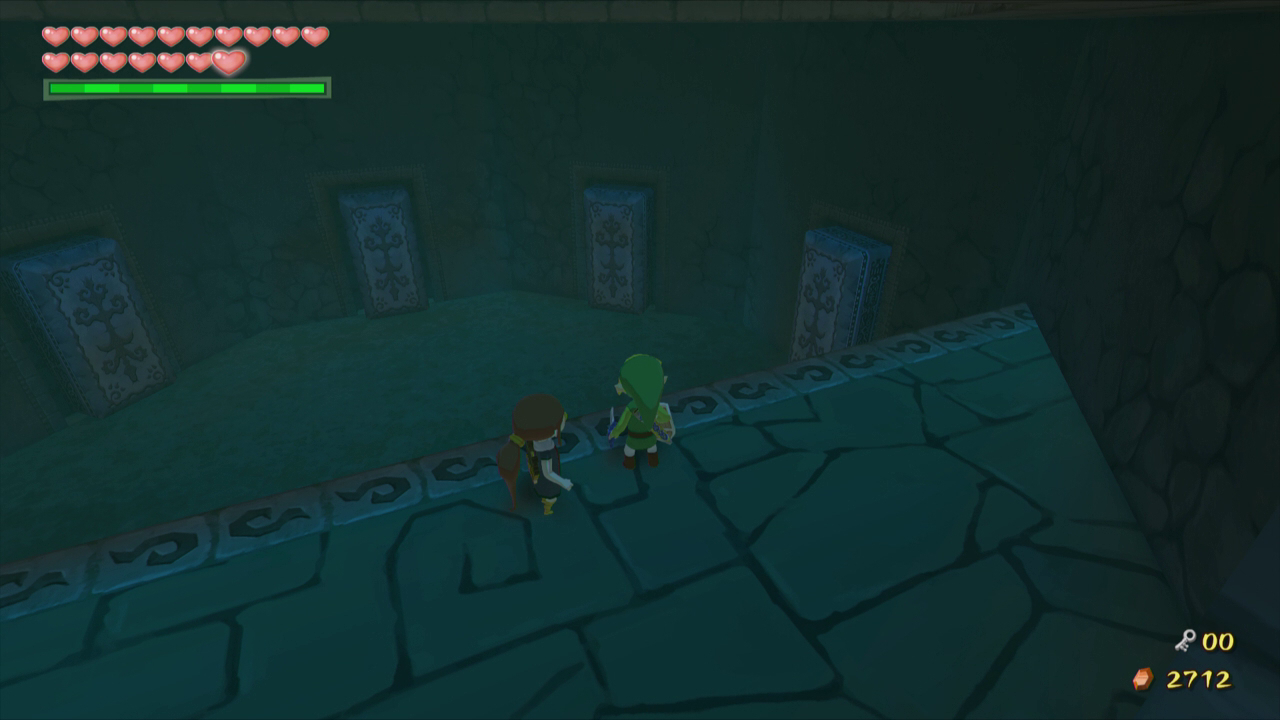
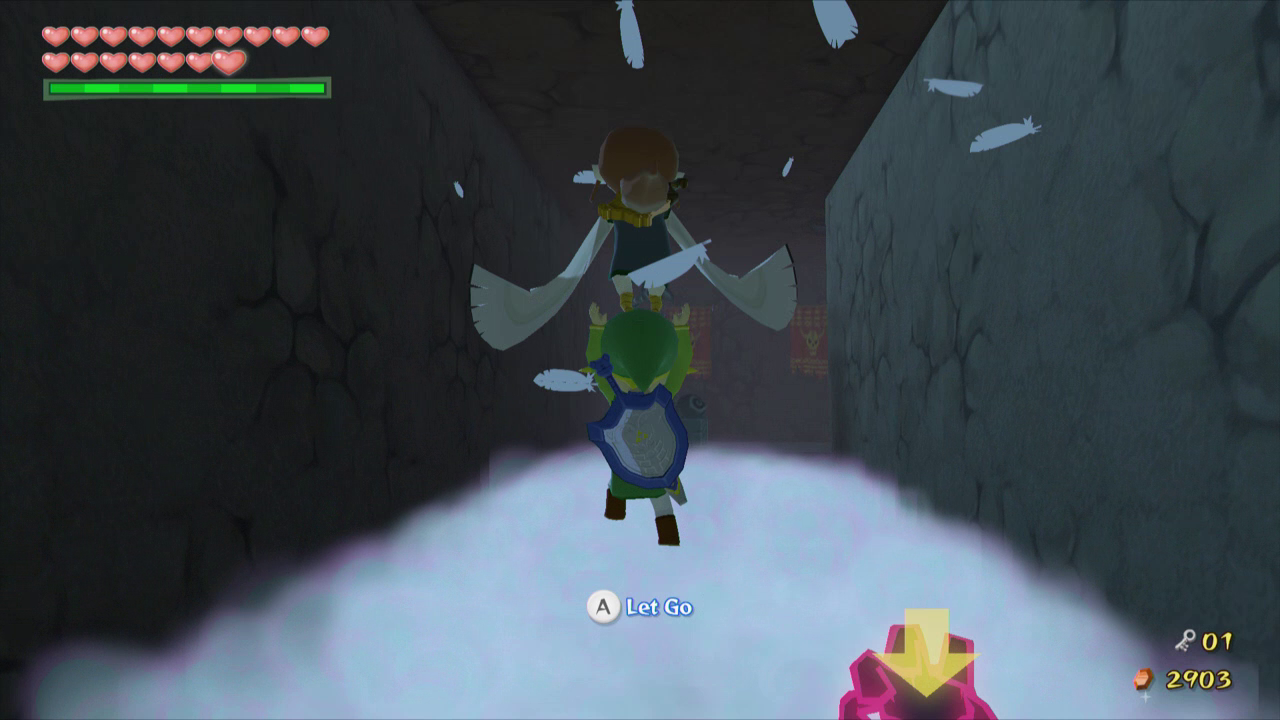
In this first room walk forward and grab Medli. Move to edge of this platform and jump across to the door ahead. Medli will use her wings to float both of you across the gap. Let go of Medli once you are above the next platform, and then grab her again and head through the doorway.

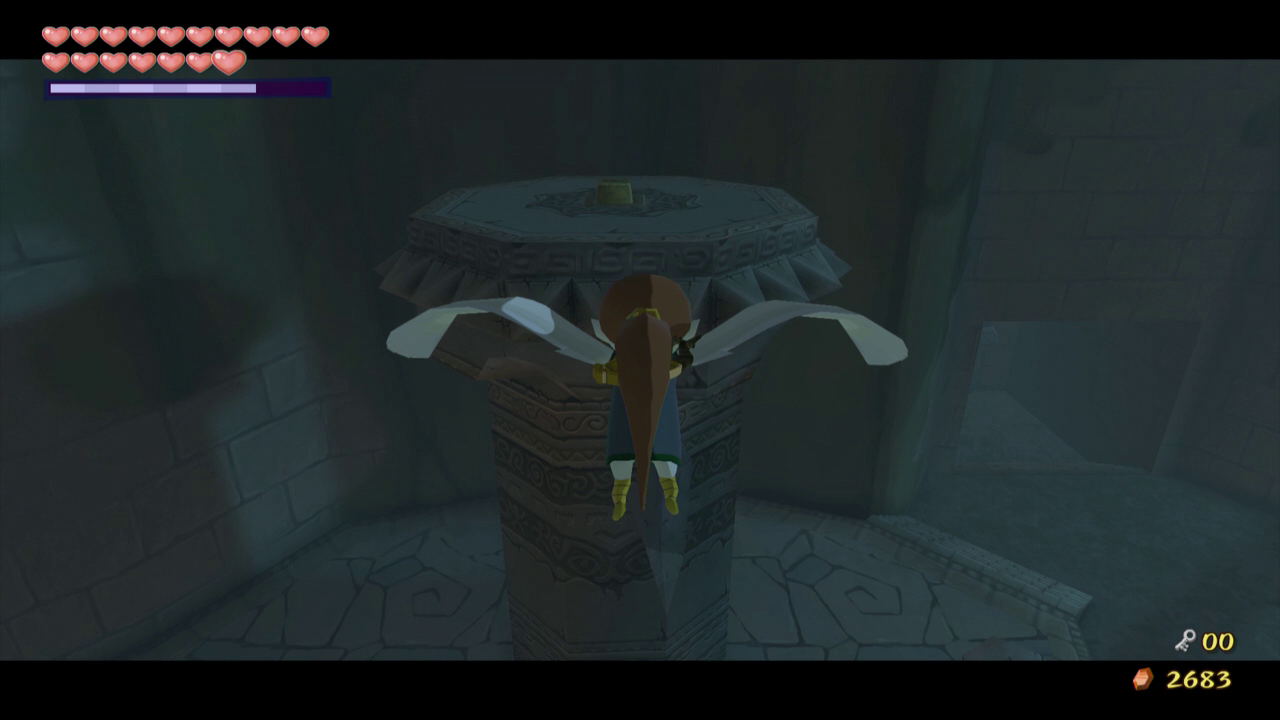
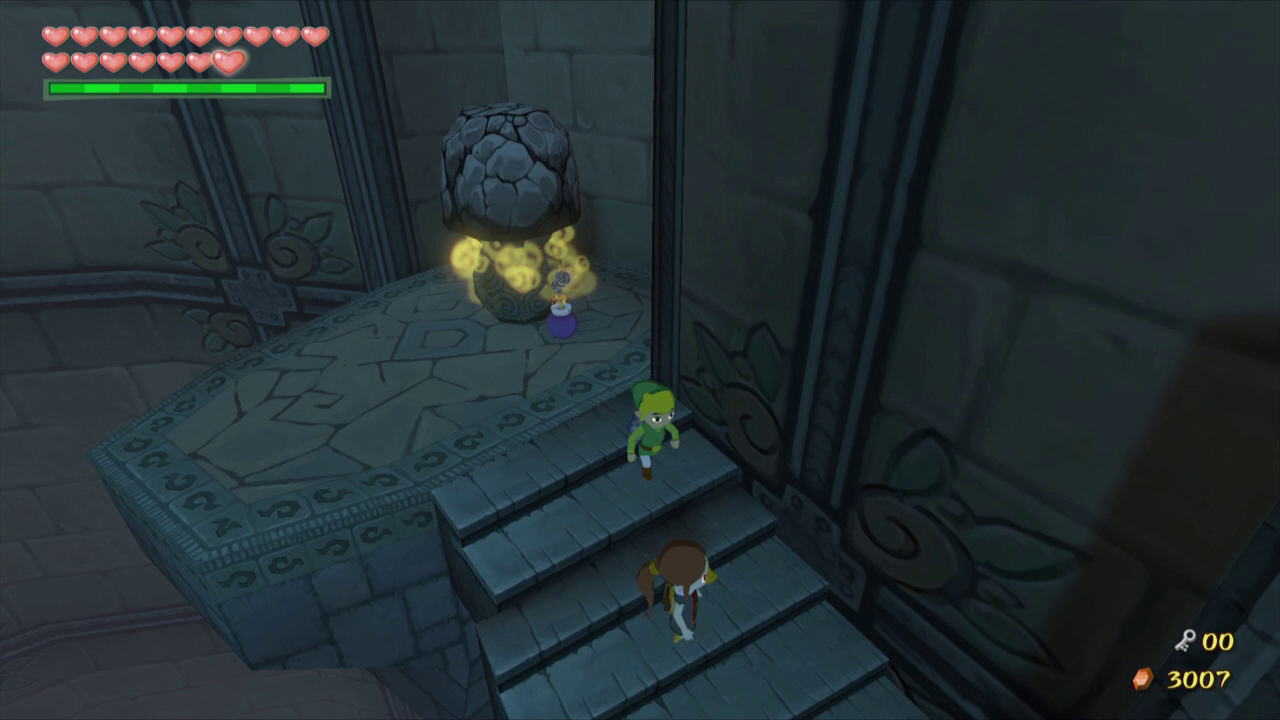
Drop Medli in the next room and walk along the path to the right. Defeat the two Moblins here, and then walk back to the door. Walk halfway up the stairs along the wall and defeat the last Moblin. Pick up Medli and then run up to the top of the stairs. Jump across the gap to the pillar ahead and step on the switch here.
Set Medli down and play the command melody to take control of Medli. Press A button to make her fly high into the air. Fly over to the other pillar in this room and step on the other switch, opening the door below. Fly down to the door that just opened while you still have control of Medli. Switch back to Link and head over to this door as well. Pick up Medli and head through the door.
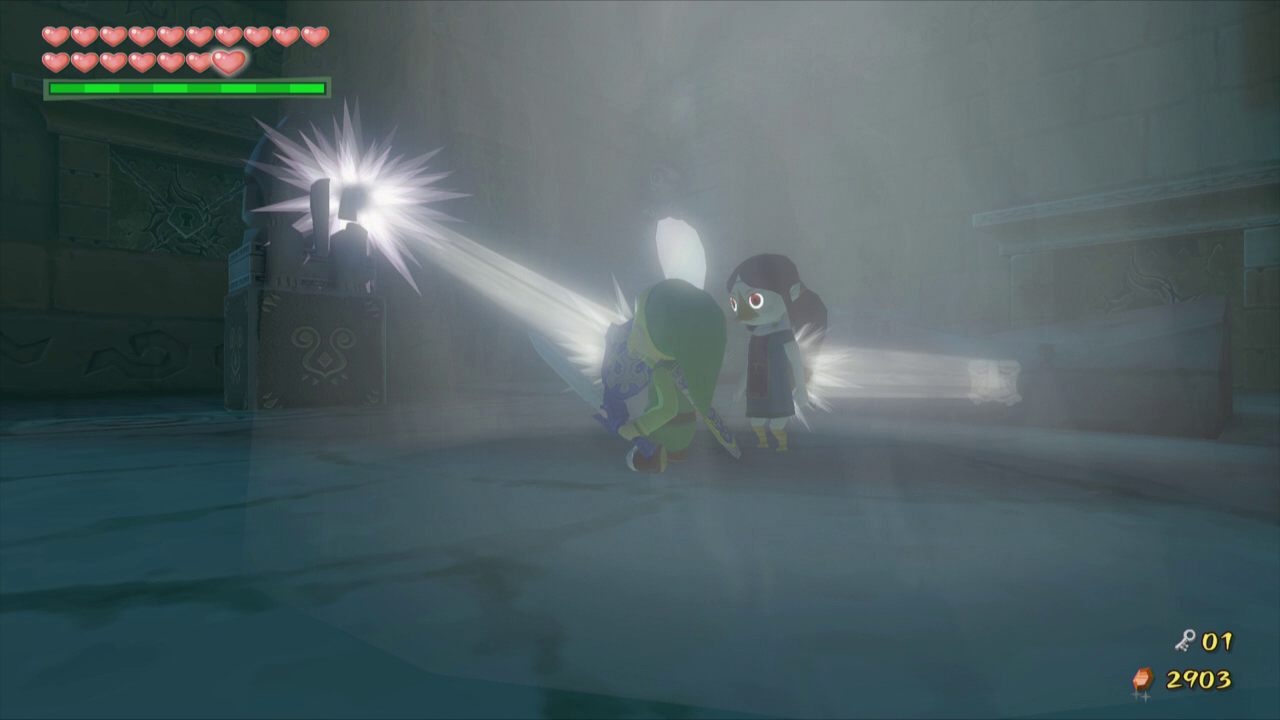
Put Medli on the ground and defeat the red and green ChuChus in this room. You will also encounter a new purple kind of ChuChu that cannot be damaged with the sword. To defeat these enemies you must reflect light off of Medli’s instrument at them. This will cause them to turn to stone, allowing you to pick them up and throw them. To do this, you can either walk around Medli in a circle to spin her around the room, or take control of her and press A to use the instrument like a shield.
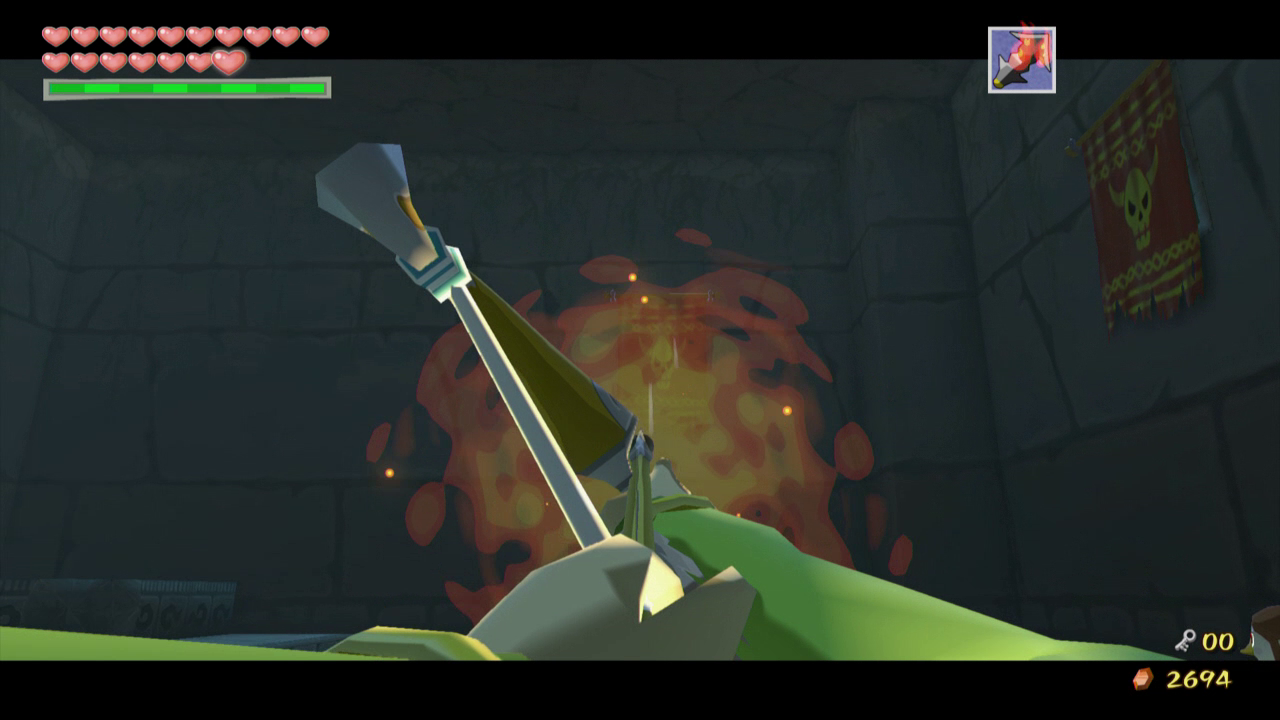
Once every ChuChu is dead open the chest that appears for the Dungeon Map. Use a bomb or a Fire Arrow to burn the wooden board covering the big pot in the corner of the room. Grab Medli once again and head through the door to the east.


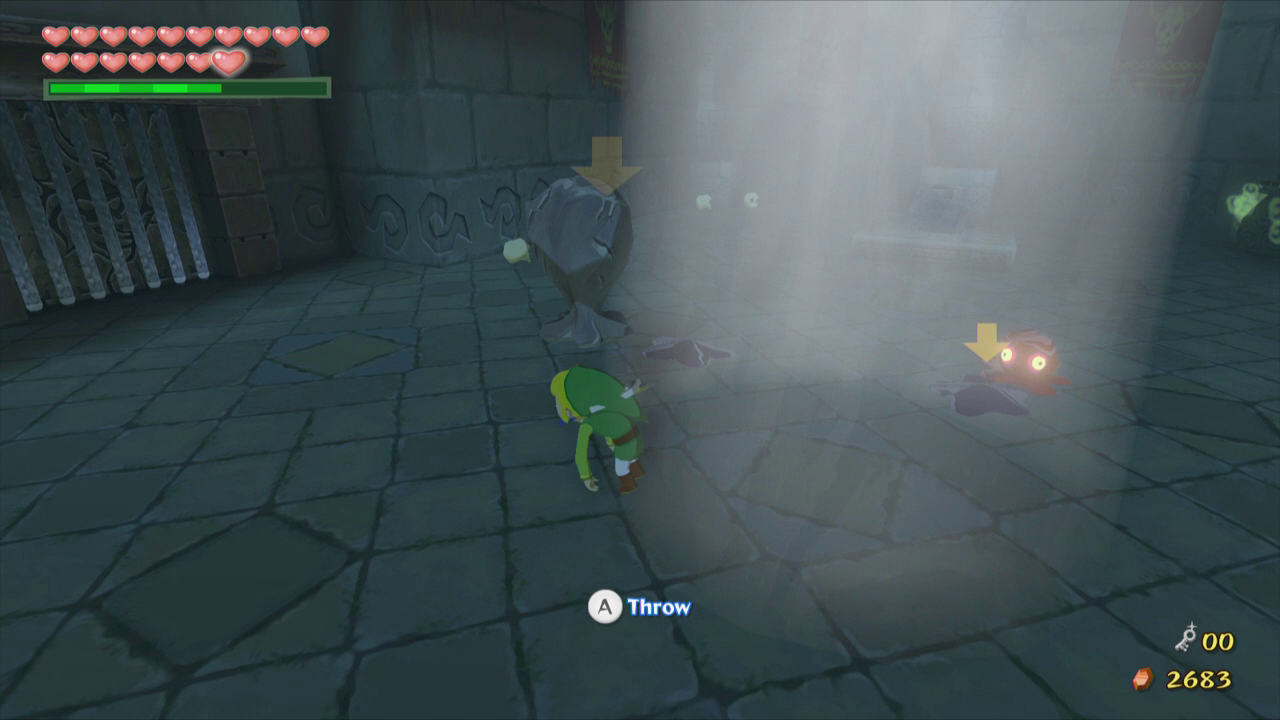
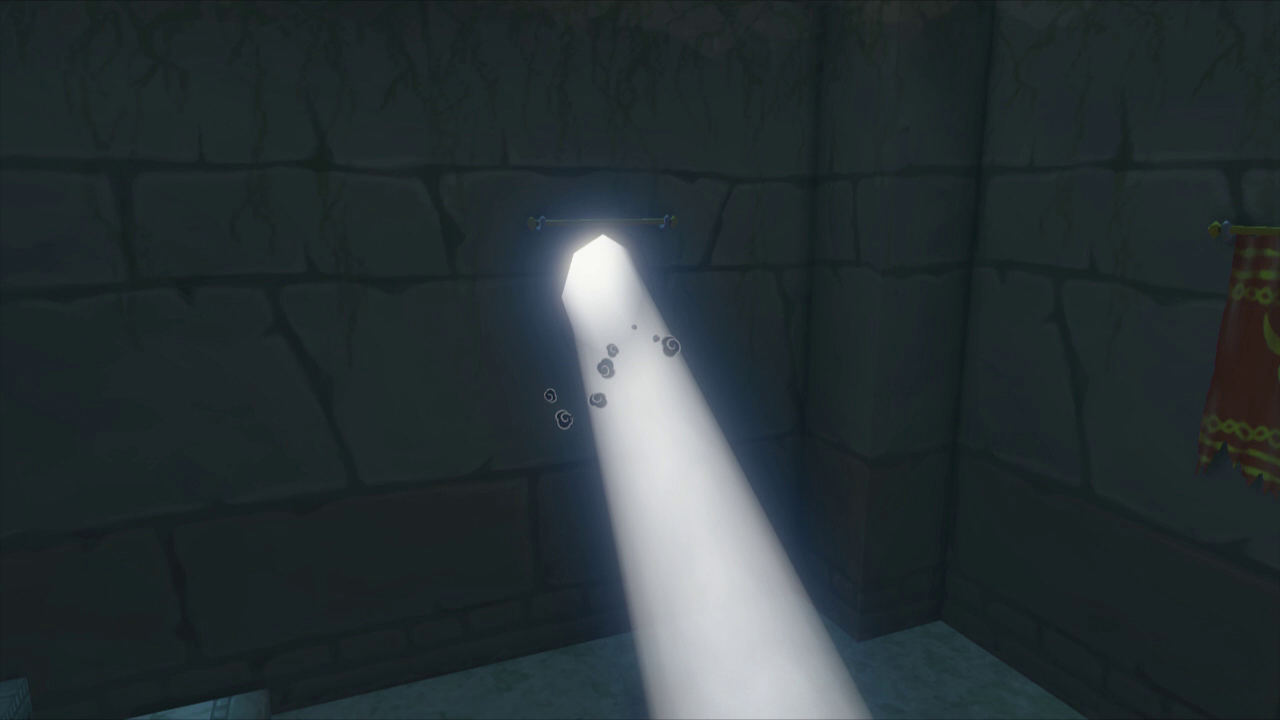
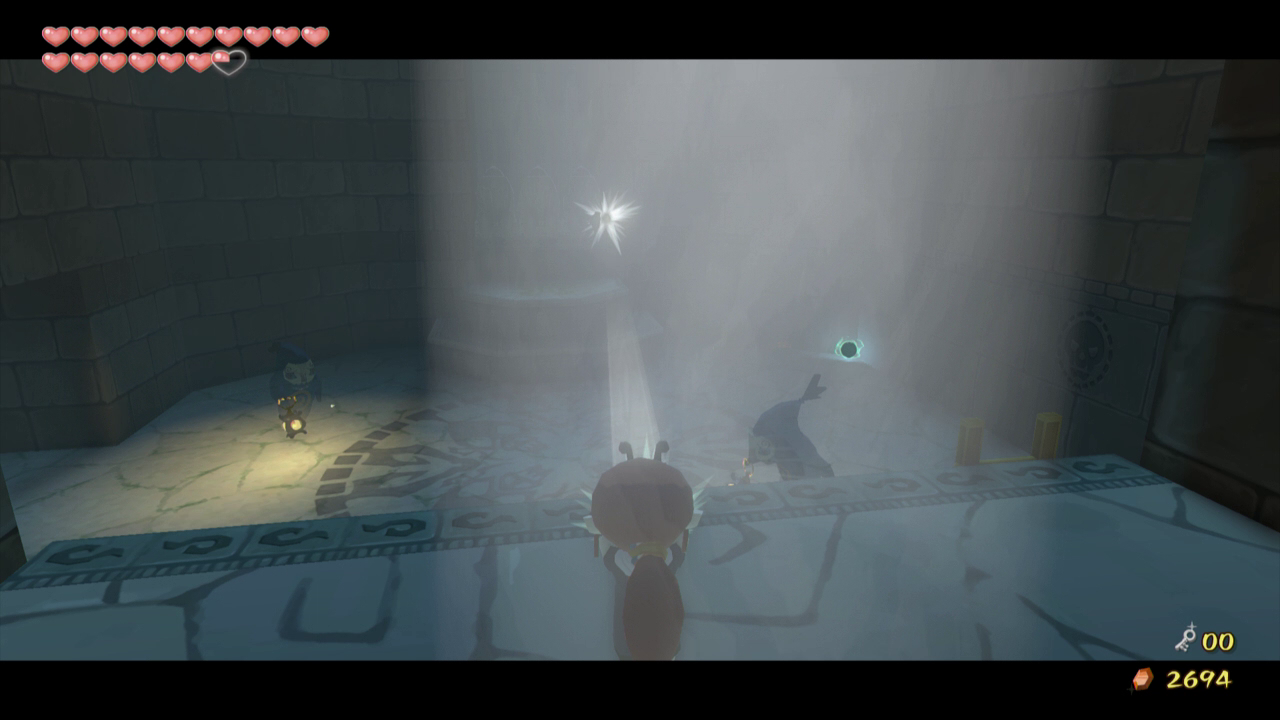
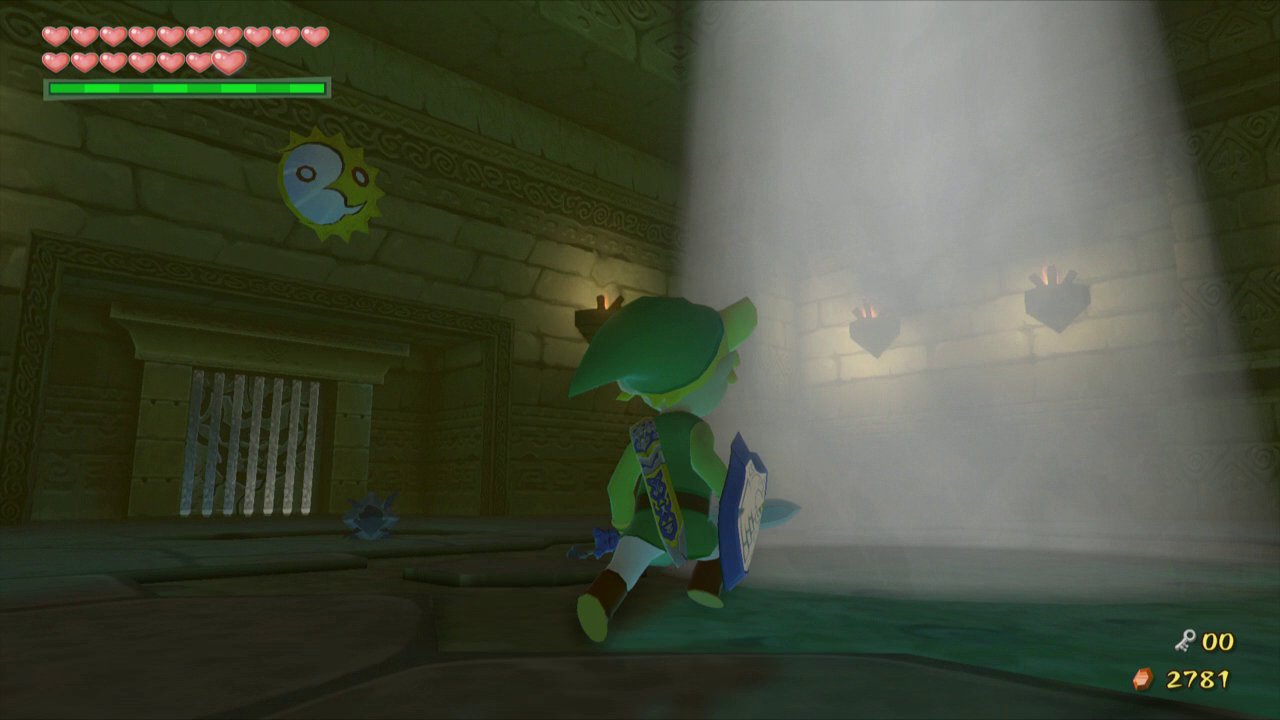
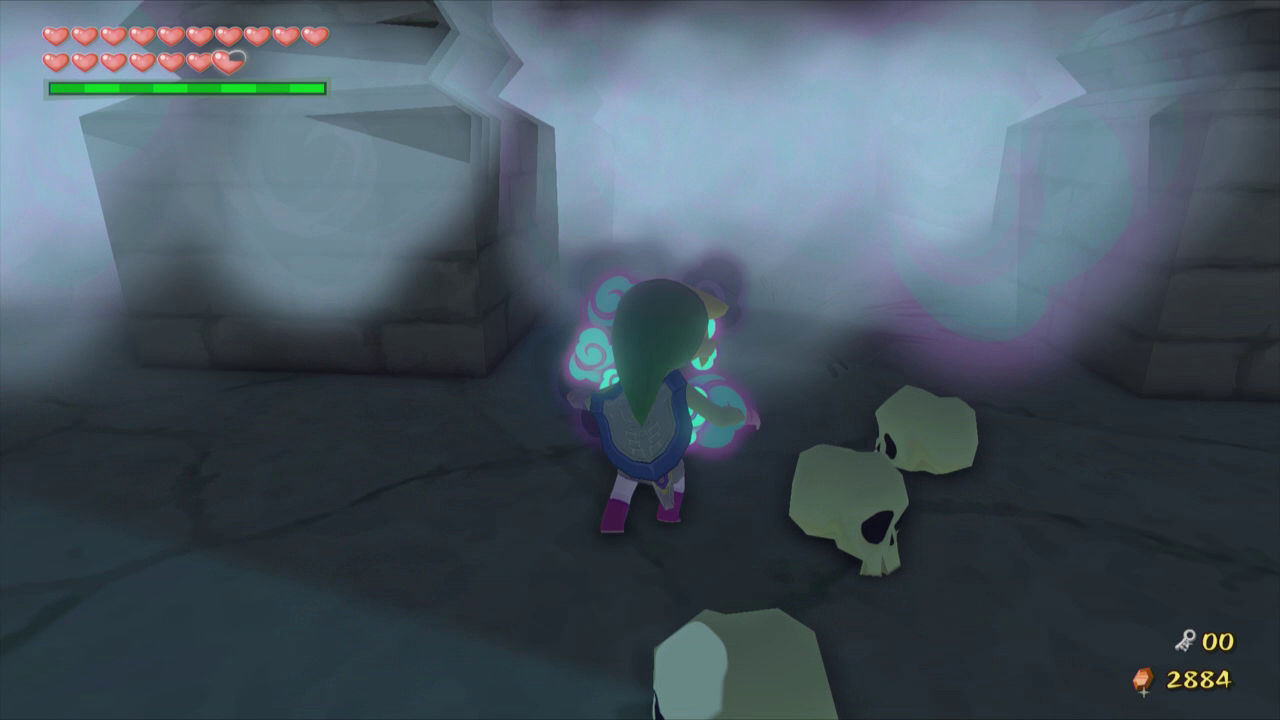
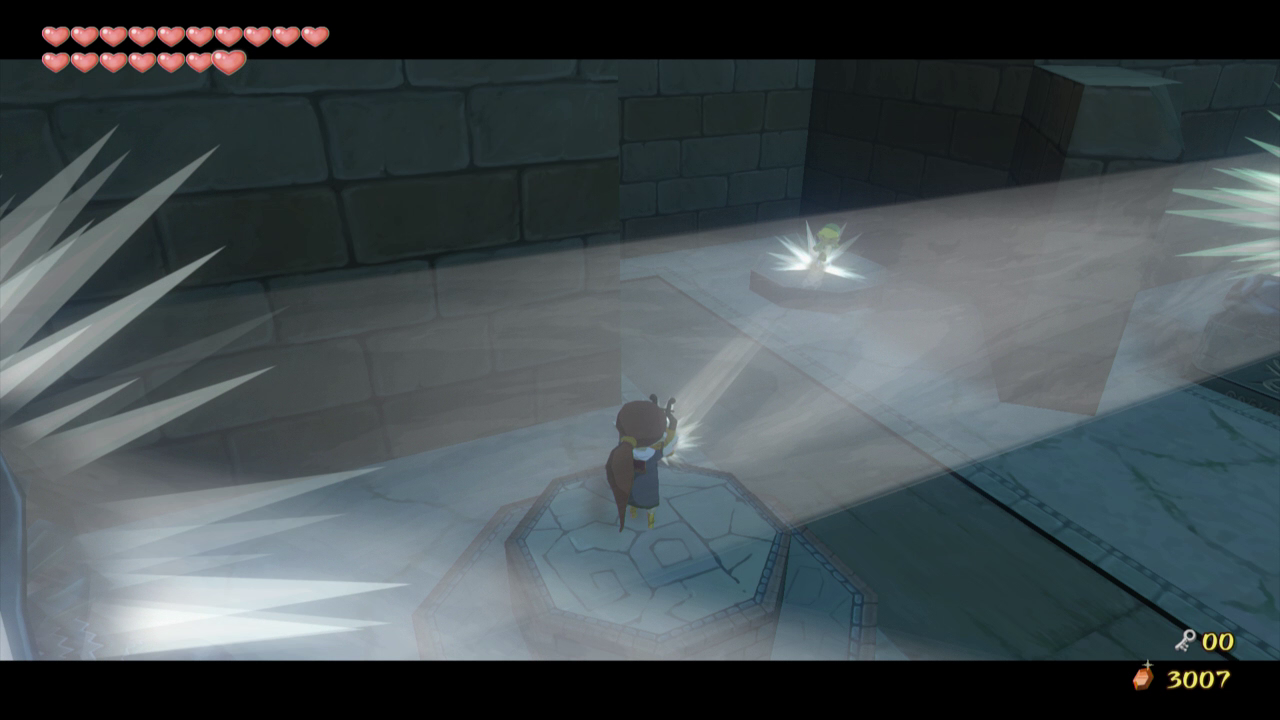
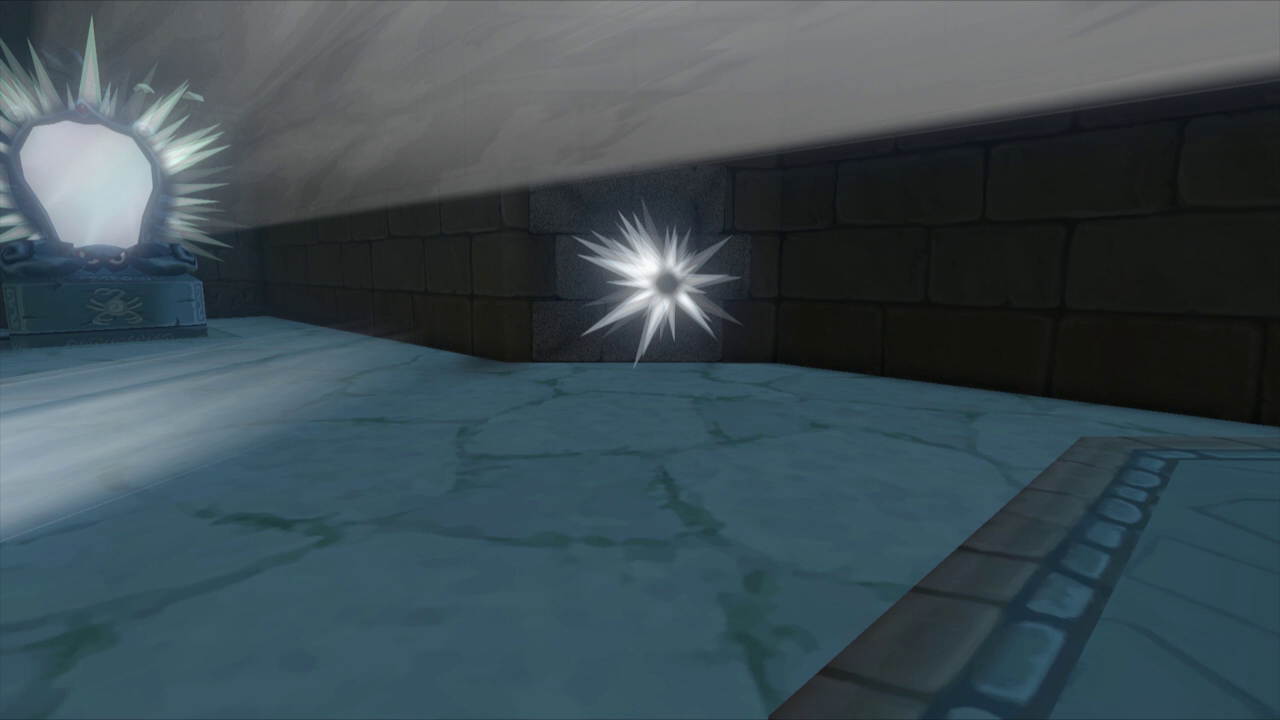
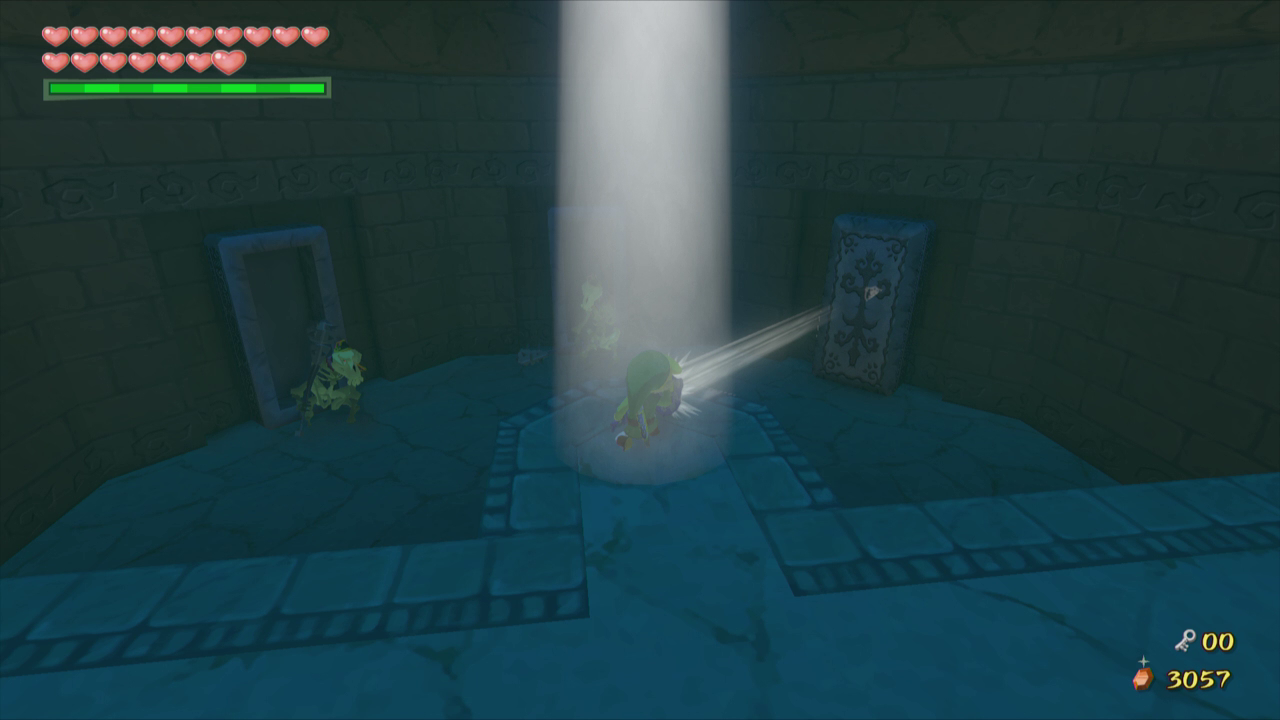
In the next room you will find a tall statue with a large cloud of blue fog covering the ground in front of it. Touching this fog will prevent you from using any of your weapons until you walk out of the fog and wait a couple of seconds for it to disappear. If you happen to touch the fog you can make it instantly disappear by stepping into one of the circles of light in this room.
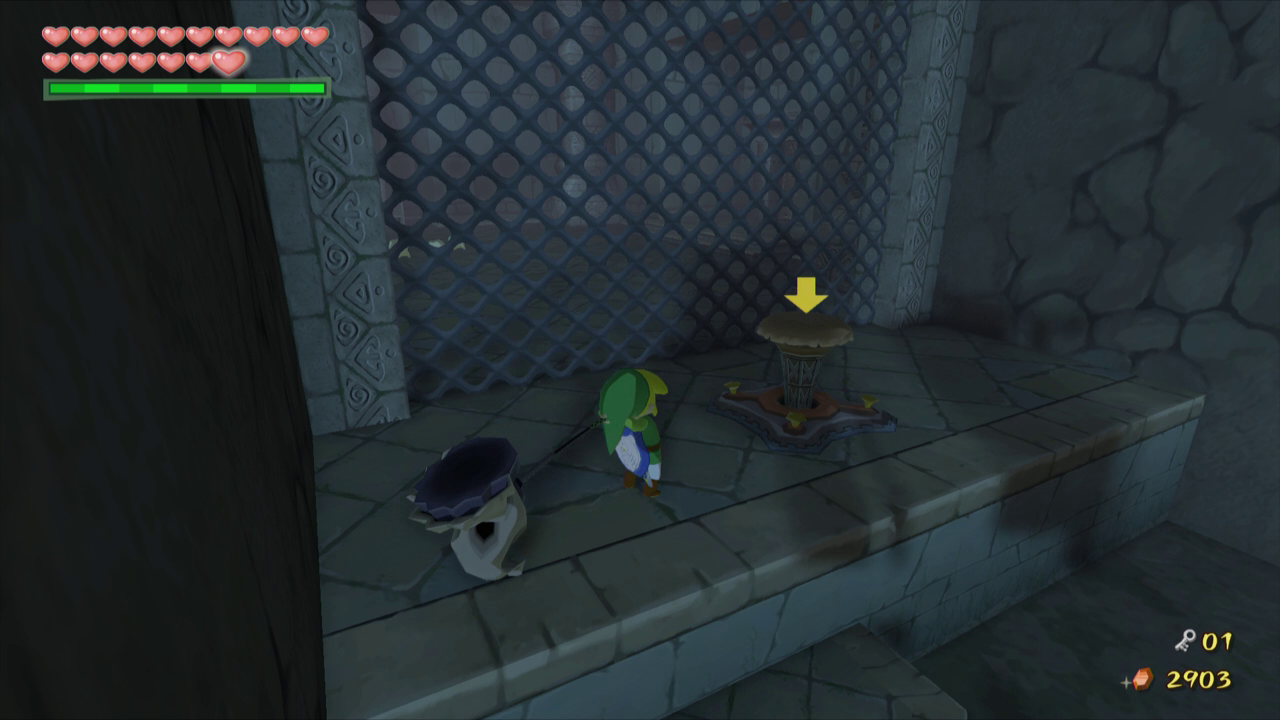
Take control of Medli and stand beneath the light. Shine her instrument towards the fog to make some of it disappear. You can also use your Deku Leaf to clear a path through the fog in front of the right circle of light to find a stake. Clear as much of the path as you can and then quickly run to the stake and pound it with the Skull Hammer. The bars will slide off one of the doors nearby, so grab Medli and head through it.

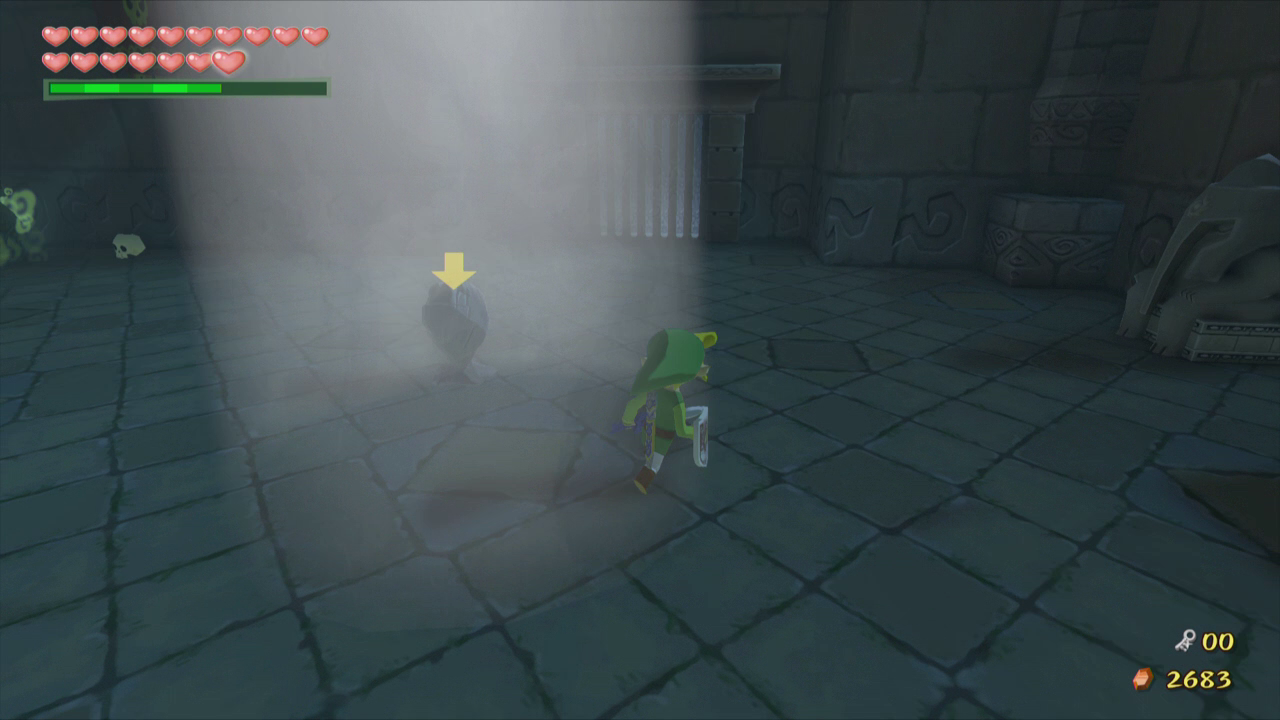
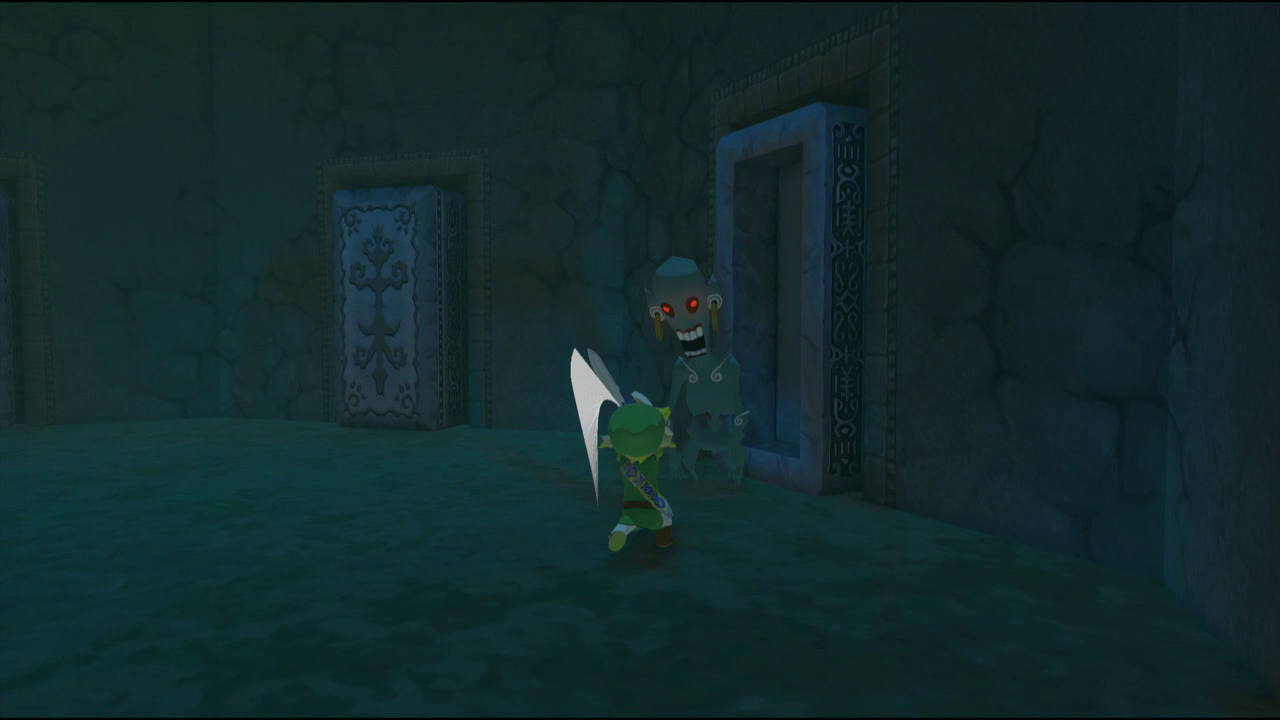
Once you begin walking forward two red bubbles come out of the coffins to the left and right. Defeat them and continue down the hallway. Drop Medli here and to the left to find a ladder on the wall. Climb the ladder and pull the block at the top to allow to some light into the room. Jump and walk Medli into the light. Use her instrument to shine some light on the invisible chest on the raised platform to make it appear. Return to Link and open the chest for a small key.
Two Floormasters will appear in the room. Defeat the first one nearby and defeat the second one next to the door we entered the room from. Grab Medli and return to the previous room. Use your newly acquired key to go through the locked door on the opposite side of the room.
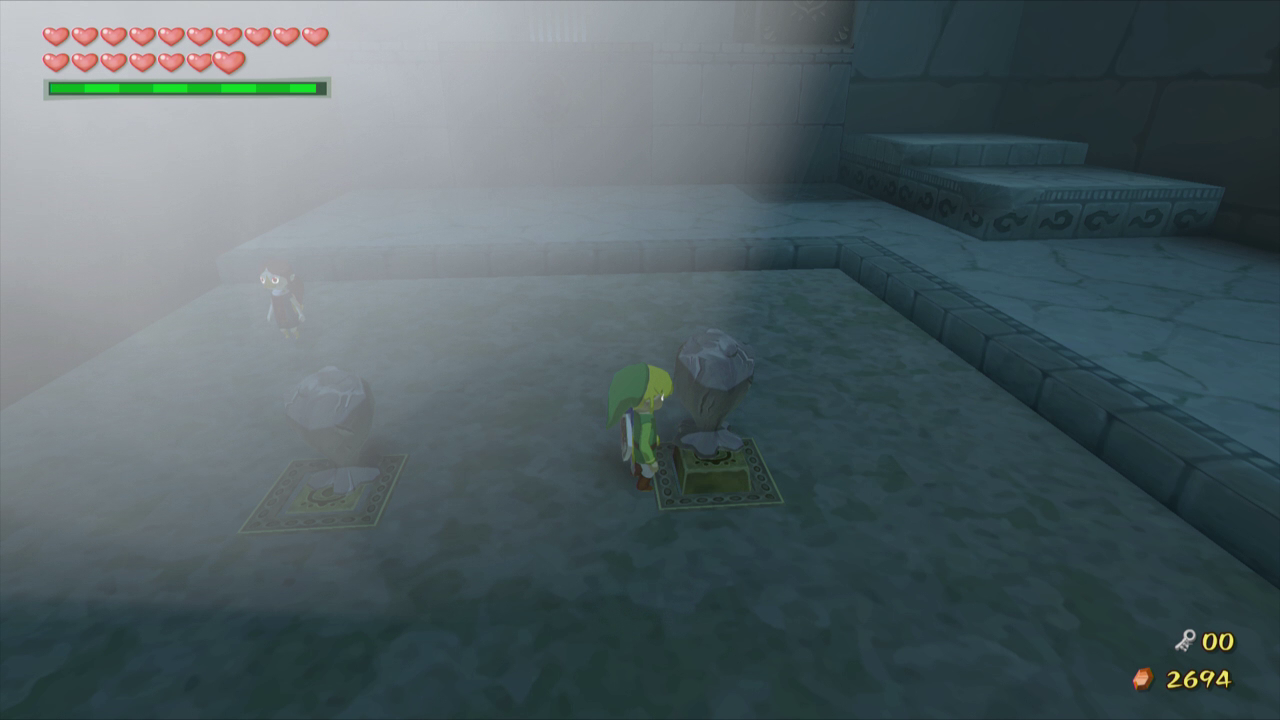
Walk down into the lower level in front of you and use a Fire Arrow to burn the curtain on the wall to the left, allowing light into the room. Then walk around the room and defeat every ChuChu except for the Purple ones. Walk into the center of the light and wait for the Purple ChuChus to jump into it while trying to attack you. Grab one and put it on one of the switches and then do the same for the second switch. Grab Medli and walk up the lowered stairs, then drop her at the top. Push the large block off the edge and then proceed through the door with Medli.

Kill the floormaster in the lower area and then push the block closest to the door all the way to the wall. It will fall onto a switch, opening shudders on the ceiling and allowing light into the room. Use Medli to shine light onto a statue sitting on top of the other block in the room. Continue using Medli to shine light on the yellow symbols on the northern and southern walls to reveal another block and a blue pot.
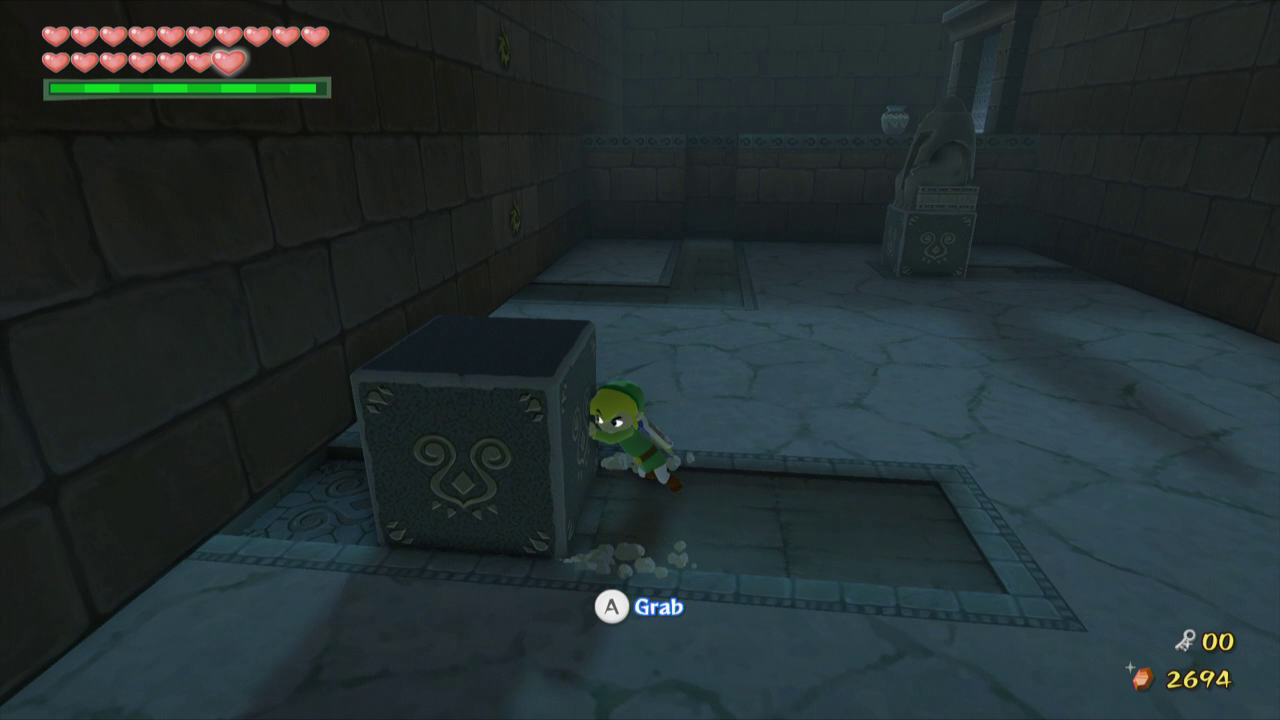
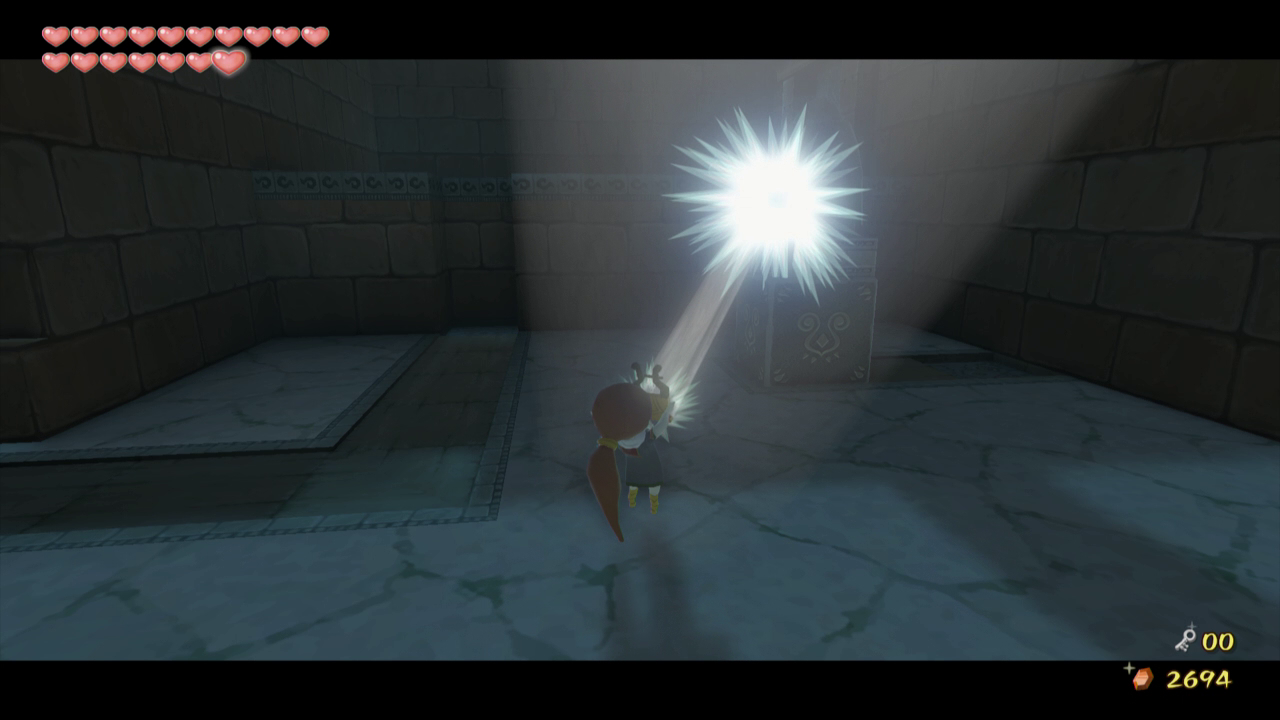

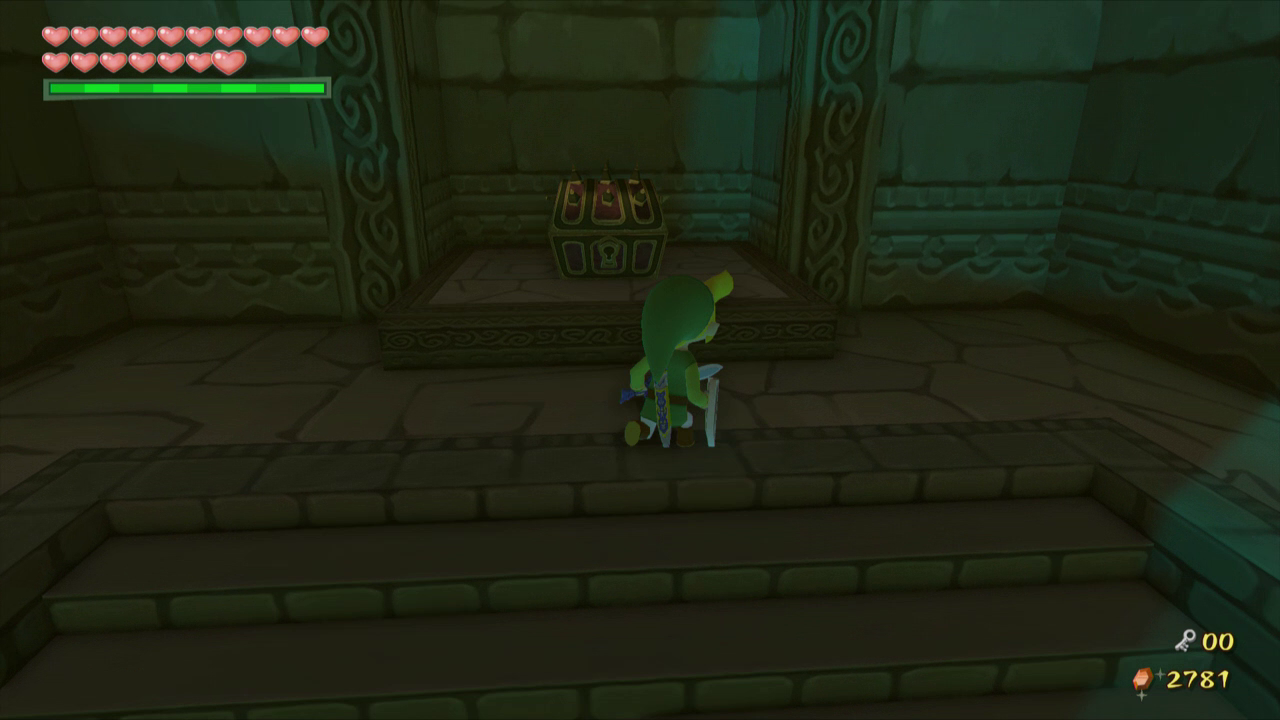
Fly Medli onto the higher platform to the east and return to Link. Push the nearest block onto its switch to reveal a chest. Push the second block onto the its switch to open the door. Use the block to climb higher and open the chest for the Compass. Grab Medli and walk through the next door.
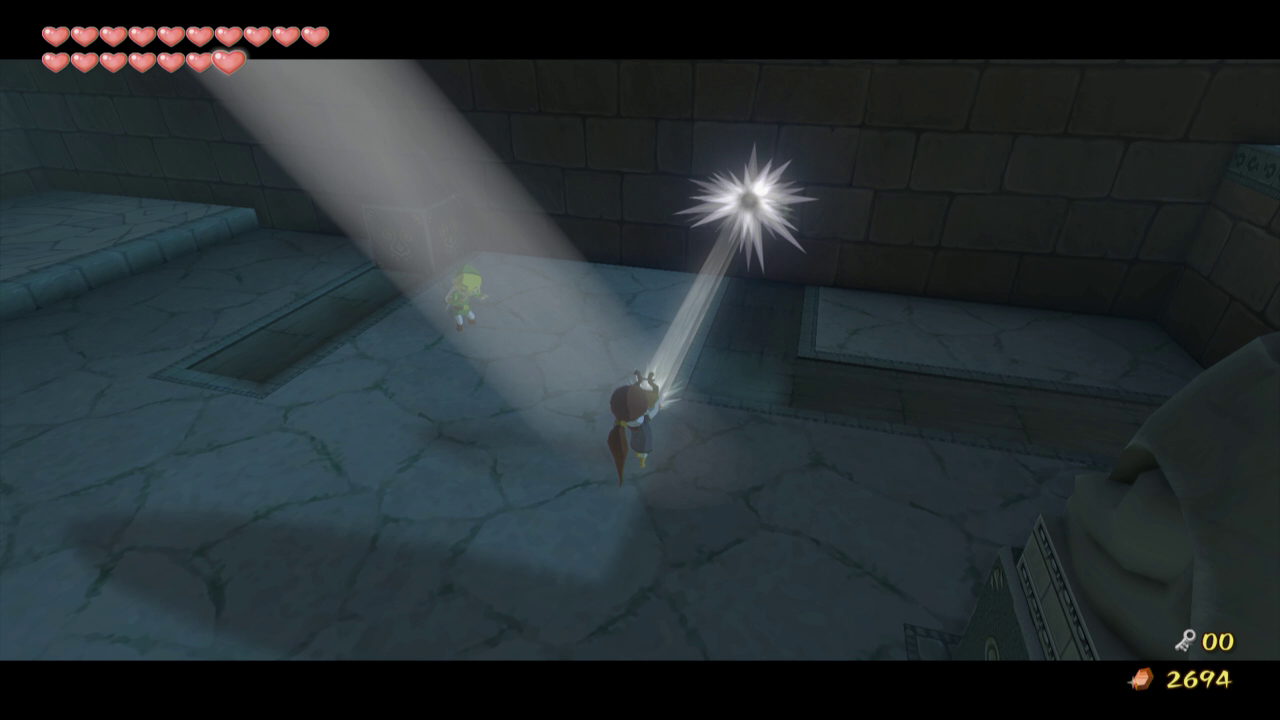
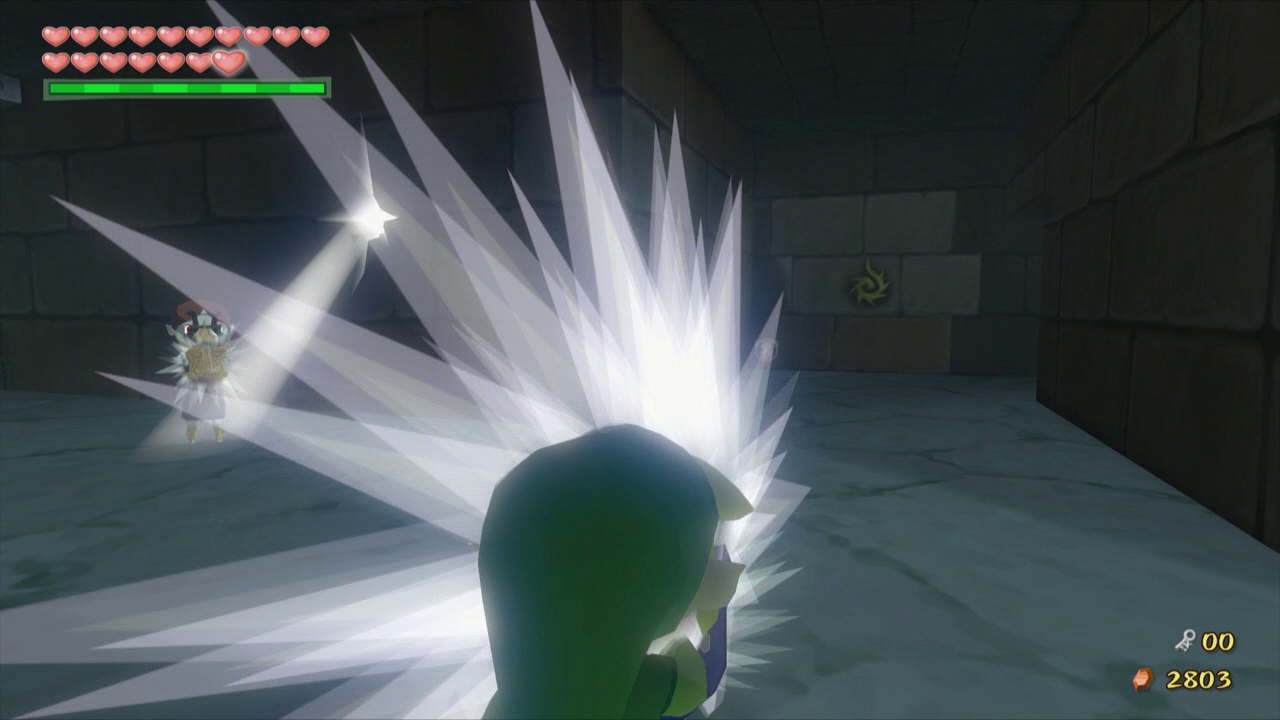
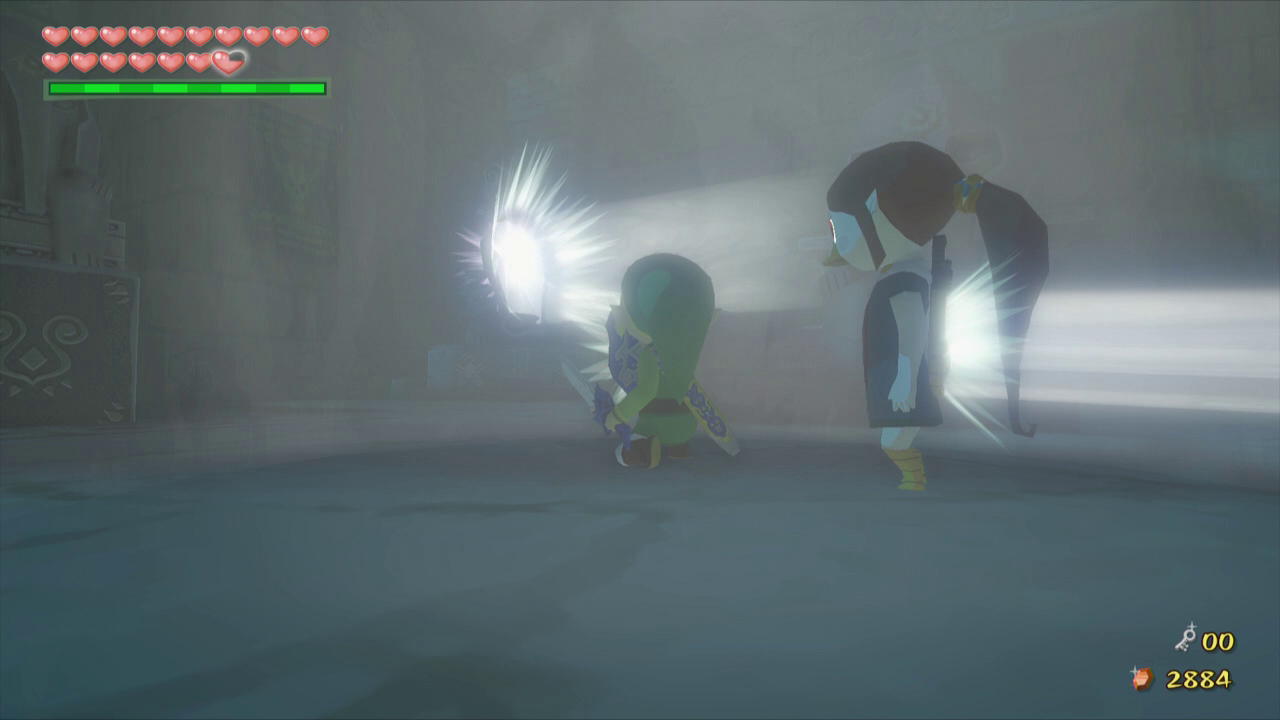
The next room can be somewhat frustrating. You will find two Moblins and two Poes. Try your best to avoid the Poes and defeat the two Moblins. Return to the door you came in from and take control of Medli. Walk up the stairs and fly onto the platform to the east with the circle of light. Use her instrument to shine light on the statues across the room, and then shine light onto both of the Poes to solidify them.
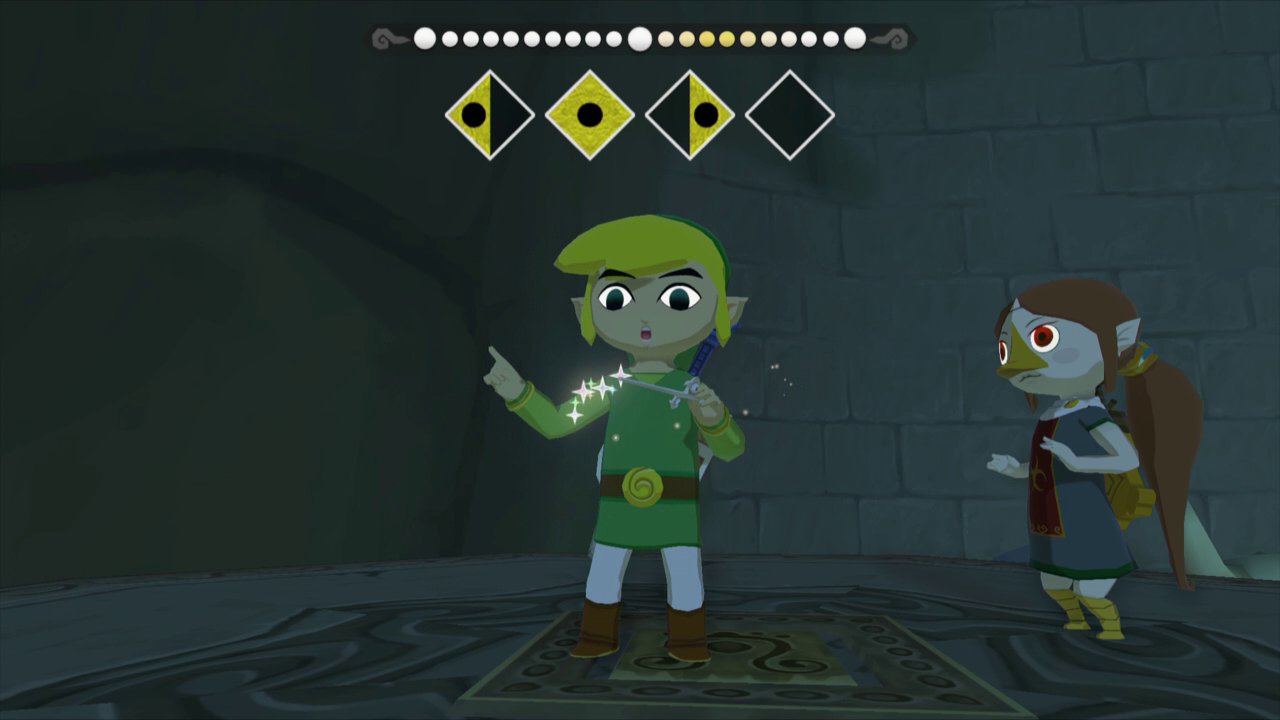
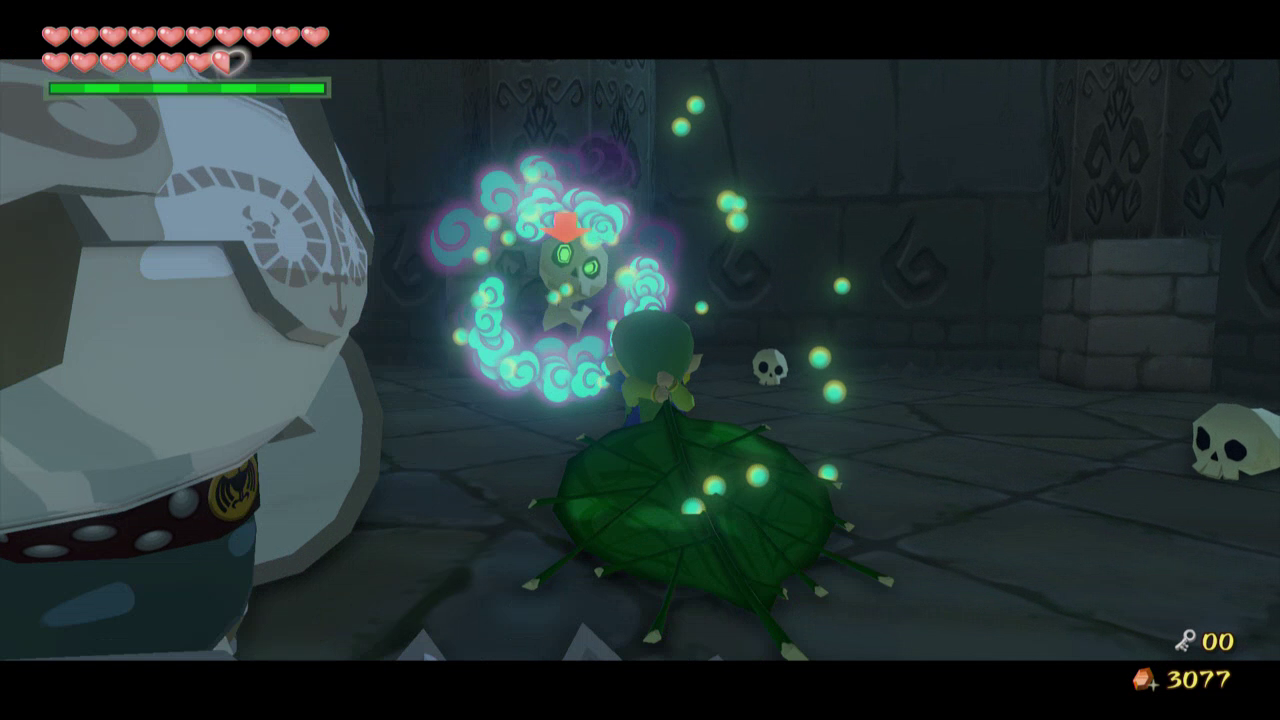
Return control to Link and kill the Poes with the sword as quickly as possible before they turn into ghosts again. Open the chest in the room for a Joy Pendant and then walk up the stairs in the new area. Walk through the door on the left side first.
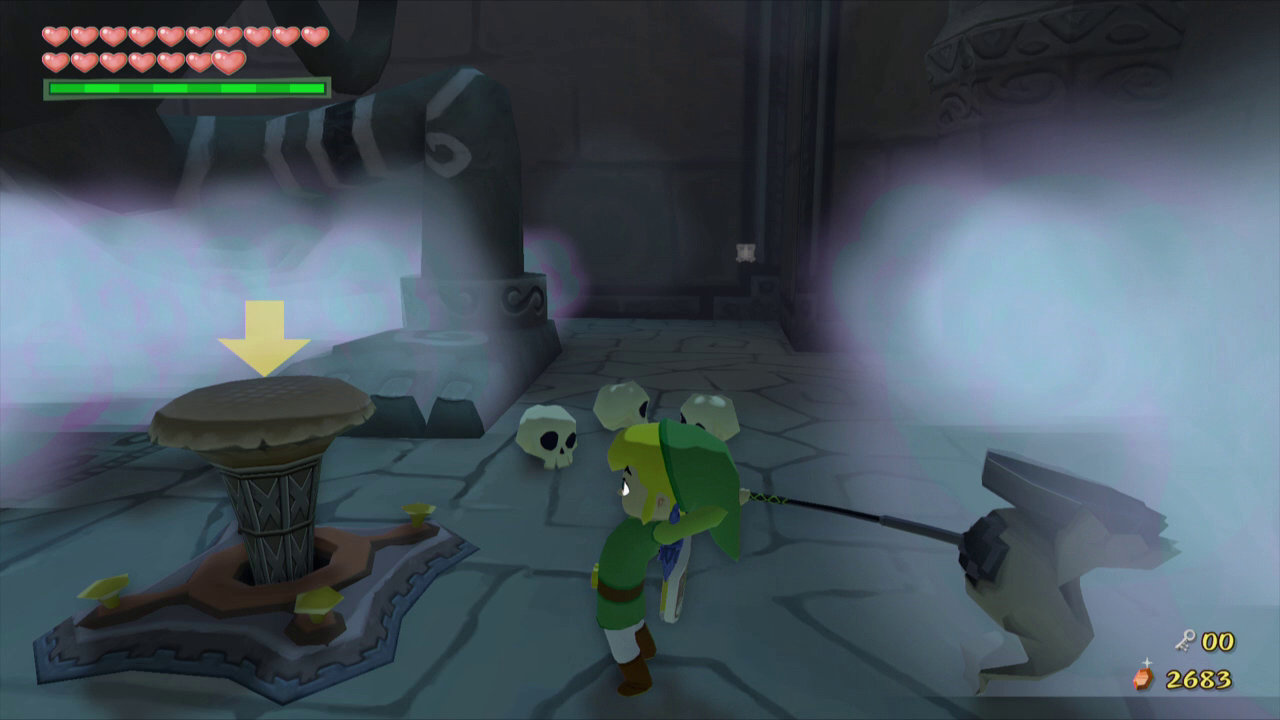
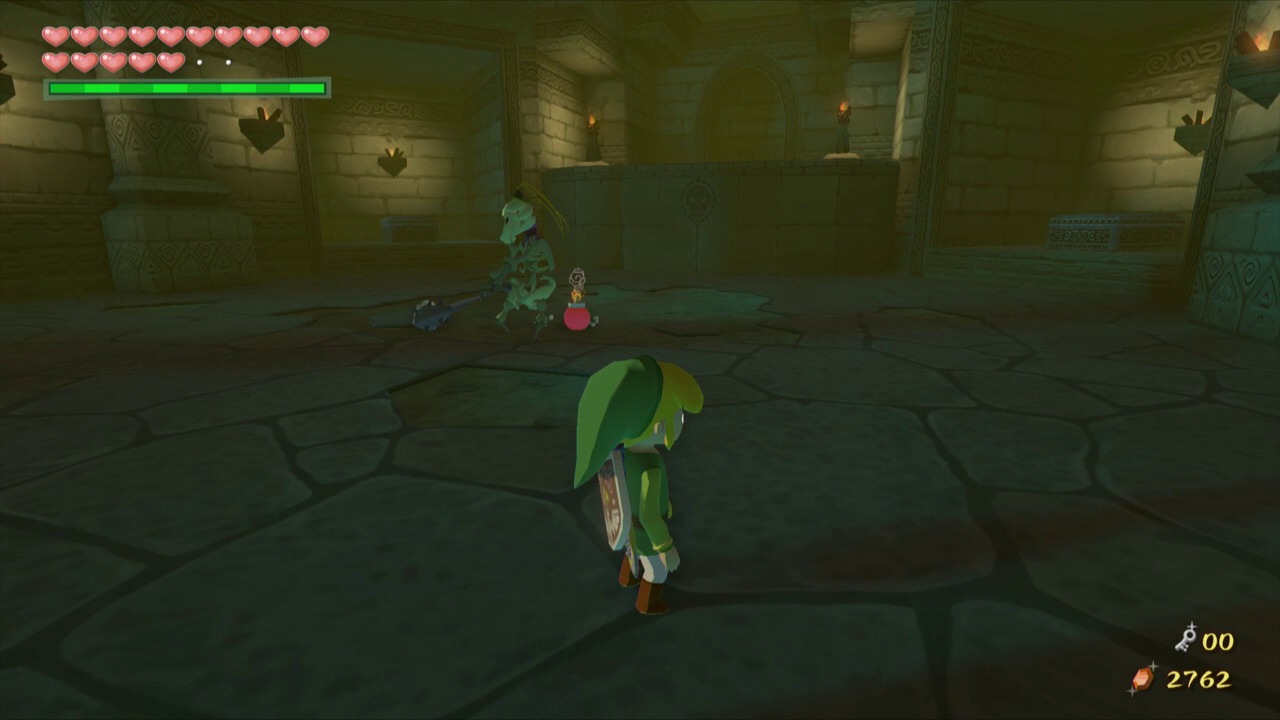
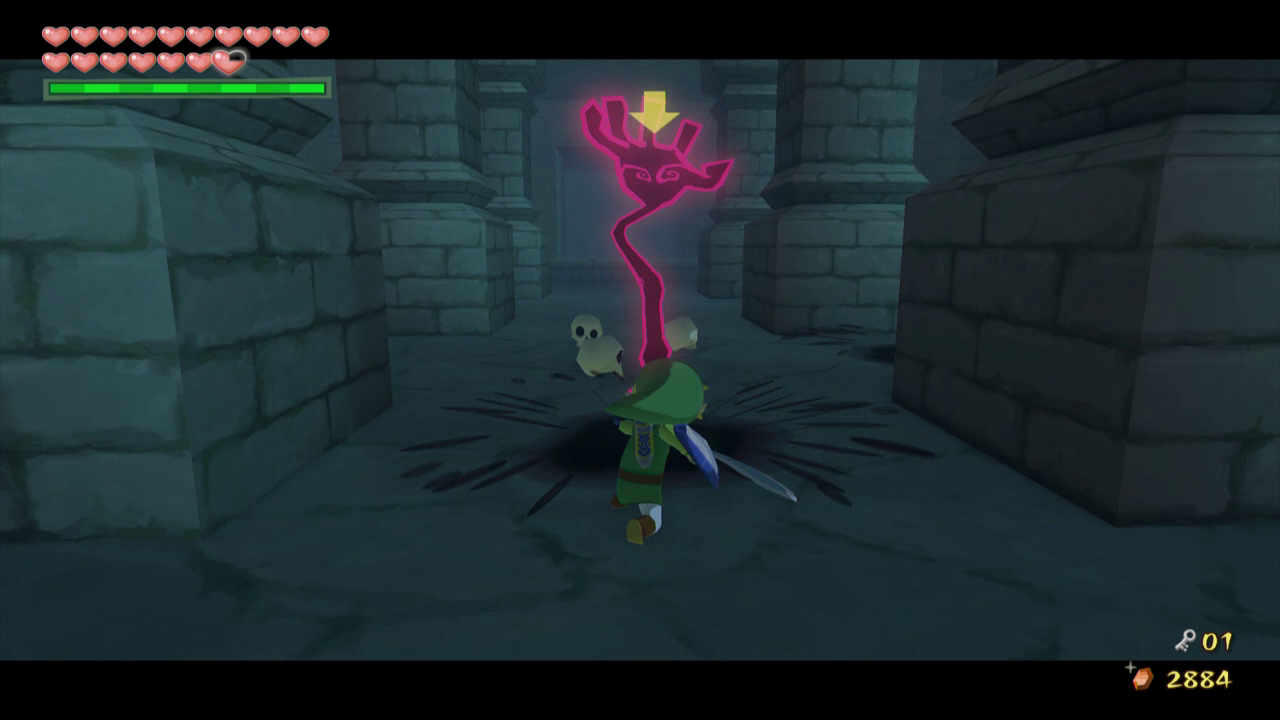
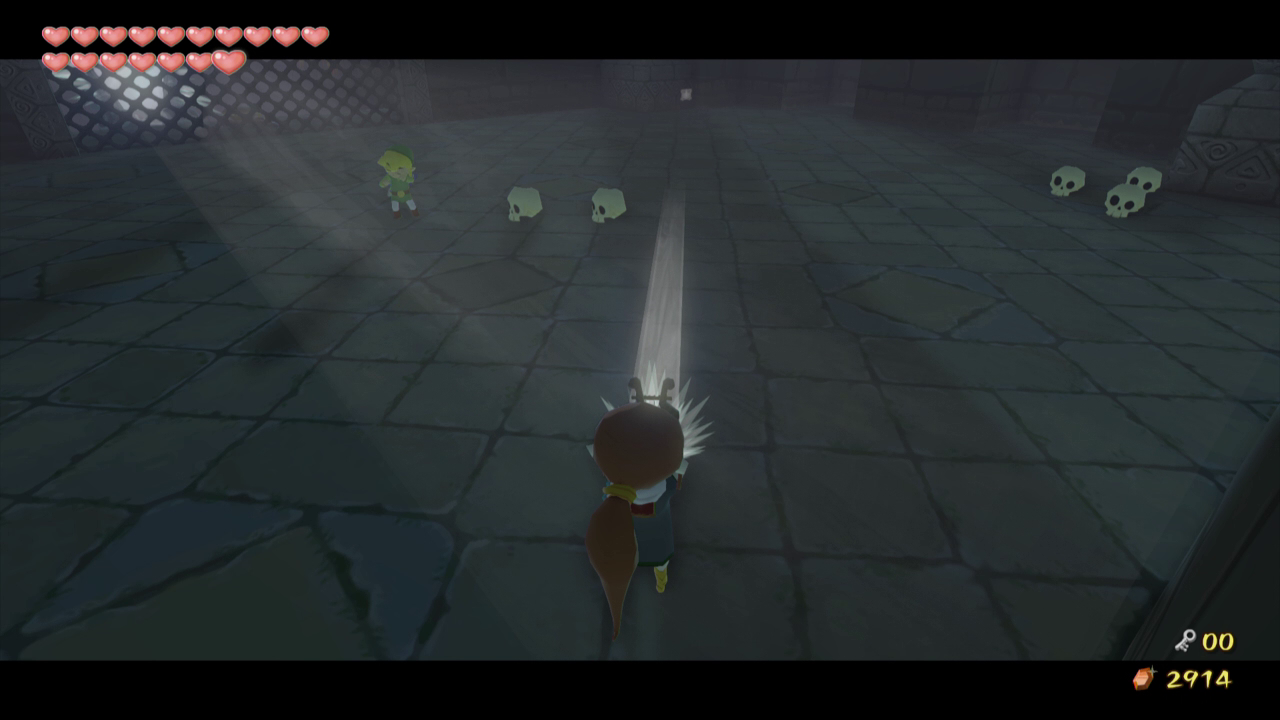
Jump into the pit below and you will find various coffins. To progress you will need to open the coffins one by one and defeat the ReDeads inside. These enemies are incredibly annoying to defeat, as when you draw near they will scream and paralyze you momentarily. If you are close enough they will then jump on you and slowly damage you. Attack them as quickly as possible with the sword and defeat all of them. From left to right the coffins contain: a ReDead, a yellow rupee, a ReDead, another ReDead, and a small key.

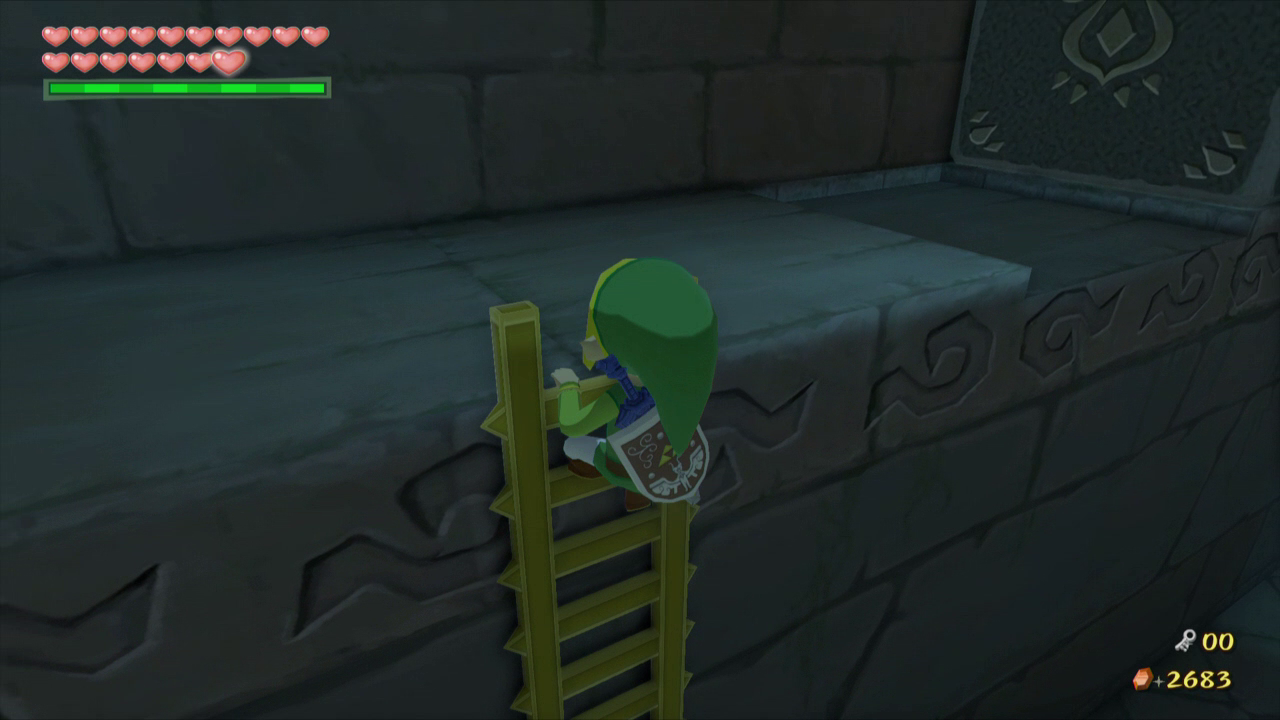
Climb the ladder that dropped down and climb it. Head back through the door you came through and use the small key to open the door nearby to fight the miniboss.
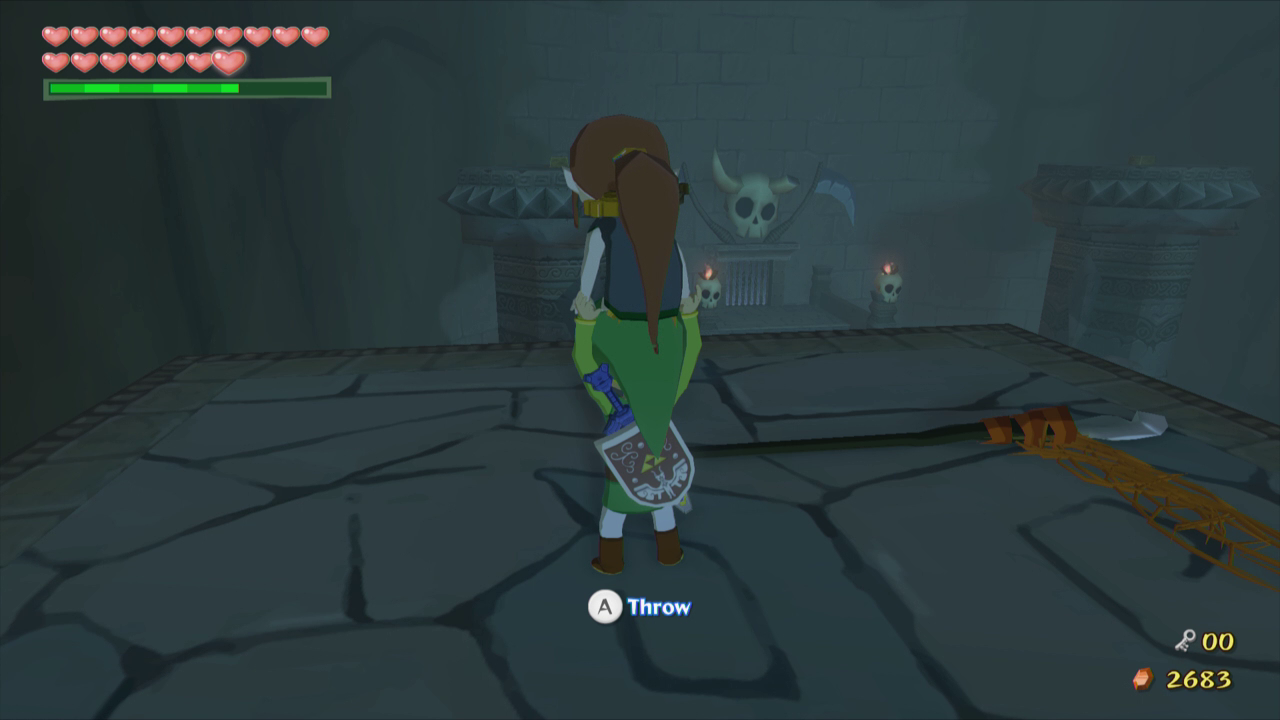
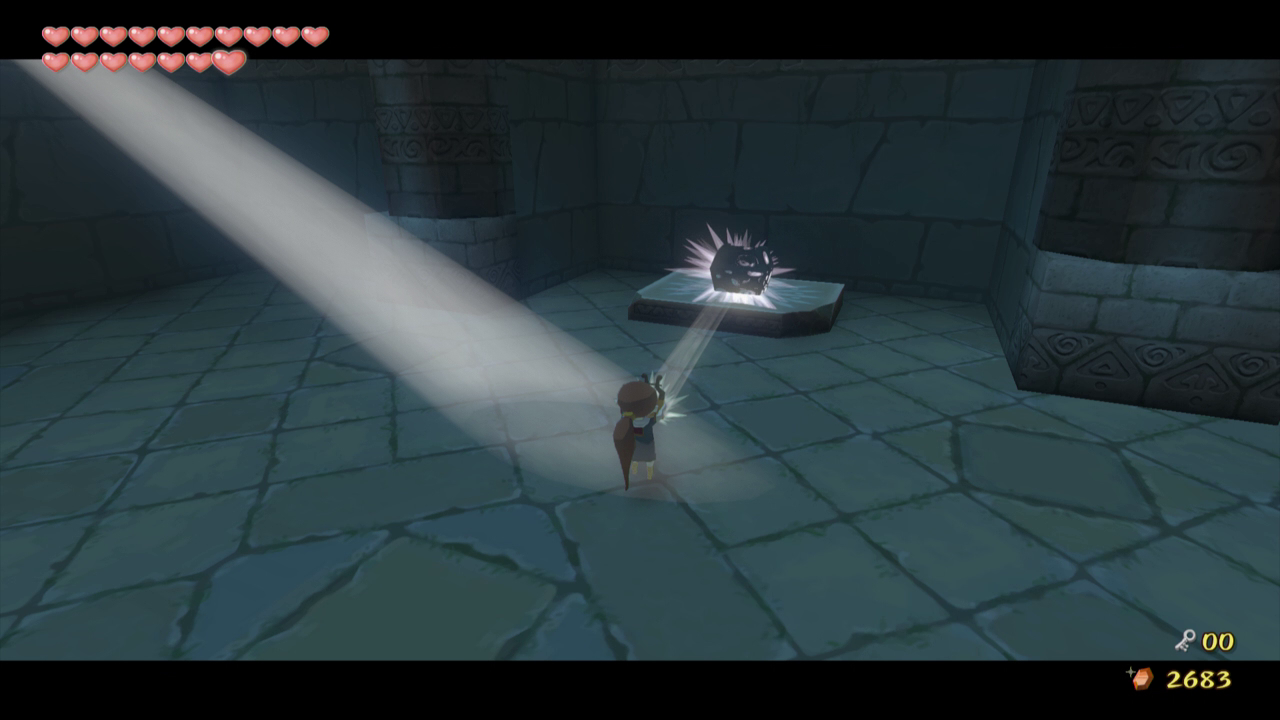
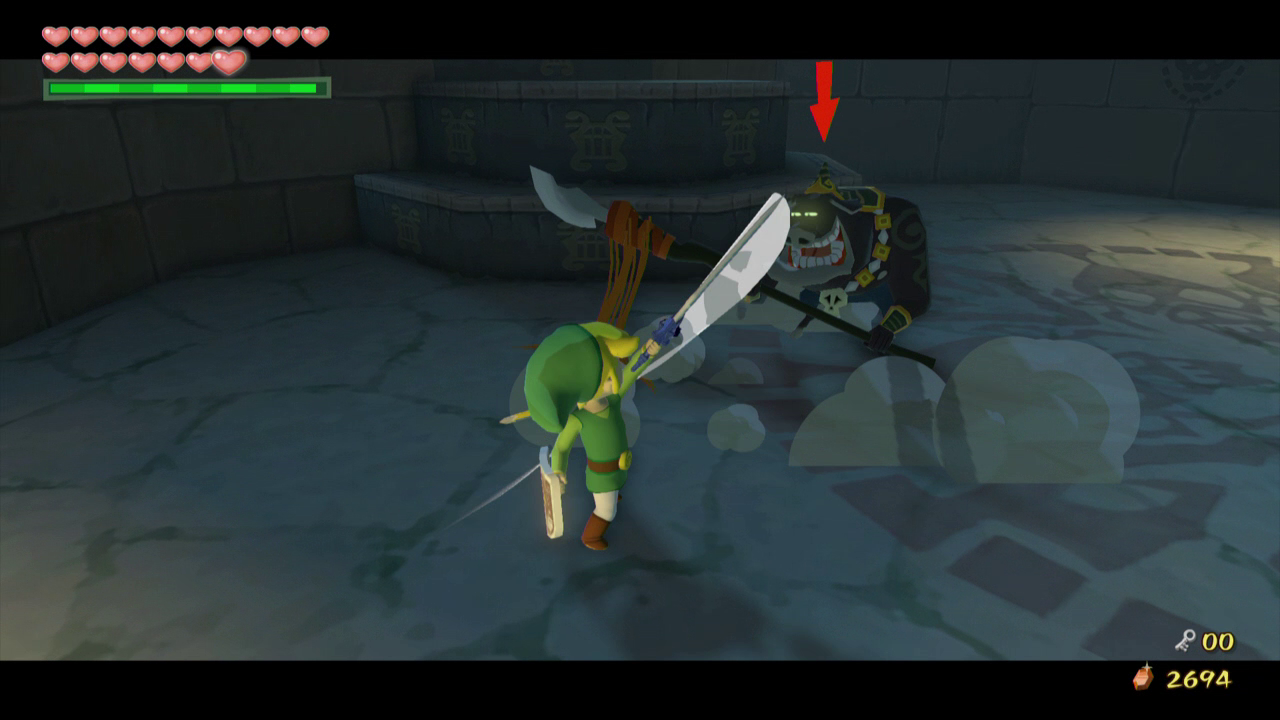
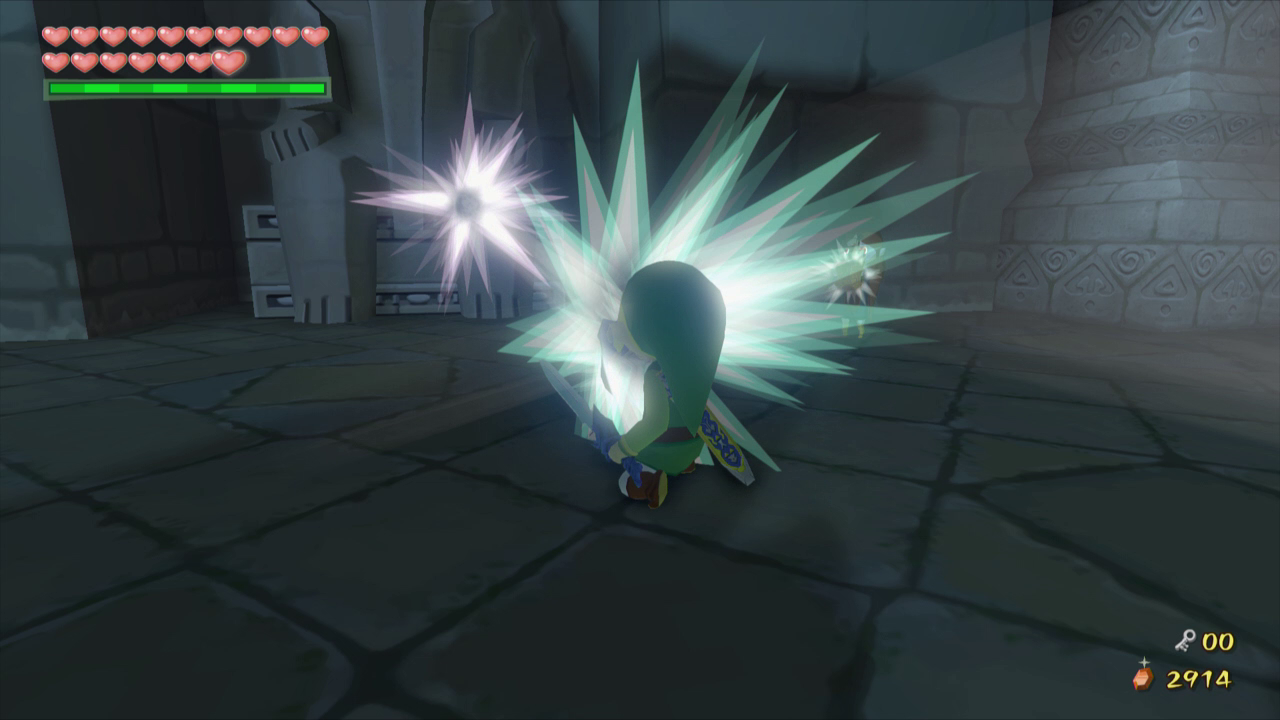
After taking a couple of steps into the room a Stalfos will come up from the ground. The easiest way to defeat these enemies is to place a bomb in front of it. When the bomb explodes it will blow apart the Stalfos. You can use the Boomerang to stun the head, and then use the sword to attack the head that is bouncing around, or you can use the Skull Hammer to kill it in one hit if you are accurate enough. If you do not defeat it quickly enough the body will reassemble itself.
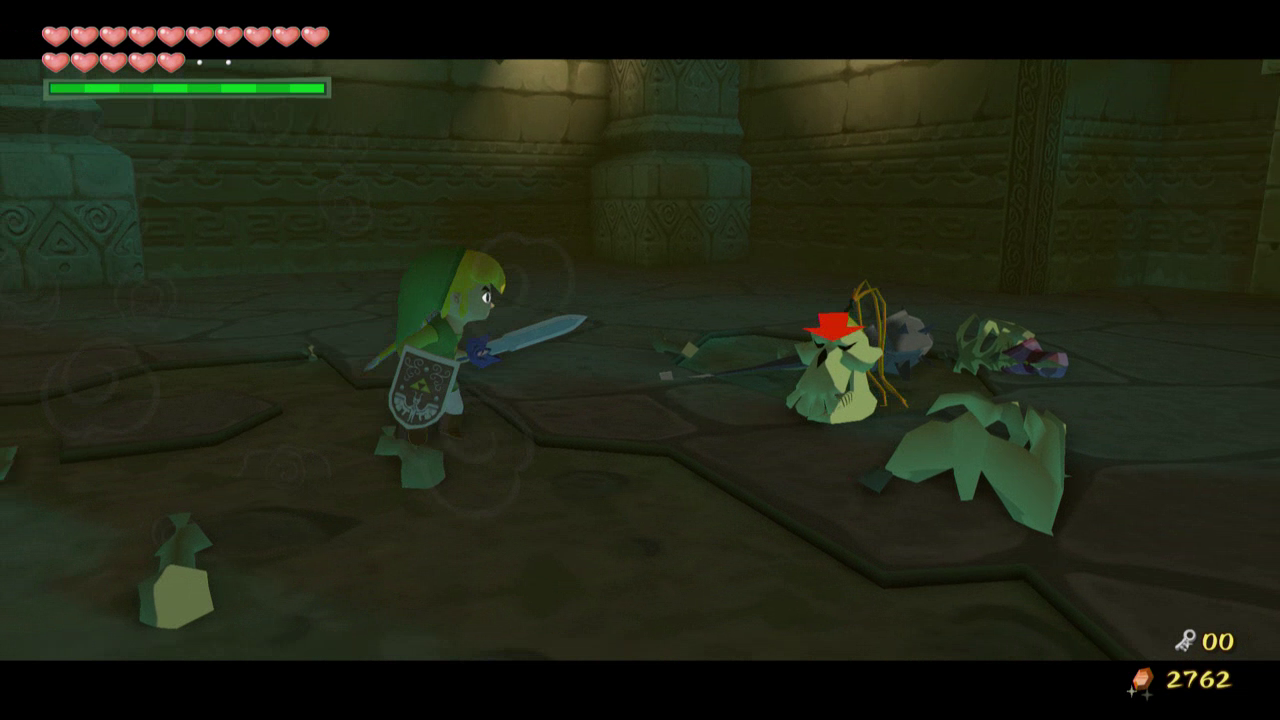
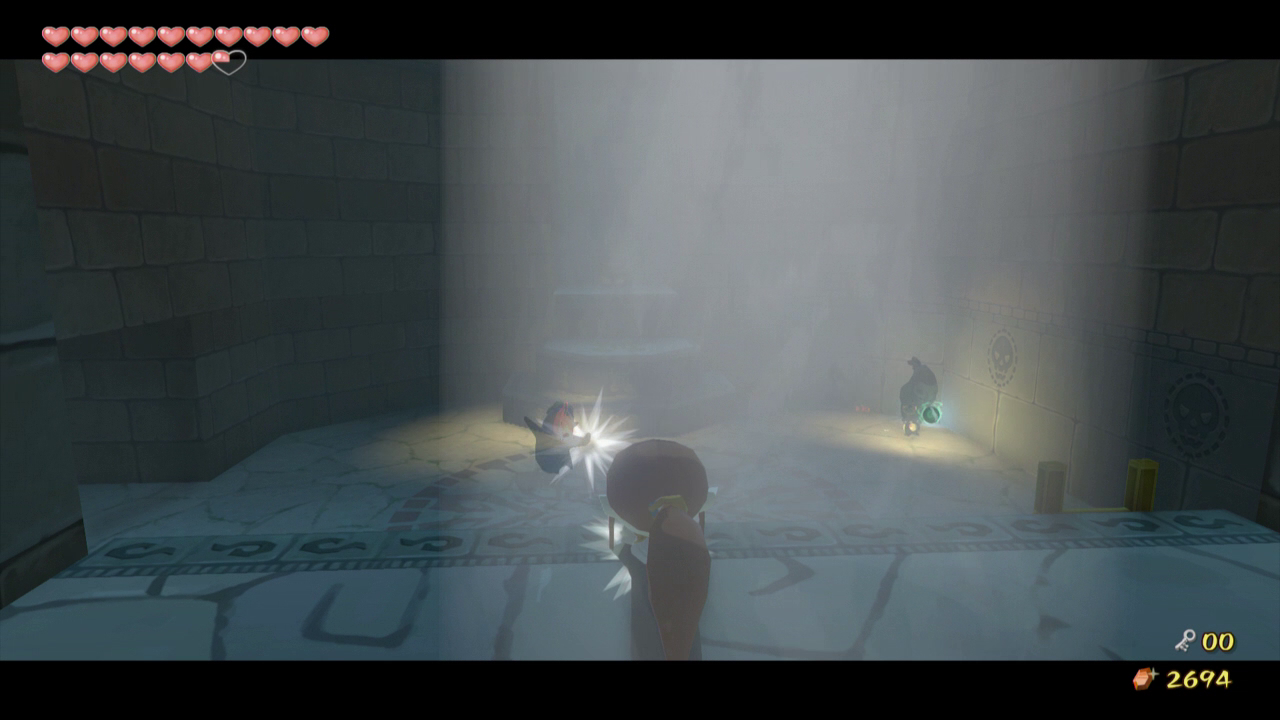
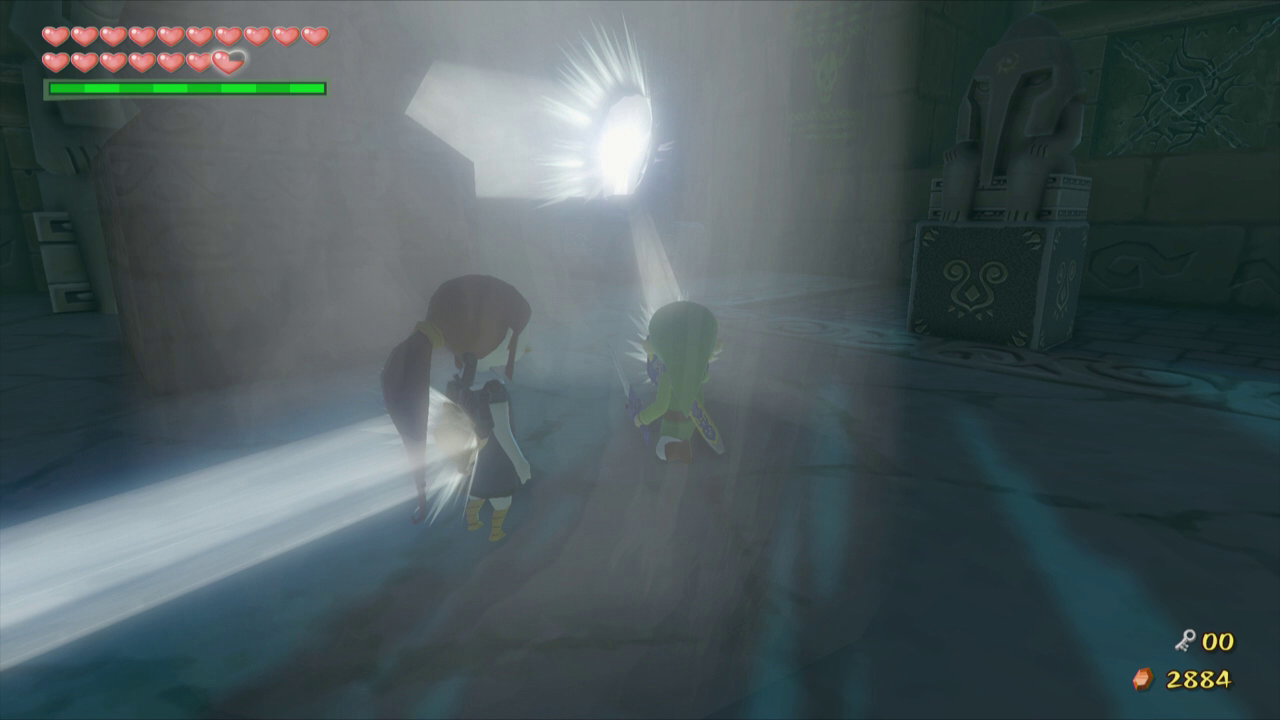
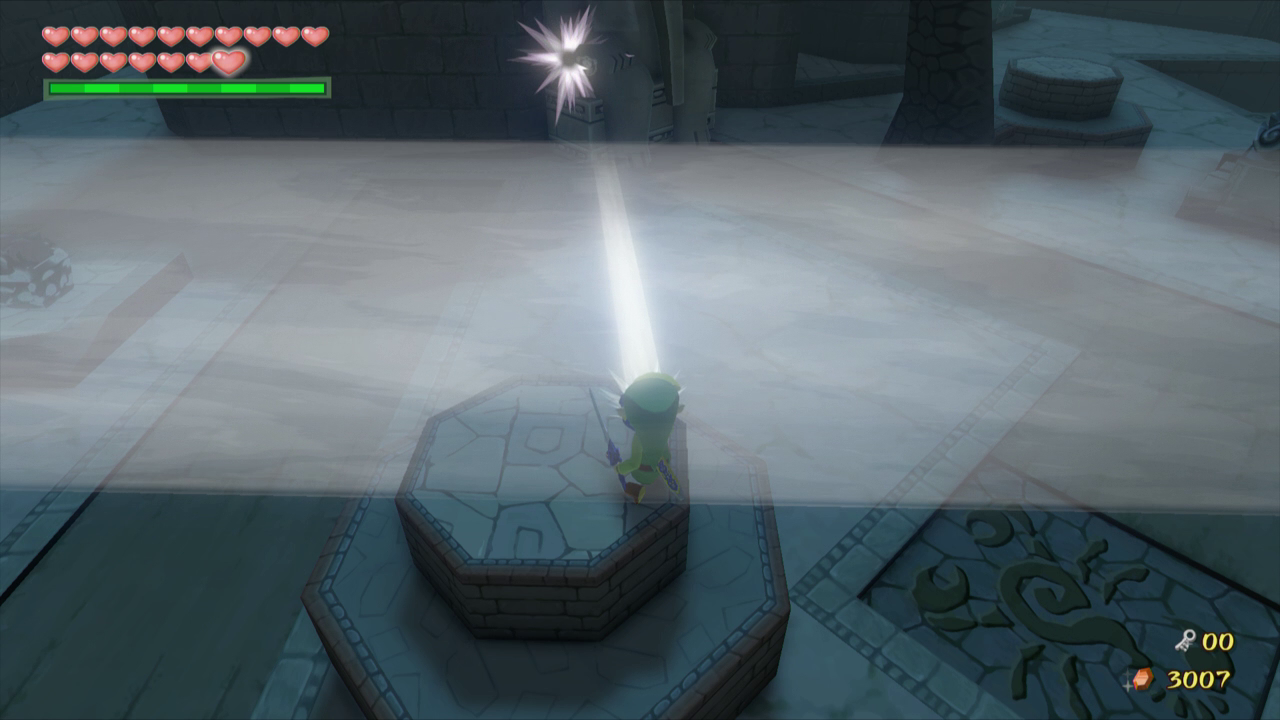
Once you defeat the Stalfos two more will appear out of the coffins in the room. Defeat them as well and open the chest at the top of the room for a Mirror Shield. This shield will allow you to reflect light much like Medli’s instrument does. Walk back down to the middle of the room and use the Shield to shine light on the symbol of the sun and moon above the door to open it.
Back in the previous room walk down the stairs and kill the Moblins and Poes once again. Take control of Medli and fly her to the circle of light from before. Use her instrument to shine light on the platform directly below where we destroyed the elephant statues earlier. While Medli is holding this position return control to Link and use the Mirror Shield to shine Medli’s light onto the yellow symbol on the wall below her.
Grab Medli and head through the new opening. Destroy the statue here for five rupees, and then use Medli to shine light where the statue was. Use the Mirror Shield to shine this light onto another yellow symbol to find 80 rupees. Grab them and then pick up Medli and head through the door.
You will now appear in the room from before with the blue fog, except now you are higher up. Use Medli to float over to the other side of the room. There is an optional treasure chest that we can now get containing a Joy Pendant. Make your way through the door to the side where we got the first small key. At the end of this room, place Medli on top of the floor switch and then head through the room that opens up.
In this room there is light shining down from the wall. Use your Mirror Shield and shine it against the wall to the side to make it disappear. There is a treasure chest just behind the wall containing a Joy Pendant. Return to the previous room and pickup Medli. Now return to the large central room with the fog.
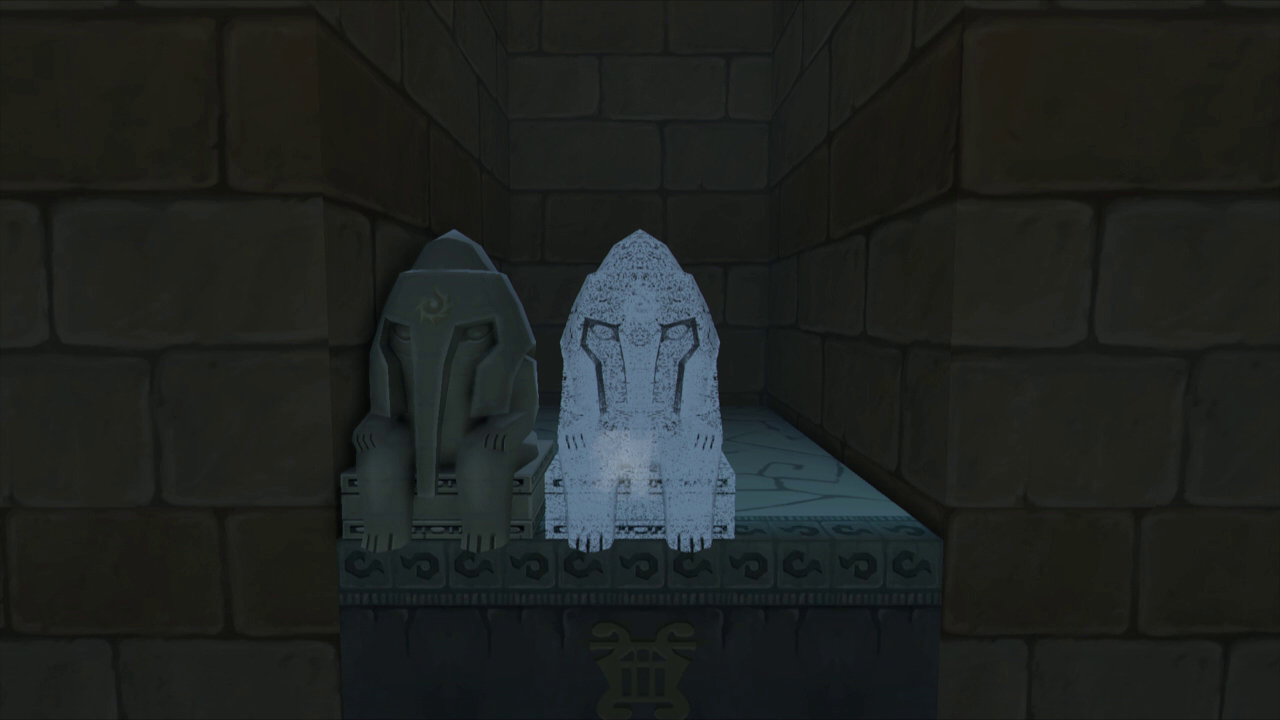
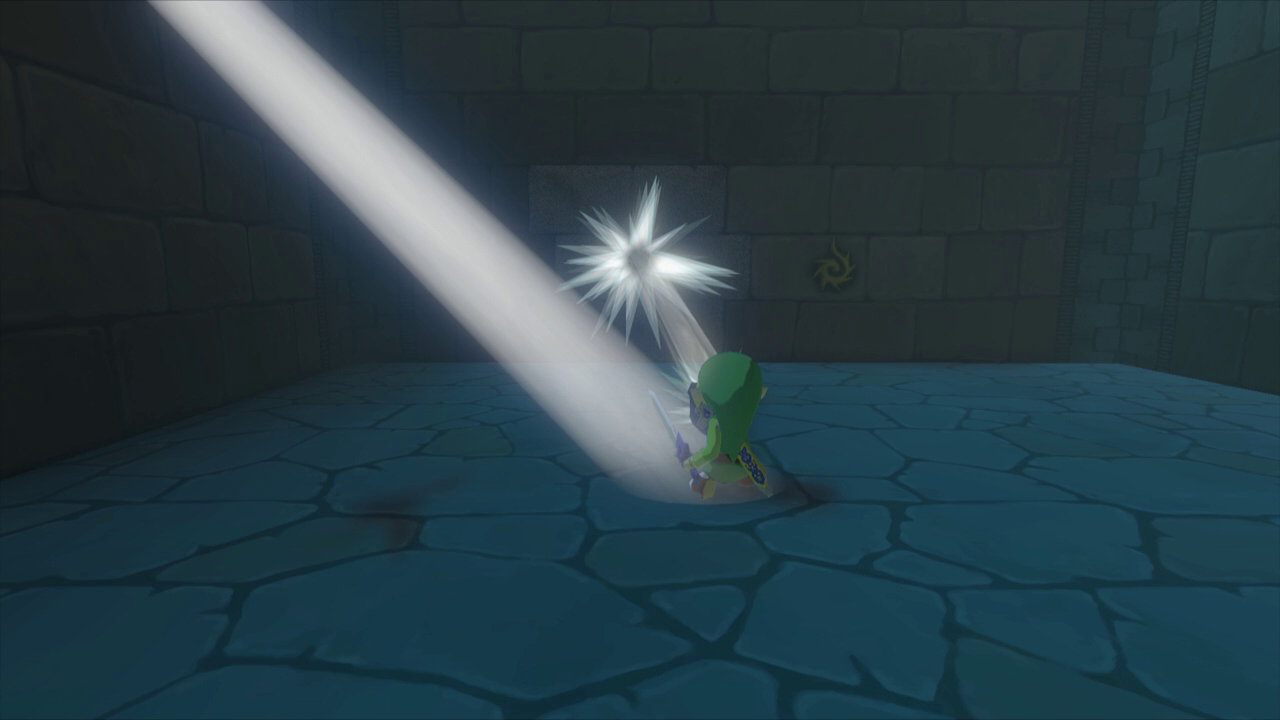
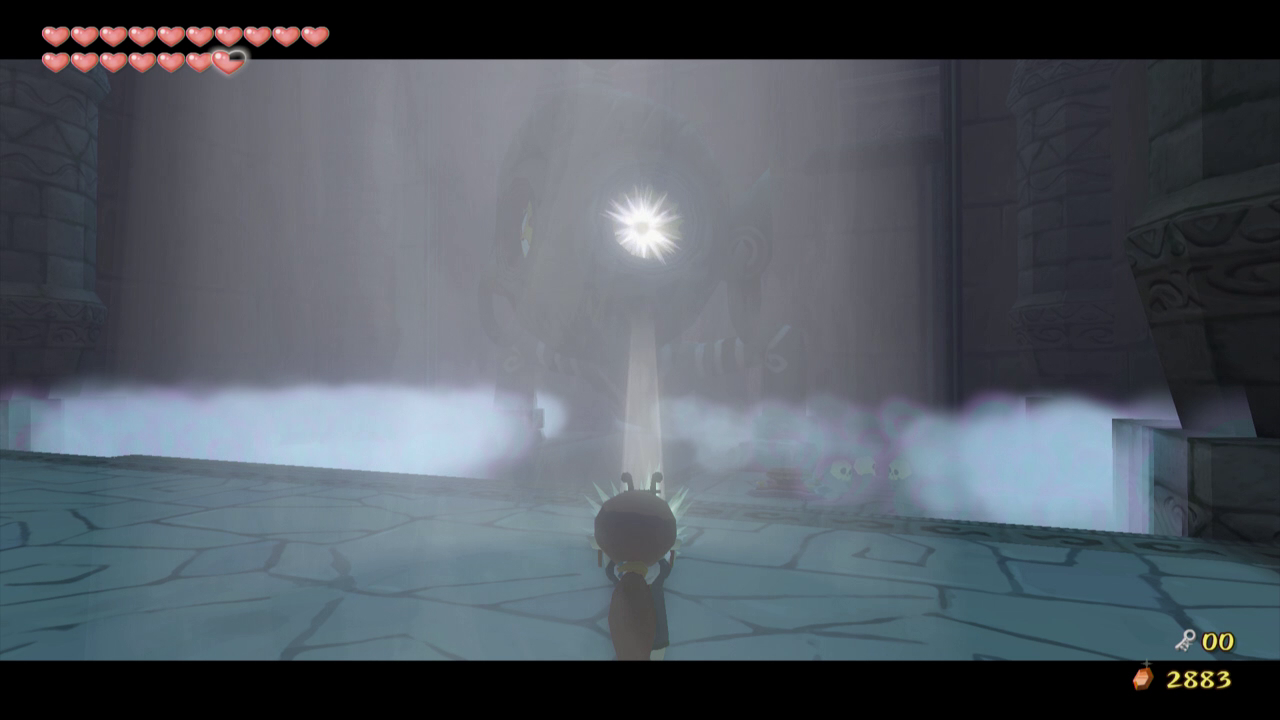
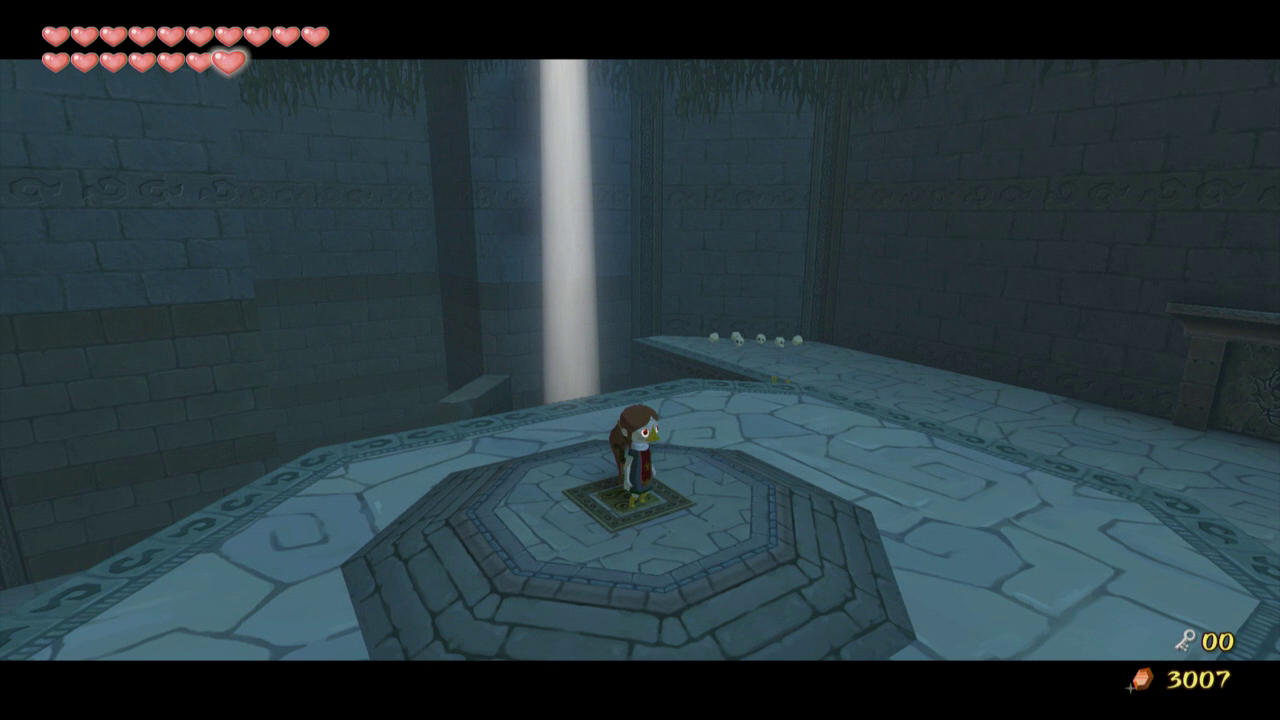
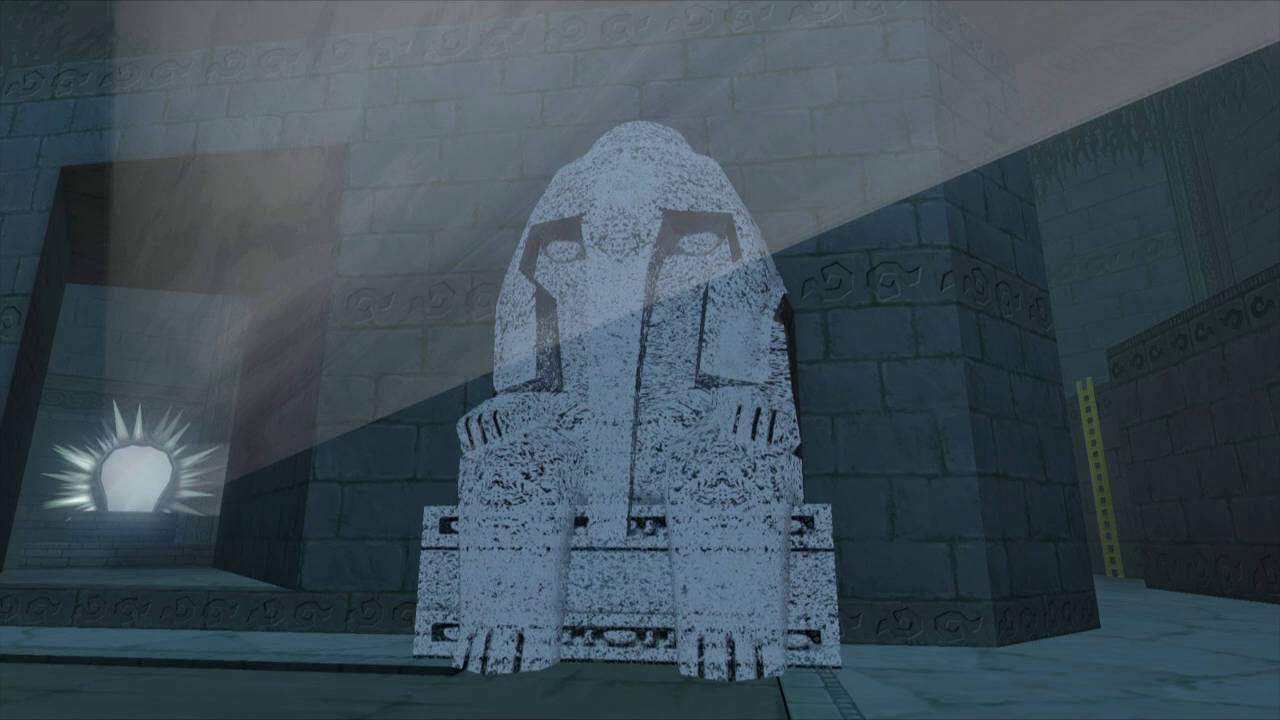
Control Medli and use her instrument to shine light into one of the statue’s eyes. Return to Link and use his Shield to shine light into the other eye. The fog will clear and a set of stairs will appear. Grab Medli and go through the door at the bottom of the stairs.

Walk down the spiral stairs in the next room and you’ll see two blue bubbles. Use the Deku Leaf on them to get rid of the fog and then swipe your sword to defeat them.
NOTE: In this room you can optionally obtain the fourth Tingle Statue, the Earth Tingle Statue. Stand on the platform before the bridge, then use the Deku Leaf to float across the gap to the left and land on a hanging platform. Continue using the Deku Leaf and follow the path to reach a dead end. If you are playing the Gamecube version, open the Tingle Tuner and place a bomb here to reveal the chest. If you are playing HD, place a bomb here to reveal the chest.
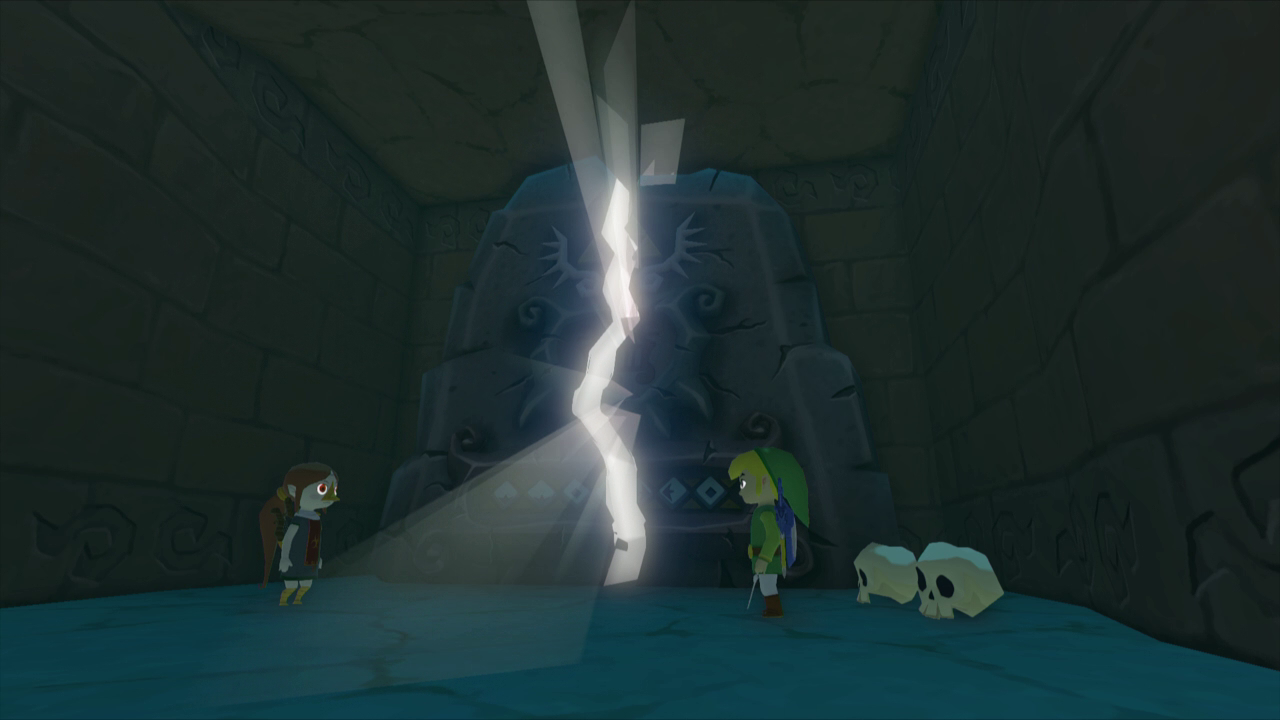
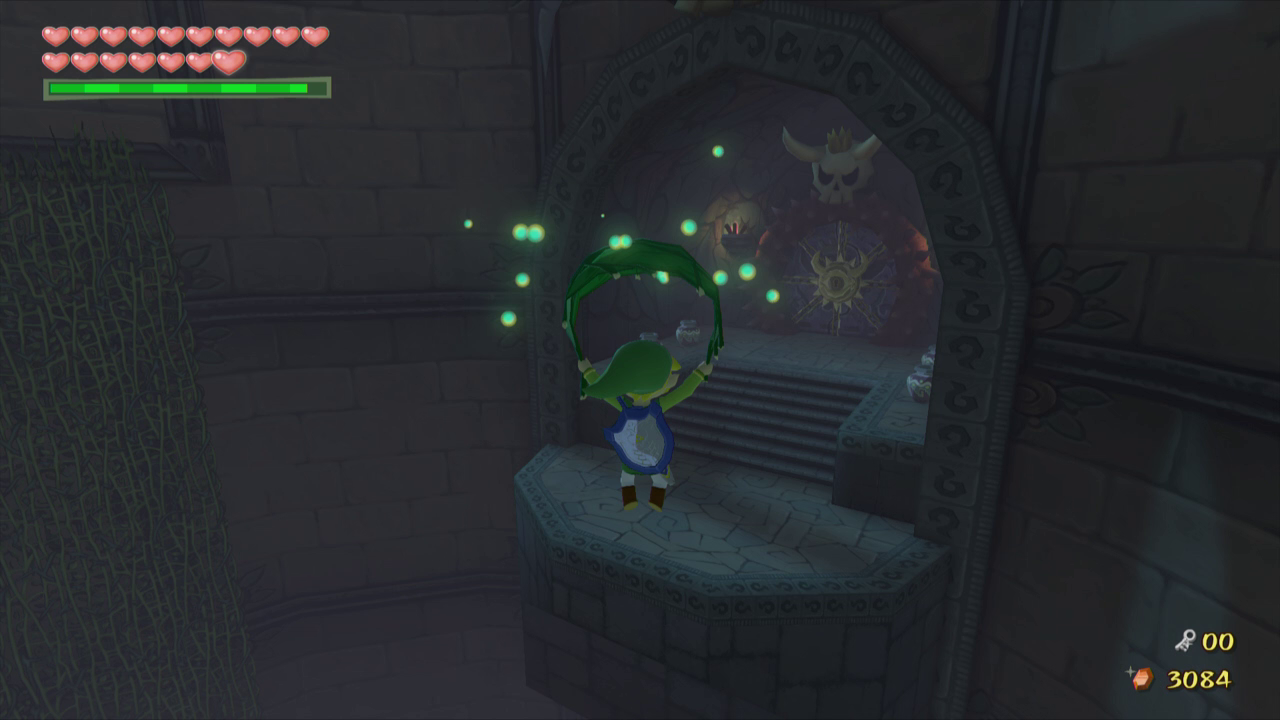
With Medli near play the Earth God’s Lyric in front of the stone tablet. Medli will play as well, causing the tablet to crumble and reveal another door. Grab Medli once again and head through the door.
Defeat the two ReDeads here and use the Mirror Shield to reflect light onto the statue sitting on top of the block in the middle of the room. Use the Shield again to shine light at the large statue to the right and head through the doorway.
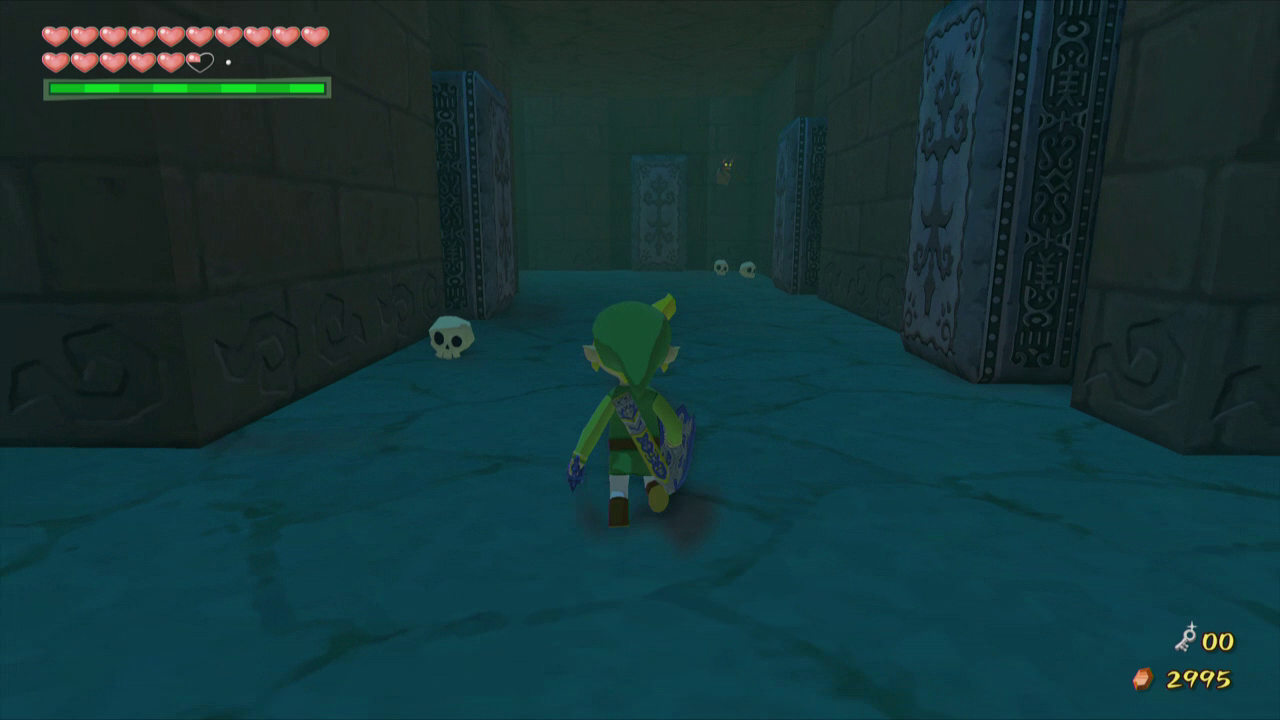
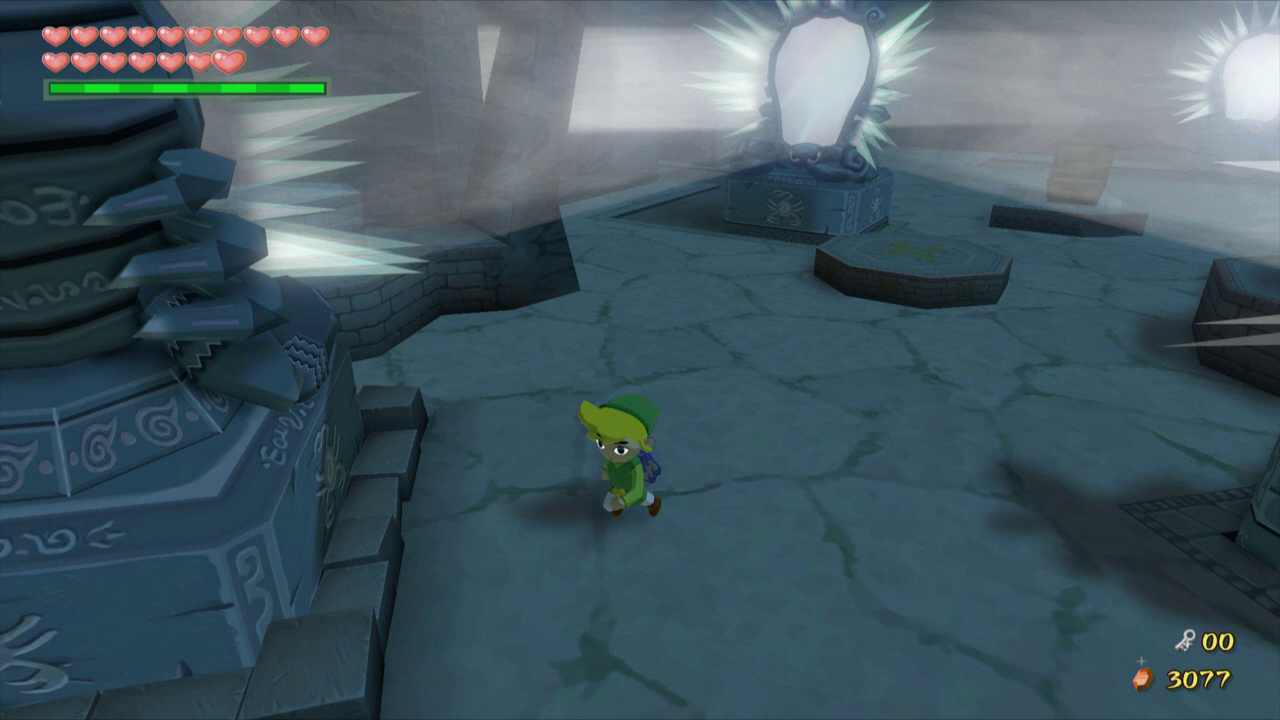
You’ll find much more blue fog here, along with a maze filled with Floormasters. You cannot use your sword to destroy these enemies, so you must avoid them and find the correct pathway to the other side of the room. Open the chest for another small key. Light will flood the room and remove the blue fog, allowing you to use your sword. Defeat the every Floormaster in the room and another chest will appear containing Treasure Chart #20.
Return to the previous room and walk back into the circle of light. Shine light onto the mirror on the left side of the room to disintegrate another statue. Grab Medli and head through this door as well. Use Medli to fly across the gap here and watch out for the Floormaster in the middle of the room. Once you make it across pull the statue onto the blue spot. Climb up the ledge nearby and pound the stake with the Skull Hammer. Grab Medli and fly back across the gap, and then return to the previous room.

Push the block in the center of the room and then throw Medli onto the ledge. Climb up the block and grab her again, and then head through the door. In the next room kill all the Red Bubbles and Poes first. Disintegrate the two statues along the south wall for a magic jar and 10 rupees.

To destroy the last statue take control of Medli and stand in the light near the western side of the room. Shine light back the opposite way, and then use Link’s shield to shine it at the statue. Grab Medli and head through the door. Walk straight down this hallway and avoid the falling coffin covers. Kill the ReDeads and open the chest at the end for 20 rupees.
Walk back to where you entered the room and head down the other hallway. Play the Earth God’s Lyric to reveal another door at the end. Run down the stairway and bomb the rock on top of the last pot. Use Medli to fly over to the northwest side of the room. As you fall down you will land on a set of stairs. Continue down the stairs with Medli and head through the door here.

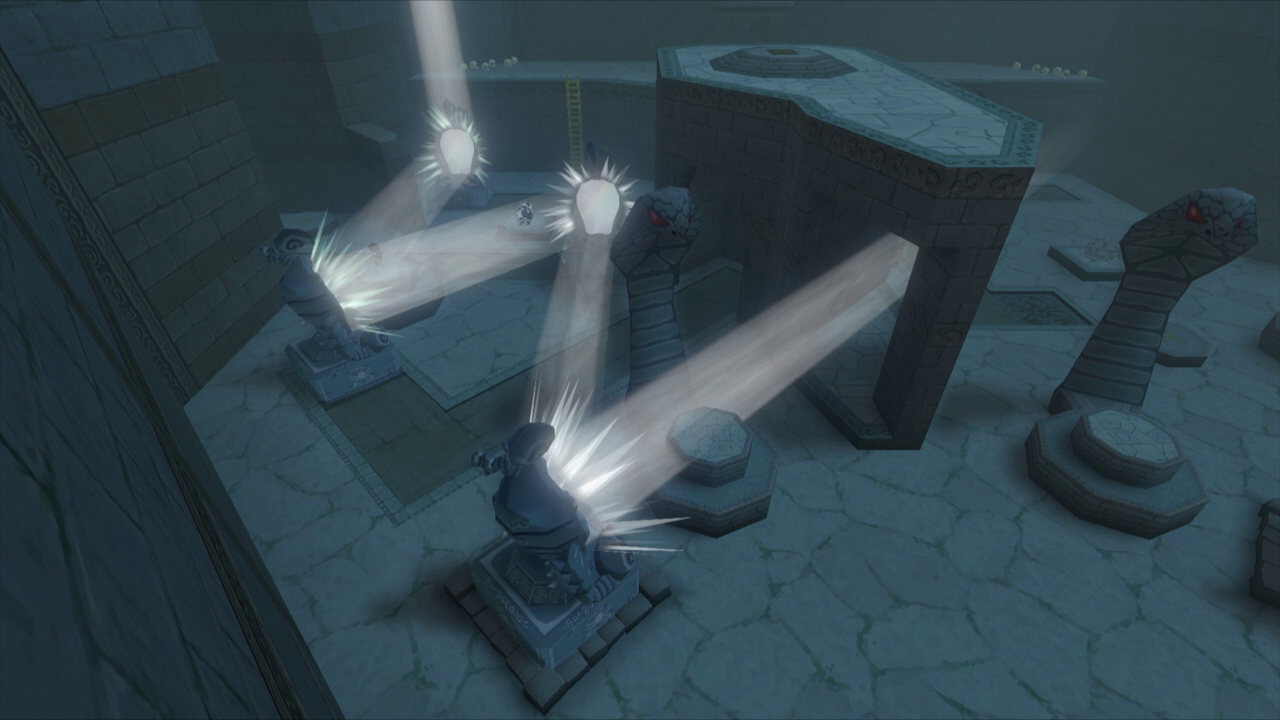
Take control of Medli and have her fly over to the large platform in the middle of the room. Step on the switch here and a small hole of light will open in the ceiling. Have Medli drop down to the lower level and then return control to Link. Have Link drop down into the pit as well and push the statue to the right onto the blue square where the light is shining.
Control Link and have him step on the small circular raised platform where the Light is shining. Use the Mirror Shield and shine the light towards the statue that is near the center of the room, causing it to disappear. Also, be sure to reflect the light on the treasure chest nearby to cause it to appear properly. Open it to get some rupees. Behind the statue there is another large mirror that Link can pull. Pull it all the way until it settles on the blue square on the ground, reflecting the light a second time.

Control Medli once again and have her fly onto the same small circular raised platform nearby. Have her shine some light on the smaller platform to the east, where an image of a harp is shown. Use Link’s Shield to reflect the light and destroy the wall here, and then climb up onto the platform behind the statue for some extra rupees. Pull the mirror along the path into its respective place.


Follow the beam of light and push another mirror into place. Climb the raised section and shine light onto a nearby statue to destroy it, and then shine light onto another nearby chest. Open the chest for a Joy Pendant, and then push the mirror into place.

Have Link stand on the smaller circular platform that is nearby and have Medli stand on the large circular platform. Use Medli’s instrument to reflect light onto Link and then use Link’s Mirror Shield to reflect light on the wall in the distance. Break the wall and pull the mirror in place.

Stand on the higher circular platform and shine light against the other yellow mark on the wall to make it disappear. Walk down the small tunnel we just created in the wall and head through the door. Shine light onto the coffins to open them and then defeat the Stalfos that appear. Pull out the block in the wall to get back up and open the chest for Treasure Chart #12.
Back in the room with all the mirrors, use Medli to shine light onto one of the eyes on the large statue’s face, and use Link to shine light in the other eye. Head down the hallway that appears and through the door.

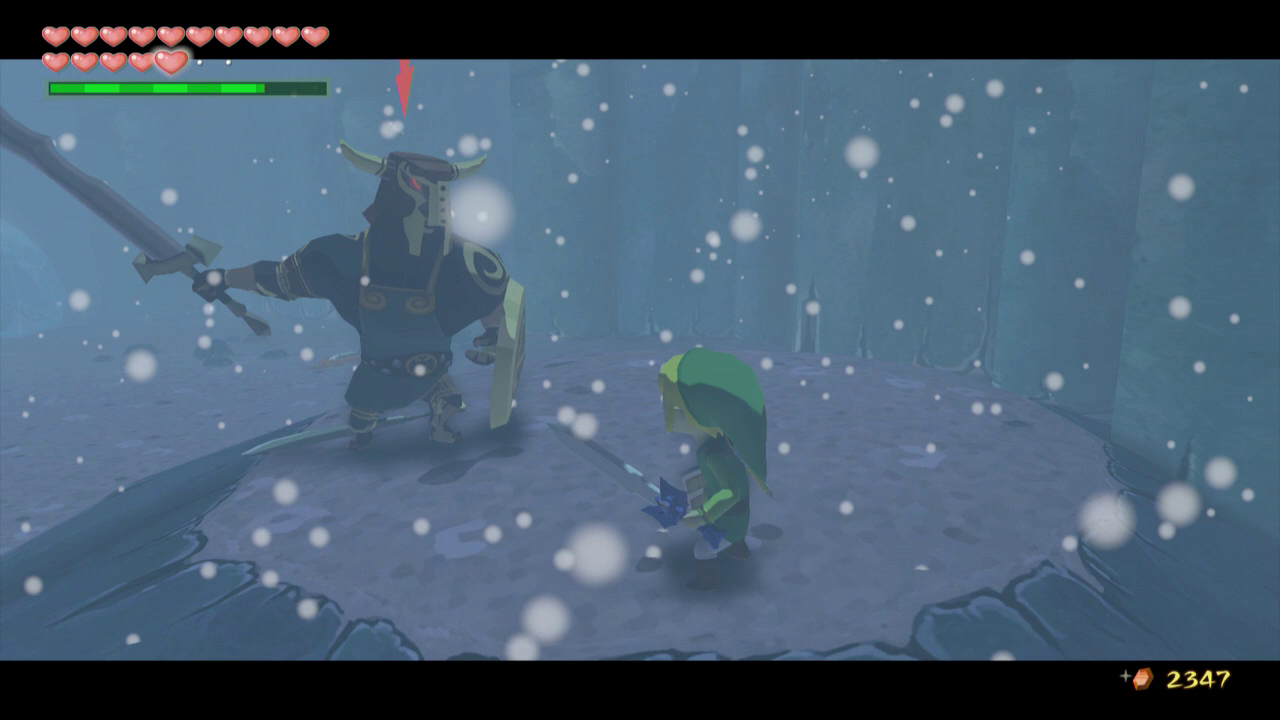
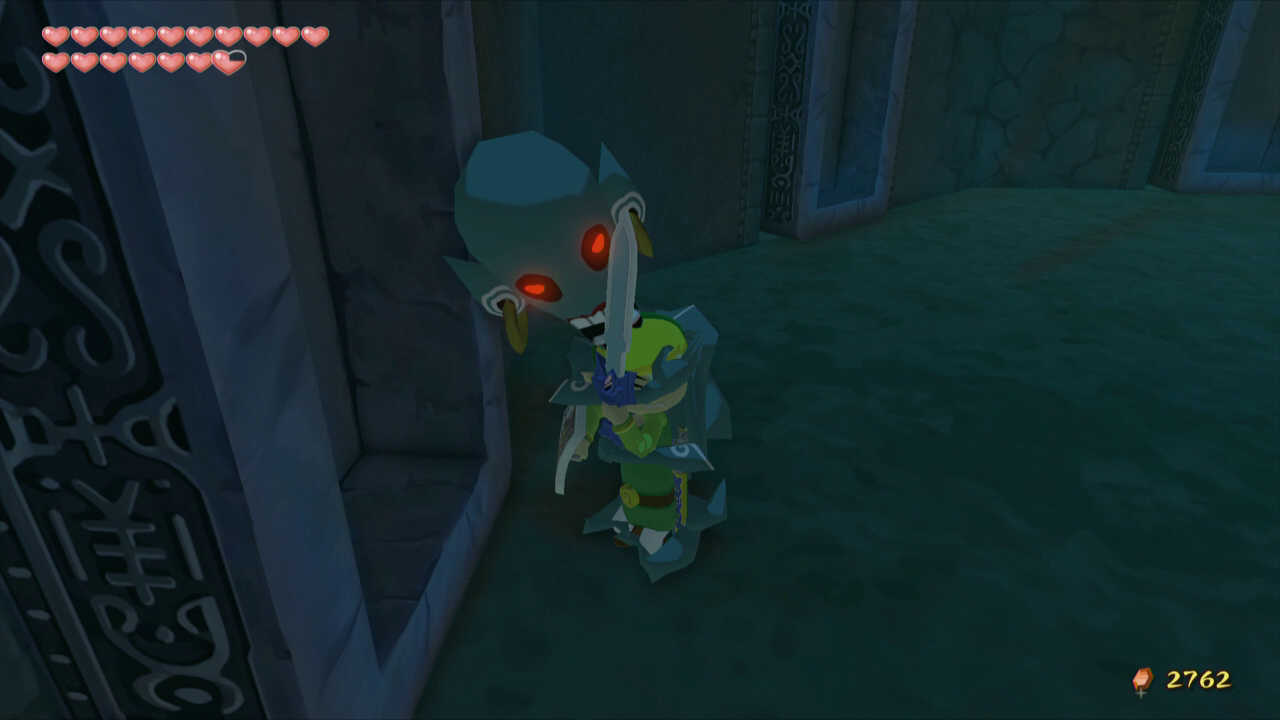
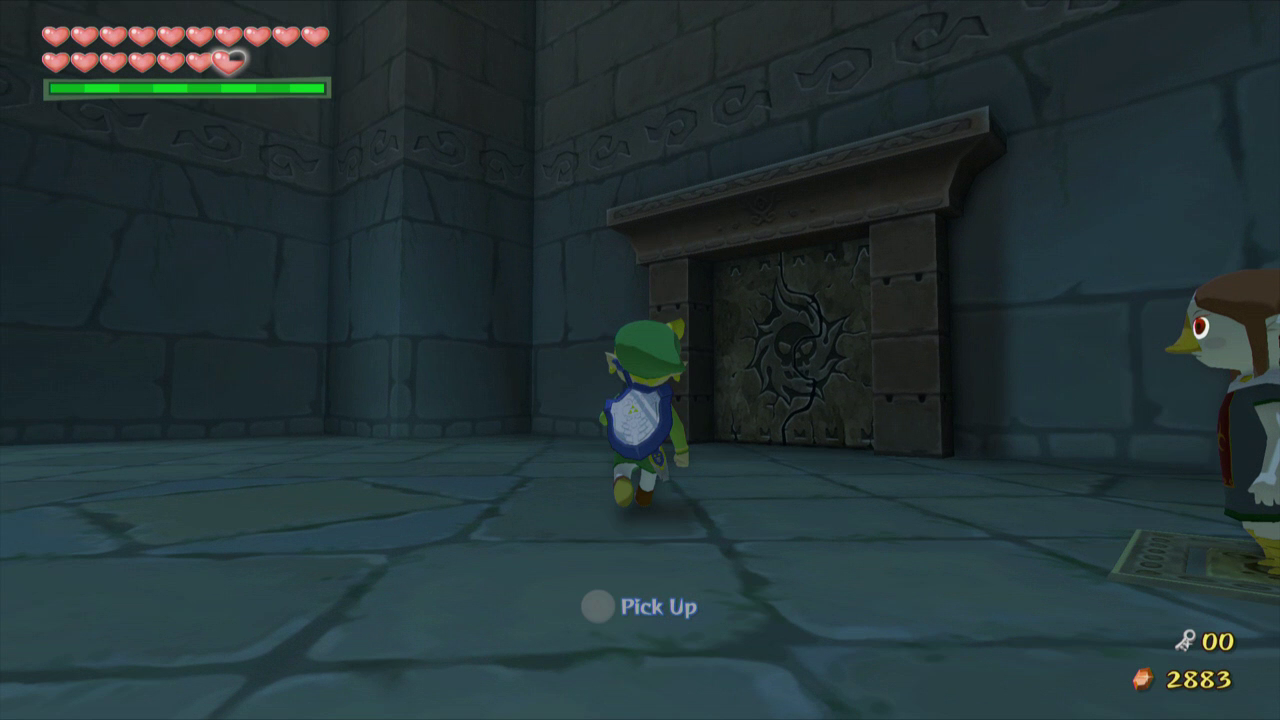
This dark room contains three enemies: a darknut and two Blue Bubbles. The Bubbles are located right next to the gate on the opposite side of the room, so you can use the Bow to shoot the skulls before they awaken to defeat them. If blue bubbles awaken, use the Deku Leaf and your sword to get rid of them. Defeat the Darknut as well and open the chest here for the Big Key. Backtrack to the previous room, and then head through the door back into the large circular room.
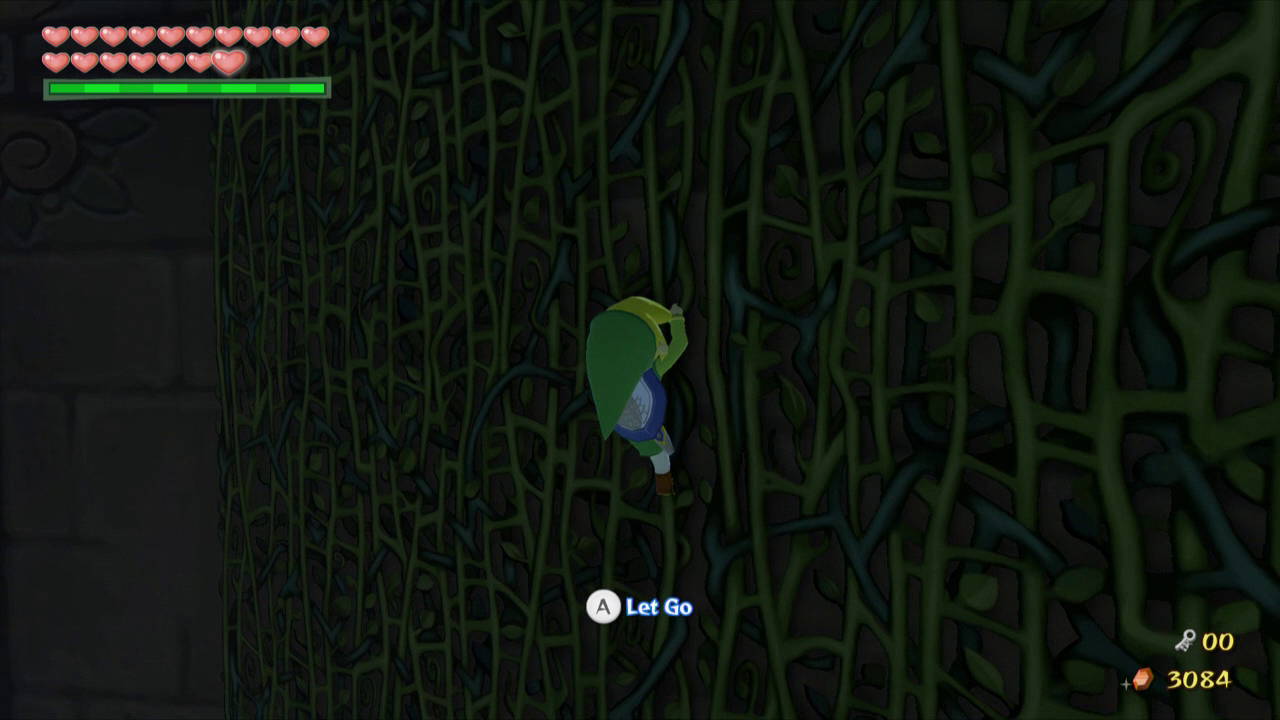
Follow the staircase and climb up vines along the side of the wall. Continue up the pathway and use the Deku Leaf to fly over to the other side of the room where the boss door is located. Break the pots for some hearts and other goodies, and then enter the boss room when you’re ready.
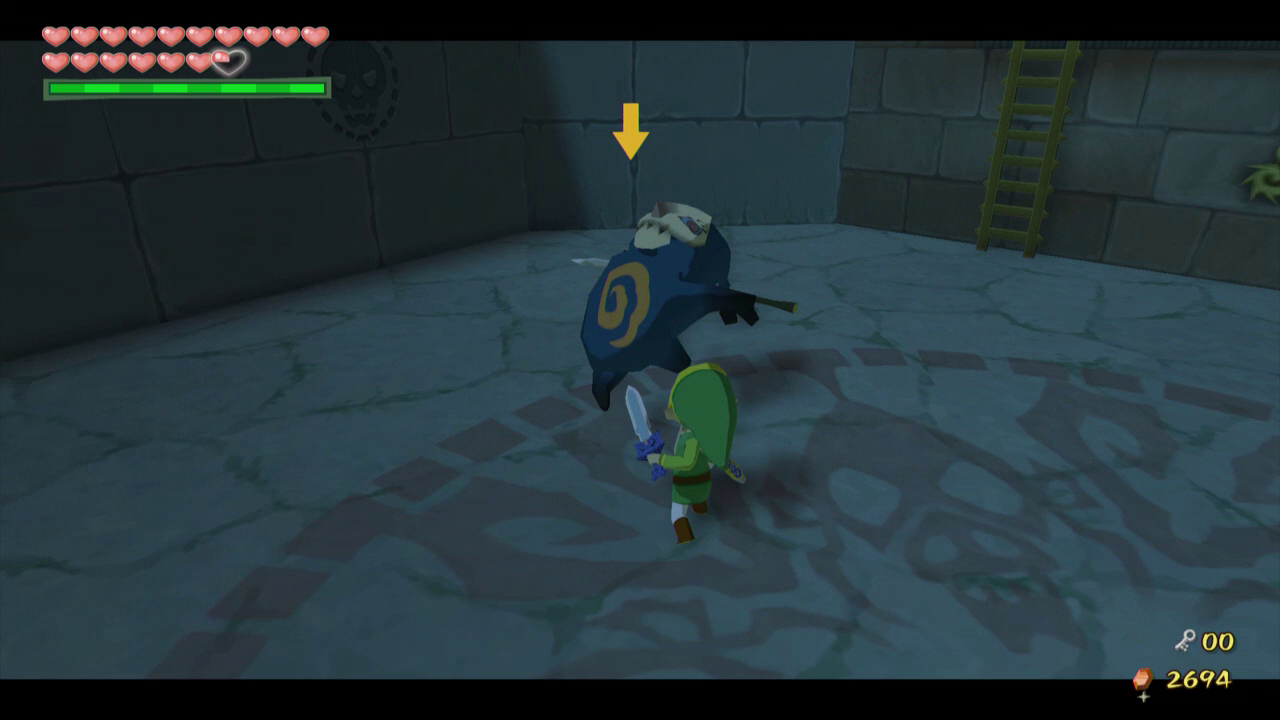
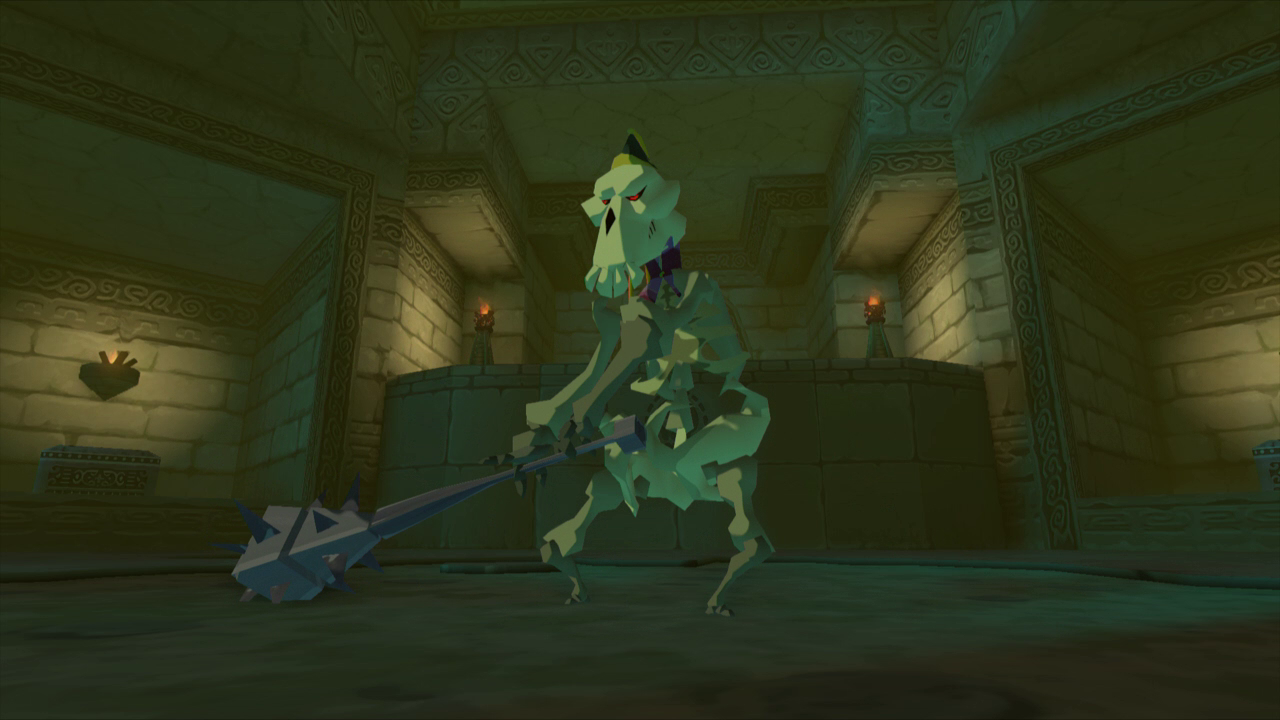
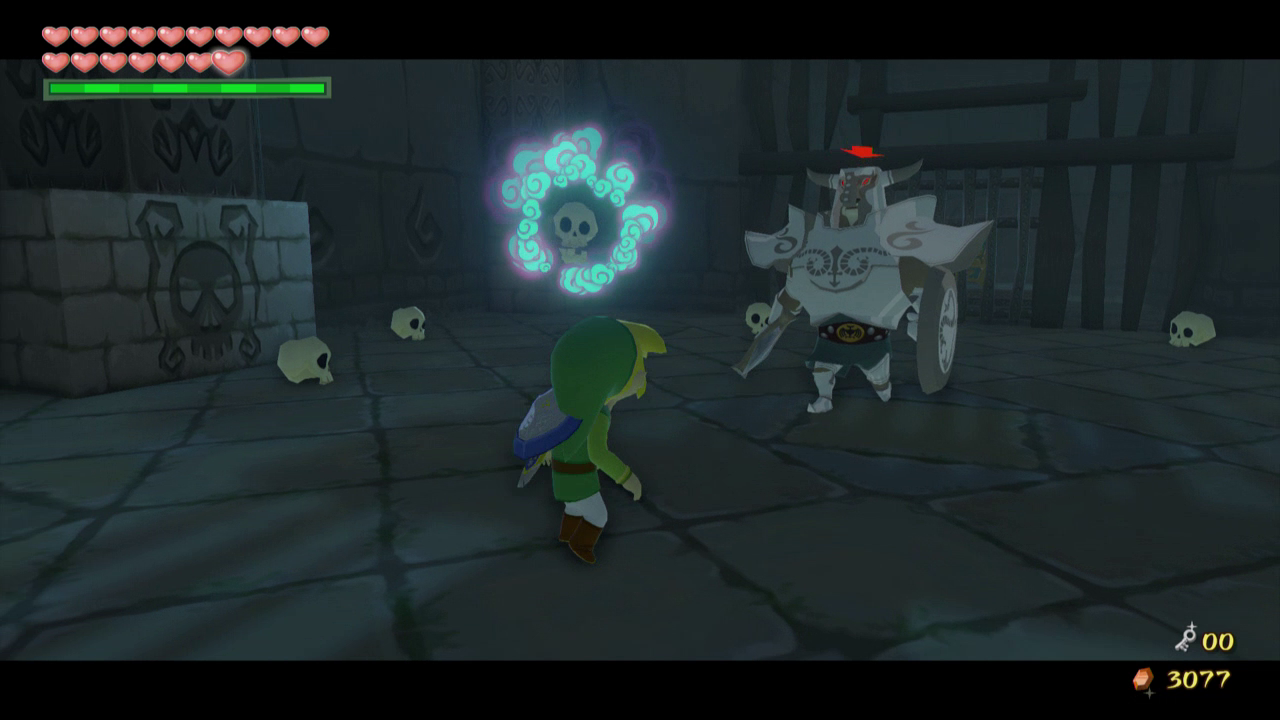
Inside the boss room you will find numerous Poes that will combine to form one large, fat Poe. This is Jalhalla, the dungeon boss. Jalhalla can be rather tricky defeat, especially if you are rather unlucky with the room’s layout.
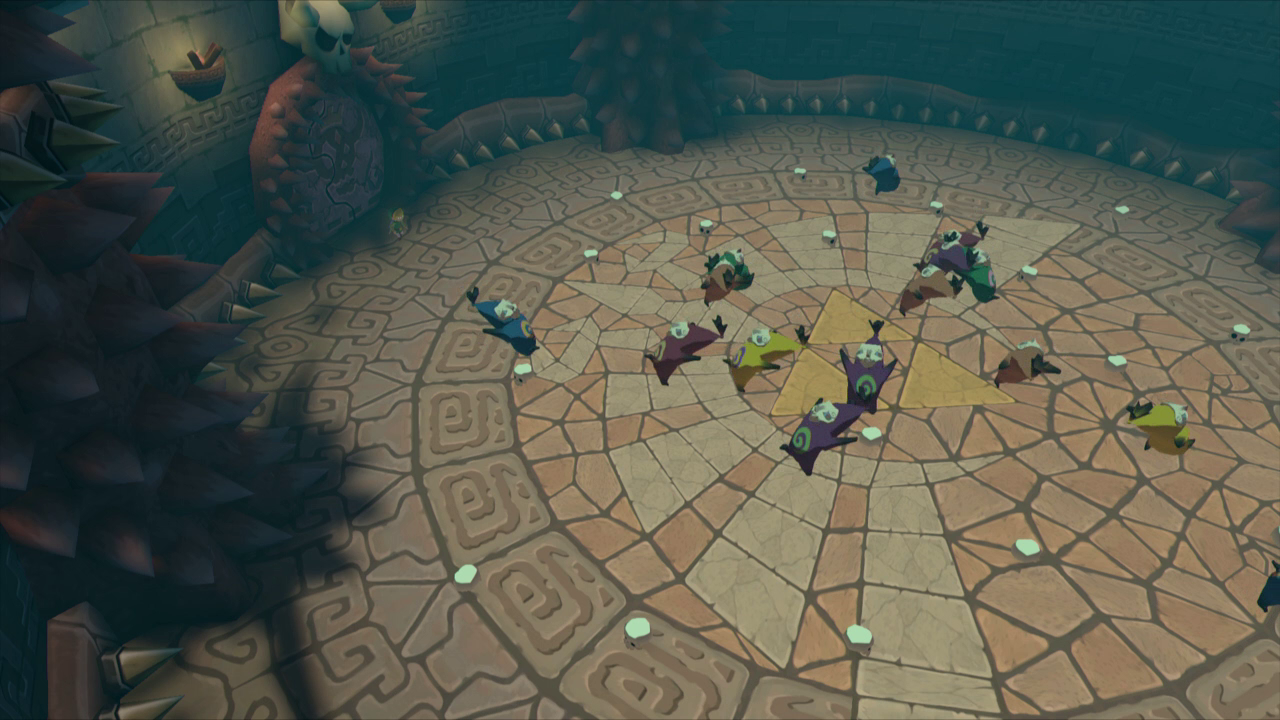
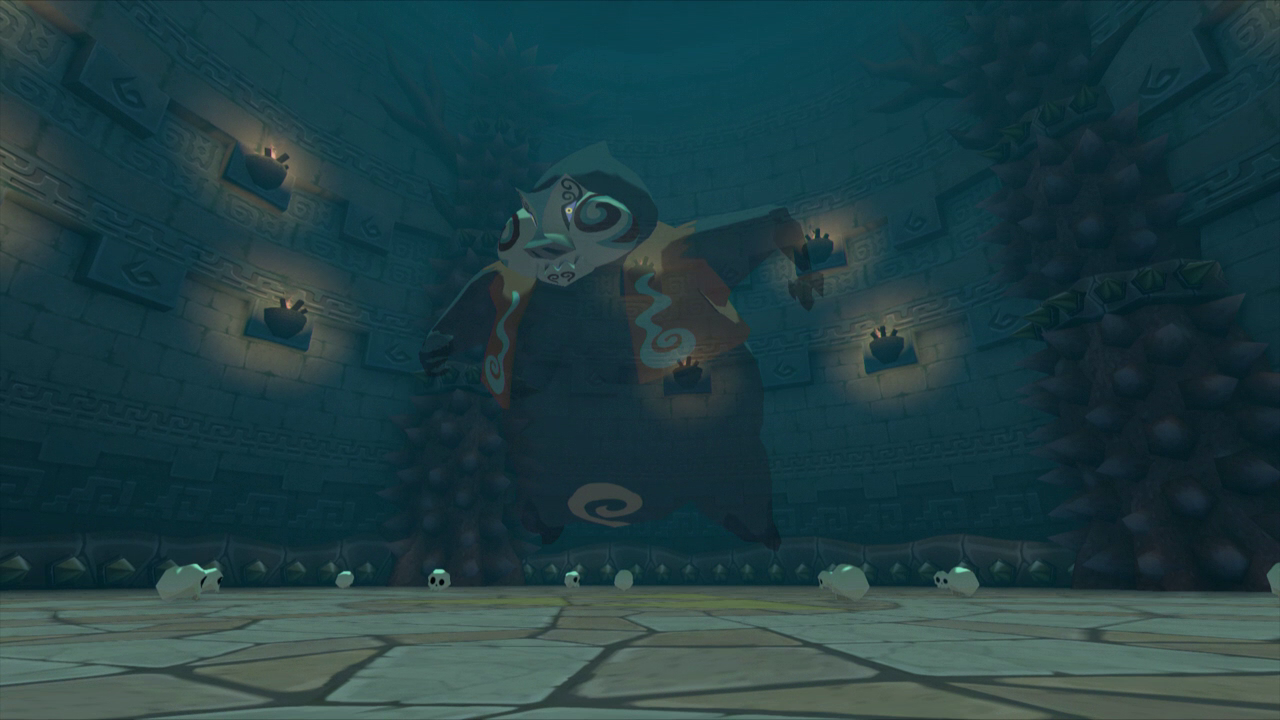
To stun Jalhalla you will need to use the Mirror Shield to shine light at him. There are three holes in the ceiling that shine light, but only one is activated at a time. These columns of light will only be activated for a short amount of time before it switches to another area in the room. When possible, use your Mirror Shield to reflect light onto Jalhalla for a few moments to make him solid.
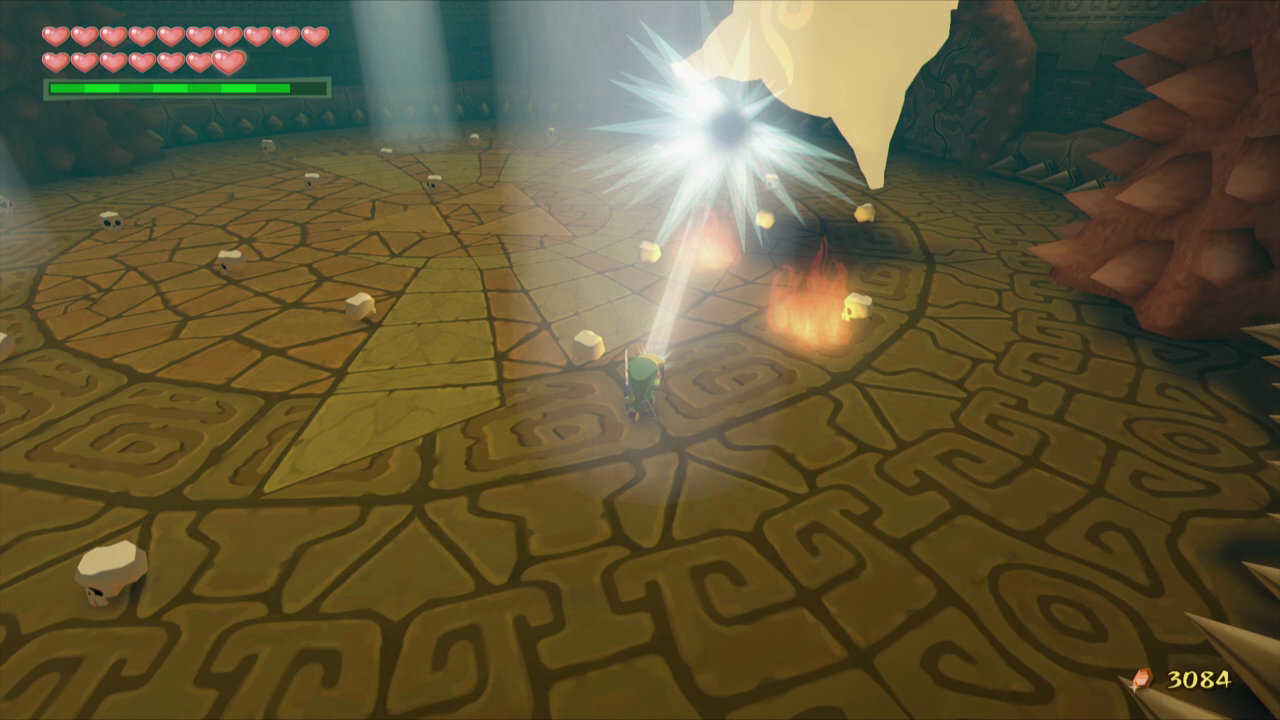

Once he is solid he will fall down and sit on the ground momentarily. Pick him up and throw him into one of the spiked pillars that surround the room. This will cause him to explode back into the group of Poes from before. Kill as many of these Poes as you can before Jalhalla reforms to his ghostly self. Keep repeating this process until Jalhalla is defeated.

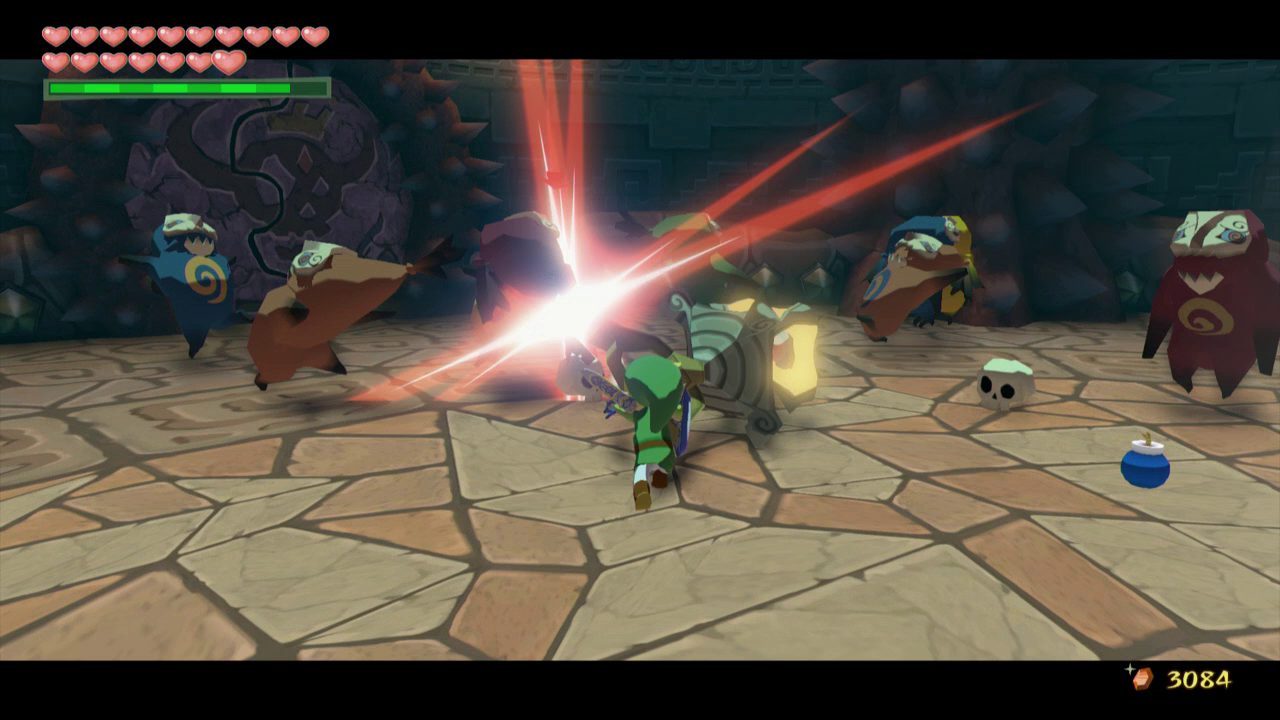
Jalhalla has a few attacks, most of which are rather annoying. He can try to squish you, which will cause you to momentarily lost correct control of Link. This means that the normal control stick directions will be switched; screwing up the direction you are actually moving in. It is possible to end this attack if you make it into a beam of light, but for the most part you have to wait out the attack. He will also try to blow fire at you, but this can be avoided by simply moving out of the way.
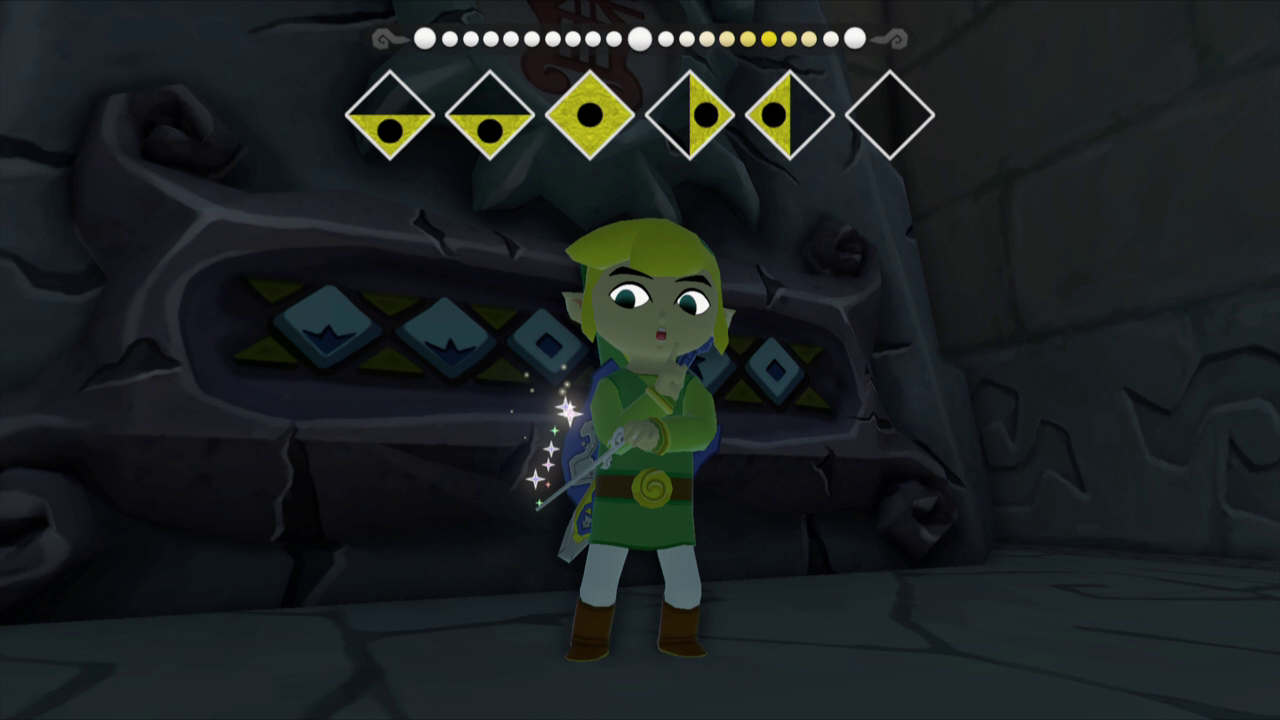
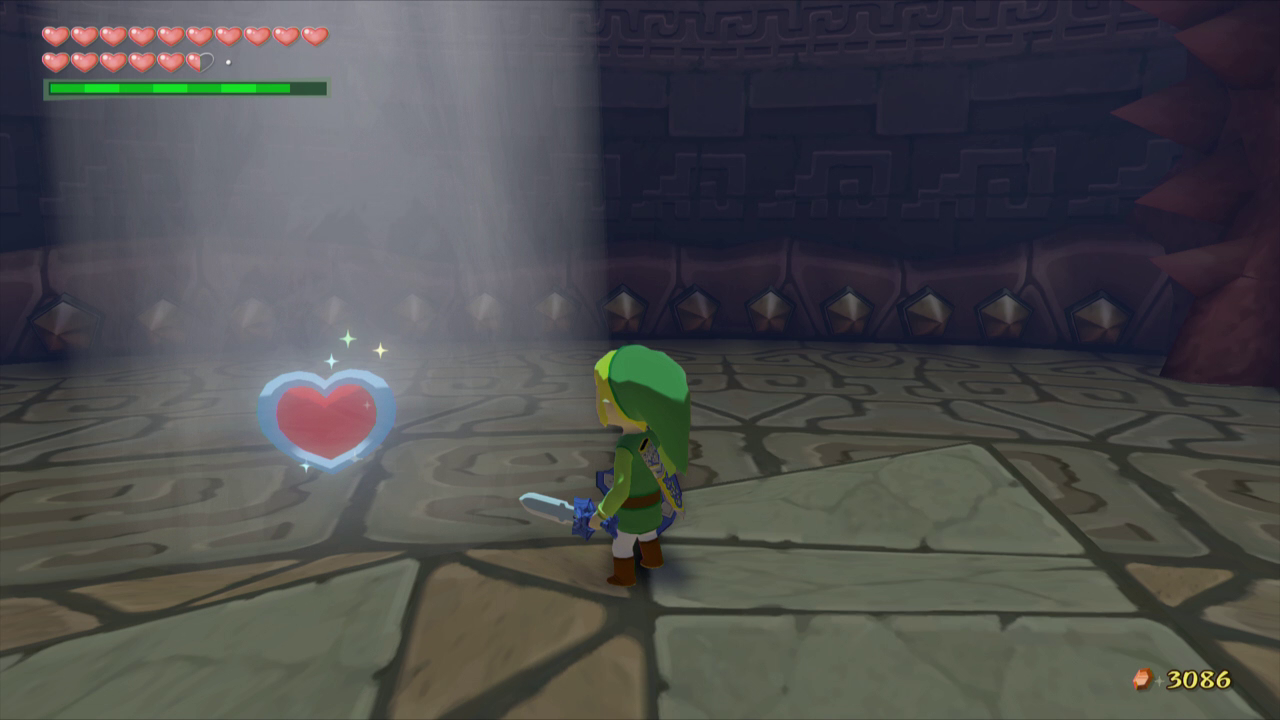
Pick up the Heart Container Jalhalla leaves behind and walk into the glowing tile in the center of the Triforce. Medli will enter the room and Link will conduct her as she plays the Earth God’s Lyric. This will restore some power to the Master Sword. Medli will tell you to go to the Wind Temple to complete the Master Sword’s transformation, and that she will stay behind and continue praying.
- Chapter 1 – Outset Island
- Chapter 2 – Forsaken Fortress
- Chapter 3 – Windfall Island
- Chapter 4 – Dragon Roost Island
- Chapter 5 – Dragon Roost Cavern
- Chapter 6 – Forest Haven
- Chapter 7 – Forbidden Woods
- Chapter 8 – Nayru’s Pearl
- Chapter 9 – Tower of the Gods
- Chapter 10 – Hyrule Castle
- Chapter 11 – Earth Temple
- Chapter 12 – Wind Temple
- Chapter 13 – The Triforce
- Chapter 14 – Ganon’s Tower
