- Chapter 1 – Outset Island
- Chapter 2 – Forsaken Fortress
- Chapter 3 – Windfall Island
- Chapter 4 – Dragon Roost Island
- Chapter 5 – Dragon Roost Cavern
- Chapter 6 – Forest Haven
- Chapter 7 – Forbidden Woods
- Chapter 8 – Nayru’s Pearl
- Chapter 9 – Tower of the Gods
- Chapter 10 – Hyrule Castle
- Chapter 11 – Earth Temple
- Chapter 12 – Wind Temple
- Chapter 13 – The Triforce
- Chapter 14 – Ganon’s Tower
12.1 Overworld Goodies
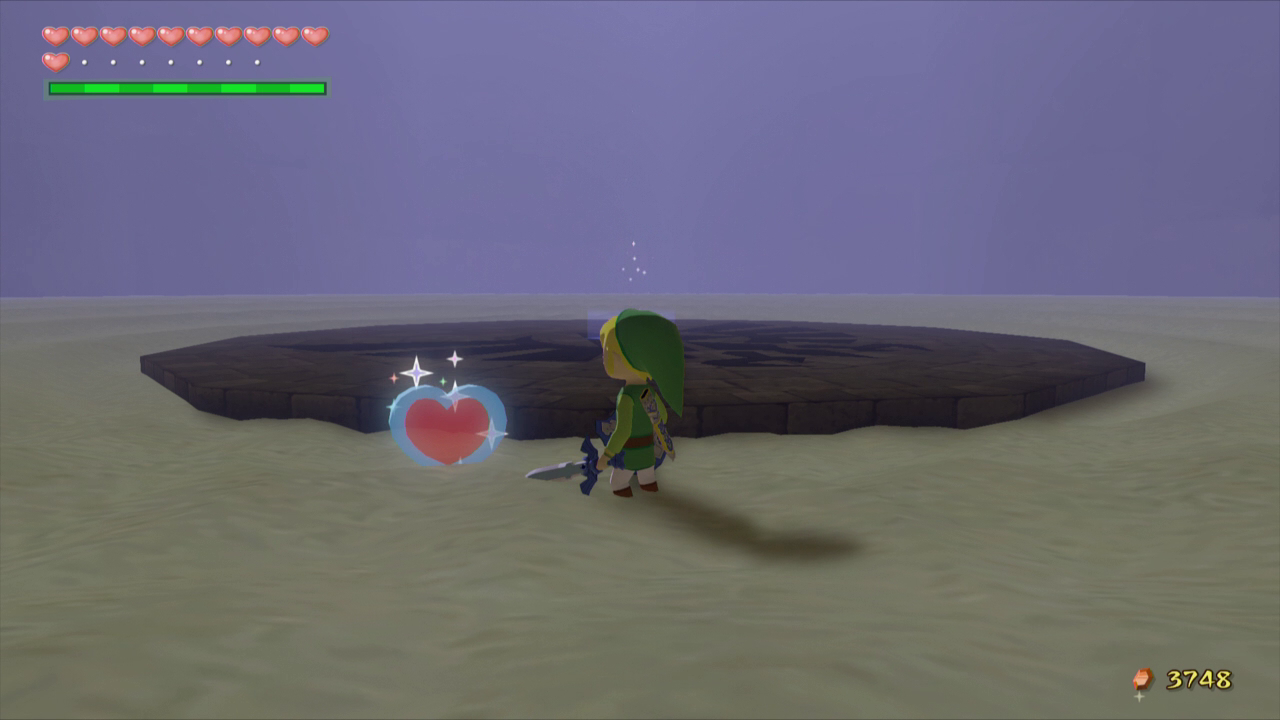
After completing the Earth Temple, there are now two optional Sunken Treasure chests that we can uncover. One of them contains just some additional rupees while the second one contains Piece of Heart #42.
-Treasure Chart #12 – Five-Eye Reef – 200 Rupees
-Treasure Chart #20 – Bomb Island – Piece of Heart #42
12.2 Finding the Wind Temple
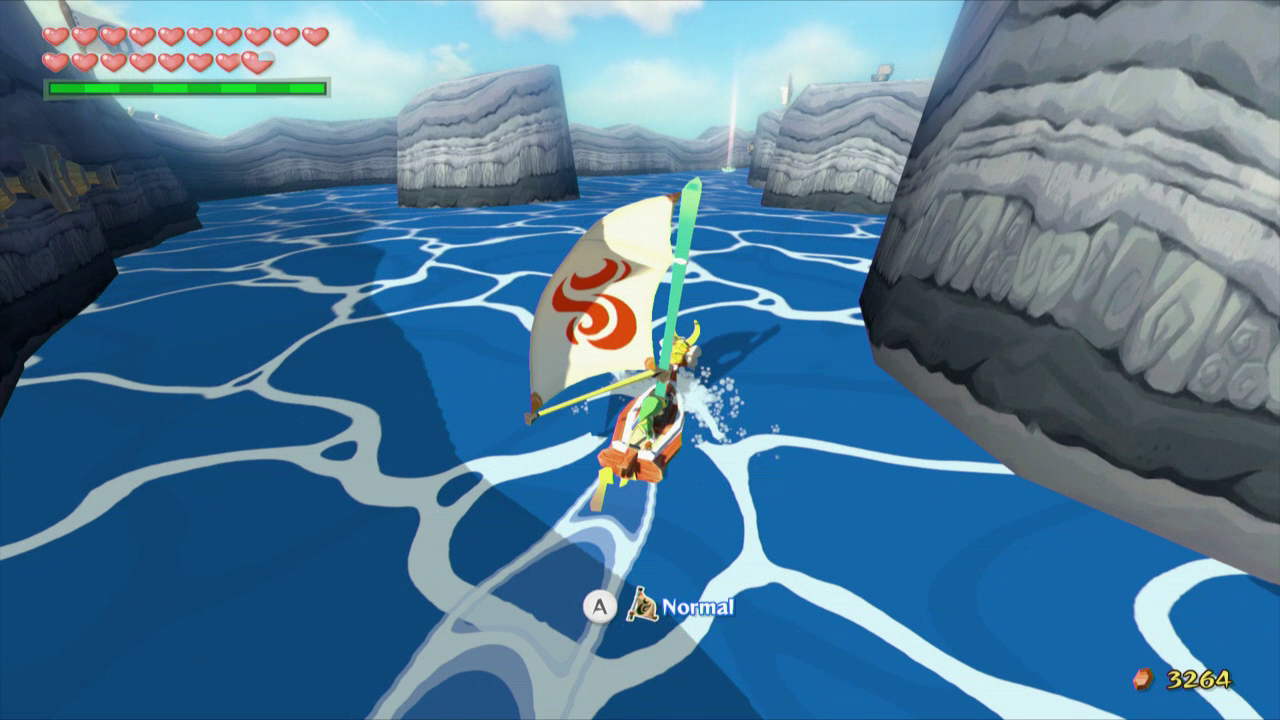
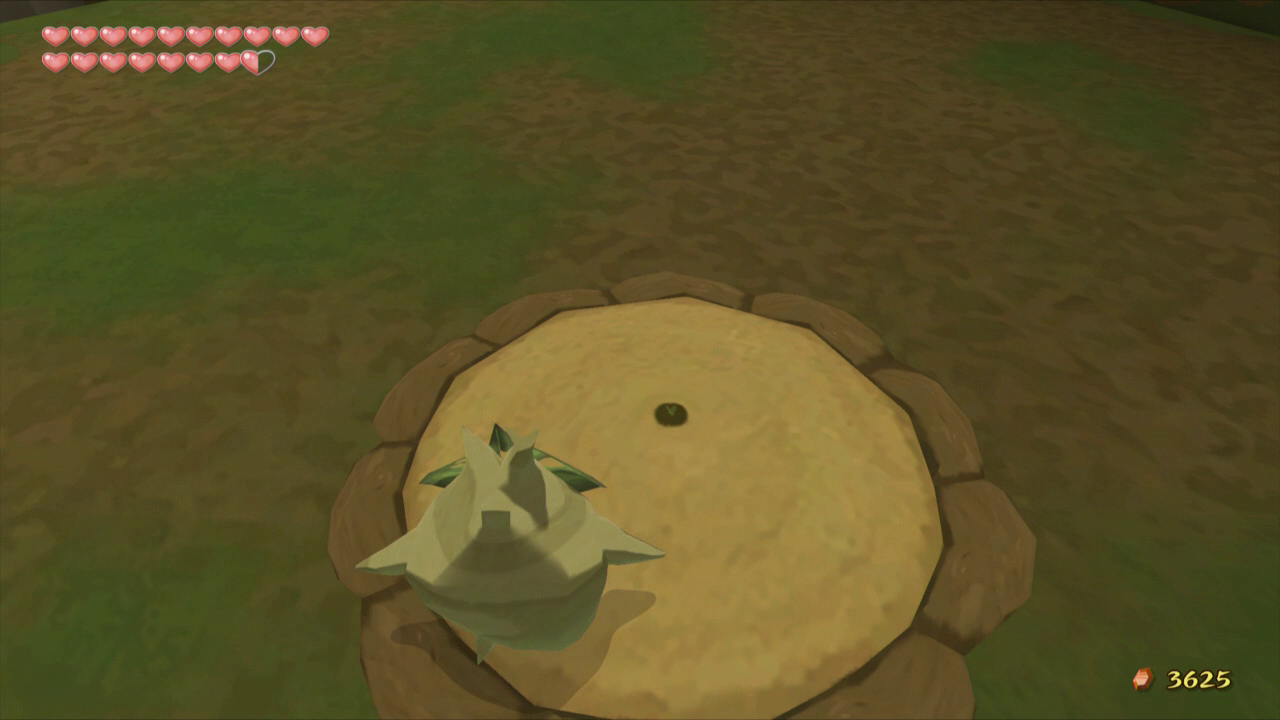
Our next destination is over at Gale Isle located just north of Windfall Island. Sail on over and you will find a huge gust of wind that is blocking Link from moving forward. In the last chapter we got the Iron Boots from Ice Ring Isle. If you don’t have them yet, head back to section 11.3 to get them.
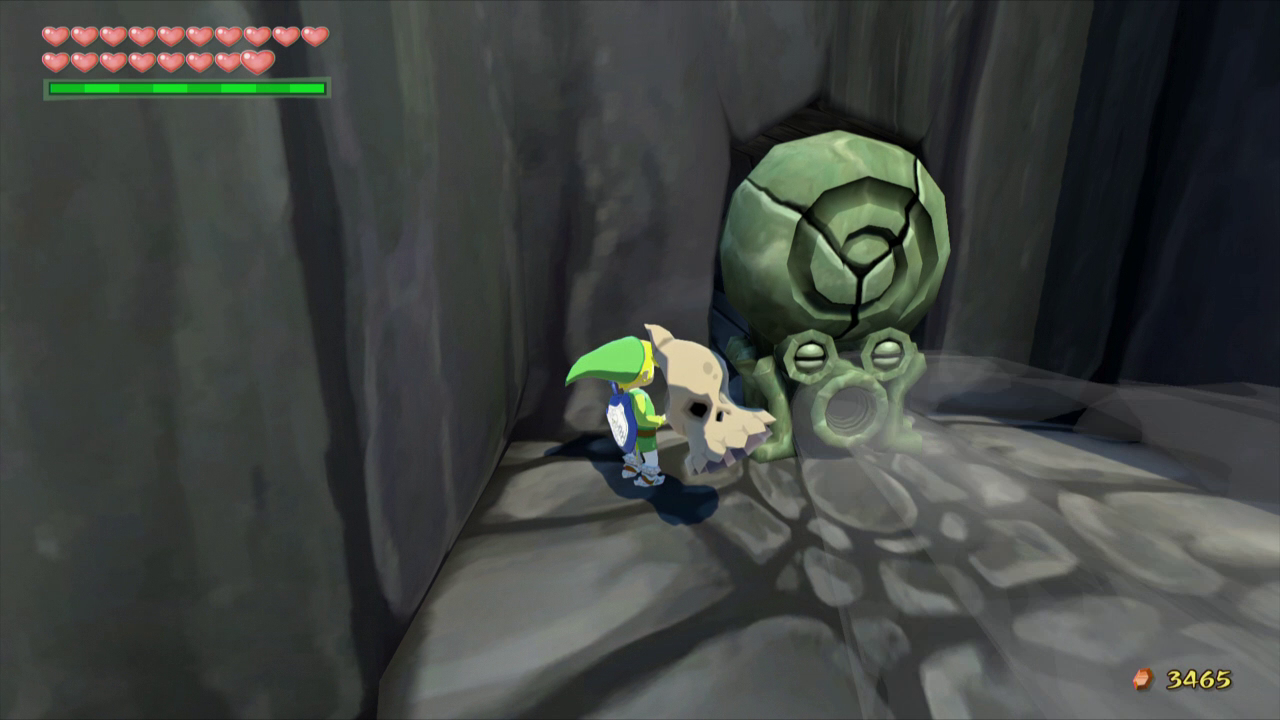
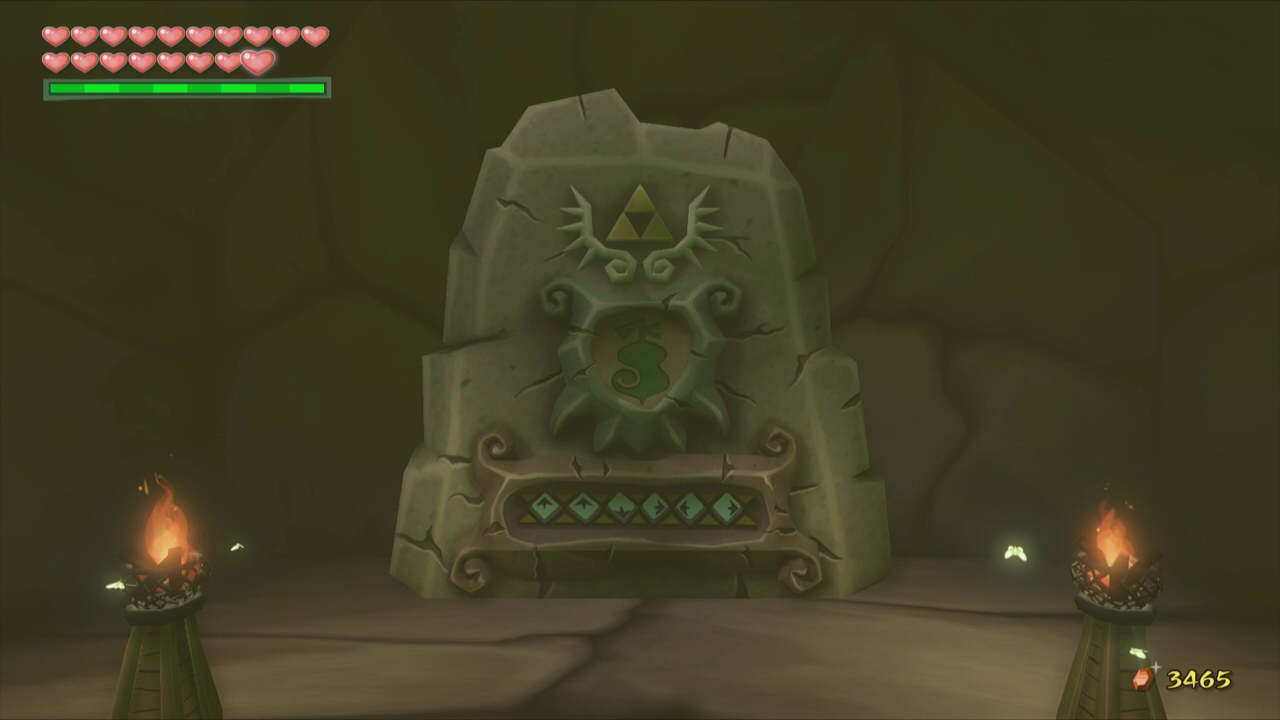
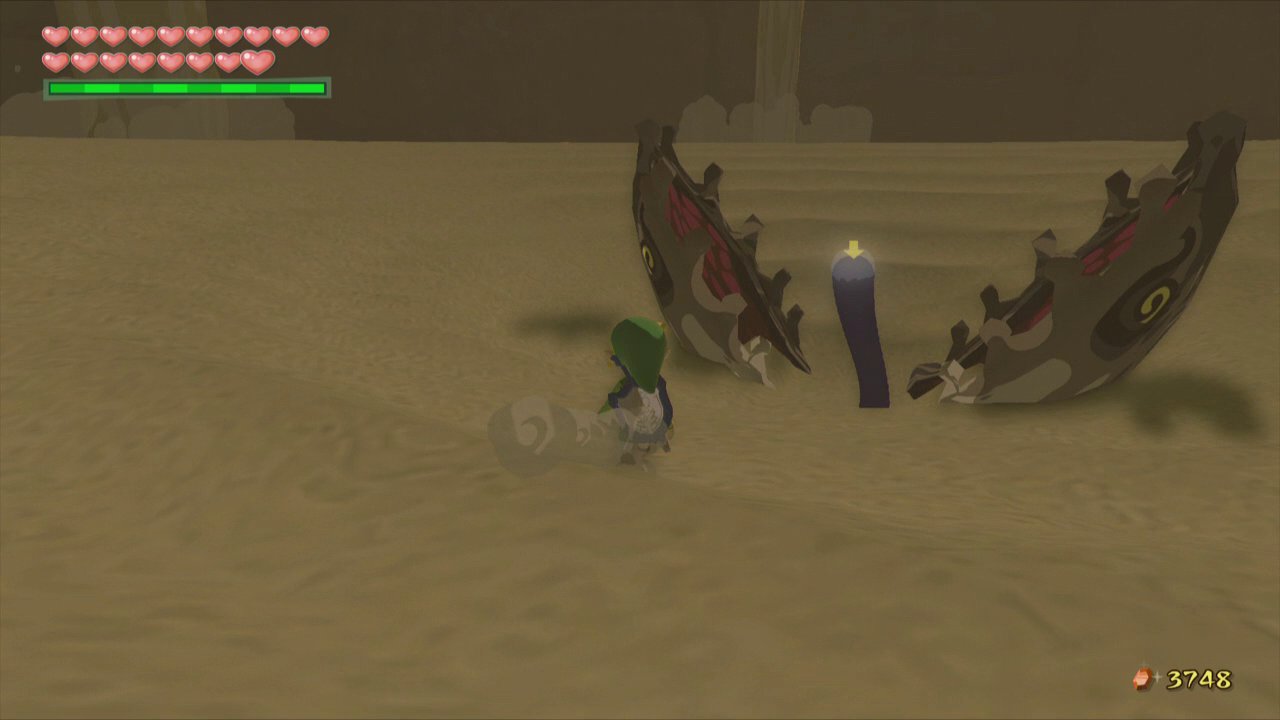
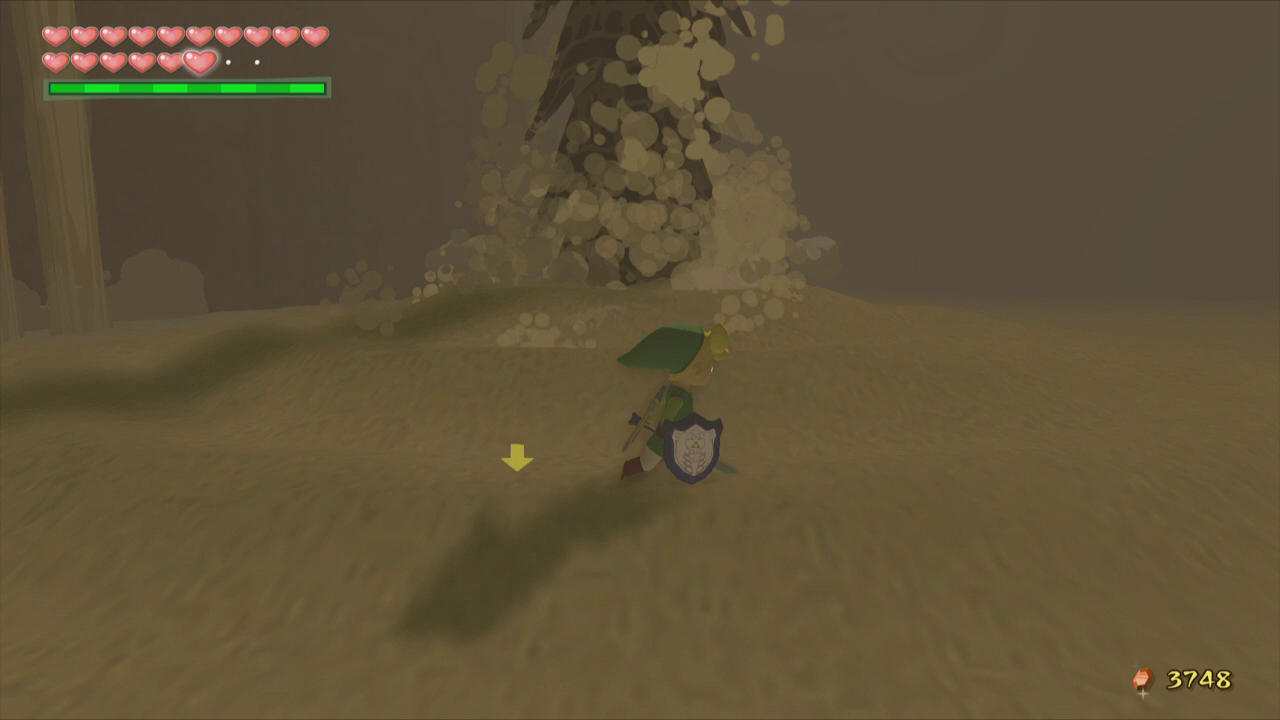
With the Iron Boots equipped, Link can walk through the blowing wind. You’ll find that it is originating from a small statue. Pull out the Skull Hammer and give it a smack to destroy it, opening an entrance to the inner part of the island.
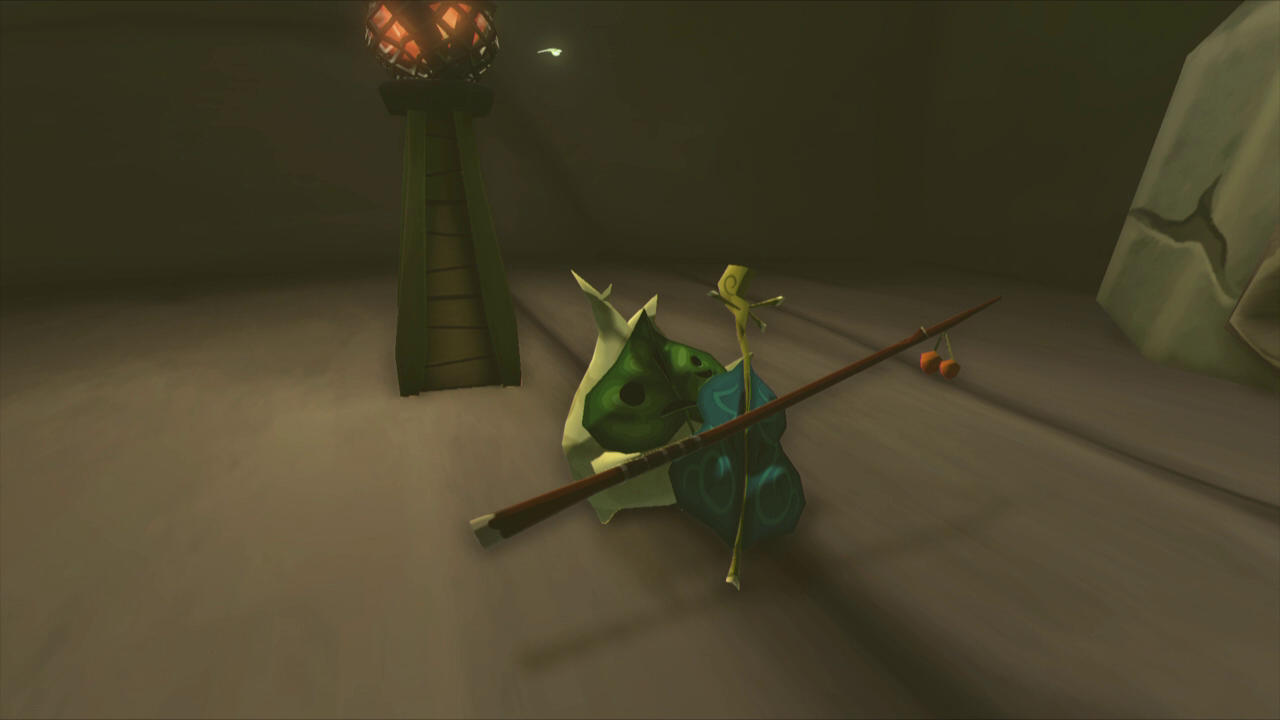
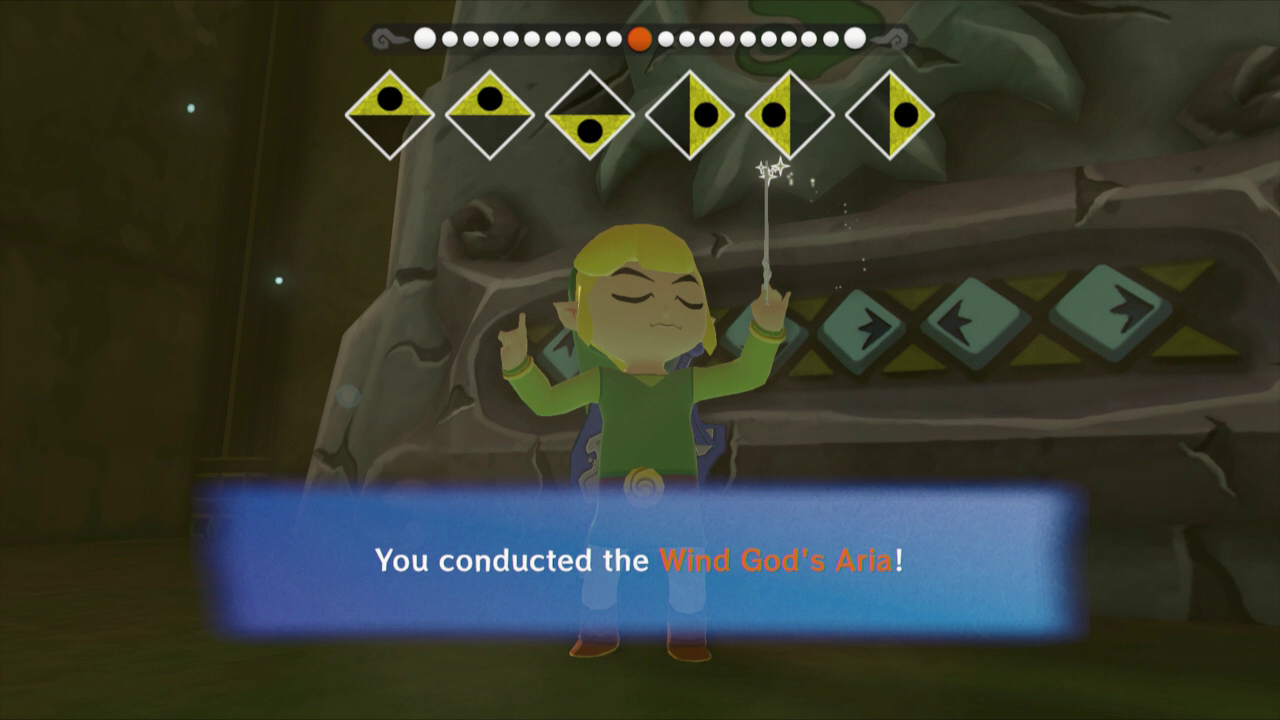
Inside of the island, Link will find another statue with a song on it, very similar to what we saw at Headstone Island. Pull out the Wind Waker and Link will learn the Wind God’s Aria. Link will be joined by Fado, an ancient sage of the Kokiri tribe. Fado will tell Link to seek out the person that uses the same instrument that Fado is using and to teach him the song that he just learned.
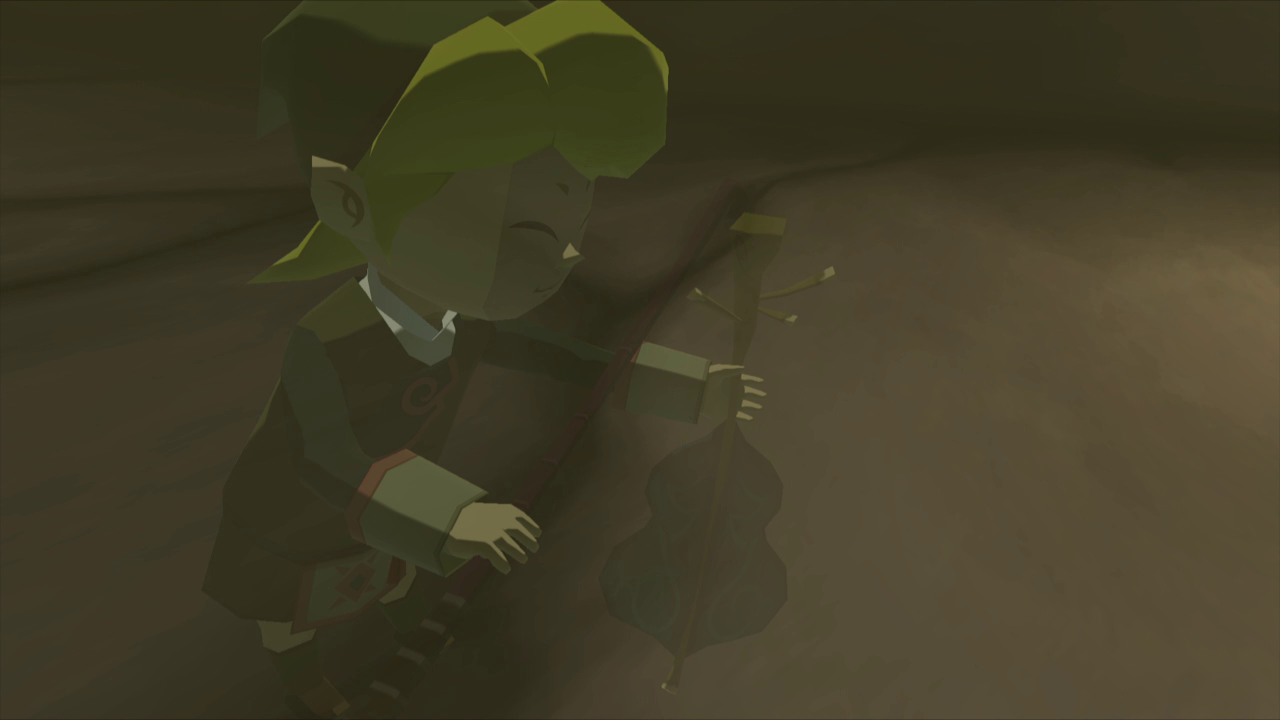
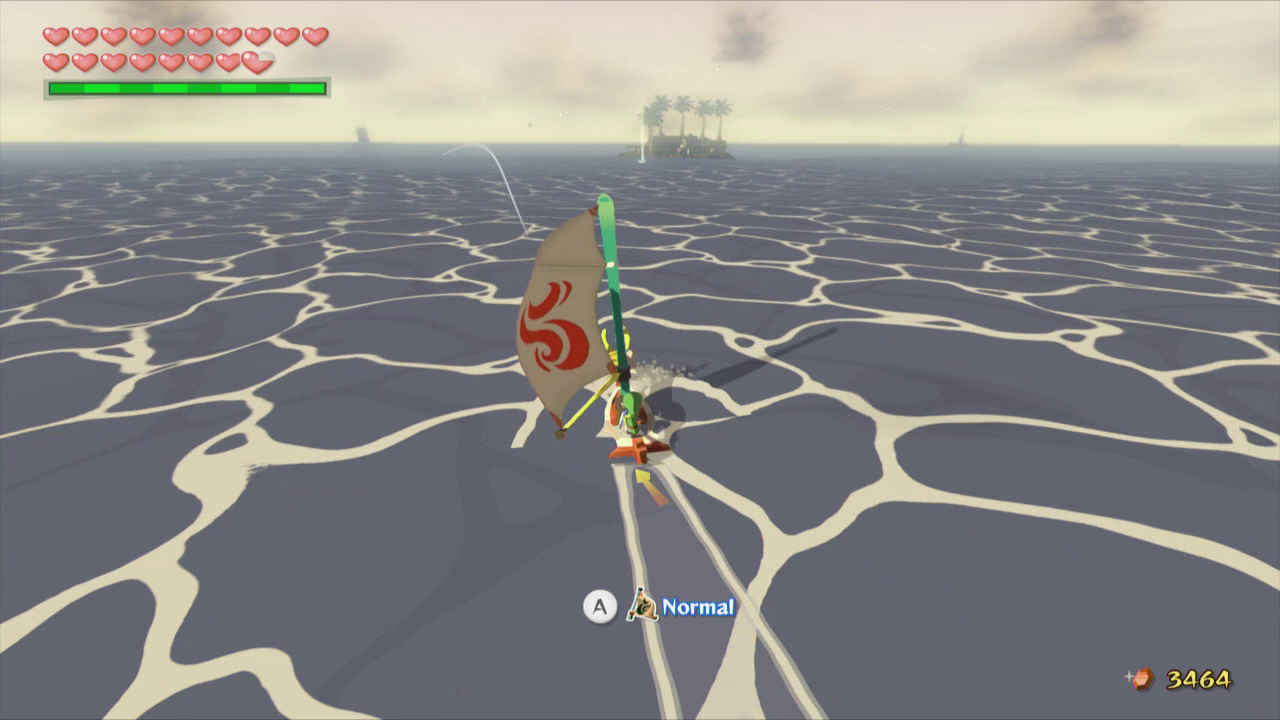
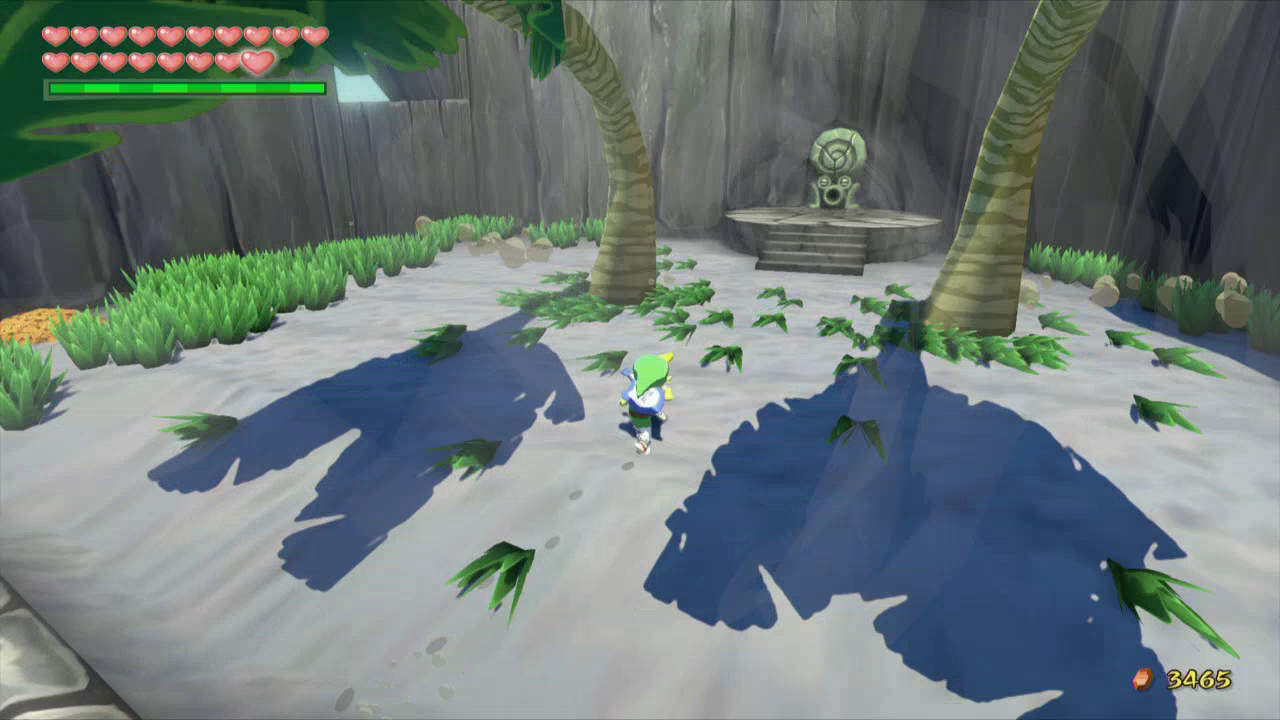
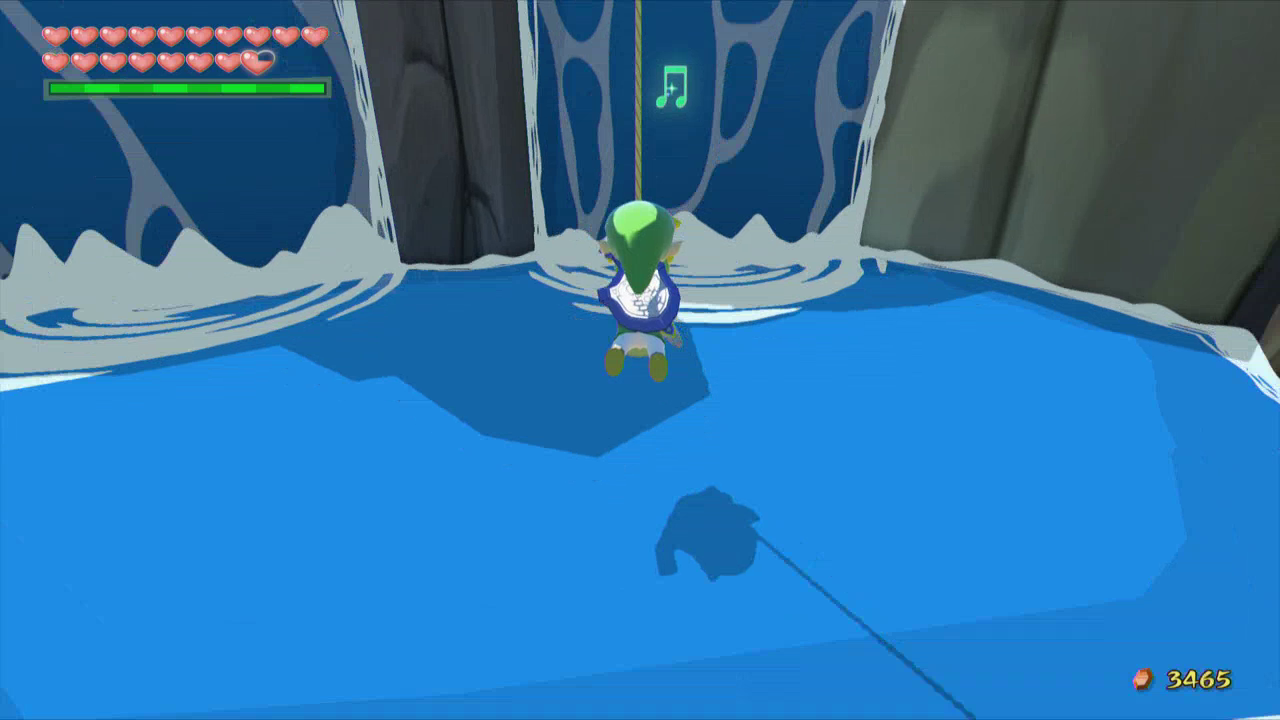
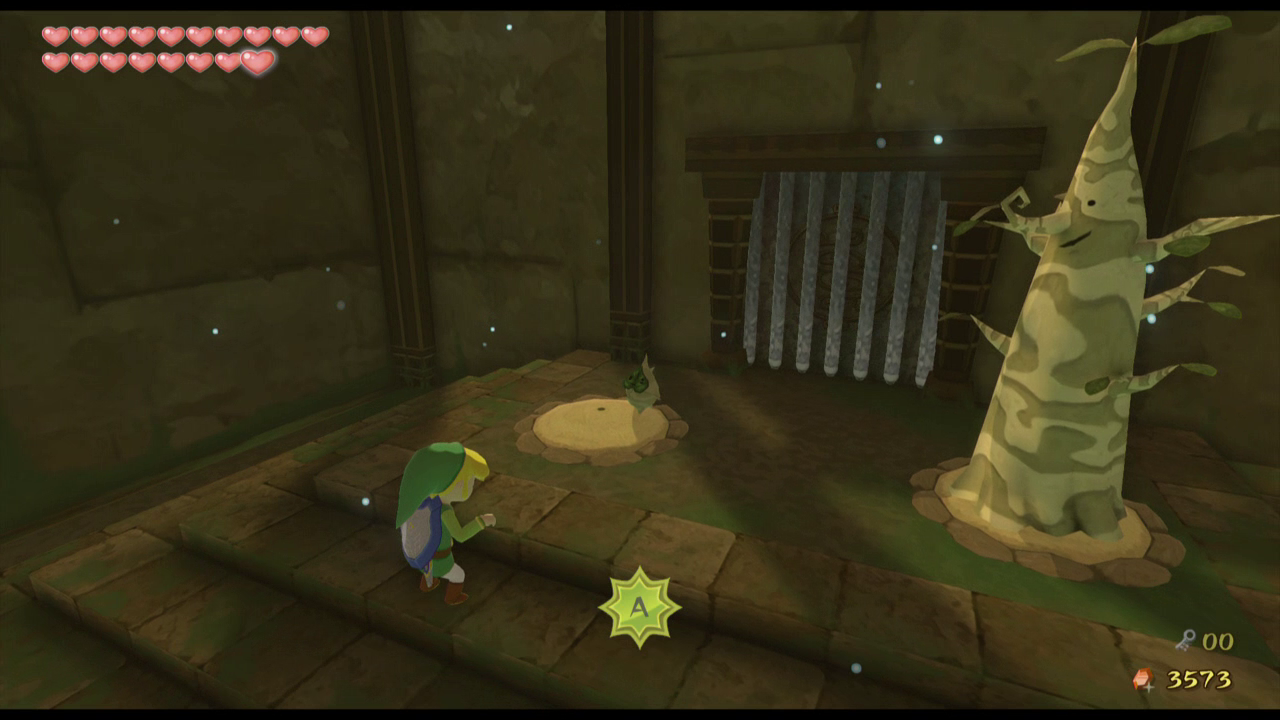
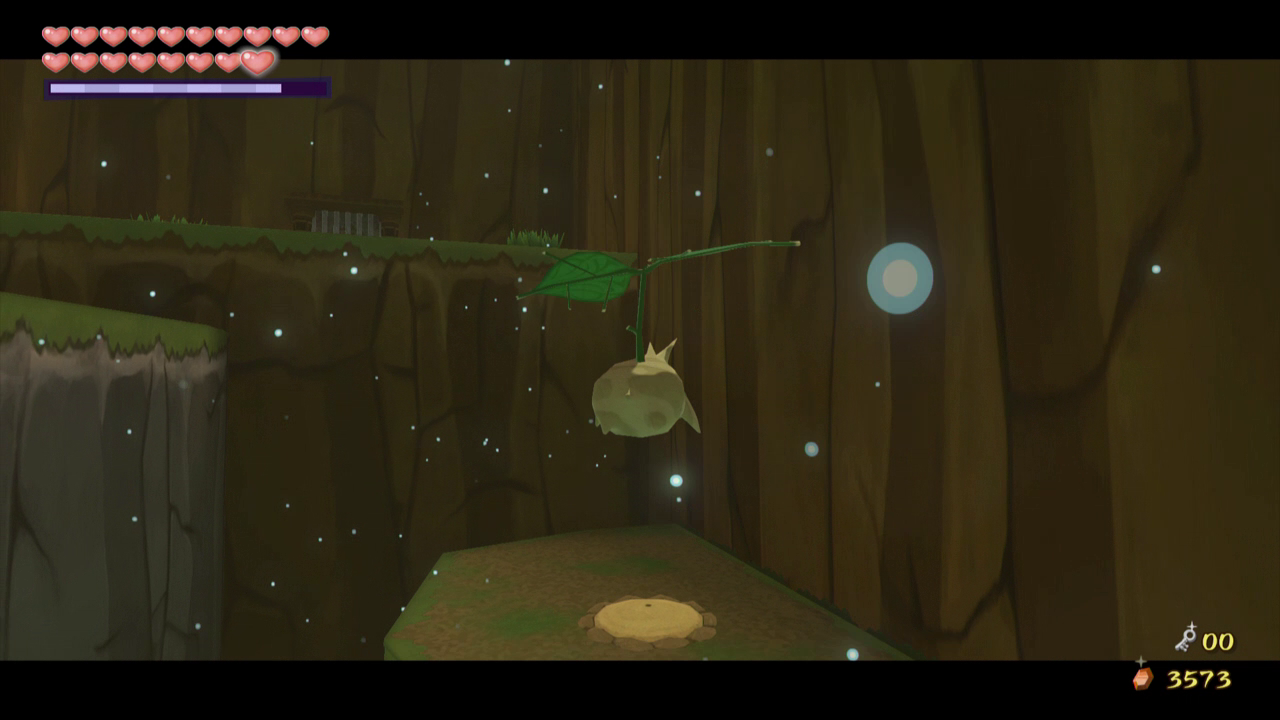
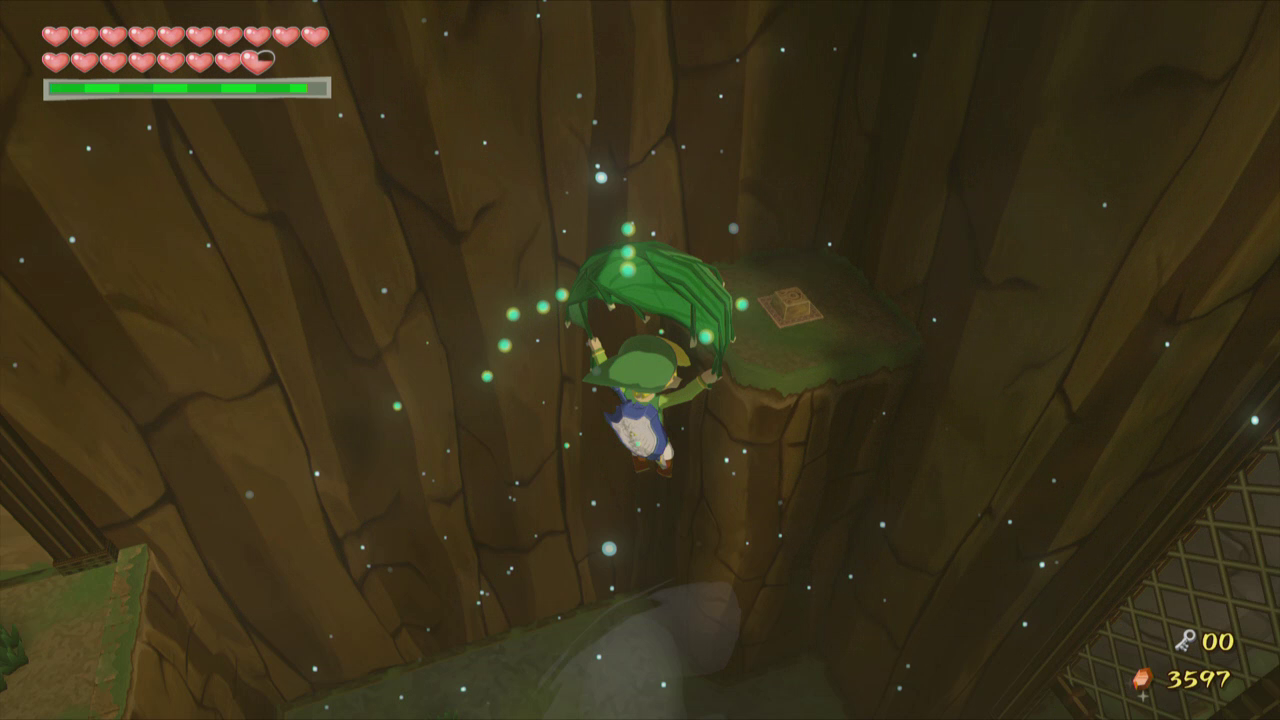
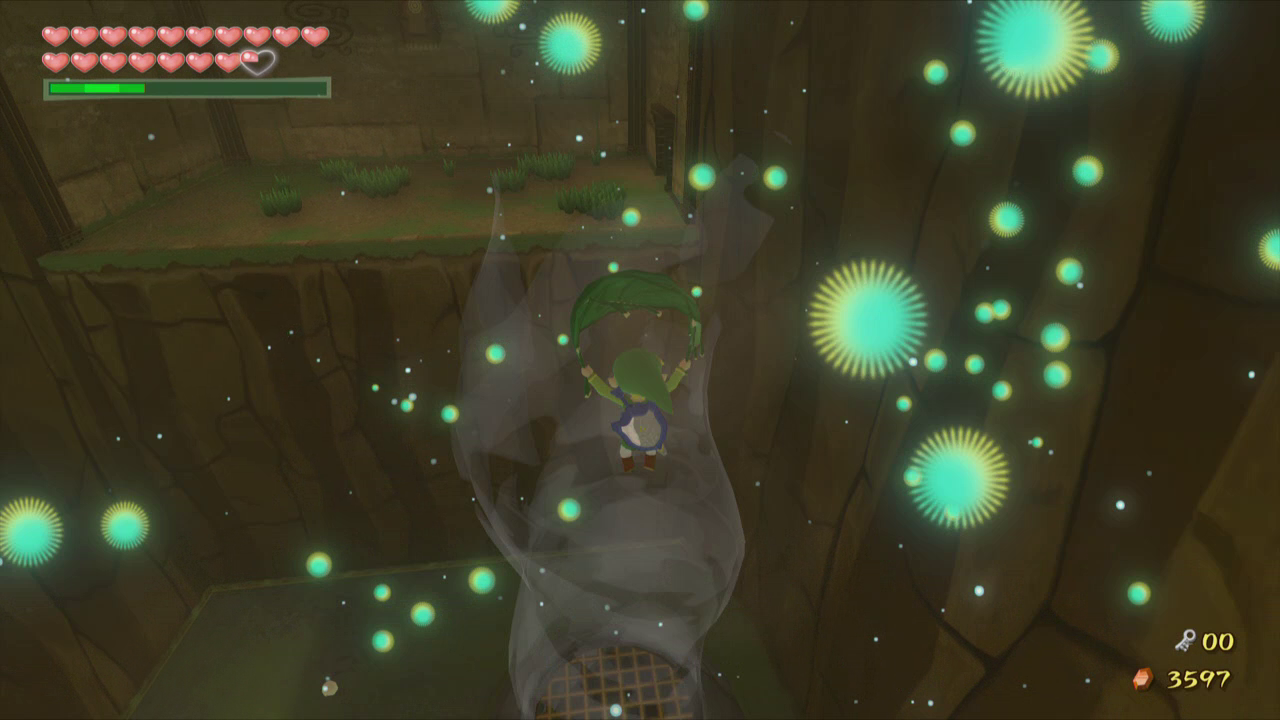
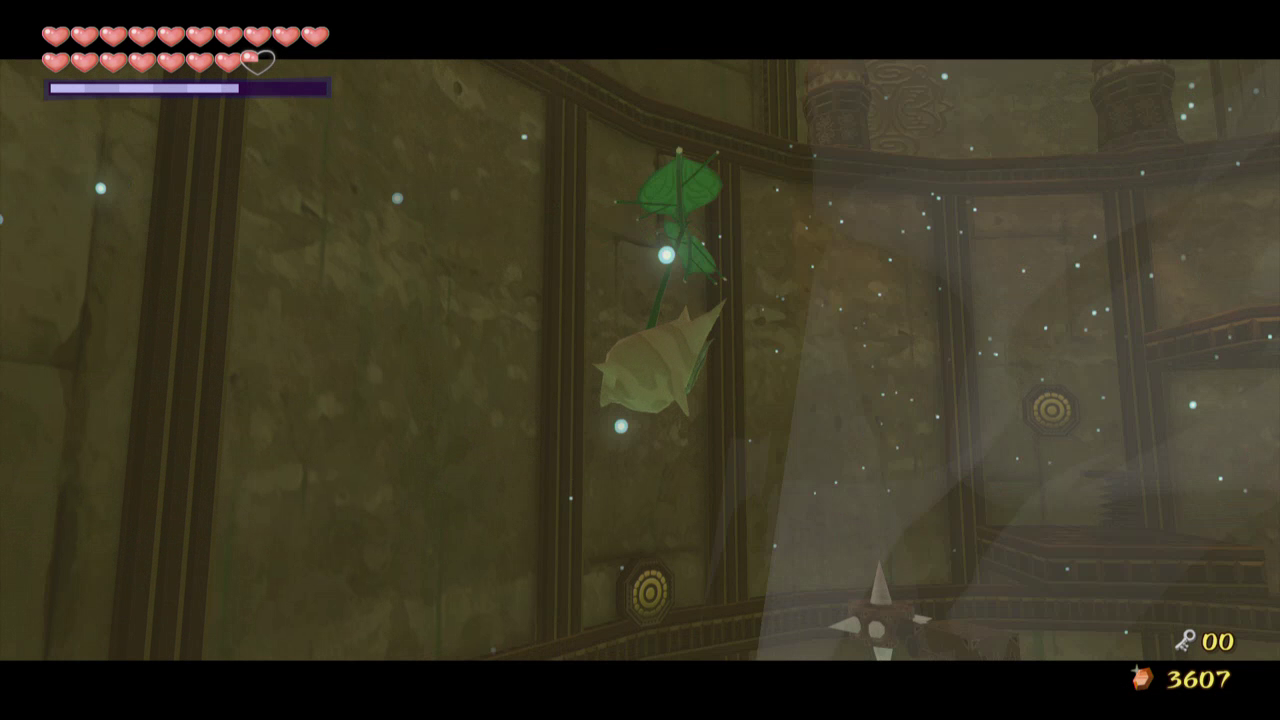
Return to the King of Red Lions and warp on over to the Forest Haven. Climb onto the island and walk over to the closest waterfall. Usually we swing over the waterfall using the grappling hook. However, if you pay close attention, you will hear music and see musical notes coming out of the waterfall. Use the grappling hook from lower area and swing right into the waterfall to find a secret underground cavern.
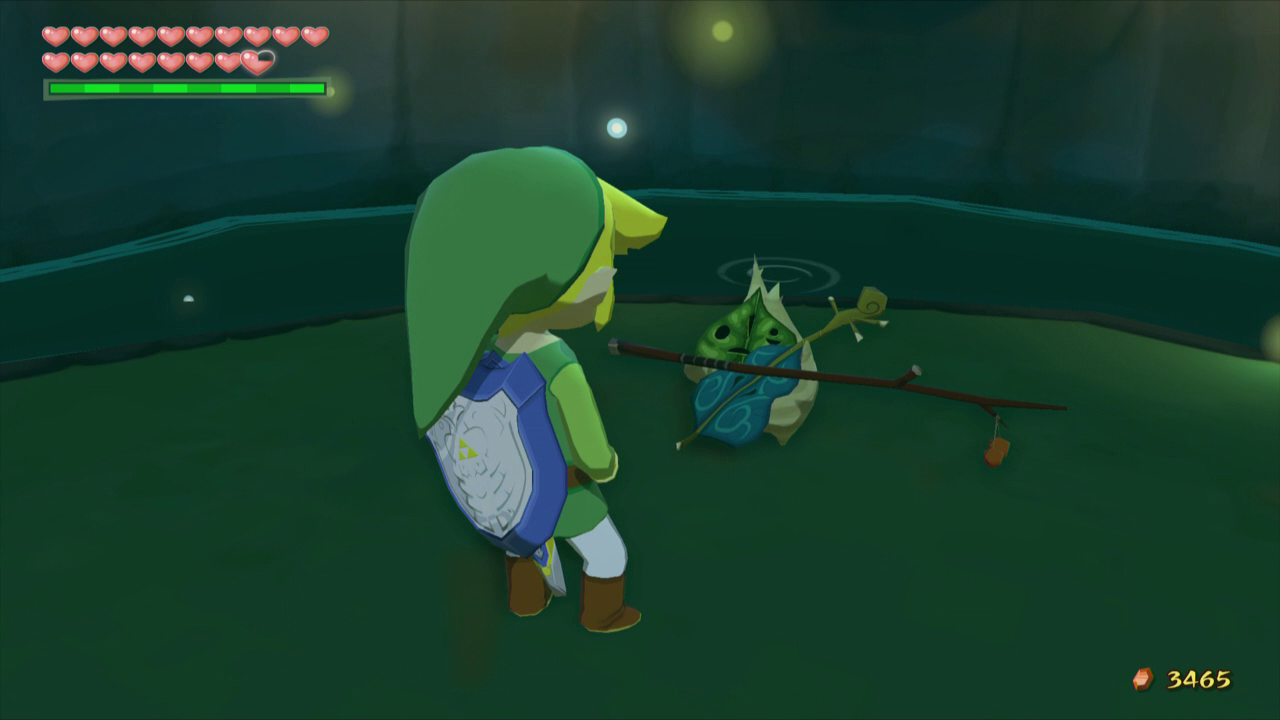
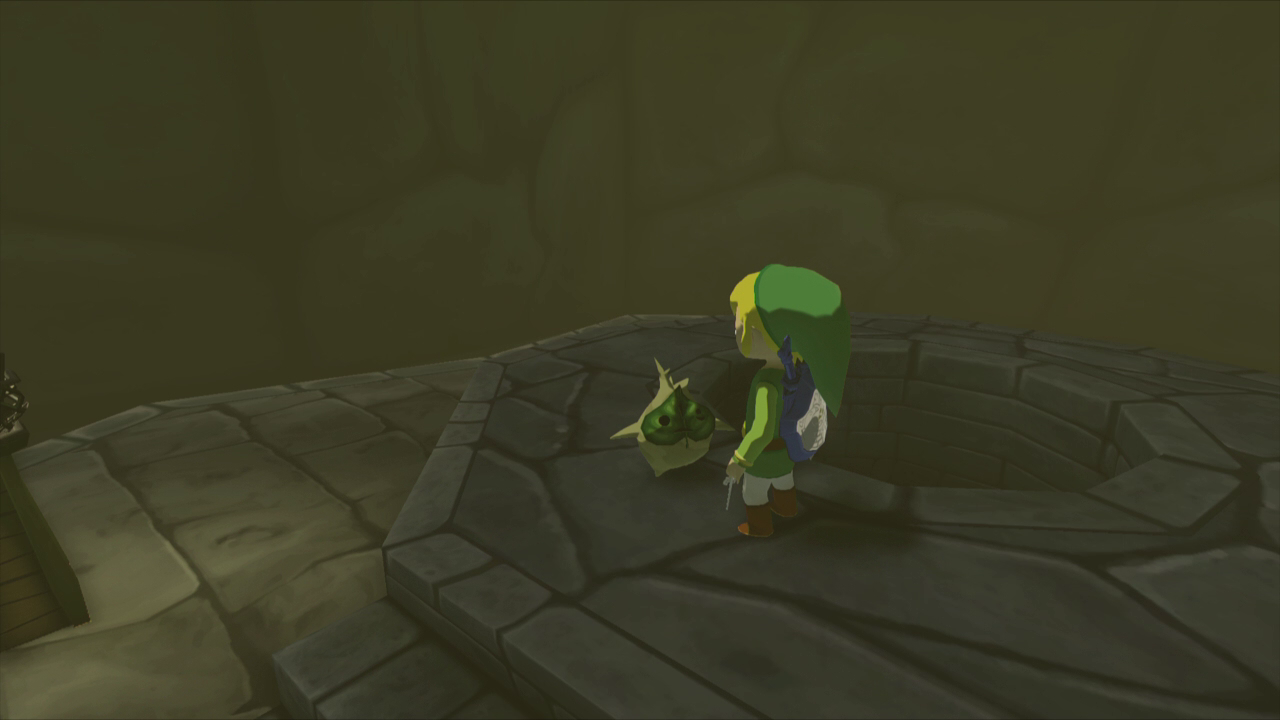
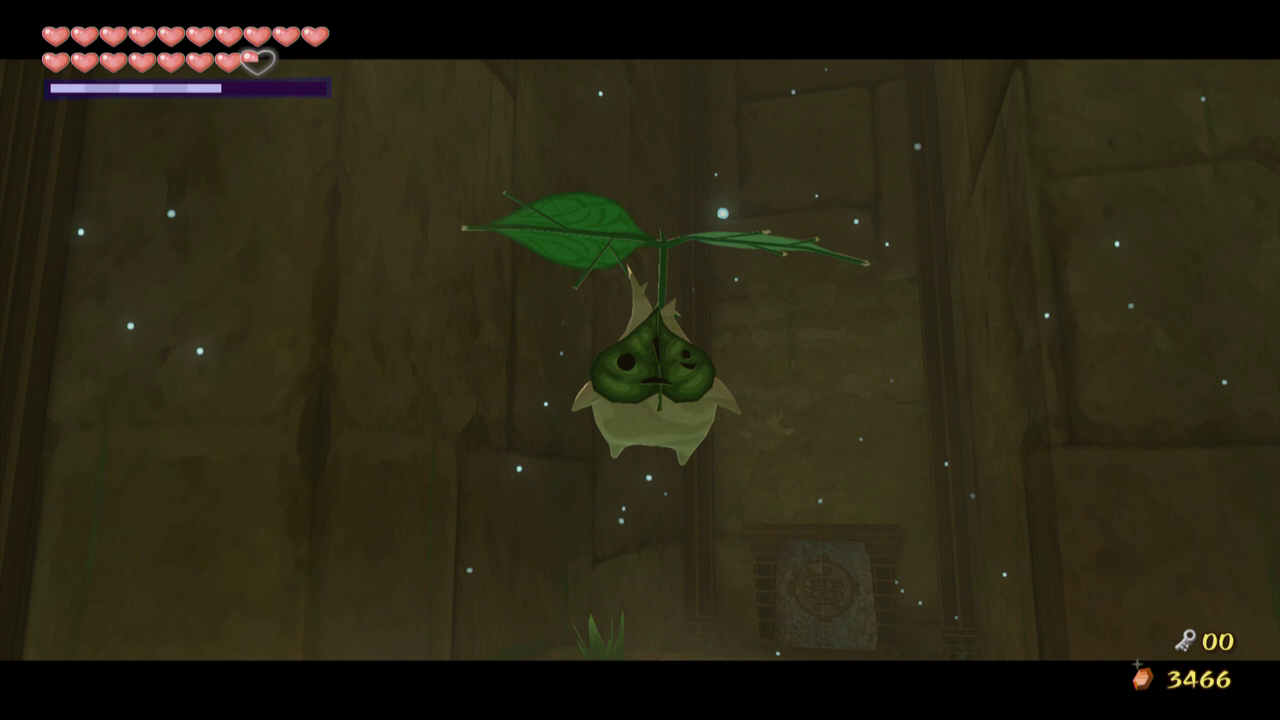
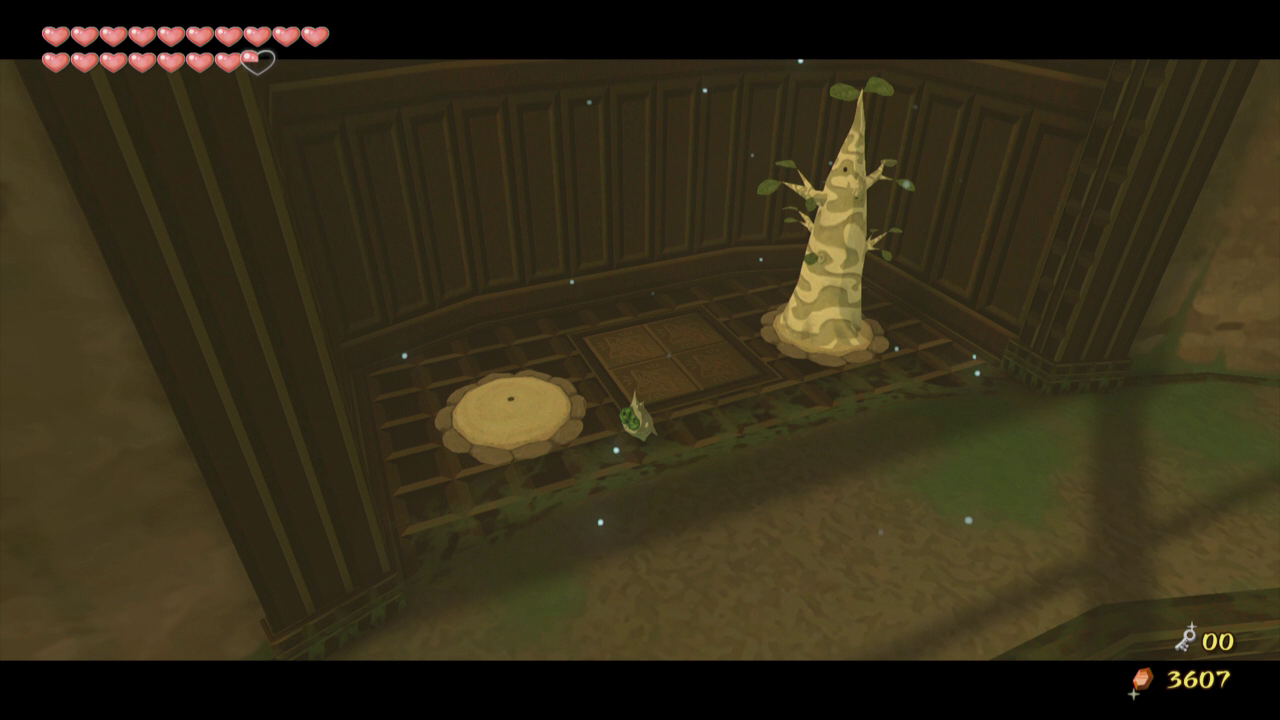
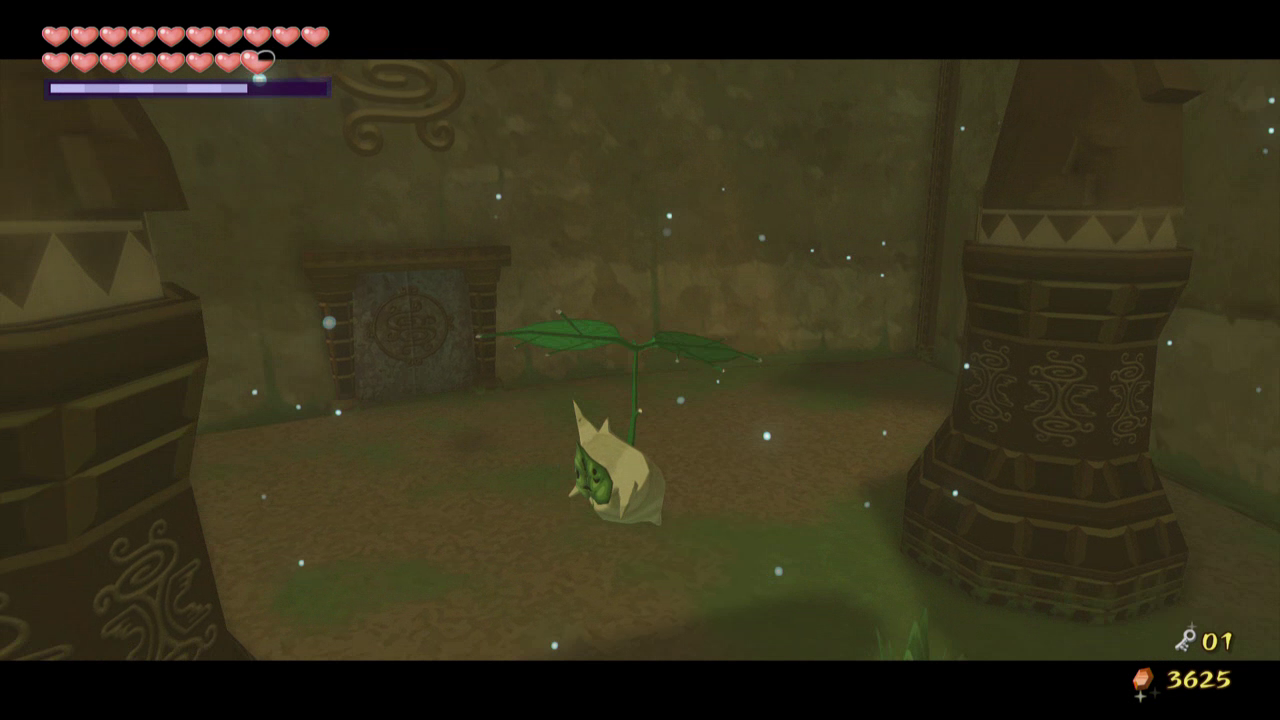
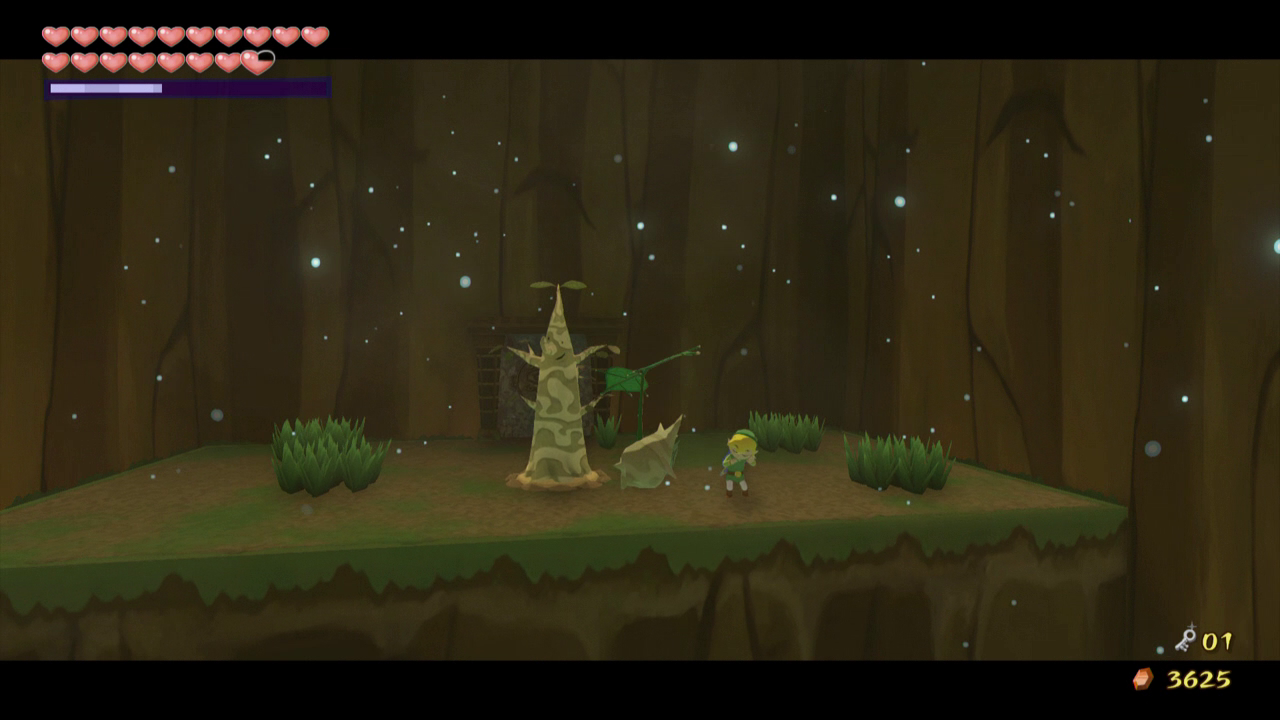
Inside you will find Makar playing his Violin. He is trying to learn a song for next years ceremony. Pull out the Wind Waker and this will trigger a scene where Makar awakens as the Sage and plays the Wind God’s Aria alongside Link. Once you can control of Link, he’ll be back on the King of Red Lions, with Makar sitting on the King’s head.
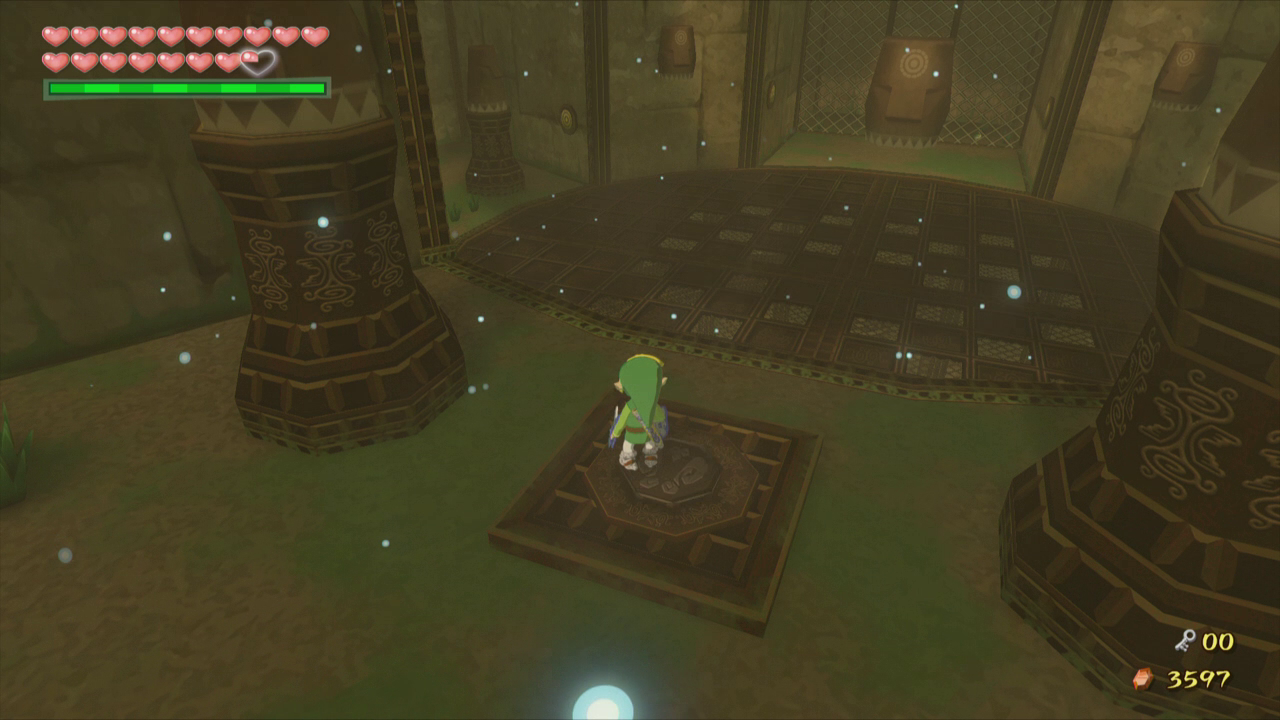
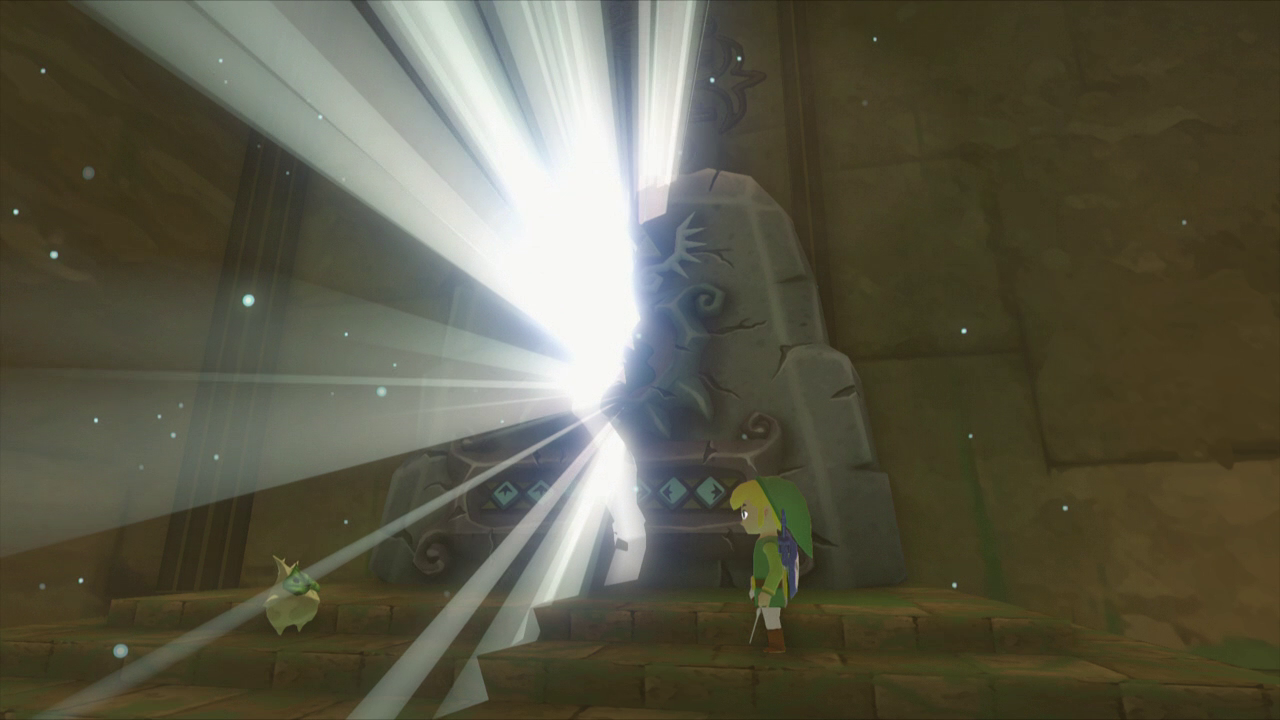
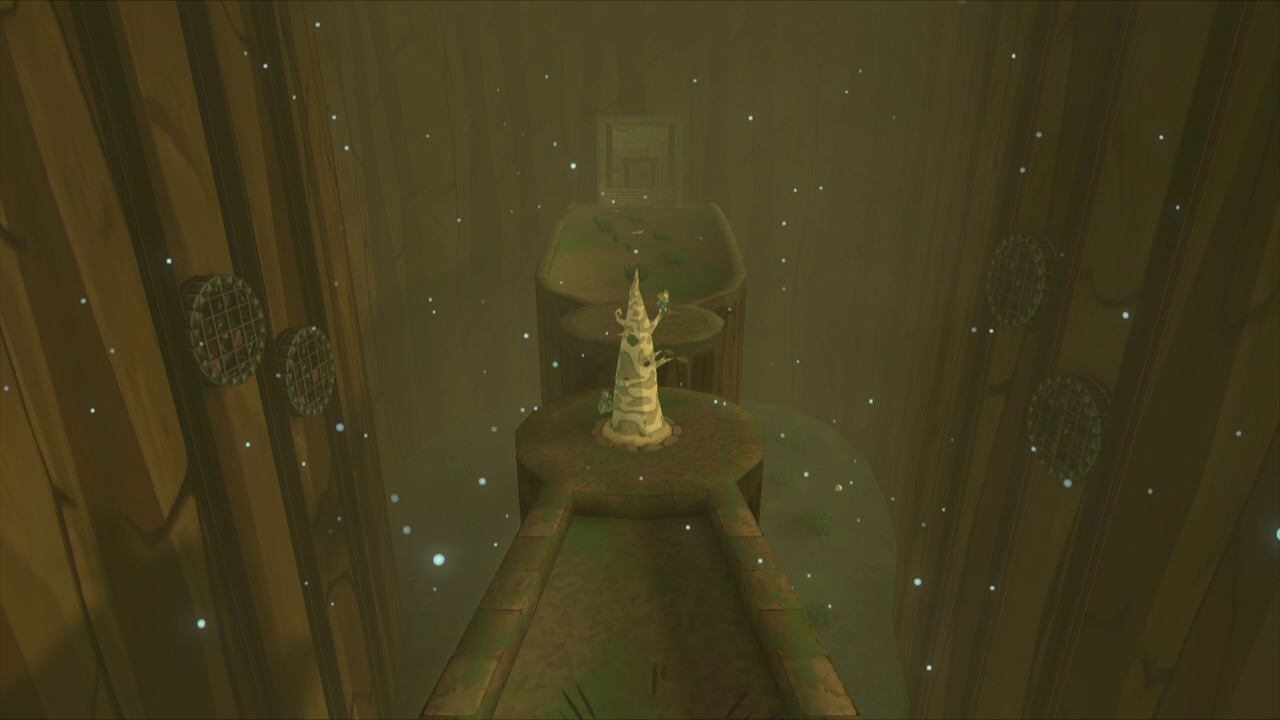
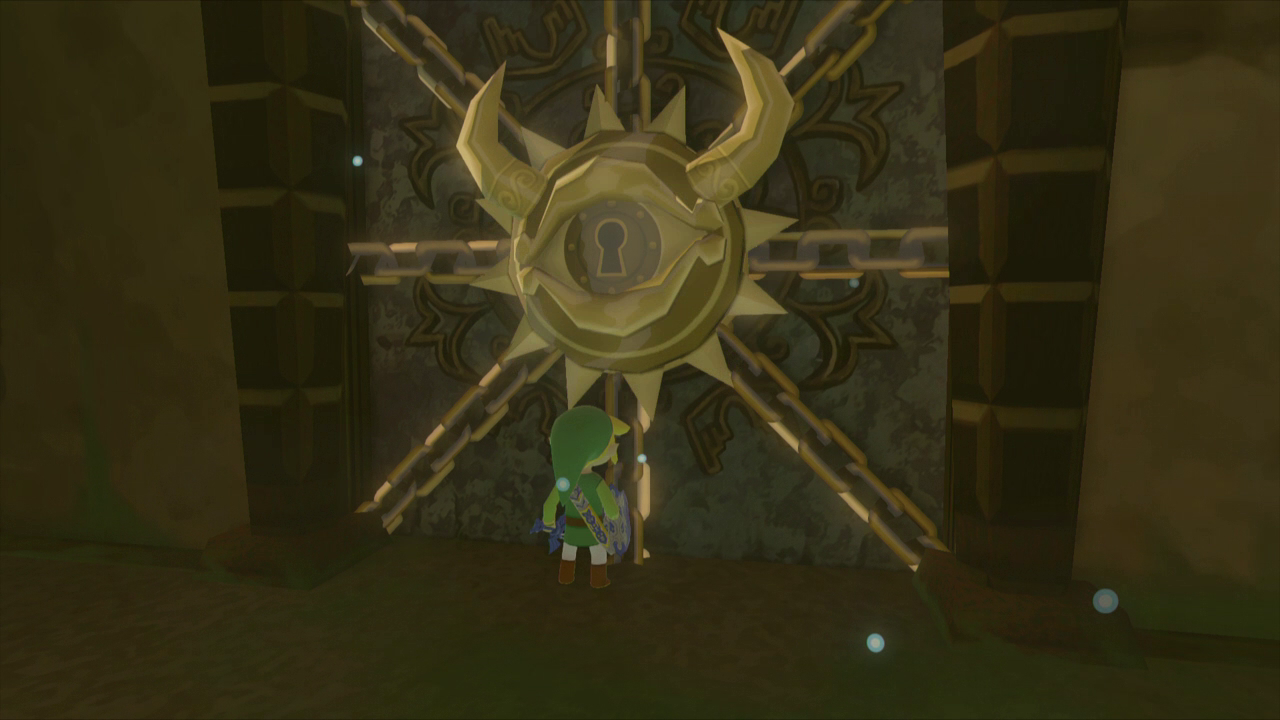
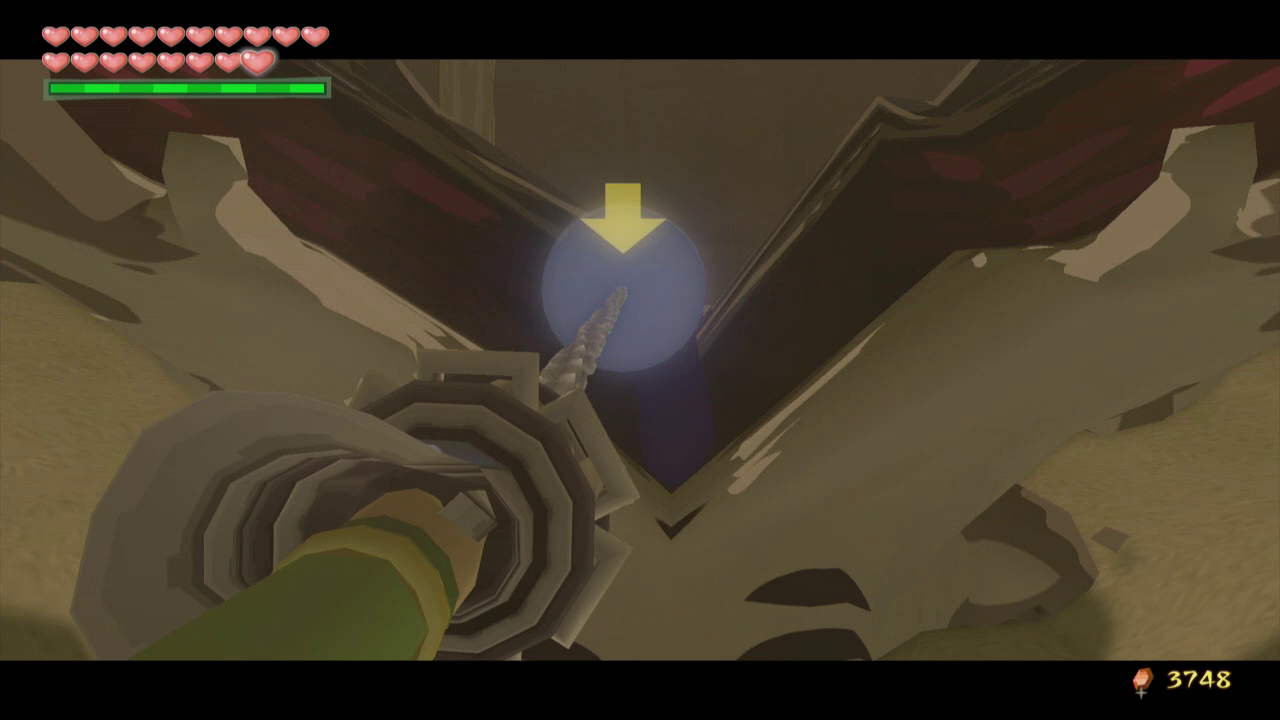
Sail back over to Gale Isle and return to the large statue on the inside. Play the Wind God’s Aria alongside Makar and the statue will disappear, revealing the entrance to the next dungeon in the game, the Wind Temple.
12.3 Wind Temple
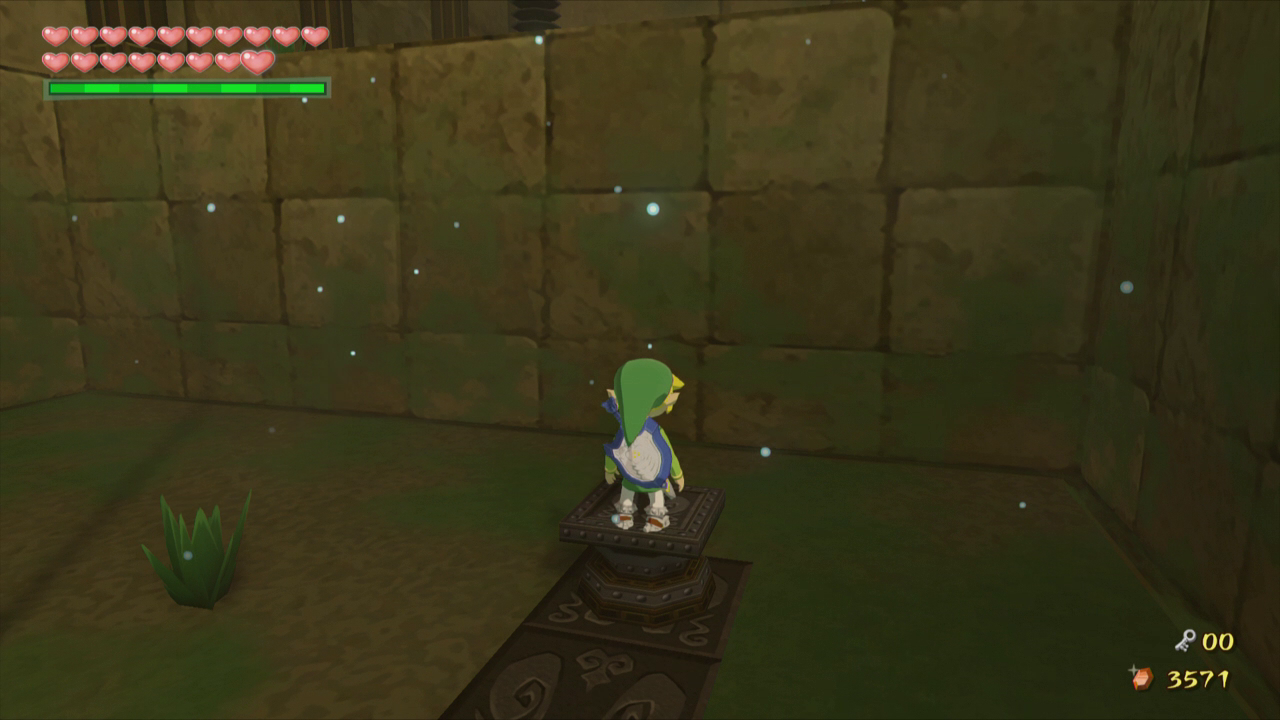
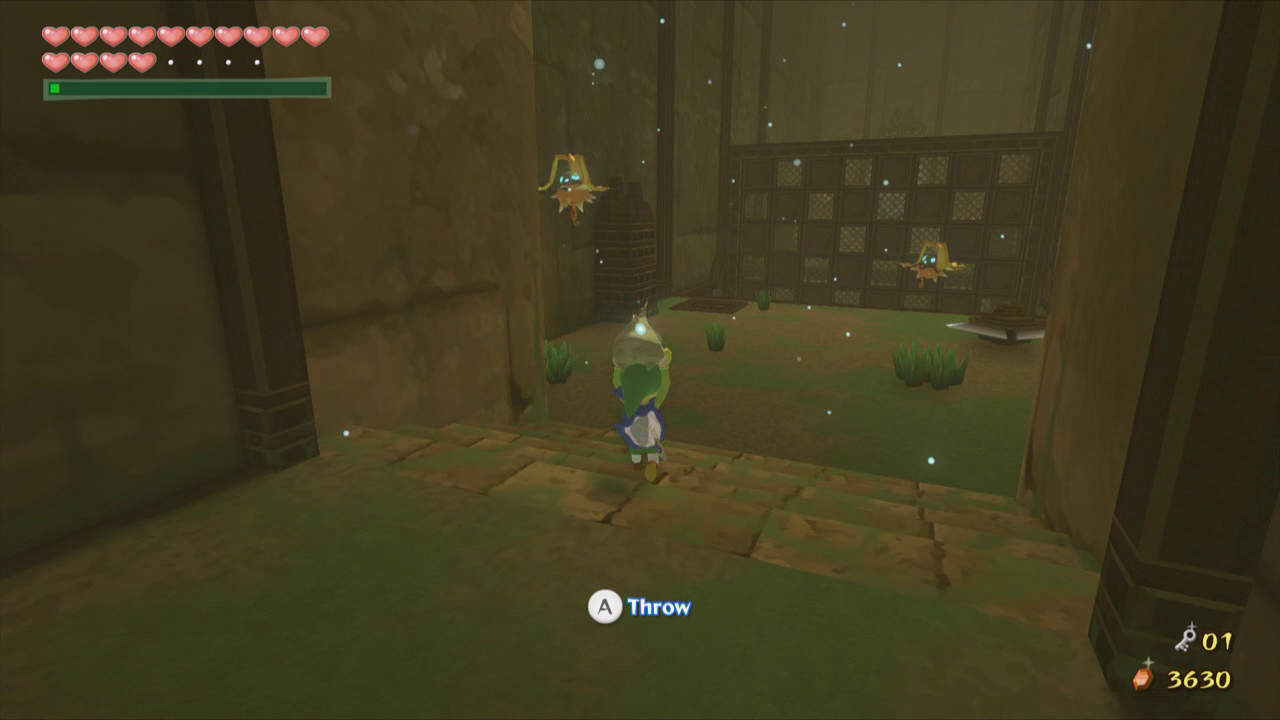
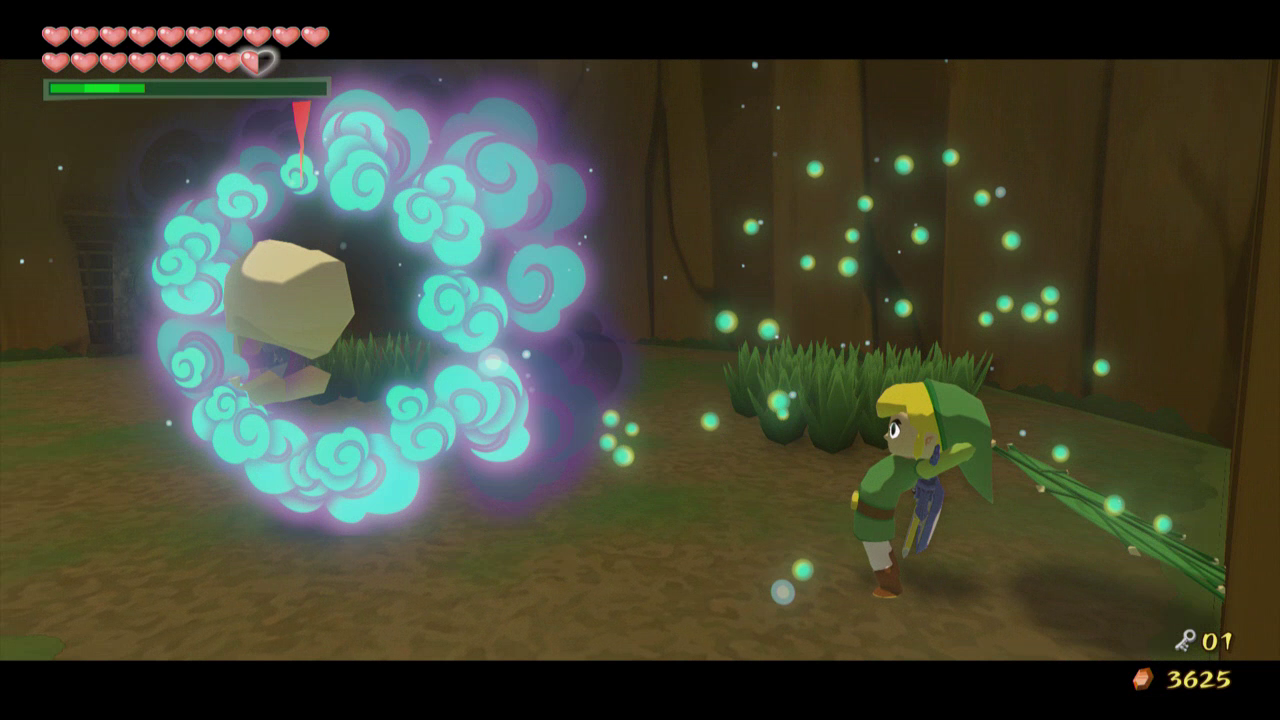
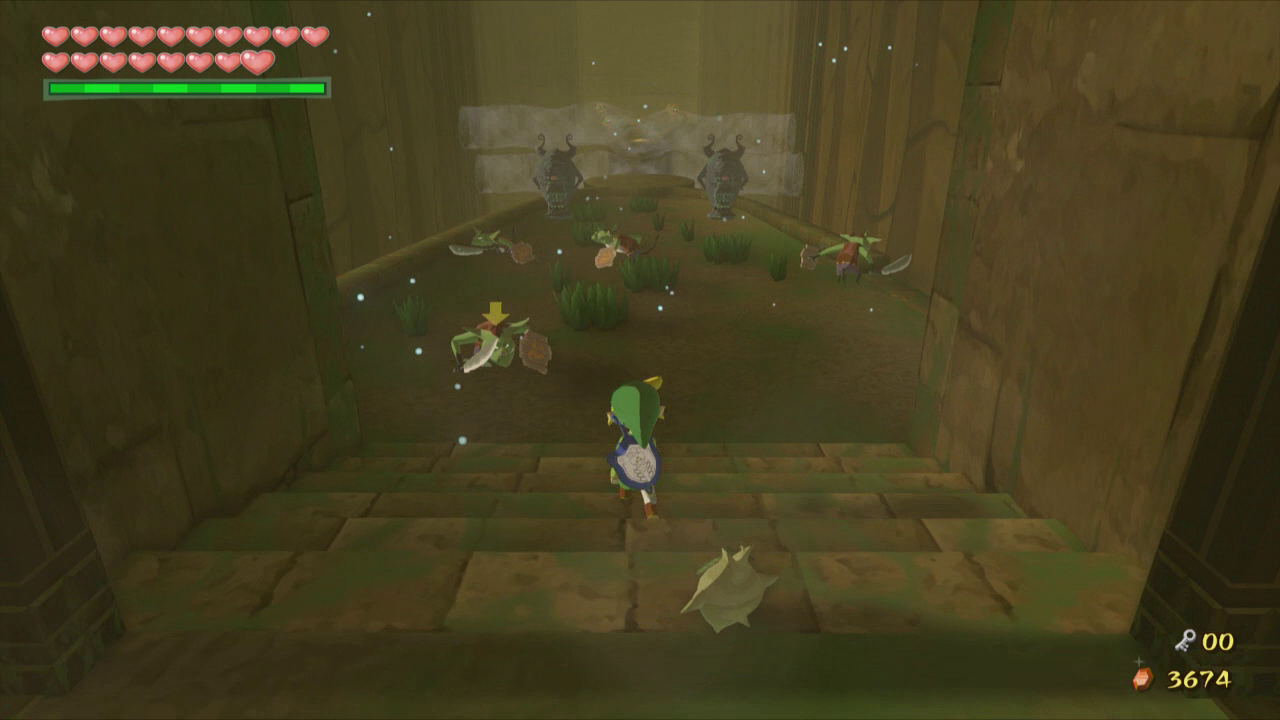
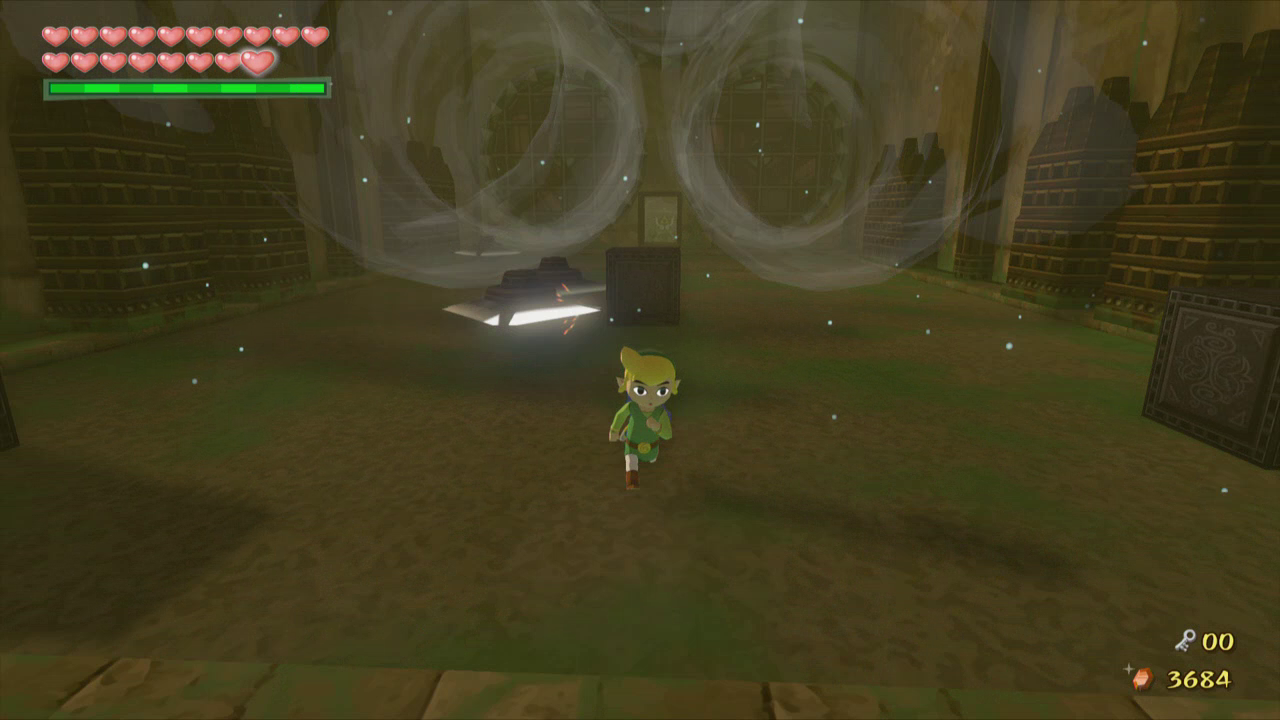
After you enter the Wind Temple simply grab Makar and head north through the door to the next room. Place Makar on the ground and drop down into the pit ahead. Defeat the Wizzrobe in this area and then walk forward through the small pathway and defeat the Stalfos as well.
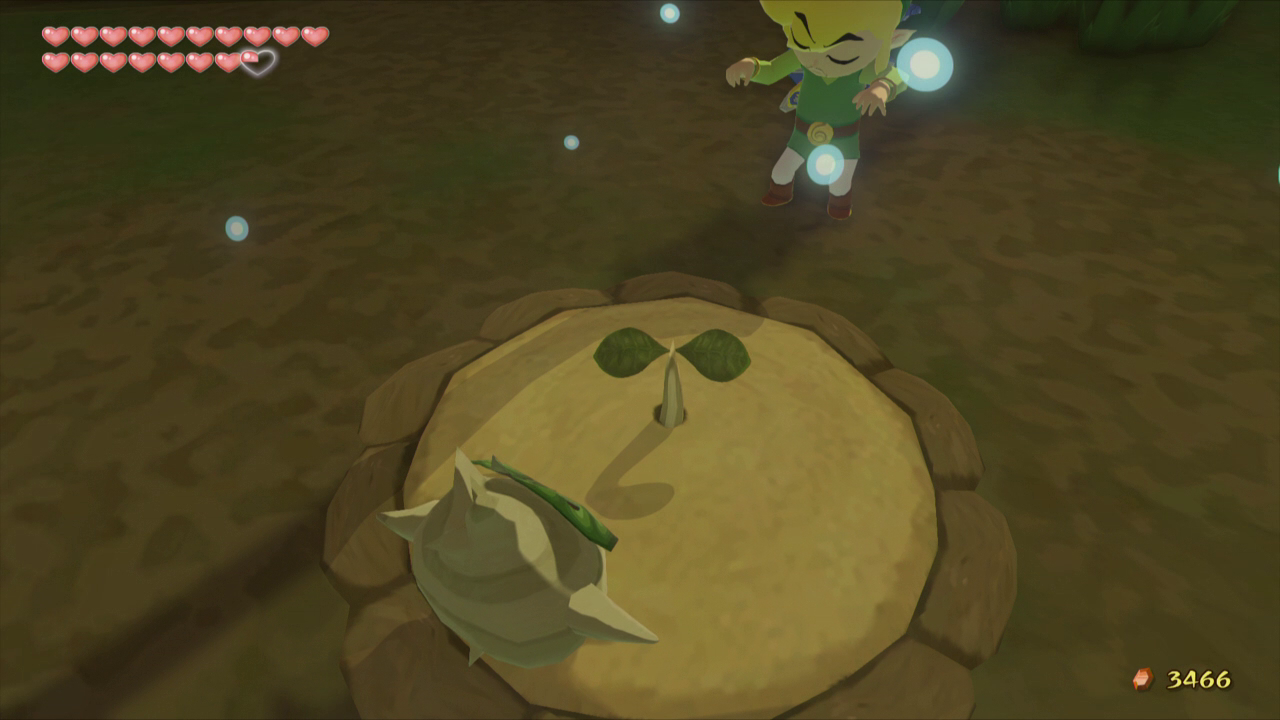
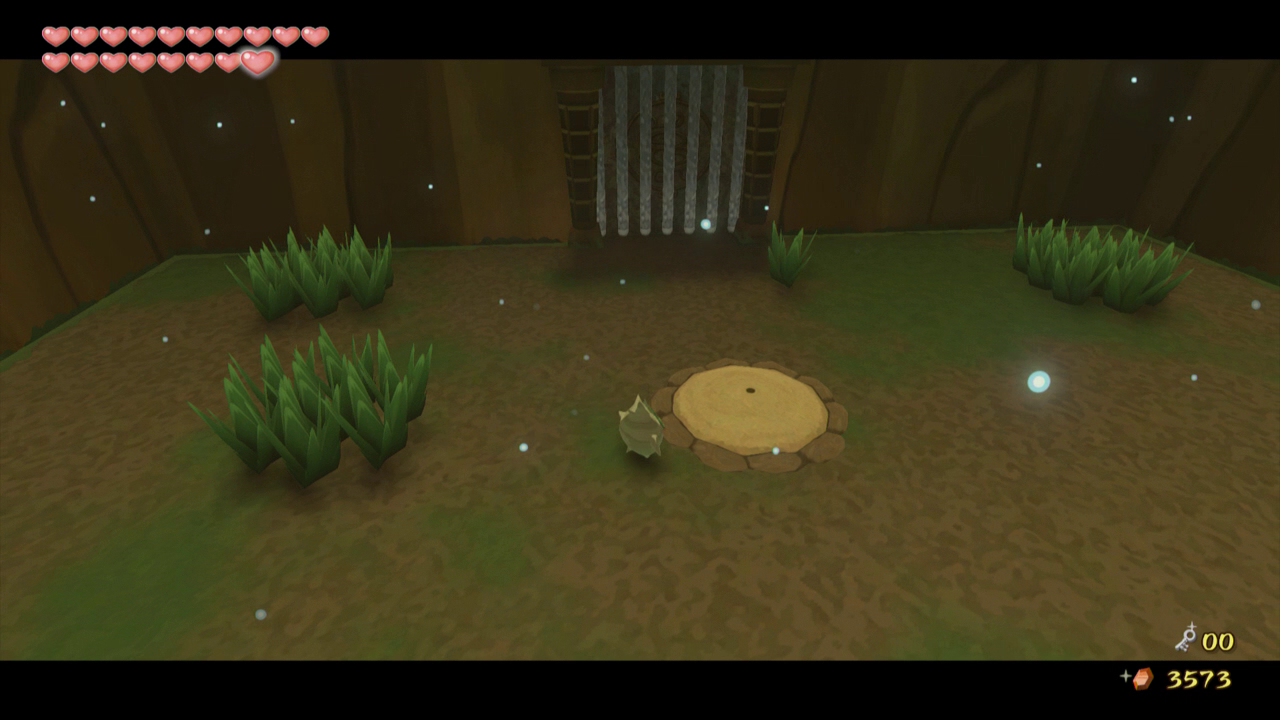
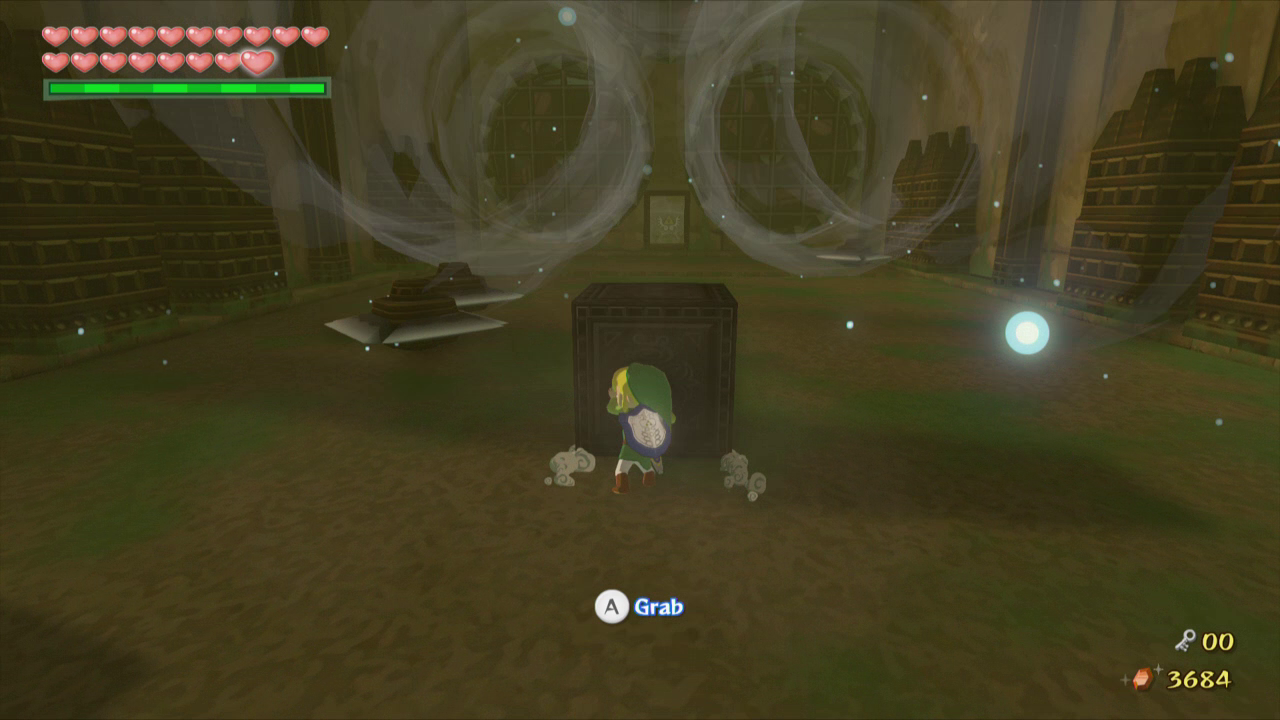
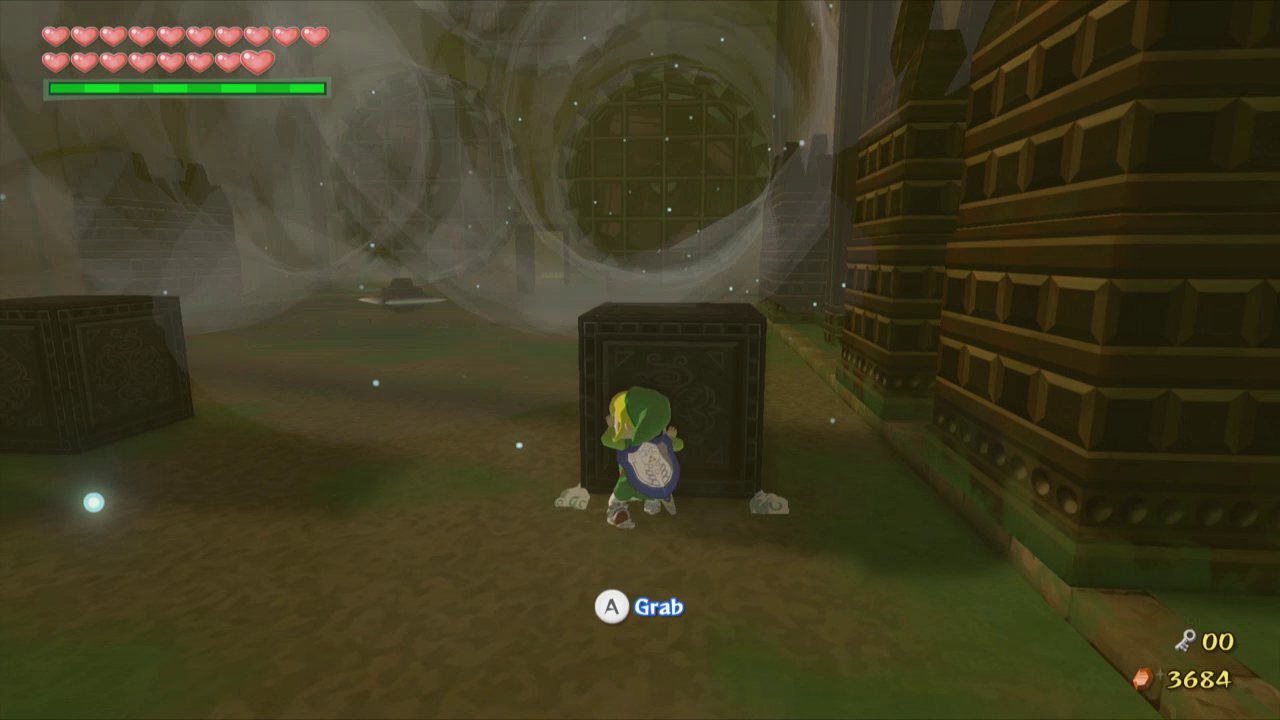
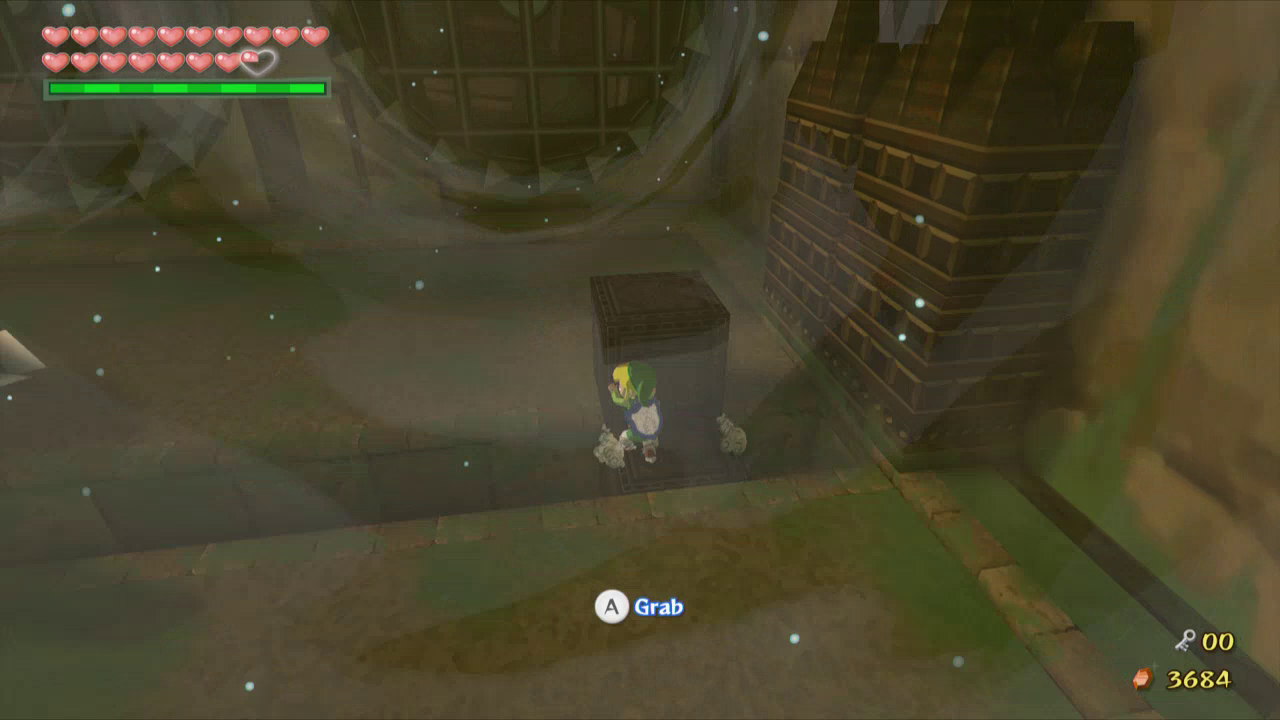
Remove the top from the green pot along the left wall and then use the Command Melody to take control of Makar. Bring Makar down to the lower pit and walk him over to one of the two patches of dirt in the first area. Press A to plant a seed in the dirt, causing a small tree to spring up out of the ground. Do the same with the second patch of dirt and a chest will appear. Ignore the chest for now and walk Makar past the small hallway, and then have him fly up to the higher platform above. Step on the switch nearby to remove the two cyclones, and then return control to Link.

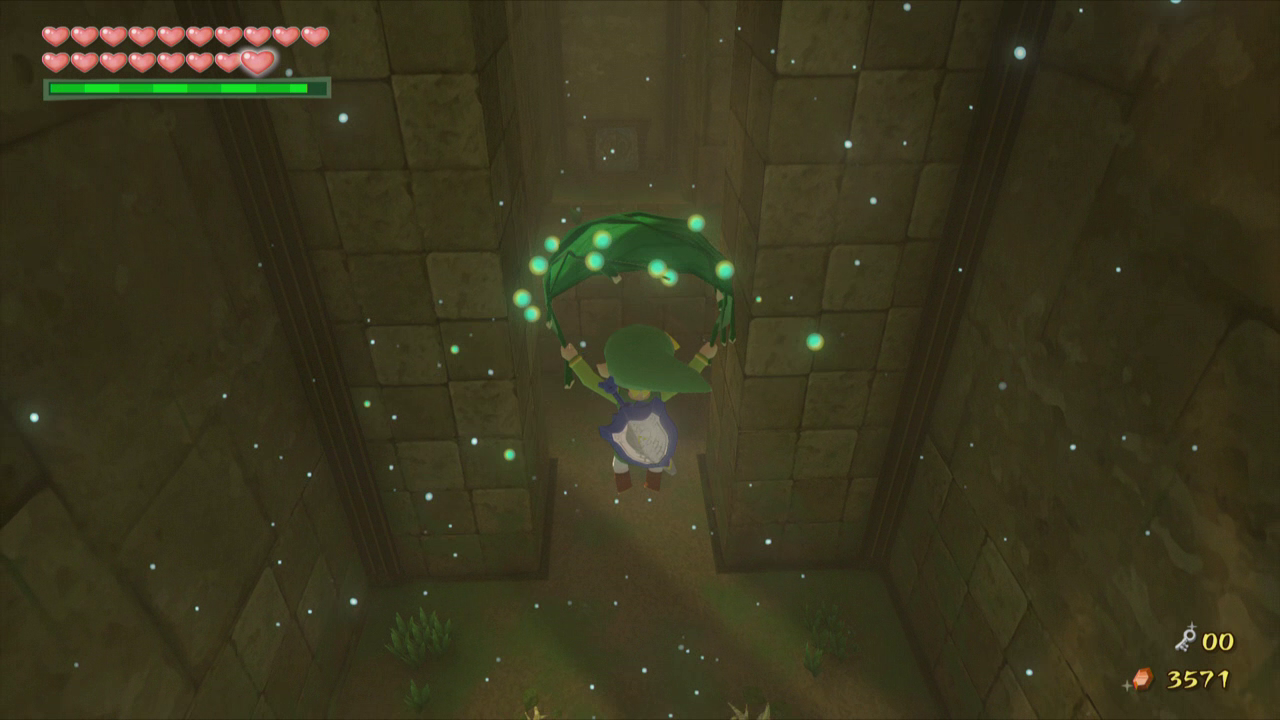
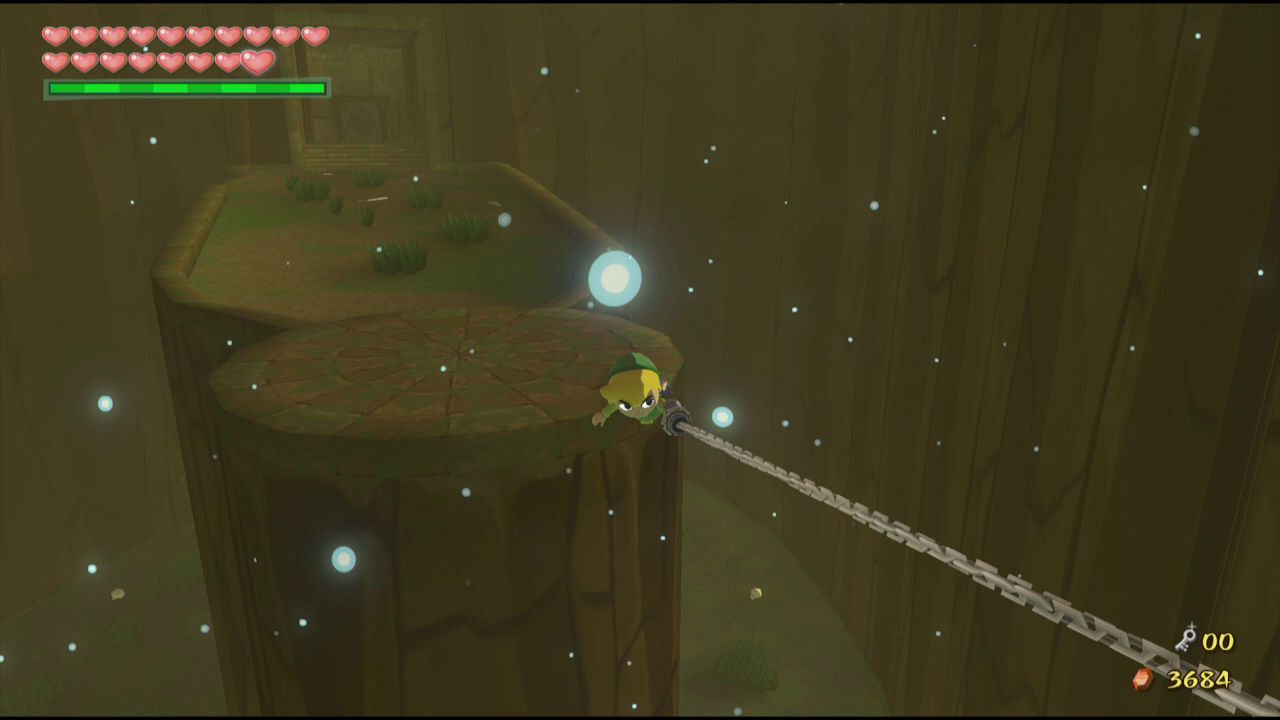
Walk south and open the chest for an orange rupee. Then step on the iron switch nearby and use the Iron Boots to weigh the switch down. Remove the Boots and Link will spring into the air, allowing you to reach the higher platform from where we first entered the room. Step on the switch here with the Iron Boots and then remove them again. Once you are in the air use the Deku Leaf to float over to the opposite side of the room with Makar. Grab him and head through the next door.
Defeat the two armos statues in the area ahead and then use the Deku Leaf to blow the propeller in the center of the area. This will lift the wall ahead, allowing you to progress. Grab Makar and run to the other side of the room. Take control of Makar and plant seeds in the next two patches of dirt to unlock the door. Return to Link and head through the door.
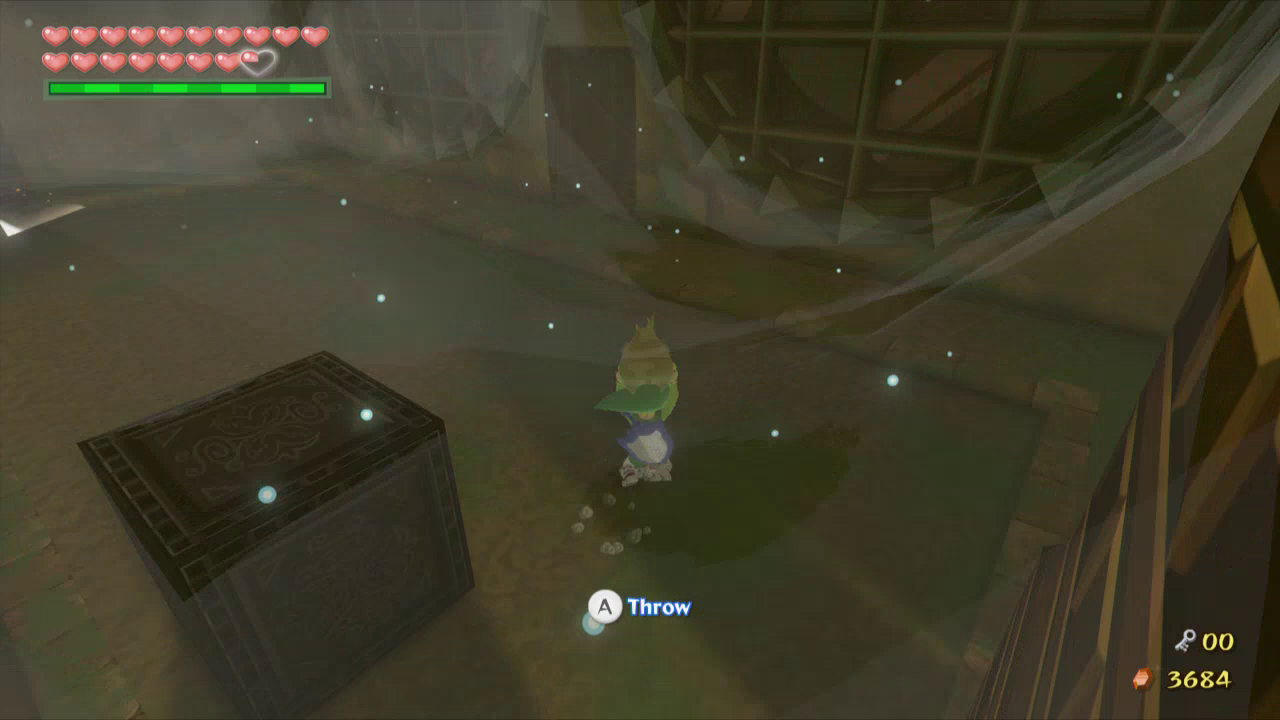
NOTE: In this room you can optionally obtain the fifth and final Tingle Statue, the Wind Tingle Statue. Drop down into the gap ahead, and if you are playing the Gamecube version, open the Tingle Tuner and place a bomb in the narrow gap here to reveal the chest. If you are playing HD, place a bomb in the narrow gap here to reveal the chest.
Take control of Makar once again and fly to each of the platforms ahead and plant seeds in the patches of dirt on each one. Once you plant the last seed the bars over the door will slide off. Unfortunately, a group of Floormasters will take our best friend, leaving us alone for the moment.
We can’t climb up the platforms ourselves, so head right through the door here. Walk into the middle of this room and Makar will call out to you. Go over and speak to him and he’ll tell you that the only way to free him is to become as heavy as the Great Deku Tree. We can do this with the Iron Boots, but we still have no way to move the statue as of yet.
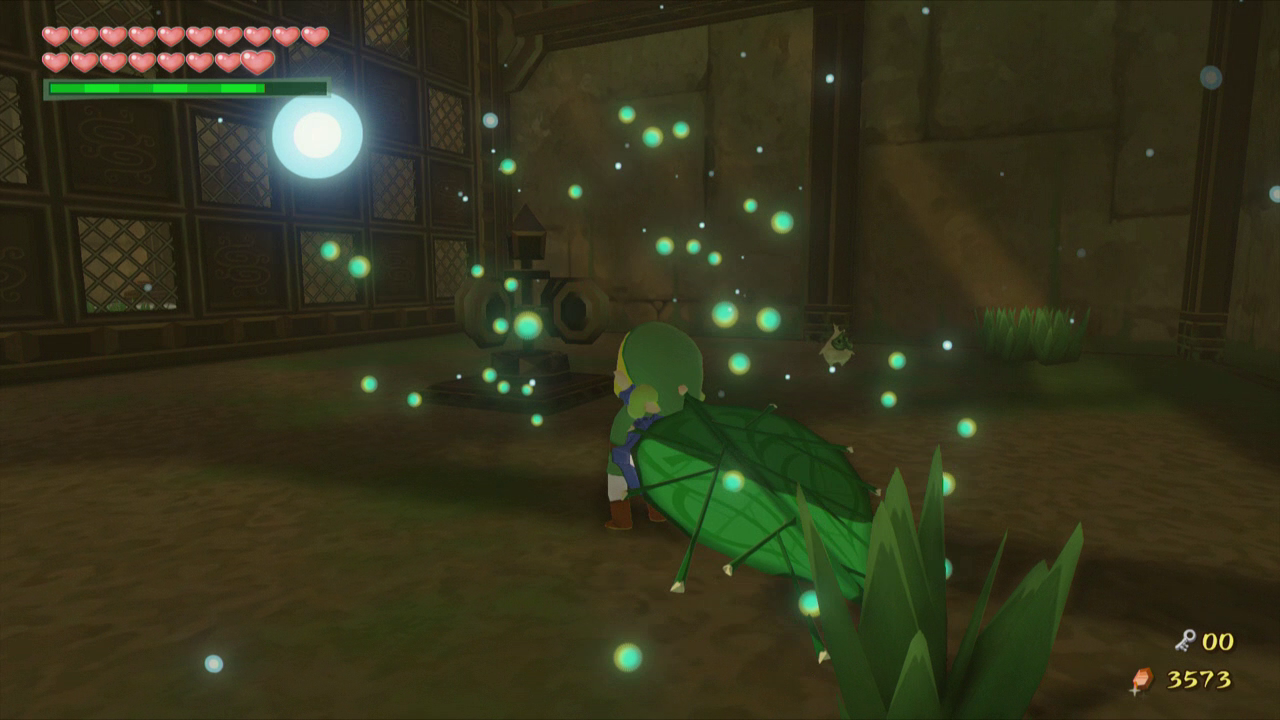
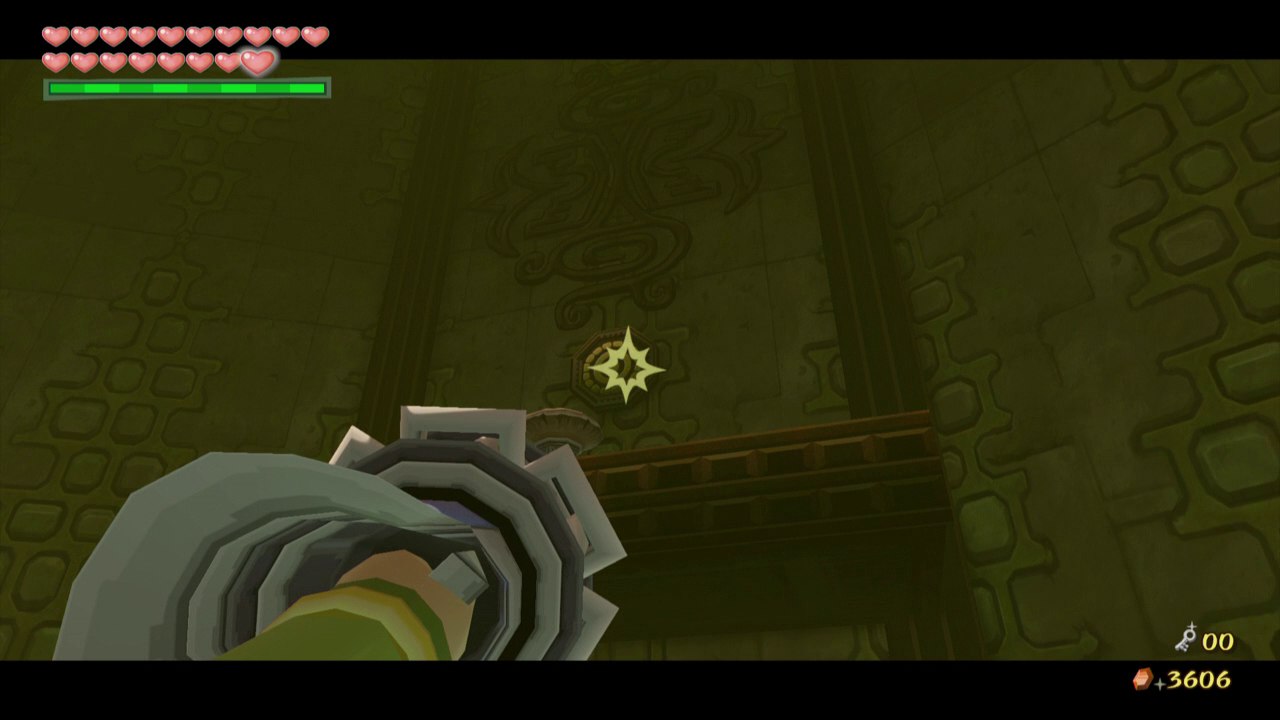
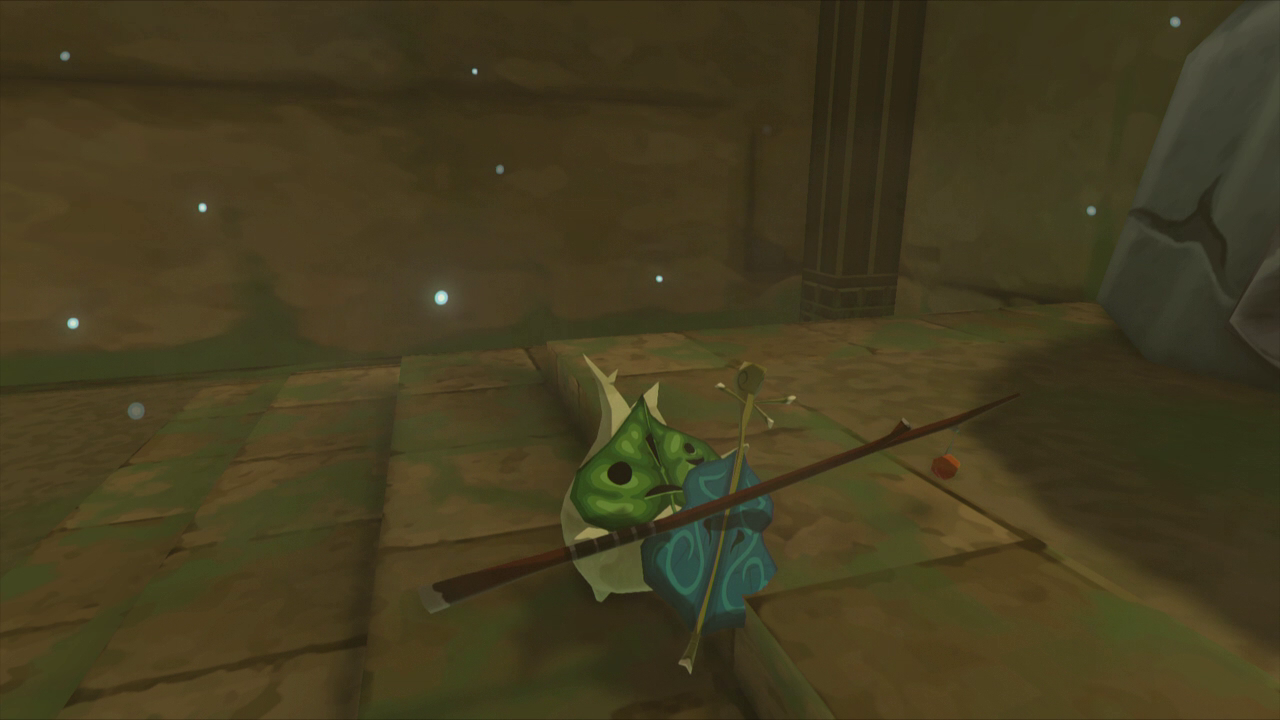
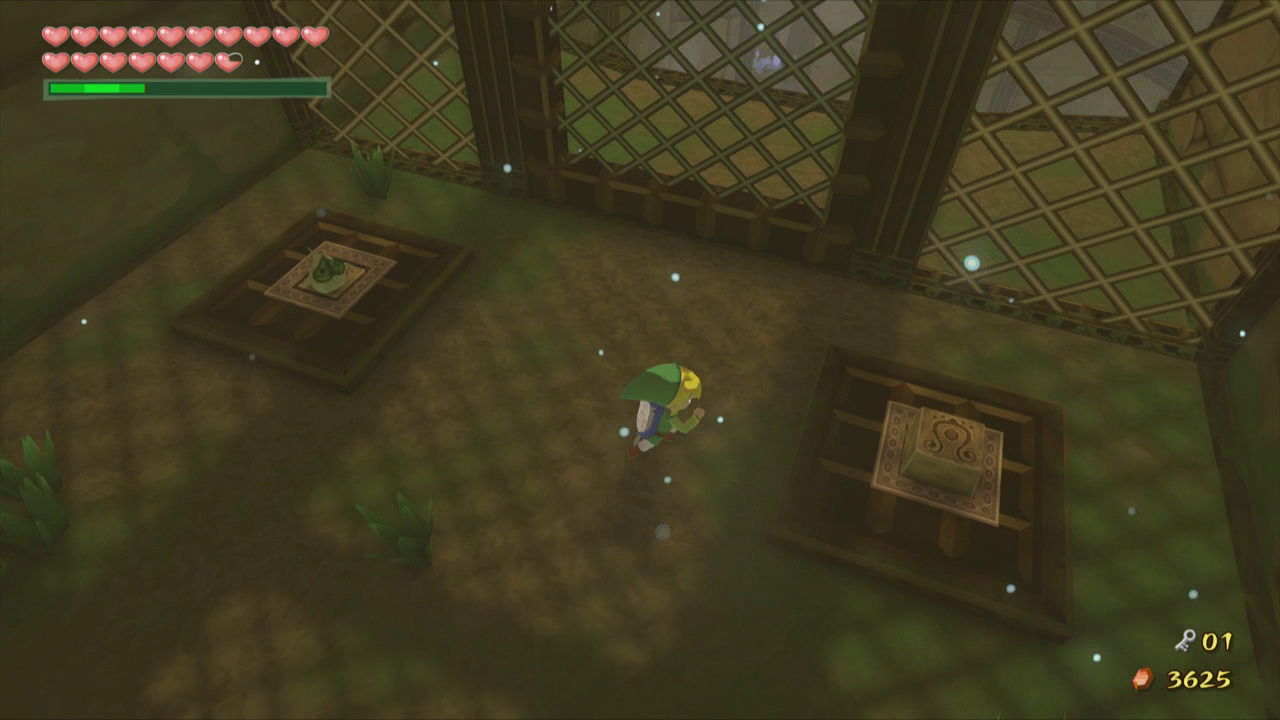
Head through the door on the east side of the room and kill the Peahats inside. Drop down to the lower level of this room and kill the Floormaster nearby. Use the Deku Leaf to blow the propeller and then use the iron switch to get back up to the higher level. Walk to the middle of the room and open the chest in the left alcove for a Joy Pendant. Continue across the room and go through the door to the right.

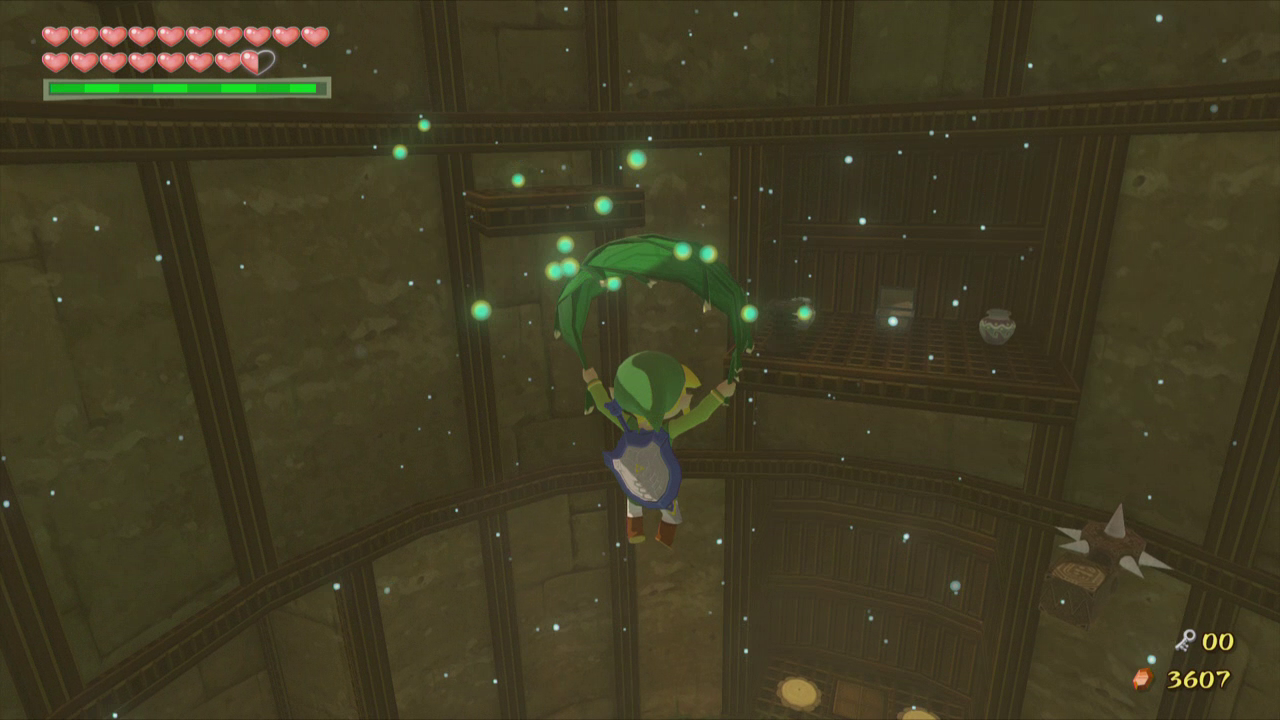
Jump off the edge of this platform and use the Deku Leaf to fly into the cyclone to the right. Once you are higher in the air fly over onto the small platform along the left wall. Step on the switch to make a section of the gate flip so it is parallel to the ground. Use the Deku Leaf and the cyclone once again to make it onto the lowered section of gate.

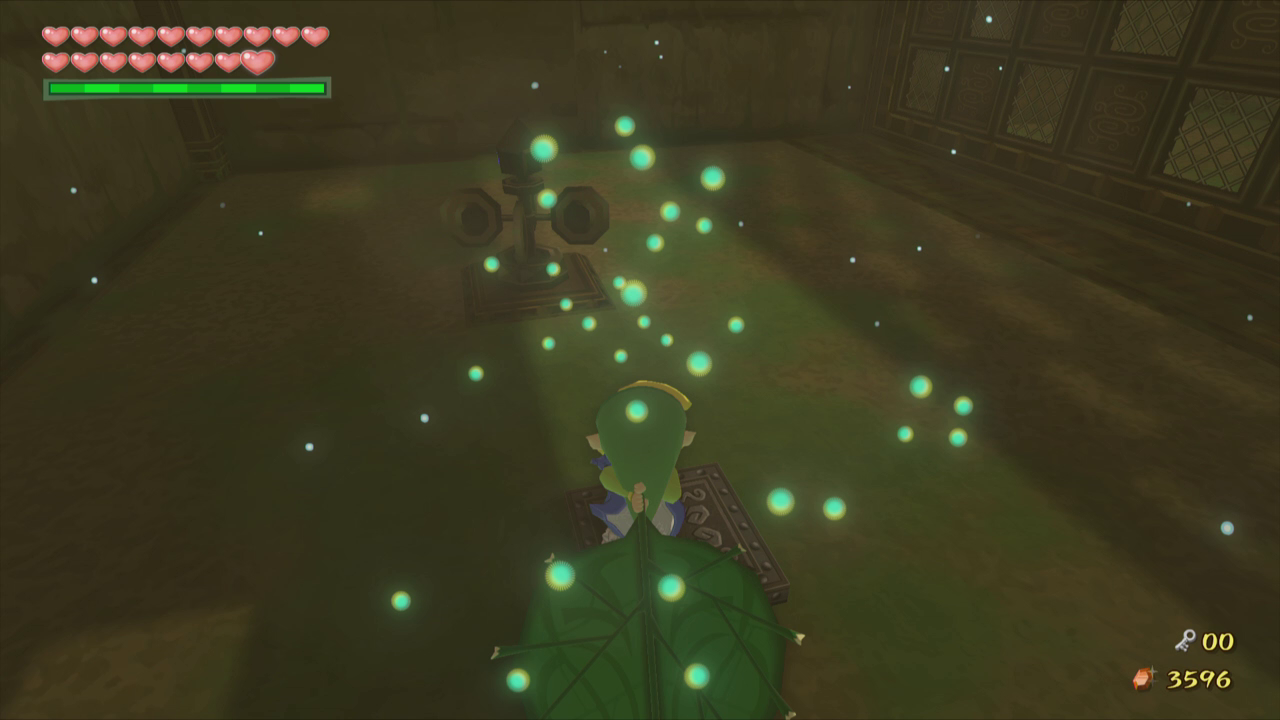
Walk over into the next area and use a couple of arrows or one fire/ice arrow to kill the Wizzrobe that appears. Jump to the south and use the Deku Leaf to float over to the nearby cyclone. Fly over to the section of land against the southern wall. Open the chest for the Dungeon Map, and then cut down the grass here for some more magic.
Jump off the edge to the north and fly into the cyclone we were just in. Turn to the west and fly through the open section of gate, and then fly into the next cyclone. Land on the lowered section of gate here and break the skulls for some more magic. Kill the Peahats and the Wizzrobe nearby, and then jump into the last cyclone fly over to the western stretch of land. Walk through the door here and into the next room.
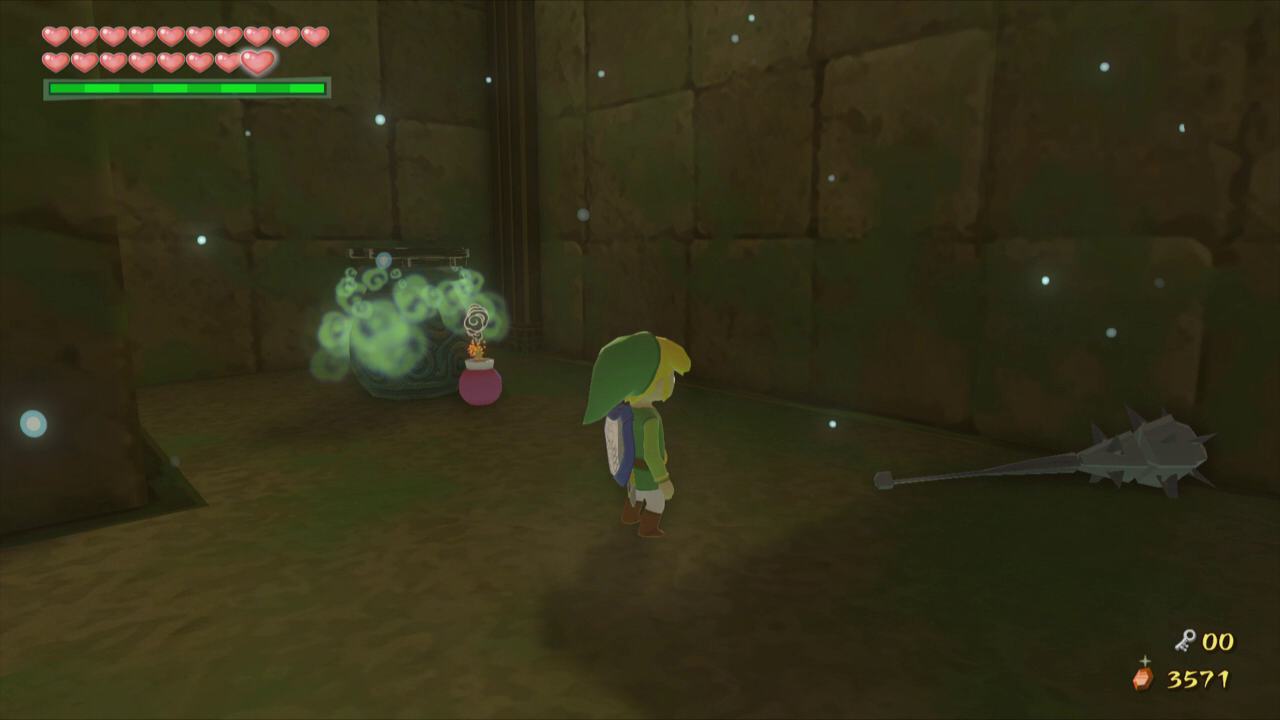
Burn the top of the blue pot to the right and then climb on to the metal stake here. Put on the iron boots and the switch will press down, allowing us to access a lower part of this room. Walk to the edge of this area and jump off to reach the area below. Make sure you pull out the Deku Leaf right before you reach the ground so you don’t take damage.

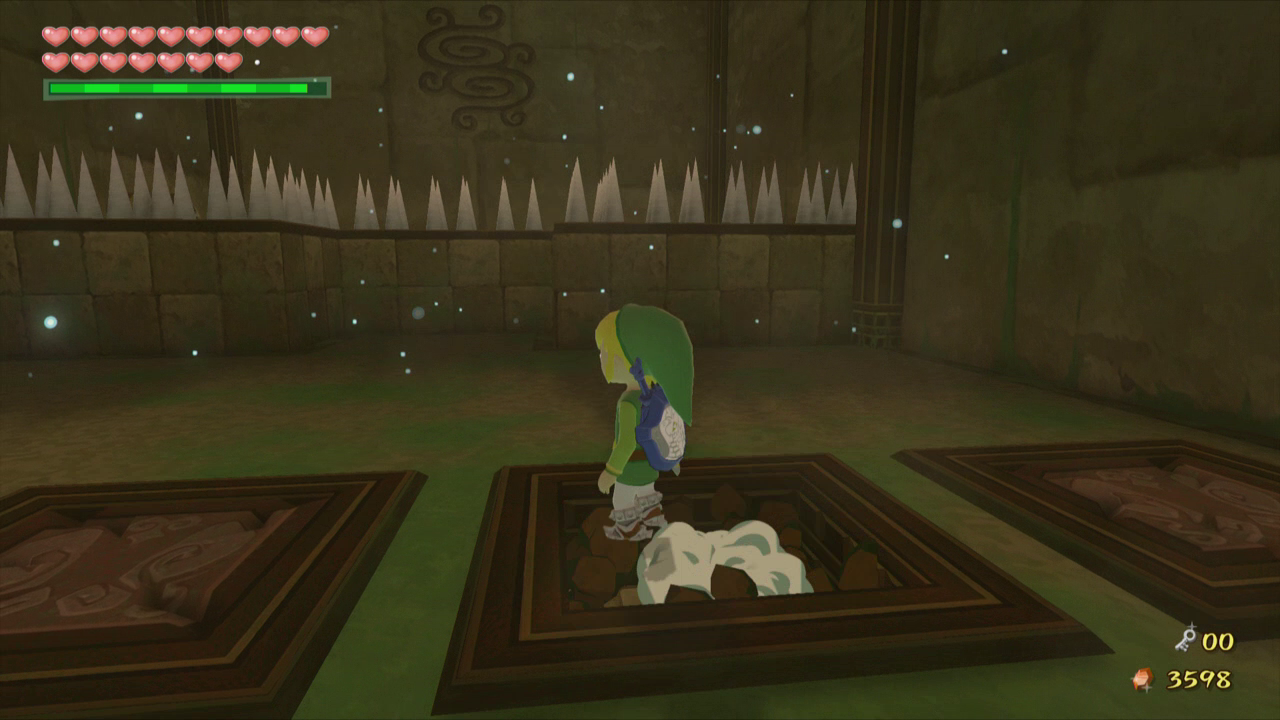
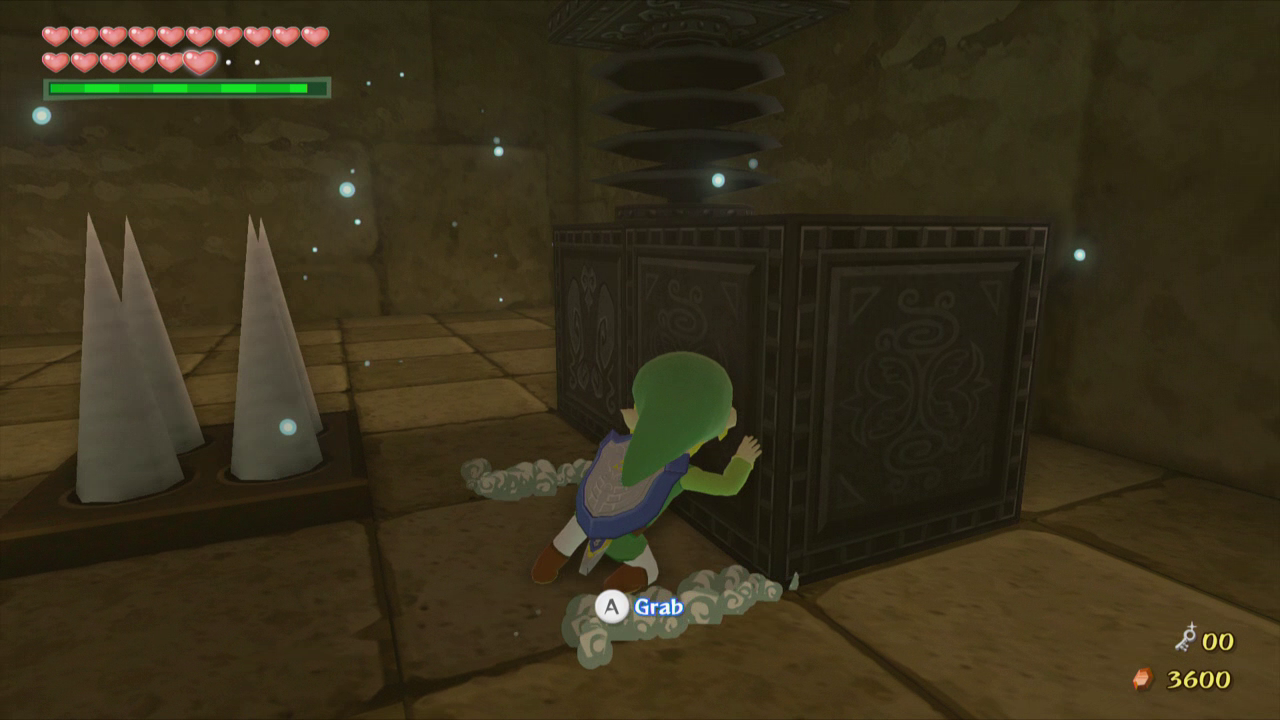
Walk through the door to the south and stand on the cracked tile to the far left. Put on the Iron Boots and you will fall through the hole, landing in a new area below. Defeat the group of Red ChuChus that will appear once you start moving. At the south end of the room there is a dark colored tile. Drag the spring here from the middle of the room, and then place the smaller block next to it. Climb onto the small block and then climb onto the spring as well. Use the Iron Boots to reach a higher area and open the chest here for a small key.
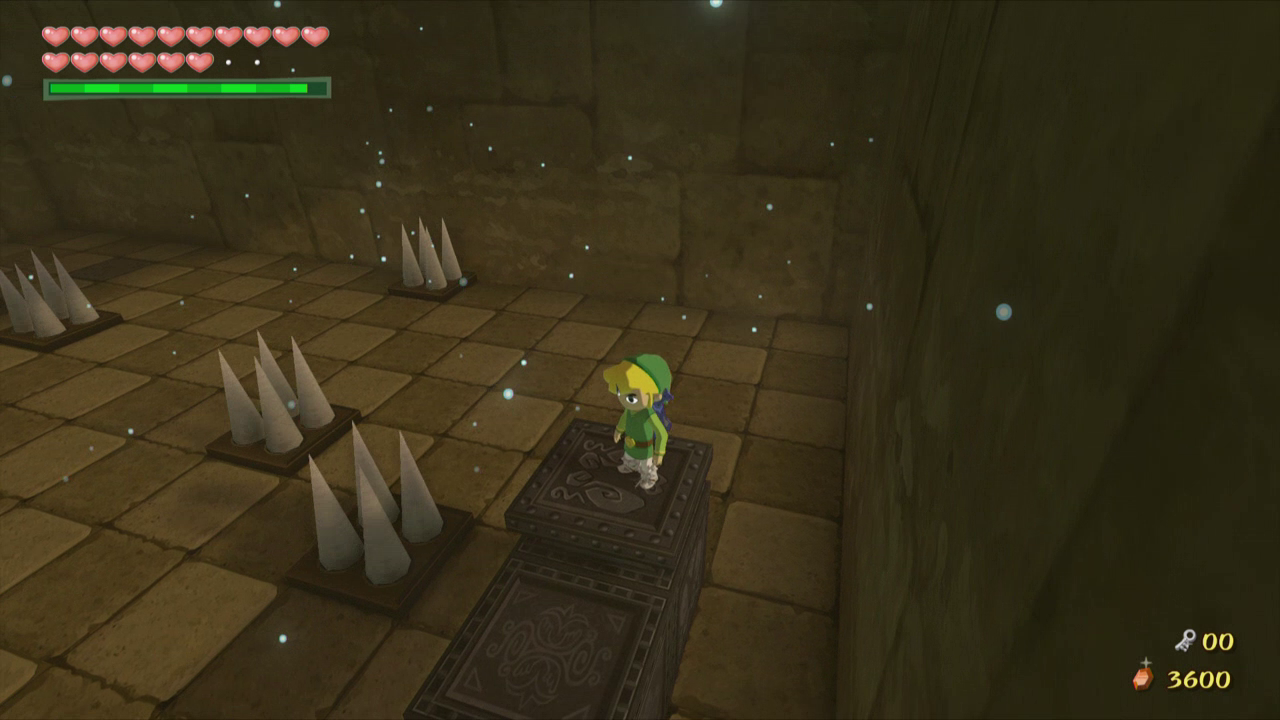
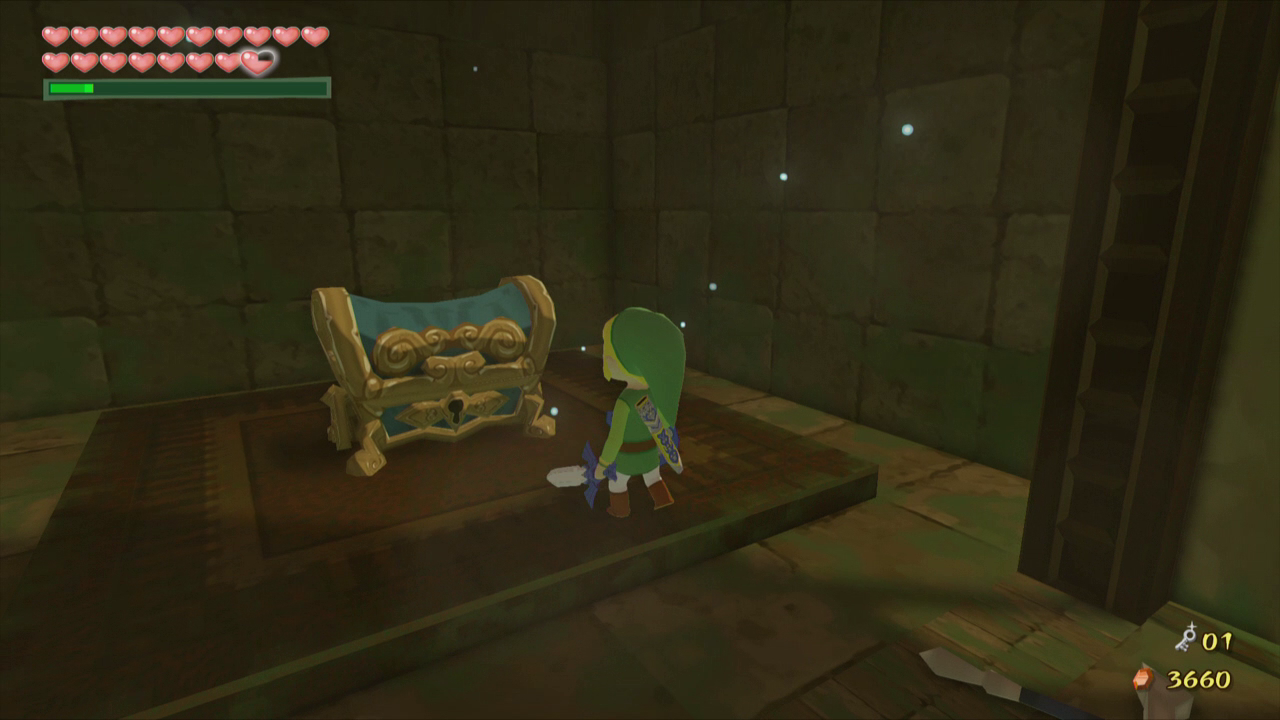
The spikes will lower in this room, which will allow you to leave. Before you do, you can use the Iron Boots to break through each of the cracked tiles in the room. Defeat the enemies that appear after you fall through each hole and a chest will appear containing Treasure Chart #35.
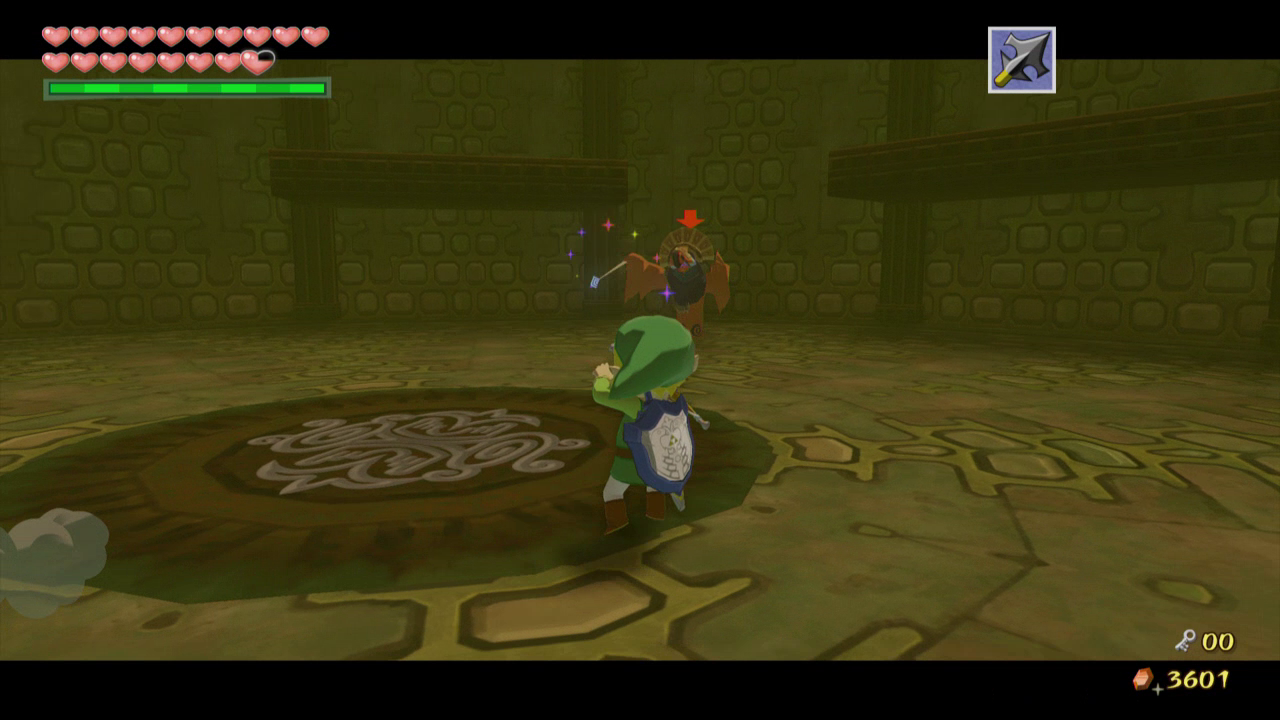
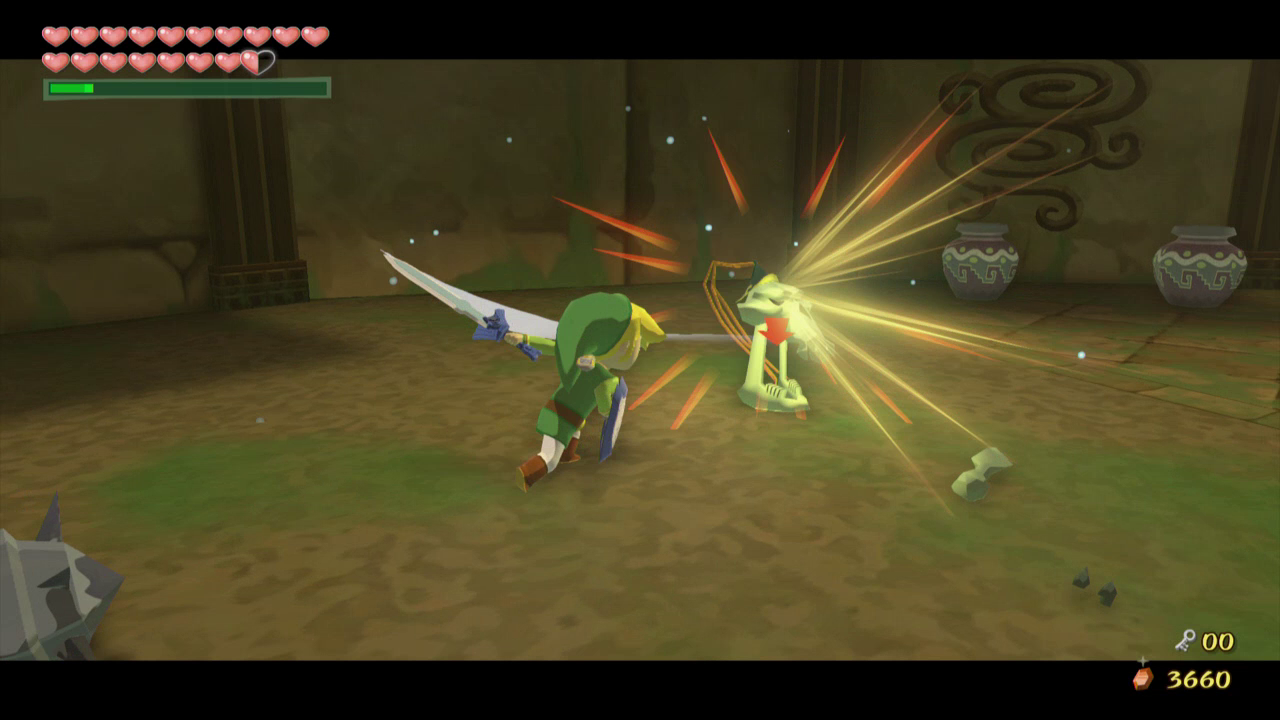
Leave this room and head through the door on the opposite side of the room to face the dungeon miniboss. The dungeon miniboss is technically the Wizzrobe you see before you. Unlike other blue Wizzrobes, this orange one will summon various enemies to attack you.
Focus on the defeating the Wizzrobe as best as you can. The Wizzrobe will appear at various parts of the room, often times on one of the higher platforms. When this happens you can only use Arrows to defeat him. If you’re lucky, he will appear above the ground. Quickly run over to him and use an ice arrow to freeze him. Pull out the Skull Hammer and smash him with it, killing him instantly. Defeat the other enemies in the room and the battle will end.
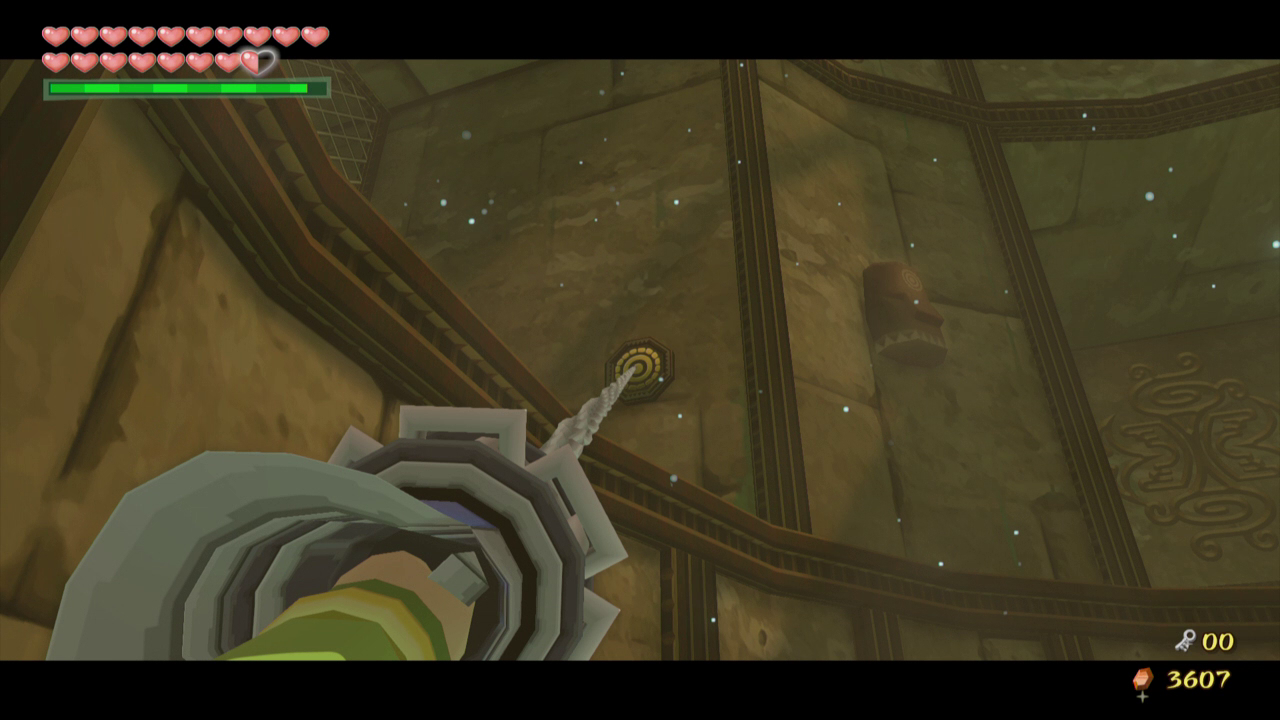
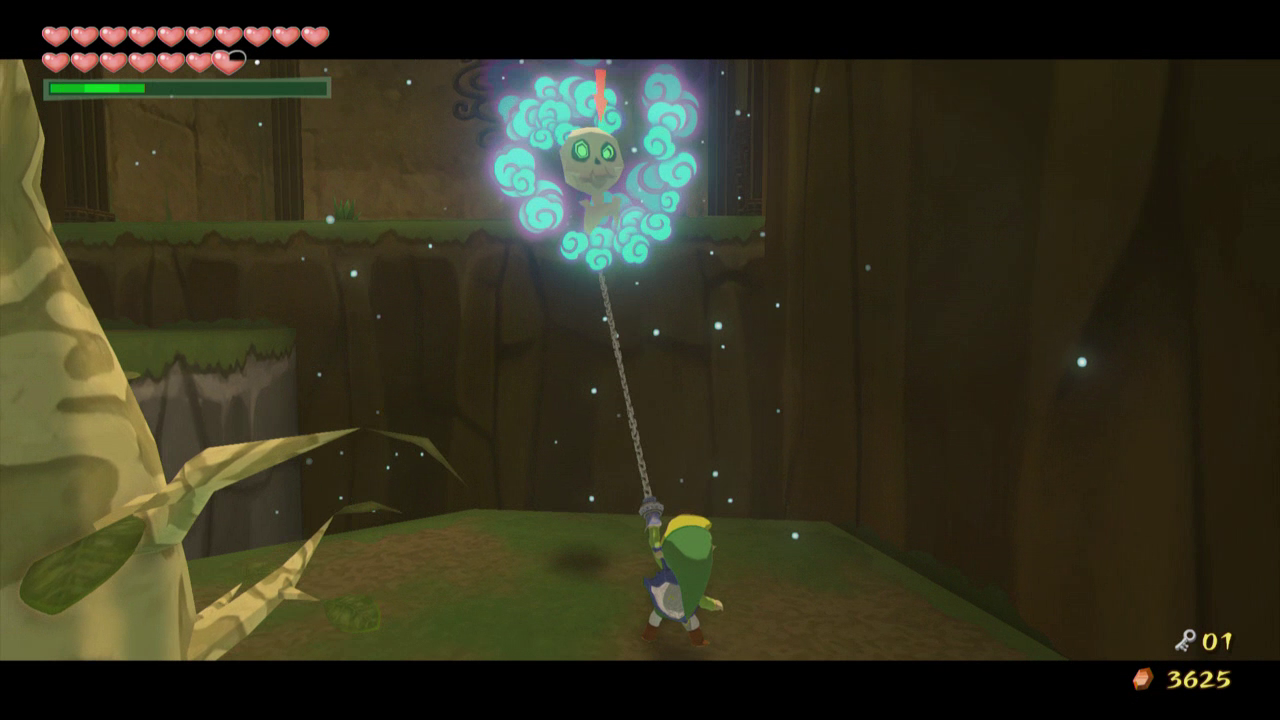
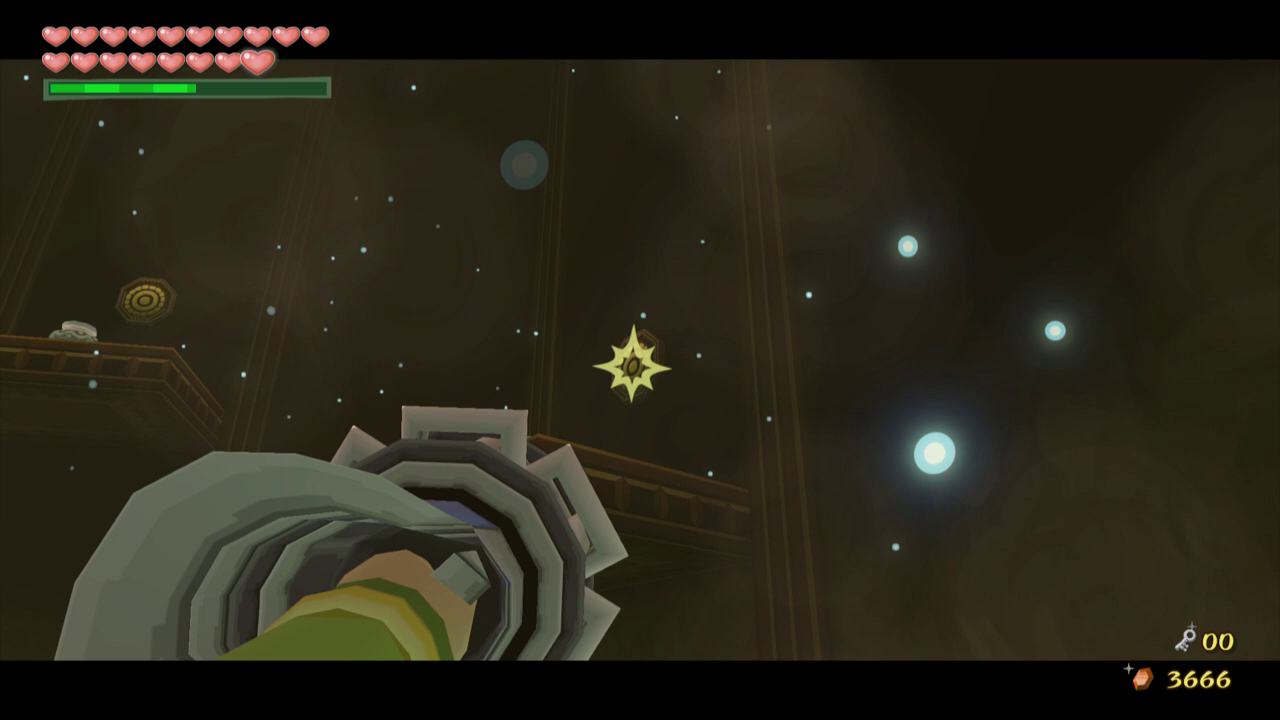
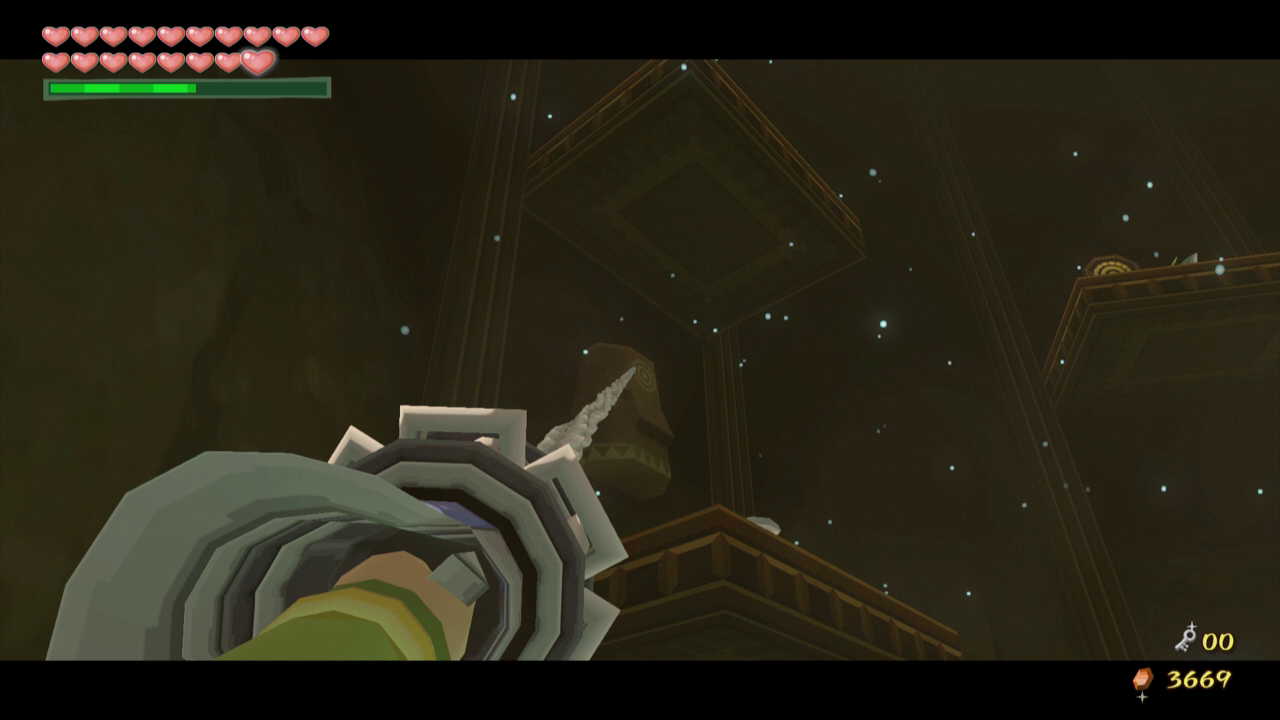
Open the chest that appears for the dungeon item, the Hookshot. Take it out and point the item at the target on the wall above the platform on the northern wall. This will pull you towards the target and drop Link on the platform. Pound the stake here and it will open the door to the previous room.

Along the left wall you will find several platforms with targets above them. Use the Hookshot to reach each of these platforms and begin climbing your way back up the room. After you reach the fourth platform use the Deku Leaf to float to the opposite side of the room and onto another platform. Open the chest here for the Compass, and then break the pots for some extra magic.

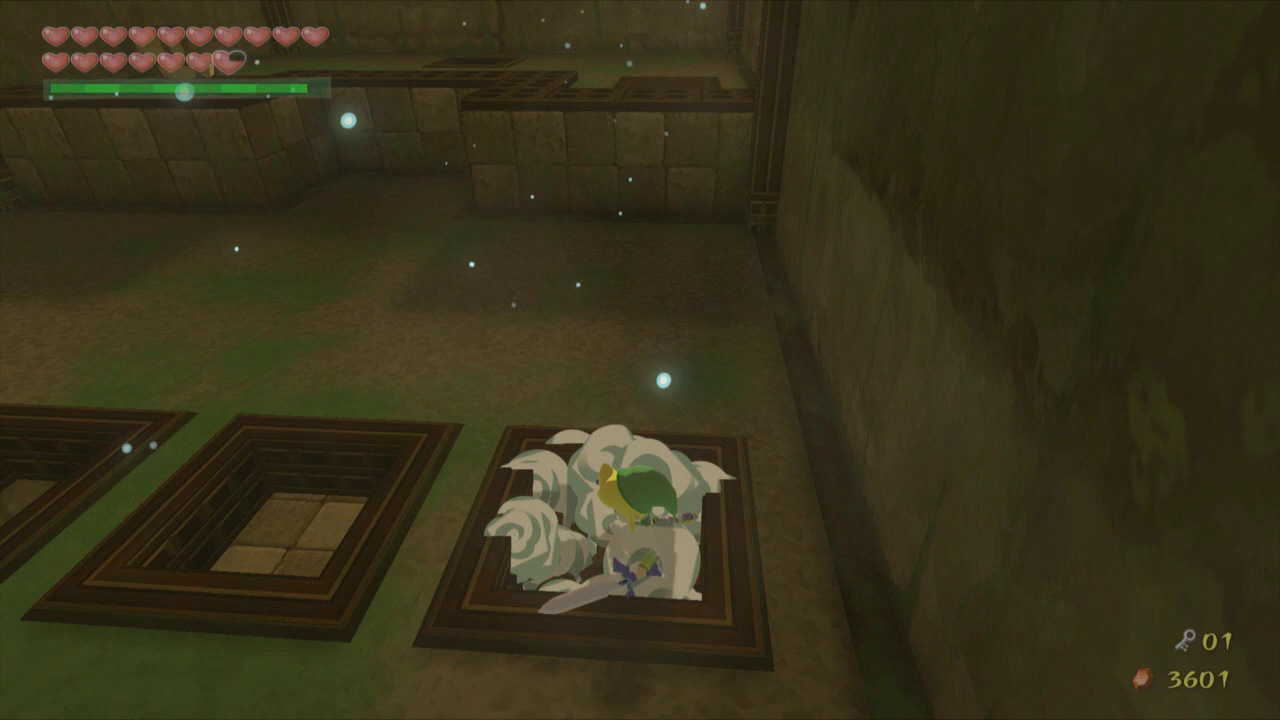
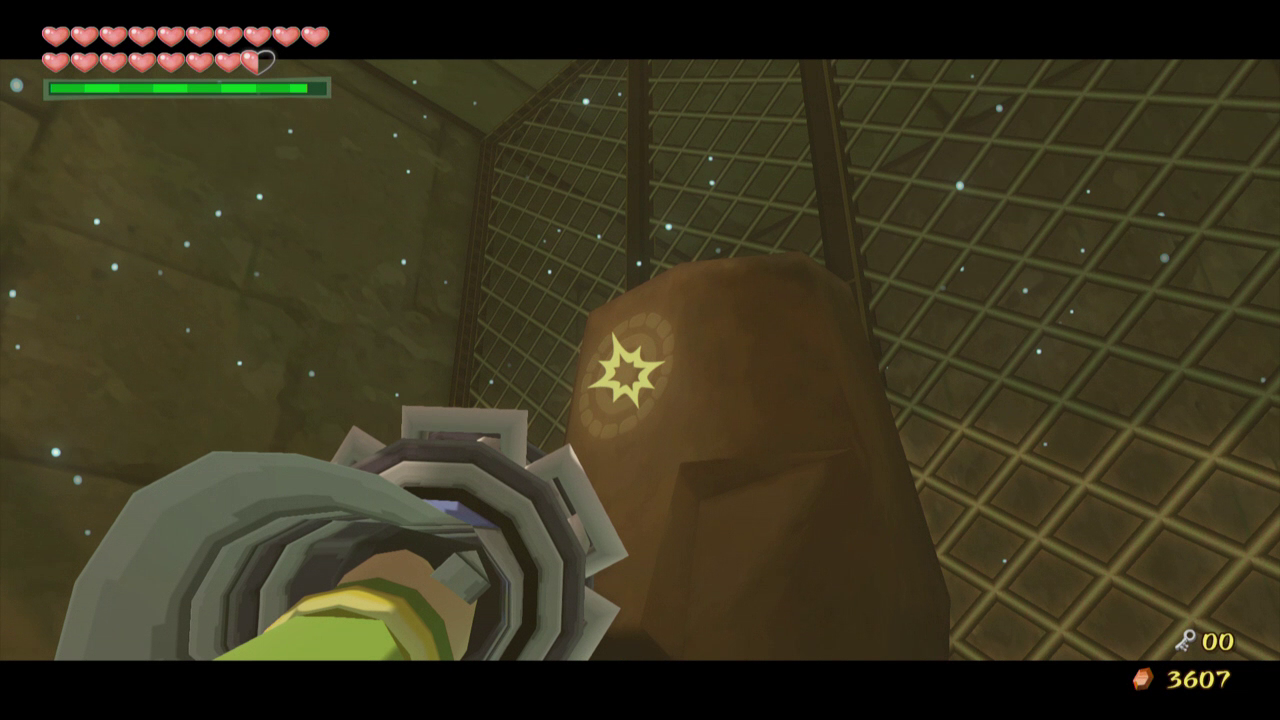
Climb onto the spring pad nearby and use it to reach the next platform. Use a combination of the Hookshot and Iron Boots to climb the next few platforms and reach the area where Makar is being held. Walk to the right side of Makar’s cage and put on the Iron Boots. Use the Hookshot on the statue here to pull it down and break it, opening an entrance to free Makar. Open the chest in his cell for a Joy Pendant.
Grab Makar and drop back down to the bottom of the pit. Take control of Makar and plant two seeds in the eastern part of the this area to create a large cyclone in the center of the room. While still controlling Makar, hop into the cyclone fly all the way to the top of this room. Land on the southern side of the highest area and return control to Link. Hop into the cyclone with the Deku Leaf to quickly shoot Link up to the top of the room. Fly over to the eastern side of the highest area and open the chest for another Joy Pendant. Fly into the cyclone again and join Makar on the southern side of the room. Pick up Makar and head through the door here.

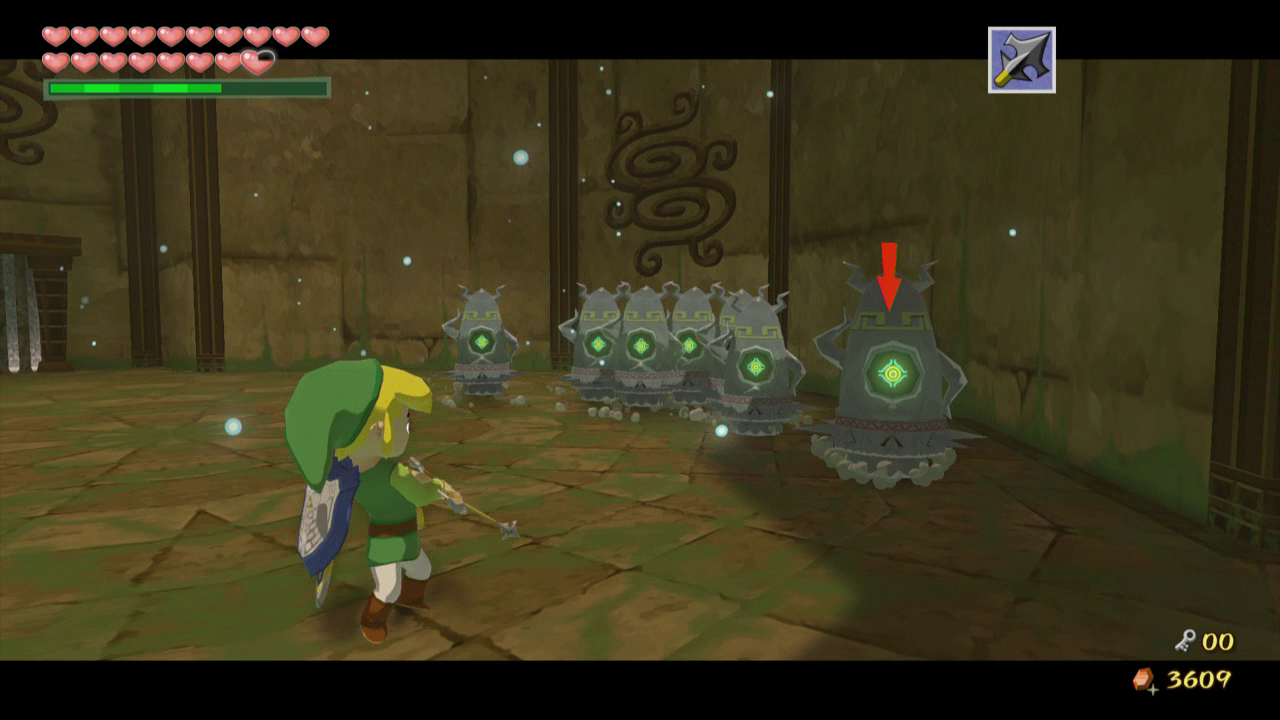
Defeat the many armos in this room to open the gate hiding a chest. Open the chest for a small key and then head back through the door we came from. Take control of Makar fly to the eastern side of the room and land on the platform one floor below where you currently are. Return control to Link and fly over to Makar’s location, and then pick up Makar and head through this door.
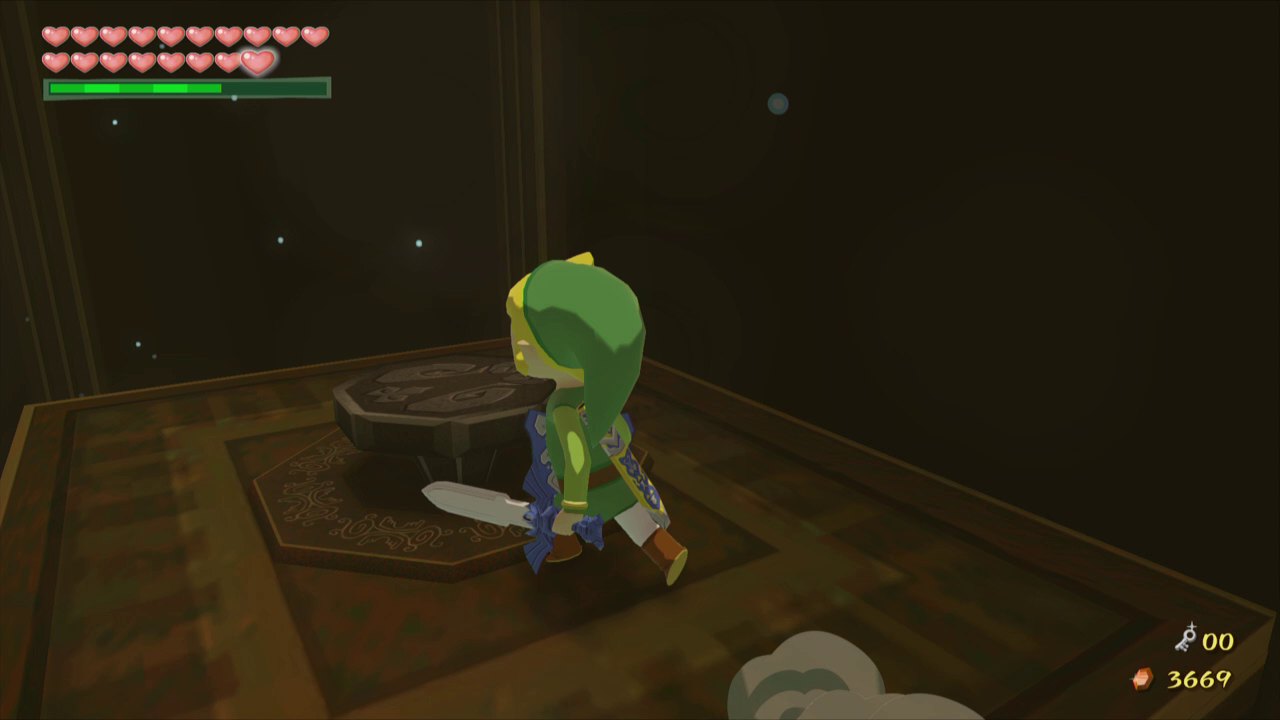
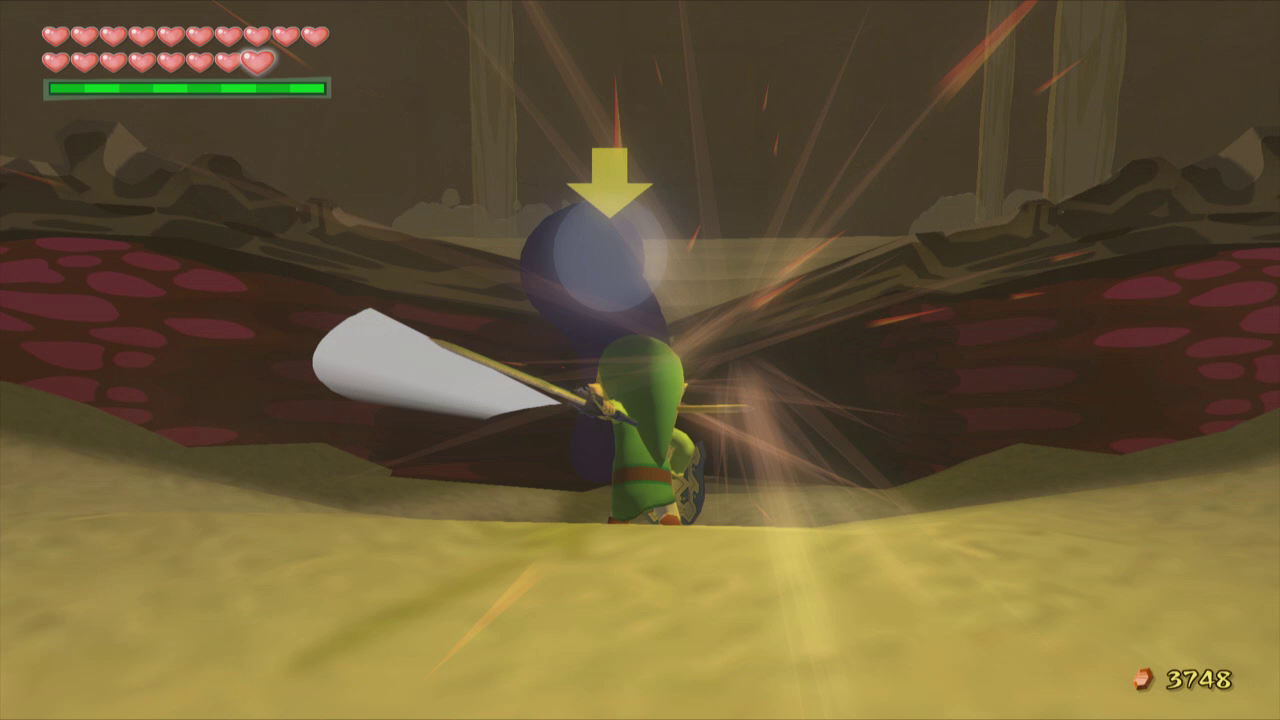
Kill the Peahats here, then drop down and kill the Floormaster as well. Spin the propeller with the Deku Leaf to move the gate. Use the Iron Boots to get back up and then grab Makar and run across the room. Play the Wind God’s Aria in front of the large stone tablet to destroy it. Grab Makar and head through the door that is now accessible.
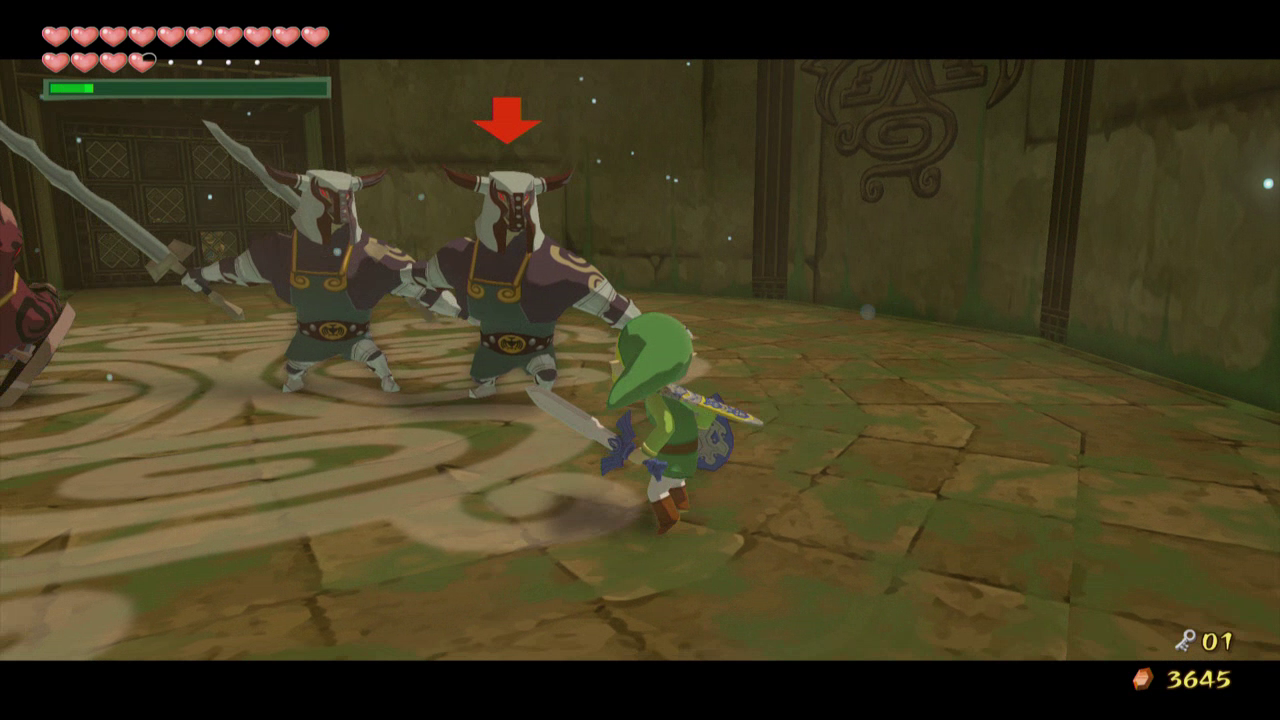
Defeat the three Darknuts as best as you can and open the chest for the Big Key. Exit the room and spin the propeller to lift the gate in the middle of the room again. Cross to the other side of the room and walk through the door here. Take control of Makar and have him fly directly across the gap to the opposite side of the room. Once you land on the platform, quickly switch back to Link before the Armos Statues attack Makar. Use the Deku Leaf to fly Link over to where Makar is located. Defeat the Armos Statues if you wish, then head through the door.

Kill the Wizzrobe in this room and then fly Makar to highest platform in the room. Return to Link and use the Hookshot to latch onto the trees and to reach Makar. Grab him and head through the northern door.
This room’s appearance is much like the room we were just in. There are three Blue Bubbles floating in the air that will disrupt our attempt to climb the platforms. Use the Hookshot to grab the two closest Bubbles and slash them with the sword to defeat them. Control Makar and fly him to the first two platforms. Plant seeds in the dirt patches and return control to Link.

Use the Hookshot to reach the middle platform where Makar is located. Defeat the last Bubble in the room and then use Makar to plant a seed in the last dirt patch. Return to Link and Hookshot up, then grab Makar and head through the door.
Place Makar on one of the switches here and have Link stand on the other one. This will open the bottom section of fan, allowing us into the lowest section of the room. Grab Makar and jump all the way down when the air is not blowing to slip past the fan. Open the locked door with the small key and head through it.

Inside this room you will find Stalfos and a Wizzrobe. Defeat these enemies, focusing on the Wizzrobe first. Now use the Hookshot to latch onto the targets on the walls, allowing you to circle the platforms around the room. Use the Hookshot in combination with the Iron Boots to pull the statue heads off of the walls, revealing Bokoblins hiding behind them. Defeat these enemies as well to make a chest appear containing Treasure Chart #5. Be sure to climb to the top of the room and step on the switch here to open the door.
Grab Makar and walk through the door on the eastern side. Kill the Bokoblin and Armos Knights in the next room first. Use Makar to fly over the cyclones at the end of the path and plant another seed. Return to Link and use the Hookshot to cross the gap. Kill the remaining enemies in the room and then head through the door to the east.
To complete this next room you will need to push three blocks into strategic positions so that they will stop the Blade Traps in this room, allowing you to walk past them. To do this, put on the Iron Boots push the middle block forward so that it is in front of both Blade Traps’ paths, allowing Link to walk on the right side of the room.
Now push the block that is on the right forward, while you have your iron boots equipped. Continue to push the block forward all the way until it falls into the hole. Now run over to the third and final block on the left. Push it all the way to the right side of the room and then push it forward along the same path as you just pushed the other block. Push it across the trench right on top of the previous block and keep pushing it forward until it blocks the blade trap.

Grab Makar and slowly walk past every Blade Trap and all the way to the other end of the room. Play the Wind God’s Aria to destroy the large stone tablet at the end of this room. Be sure to break the wooden plank just above the pot to create a warp point to the entrance of the dungeon. Break some pots for some fairies and once you are ready, head on through to face off with the dungeon boss.
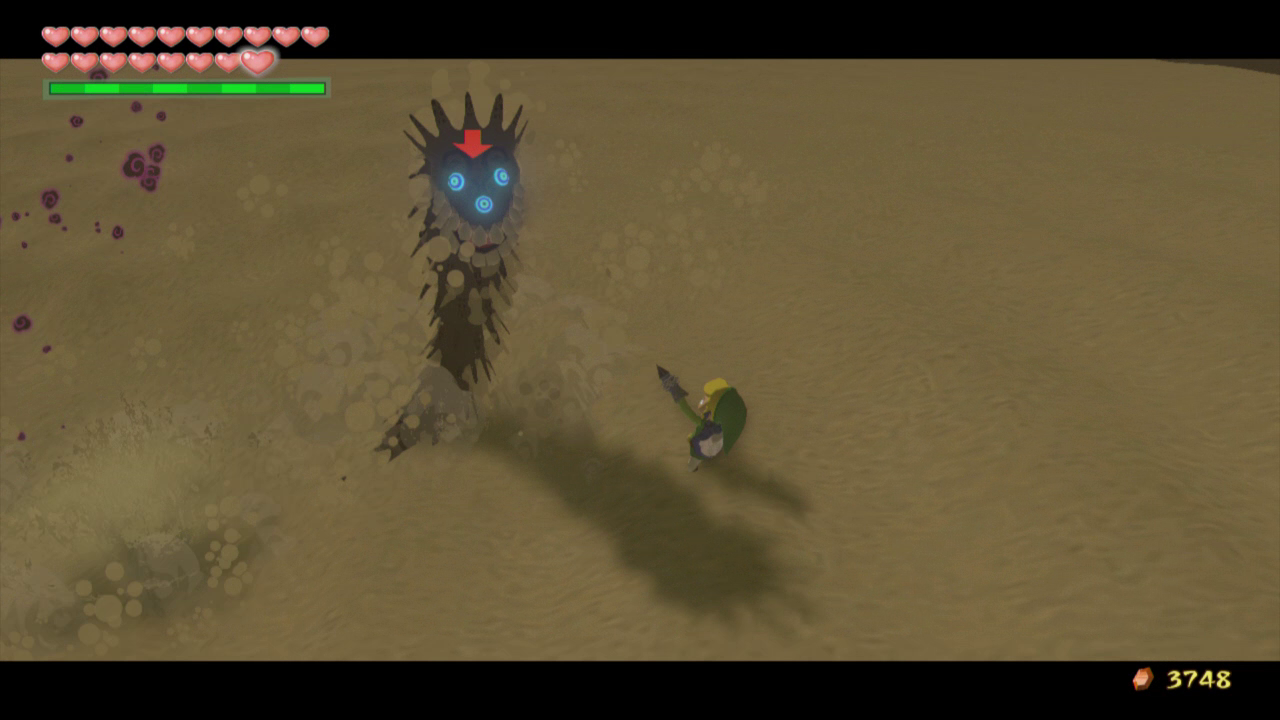
Jump down onto the sand below and a large sand creature will fly into the sky. This is Molgera, who is probably the second most difficult boss in the game. Equip your Hookshot and slowly move towards Molgera’s open mouth. The sand here will act like quicksand, quickly pulling you closer and closer to Molgera even if you don’t realize it. You will need to keep this in mind and backflip whenever you get too close to Molgera’s open mouth, or he will chomp down on you.
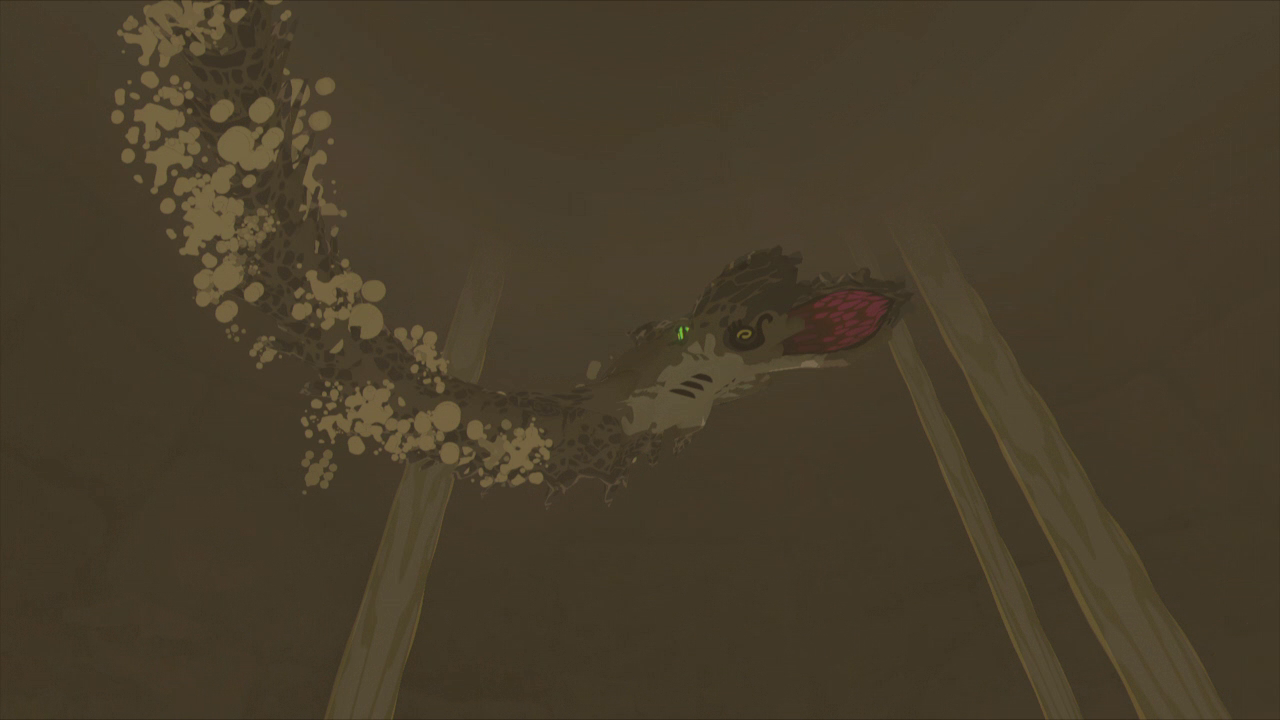
Once you are at a safe distance, use the Hookshot to target the purple tongue coming out of the mouth. This will pull it towards you, allowing you to attack it with your sword. After a few hits Molgera will retreat into the sand and send smaller versions of himself after you. You can target them and use the Hookshot to pull them up from the sand and kill them. If you don’t kill them now they will become a nuisance when you try and Hookshot Molgera’s tongue, so it is best to simply kill them.
Molgera will soon resurface, often times where you are standing. You can tell where he will appear by looking for a large circle of dark sand. Once he does this, repeat the method from before to damage him further.
If Molgera doesn’t resurface in the sand, he will then fly into the air and fly around the room for a short amount of time. You must keep moving to avoid this attack, as he will soon fly downwards and try to attack you. If you feel confident, you can also stand and point the Hookshot at his open mouth. Once he draws near you can shoot the Hookshot into his mouth to pull out his tongue and get an extra few hits in. This can be difficult though, and isn’t a necessary method to defeat him.
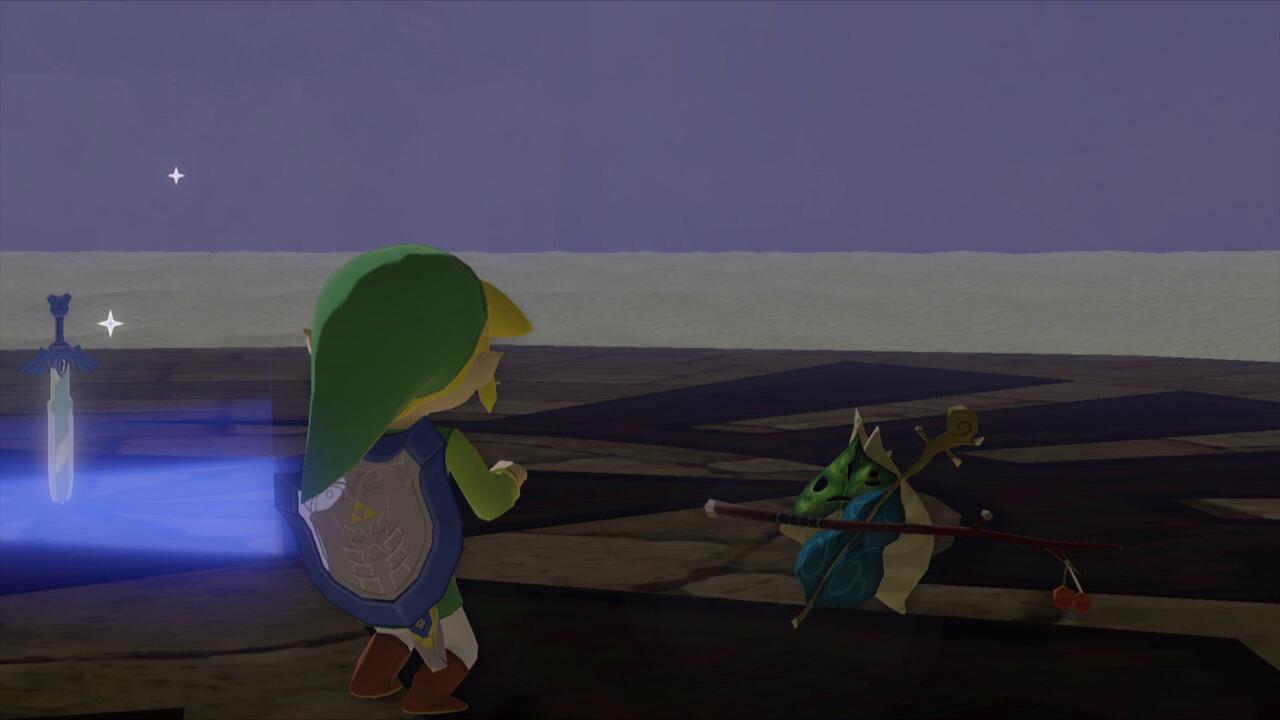
After a few hits Molgera will fly into the air and explode, causing the room to return to normal. Collect the Heart Container and step into the blue light. Makar will come into the room and Link will conduct him. The Master Sword will glow and Link will once again hold it in the air, this time as the true Master Sword.
- Chapter 1 – Outset Island
- Chapter 2 – Forsaken Fortress
- Chapter 3 – Windfall Island
- Chapter 4 – Dragon Roost Island
- Chapter 5 – Dragon Roost Cavern
- Chapter 6 – Forest Haven
- Chapter 7 – Forbidden Woods
- Chapter 8 – Nayru’s Pearl
- Chapter 9 – Tower of the Gods
- Chapter 10 – Hyrule Castle
- Chapter 11 – Earth Temple
- Chapter 12 – Wind Temple
- Chapter 13 – The Triforce
- Chapter 14 – Ganon’s Tower
