- Chapter 1 – Outset Island
- Chapter 2 – Forsaken Fortress
- Chapter 3 – Windfall Island
- Chapter 4 – Dragon Roost Island
- Chapter 5 – Dragon Roost Cavern
- Chapter 6 – Forest Haven
- Chapter 7 – Forbidden Woods
- Chapter 8 – Nayru’s Pearl
- Chapter 9 – Tower of the Gods
- Chapter 10 – Hyrule Castle
- Chapter 11 – Earth Temple
- Chapter 12 – Wind Temple
- Chapter 13 – The Triforce
- Chapter 14 – Ganon’s Tower
14.1 Reaching Ganon's Tower
Now that you have the Triforce of Courage you can return to Hyrule and defeat Ganon. Before you do so, you may prepare for the battle by collecting fairies, Elixir Soup, Red Potion or Blue Potion in your bottles. This isn’t entirely necessary to do if you trust your ability to defeat Ganon and would like to forgo it with the health you have. There are also a couple of fairies located within Ganon’s Tower if you’d like to wait.
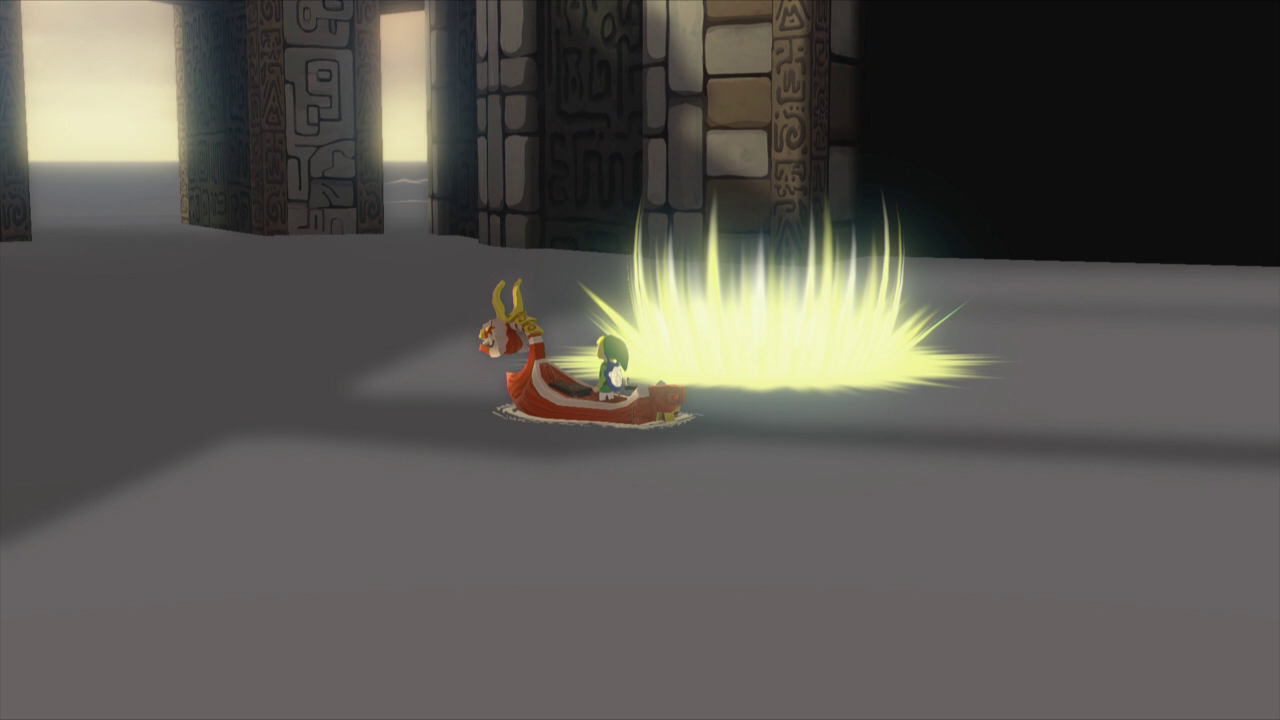
Once you are prepared, warp over to the Tower of the Gods and the Triforce of Courage will reveal the path back to Hyrule. The King of Red Lions tells you that it’s proof you are the true hero.
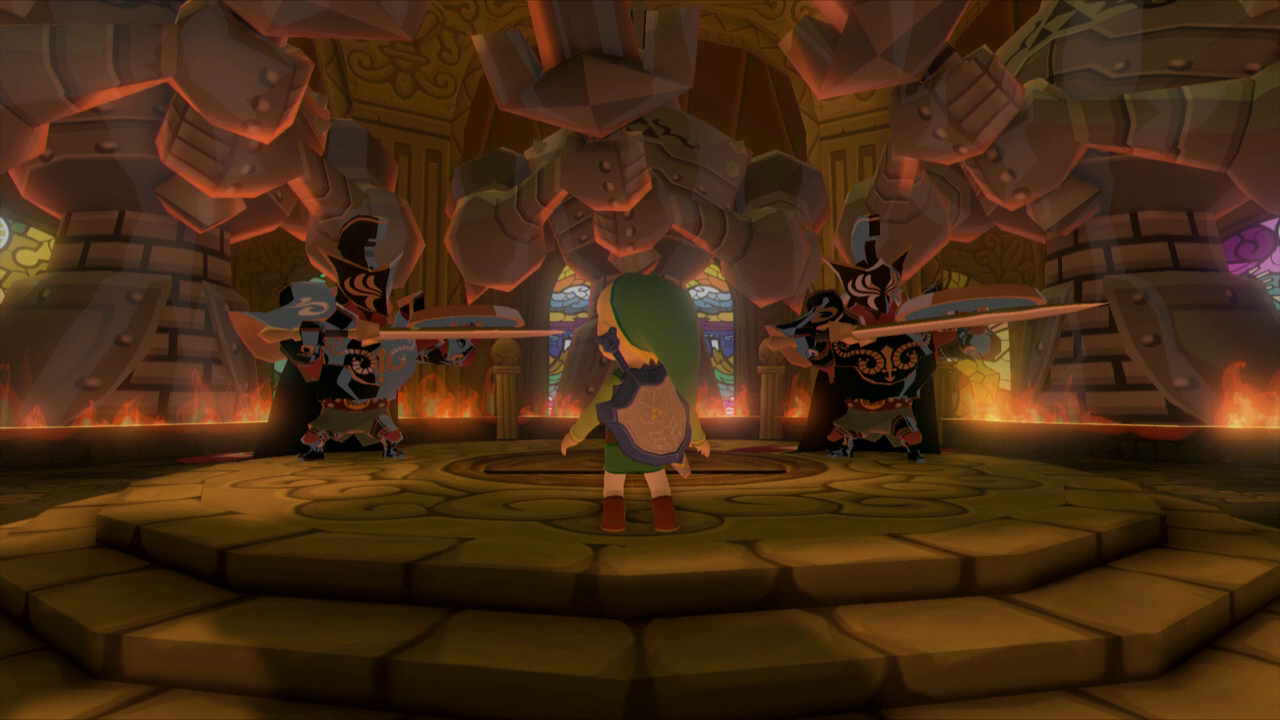
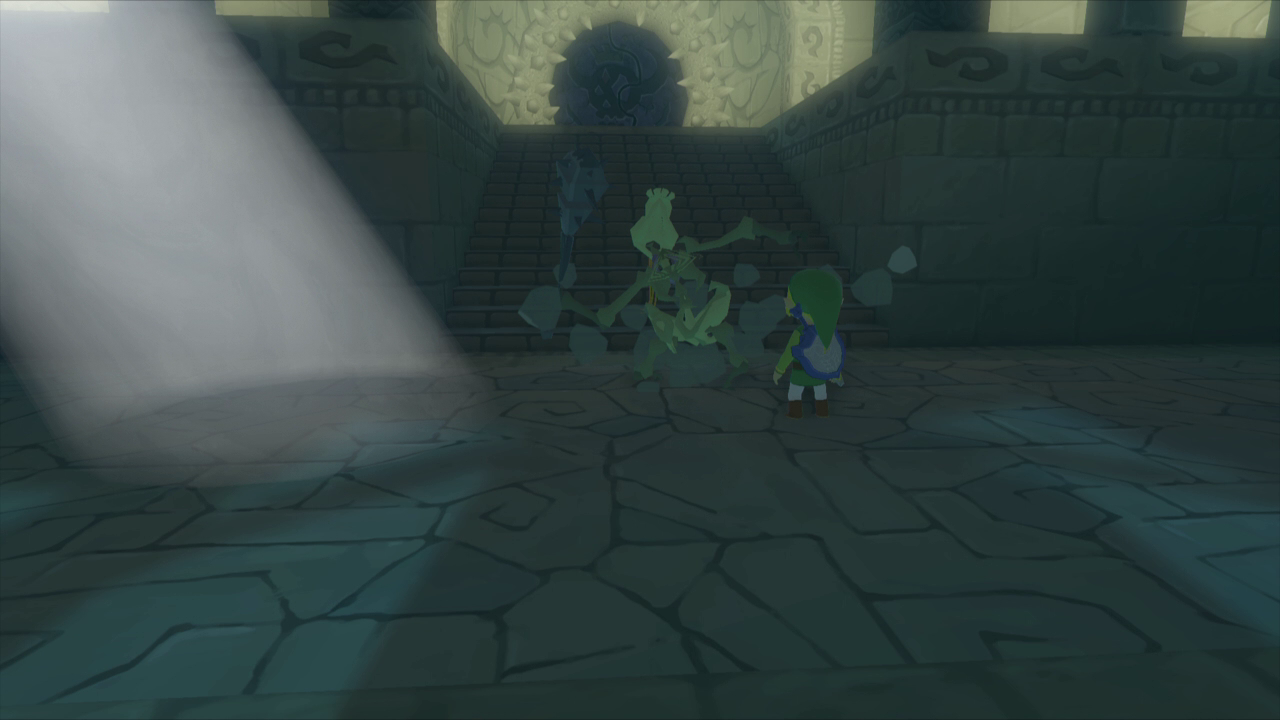
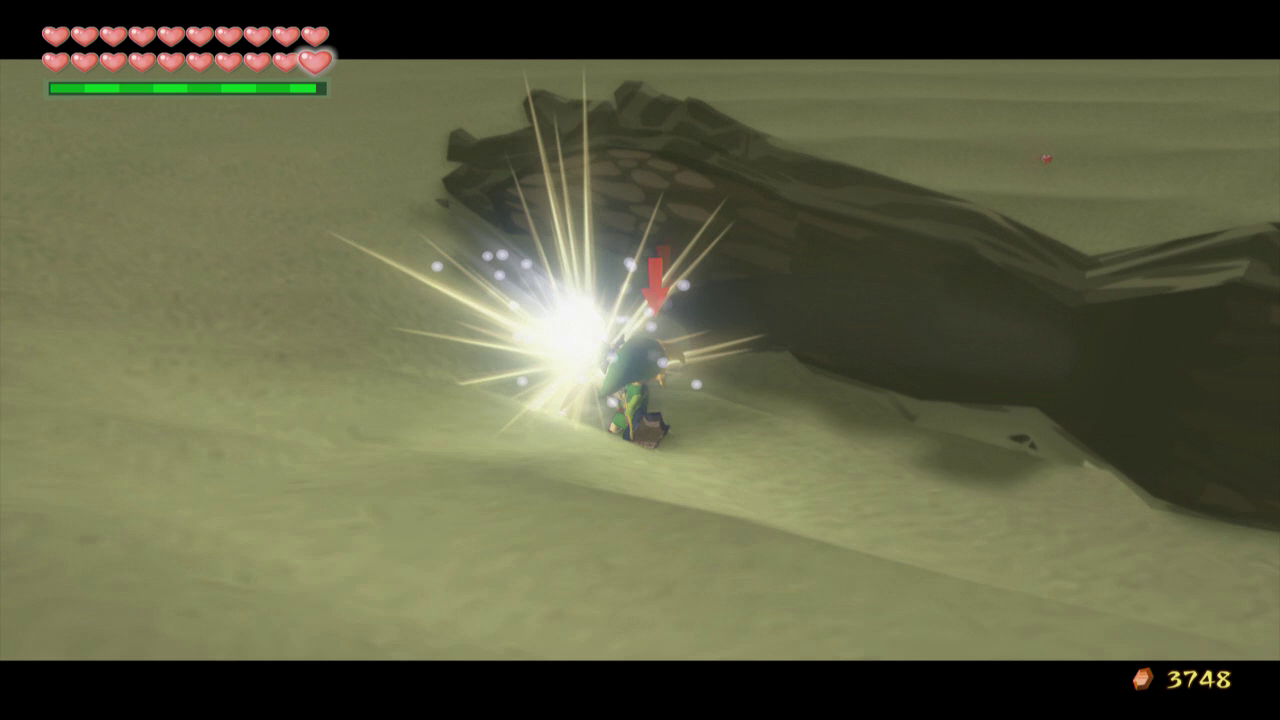
In the depths of Hyrule, head into the castle and you will find the Hero’s statue destroyed, along with various other areas in ruins. Head downstairs to the basement and run up to Zelda. Before you can reach her she will disappear and two mighty Darknuts will drop from the ceiling. These are the most difficult Darknuts to defeat in the game, but they are defeated the same way as all other Darknuts. Be careful of the small circle of fire surrounding the area and defeat them to regain control of the room.
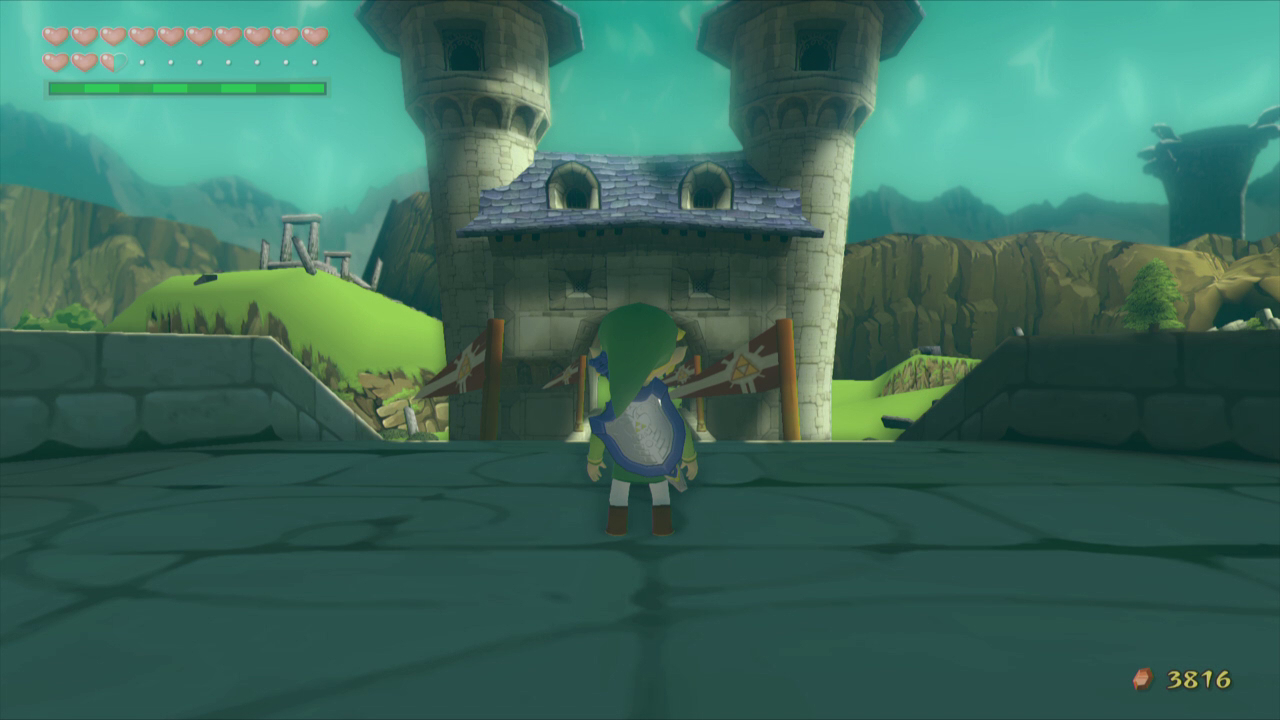
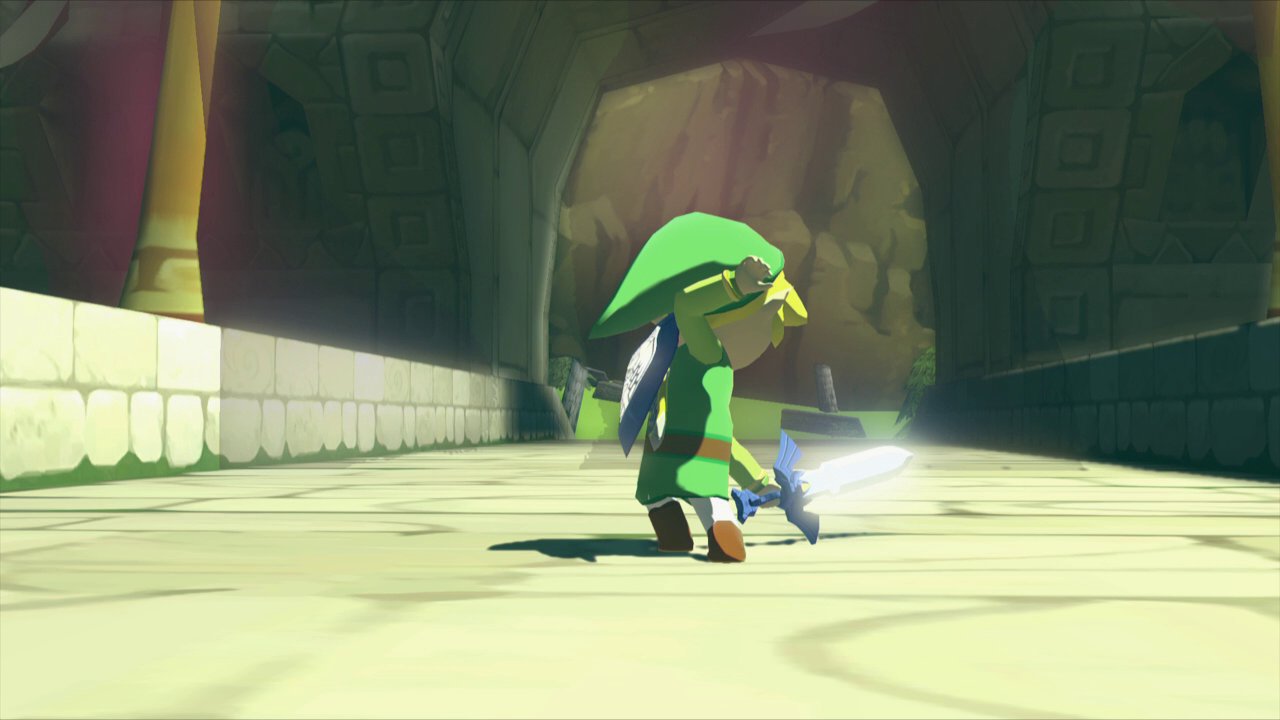
Walk back upstairs and Link will start running to the back of the castle. Head outside and down the path here to find a large bridge. Run halfway across the bridge and you will soon be met with a clear purple substance blocking your path. Use the Master Sword to break the barrier and continue along the path.
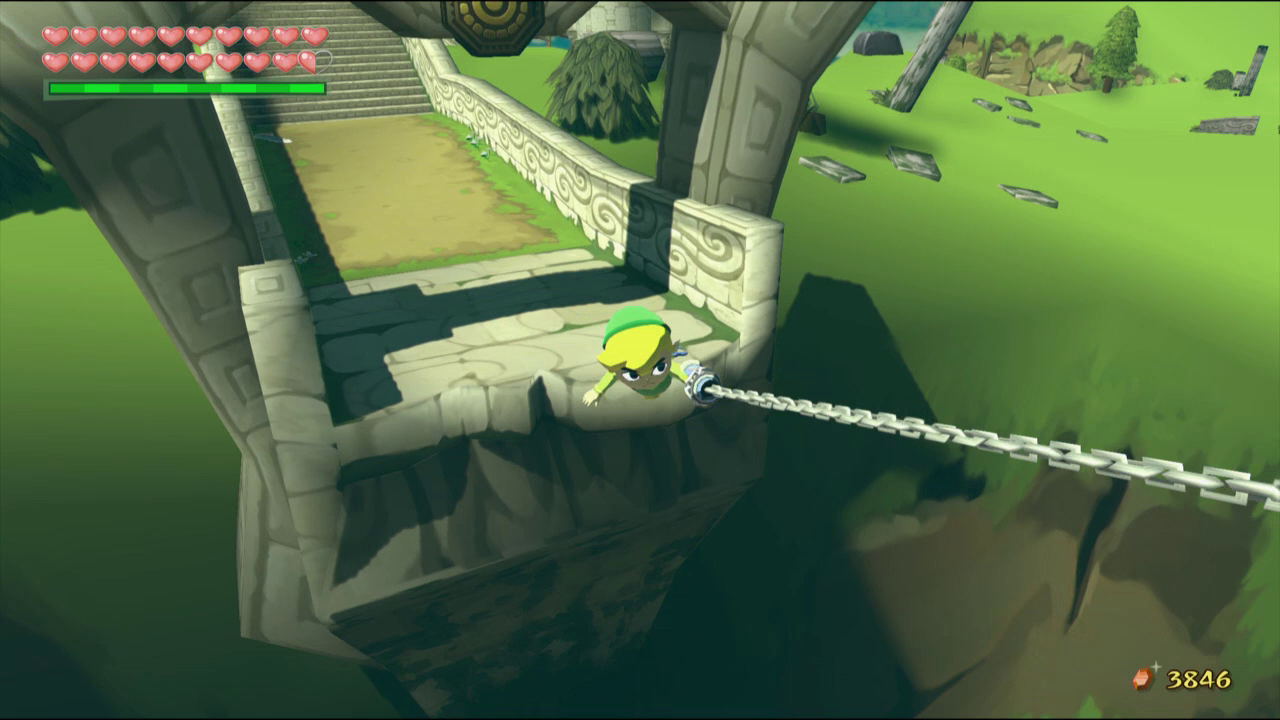
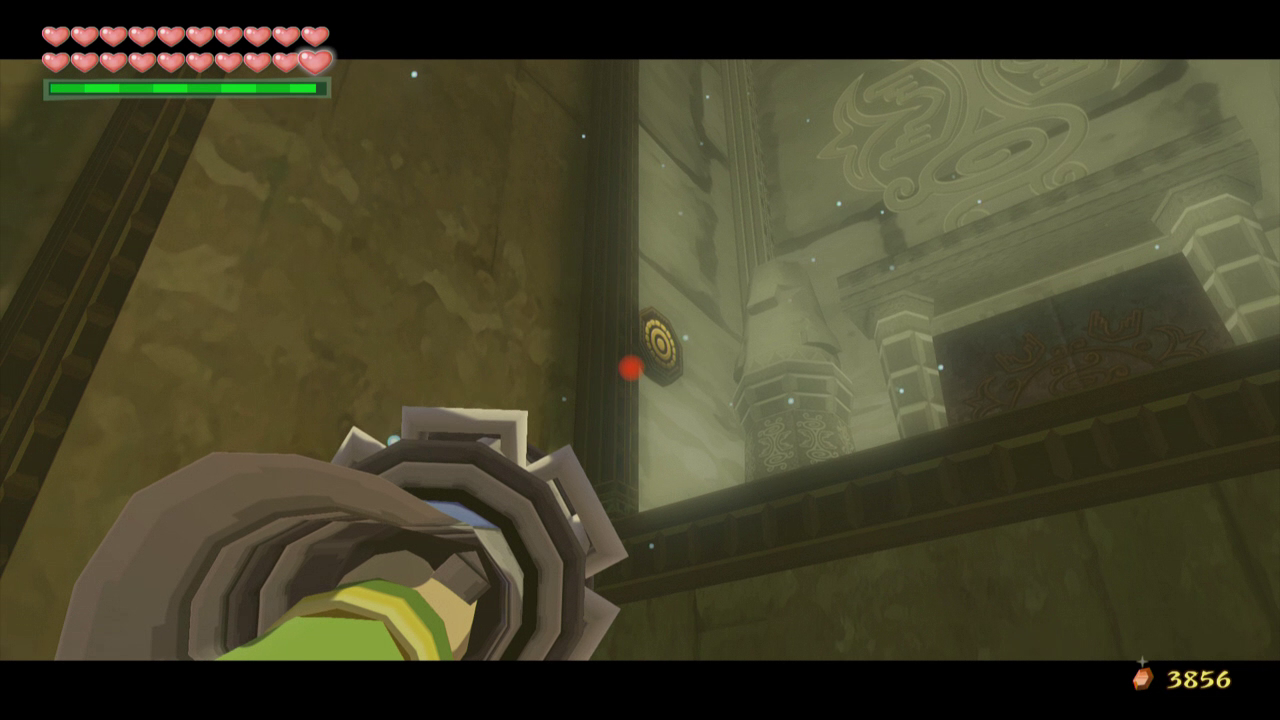
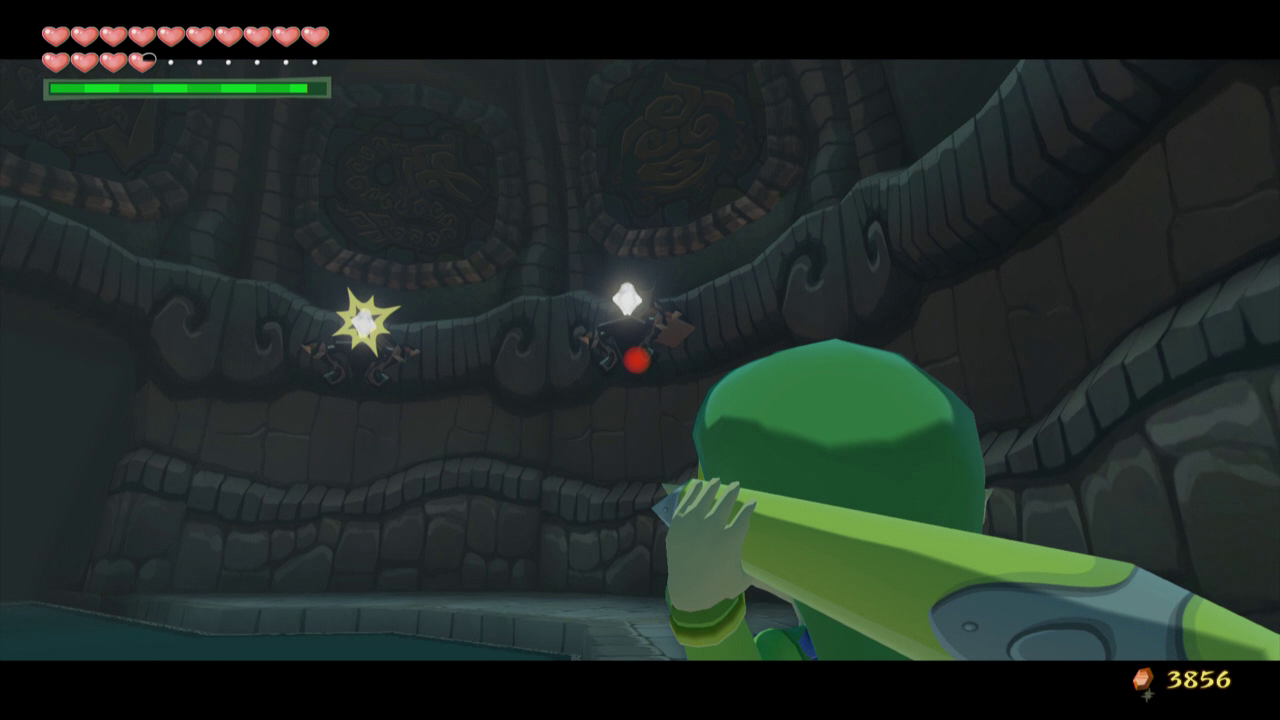
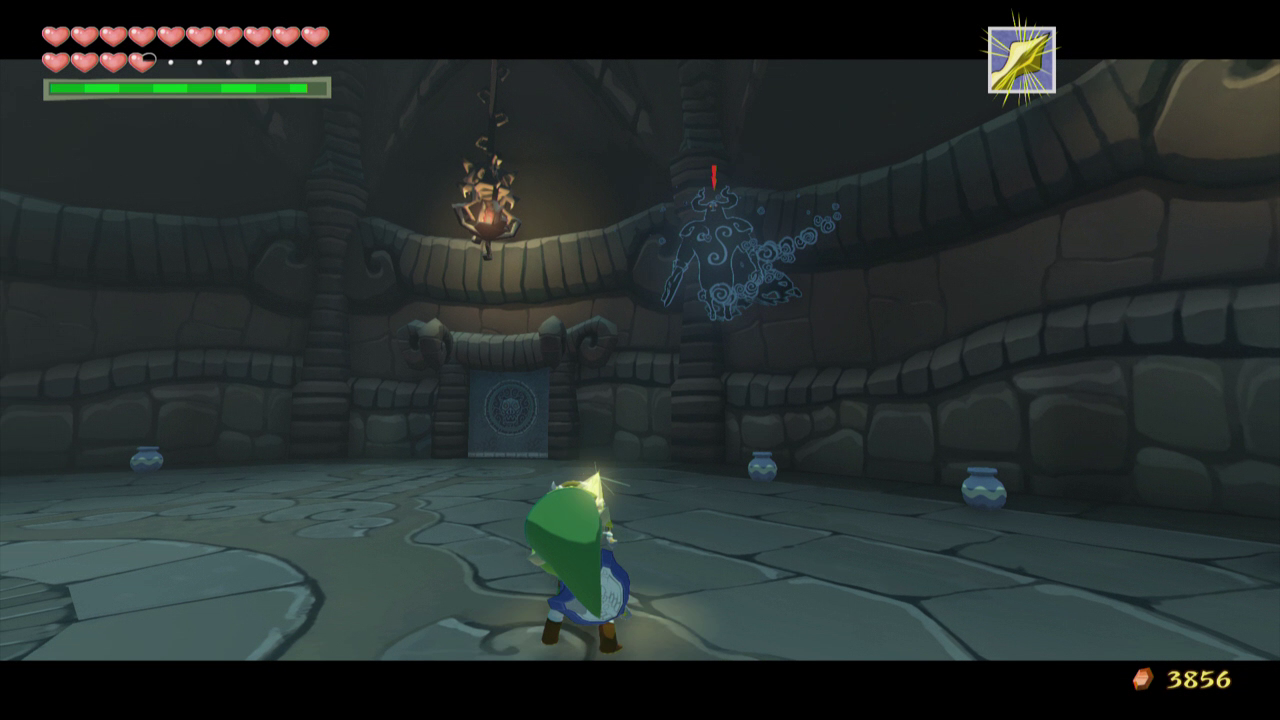
The path to Ganon’s Tower is fairly straightforward, containing Peahats, ChuChus, Moblins and a Darknut. Once you defeat the Darknut near the end, use the Boomerang to kill the Keese hanging underneath the target on the other side of the gap. Use your Hookshot to reach the first platform, then do the same for the second platform. Continue into the cave and enter through the door to reach Ganon’s Tower.
14.2 Inside Ganon's Tower
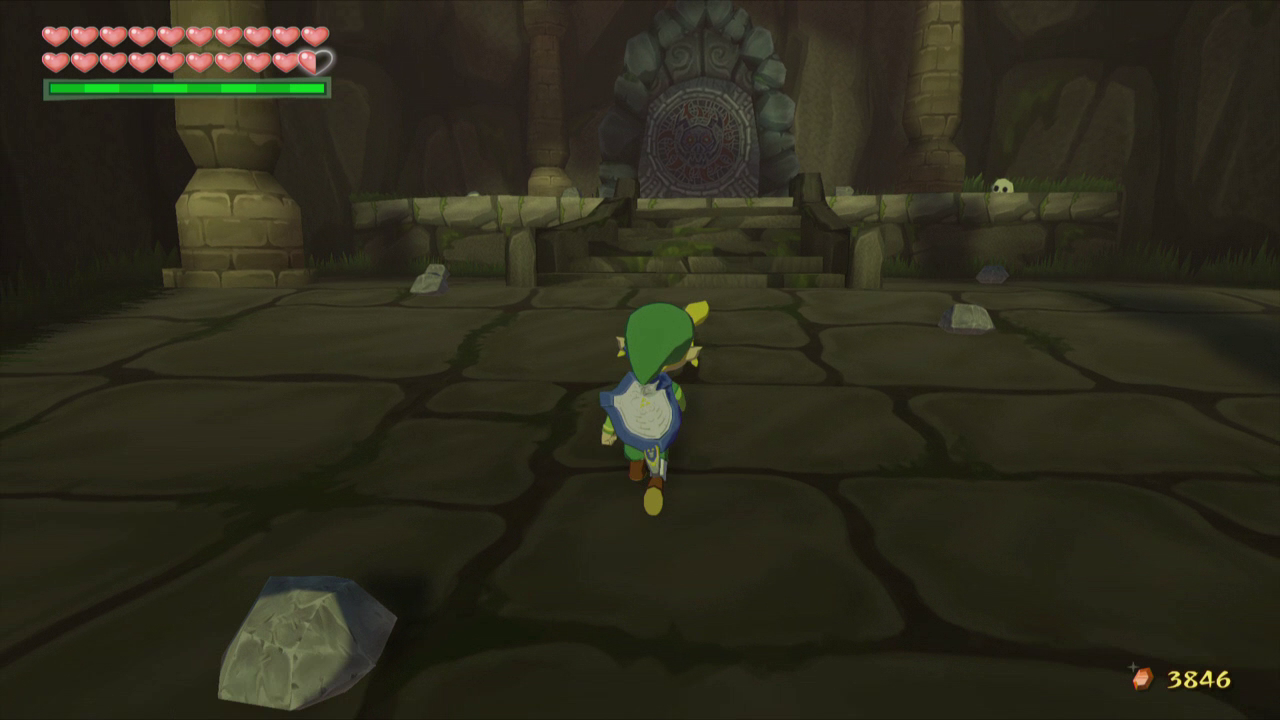
In order to pass through the door on the opposite side of this room we will need to follow each of the four side bridges in this room. Each door will lead to one of the four bosses we’ve faced before, and we must defeat them once again to continue. Start off by walking down the path and taking the first bridge on the left. Defeat the Bokoblin here and enter through the door.
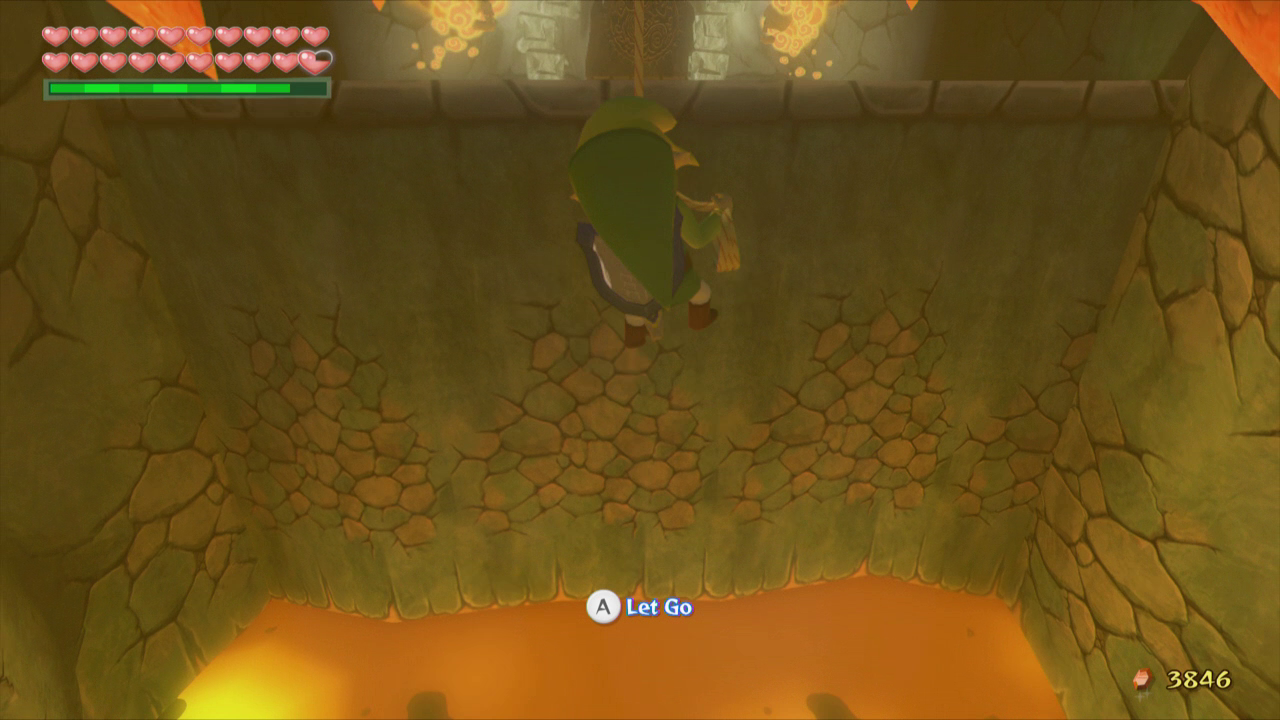
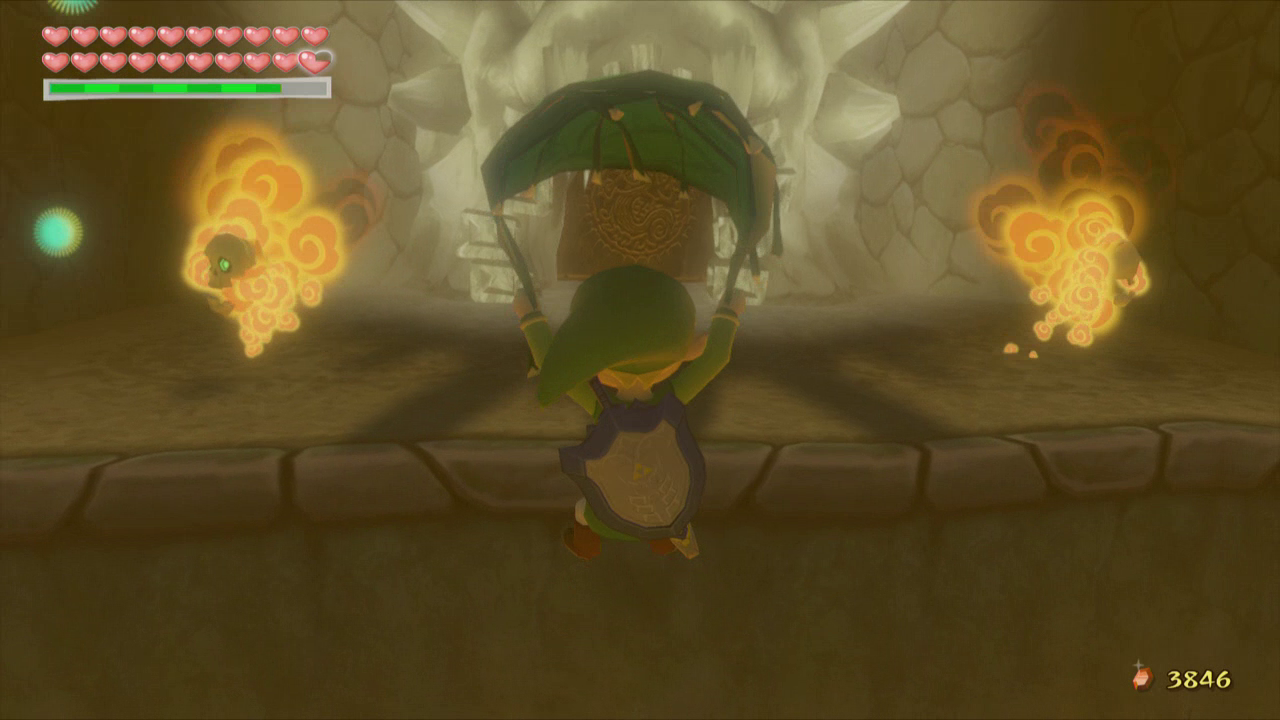
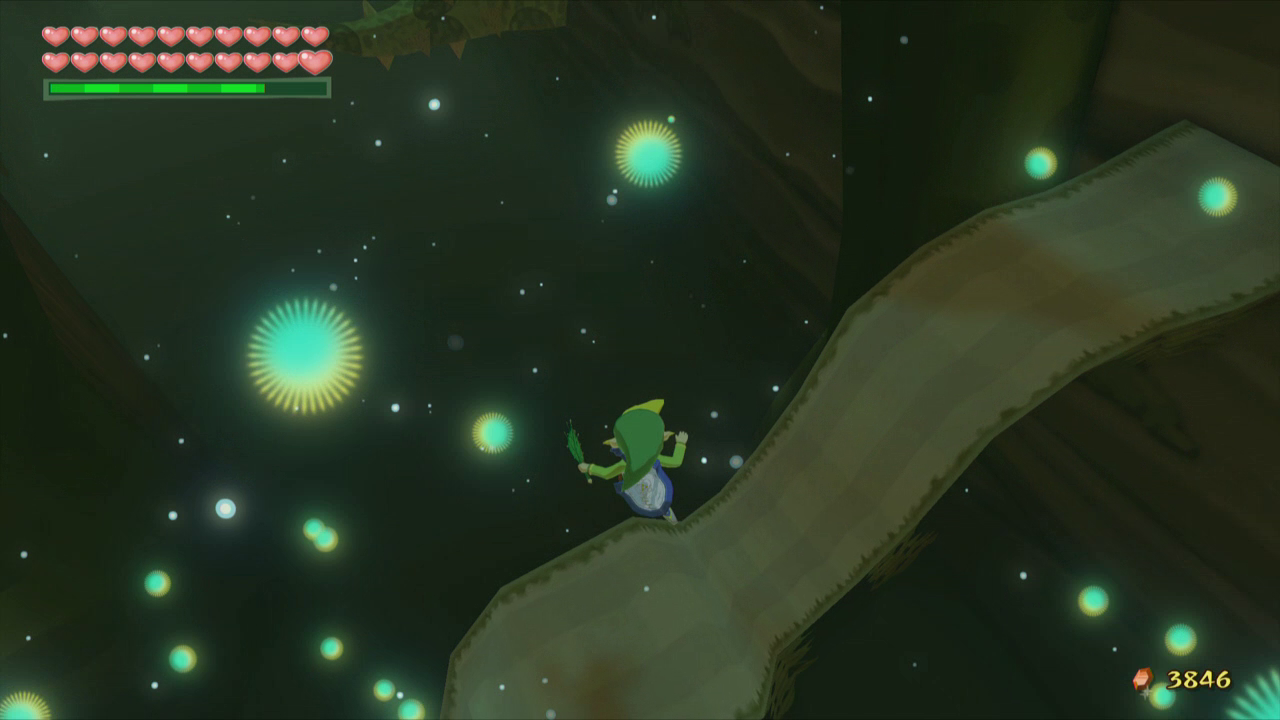
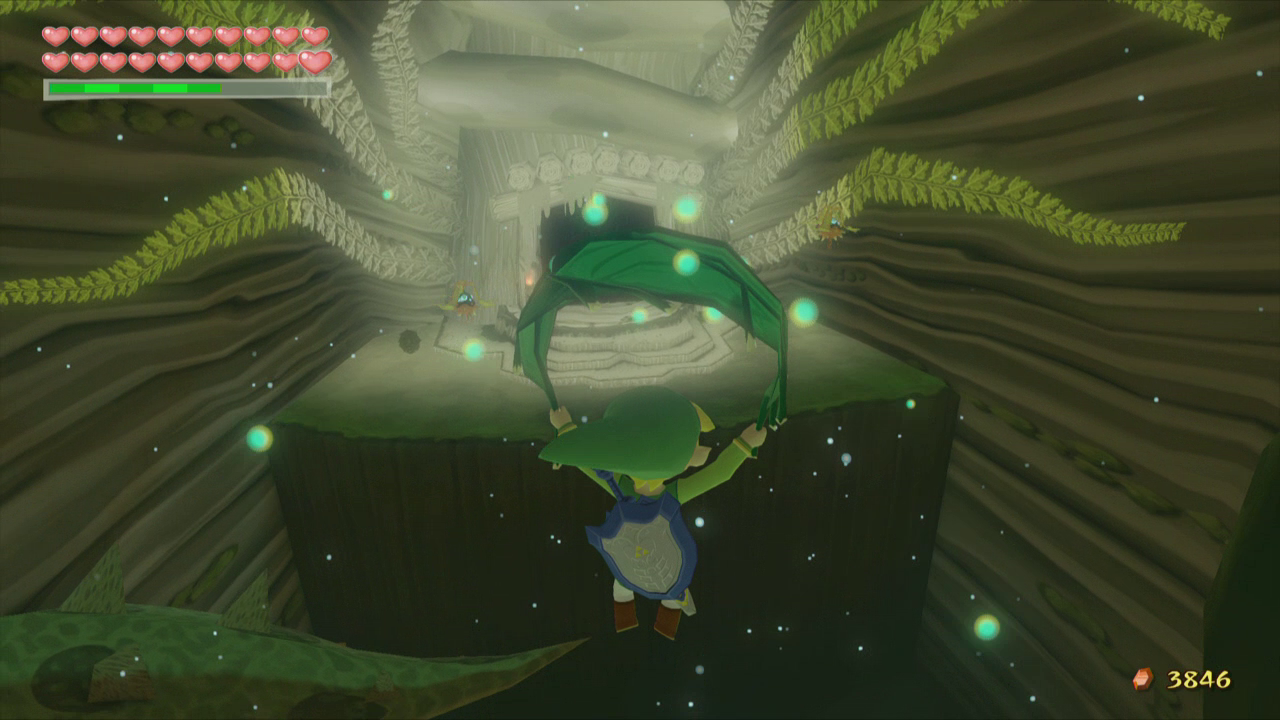
The easiest way to approach this room is to first use your bow to shoot all the skulls off of the top of the spiked vines to kill all the Red Bubbles before they become a threat. Pull out your Grappling Hook and use it to latch onto the first spiked vine above. Swing off and use the Deku Leaf to float across to last hardened lava spot below and land on it. Make sure you adjust the camera so you can see what is below you.
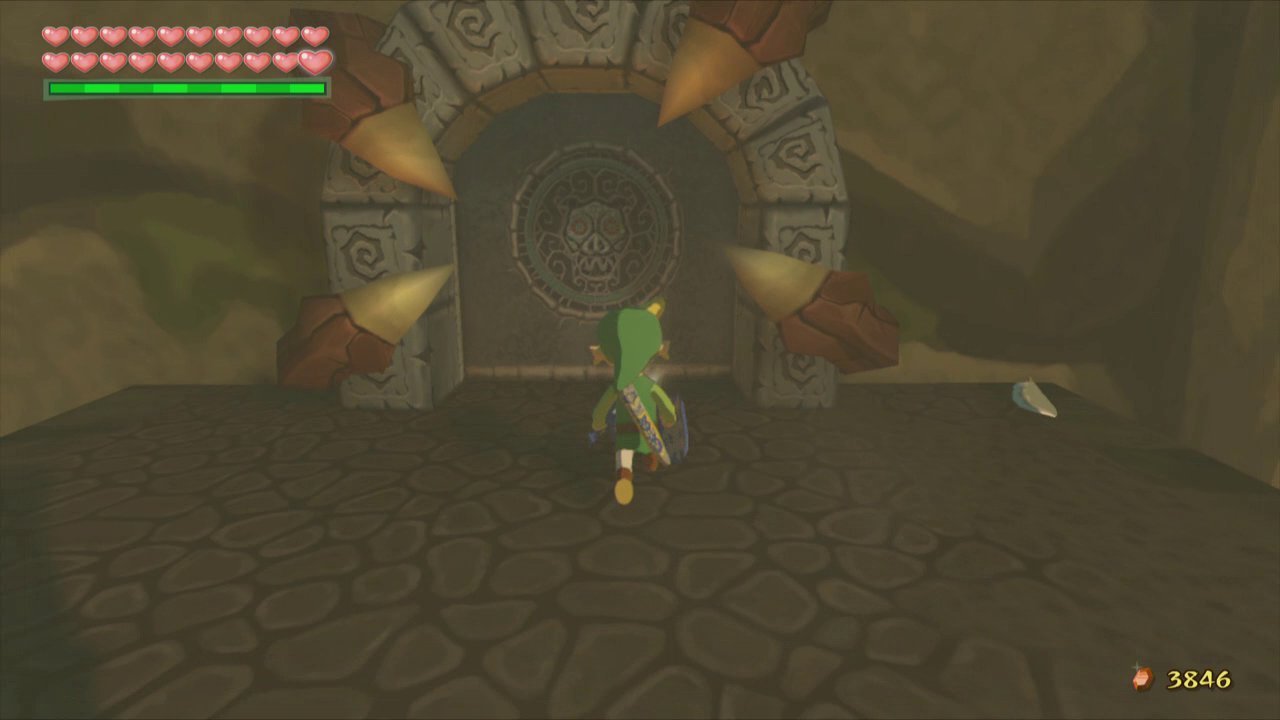
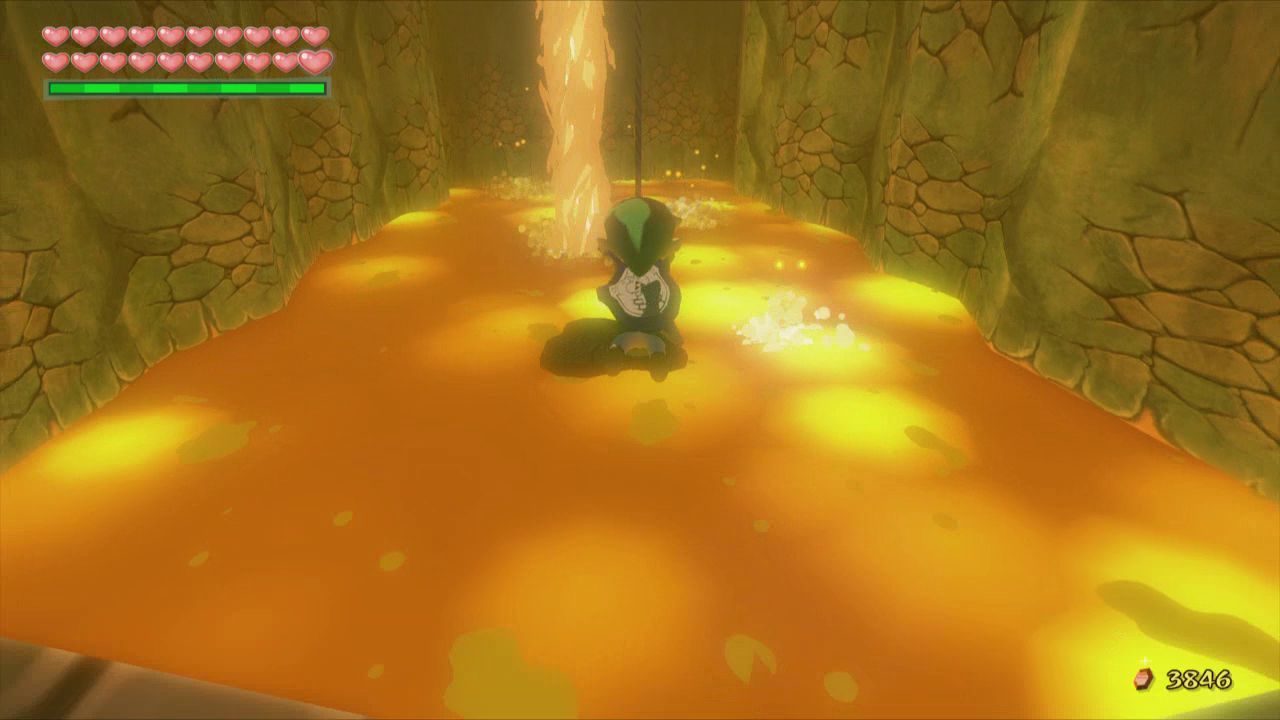
Once you’ve made it to the lava platform, use the Grappling Hook again to grapple onto the last spiked vine above. Climb all the way up the rope onto the small platform and then use the Deku Leaf to float over to the last platform where the two Red Bubbles are located. Defeat them if you wish, then head through the black and white door to face Gohma.
Inside Gohma’s boss room you be left with only the items from when you faced Gohma the first time, plus any bottles that you’ve obtained. Defeat the monster the same way you did before and you will be transported back to the main room. Gohma’s image will illuminate on the door, meaning that one part of removing the door is completed.

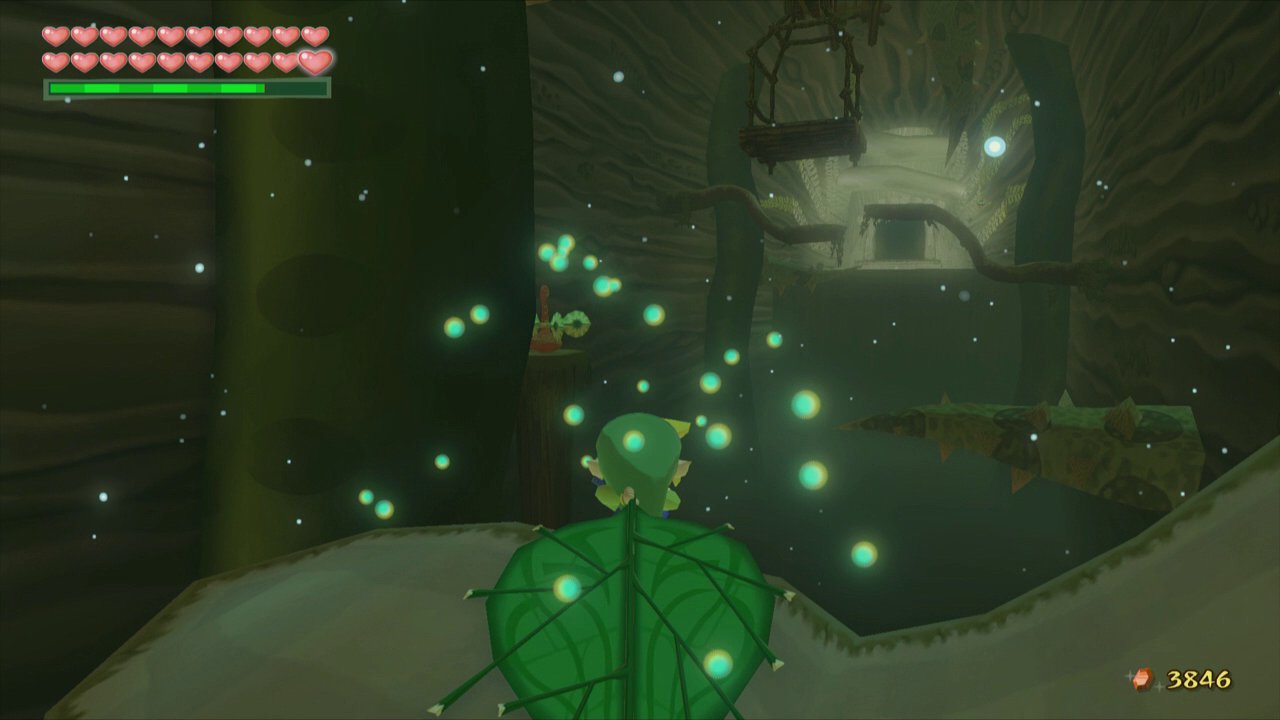
Now walk across the second bridge on the left side and enter through the next door. Break the nuts to the left and right for some more magic if you need it, and then blow the propeller to bring a cart over. Hop onto the cart and blow a gust of wind at the door to move partially across the gap.
Jump onto the moving platform here and wait until it moves down to a lower area. Use the Deku Leaf to hit the propeller located nearby and another cart will move over. Jump onto this cart and blow your way across the gap to the next set of platforms.
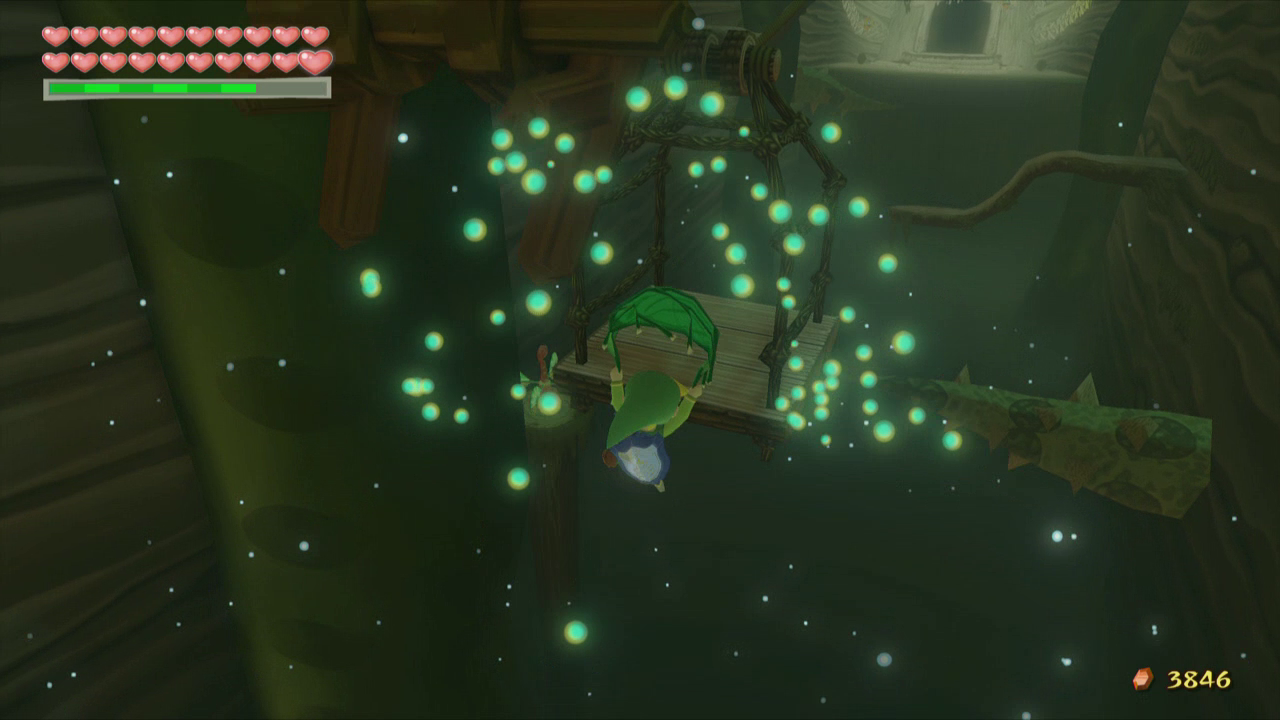
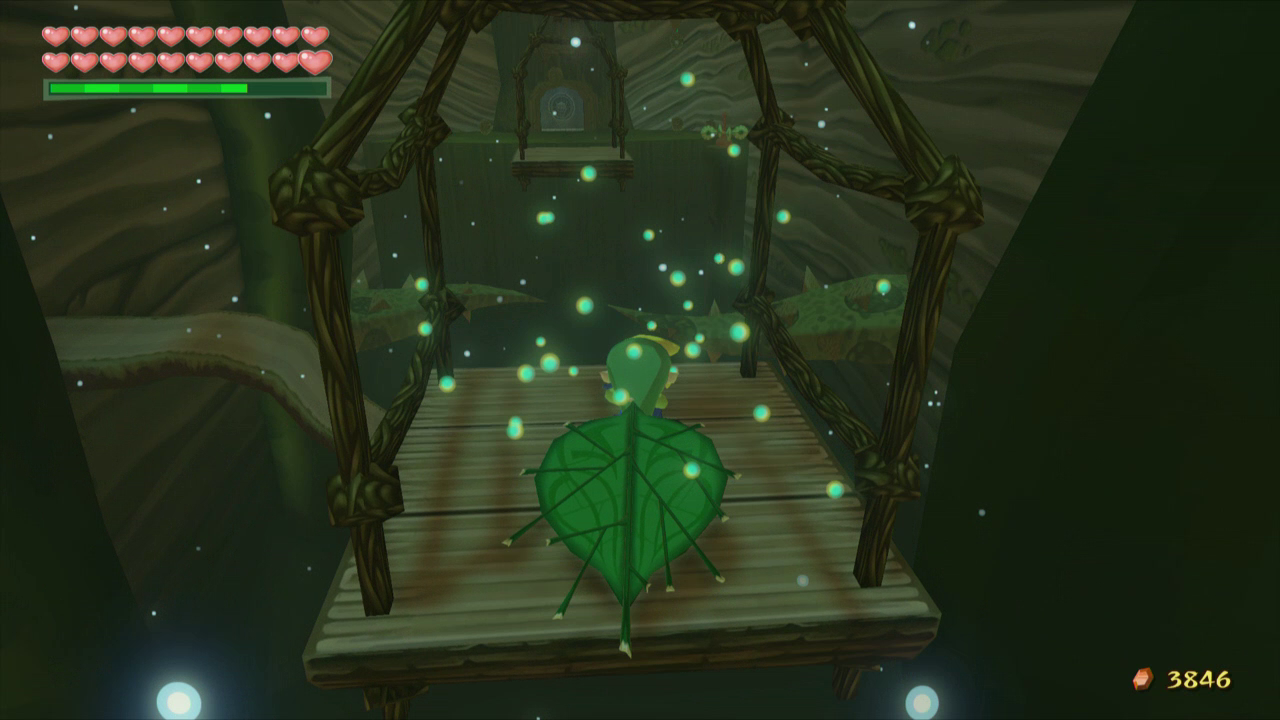
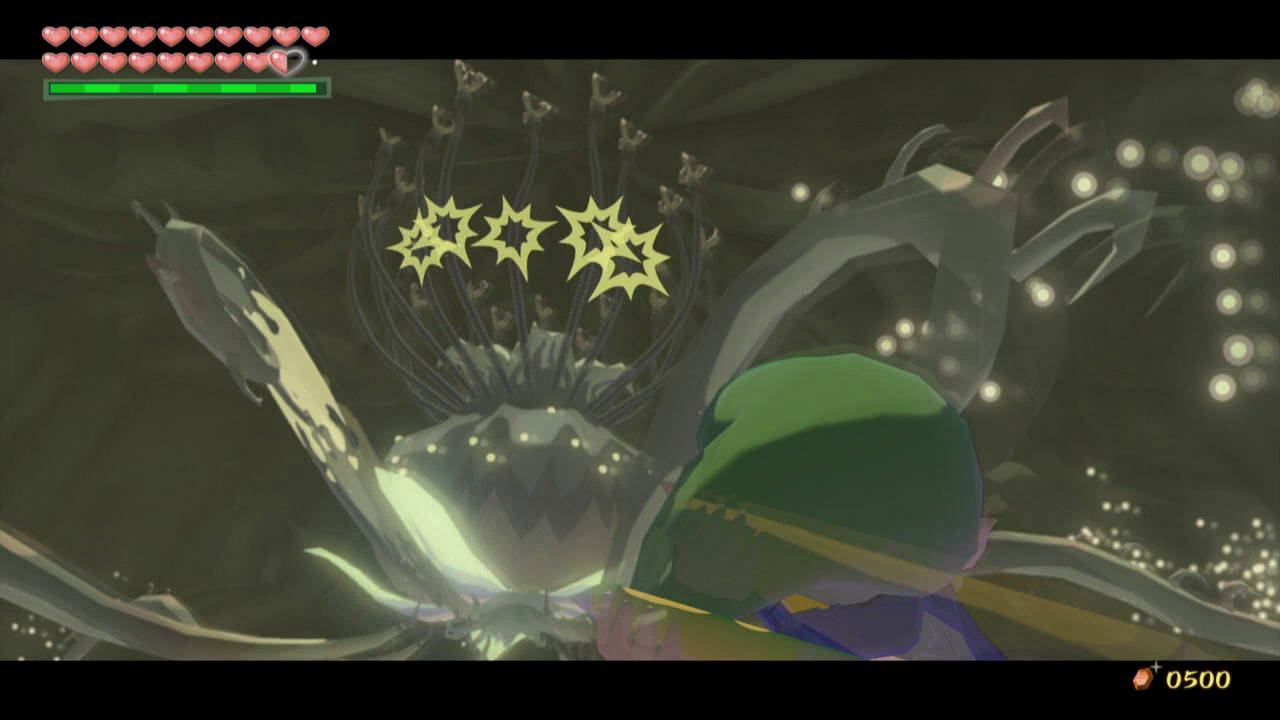
Hop onto the platform on the right side first, and then jump onto the left one when you are able. Once the left platform rises higher, use the Deku Leaf to float across to the boss door. Defeat the Peahats if you’d like and then head through the boss door to fight Kalle Demos once again.
The process of defeating Kalle Demos is exactly the same as before, although he is much less difficult now and can be defeated in only a couple of sword slashes with the Master Sword. Once he is defeated you will be warped back to the main room once again, and the image of Kalle Demos will light up on the door.
Next, head across the northern bridge on the right side and enter through the door to reach the Earth Temple area. This area is by far the most annoying, and can be quite damaging. There are coffins lining the walls ahead that will most likely damage you as you pass, but you can quickly roll past them to avoid it if you are fast enough.
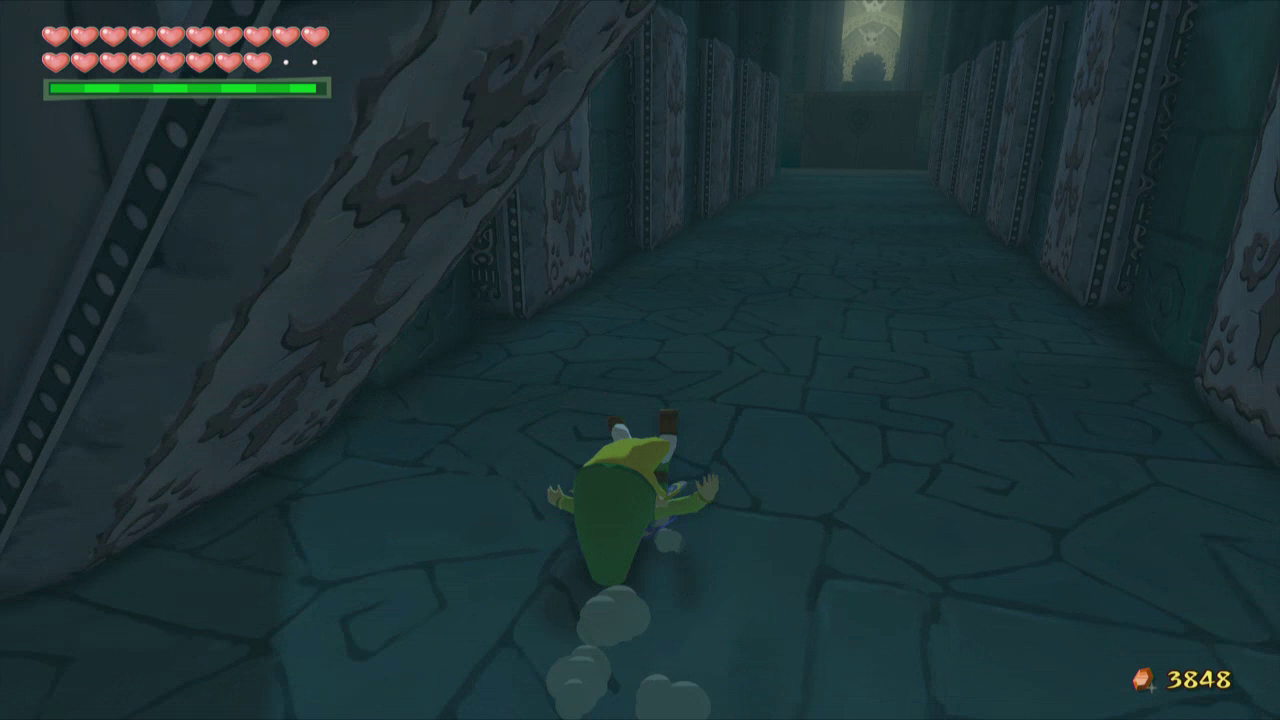
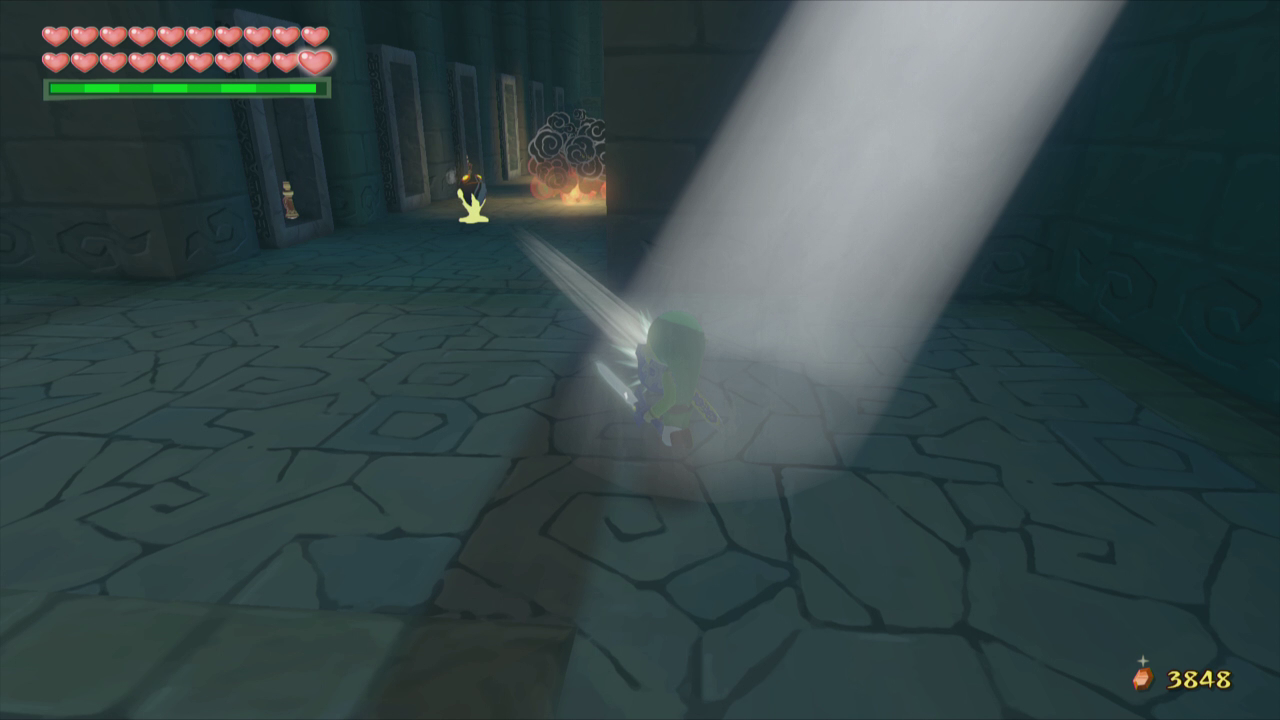
Go up the stairs at the end and roll down the next hallway, making sure to open all the coffins along the walls. Run back past and the coffins and use the light coming through the ceilings to turn a Purple ChuChu into stone. Set him on the switch here and roll back down the hallway as fast as you can. If you’re fast enough you can reach the stairs; if not, run back and try again.
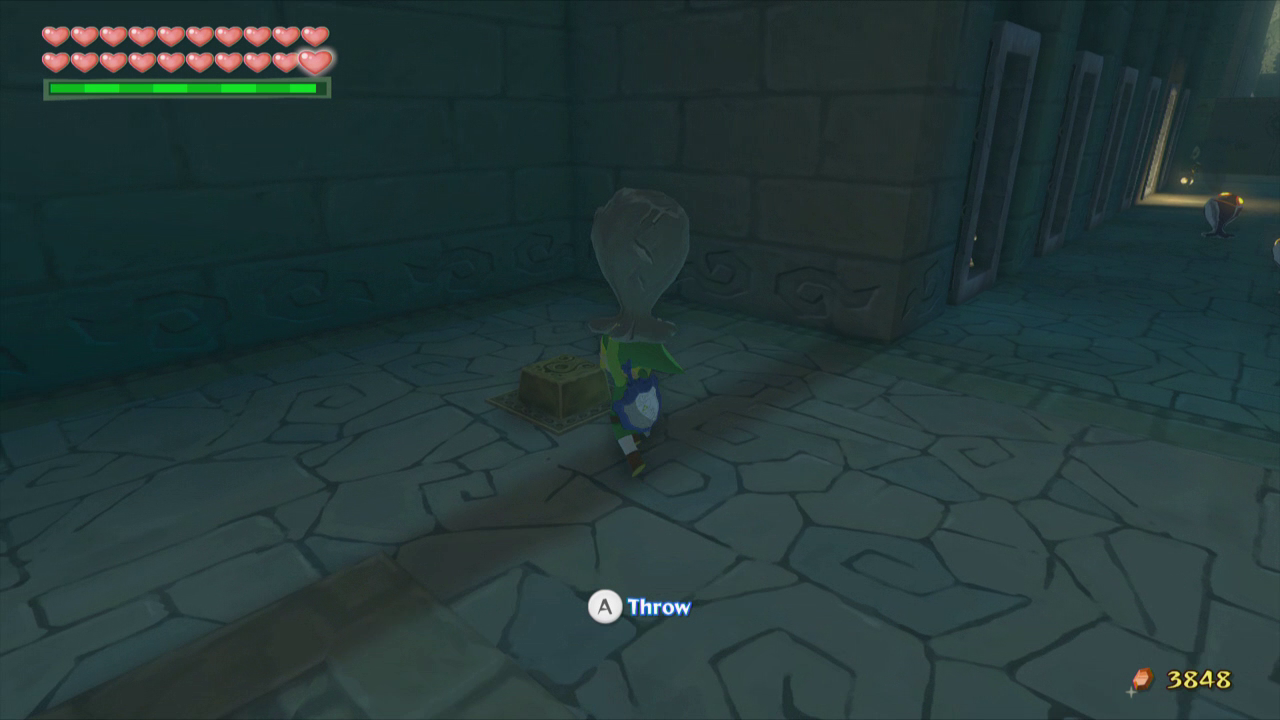
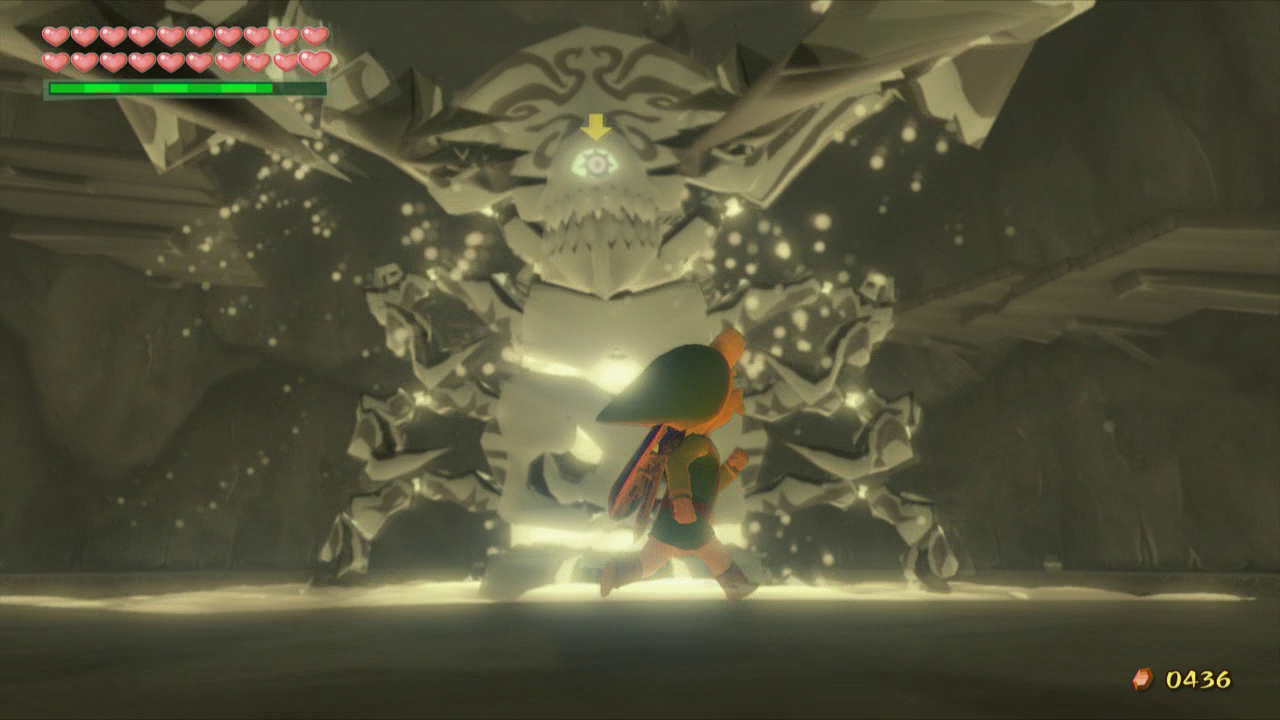
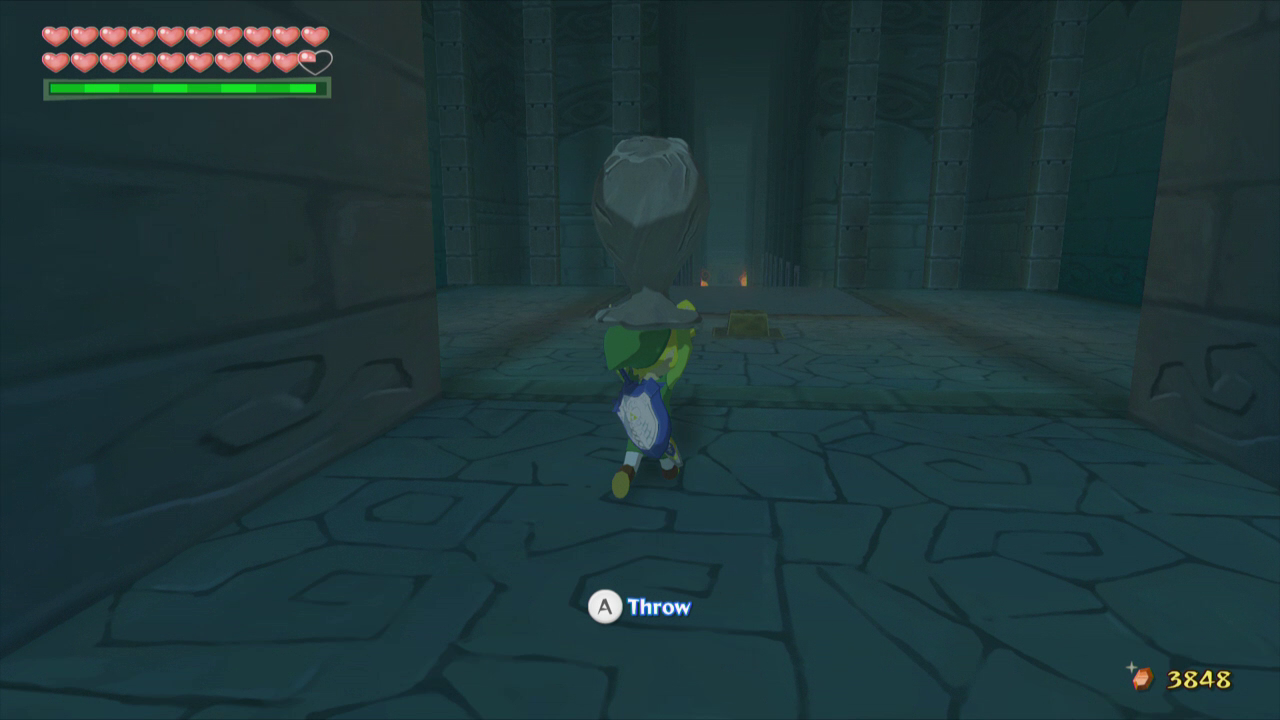
Run down the hall here and drop all of these coffins as well. Turn another Purple ChuChu to stone; preferably the one on the far side of the room, near the switch on the other side. Set him on the switch and roll back to the stairs. A Stalfos will pop up out of the ground, but if you are quick enough you can hop onto the stairs and avoid him. If not, defeat him, place the ChuChu on the switch again, and head through the boss door to face Jalhalla.
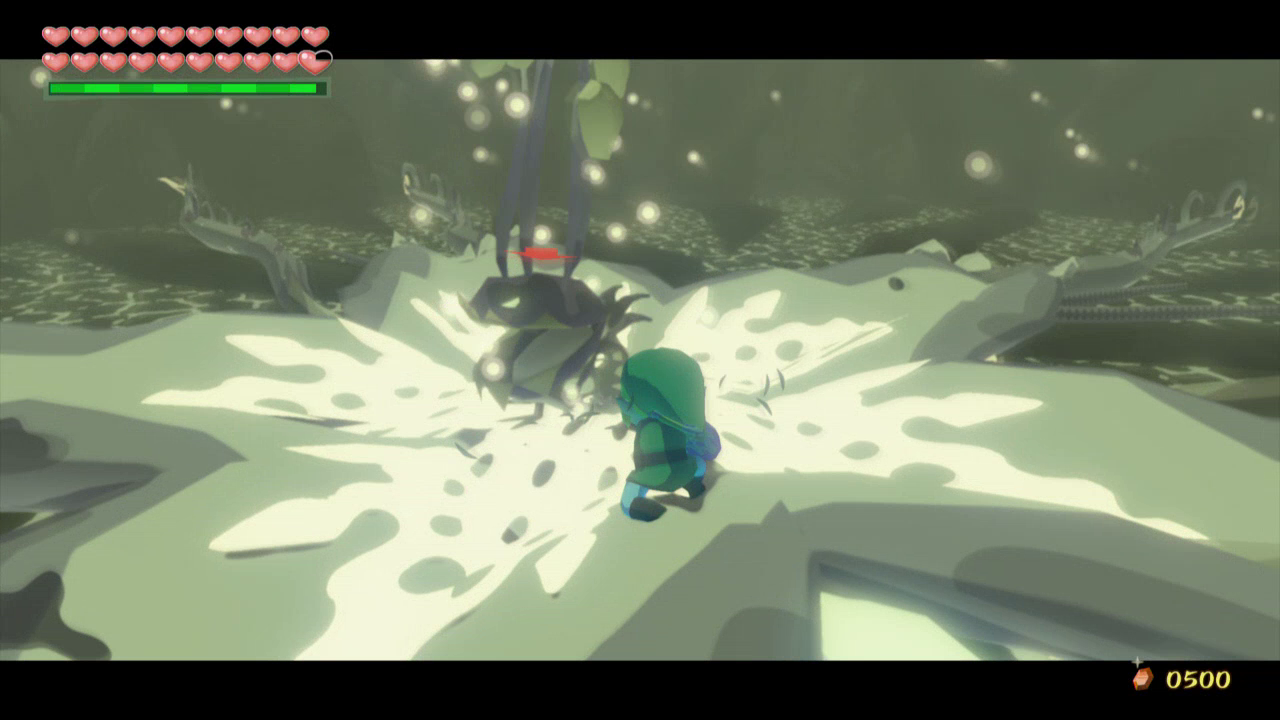
Defeat him the same way as in the Earth Temple, and you will be transported back to the main room once again. Take the last bridge and enter through the door to reach the wind area. Kill the Wizzrobe that appears here and then hop onto the spring pad. Use the Iron Boots and the Deku Leaf to float into the air, then float across the room. Float between the two cyclones in the middle and land on the other side.
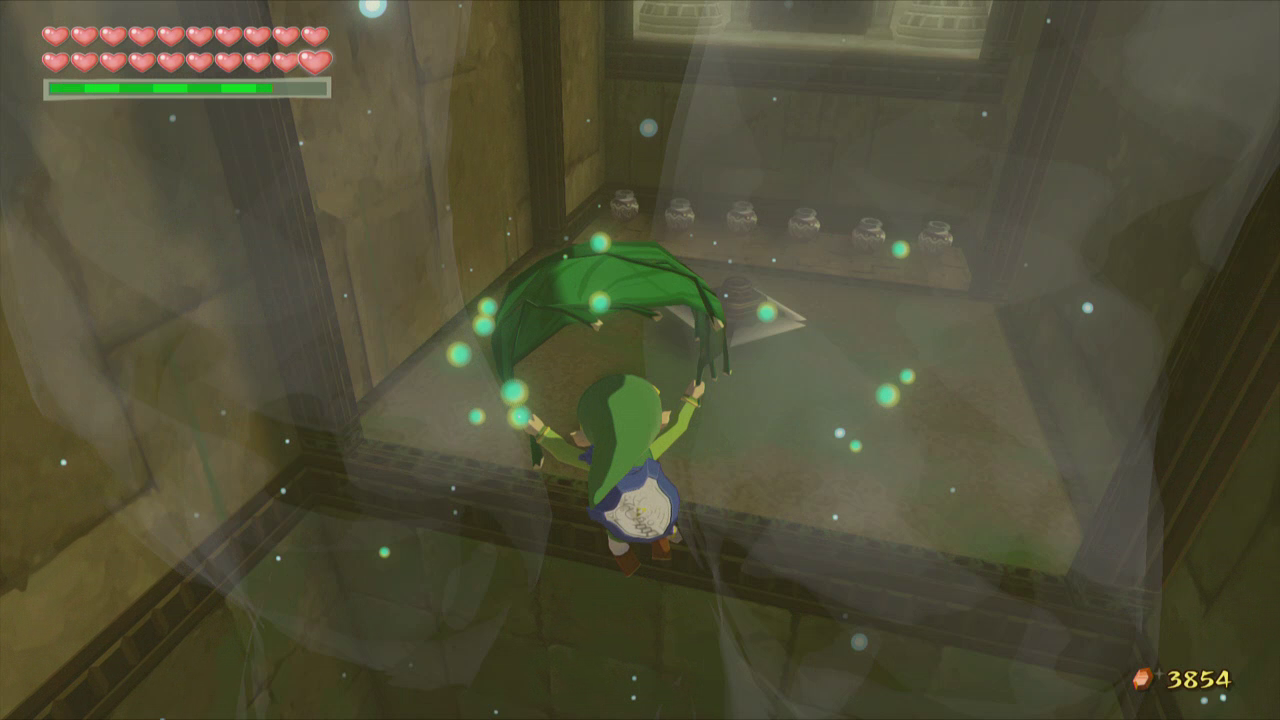
Defeat the two Green Bokoblins that jump out of the pots and then use the Hookshot to reach the higher platform. Head through the door and defeat Molgera. You will be transported to the main room for the last time, causing the boss door to crumble away, allowing you to progress. Walk north and head through the pathway.

14.3 Ganon's Tower Maze
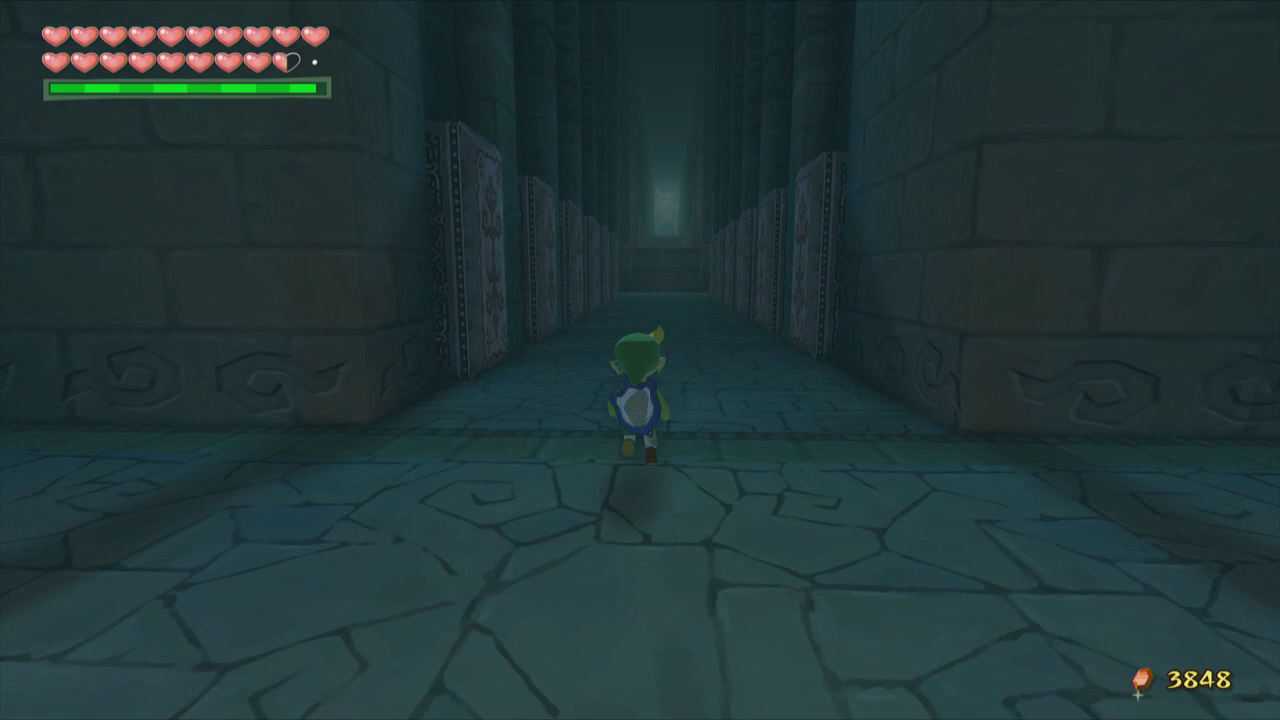
Head up the stairs, killing the Miniblins that attack you along the way. Head through the door at the top then go through the door on the right. You’ll notice the torches are lit a specific way. Remember the order (the number of candles represents the number) and head back through the door. Go through the door on the opposite side of the room and use the Boomerang to target the switches in the order from the previous room.
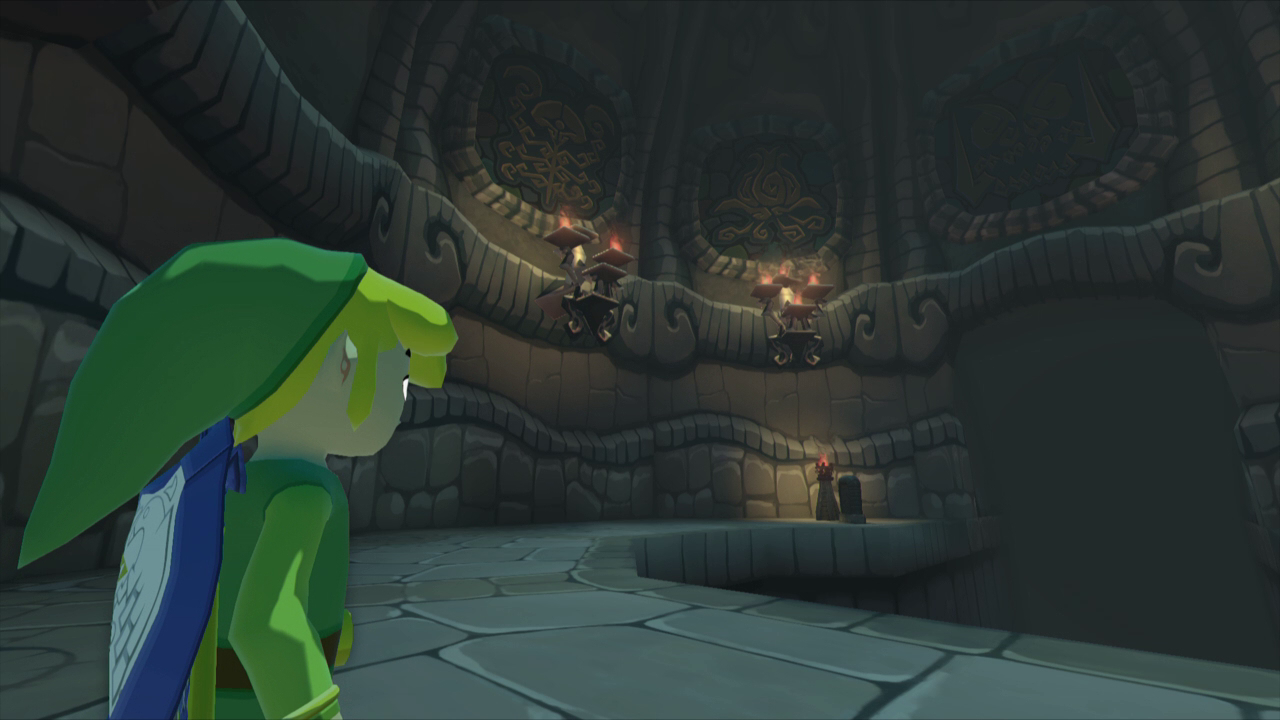
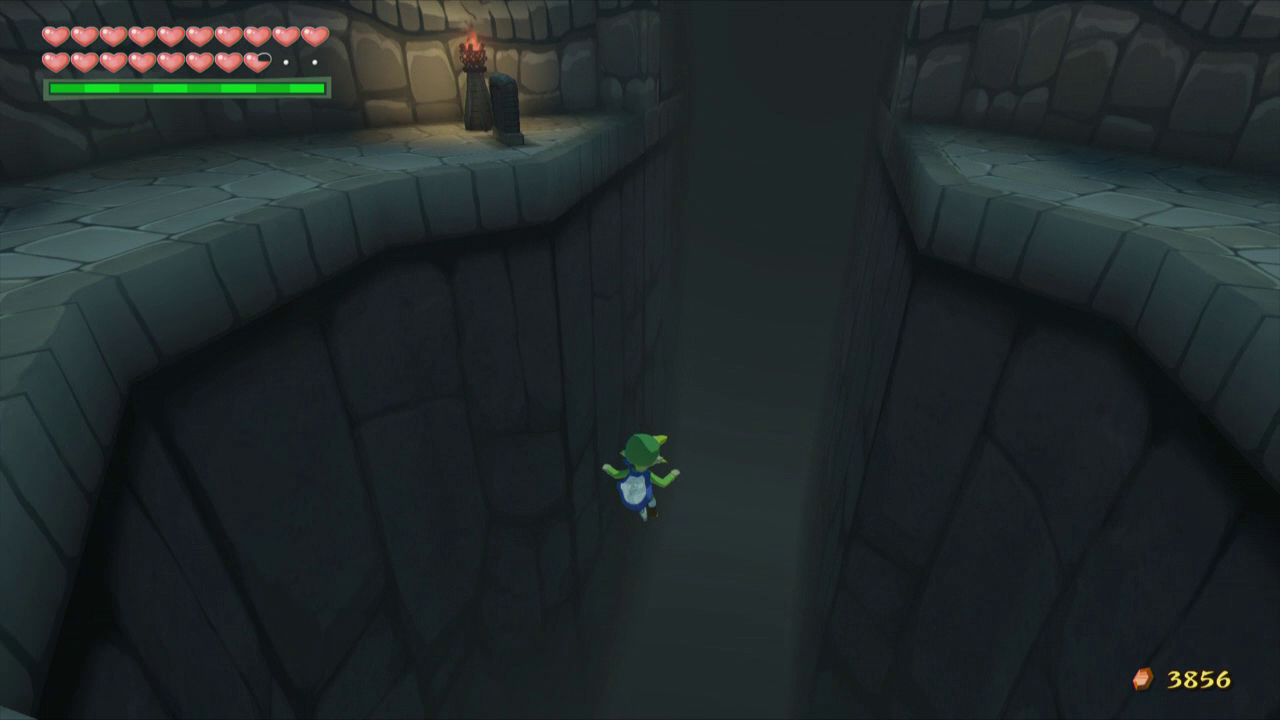
A portal will appear, allowing you to leave the tower and reach the Forsaken Fortress if ever need to restock on supplies. If you need to collect anything, do so, otherwise, return to the room with the torches. Jump down into the darkness below and you will initiate a fight with Phantom Ganon.
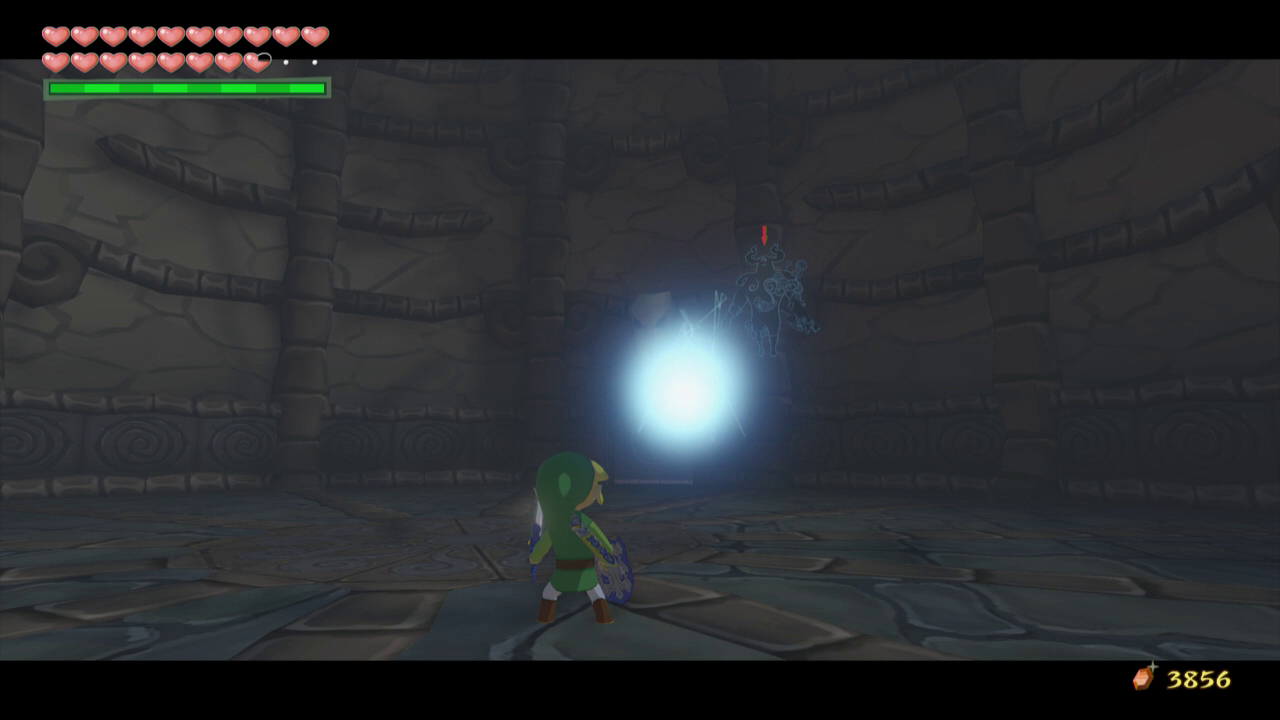
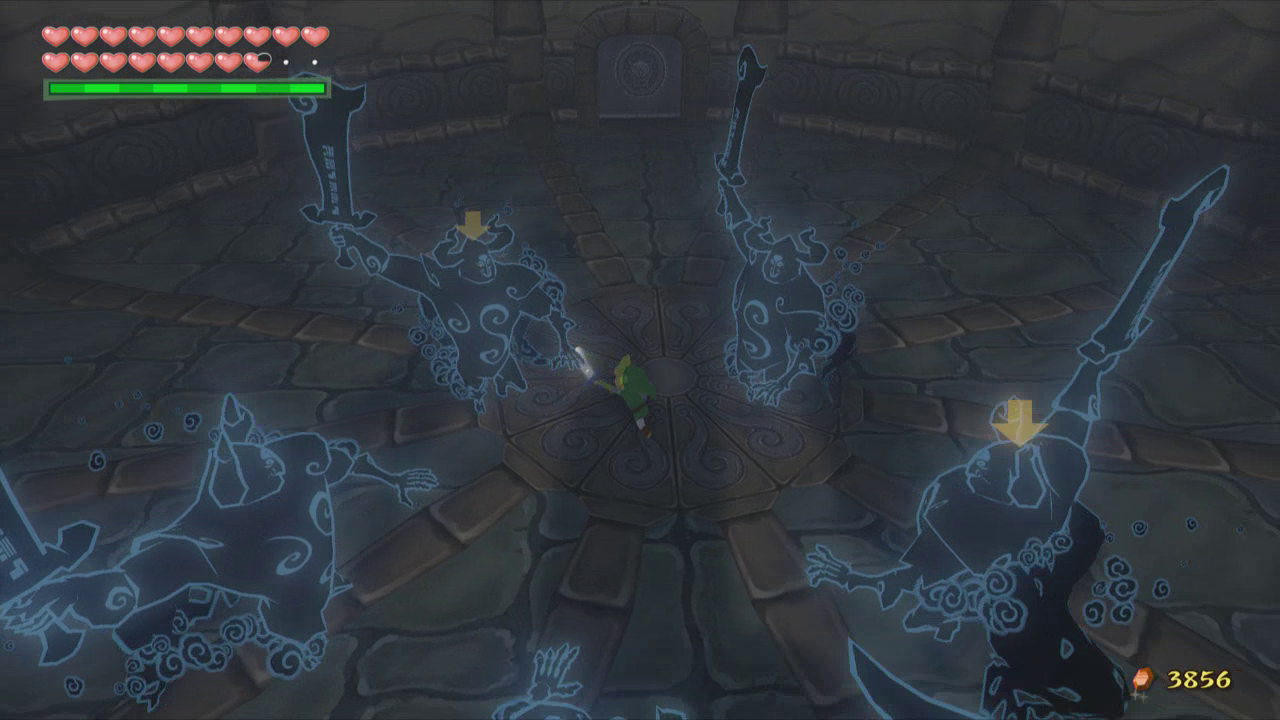
Phantom Ganon’s tactics have changed a little bit since our first fight with him. Instead of simply appearing behind you he will create several copies of himself to attack you. You can either roll out of the circle to avoid them or find darkest copy of the group which is the real Phantom Ganon.
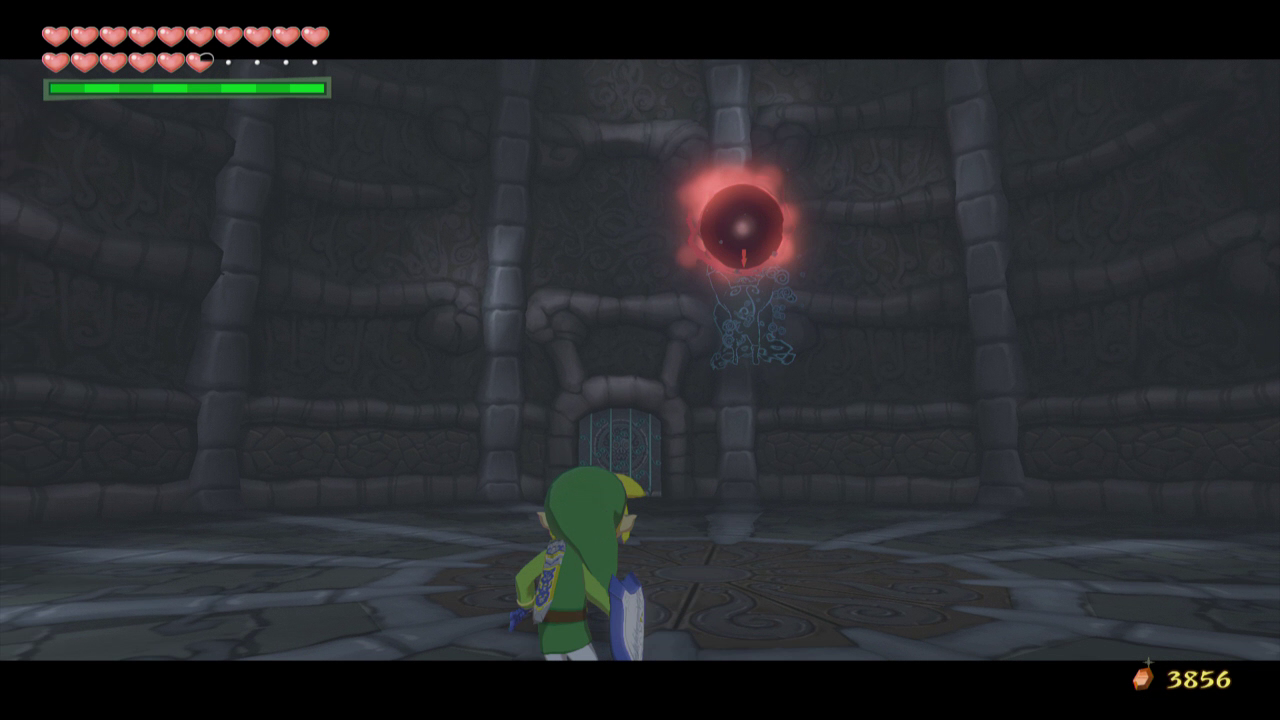
He will also charge up a pink orb and release it at you. You must deflect this orb much like the Blue Orb, but to do so you have to time a spin attack and use it right before the orb hits you. It may take some practice, but you can deflect this attack back at him.
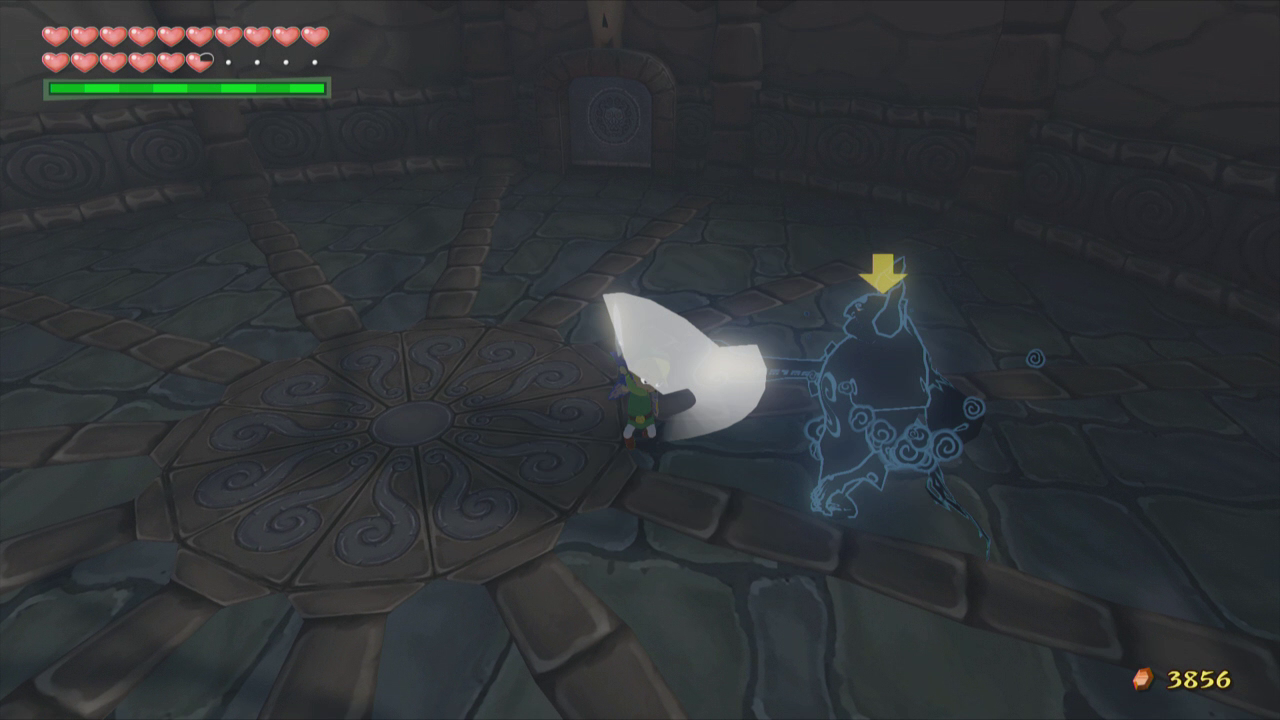
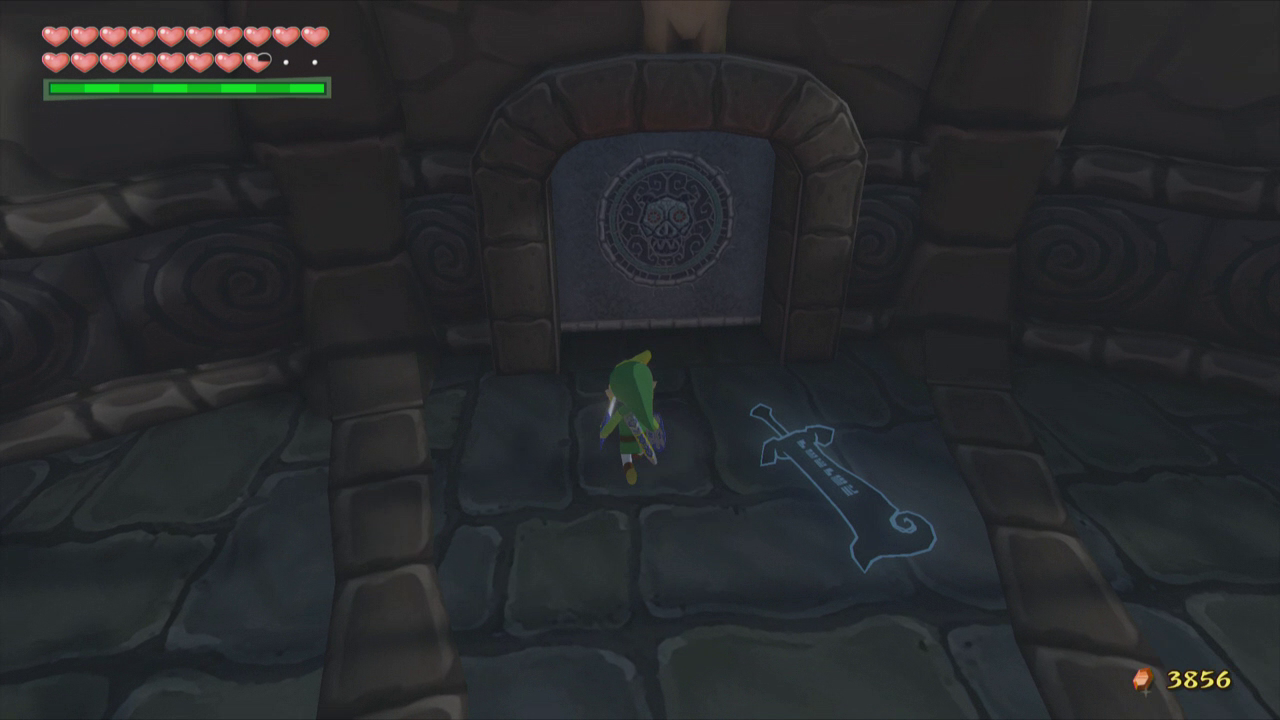
Once Phantom Ganon is hit with the sword or an orb he will fall to the ground. Attack him with the sword again and he will disappear, leaving his sword behind. Let it drop to the ground and look at the direction the hilt of the sword is pointing. The hilt of the sword will always point towards the door which you need to go through next. Continue to the next room and you will repeat this same process.

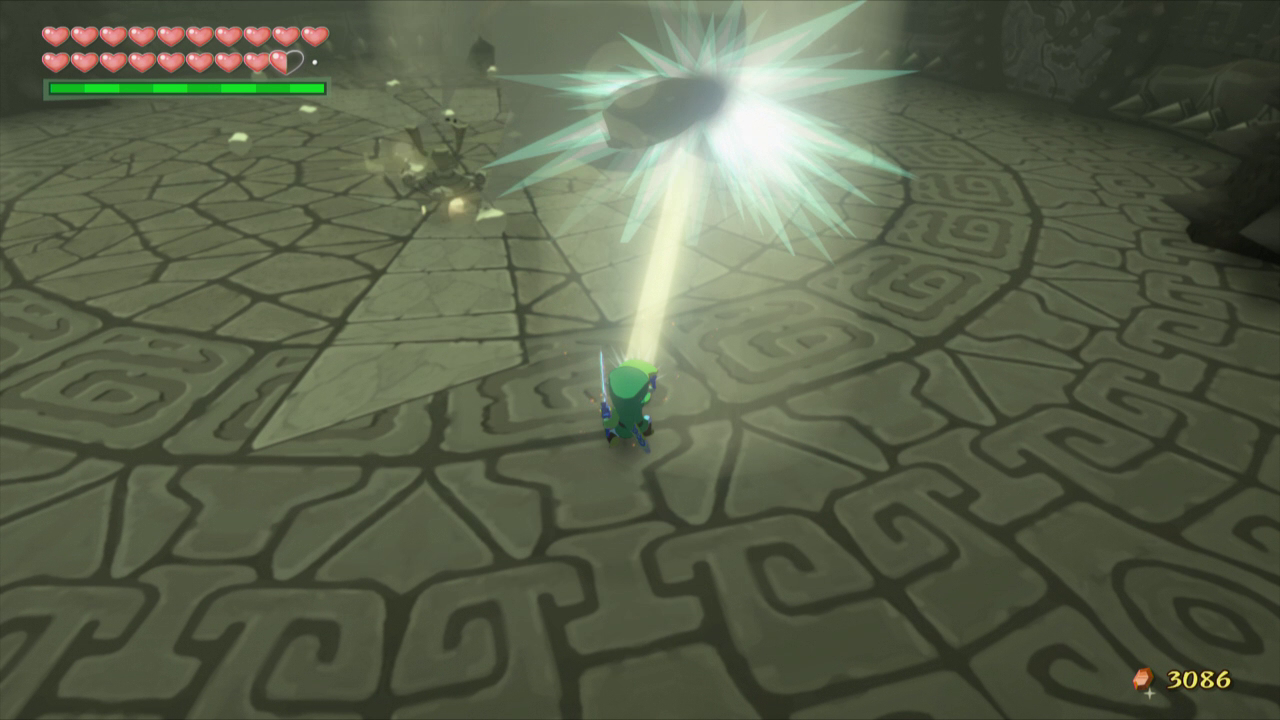
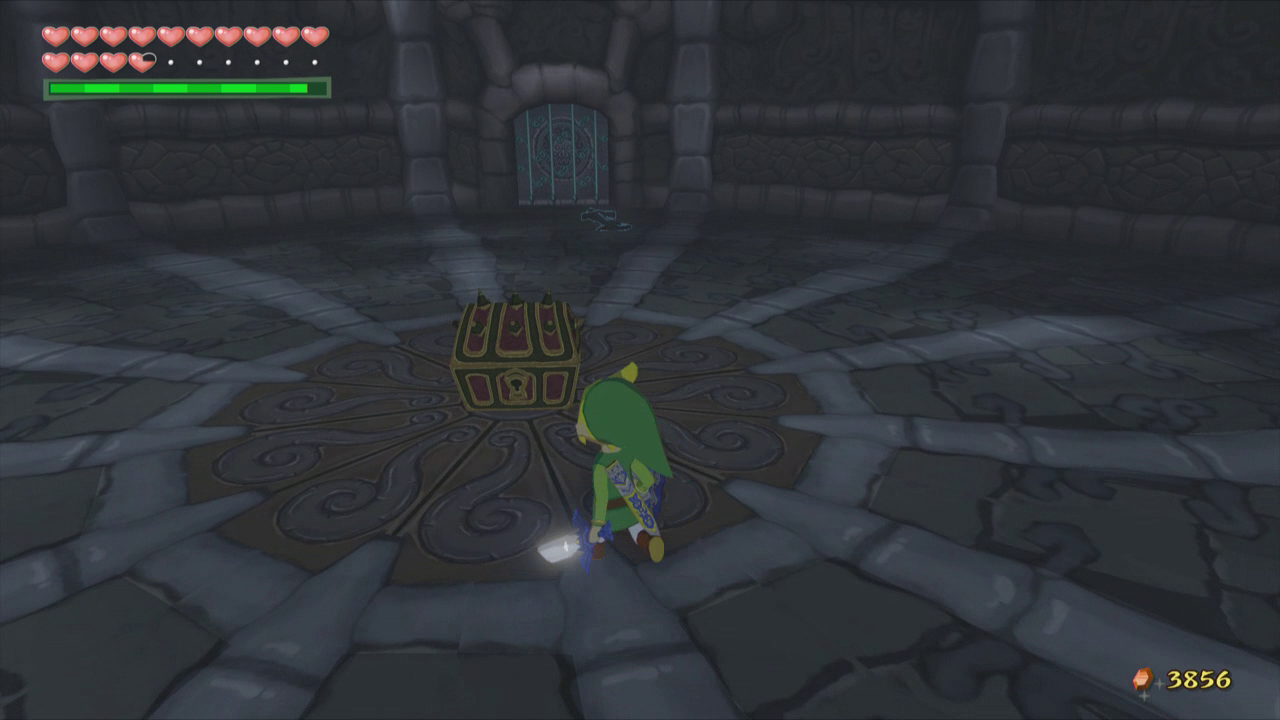
Continue to attack Phantom Ganon and head through the consecutive rooms. You will eventually come to a room that is differently colored than the previous ones. Upon defeating Phantom Ganon in this room a chest will appear containing the Light Arrows. These Arrows are the most powerful weapon in the game, and kill almost every enemy in only one hit. Continue through the next door and you will appear back in the main chamber.
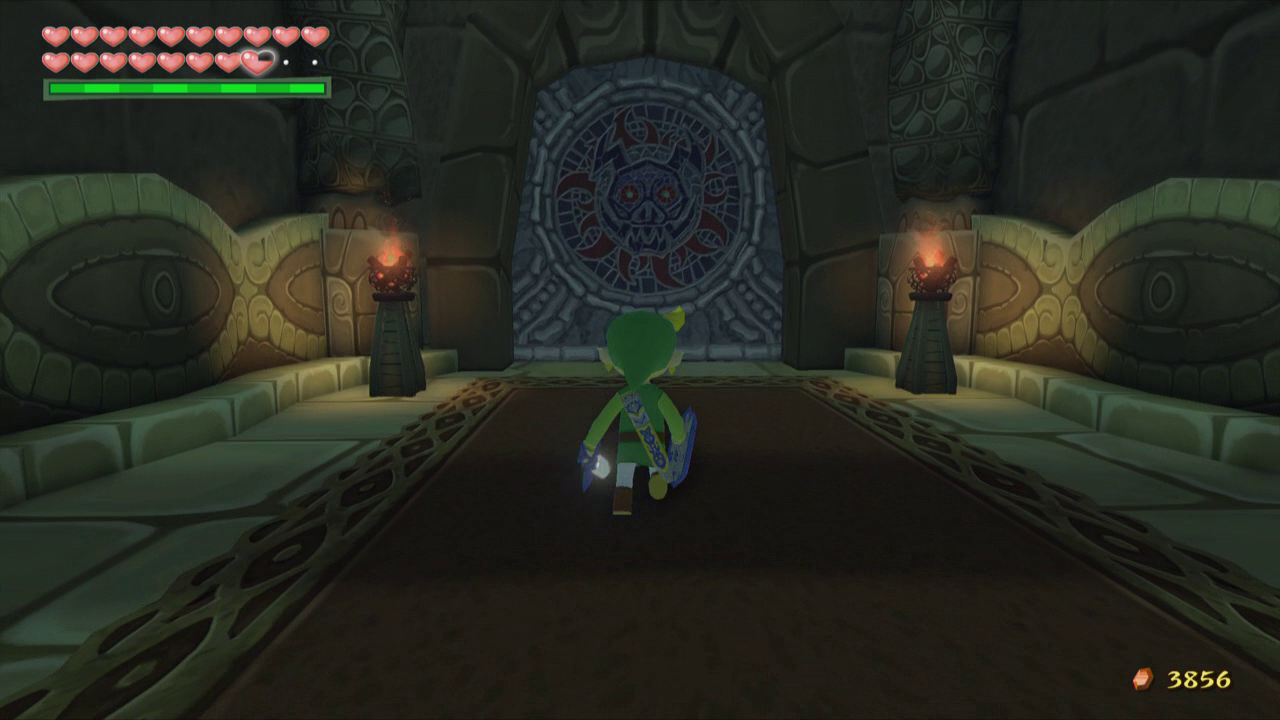
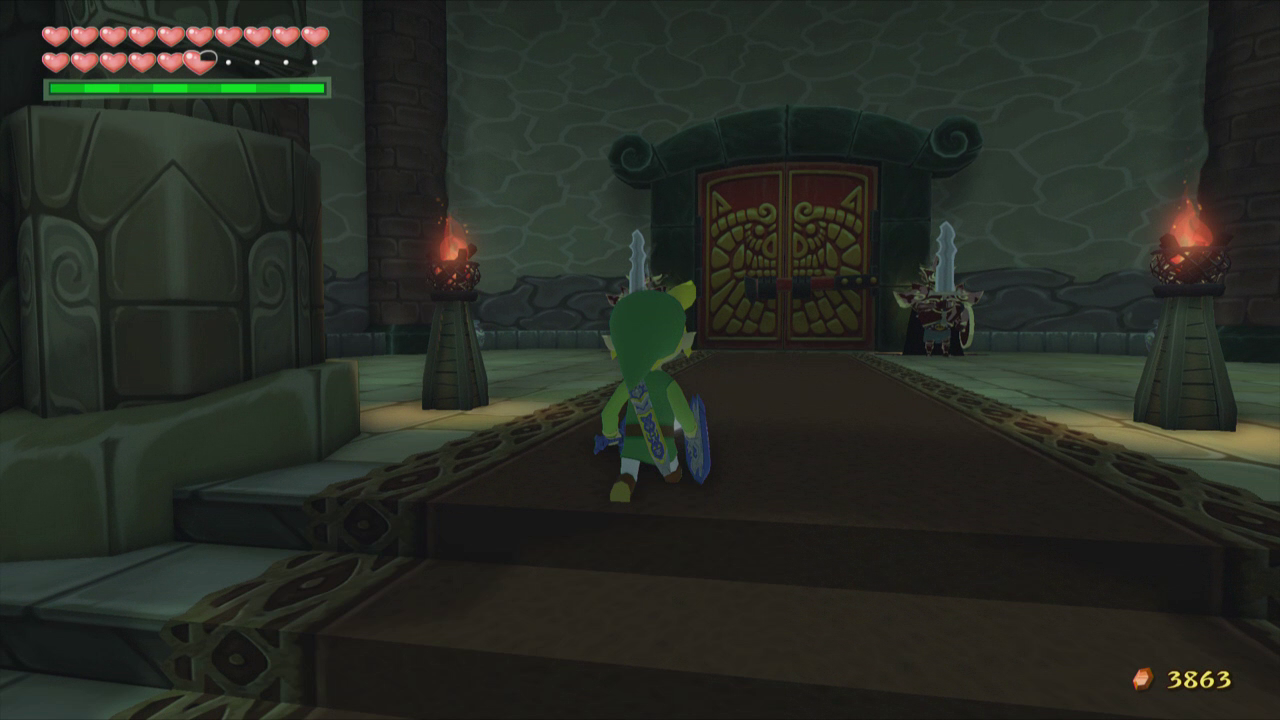
Walk around the room for a couple of seconds and Phantom Ganon will appear. Take out your Light Arrows and shoot one into Phantom Ganon, immediately killing him. Pick up the sword he drops and throw it at the brick wall with the pig face on it. This will cause it to explode, allowing you to continue. If you need any more items before the fight with Ganon, I’d suggest collecting them now, as this will be your last chance to do so.
14.4 Final Battles
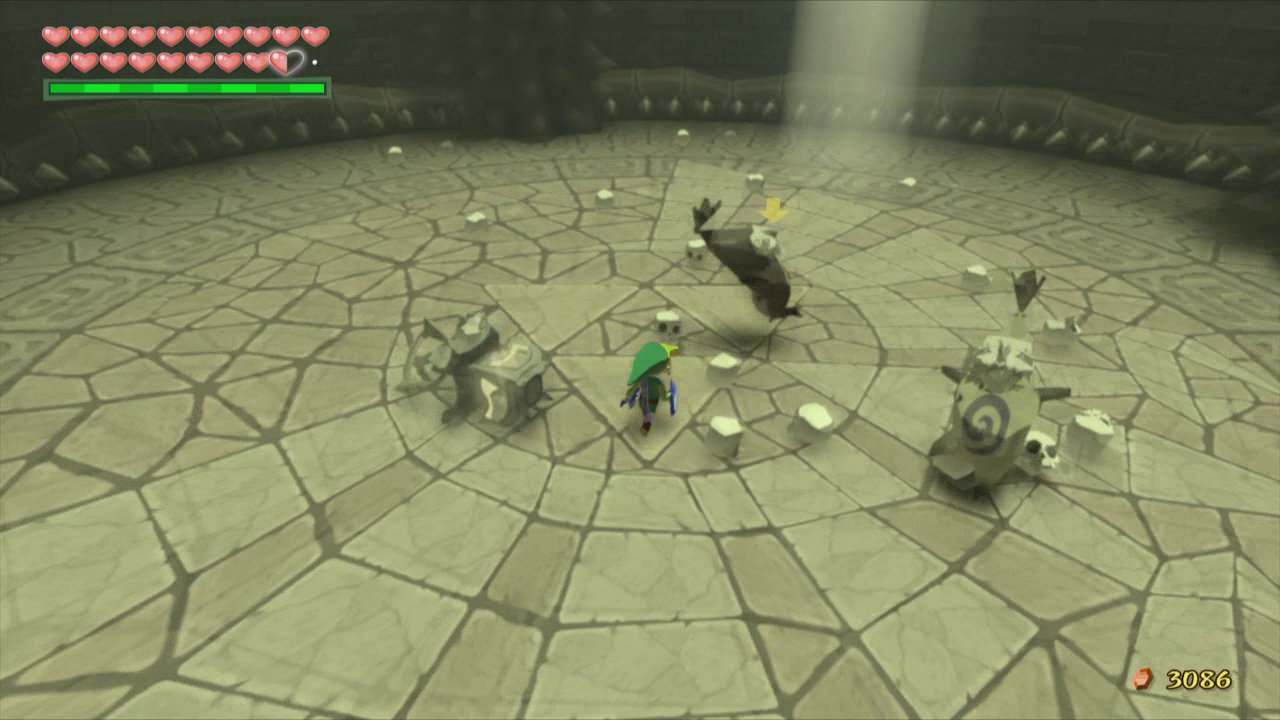
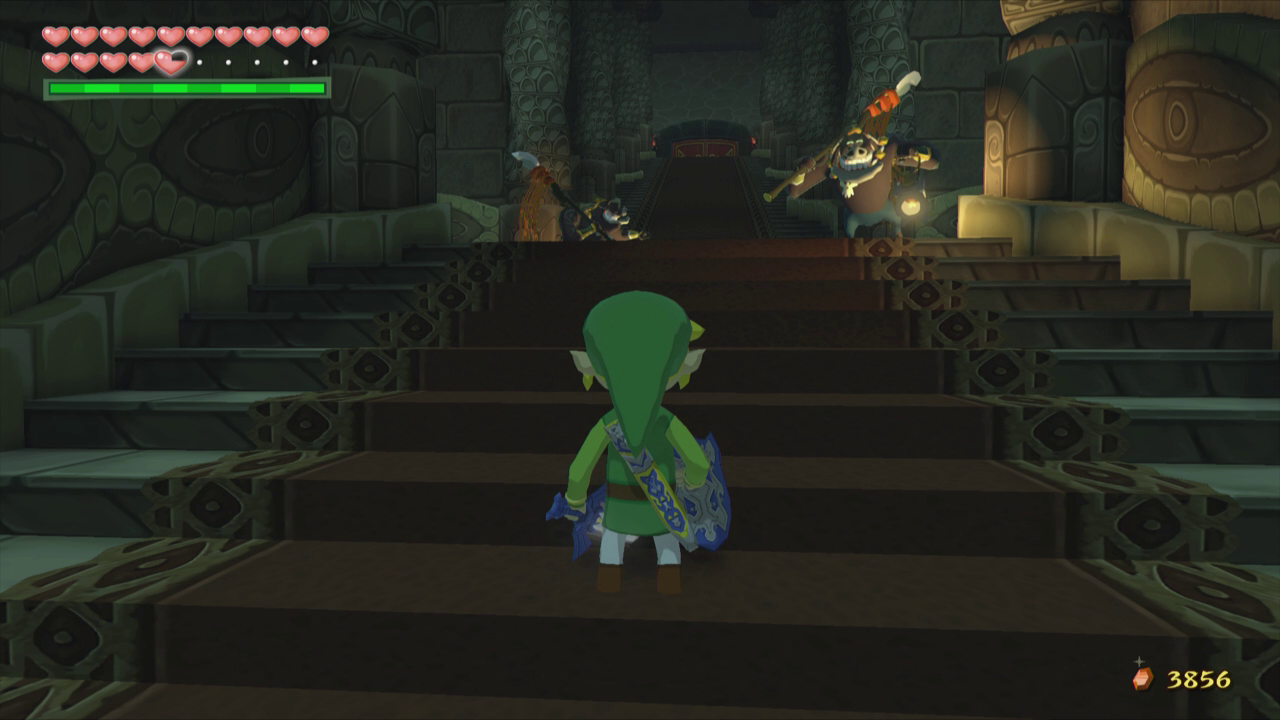
Inside the final stretch of the tower, break the pots on the either side of the room for some arrows or some magic. You will find a series of steps before you, and each level will contain enemies. To exit the room you must defeat all the enemies in the room. You can either do this with the sword, or you can one shot kill every enemy with the Light Arrows. It is up to you which option you’d like to use, but make sure you defeat all of them. Once you reach the top, break the pots for some more magic and health, and then enter the large door to find Ganon.
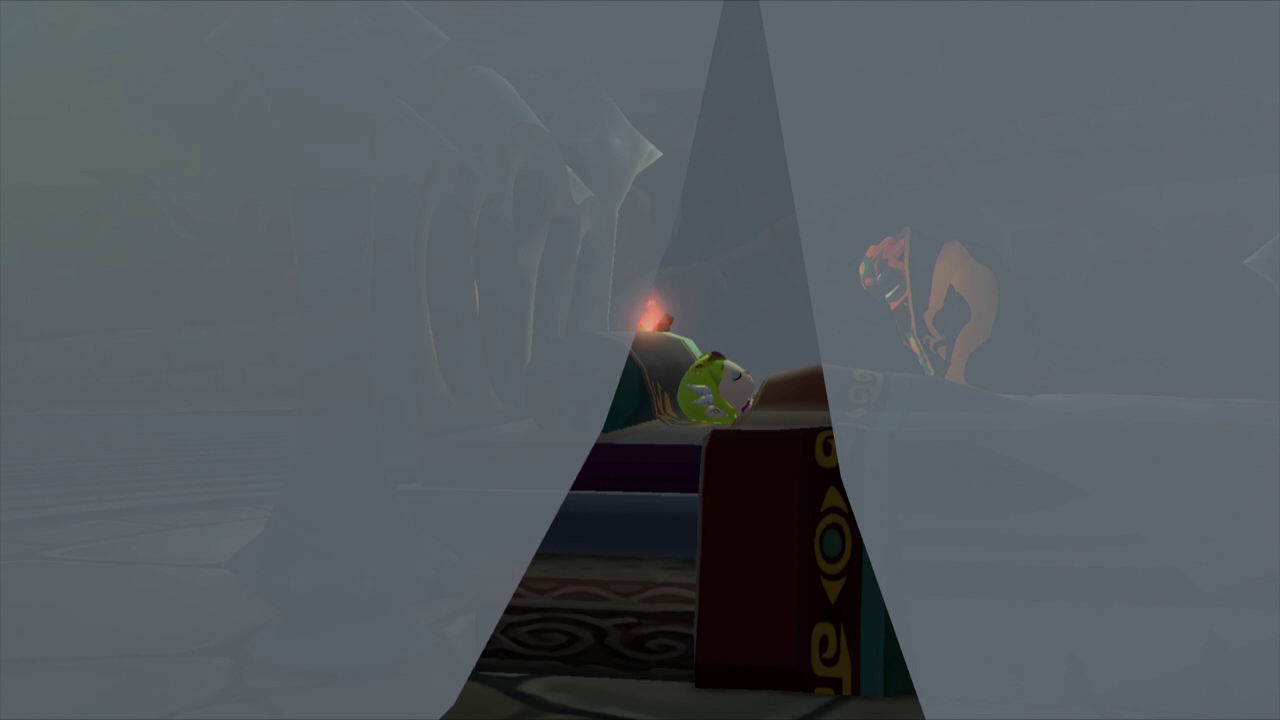
Link will enter the room and see Zelda lying on a bed with Ganon standing over here. Ganon will speak of Zelda’s dreams and countless oceans as far as the eye can see. He will then profess that the Gods destroyed Hyrule when they flooded it. Ganon will then proceed to transform into an enormous, puppet like creature known simply as Puppet Ganon. Puppet Ganon is Ganon’s last defense for himself. This creature will appear in three different forms throughout the battle.

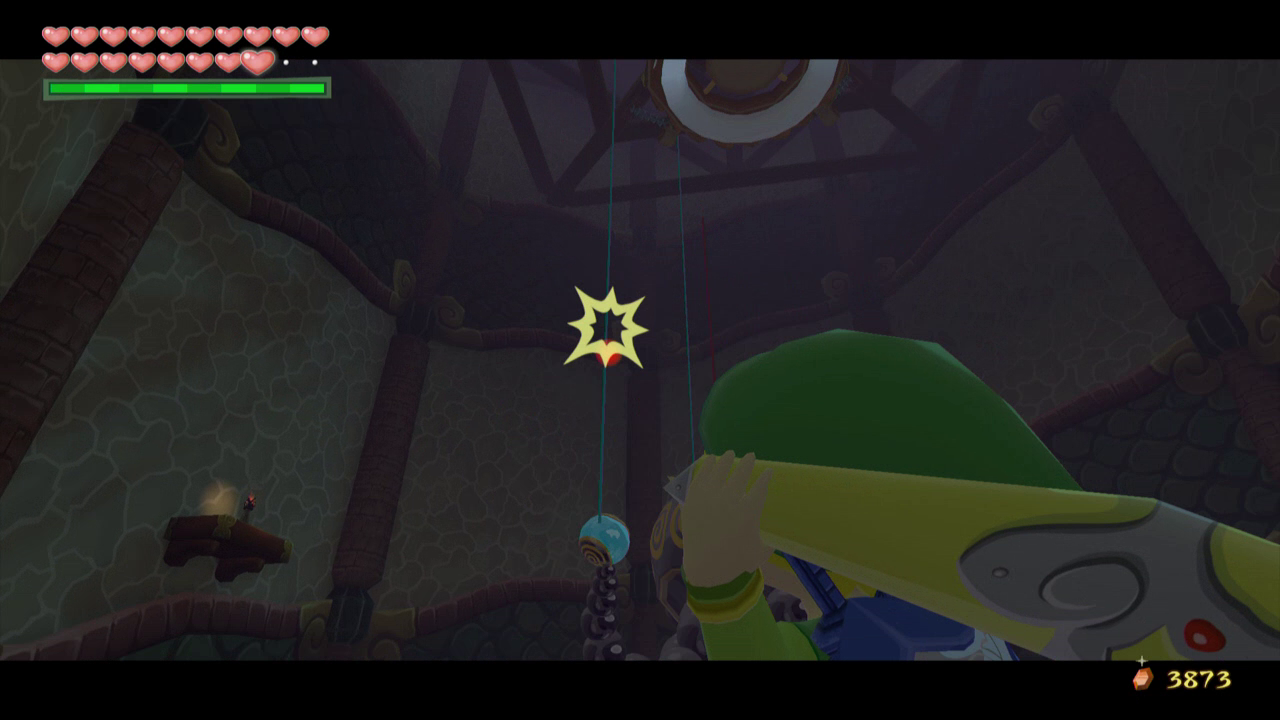
To defeat the first form you will need to pull out the Boomerang. Aim above the creature and you will target a couple of strings that are holding him up. You will have to hit the string a few times with the Boomerang before it breaks, rendering that part of the body useless.
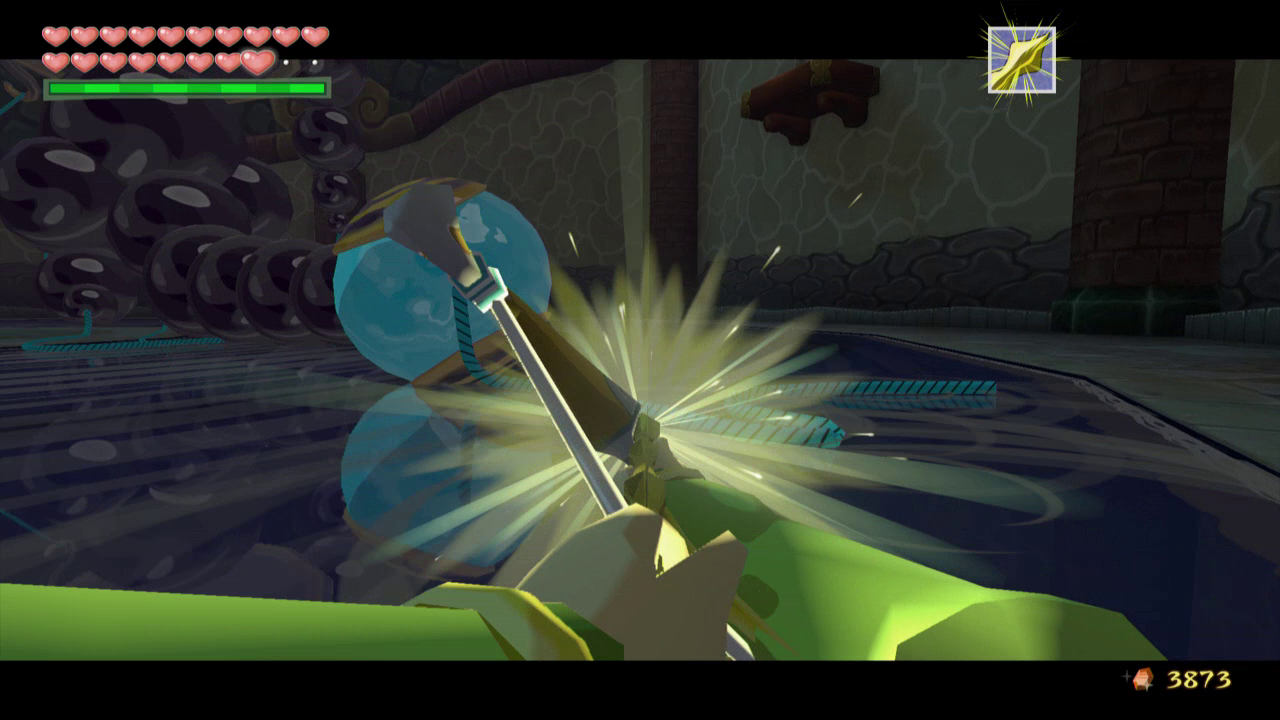
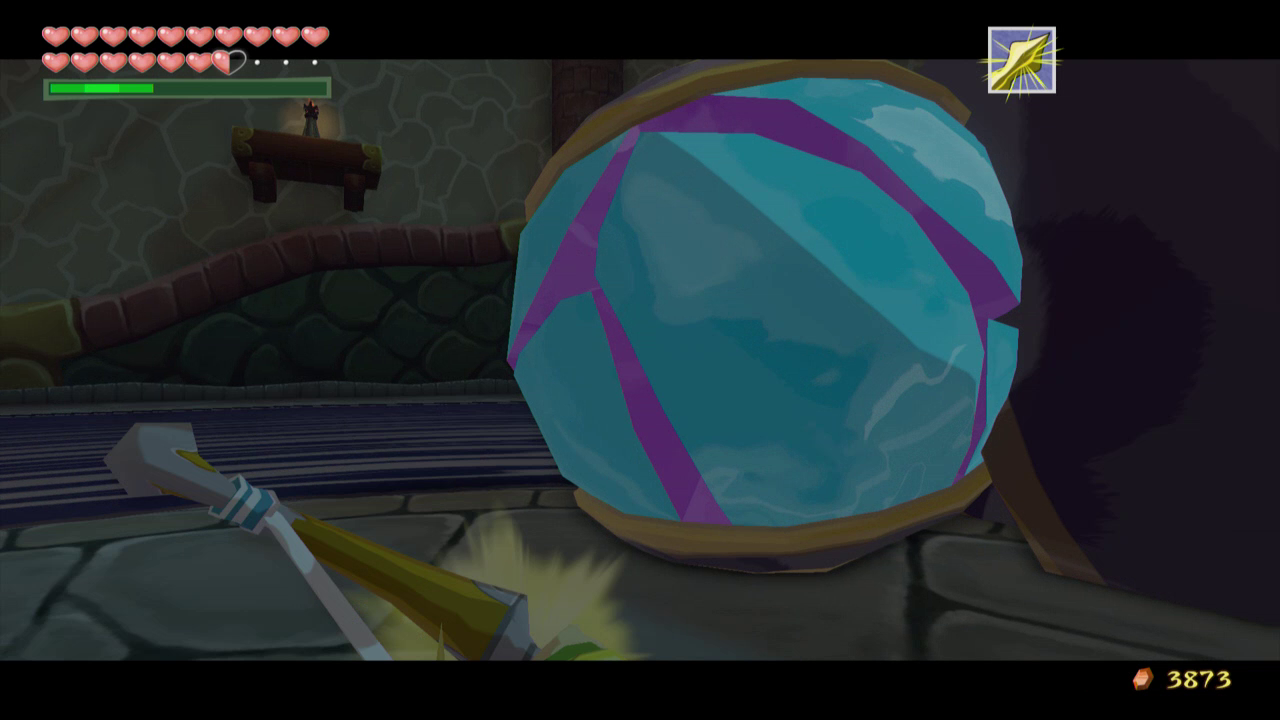
You are only required to break the string holding up the tail of Puppet Ganon, but you are more than welcome to break a few more if you’d like to. Don’t break all of them though, as this will cause Ganon to immediately restring the creature and bring you back to square one. Once the tail is on the floor, pull out a Light Arrow and aim at the blue orb on the end of it. Once you successfully hit this orb the puppet will be pulled up and restrung to fight again. After hitting it three times with the light arrows this phase of the battle will end.
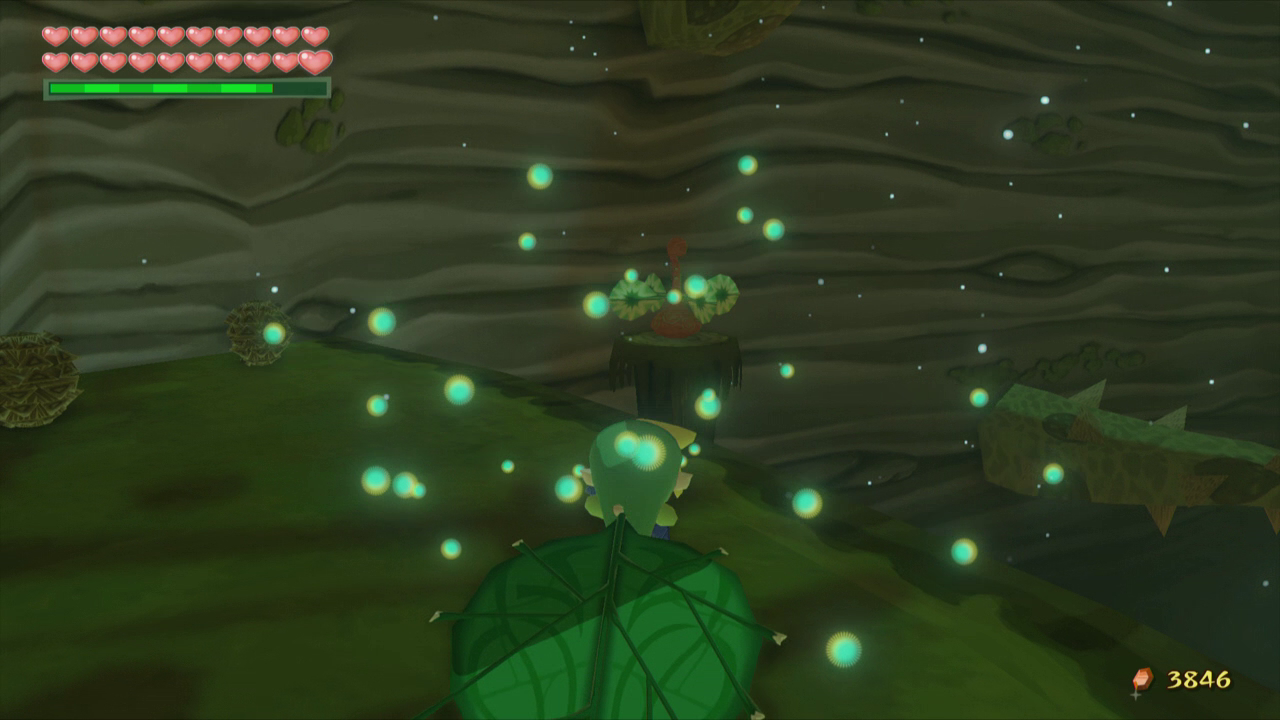
The next stage of Puppet Ganon is the easiest of the three. This spider like form will spin around the top of the room and then drop down attempting to crush you. If you use the free camera mode and look at the water below you can see where the blue orb will drop and run to that area before he lands. Once he does land, pull out the Bow and shoot another Light Arrow at the orb. Do this another two times to complete the phase.

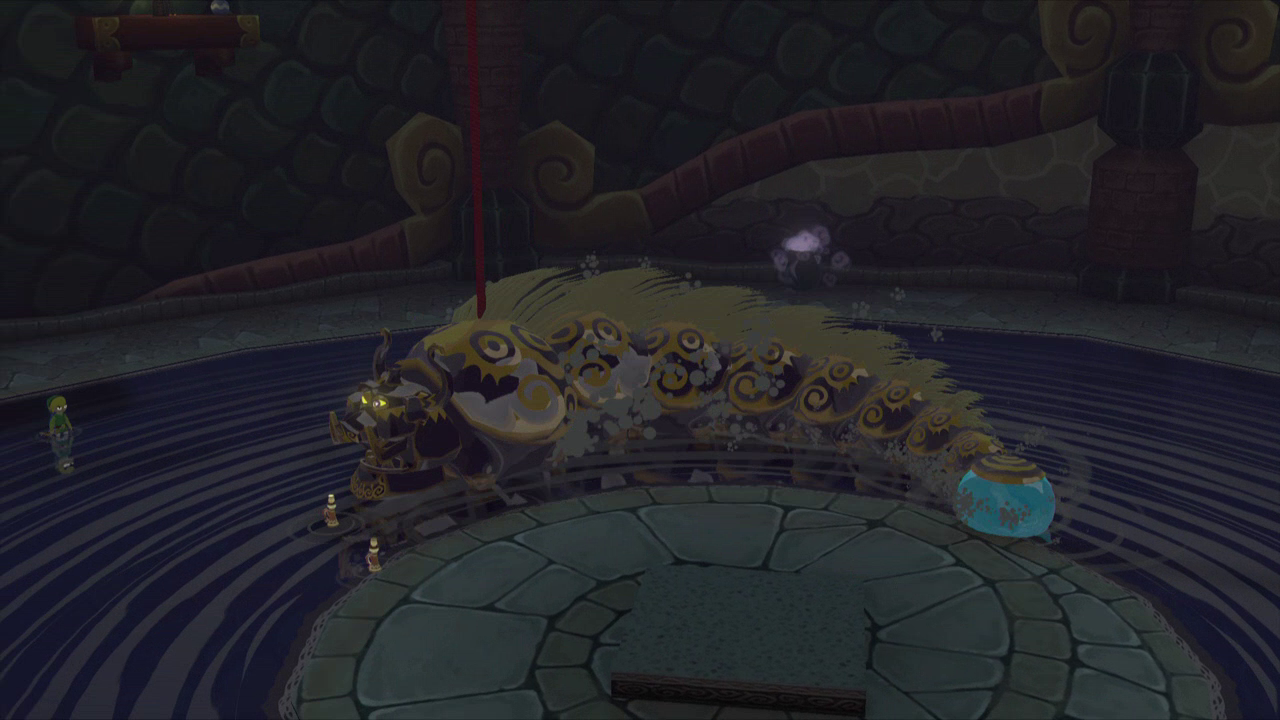
Puppet Ganon’s final formation is by far the most difficult. This form looks a lot like Moldorm from other Zelda games, and it also acts like it as well. This form will dart around the room quickly, often times charging right into you. There is no way to completely avoid this phase, and you will often get hit before you even notice him coming after you.
If you think you’re quick you can hit its head with the sword to stun it for a few seconds and then shoot the orb, but this is very risky and often times doesn’t work too well. The best approach is to stand off near one of the walls while it slithers around. Take out the light arrows and try to line up a shot at the orb as best as you can. It may take a few tries but you should eventually hit the orb.
After each hit the snake will increase its speed, so make sure you take this into account. Once you hit the orb three times Puppet Ganon will explode, ending the battle. With Puppet Ganon defated, Ganon says that you are surely the Hero of Time reborn. He tells you to come and face him, and he will float up to the top of the tower.
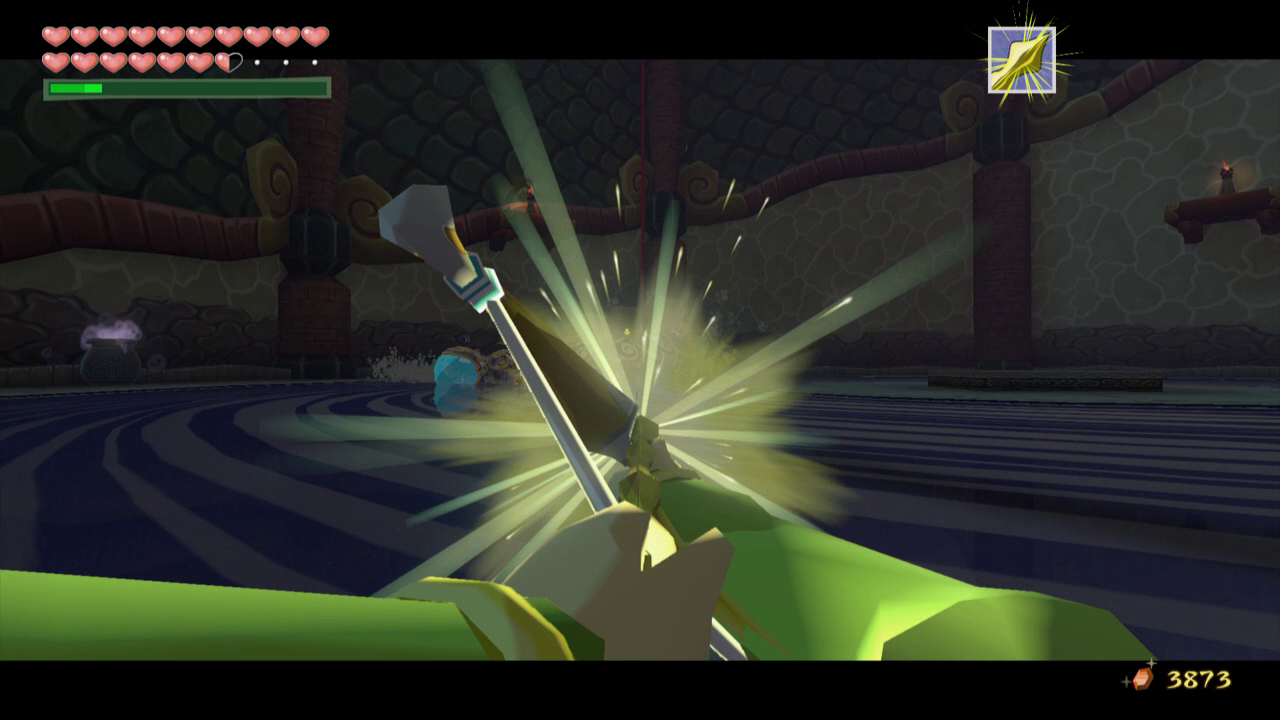
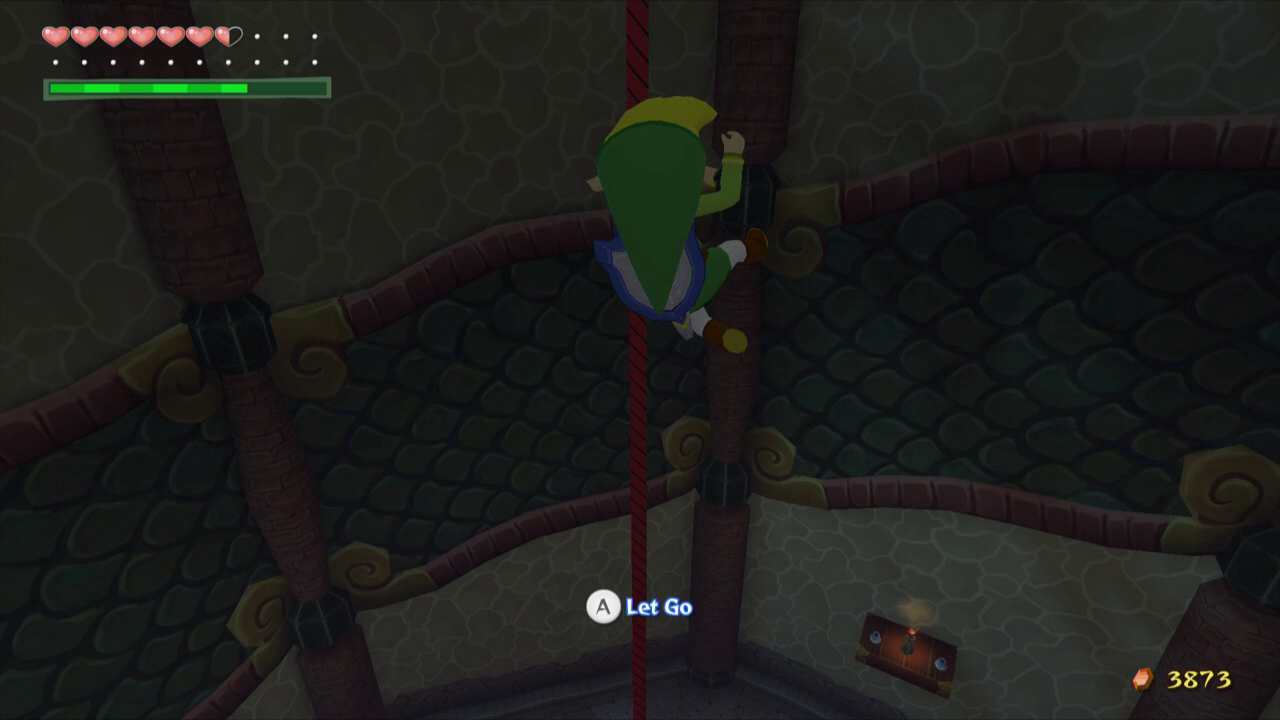
A long red rope will be left above the platform in the center of the room. Jump off the platform to reach it and slowly climb all the way to the higher platform. Once on top, look around and you will find an area that you can use the Grappling Hook on. Do so and climb up the rope to another higher platform.
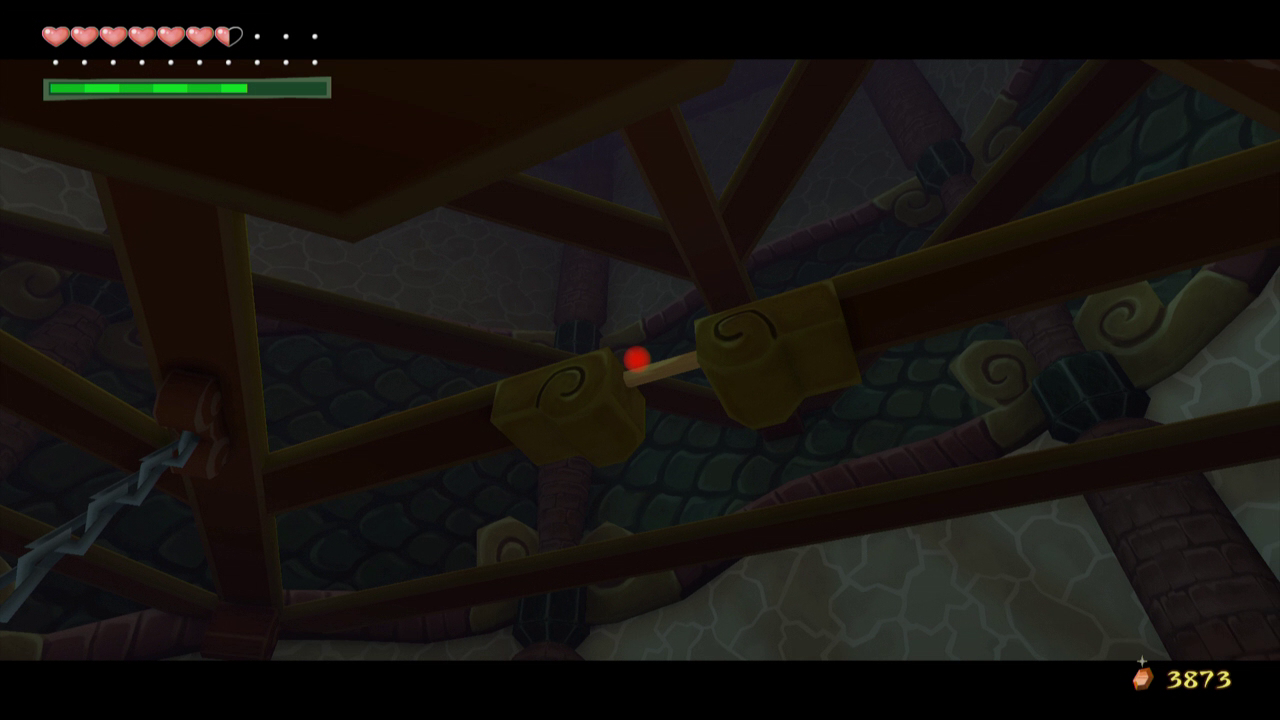
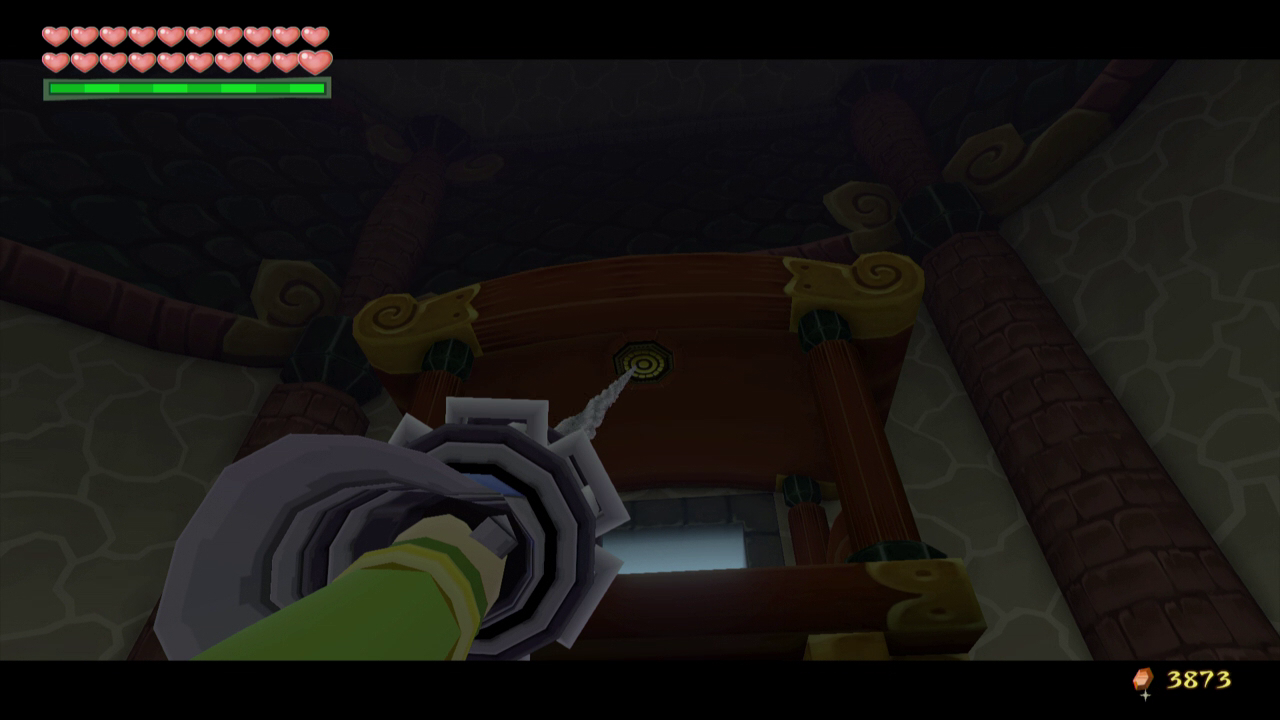
In the middle area of this platform there are some pots you can break for more magic and hearts. There is also another grapple point higher up that you can use to reach the next area. Climb onto the next area and burn off the top of the pot here with a fire arrow if you’d like. Work your way around the small walkways towards the large platform shooting out of the wall. Use your Hookshot to land on it and then head outside.

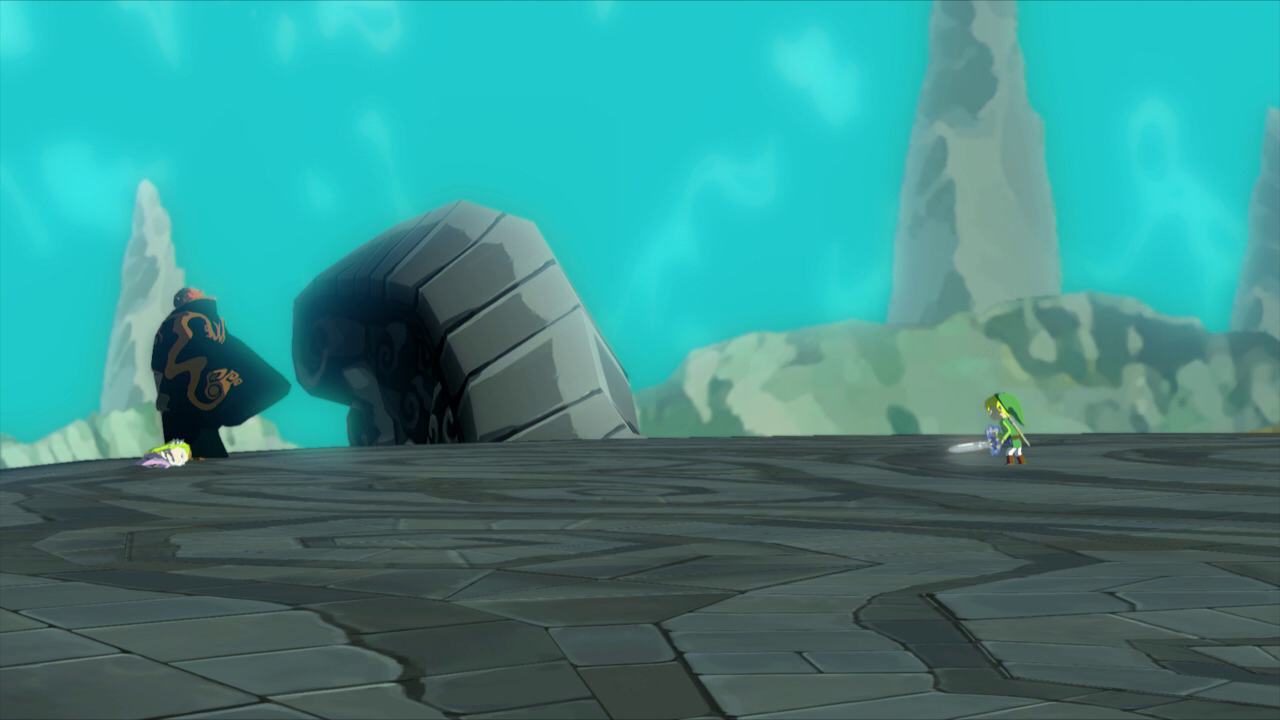
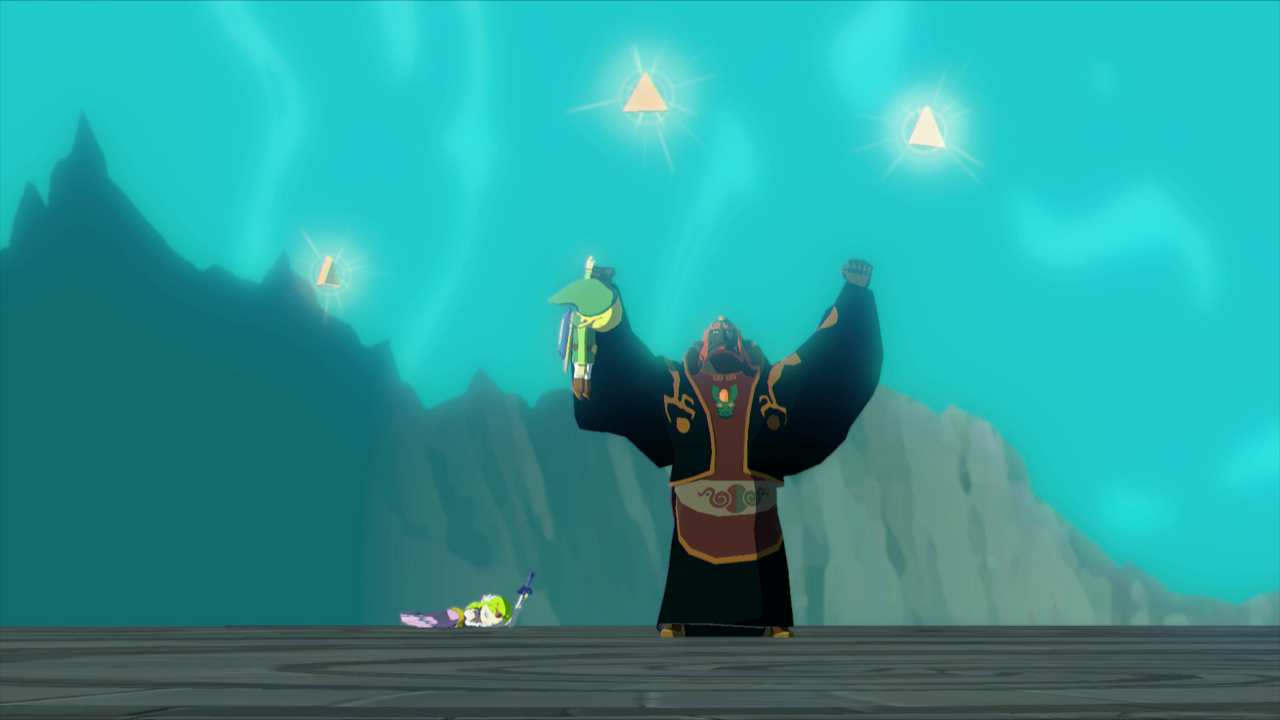
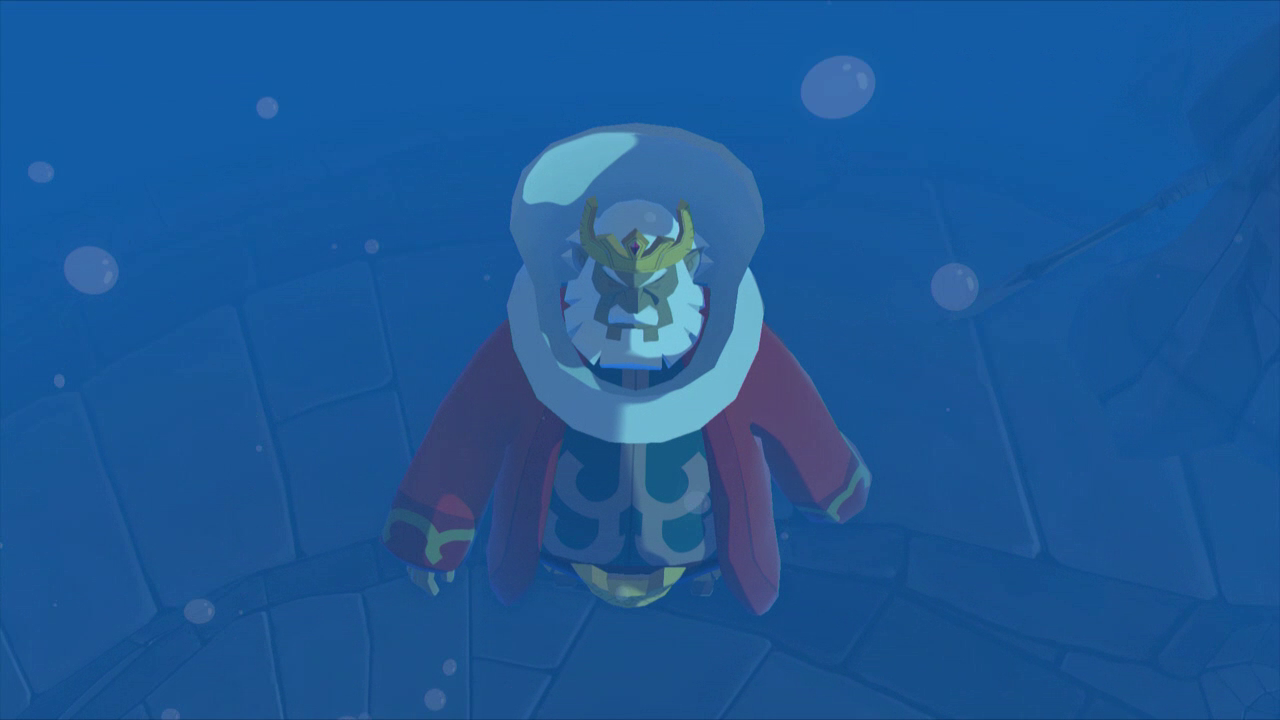
Ganon will begin to tell you the story of his homeland and how wind carried death whenever it came across his land. He tells you that the winds that blew across Hyrule carried something other than death and ruin, and that he coveted that wind. He lunges at Link and violently attacks him, knocking the Master Sword away. He then picks up Link and summons the Triforce, making his wish to bring Hyrule back.
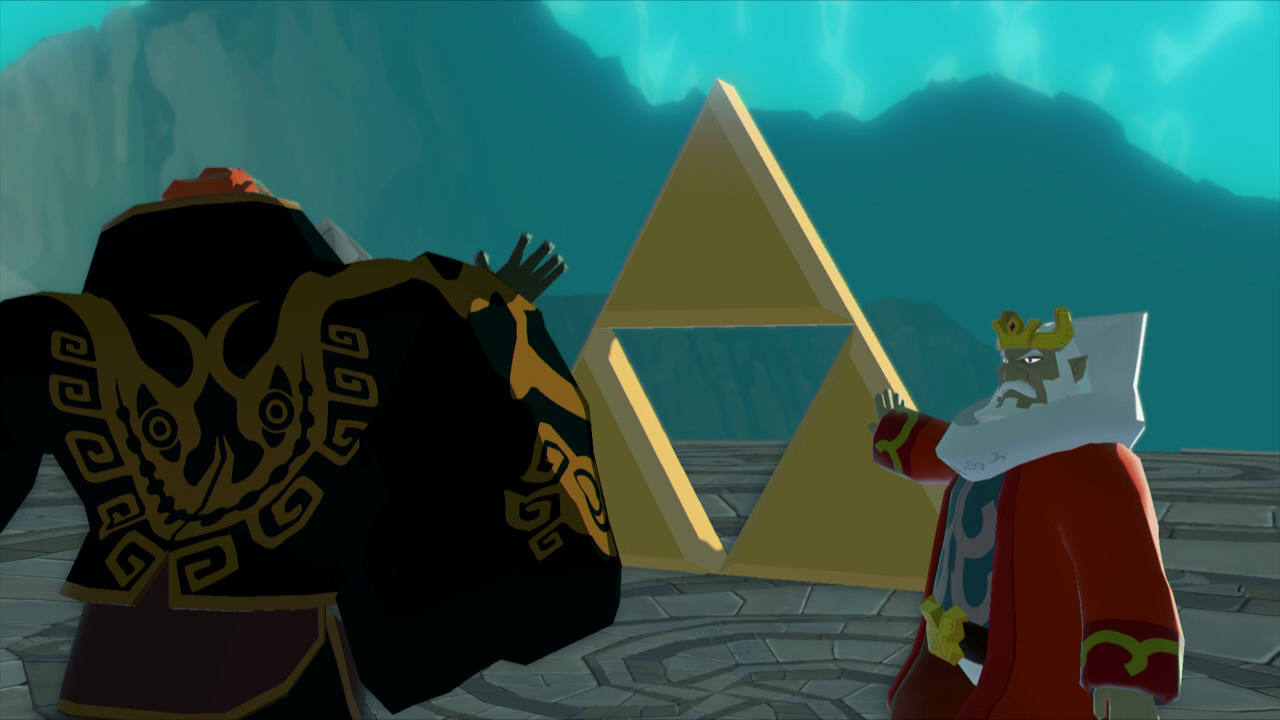
Suddenly the King of Hyrule appears and touches the Triforce before Ganon is able to reach it. The King wishes that Link and Zelda have hope and a future ahead of them. He wishes for Hyrule to be washed away and that their destinies will finally be fulfilled. Ganon begins to laugh maniacally as water begins to pour down into Hyrule and says there is no future for them. Zelda will then wake up and gives Link the Master Sword to begin the battle with Ganon.
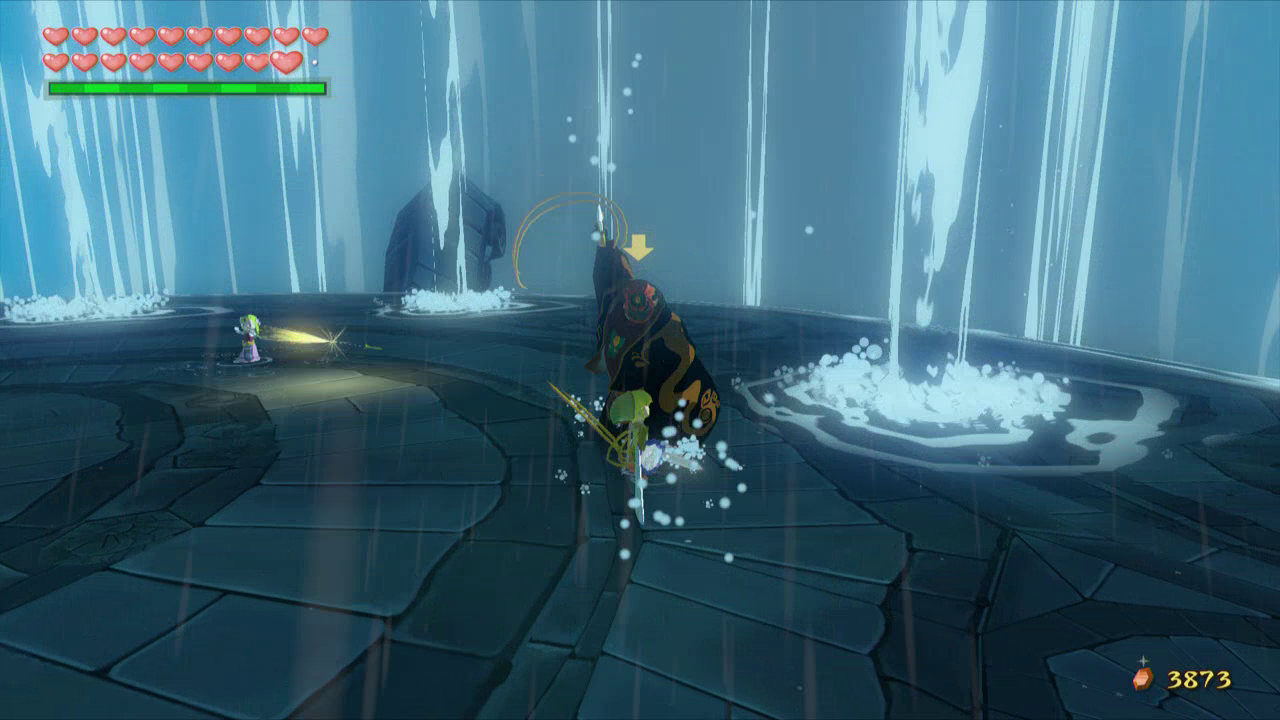
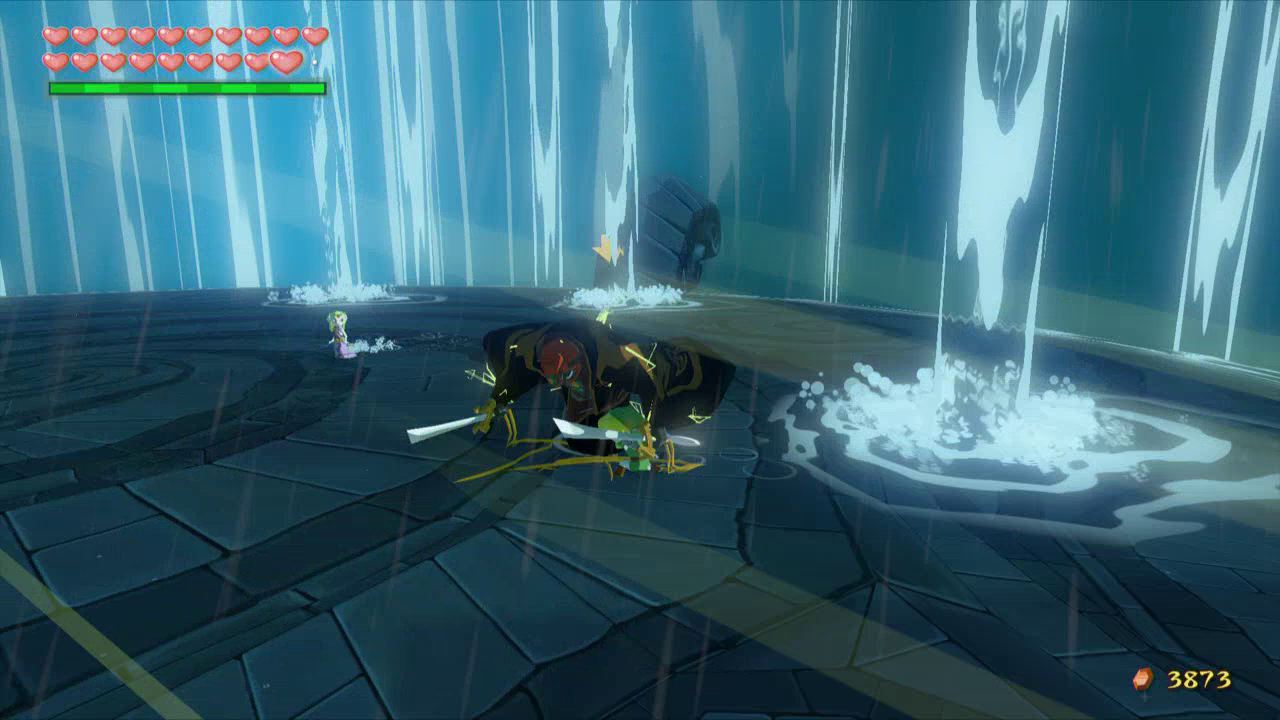
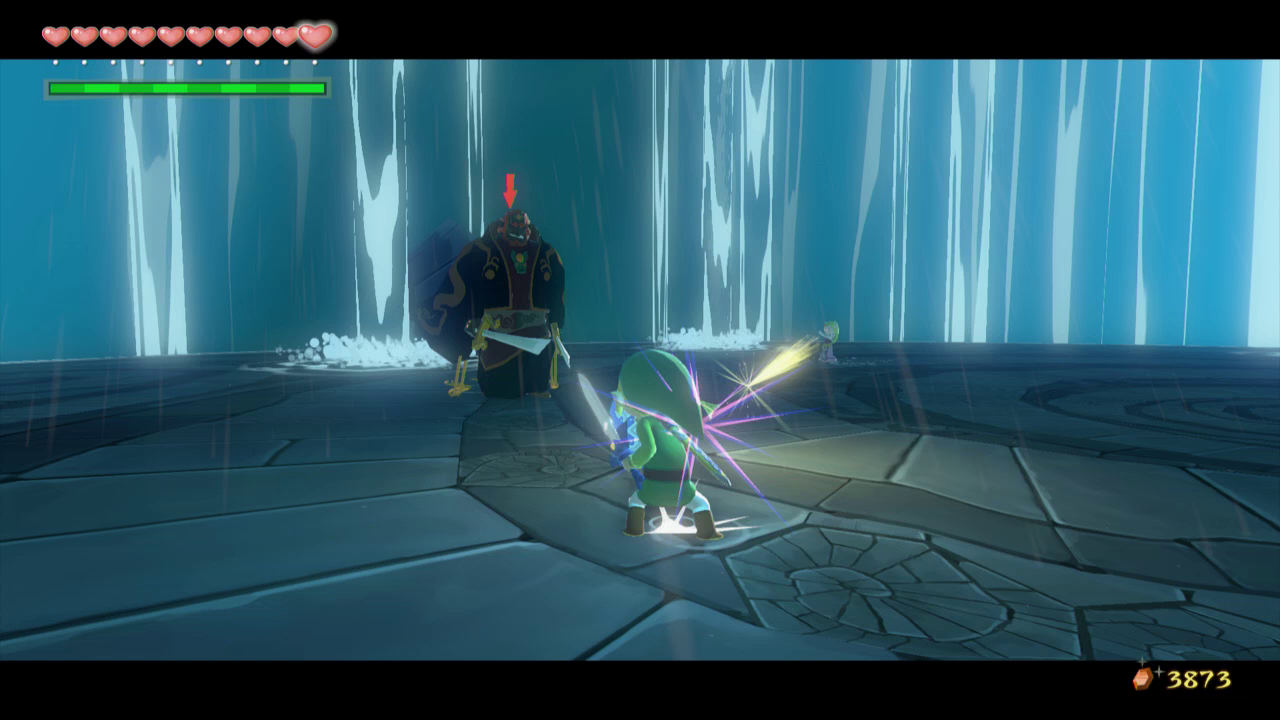
Zelda will tell you that she’s going to help you by covering you with the Bow. To complete this phase, you will need to walk around the arena so that Ganon is between Link and Zelda. To make this easier you can use the Boomerang on Ganon to stun him and prevent him from attacking. Zelda will then shoot Ganon with a Light Arrow, which is your cue to start attacking him with the sword. After a few hits Ganon will get angry and backhand Zelda, knocking her unconscious.
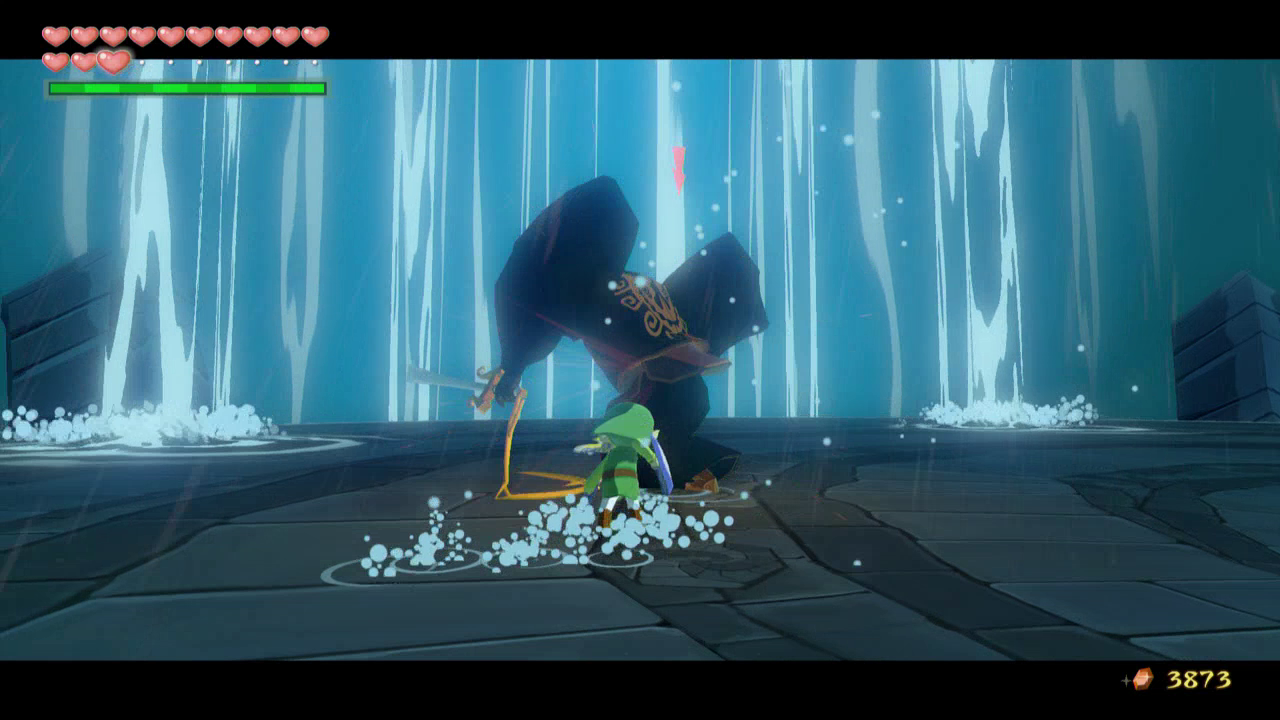
With Zelda gone it is now a one on one fight. Ganon will now continuously launch attacks you, for which you can only roll or jump out of the way. The only way to attack him is to wait for him to jump at you, and right before he lands his attack use the Parry to attack him with the sword. Repeat this a few times and Zelda will wake up again.
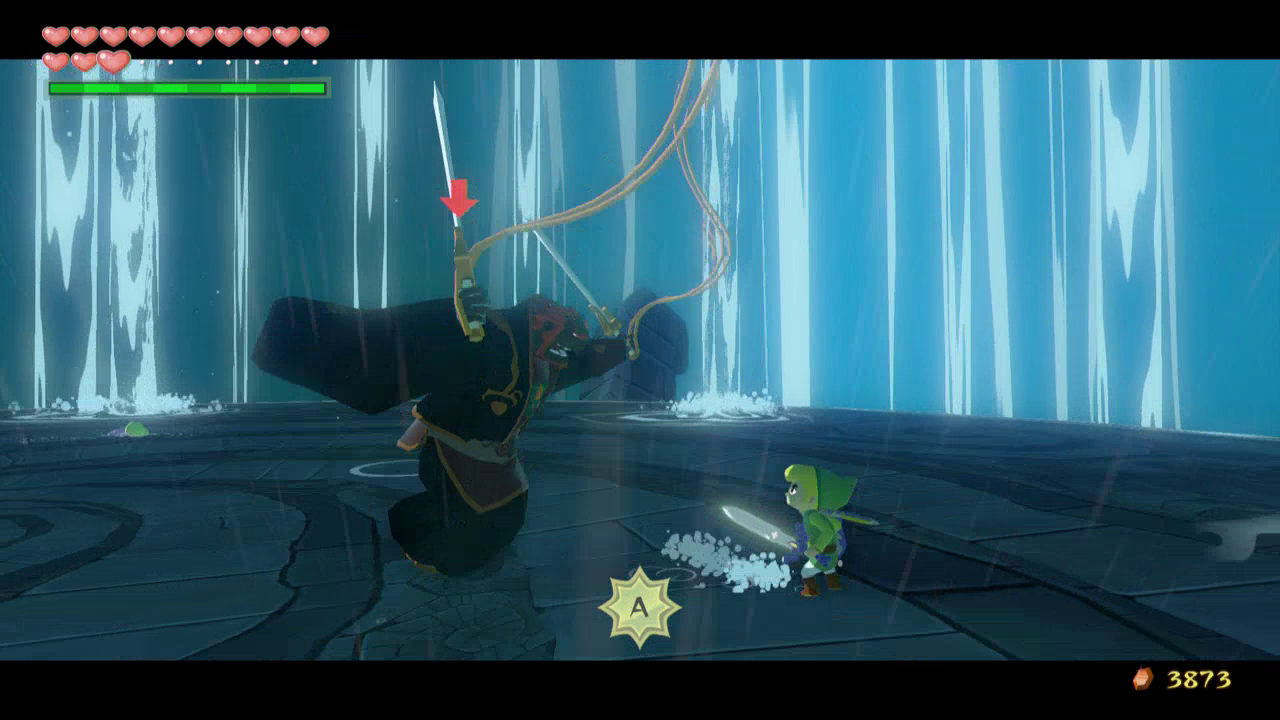
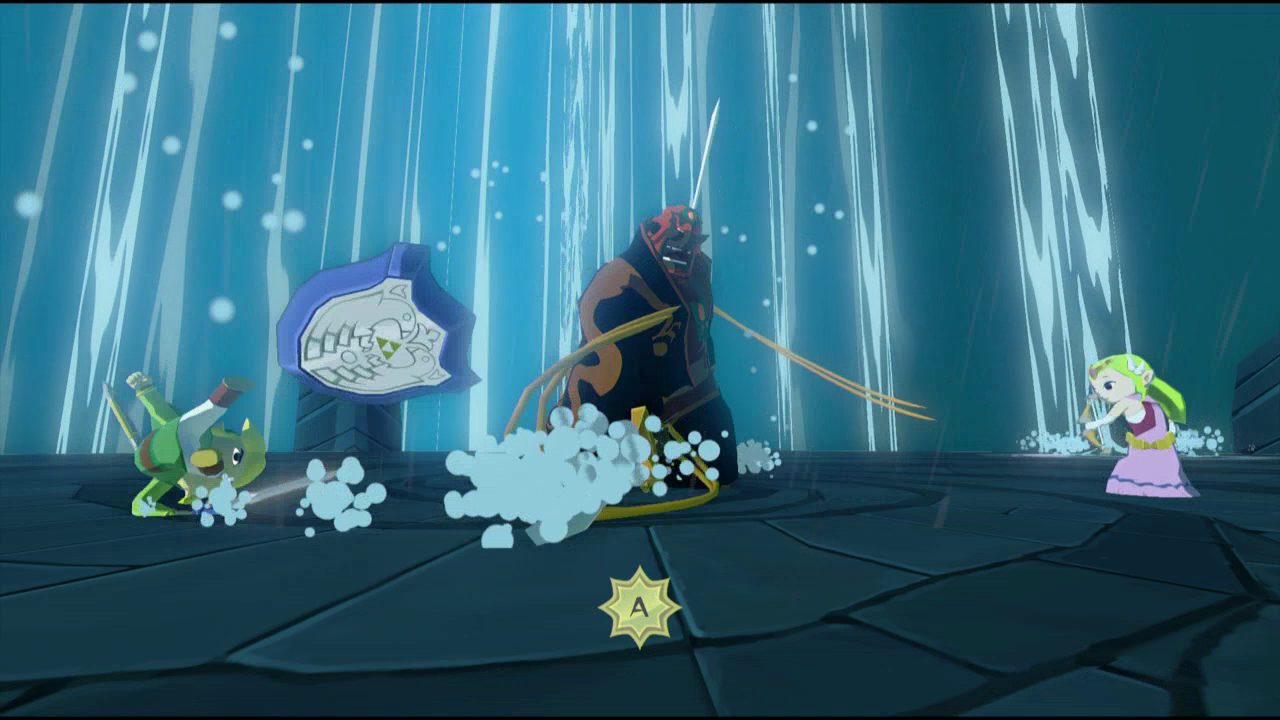
Run over to her and she’ll tell you she’s going to aim for your shield, causing the Light Arrow to reflect off of it and into Ganon. Face Ganon and pull out the shield, and Zelda will shoot a Light Arrow, which will then hit Ganon. Use a Parry on Ganon, causing Link to jump high into the air and stab Ganon in the head with the Master Sword, effectively defeating him.

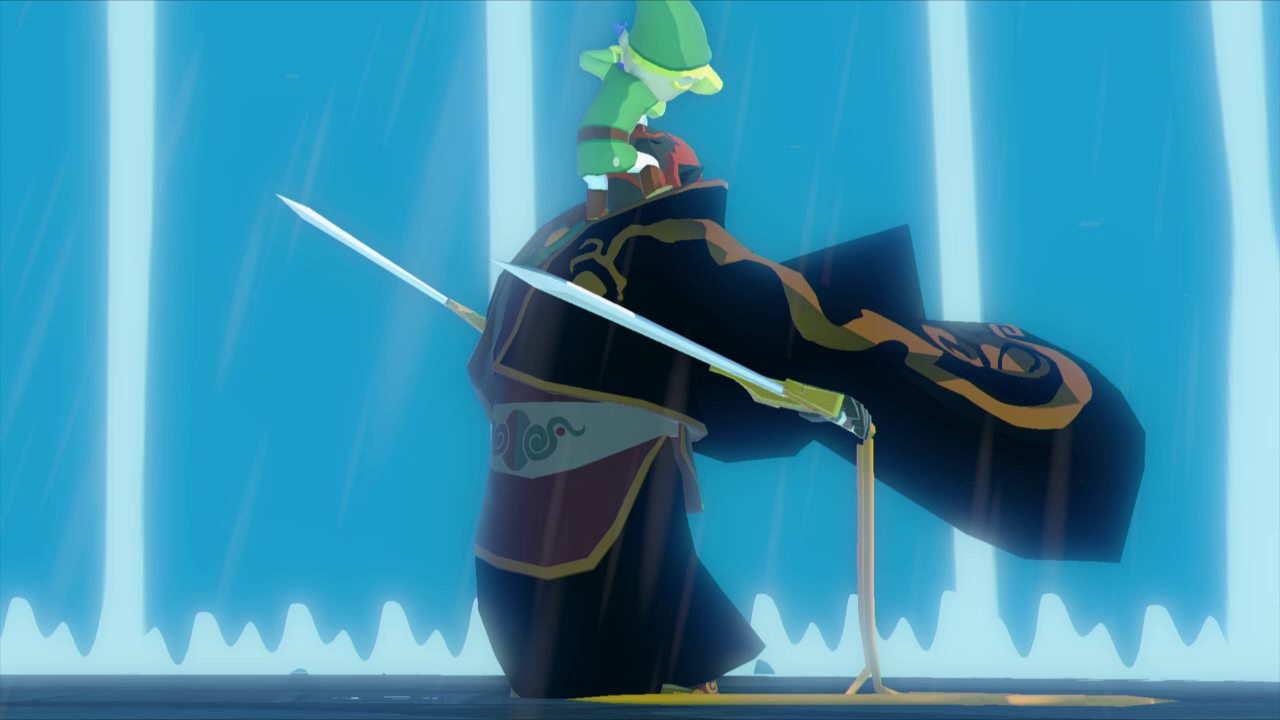
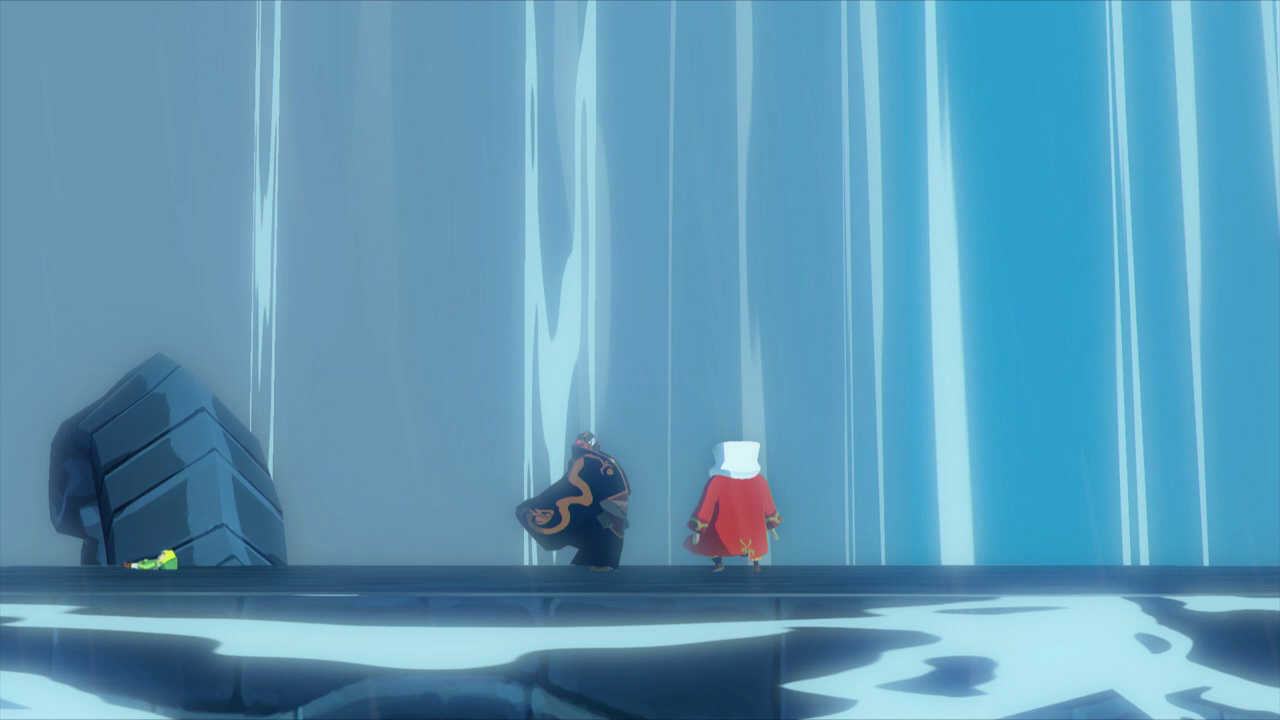
Ganon will say that the wind is blowing and turns to stone. The King will tell you that he regrets what happened in the past and wishes he could do things over again. He lives bound to Hyrule, and in that sense was the same as Ganon.

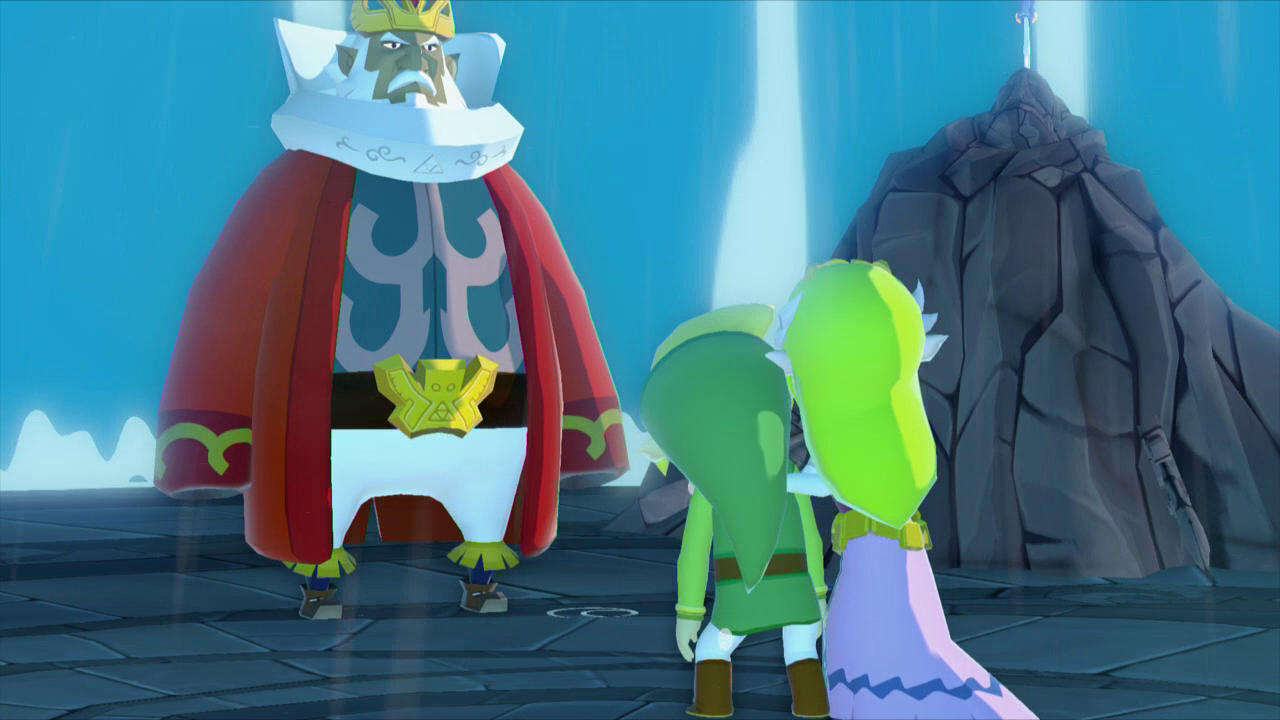
He wants Link and Zelda to live for the future. Zelda asks the King to come with and says the sea will be the next Hyrule, but the King angrily answers that it will not be Hyrule, but it will be her land.
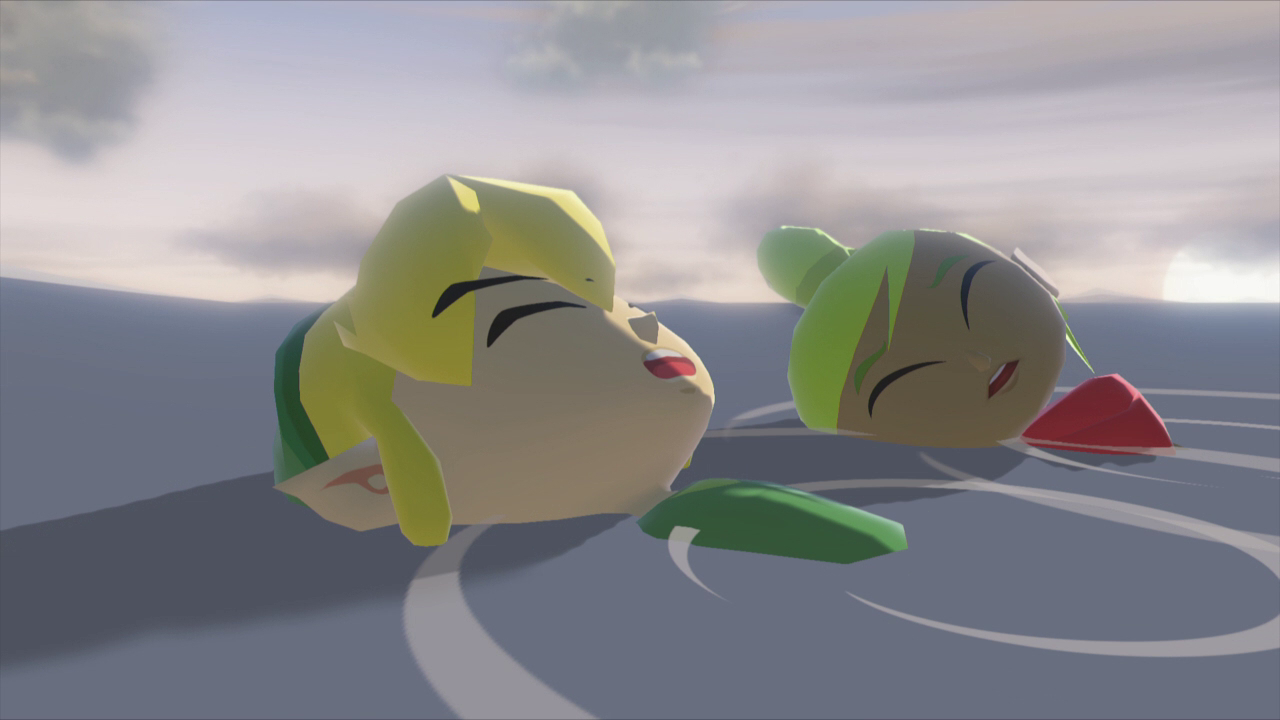
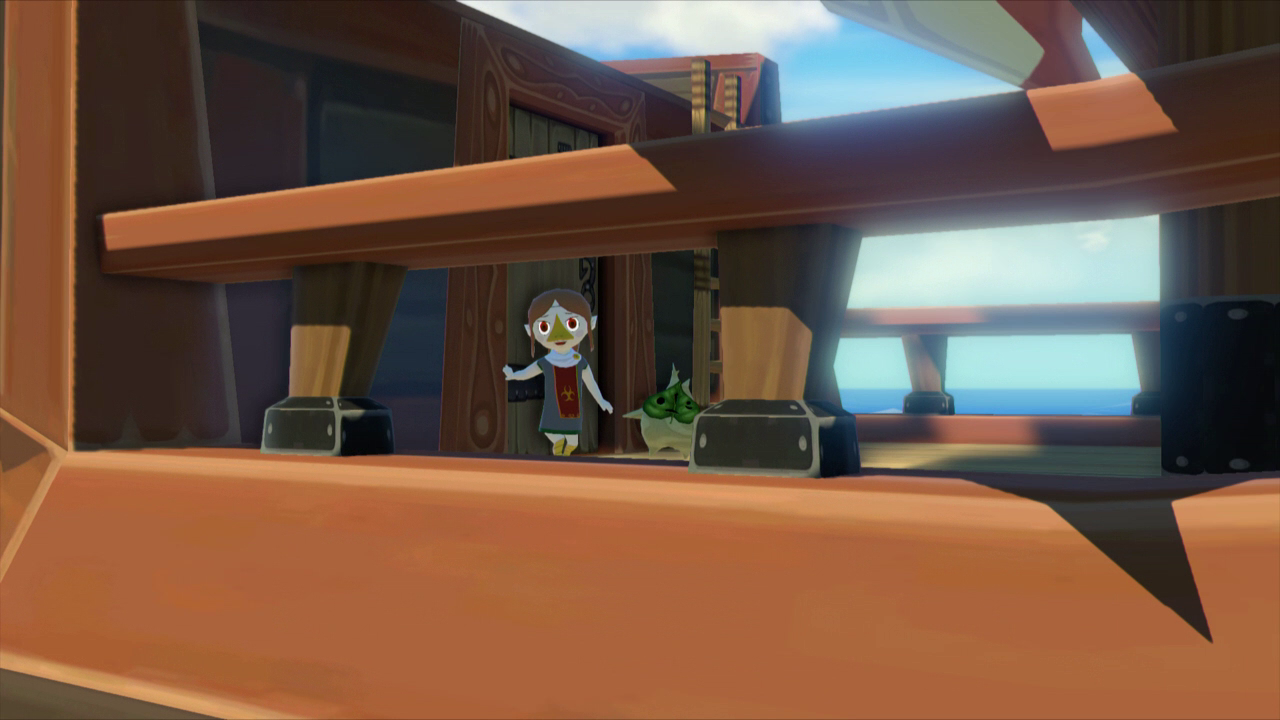
The Gods will then grant the King’s wish and flood Hyrule. Link and Zelda float up to the surface, leaving the King behind. The King will then mention that he has scattered the seeds of the future and done the best he could. Link and Zelda wake up floating in the ocean and Komali and the Pirates will find them.
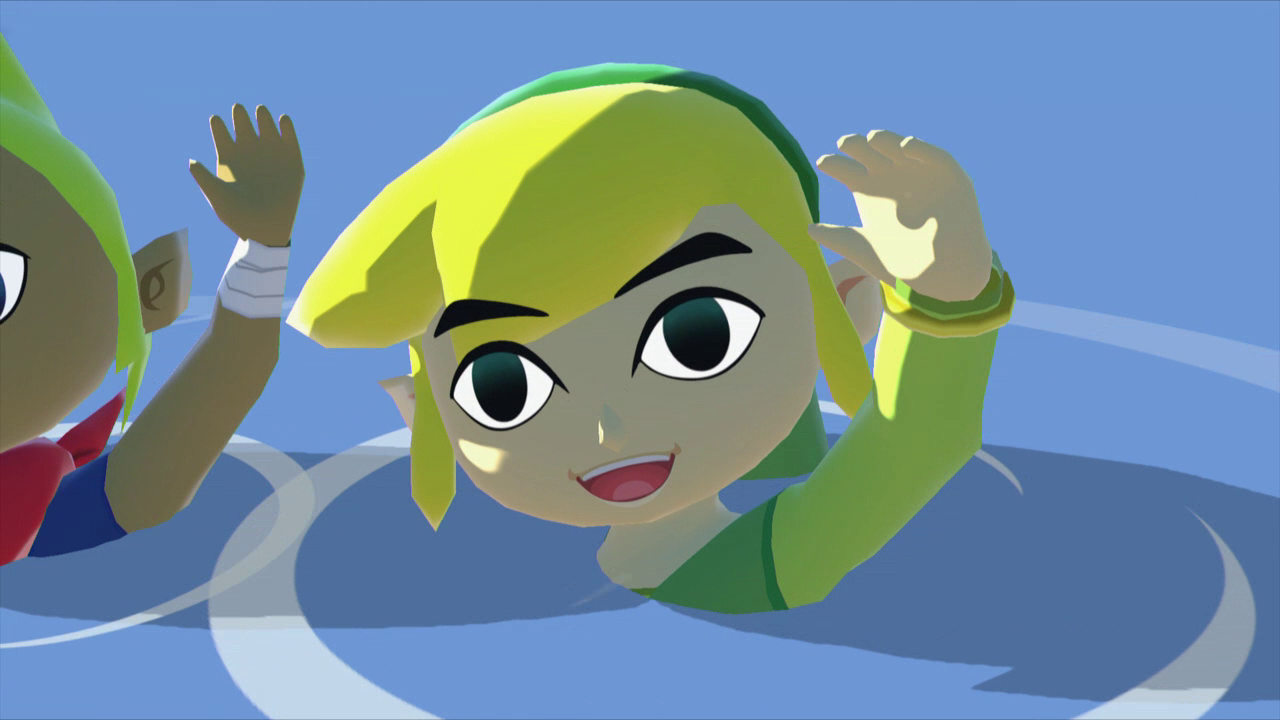
Congratulations, you’ve just beaten The Legend of Zelda: The Wind Waker, now enjoy the ending credits.
- Chapter 1 – Outset Island
- Chapter 2 – Forsaken Fortress
- Chapter 3 – Windfall Island
- Chapter 4 – Dragon Roost Island
- Chapter 5 – Dragon Roost Cavern
- Chapter 6 – Forest Haven
- Chapter 7 – Forbidden Woods
- Chapter 8 – Nayru’s Pearl
- Chapter 9 – Tower of the Gods
- Chapter 10 – Hyrule Castle
- Chapter 11 – Earth Temple
- Chapter 12 – Wind Temple
- Chapter 13 – The Triforce
- Chapter 14 – Ganon’s Tower
