- Chapter 1 – Outset Island
- Chapter 2 – Forsaken Fortress
- Chapter 3 – Windfall Island
- Chapter 4 – Dragon Roost Island
- Chapter 5 – Dragon Roost Cavern
- Chapter 6 – Forest Haven
- Chapter 7 – Forbidden Woods
- Chapter 8 – Nayru’s Pearl
- Chapter 9 – Tower of the Gods
- Chapter 10 – Hyrule Castle
- Chapter 11 – Earth Temple
- Chapter 12 – Wind Temple
- Chapter 13 – The Triforce
- Chapter 14 – Ganon’s Tower
13.1 Final Heart Pieces
After completing the Wind Temple, there are now two optional Sunken Treasure chests that we can uncover. One of them contains just some additional rupees while the second one contains Piece of Heart #43.
-Treasure Chart #05 – Thorned-Fairy Island – Piece of Heart #43
-Treasure Chart #35 – Islet of Steel – 200 Rupees
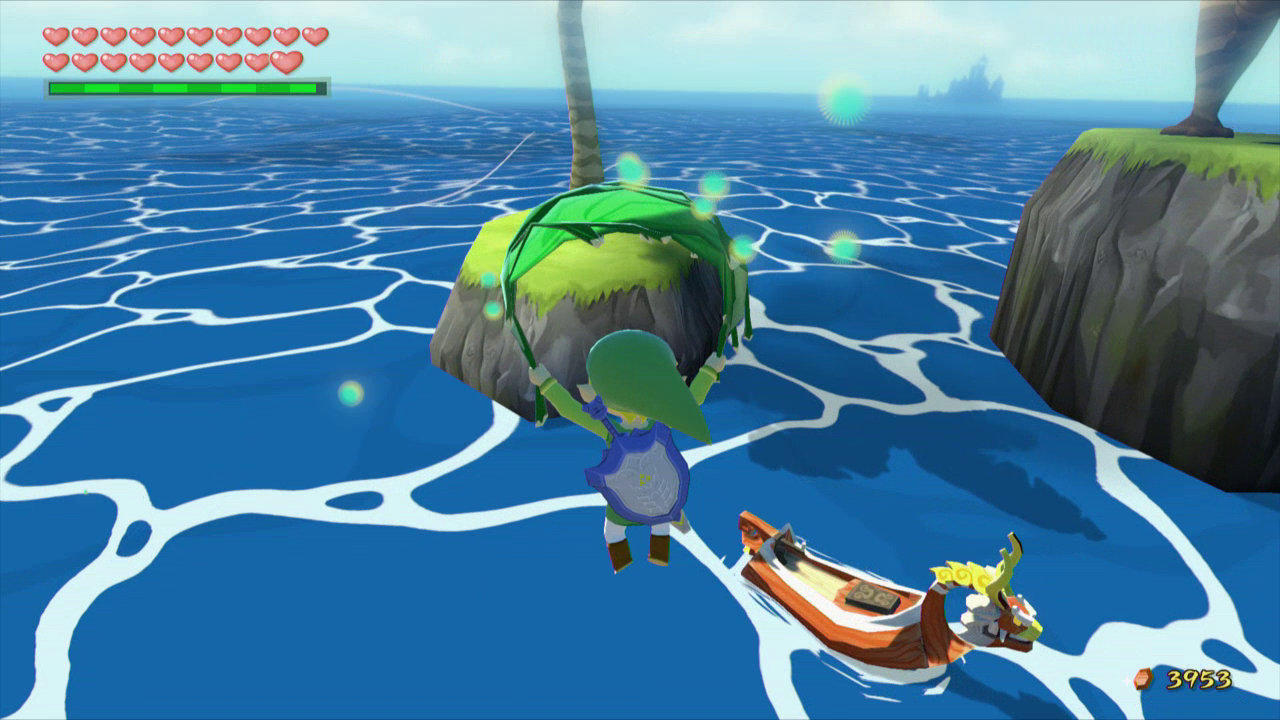
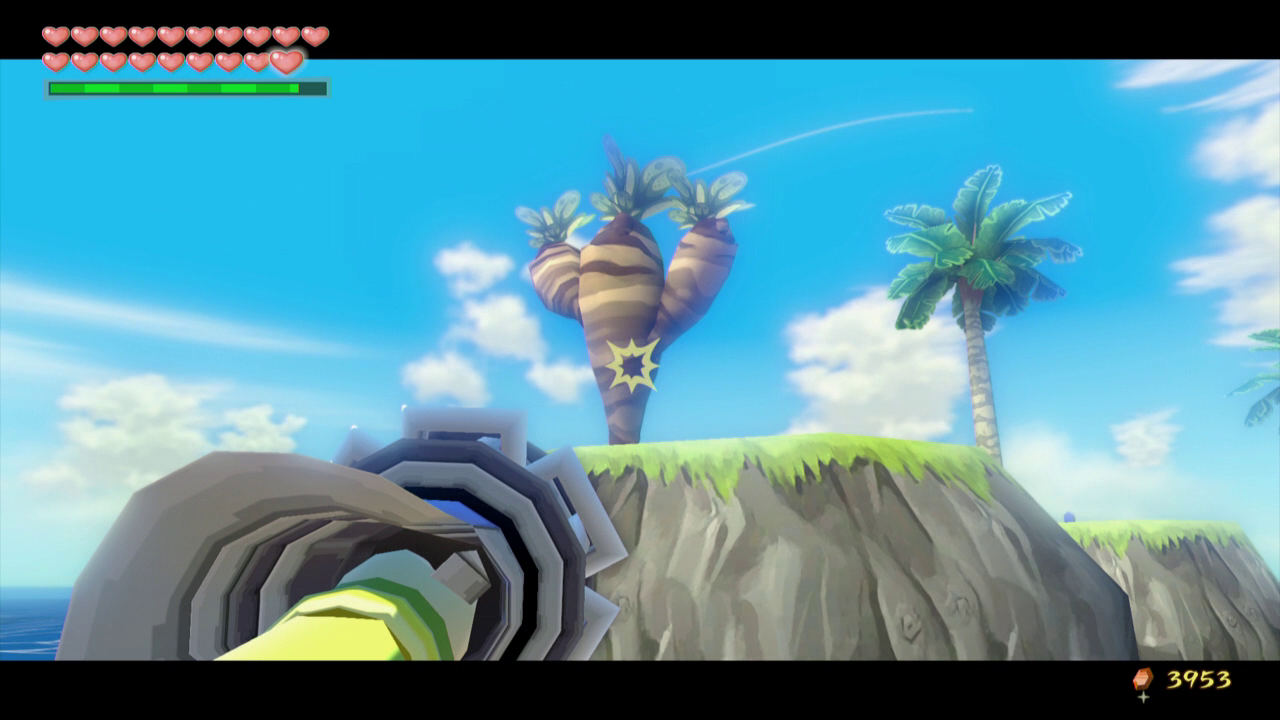
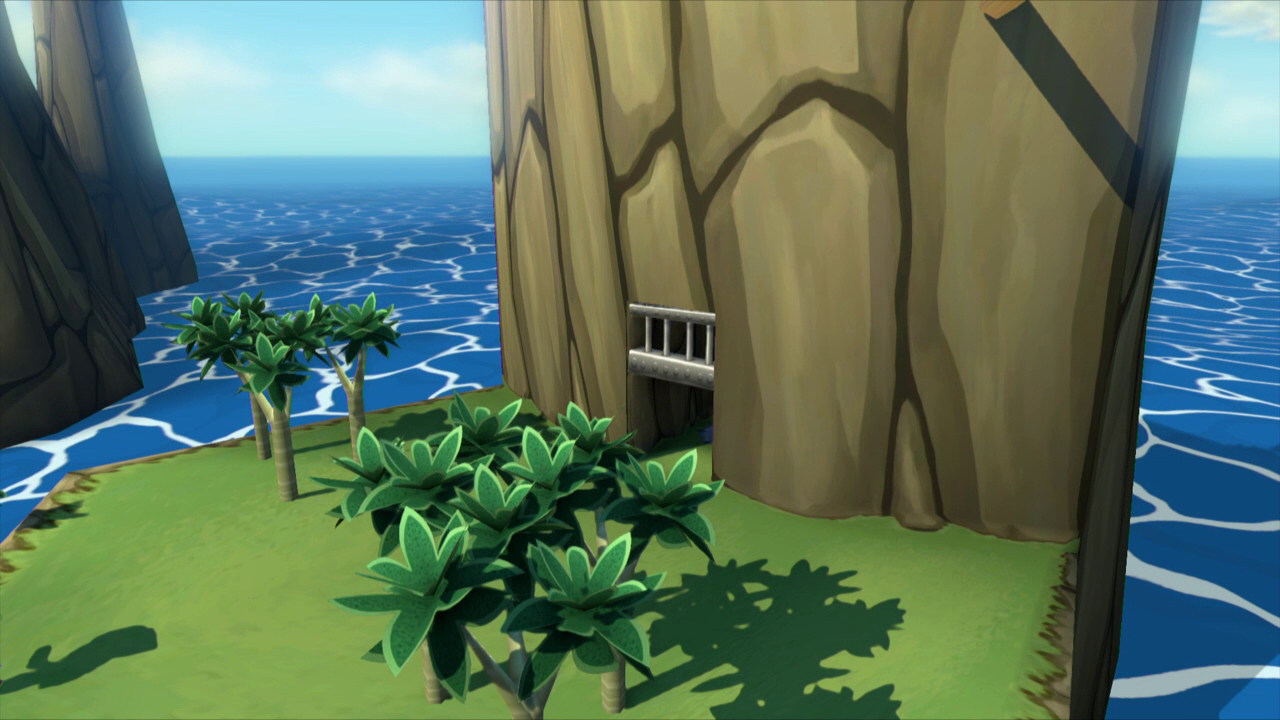
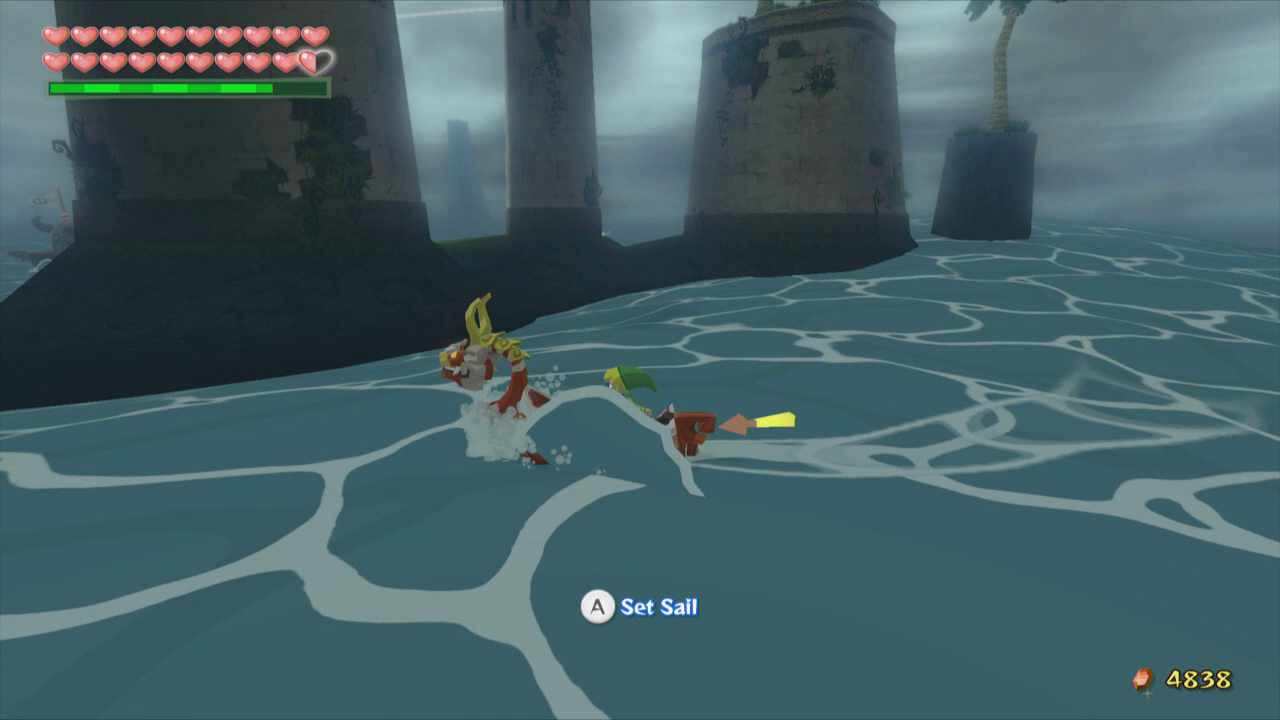
Now that we have the Hookshot, we can collect the final overworld Treasure Chart along with the final Piece of Heart. Warp on over to Windfall Island and then set sail to the east for Pawprint Isle. There is the main island here, along with a series of smaller islands. On one of the taller islands, there is a secret underground cavern that Link can explore.
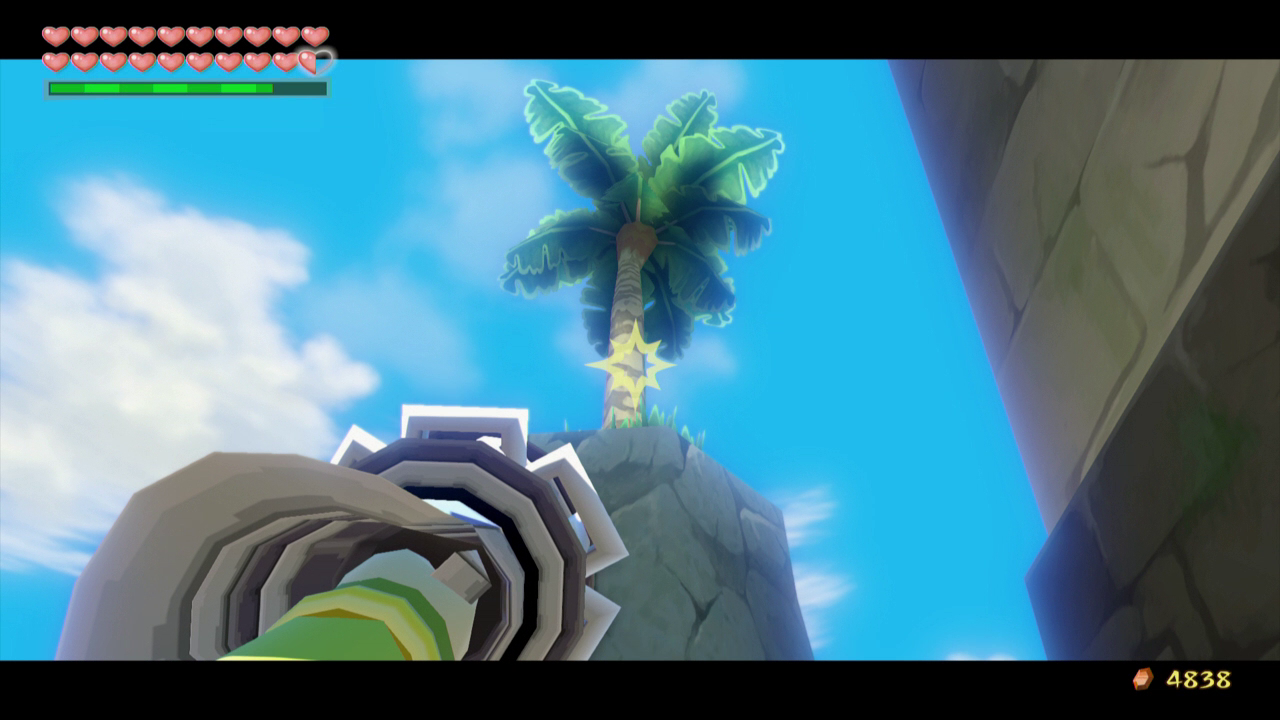
Link must first climb onto the smaller island nearby and there are two ways to do this. Link can use his Hookshot while on the King of Red Lions to latch onto the Palm Tree, or he can use the Deku Leaf and soar on over from the main part of Pawprint Isle. Use the Hookshot to reach the taller island and then fall down into the underground cavern.
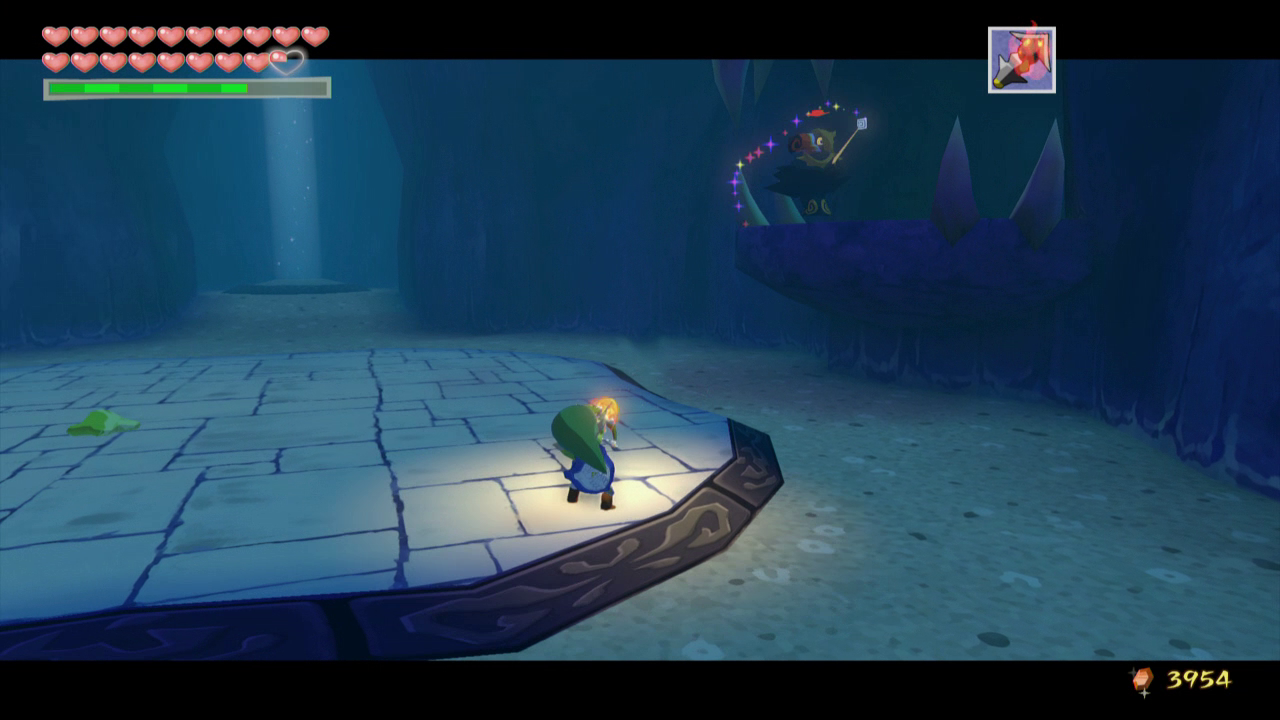
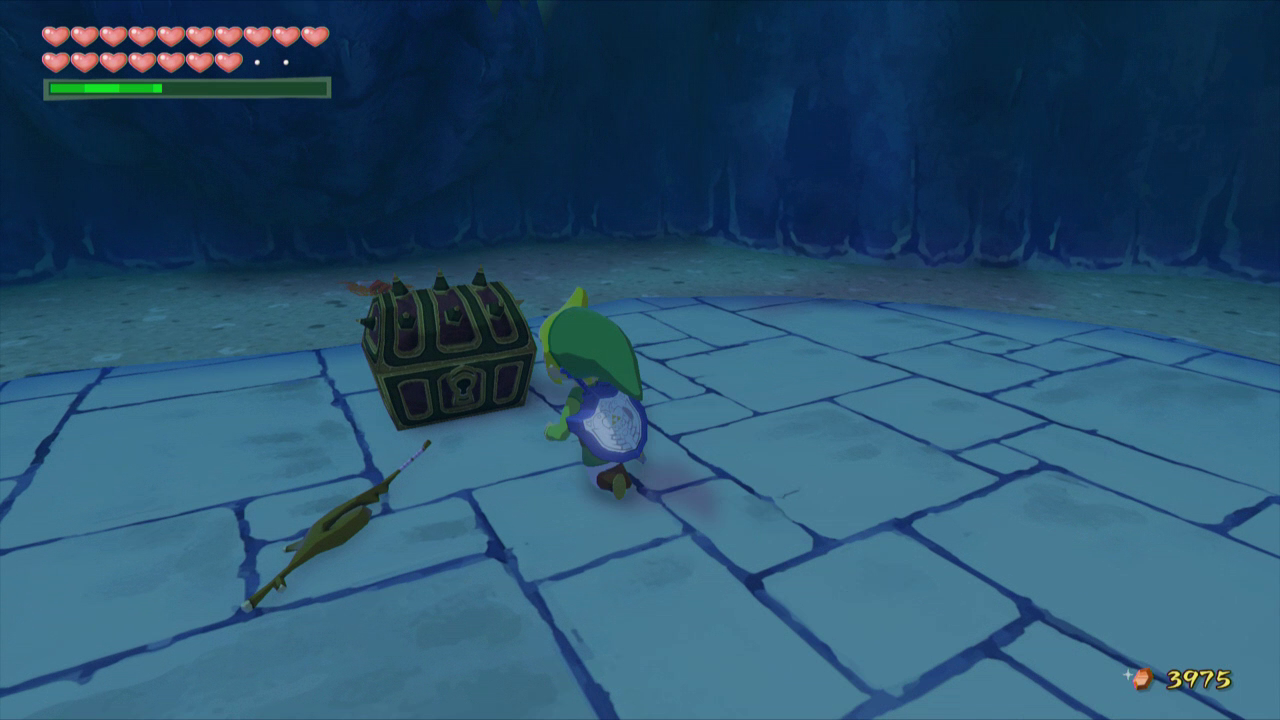
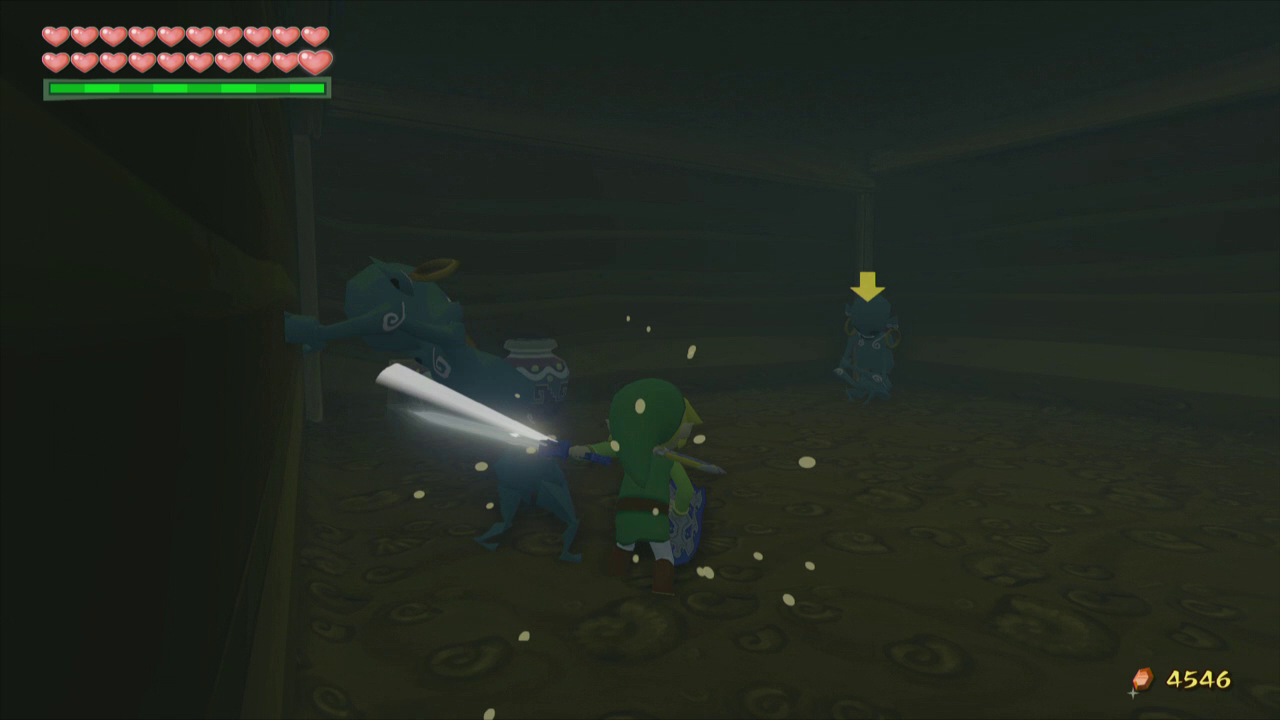
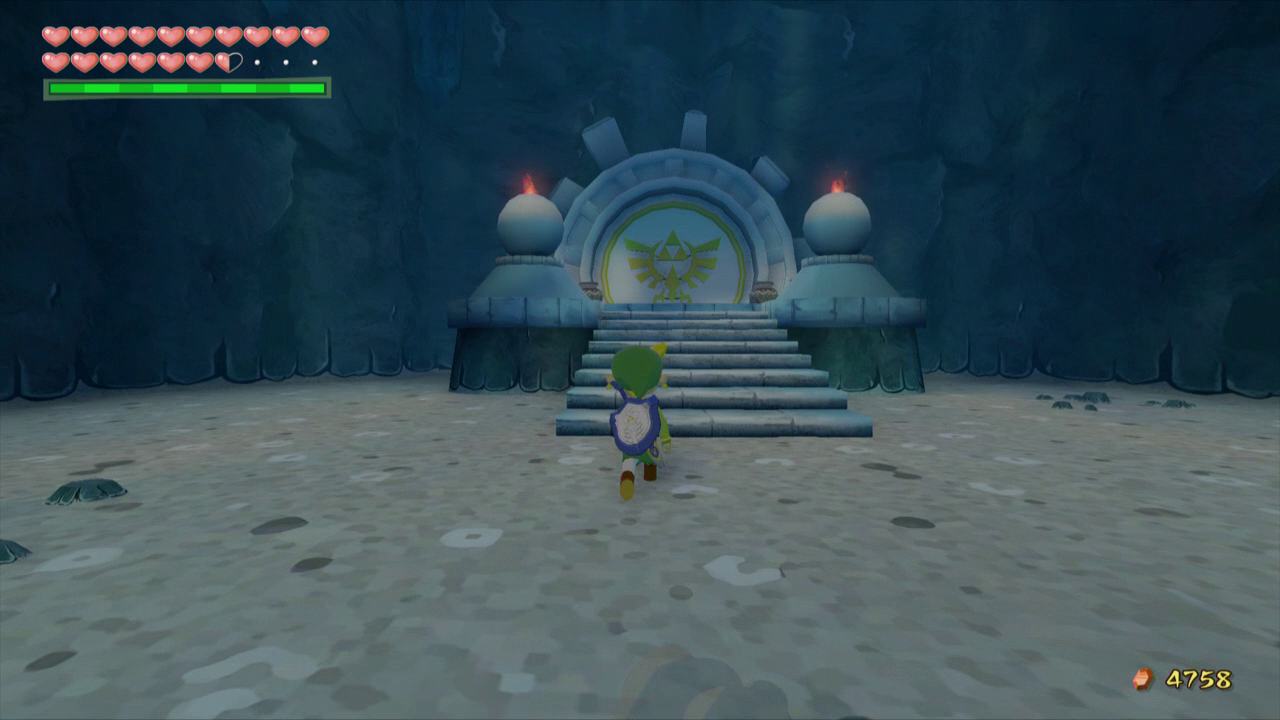
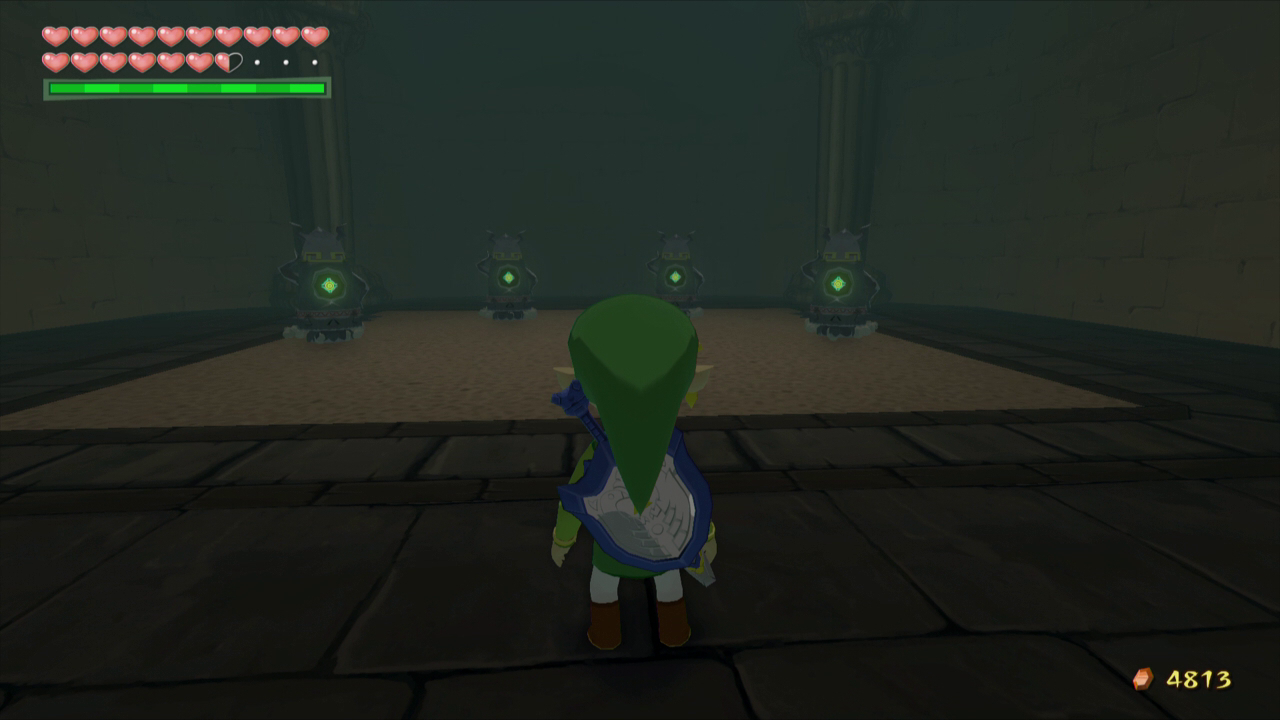
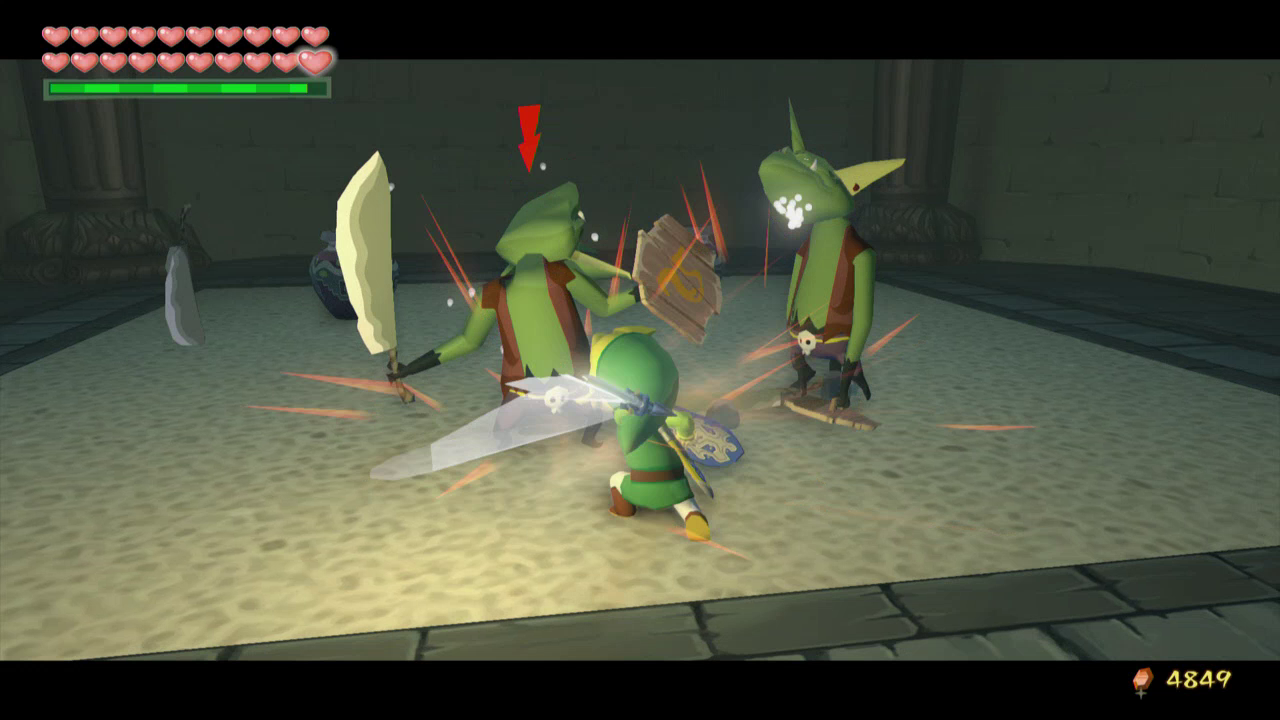
Inside of the underground cavern, Link will face off with a series of Wizzrobes. They will continuously summon enemies for Link to fight. You can defeat these enemies but the Wizzrobes will continue summoning an endless amount of them. Use the Bow and Arrow to defeat the Wizzrobes in the room. Once all of them have been defeated, open the treasure chest that appears to get Treasure Chart #46, which leads Link to Piece of Heart #44.
-Treasure Chart #46 (HD only) – Two-Eye Reef – Piece of Heart #44
13.2 The Ghost Ship
It’s now time to get the Triforce of Courage! The first part of this quest involves locating the Ghost Ship and in order to do that, you will need to acquire the Ghost Ship Chart.
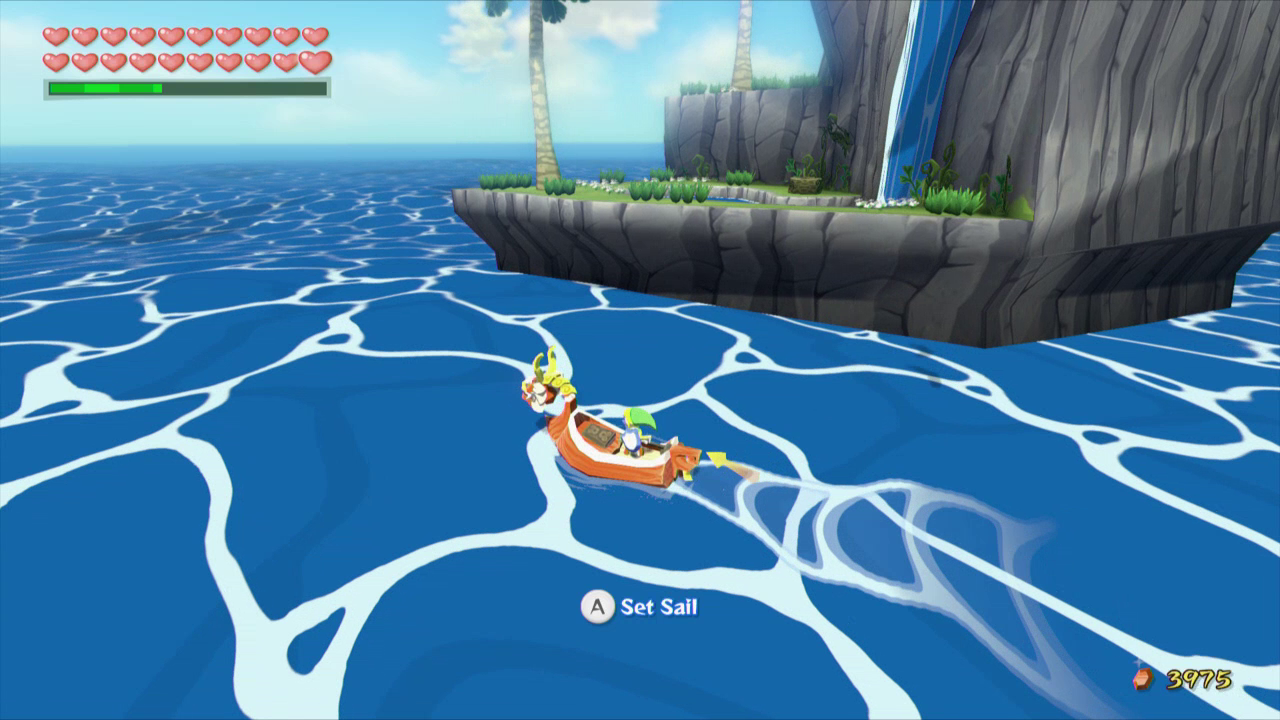
Our next destination is over at Diamond Steppe Island. Warp over to Outset Island and then sail on over. While on the King of Red Lions, use the Hookshot to grab onto the tree at the base of the island. Continue to use the Hookshot until you reach the top of the tree. Fall down the secret grotto.

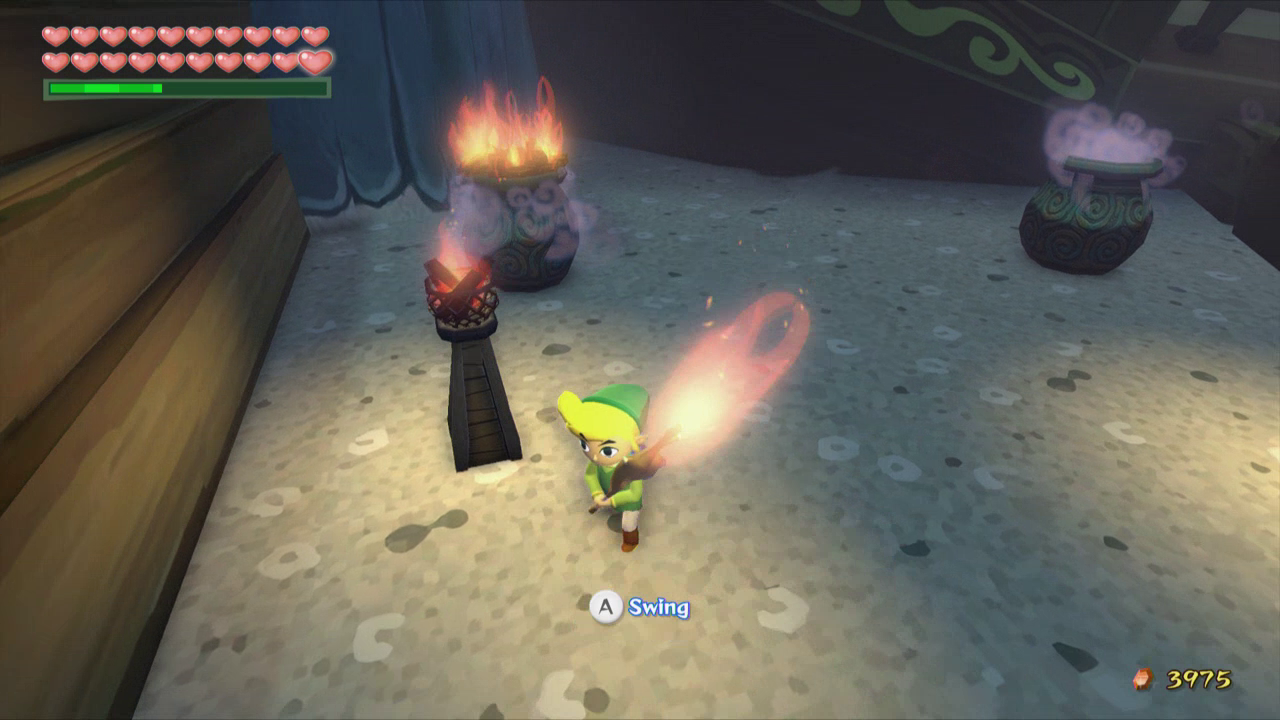
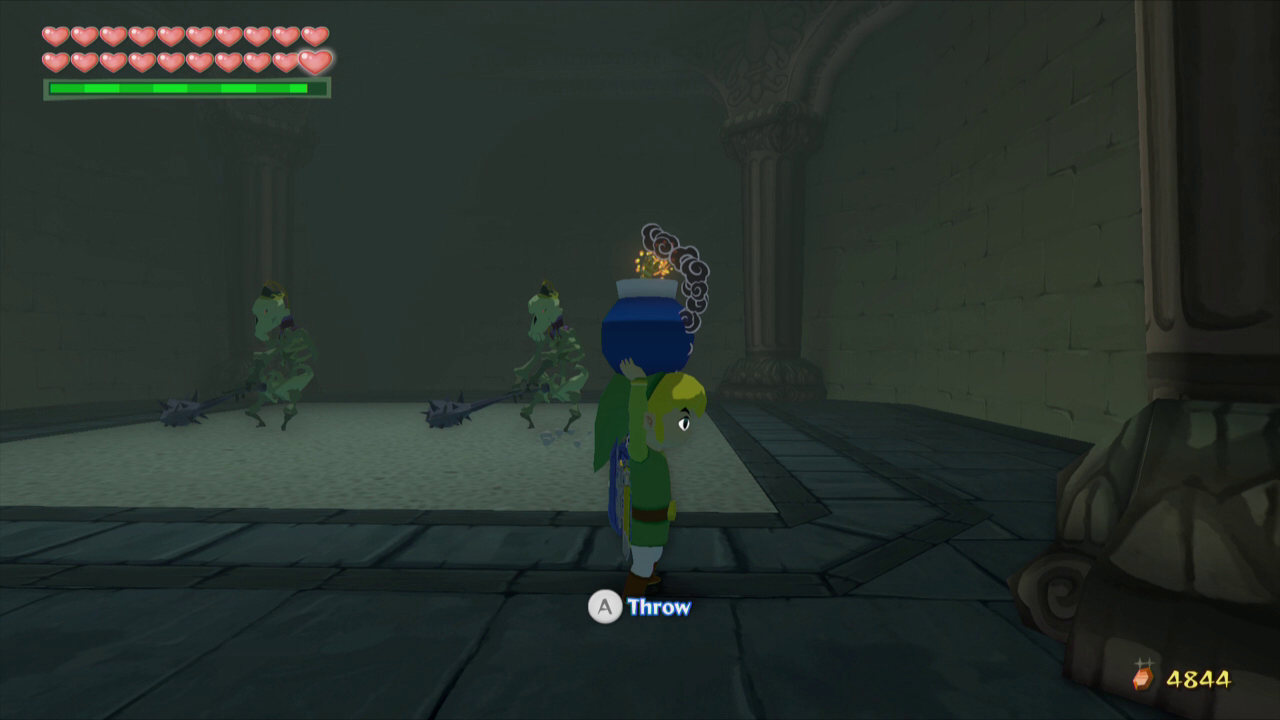
This underground grotto resembles that of an old ship and the area is interconnected by a series of pots. Walk forward and fall into the purple pot to reach a new area. There is a pot immediately adjacent to the one that you just came through. You can use a fire arrow to burn the wooden plank on top of the pot, grab a stick from just around the corner and light it using the torch, or simply jump attack the pot. Jump into the pot and head on through.

There are a pair of floormasters in this room as well as some torches. The pot that we want to travel through is on the other side of the room passed the floormasters, but against the same wall where Link entered this area.

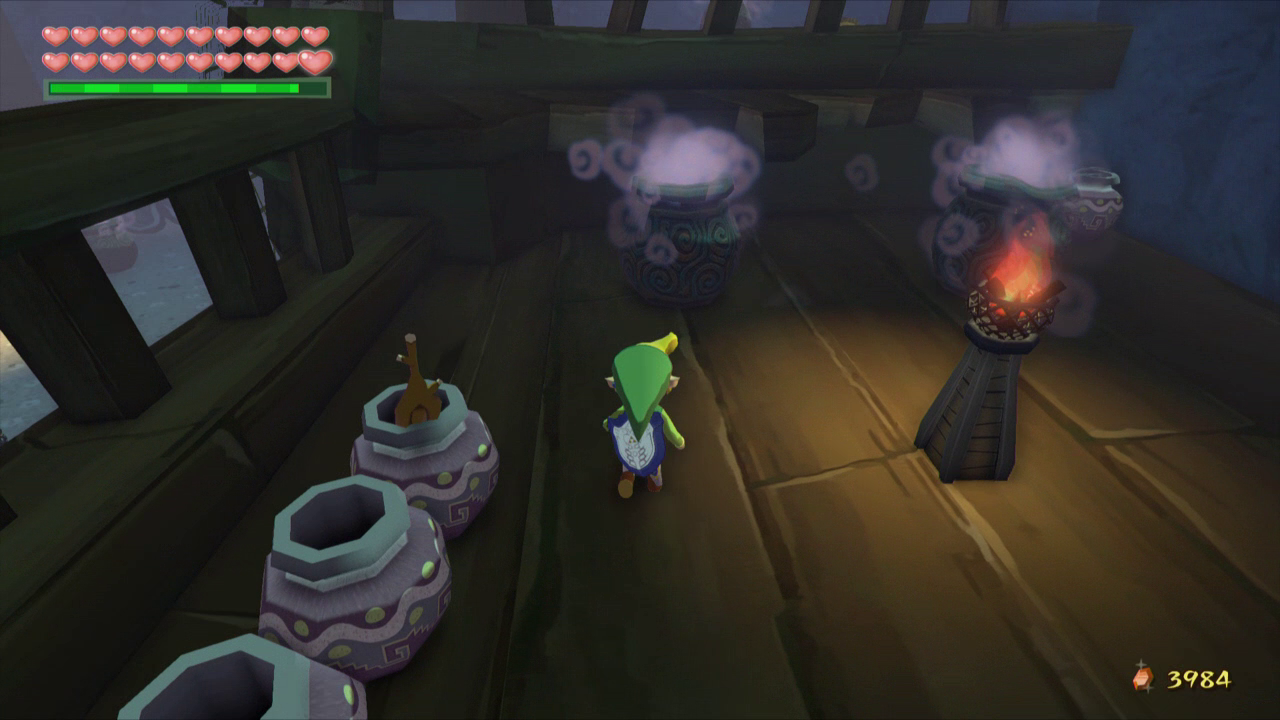
This next area is on the actual pirate ship and there are three more pots to go through. The one we want to go through is on the other side of the ship and its on the left. This leads to another higher wooden plank with a treasure chest. Open it up to get the Ghost Ship Chart.

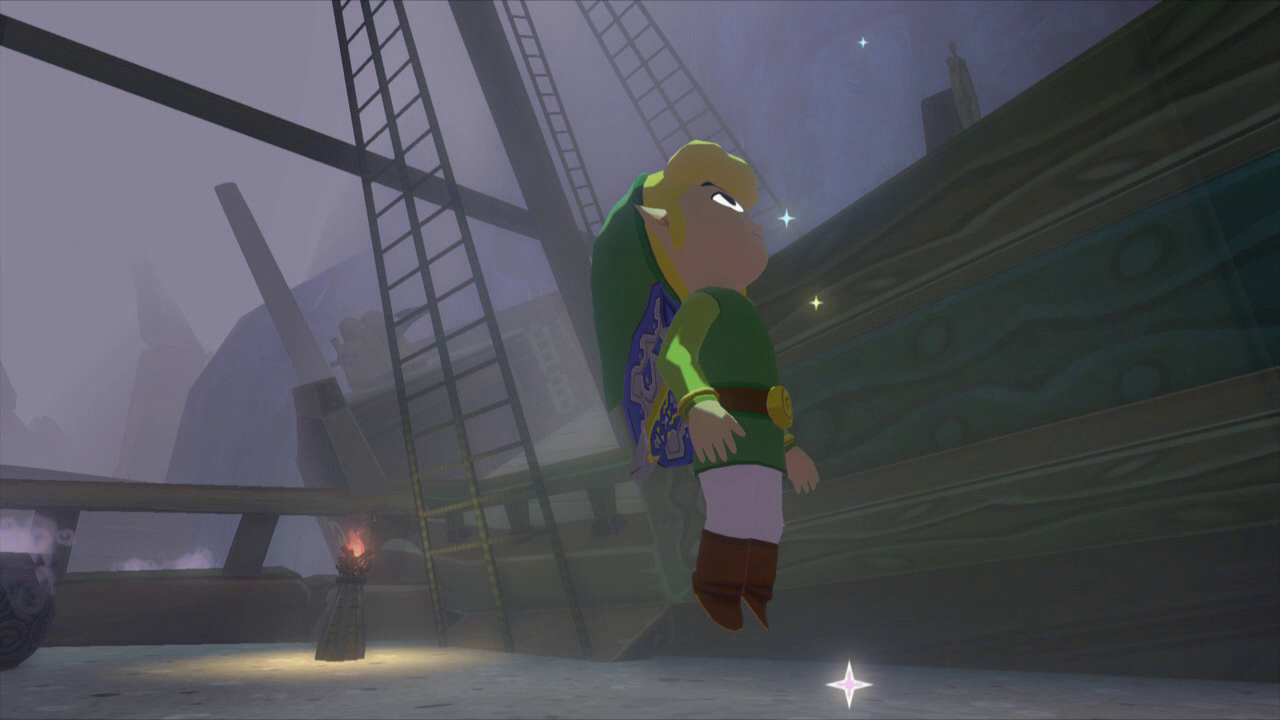
There is one other treasure chest in this area. After going through the initial pot, you can swing around the corner where the Wallmaster is and that pot will lead to an area that contains a treasure chest with a Joy Pendant. Grab it and exit this cavern.
Now that you have the Ghost Ship Chart, open it up to take a look. The Ghost Ship only appears at night time and will only appear near specific islands, depending on what phase the moon is in on that given night. You can see the Ghost Ship Chart below.
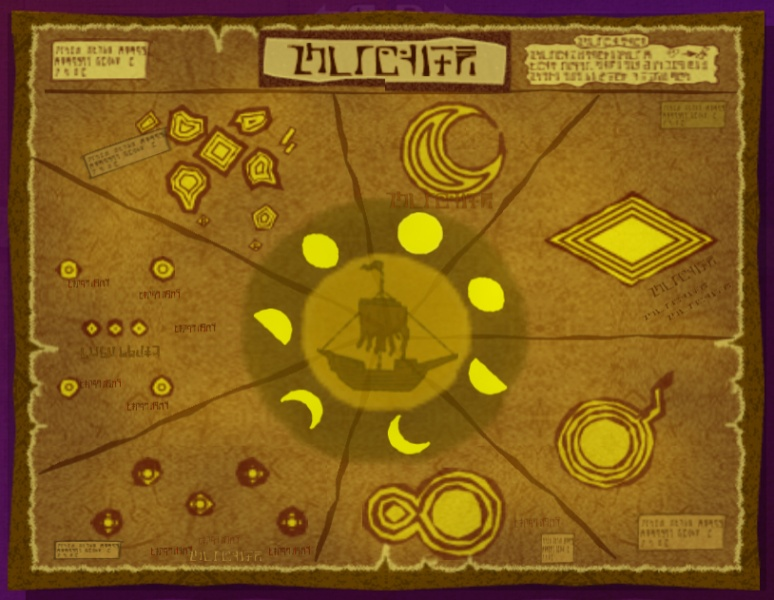
| Crescent Moon Island | Full Moon |
| Diamond Steppe Island | 3/4 Moon to the Left |
| Bomb Island | 1/2 Moon to the Left |
| Spectacle Island | 1/4 to the Left |
| Five-Star Isles | 1/4 to the Right |
| Star Belt Archipelago | 1/2 Moon to the Right |
| Greatfish Isle | 3/4 Moon to the Right |
Playing the Ballad of Gales and then quickly sailing over to one of the islands with the Ghost Ship is often times too slow. The day moves rather quickly and by the time you see the Ghost Ship, daytime might break and you might not be able to board the ship.
Instead, the best strategy is to go to any of the locations where the Ghost Ship is present and then just play the Song of Passing until the Ghost Ship appears in the location where you are. Once you find the Ghost Ship, sail right into the ship with the King of Red Lions and Link will automatically climb on board.


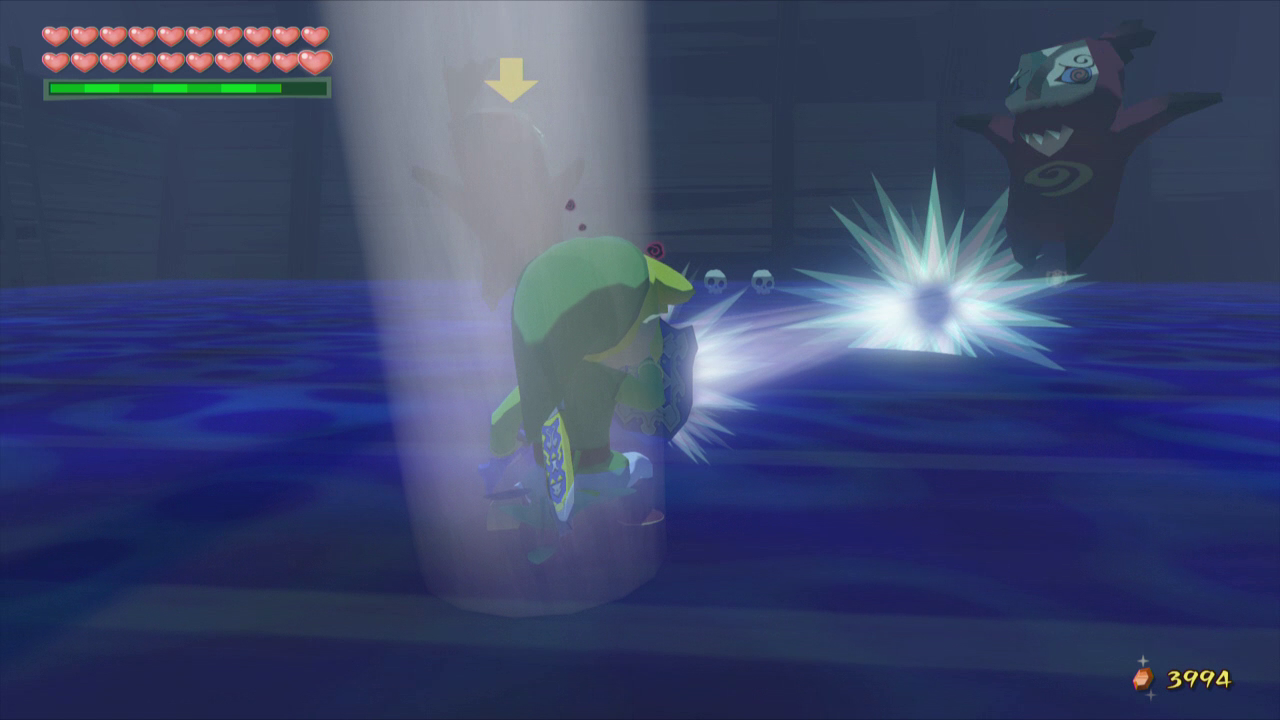
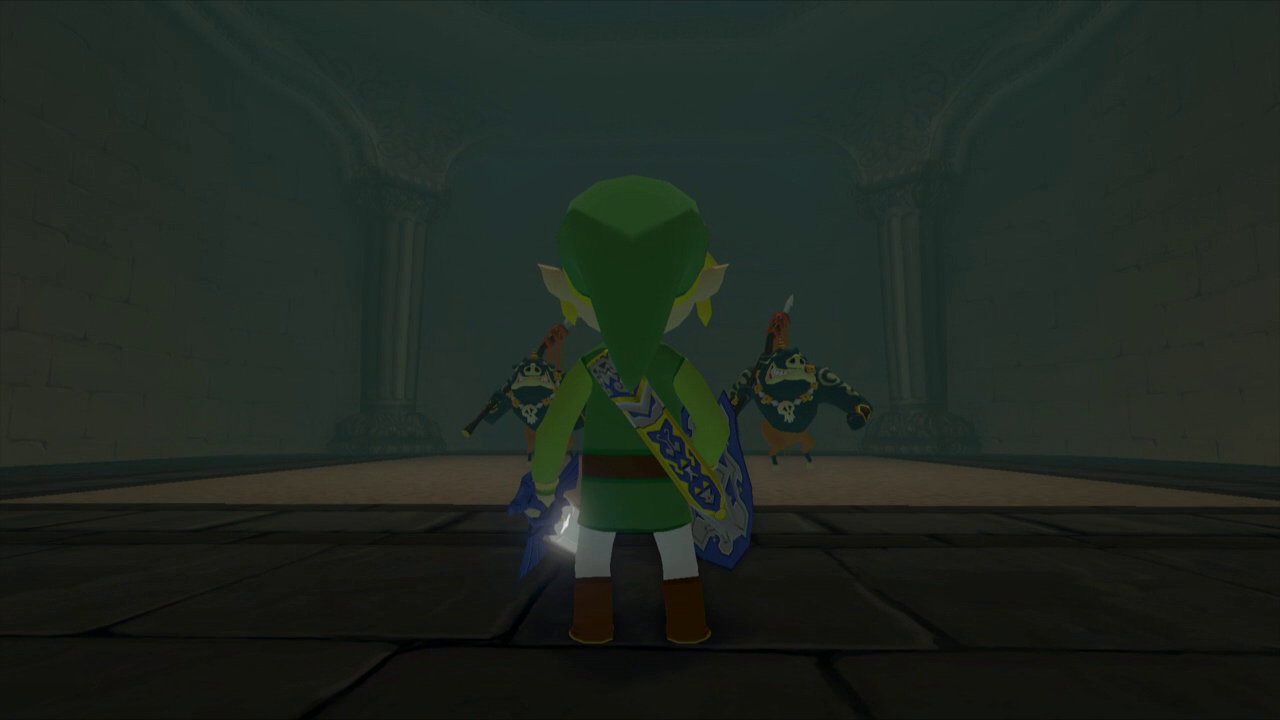
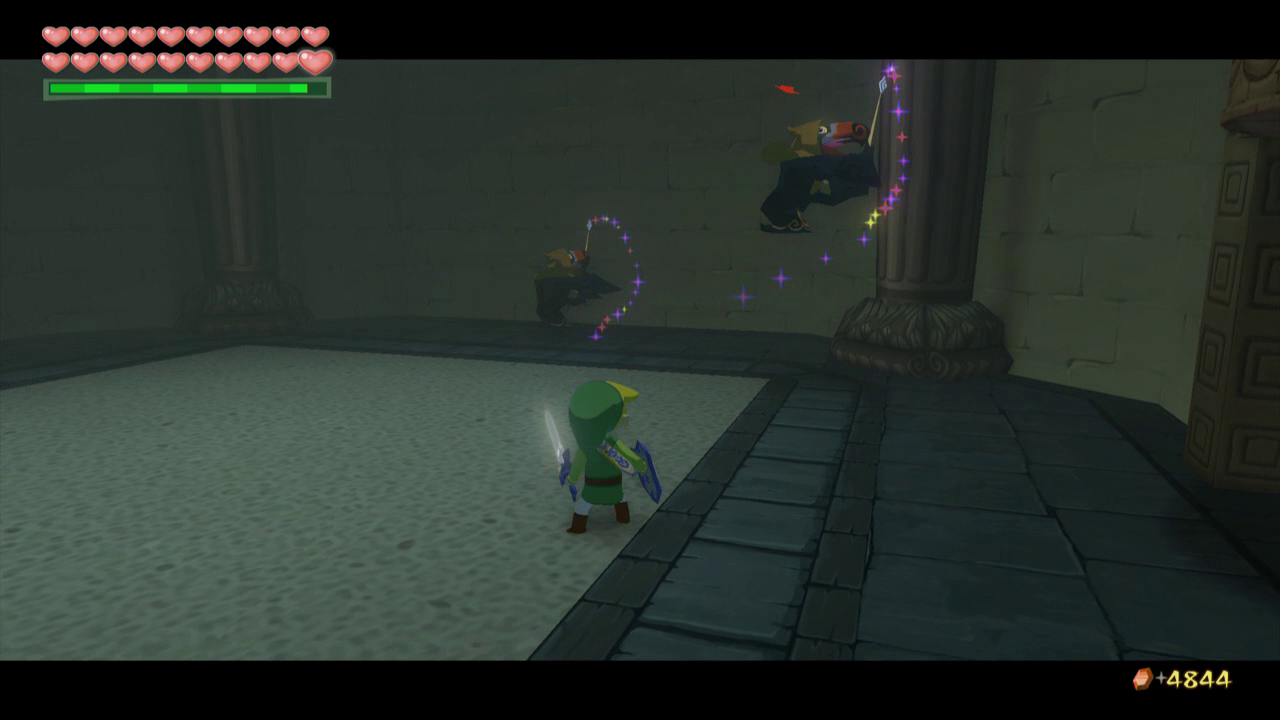
Once you make it inside of the Ghost Ship, you’ll encounter a series of familiar enemies. There are a pair of Poes, a Wizzrobe, and a ReDead. There is some light shining in at the side of the room, so use that, along with the Mirror Shield to defeat the Poes and ReDeads. After defeating all the enemies, the ladder in the room will fall down. Climb up the ladder and open the treasure chest to get Triforce Shard #1 in HD, or Triforce Chart #1 on Gamecube!
13.3 Private Oasis
Our next destination is over at the Private Oasis, located just south of the Tower of the Gods. In order to gain access to the cabana on the island, Link must have the Cabana Deed. We collected this much earlier in the walkthrough, but if you have yet to get it, visit Mrs. Marie on Windfall Island and give her 20 Joy Pendants. Show the Cabana Deed to the door to gain access to the Cabana.
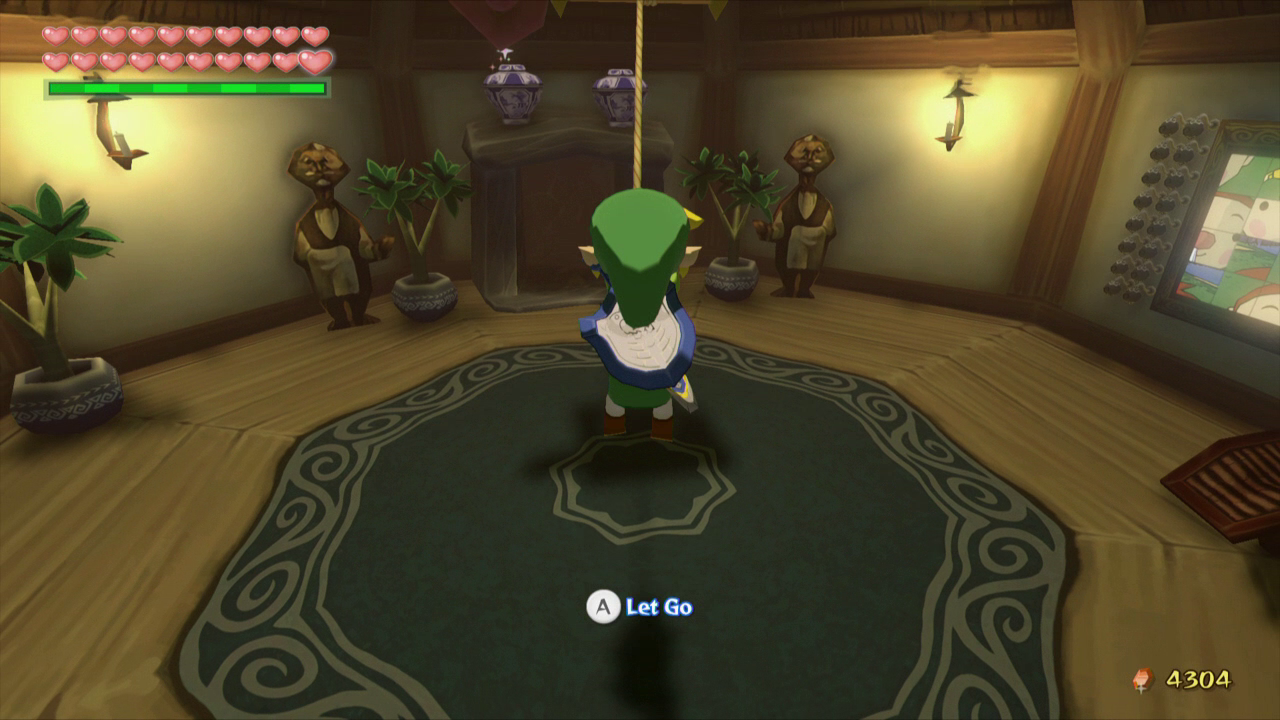
Once you are inside the Cabana look to the ceiling and you’ll find a lever that Link can latch onto with his grappling hook. Do so and the fire within the fireplace will go out, revealing a small hole that Link can drop into. Go ahead and drop down to the secret underground area.
Now you’ve fallen down into an underground maze. Walk straight down the path in front of you and take the first right you come to. When you arrive at the next fork in the road, take another right, dropping into a hole. Crawl into the tunnel to the right and follow the pathway. At the intersections go in the following order: Left, Right, Straight, and Right.
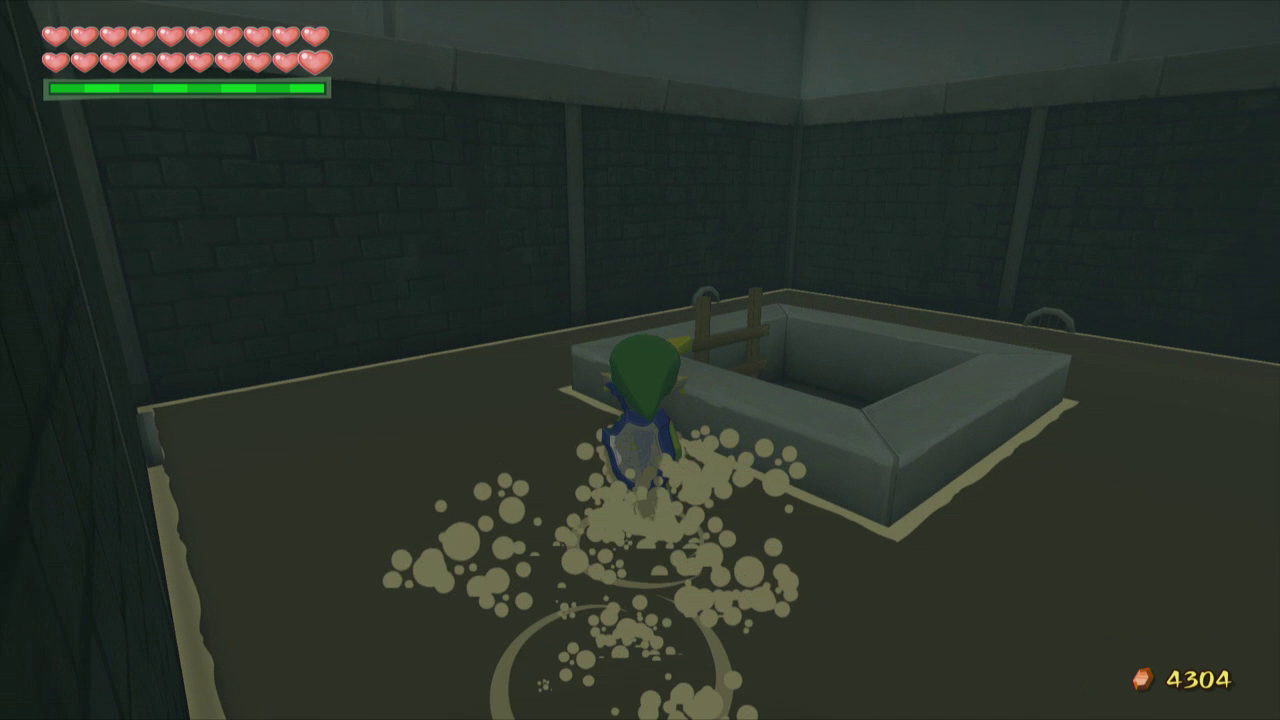
Climb up the ladder at the top and you’ll notice two large stakes. Use the Skull Hammer to pound them into the ground. Walk to the left and drop down the hole you find. When you are looking at the ladder, the tunnel to the right will lead to a treasure chest containing 100 rupees.

Return to the room with the ladder and then crawl through the other hole. Crawl through this area and then climb the ladder that you come out of. Pound the stake here with the Skull Hammer, but don’t head through the gate that opens just yet. Instead, drop down the hole to the left of the gate and kill the ReDeads you find at the bottom.

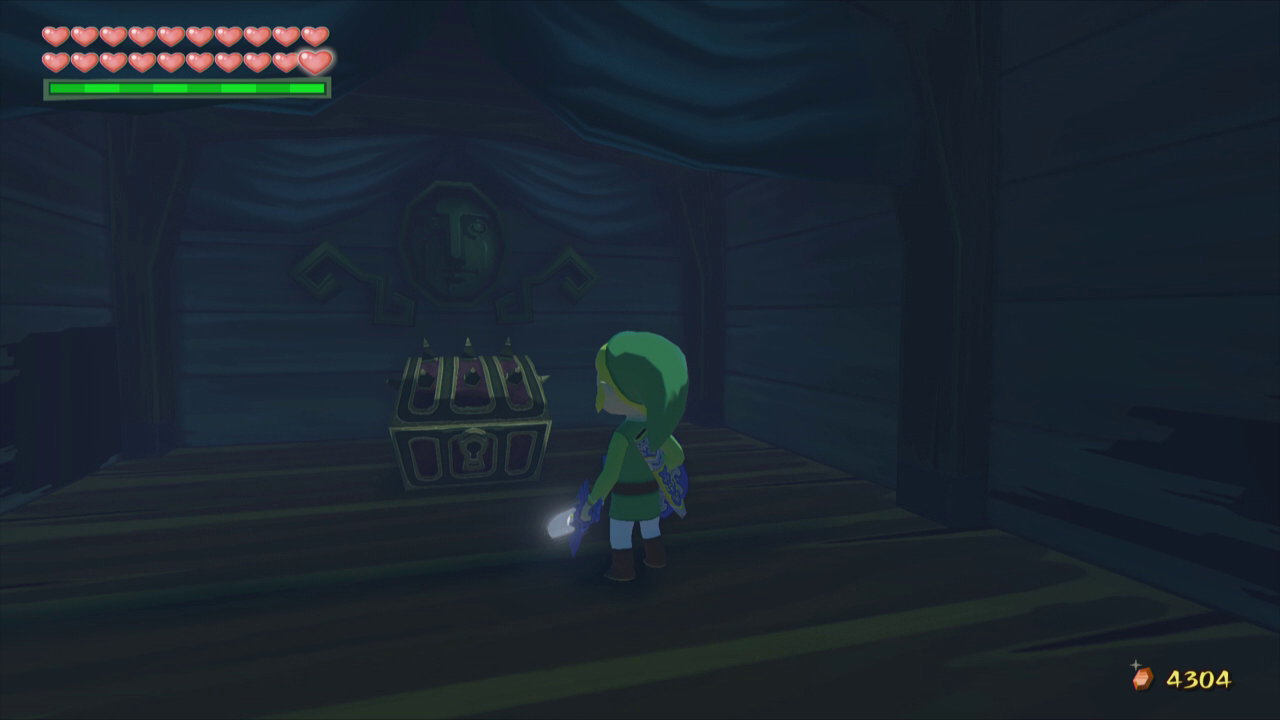
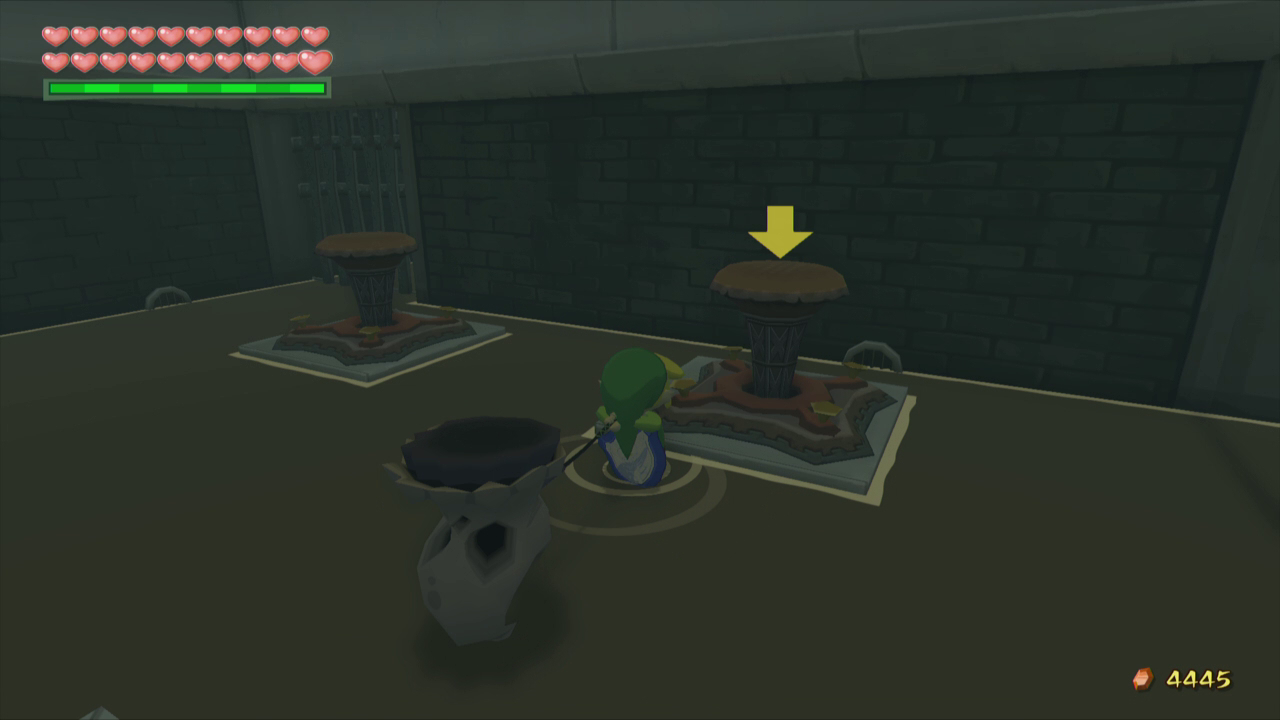
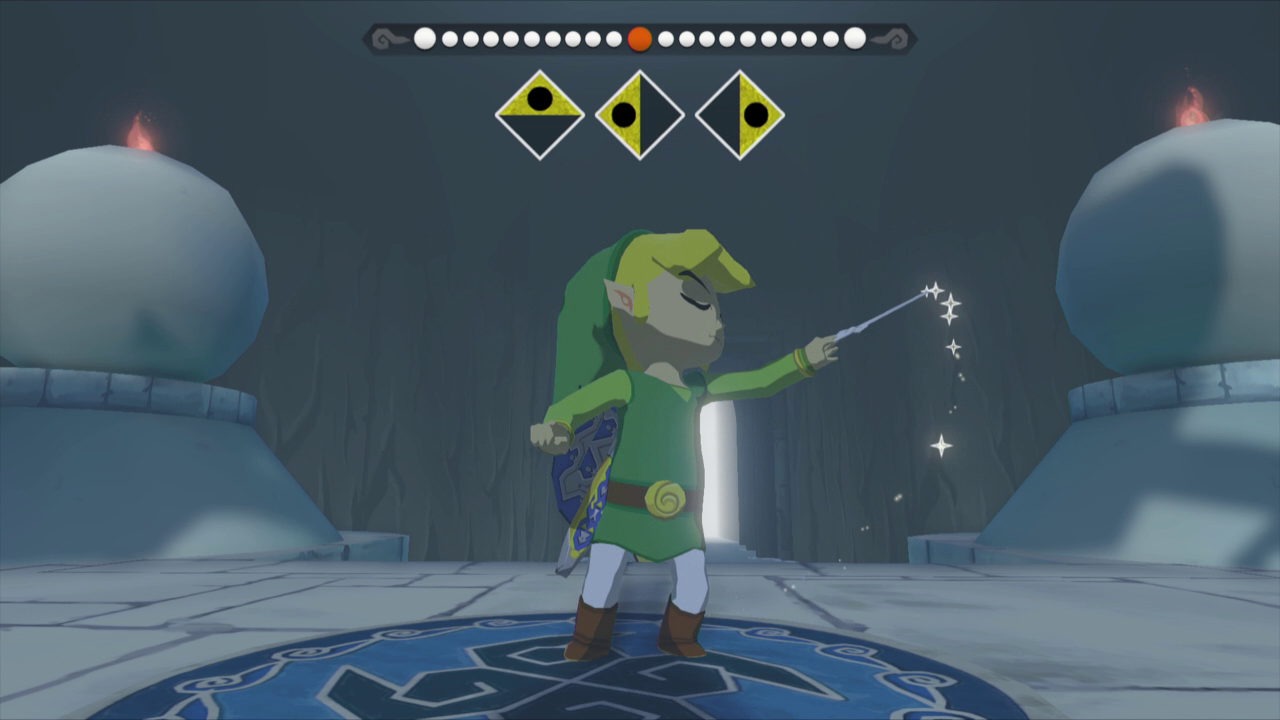
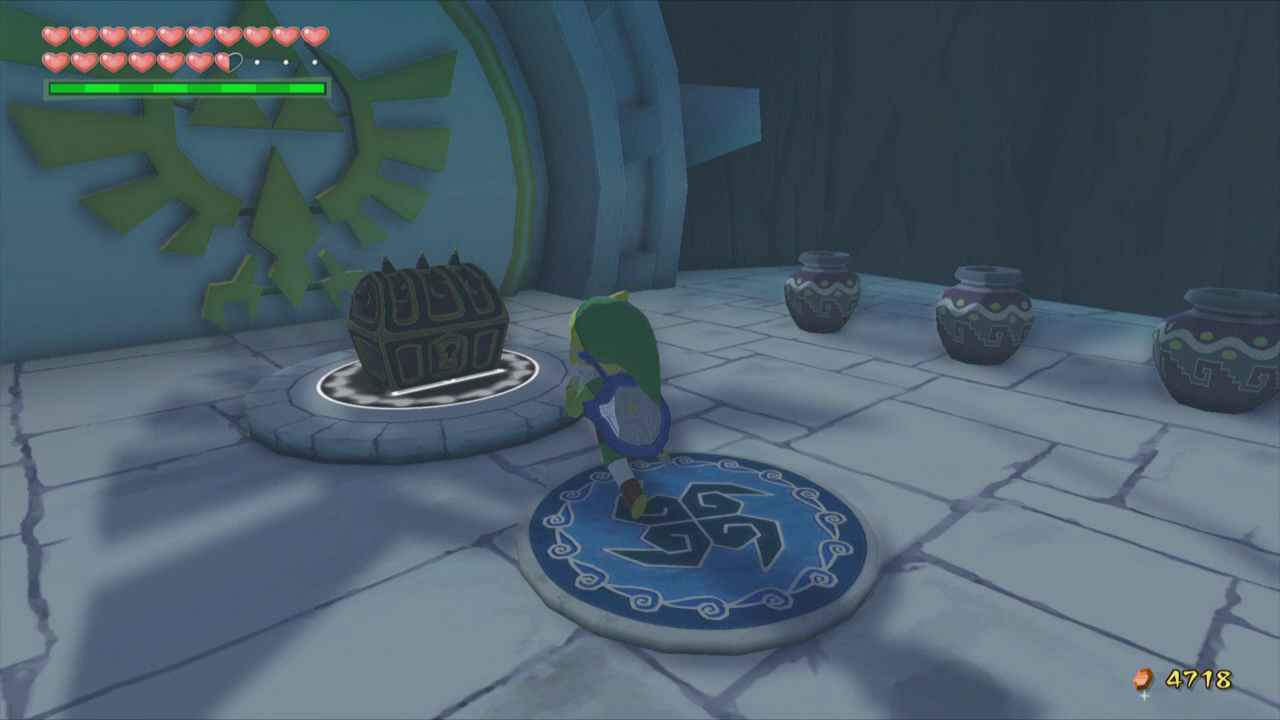
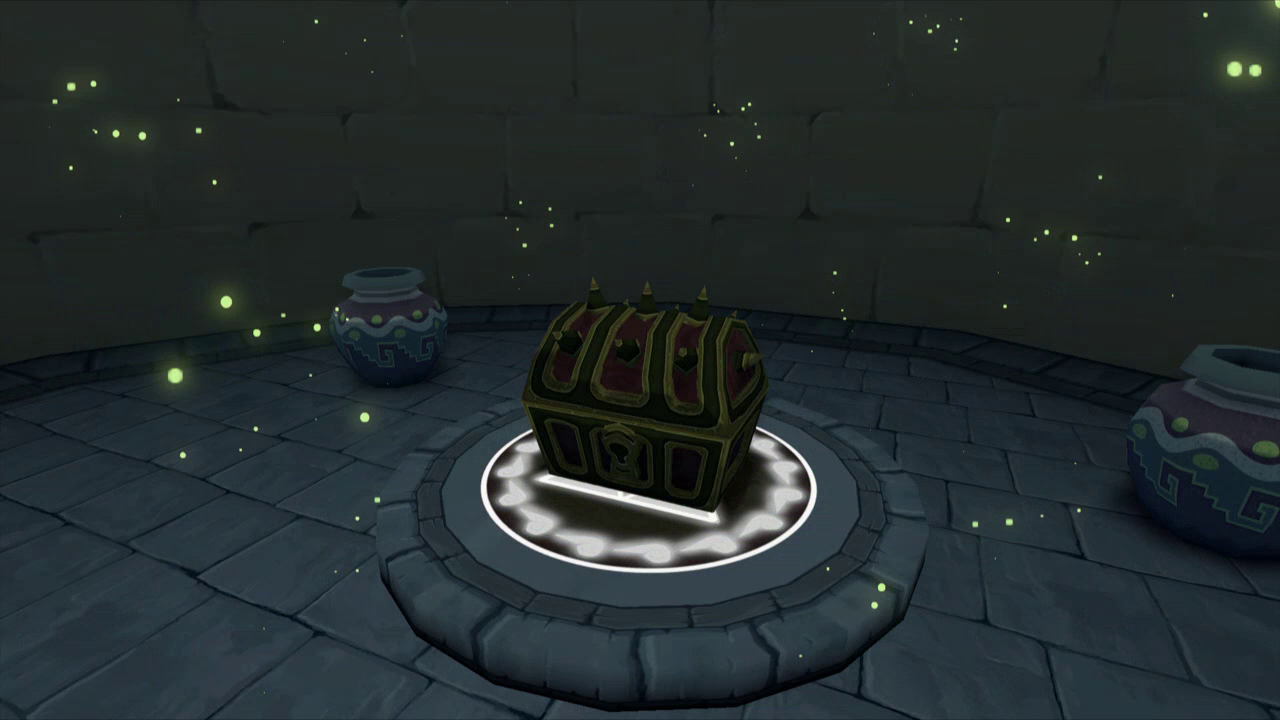
Break the pots that were against the wall to reveal another hole to crawl through. Crawl through and climb the ladder once you get back on your feet. Walk up to the blue circle and play the Wind’s Requiem to cause a treasure chest to appear. Open it up to get Triforce Shard #2 in HD, or Triforce Chart #2 on Gamecube! Pound the stake nearby and follow the pathway back to the light to get back up into the Cabana.

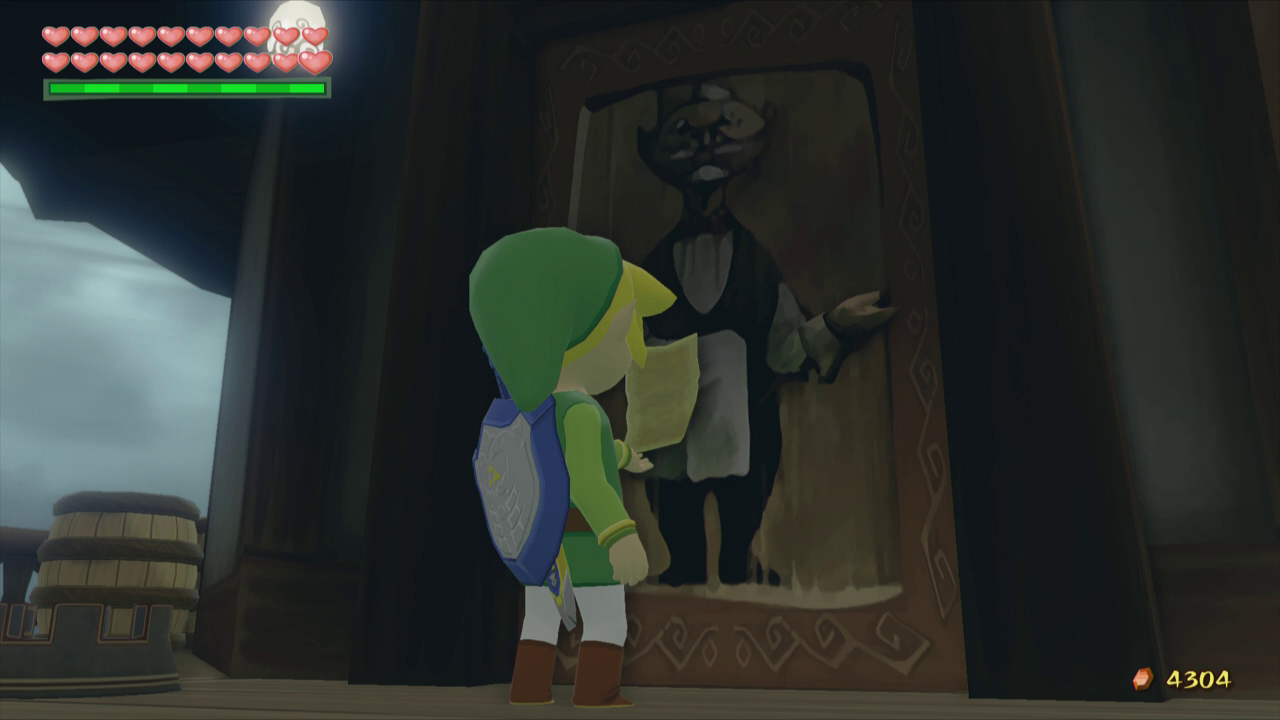
There is a completely optional mini-game here at the Cabana that you can also play. If you look at one wall in the main room you’ll see a portrait of a character. If you look at the opposite wall, there is the same portrait, but it is broken up into 15 pieces that make up a slide puzzle. Link can play the game and try to reassemble the portrait by sliding the pieces. It can be tedious to get it perfect and the reward for doing so is just some extra rupees, but not much. There are a total of 16 sliding puzzles to complete. After you complete one, you can leave the Cabana and re-enter it to play the next puzzle.


13.4 Islet of Steel
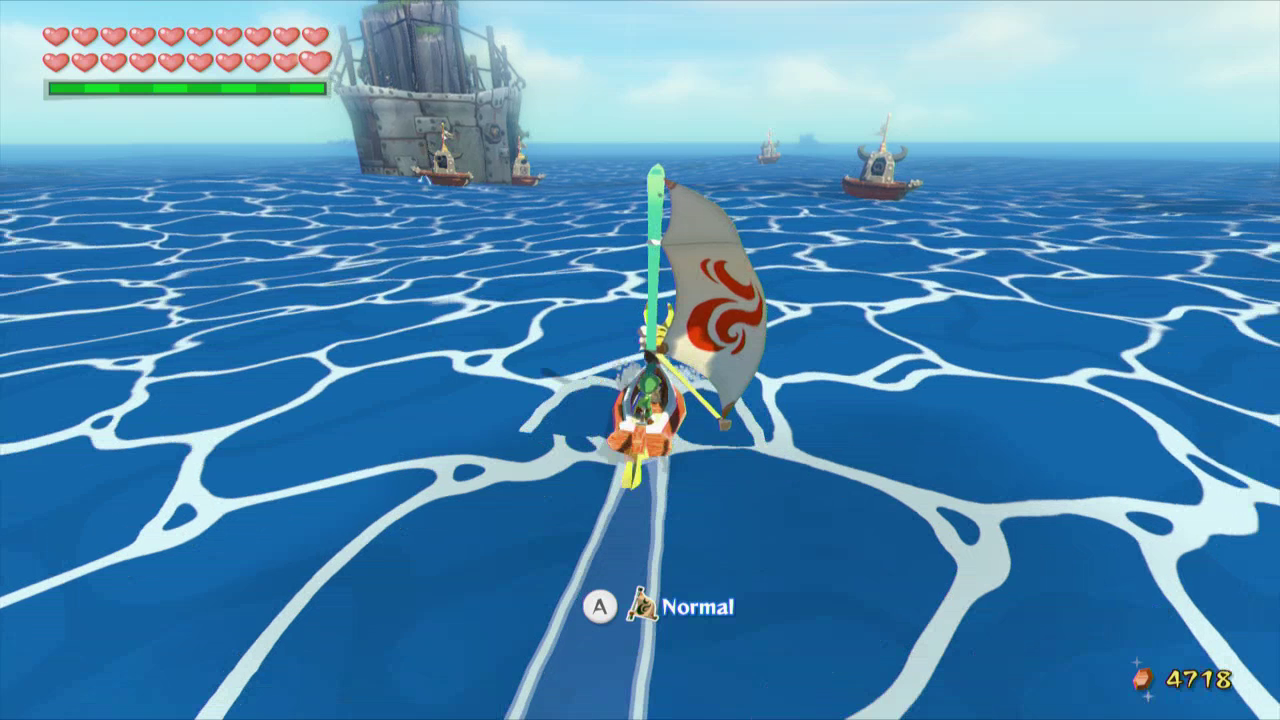
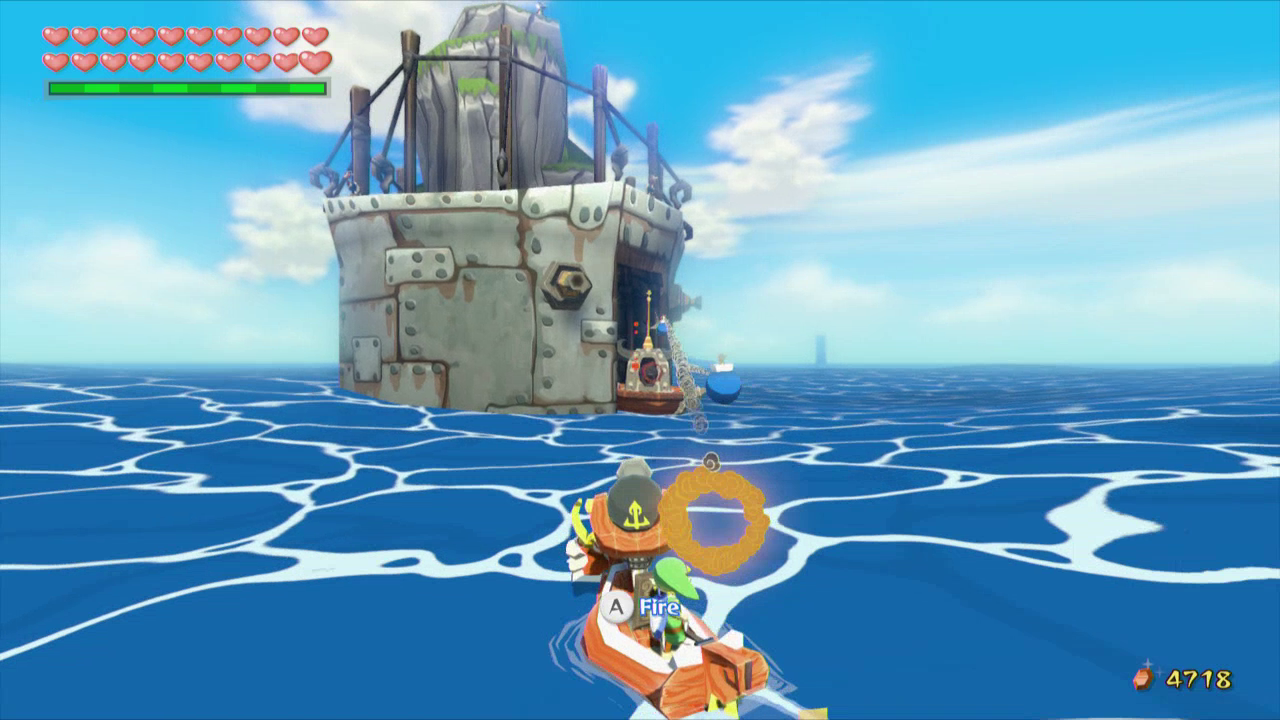
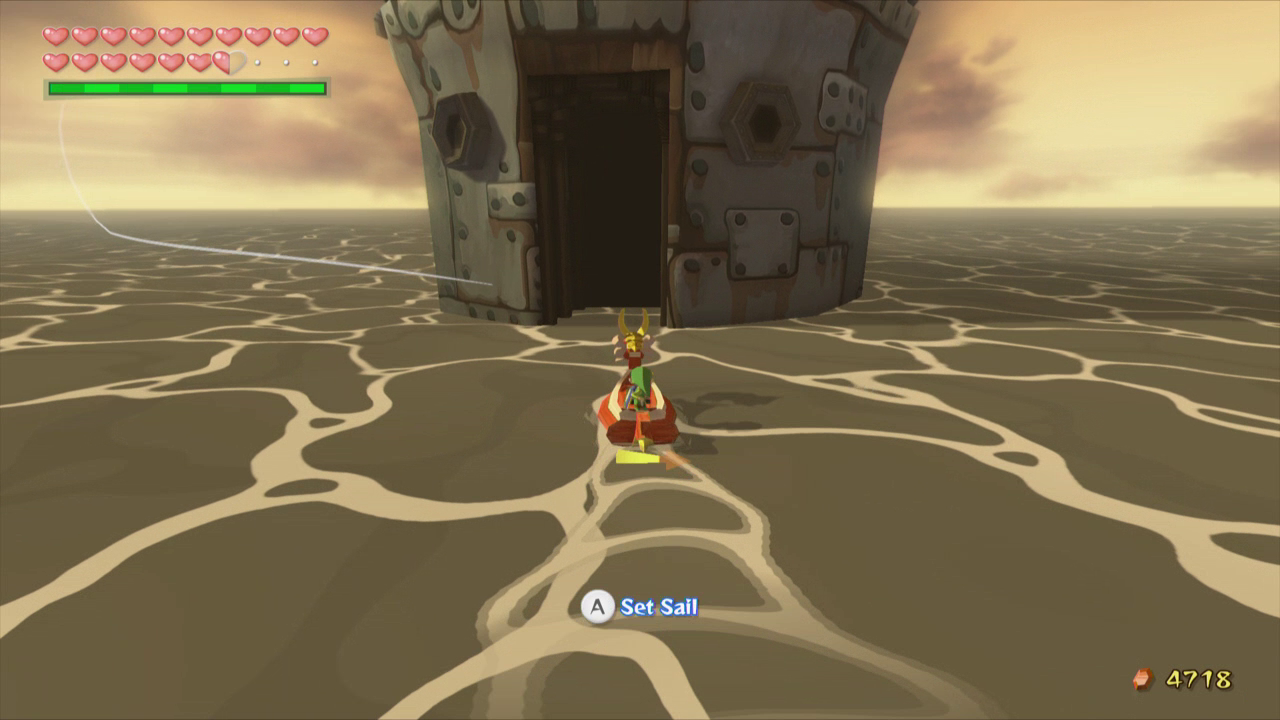
Our next destination is over at the Islet of Steel, located one square region south of Greatfish Isle. Sail on over and you will find a group of enemy warships surrounding the island. Use your cannon to shout and defeat these warships.

In particular, there is one ship that is blocking the water entrance to the actual island. Defeat it with a trio of bomb strikes and then sail right into the island.
This room is just like the final room from the Private Oasis. Simply play the Wind’s Requiem on the blue circular area on the ground and this causes a treasure chest to appear. Open it up to get a Triforce Chart!
13.5 Needle Rock Isle
Our next location is near Needle Rock Isle. Just to the northwest of the actual island, Link will find a trio of warships. One of them is a bit different though as it is covered in gold.


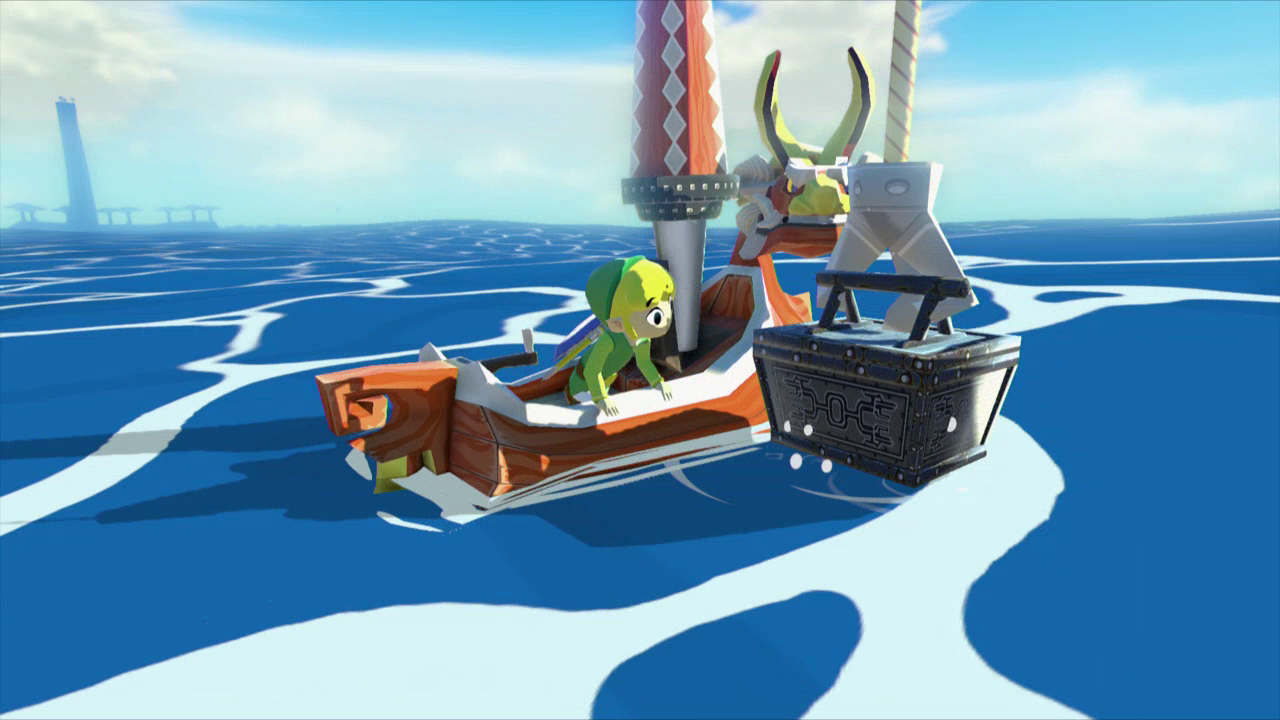
Sail over and blow up the gold warship using your cannon and it will sink beneath the sea, like these defeated ships always do. This will leave behind a reward, so sail on over and salvage the sunken treasure to get a Triforce Chart!


While you’re here, you can now use your Fire Arrows to melt the ice covering a hole on the south side of the island. Drop down into the hole and you will find an a room that looks much like the area where we obtained the Ghost Ship Chart. There are six torches scattered around this room; you must use the Fire Arrows to light all of them. If you run out of magic there are pots nearby that contain more.
Once all of the torches have been lit, a chest will appear containing an orange rupee.
13.6 Bird's Peak Rock
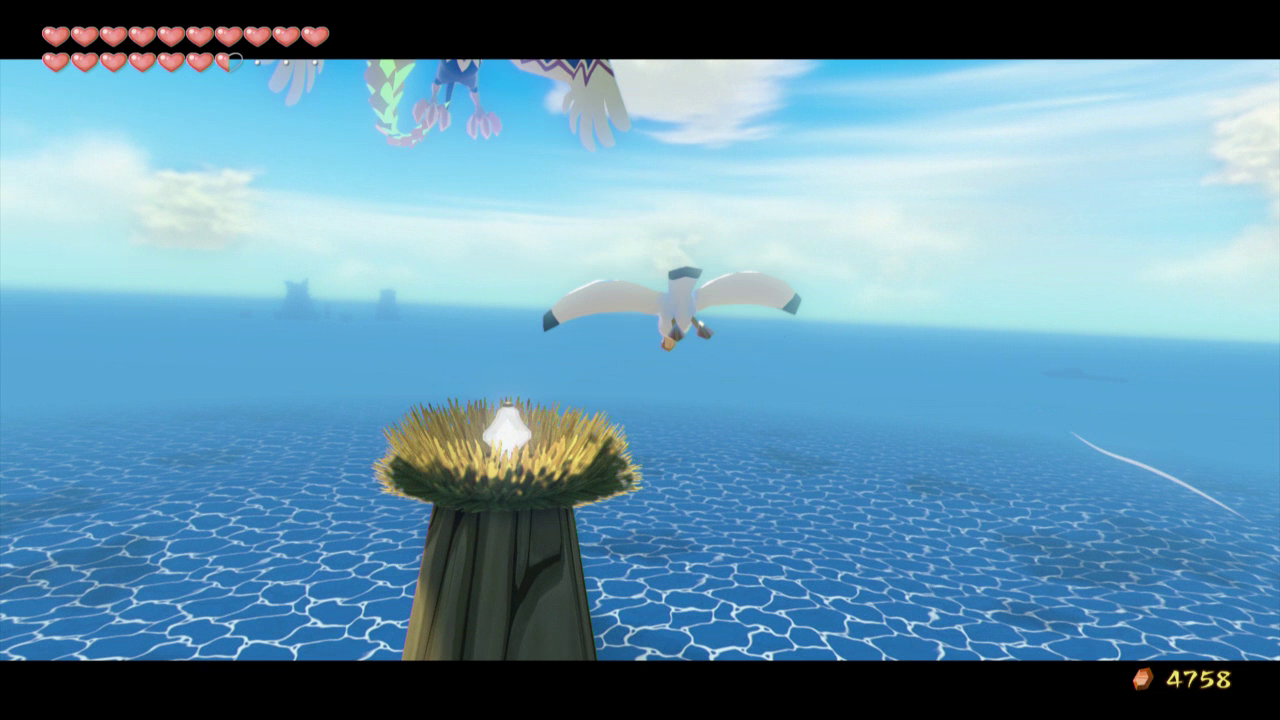
The next stop is over at Bird’s Peak Rock, which is located just northeast of the Forest Haven. Sail on over and then climb up onto the small island. Pull out a Hyoi Pear and take control of a seagull. There are five large pillars just near the small island and at the peak of each island there is diamond switch that the seagull can fly into. The seagull must hit all five switches, causing the locked gate to open up on the small island.

Be careful through, as there are enemy kargaroks all throughout the area. When controlling the seagulls, repeatedly flap your wings and usually this will keep the kargaroks from attacking you. Once you’ve hit all five switches, return back to Link and drop down the hole.
Inside the cave, once again play the Wind’s Requiem to cause a treasure chest to appear. Open it up get another Triforce Chart!

13.7 Stone Watcher Island
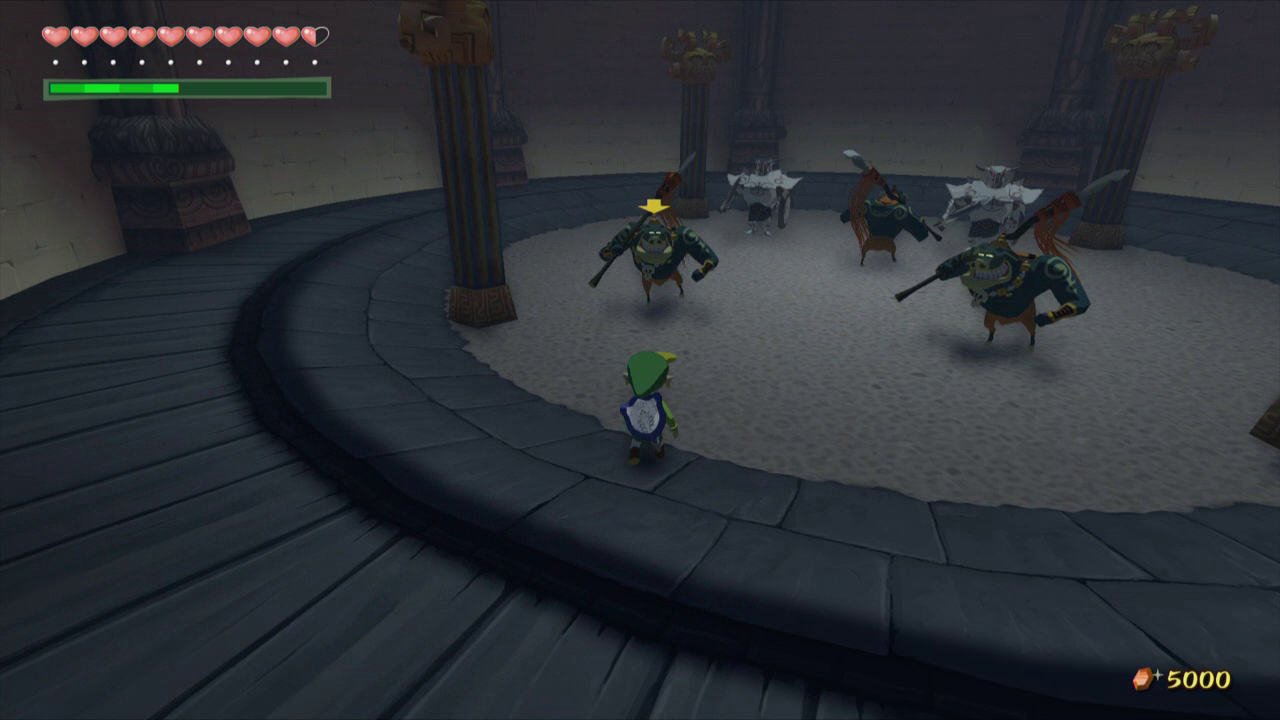
The next Triforce Shard (or Chart) is located over at Stone Watcher Island. Warp over to Greatfish Isle and sail southeast to reach the island. Climb to the top of the island and use the Power Bracelets to lift the large headstone. Drop down the hole to find a secret underground cavern.


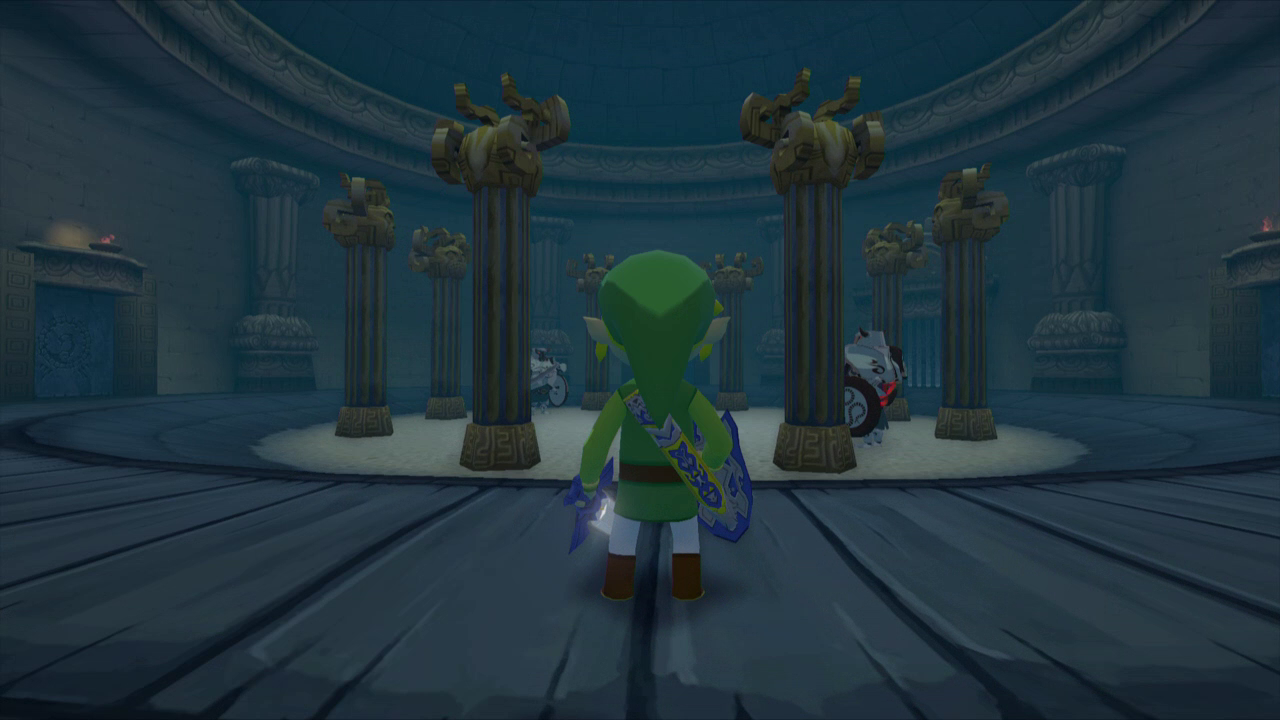
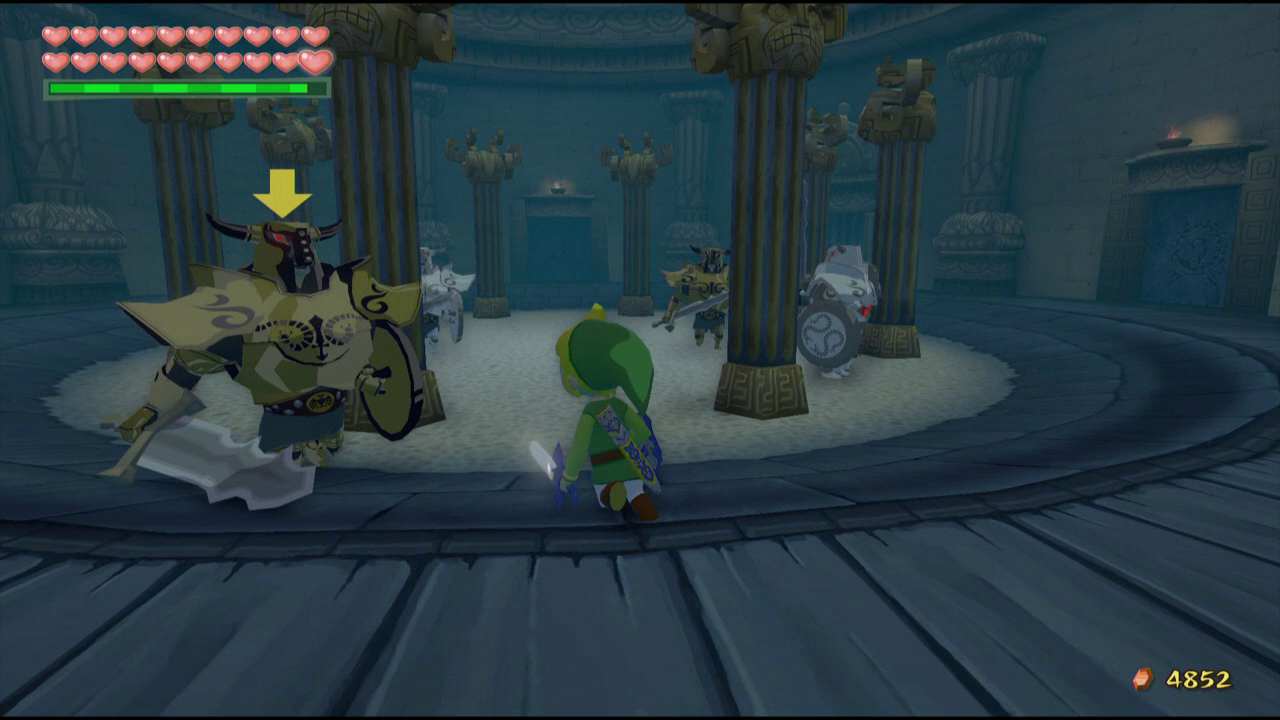
This one isn’t as simple as the previous areas. There are five rooms of enemies that Link will need to battle against before he can progress forward. Walk forward and then walk into any of the four open doors. Each of these four rooms has a variety of enemies. Once you have completed the four rooms, return to the main chamber and you’ll take on a fifth room full of enemies. Listed below are the enemies within the five rooms, with the first four being in no particular order.
– Room 1 – Four Armos
– Room 2 – Two Moblins
– Room 3 – Three Wizzrobes
– Room 4 – Five Bokoblins
– Room 5 – Two Darknuts


Once all five rooms of enemies have been defeated, one of the doors will unlock. Walk inside and play the Wind’s Requiem on the circle to cause a treasure chest to appear. Open it up to get Triforce Shard #3 (HD), or Triforce Chart #6 (Gamecube).
13.8 Overlook Island
Our next Triforce Shard is located at the far northeastern corner of the Great Sea at Overlook Island. Sail on over and then walk onto the base of the island. The island has a series of pillars that get taller and taller. Use the Hookshot and latch onto the tree on the shortest of the island pillars. From there, make your way from pillar to pillar. At the second to last one, there is a secret hole that Link can drop down.


The inside of Overlook Island is almost identical to that of Stone Watcher Island. The only difference is that there are different enemies in the various rooms. Just like before, you’ll have to fight enemies in the four different rooms, and then finish off the enemies in the central room.
– Room 1 – Three Armos Knights
– Room 2 – Two Stalfos
– Room 3 – Two Wizzrobes
– Room 4 – Five Green Bokoblins
– Room 5 – Four Darknuts

Once you’ve defeated enemies in all five rooms, head through the door that opens up. Play the Wind’s Requiem to cause a treasure chest to appear. Open it up to get Triforce Shard #4 (HD), or Triforce Chart #7!
13.9 Savage Labyrinth
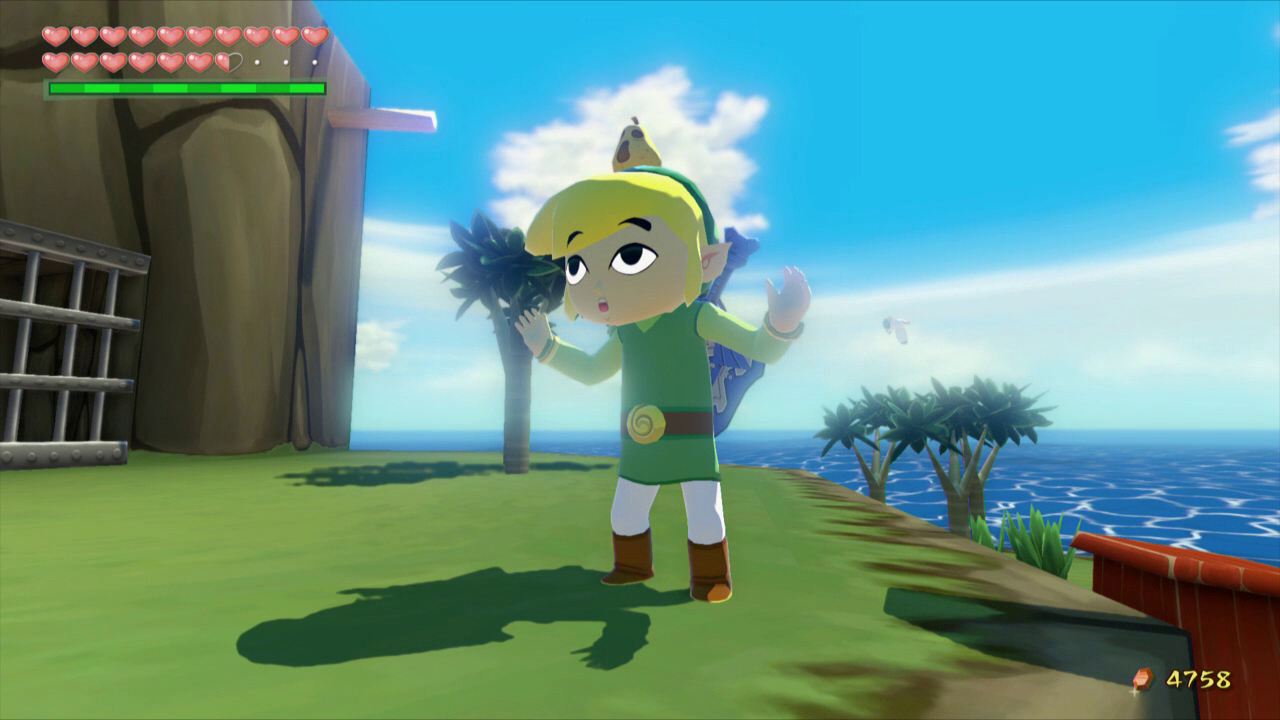
There is one more area we can visit and it is back at Outset Island. Warp over to Outset Island and follow the pathway towards Grandma’s house. Before you reach the house, look to the left where the path diverges and you’ll see a small area of trees along the rock wall. To the right of these trees there is a small platform that you can climb onto. Do so and pull out the Hookshot. At the very top of this wall is a palm tree that you can grab onto. This will pull you up to a higher area of the island. Lift the large stone statue to the right and jump into the hole to enter the Savage Labyrinth.

The Savage Labyrinth is a 50-floor gauntlet, facing enemies that Link has previously fought in the various dungeons of the game. The first 10 floors have enemies from the Dragon Roost Cavern, floors 11-20 have enemies from the Forest Haven, and floors 21-30 have enemies from the Tower of the Gods. The main reward we need is the found within a treasure chest on floor 30 and it is either Triforce Shard #5 (HD), or Triforce Chart #8 (Gamecube).
You can continue down the remaining 20 floors to get a special reward. Floors 31-40 consist of enemies from the Earth and Wind Temple, with the final 10 floors consisting of a variety of enemies from the entire game, often appearing in large quantities.
| The Savage Labyrinth | ||
| Floor | Enemies | Screenshots |
| 01 | Keese x10 |
    |
| 02 | Miniblin x6 | |
| 03 | Bokoblin x4 | |
| 04 | Red ChuChu x6 | |
| 05 | Magtail x4 | |
| 06 | Keese x4, Miniblin x4 | |
| 07 | Fire Keese x4, Magtail x2 | |
| 08 | Bokoblin x4, Fire Keese x2 | |
| 09 | Moblin x2 | |
| 10 | Hearts, Rupees, Warp to Entrance | |
| 11 | Peahat x6 | |
| 12 | Green ChuChu x4 | |
| 13 | Boko Baba x5 | |
| 14 | Green Bokoblin x4 | |
| 15 | Mothula x5 | |
| 16 | Boko Baba x3, Peahat x3 | |
| 17 | Blue Bokoblin x4, Green ChuChu x4 | |
| 18 | Mothula x3, Green Bokoblin x2 | |
| 19 | Winged Mothula x2 | |
| 20 | Hearts, Rupees, Warp to Entrance | |
| 21 | Wizzrobe x3 | |
| 22 | Armos x4 | |
| 23 | Armos Knight x2 | |
| 24 | Yellow ChuChu x6 | |
| 25 | Red Bubble x4 | |
| 26 | Green Bokoblin x2, Darknut x1 | |
| 27 | Armos x3, Wizzrobe x1 | |
| 28 | Armos Knight x2, Red Bubble x2 | |
| 29 | Darknut x2 | |
| 30 | Triforce Shard #5 or Triforce Chart #8, Warp to Entrance | |
| 31 | ReDead x6 | |
| 32 | Blue Bubble x5 | |
| 33 | Dark ChuChu x6 | |
| 34 | Poe x5 | |
| 35 | Winged Mothula x3 | |
| 36 | ReDead x3, Moblin x2 | |
| 37 | Dark ChuChu x5, Winged Mothula x1 | |
| 38 | Poe x5, Moblin x2 | |
| 39 | Blue Bubble x4, Stalfos x2 | |
| 40 | Hearts, Rupees, Warp to Entrance | |
| 41 | Miniblin x24 | |
| 42 | Red ChuChu x10, Green ChuChu x10, Yellow ChuChu x10 | |
| 43 | Wizzrobe x5 | |
| 44 | Bokoblin x16 | |
| 45 | ReDead x4, Stalfos x2 | |
| 46 | Moblin x3, Darknut x2 | |
| 47 | Wizzrobe x3, Darknut x2 | |
| 48 | Stalfos x3 | |
| 49 | Darknut x4 | |
| 50 | Hero’s Charm (HD), Piece of Heart #44 (Gamecube), Warp to Entrance | |
13.10 Completing the Triforce
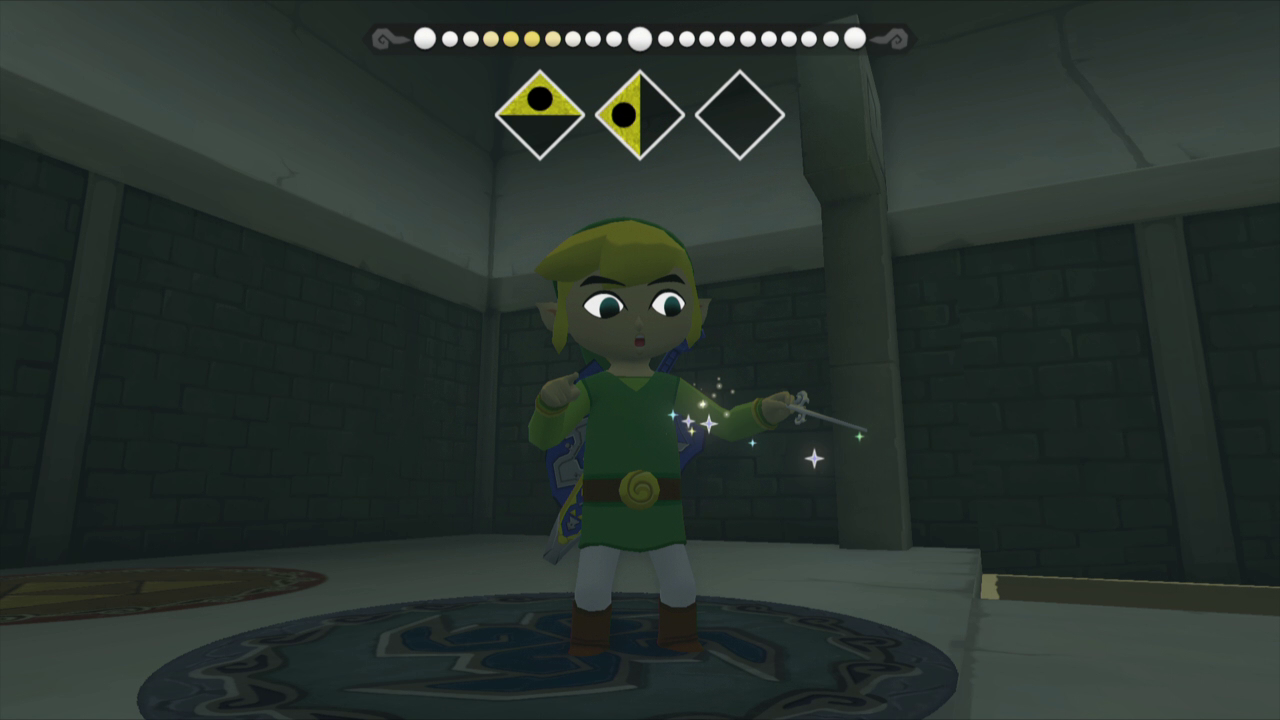
It’s now time to decipher the Triforce Charts that we have acquired. Warp on over to Tingle Island and then climb up the tower. Speak with Tingle and he’ll comment about the Triforce Charts that Link has. He offers to decipher them, but it will cost Link 398 rupees a piece. Unfortunately you’ll have to do this, so shell out the 1196 rupees to get all three deciphered in HD, or a whopping 3184 rupees for all eight Charts in Gamecube.
NOTE: If you have been collecting the optional Tingle Statues, you will also obtain 50 rupees for each Statue collected, and another 500 extra rupees for collecting all of the Statues. This does help significantly in knocking down the large price tag of the Triforce Charts; if you missed out collecting them the first time, you can always head back to the respective dungeons and collect them.

The three Triforce Charts act just as ordinary Treasure Charts. You must sail around the Great Sea and uncover the three sunken treasure. Their locations are below.
– Triforce Chart #01 – Greatfish Isle – Triforce Shard
– Triforce Chart #02 – Stone Watcher Island (Southeast of Greatfish Isle) – Triforce Shard
– Triforce Chart #03 – Cliff Plateau Isles (East of Forest Haven) – Triforce Shard
– Triforce Chart #01 – Greatfish Isle – Triforce Shard
– Triforce Chart #02 – Gale Isle (North of Windfall Island) – Triforce Shard
– Triforce Chart #03 – Stonewatcher Island (Southeast of Greatfish Isle) – Triforce Shard
– Triforce Chart #04 – Outset Island – Triforce Shard
– Triforce Chart #05 – Cliff Plateau Isles (East of Forest Haven) – Triforce Shard
– Triforce Chart #06 – Southern Triangle Island – Triforce Shard
– Triforce Chart #07 – Seven-Star Isles (North of Dragon Roost Island) – Triforce Shard
– Triforce Chart #08 – Two-Eye Reef (South of Southern Fairy Island) – Triforce Shard
With all 8 pieces of the Triforce in hand, we’re now ready to head back down to Hyrule so warp on over to the Tower of the Gods.
- Chapter 1 – Outset Island
- Chapter 2 – Forsaken Fortress
- Chapter 3 – Windfall Island
- Chapter 4 – Dragon Roost Island
- Chapter 5 – Dragon Roost Cavern
- Chapter 6 – Forest Haven
- Chapter 7 – Forbidden Woods
- Chapter 8 – Nayru’s Pearl
- Chapter 9 – Tower of the Gods
- Chapter 10 – Hyrule Castle
- Chapter 11 – Earth Temple
- Chapter 12 – Wind Temple
- Chapter 13 – The Triforce
- Chapter 14 – Ganon’s Tower
