- Chapter 1 – Outset Island
- Chapter 2 – Forsaken Fortress
- Chapter 3 – Windfall Island
- Chapter 4 – Dragon Roost Island
- Chapter 5 – Dragon Roost Cavern
- Chapter 6 – Forest Haven
- Chapter 7 – Forbidden Woods
- Chapter 8 – Nayru’s Pearl
- Chapter 9 – Tower of the Gods
- Chapter 10 – Hyrule Castle
- Chapter 11 – Earth Temple
- Chapter 12 – Wind Temple
- Chapter 13 – The Triforce
- Chapter 14 – Ganon’s Tower
9.1 Dungeon Map and Compass
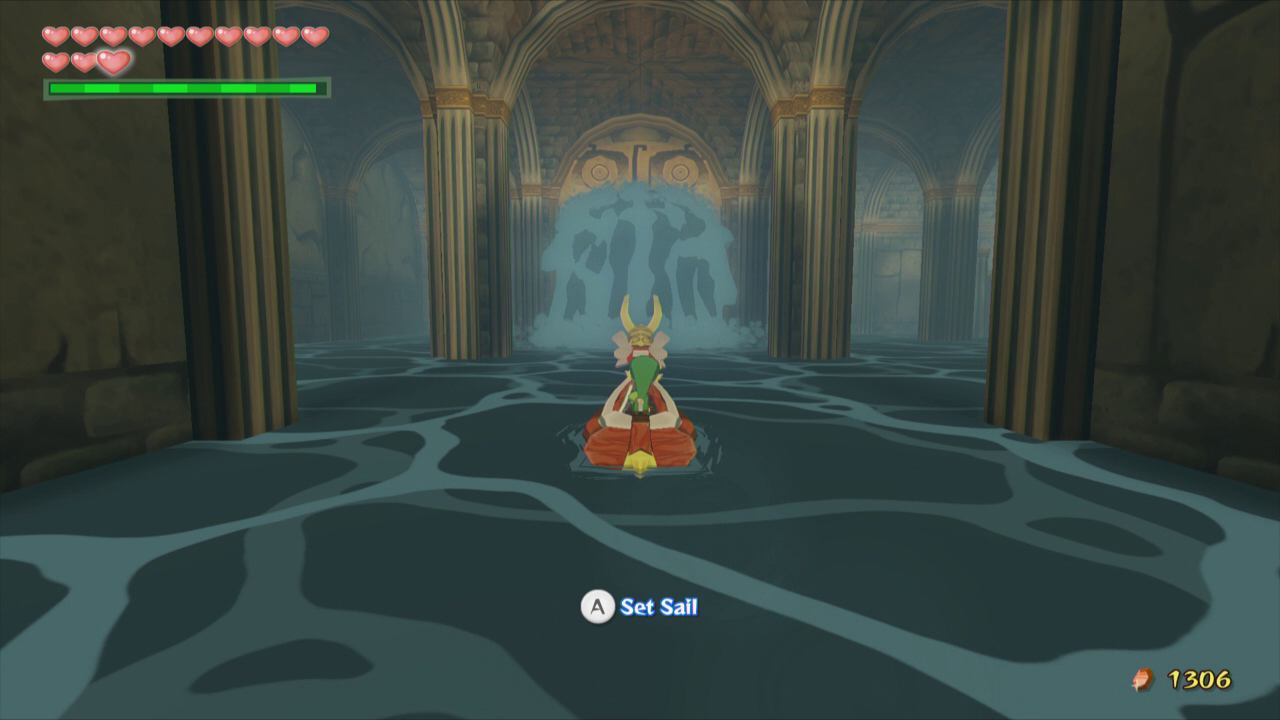
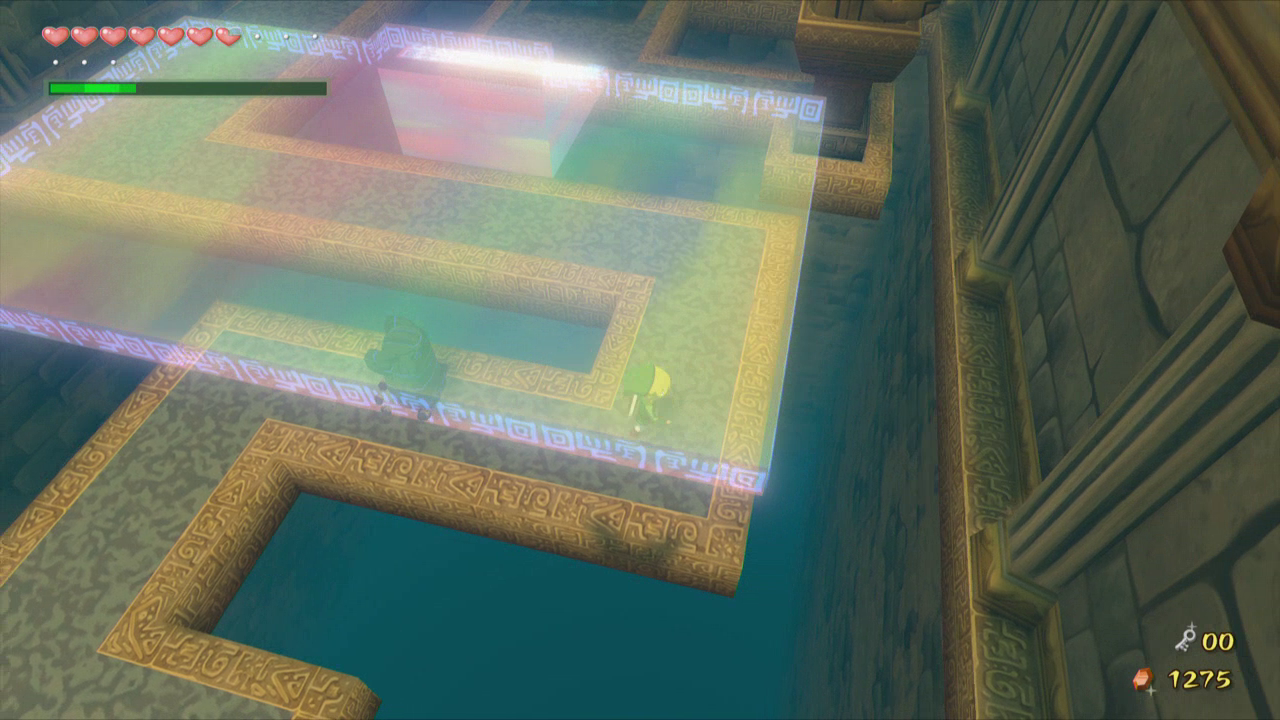
Once you are inside the Tower of the Gods head to the right, using cruise option on the boat. In the beginning of this dungeon the water will raise and lower every few seconds, making some areas reachable and some areas unreachable at times.
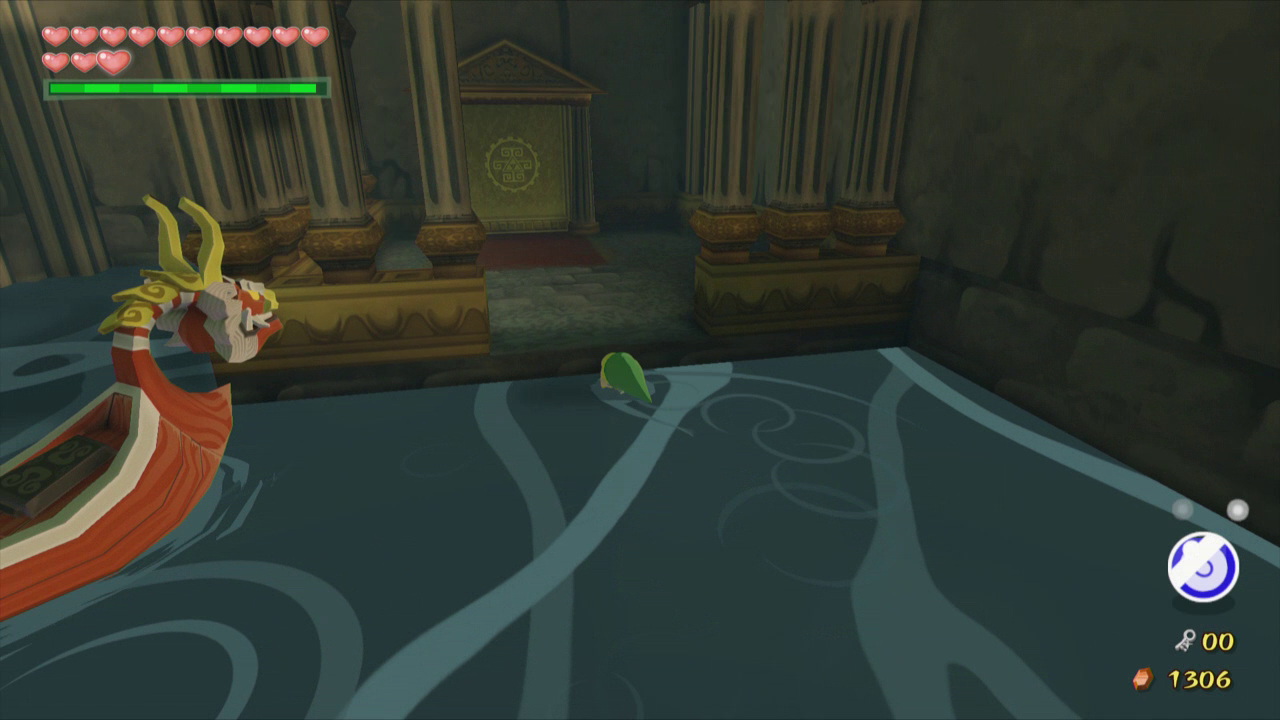
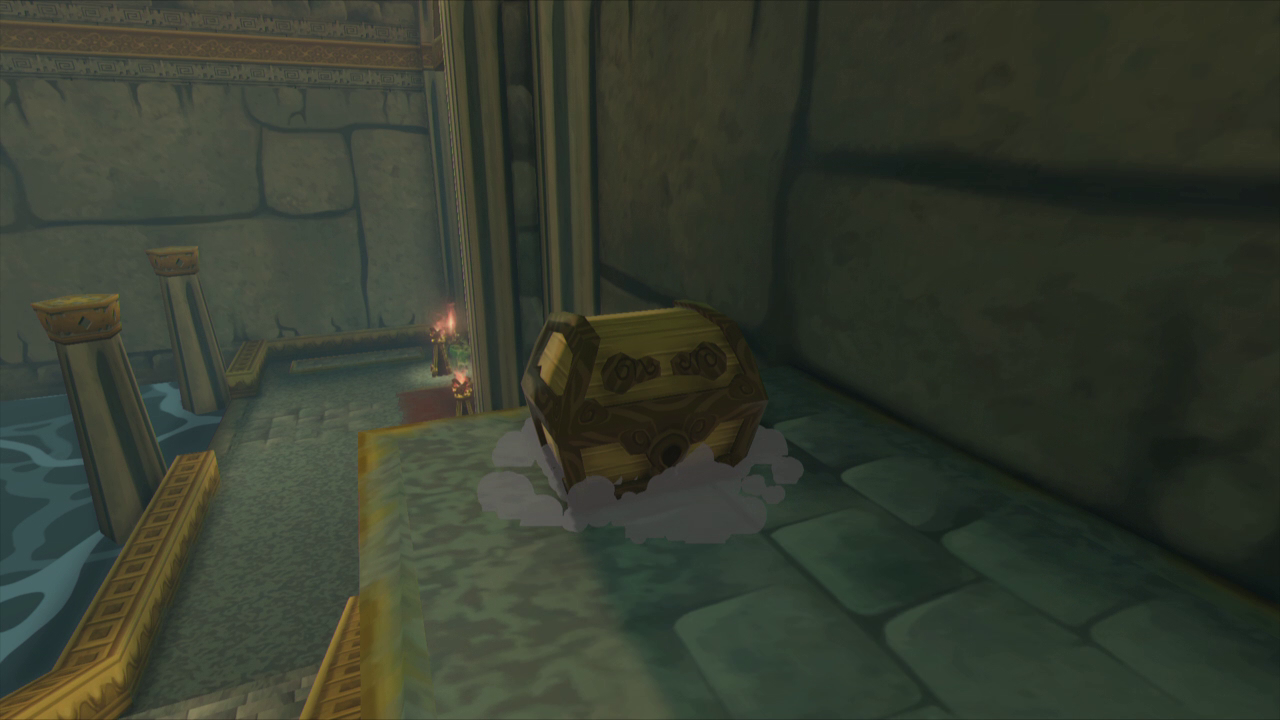
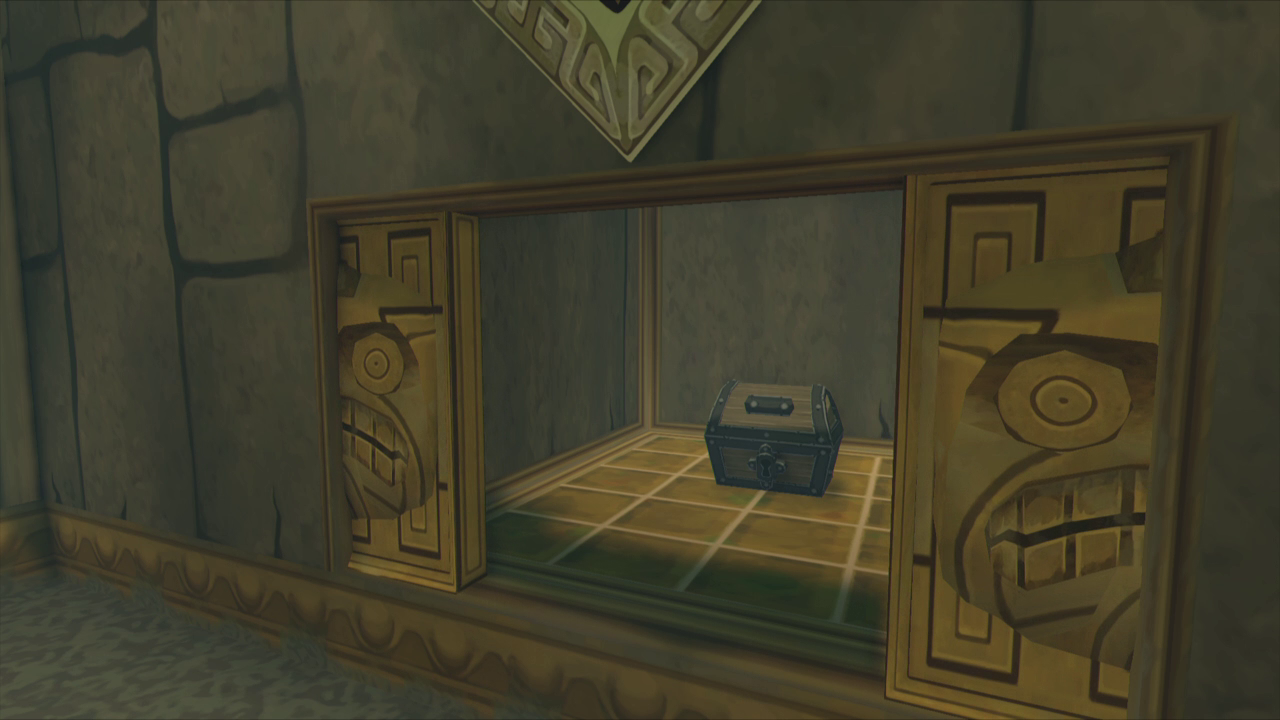
Go through the southeastern door while the water is low. Use the Boomerang to defeat the Yellow ChuChu inside. Climb on the narrow ledge on the southern wall and you’ll see that the wall is cracked. Drop a bomb to blow up the cracked wall. Hop inside the wall and open the chest for the Dungeon Map. Four more Yellow ChuChus will drop down upon doing this so use the Boomerang to defeat them as well and then leave the room.Optional: Dungeon Map

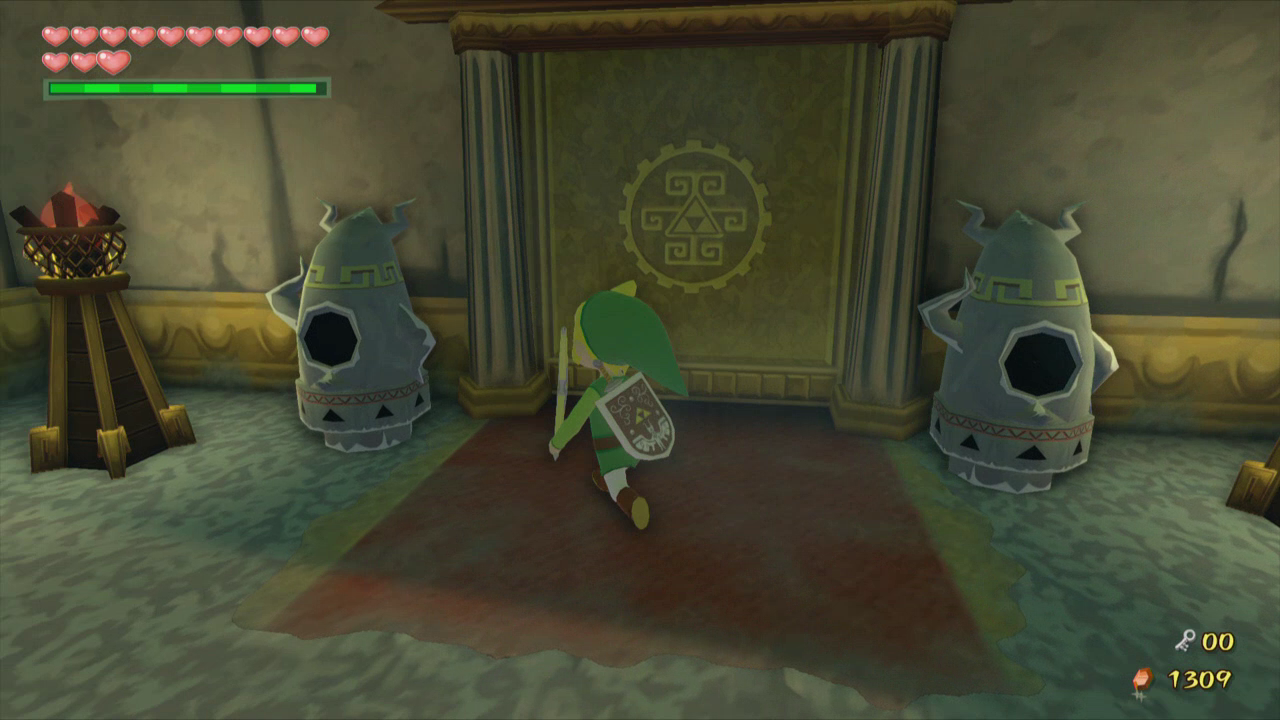
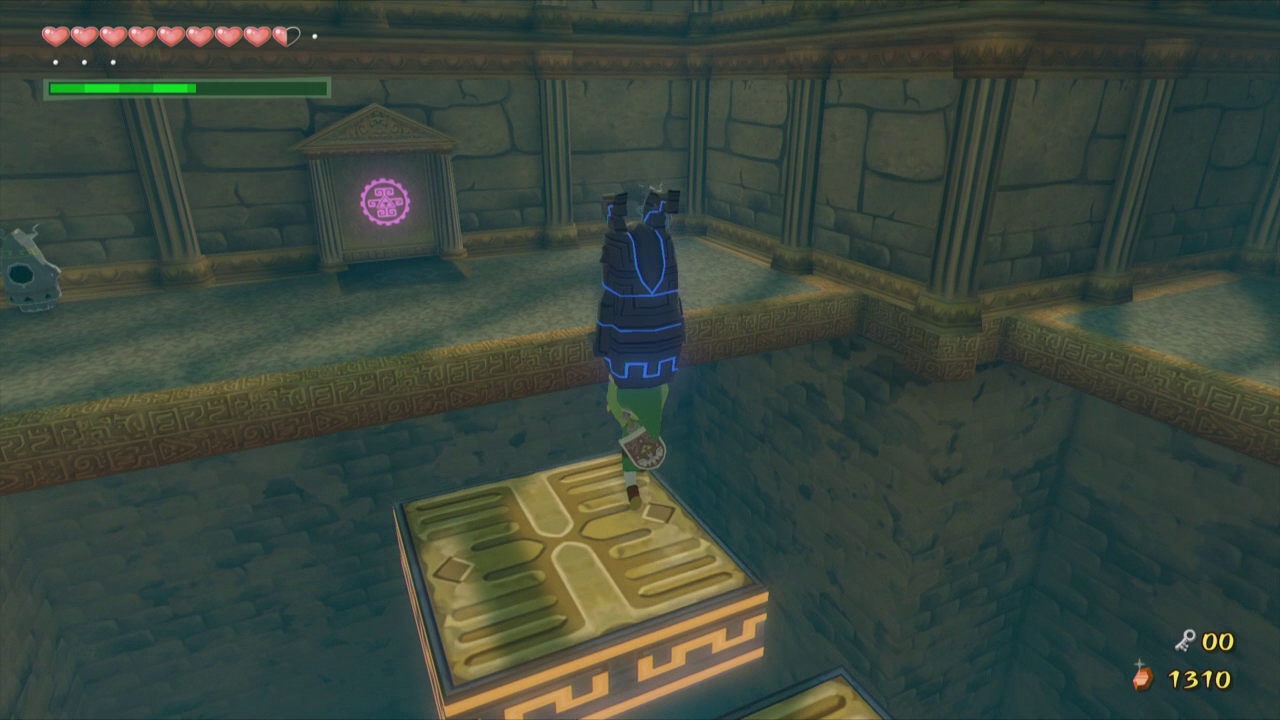
Use the King of Red Lions to cruise to the northeastern corner of the room and lift one of the statues next to the locked door. Place it on top of the glowing switches nearby and head through the now open door.

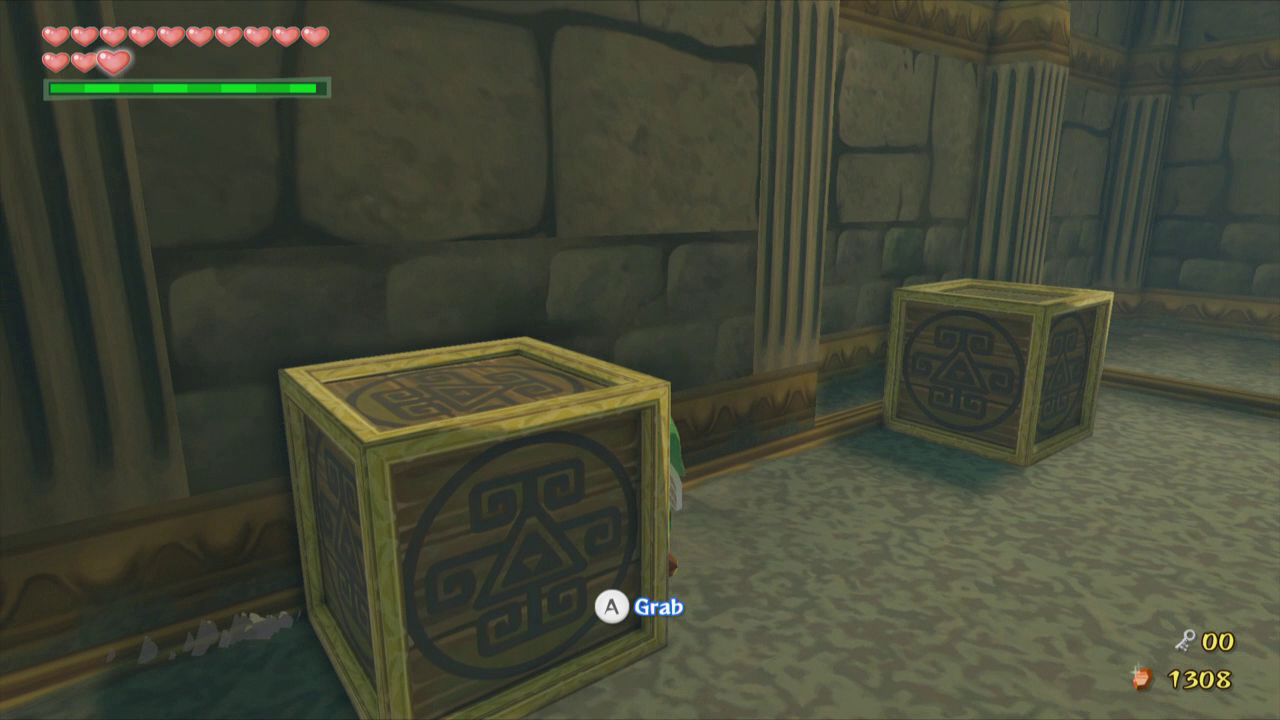
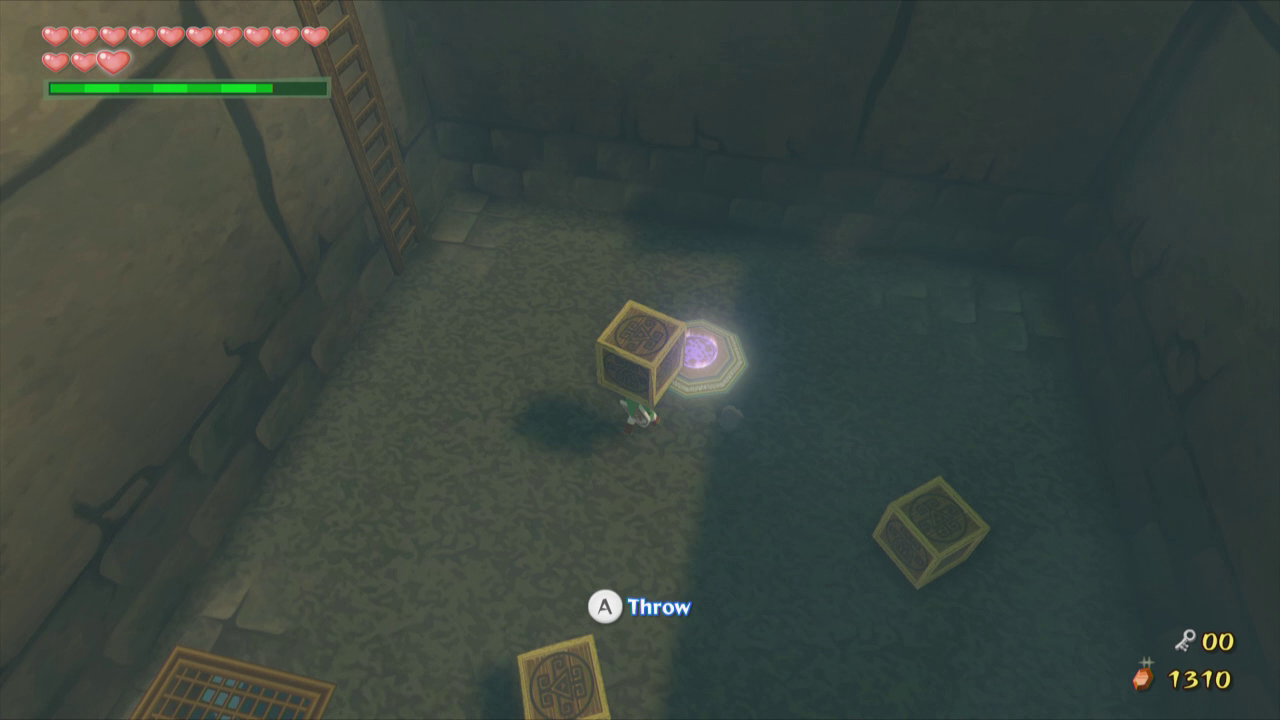
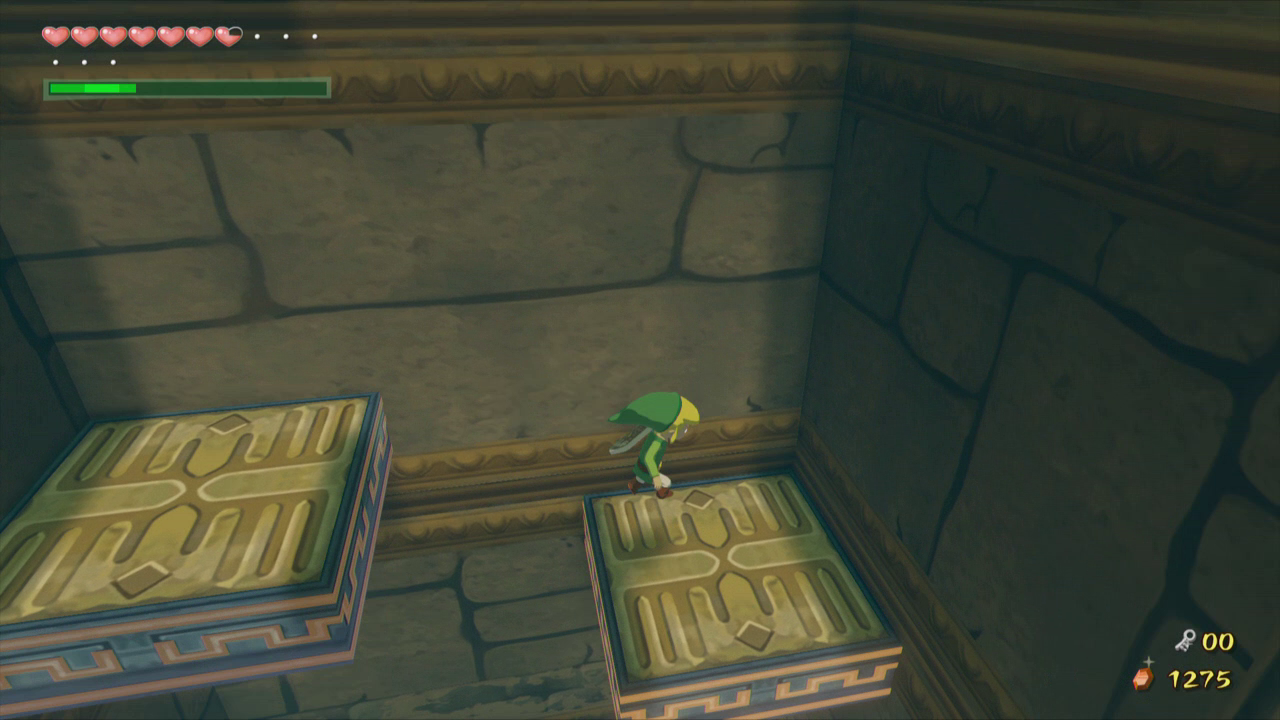
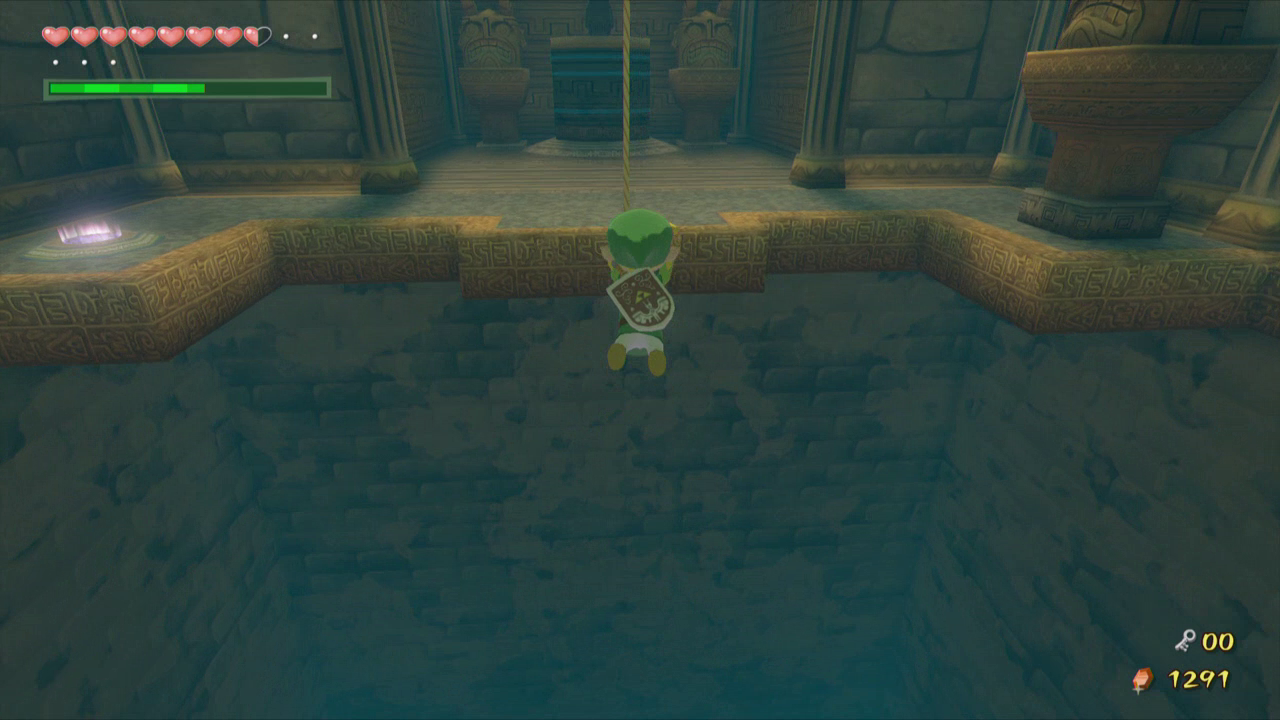
Defeat the Yellow ChuChu that appears and then drop down into the pit. Lift one of the boxes here and place it on top of the glowing switch to activate a bridge of light. This bridge will only appear when the box is still on the switch, meaning the water must be lowered. Climb back up the ladder and cross the bridge when you are able to. Grab the pillar here and return across the bridge and back to the previous room.
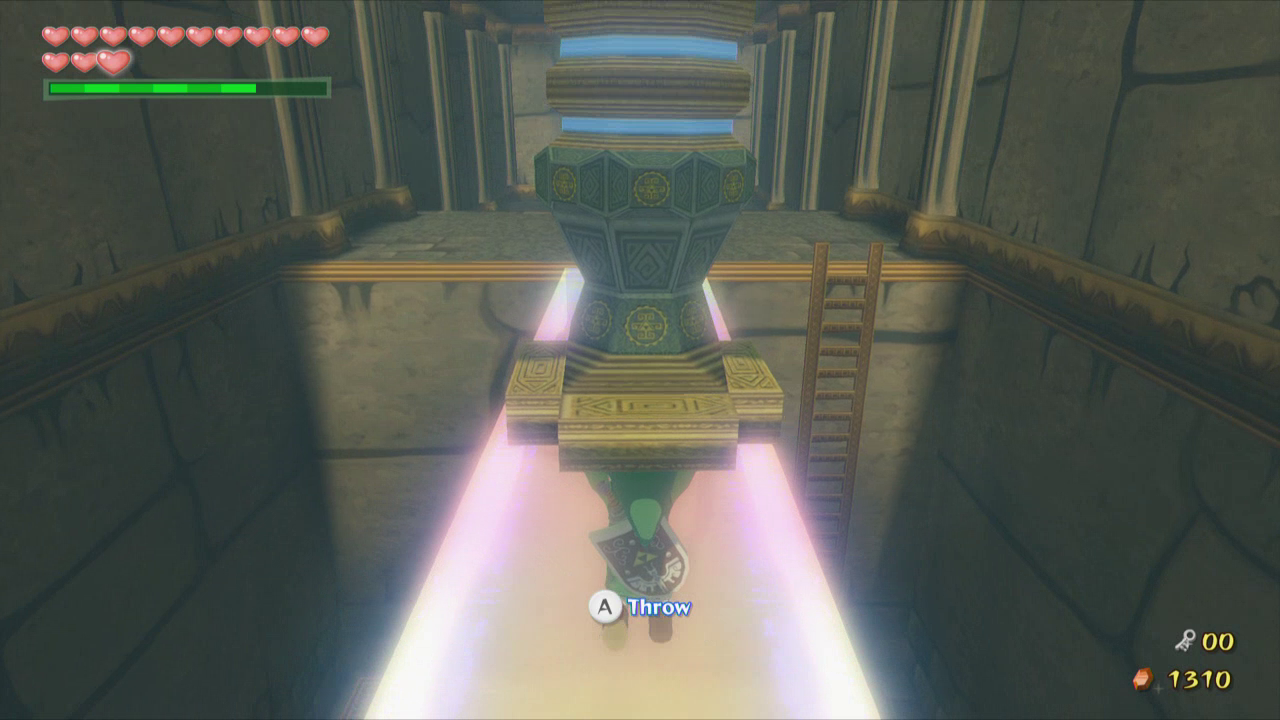
Turn to the left and place the pillar in the small missing section of floor here. A gate to the left will lower, allowing you to access a new area.
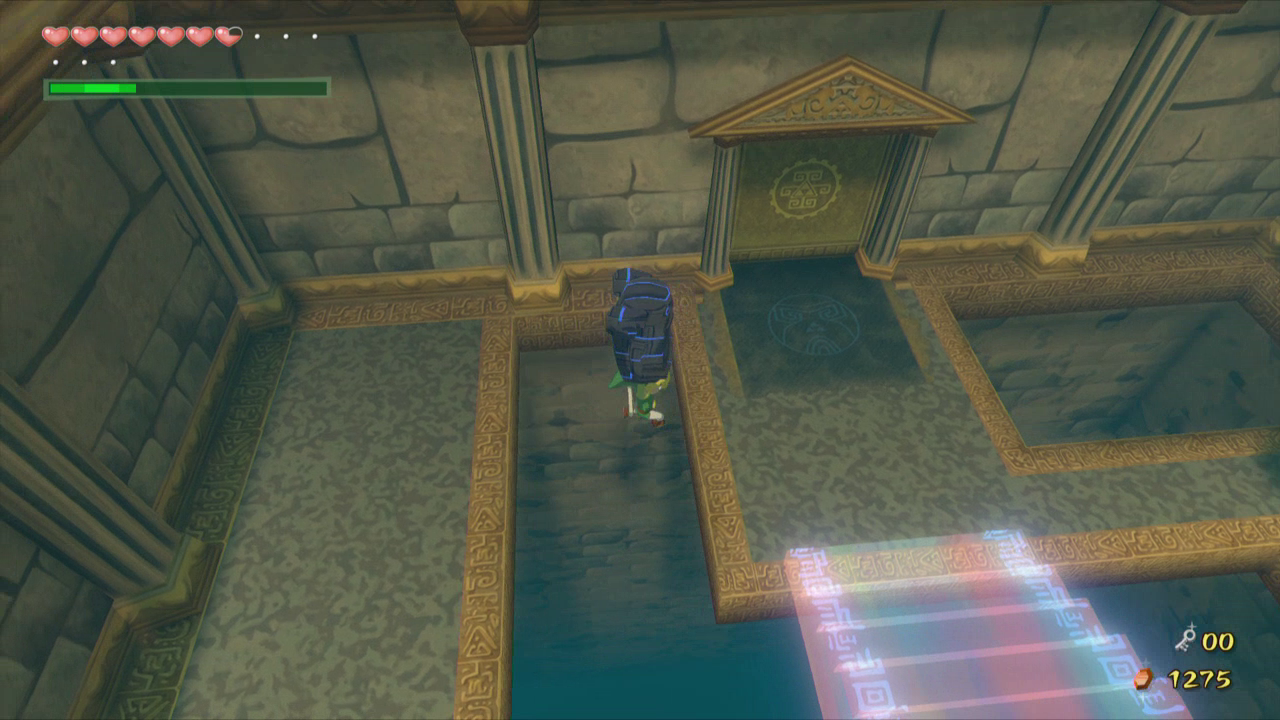
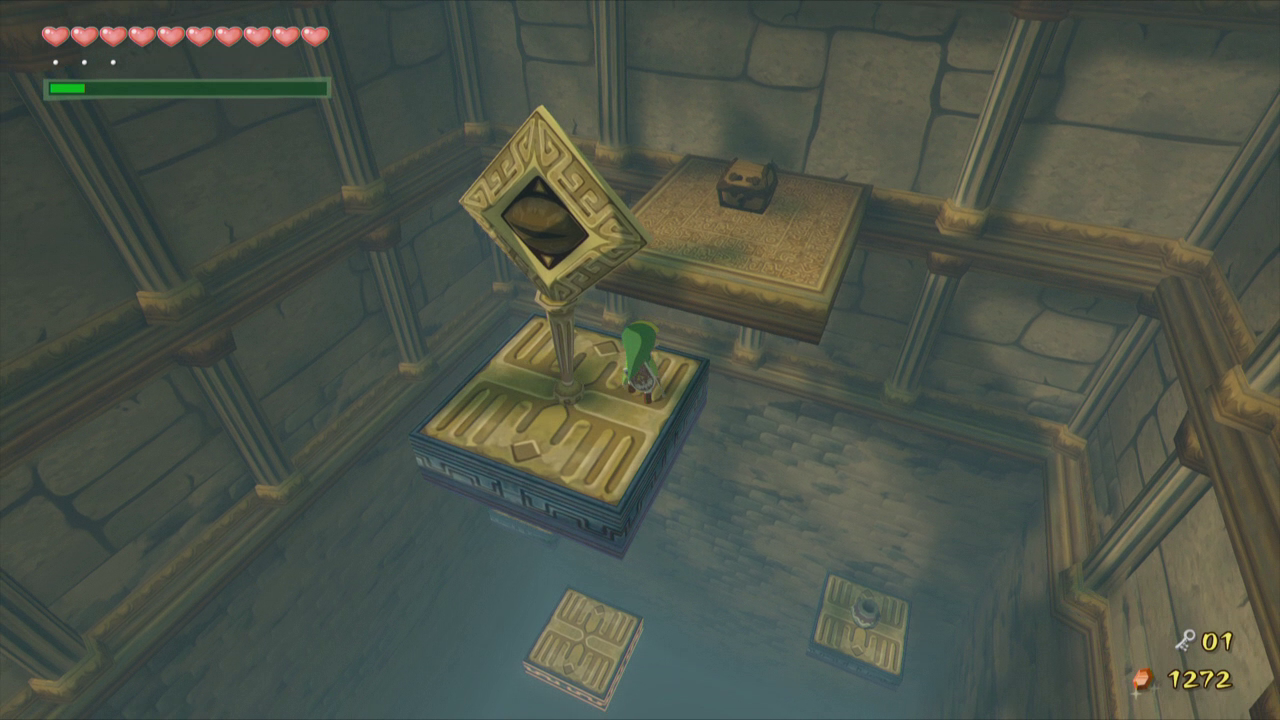
Hop back on the King of Red Lions and cruise down the new hallway. Jump onto the next platform and place the two statues onto their respective switches to open another door.
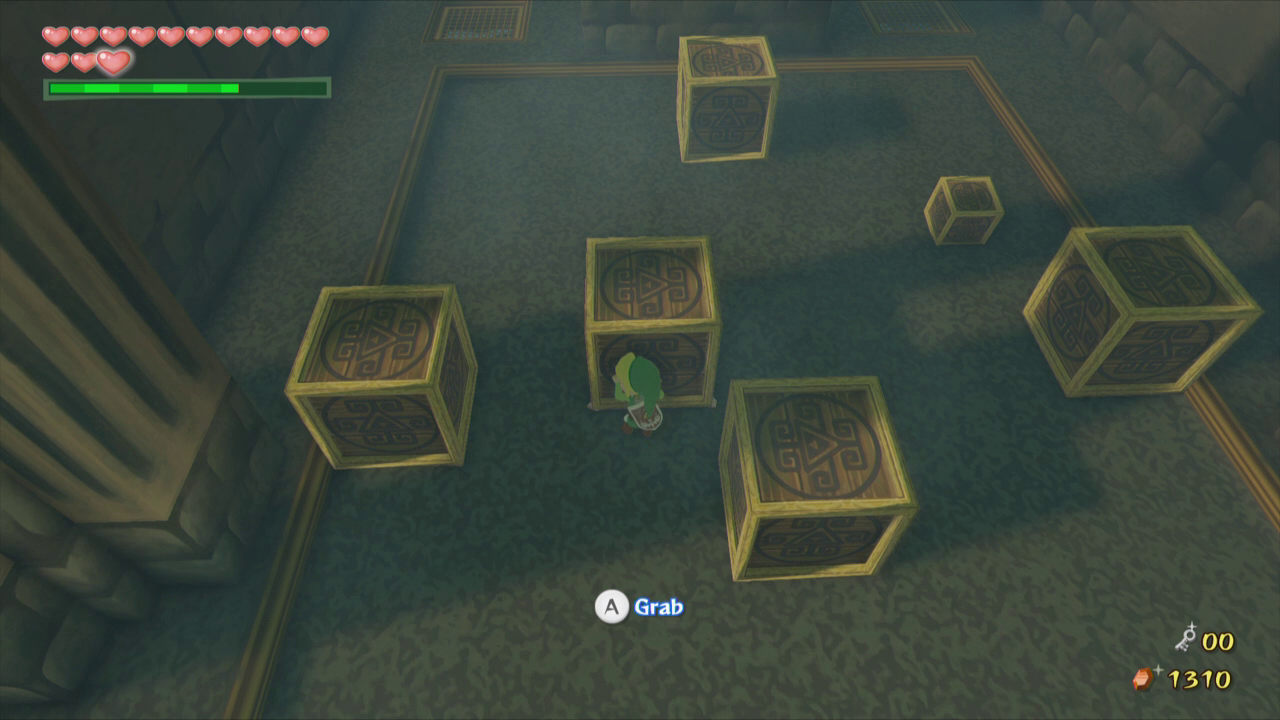
Drop down into the gap in the next room and you will find a line of boxes. Link will need to create a straight line with four boxes. Three of them are already in place, but one is just off to the ledg. Push it forward a bit and then to the right, so it is in line with the other boxes. Once the water level raises climb back up to the platform and grab a stick from one of the pots.
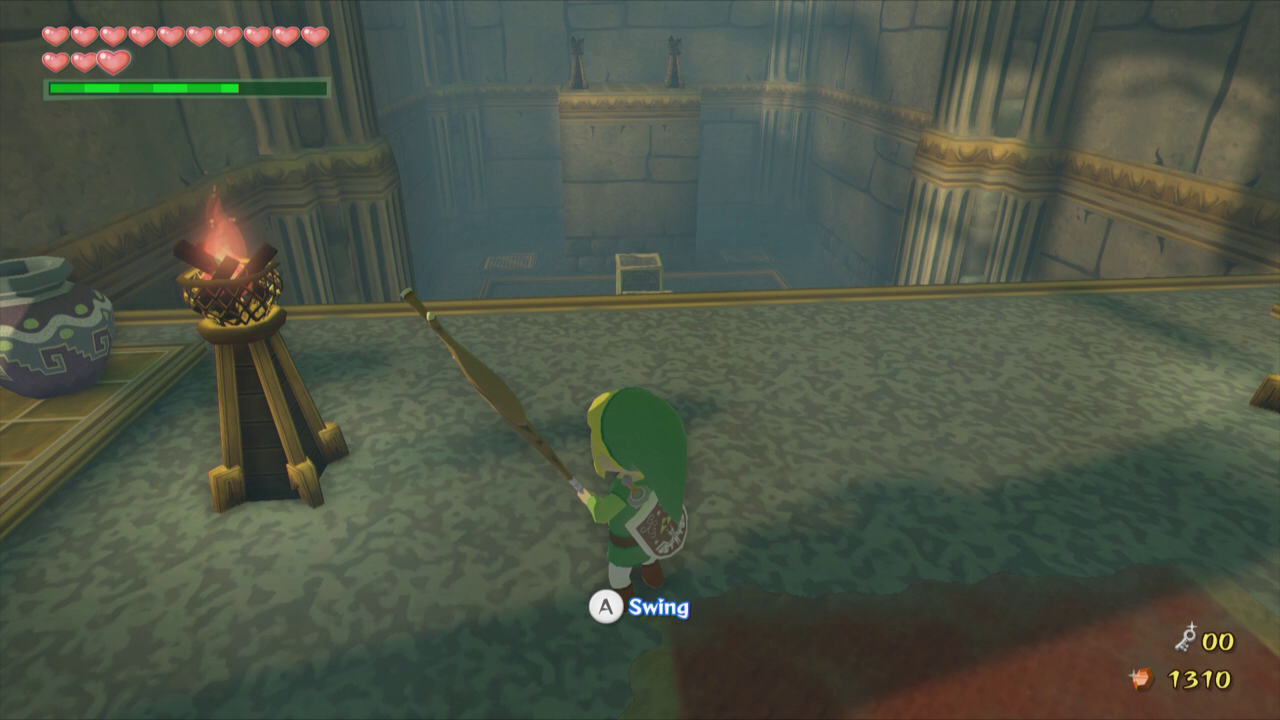
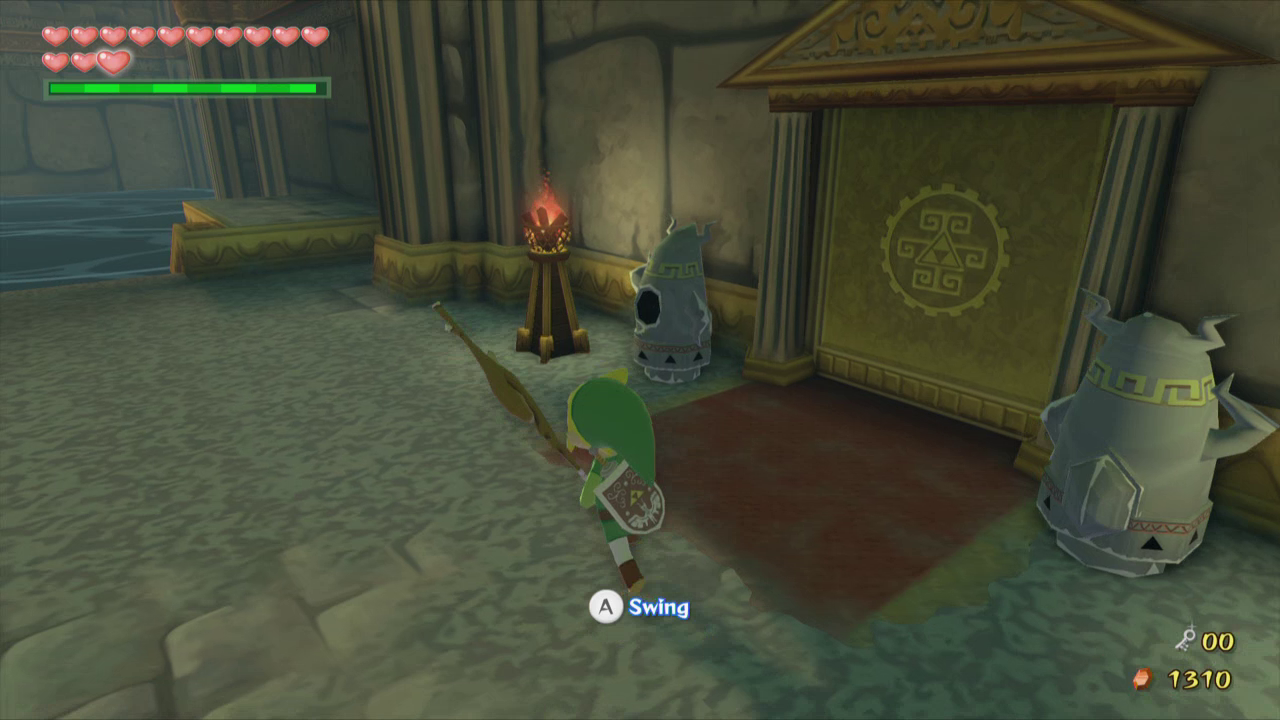
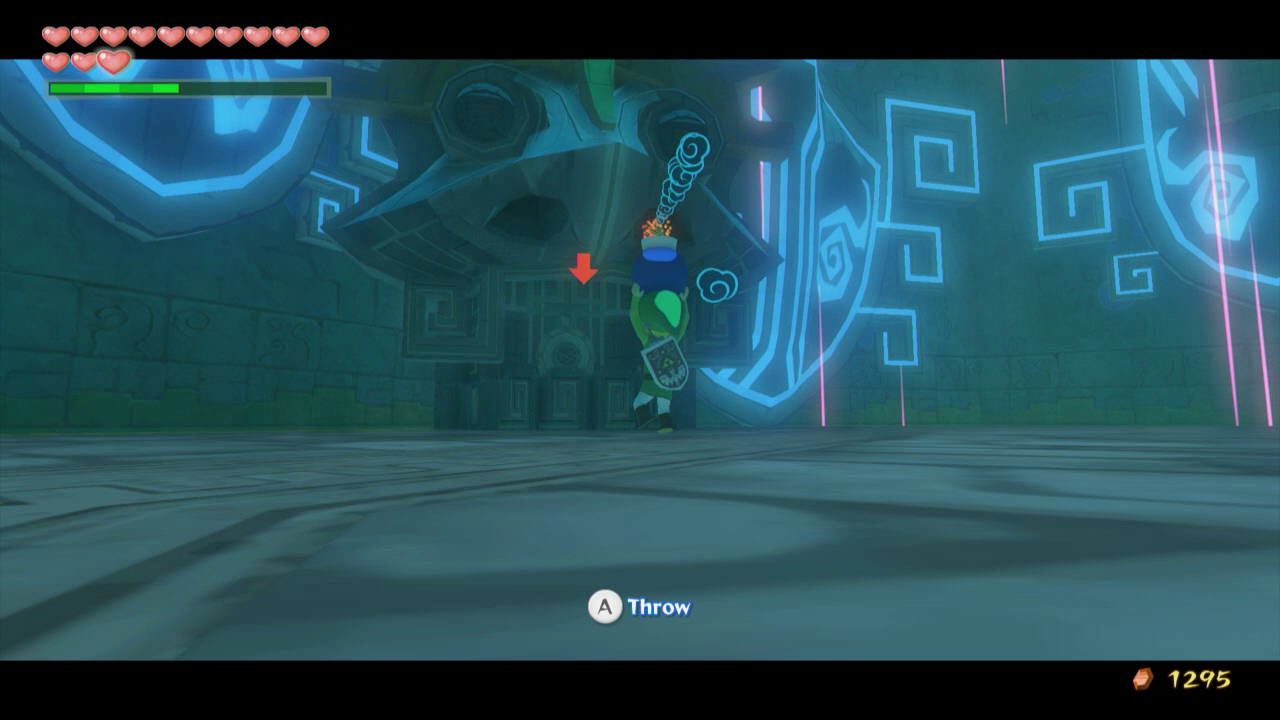
Light the stick on fire and hop across the line of boxes once the water is raised. If the water lowers before you make it across you can always stop on one of the boxes and continue once it raises again. Light the two torches on the other side for a small key and then exit the room the way we came in.

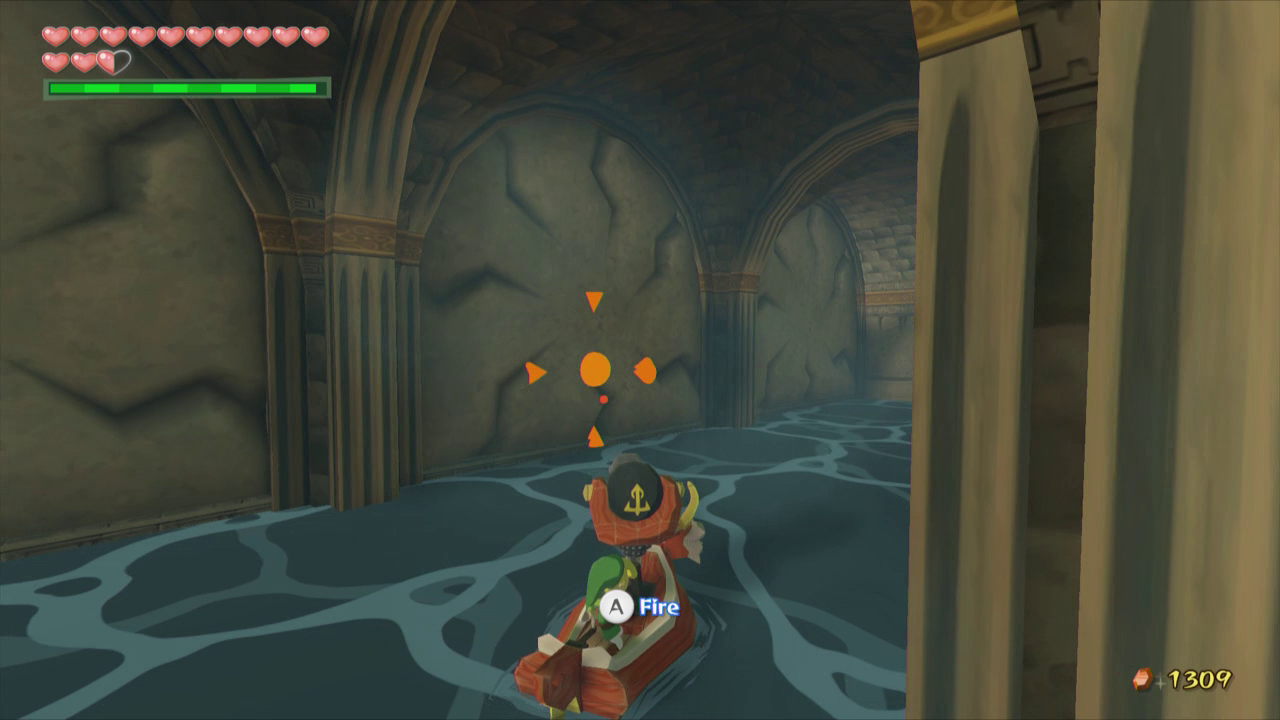
Cruise over to the western side of the room and use your bomb cannon to blow up the cracked walls. Hop over the wall and swim to the southwest corner. Once the water is lowered use the small key on the locked door and head through.
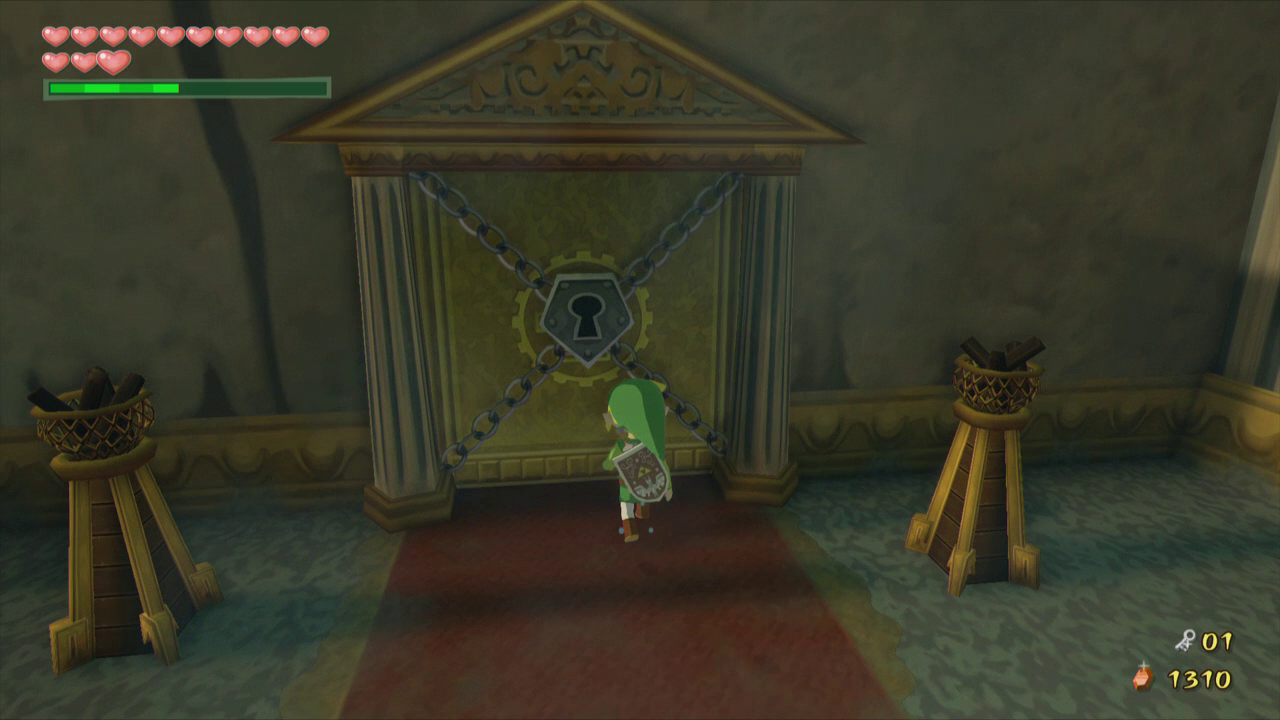
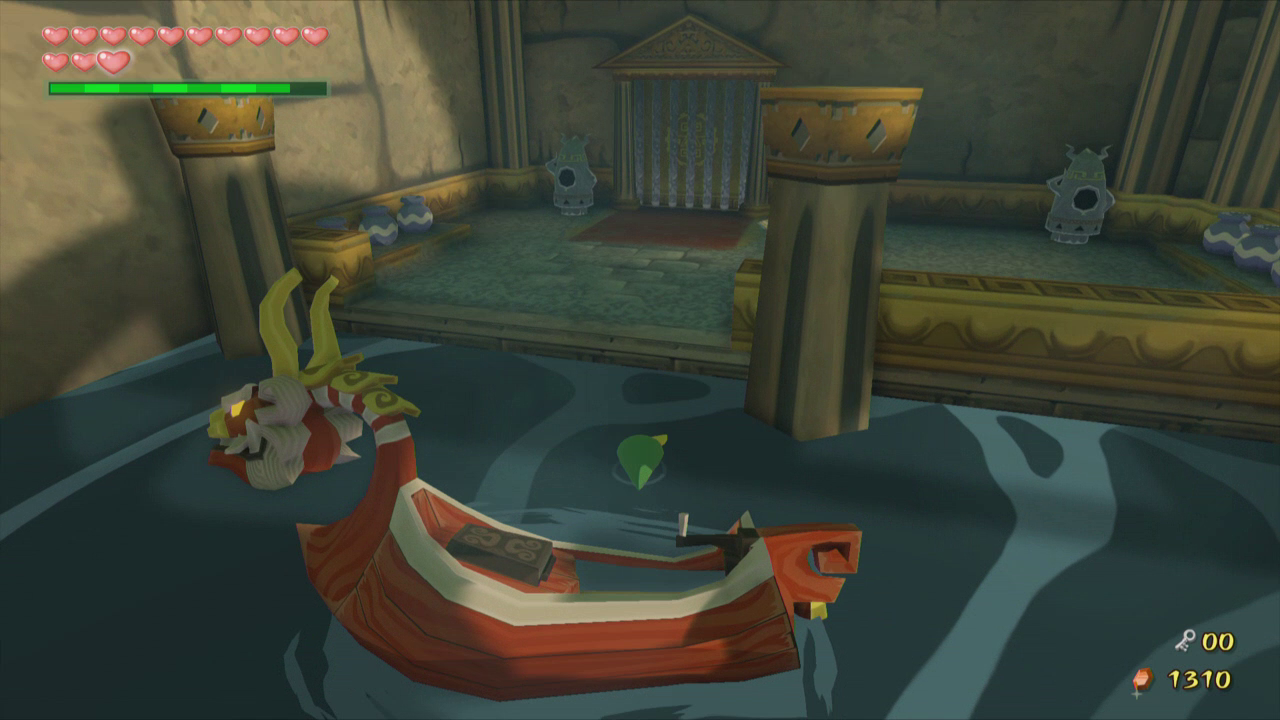
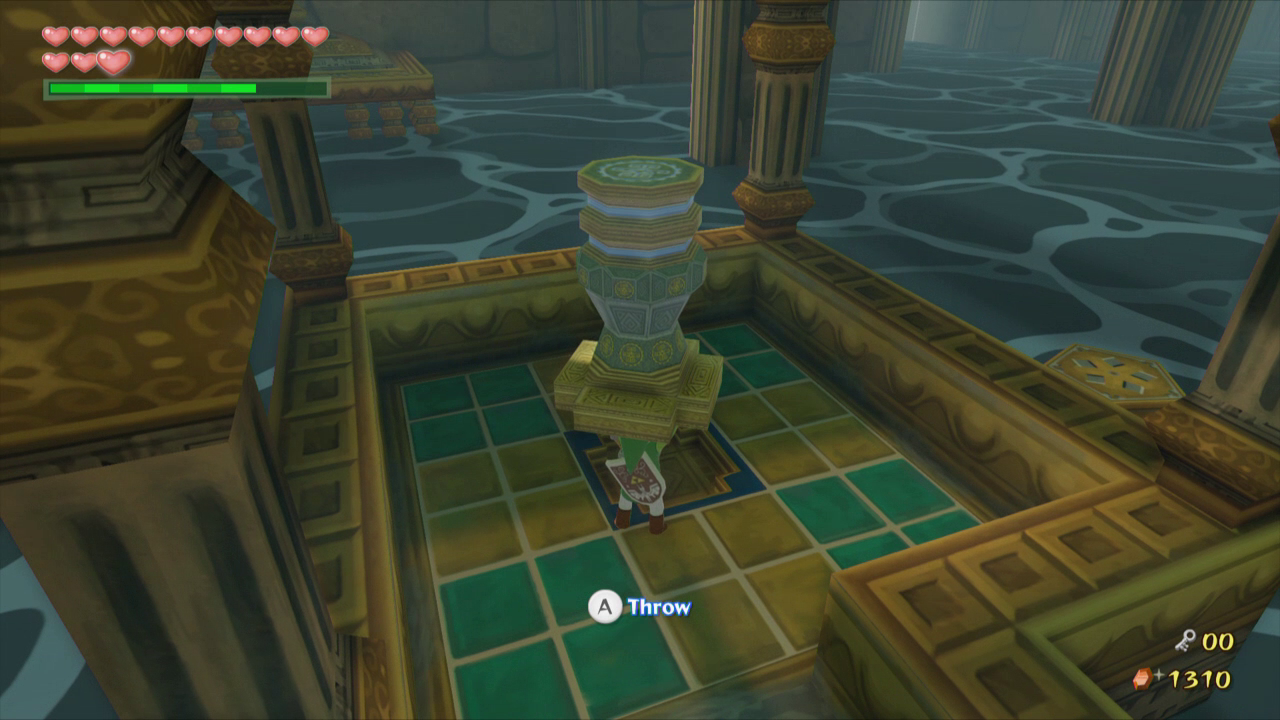
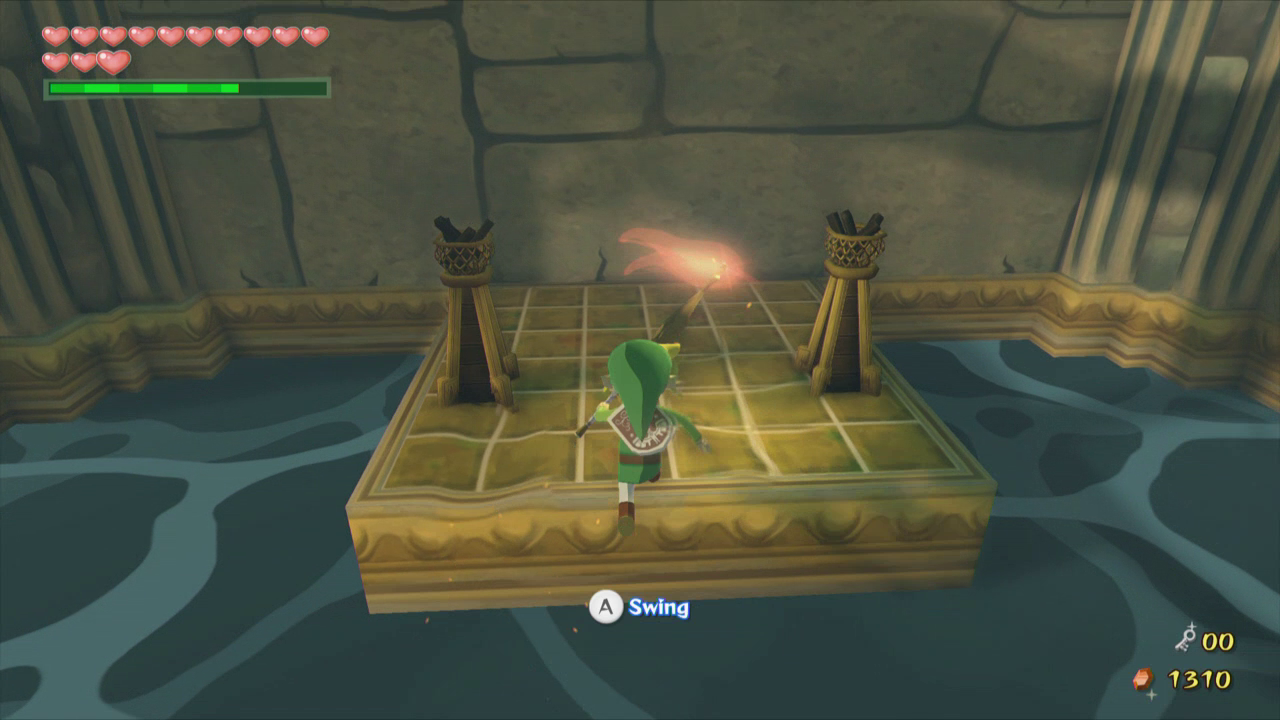
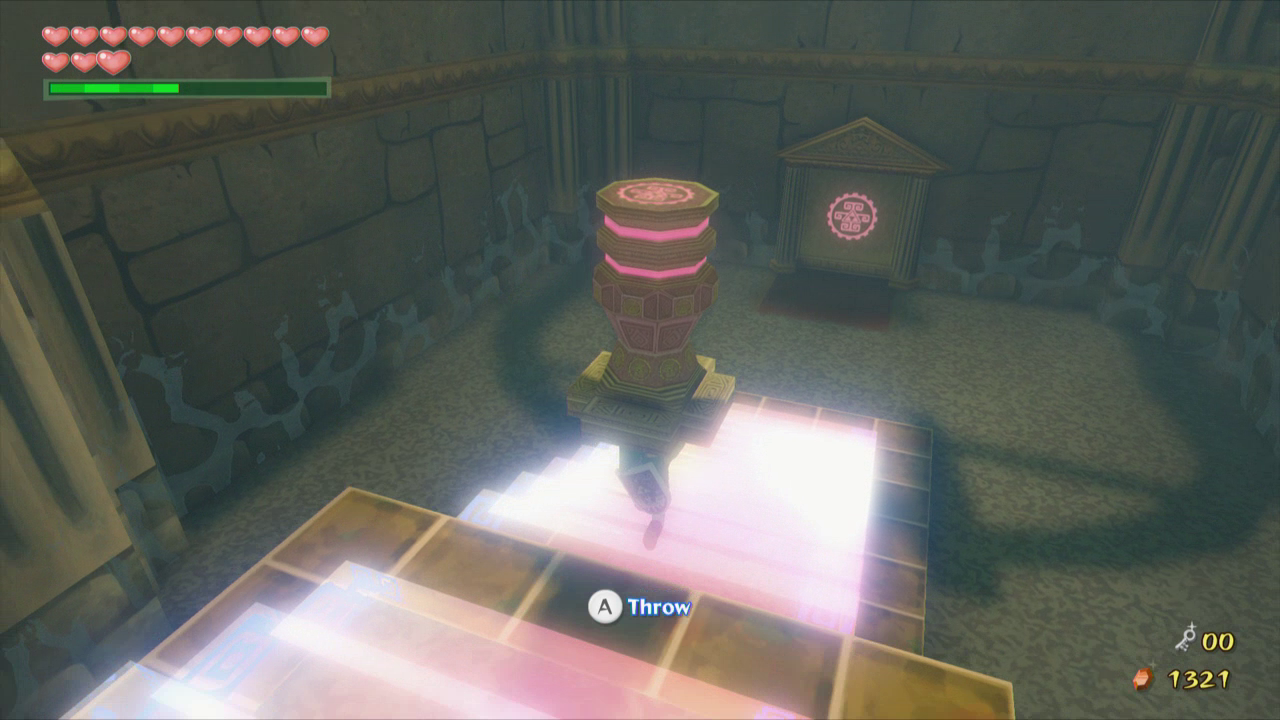
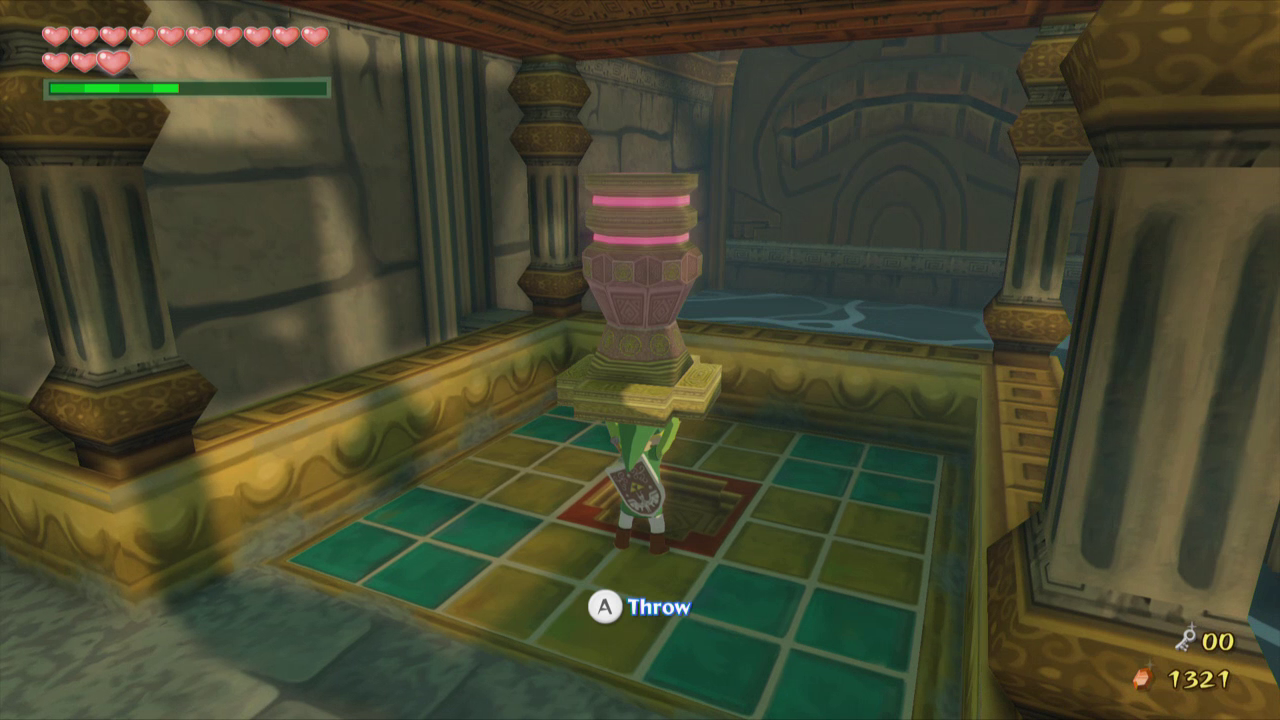
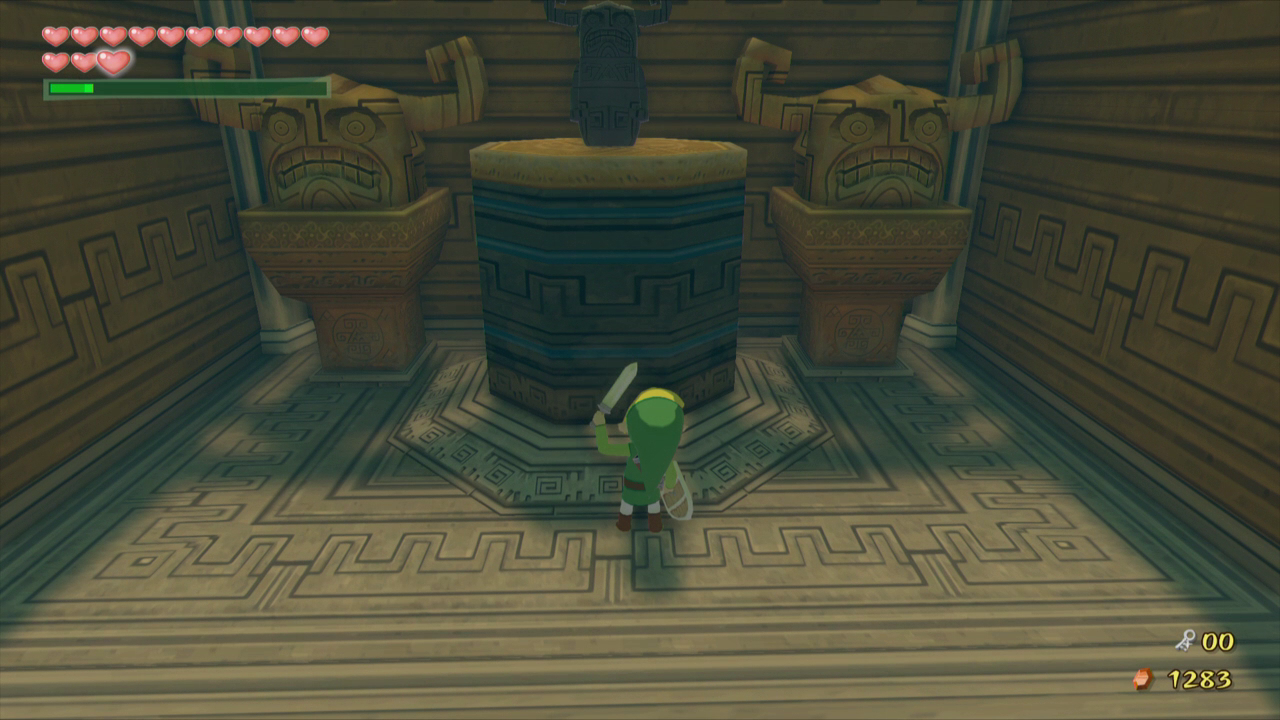
In this room defeat all four Yellow ChuChus to make a staircase of light appear. Walk up them and grab the pillar. Wait for the water to lower again and walk out the door straight ahead. Continue up the staircase to the left and place the pillar in its groove to the right. This will cause the water to stop flowing from the mouth in the center of the room, allowing you access to another door.
At the west side of the room, there is a pot with some wooden sticks, as well as a nearby torch. Light the stick on fire and once the water is lowered, light the other two torches at the bottom of the stairs. Open the chest that appears for another Joy Pendant. Optional: Joy Pendant
Optional: Compass

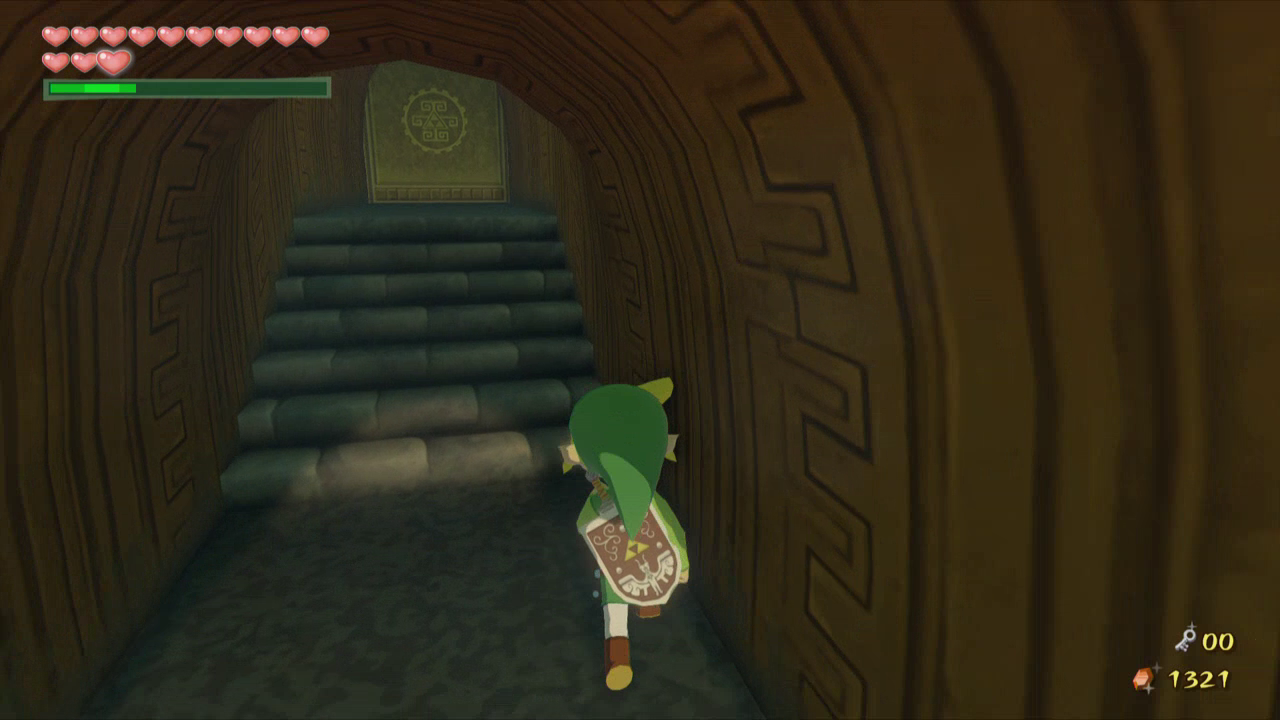
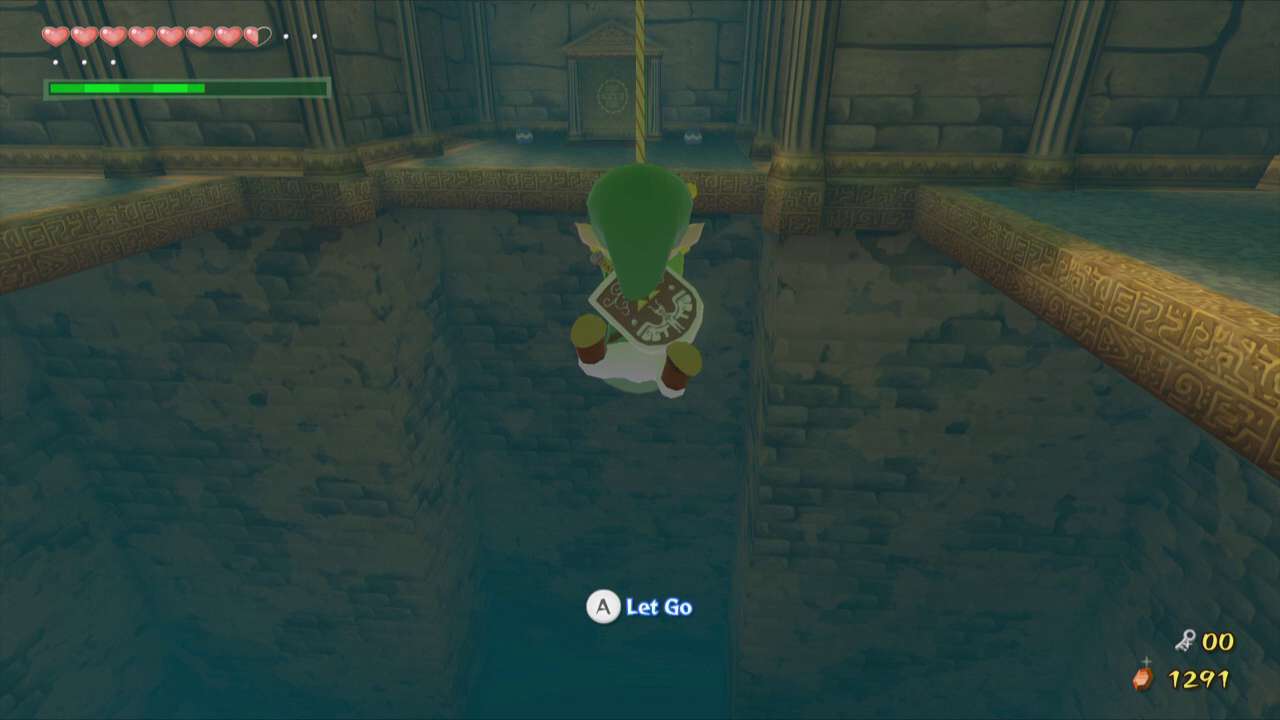
Jump back onto the King of Red Lions and climb into the mouth of the stone statue. Walk through the door to the next area.

9.2 Command Melody
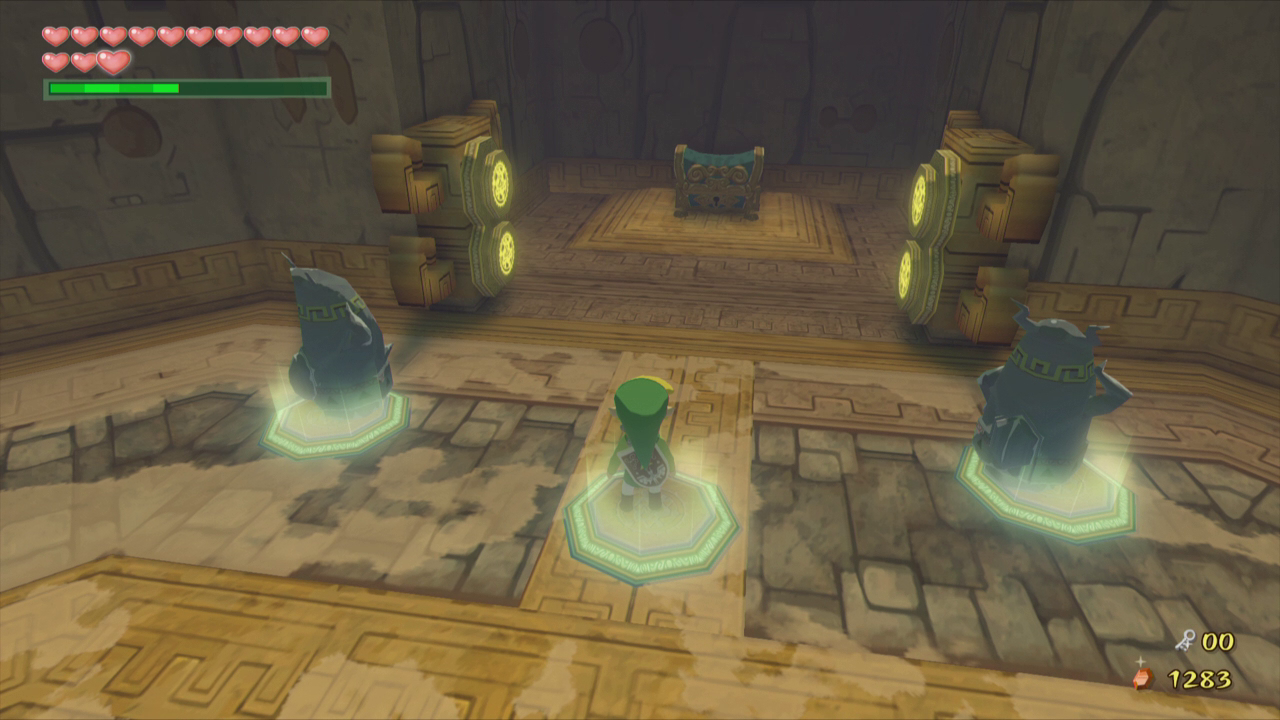
Use the Boomerang to kill the rats in this room if possible. Grab one of the statues nearby and run across the center of the room while avoiding the Beamos. Place it on one of the switches and then repeat this process with the second statue. Step on the third switch yourself and the platforms above will activate. Ride the platforms to the top of the room and head through the door.

NOTE: In the room with the Beamos you can optionally obtain the third Tingle Statue, the Goddess Tingle Statue. Reenter the previous room and ride the platform here up to another, higher, platform. If you are playing the Gamecube version, open the Tingle Tuner and place a bomb here to reveal the chest. If you are playing HD, place a bomb here to reveal the chest.Optional: Goddess Tingle Statue


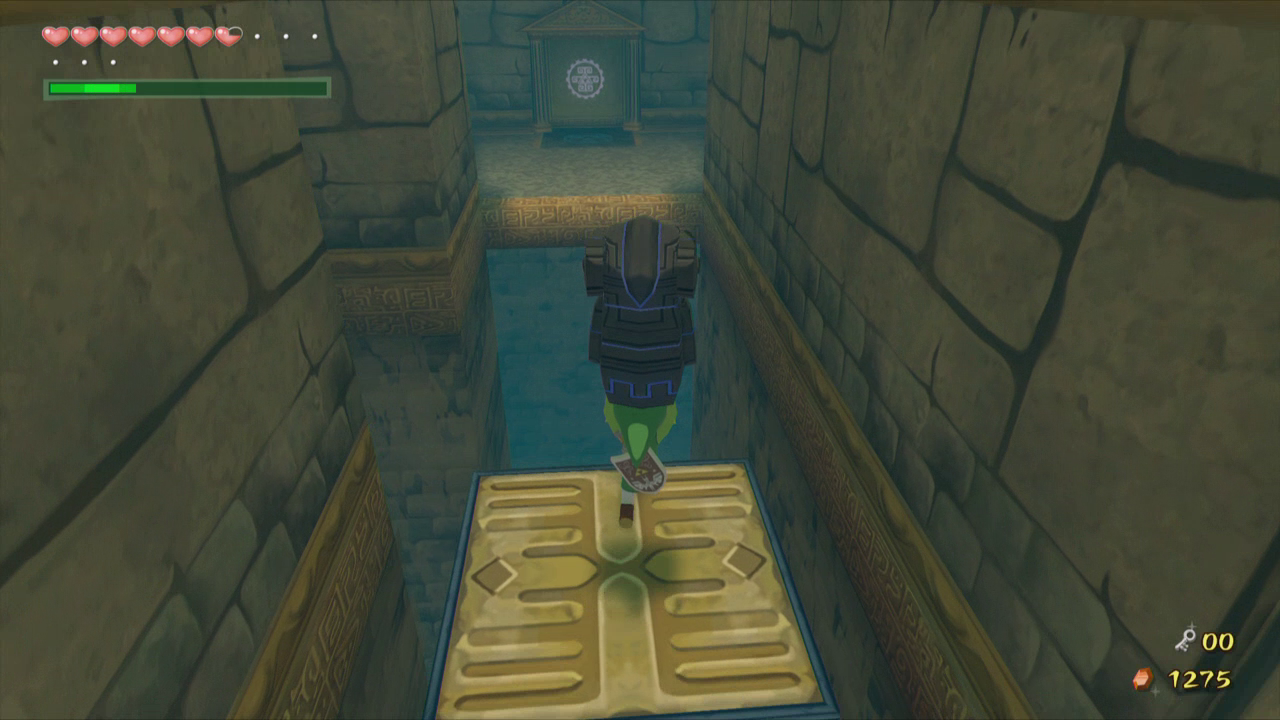
You will emerge inside a room with every door locked except for the eastern one. Break the pots here if you need more supplies and then head through the door. Kill the Yellow ChuChu here and then hop onto the moving platform to cross the gap. Avoid the enemies and continue through the next door.


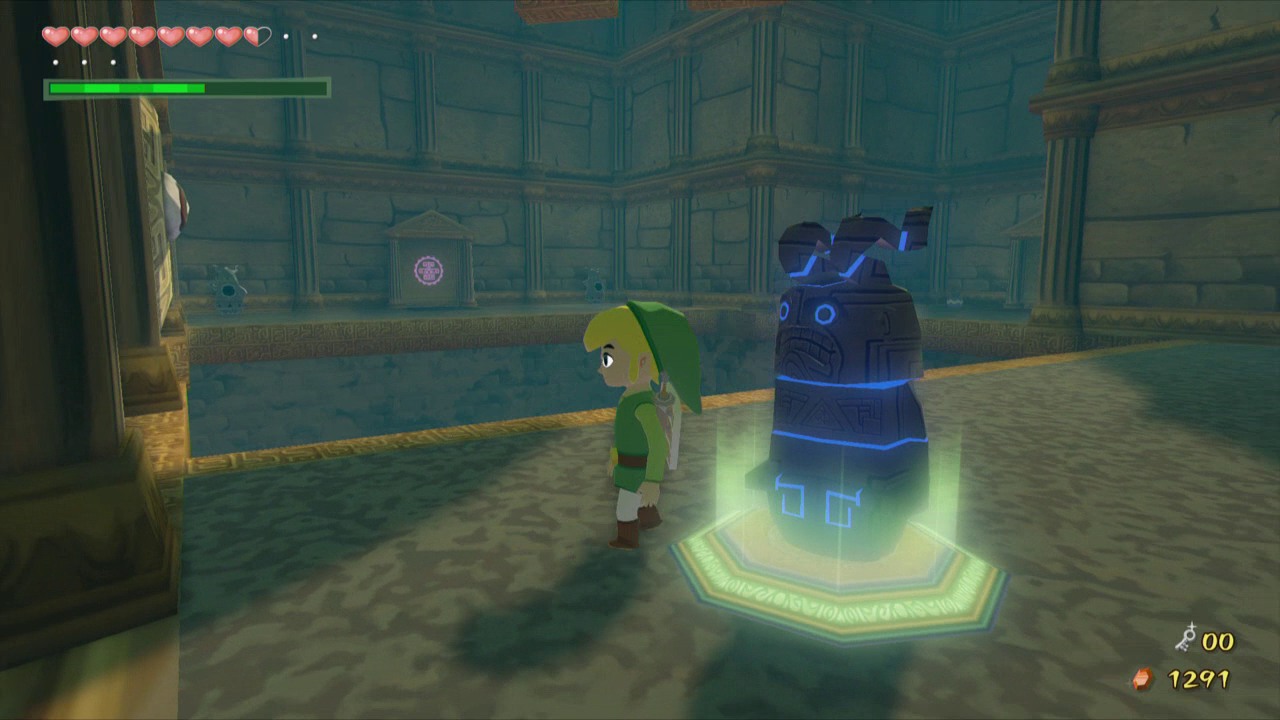
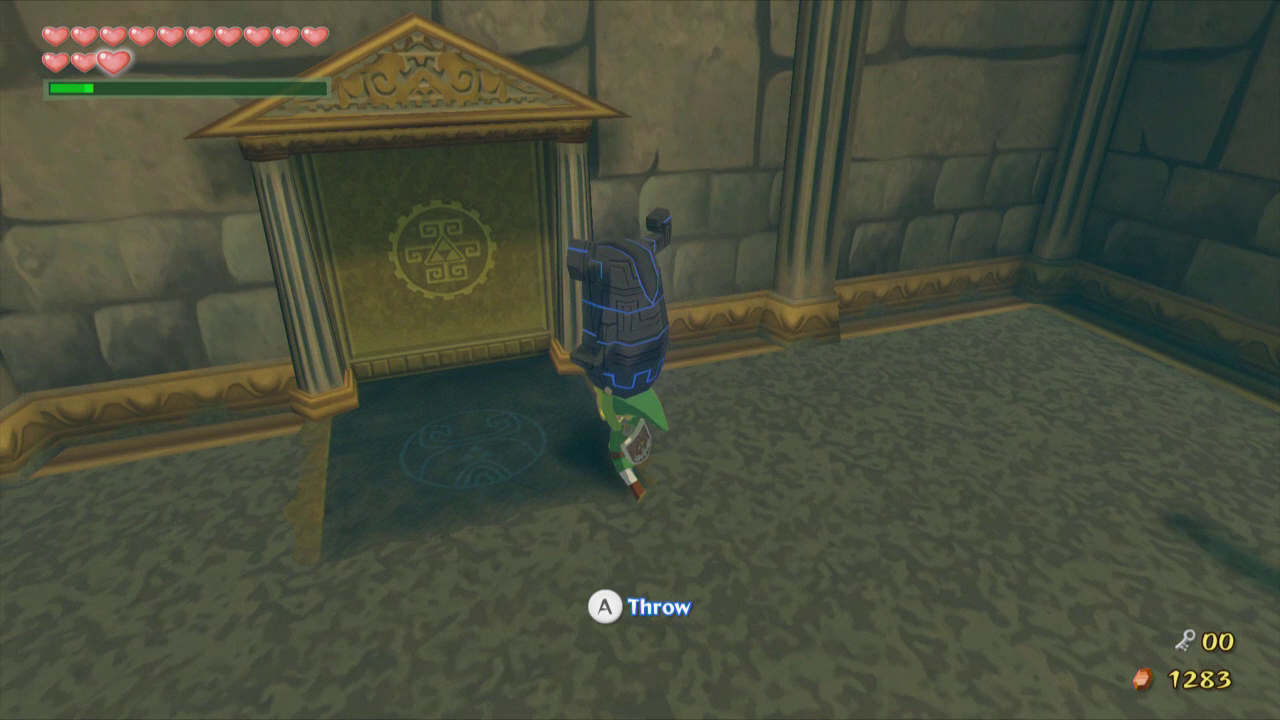
Walk across the platform of light here and jump down off of it. Press ZR next to the column and the pillar in front of you will lower. The statue will come to life as well and will start to follow you around. Guide it along the path underneath the platform above and pick it up once you are past the platform. Jump across the gap and head through the door with the statue.
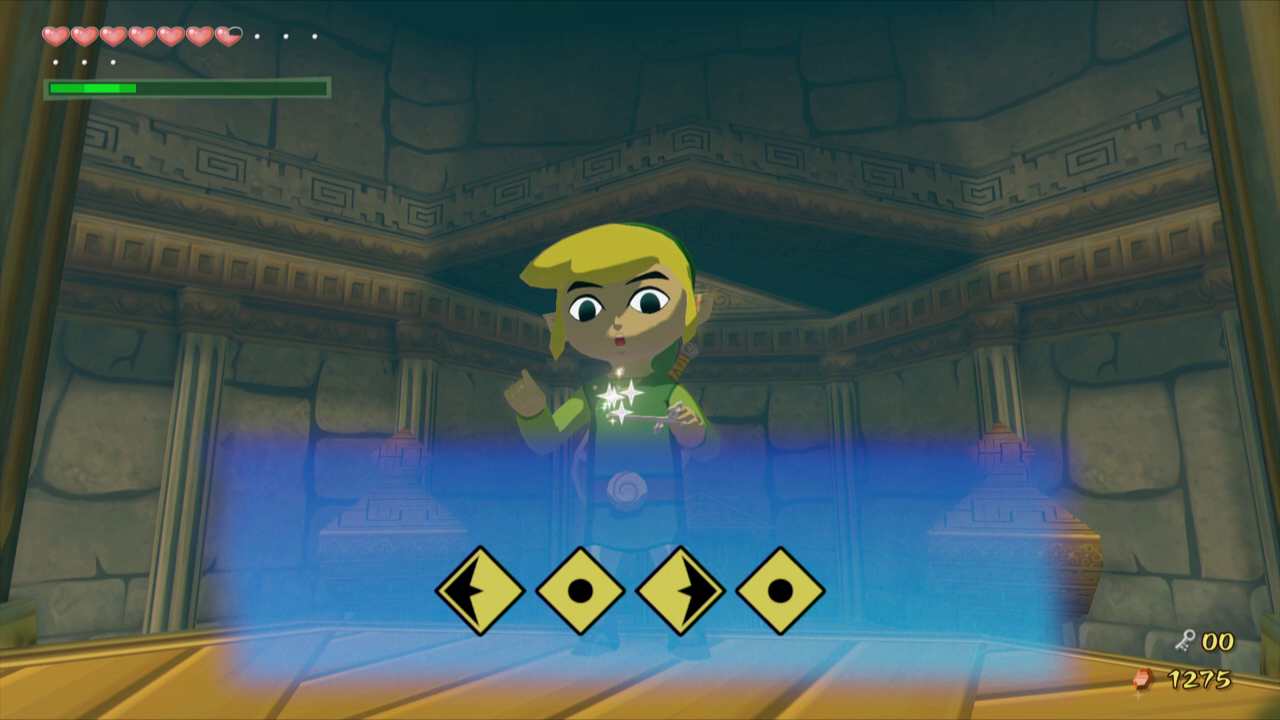
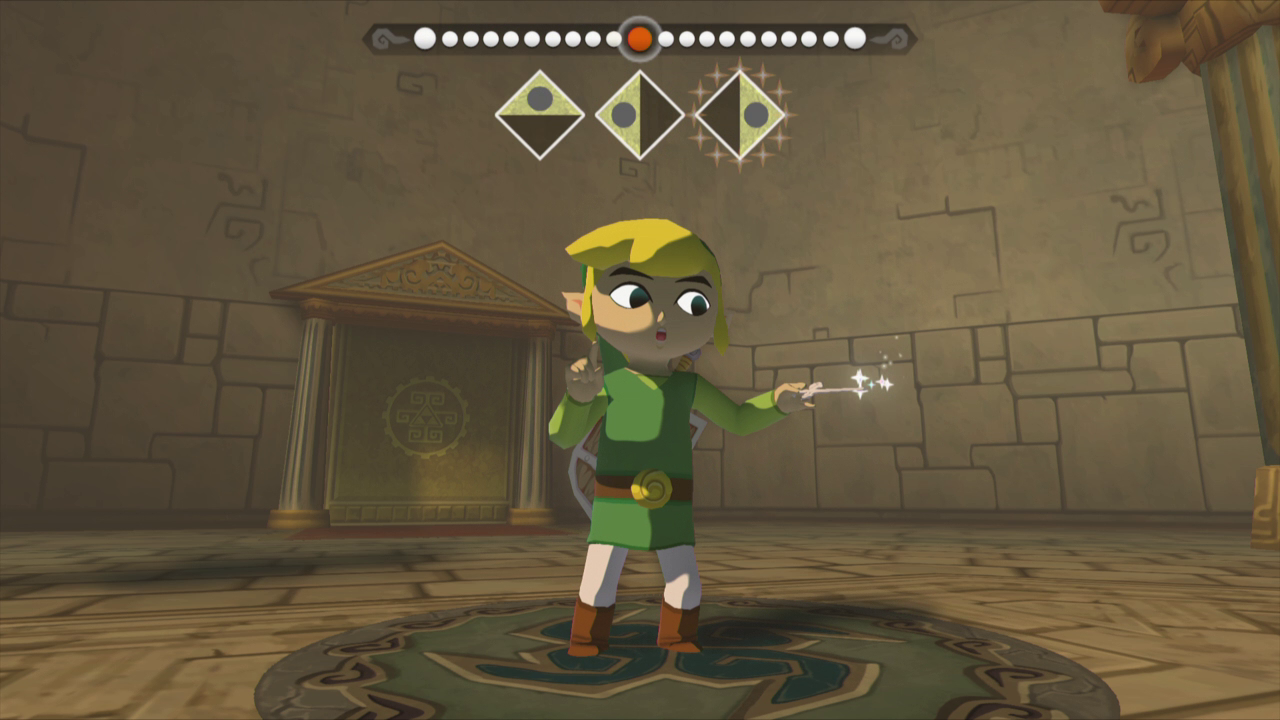
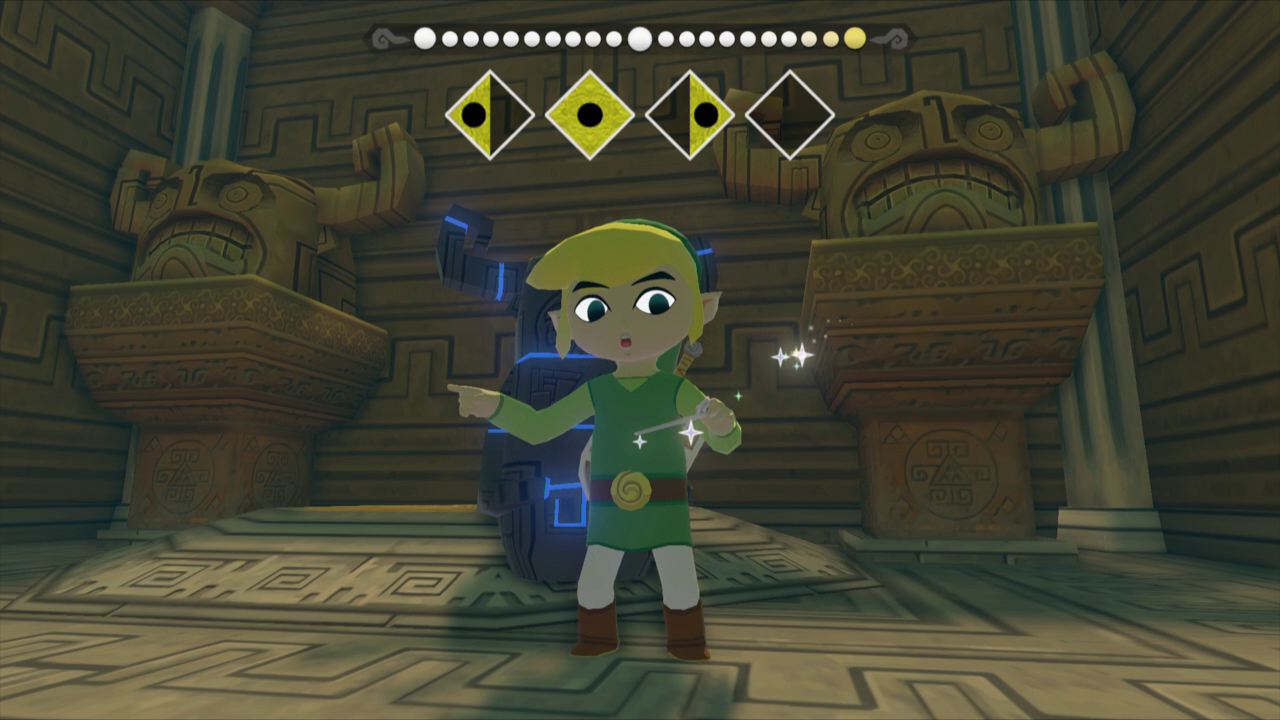
While carrying the statue, leap onto the moving platform, and then head back through the door to get to the large central room. The statue will jump from your hands and take its place on top of another column. It will also reveal a stone tablet in the middle of the room. Climb the steps to the south and take out the Wind Waker. You will learn the Command Melody, which will allow you to control statues and people. Another door will open as well, so head to the west.
9.3 Hero's Bow
Use the Deku Leaf to knock the Red Bubbles out of the air and then use your Grappling Hook to get over to the west side of the room. Head through the door and use the Grappling Hook again to swing across the gap. Call the statue down, and then walk onto the light switch on the right side of the gap.

Use the Command Melody to take control of the statue and cross the bridge to the other side of the gap. Press R (or ZR in the Wii U version) to return to Link and cross the gap again with the Grappling Hook. Carry the statue and head back through the door.


Place the statue on top of the light switch to the left and then grapple to the southern part of the room. Head through the door to face the dungeon miniboss.
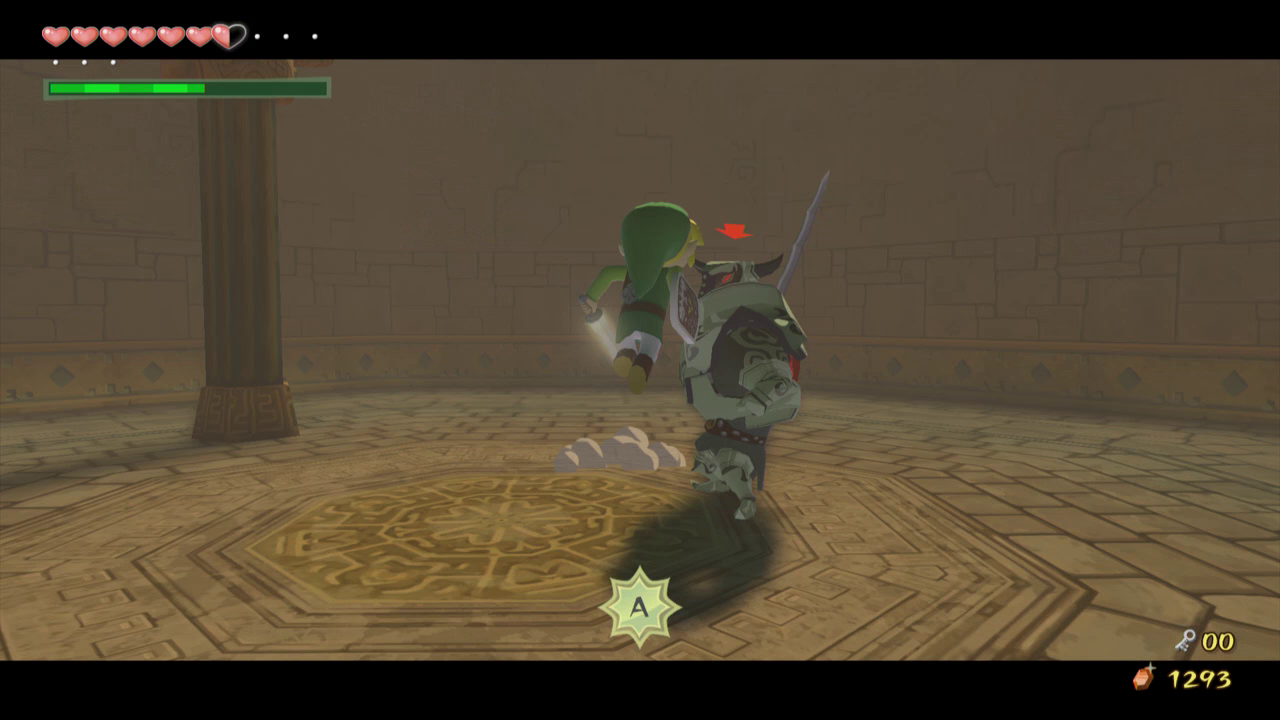
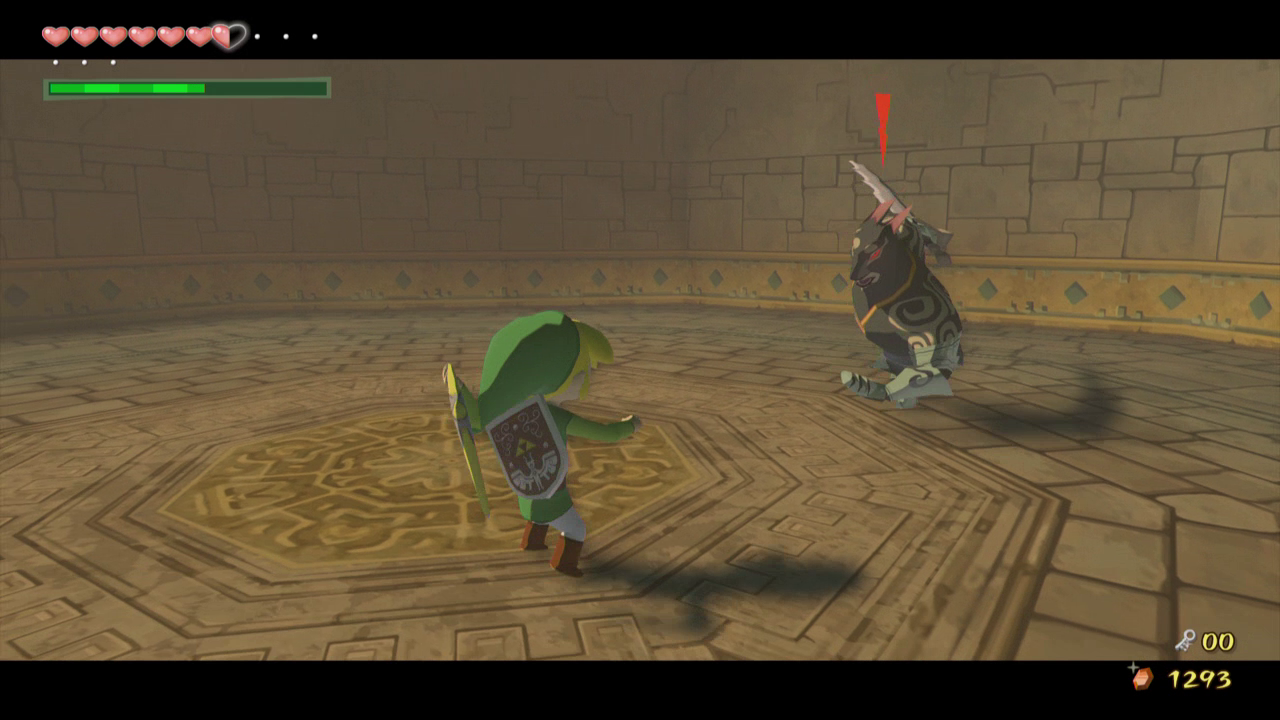
In this room you will meet the first Darknut of the game. While these enemies may look intimidating at first, in reality they are rather easy to defeat. The easiest way to defeat them is to target them and use a Parry attack. This will either remove their helmet or remove the armor surrounding their bodies. If it doesn’t remove the armor, try again until it does.
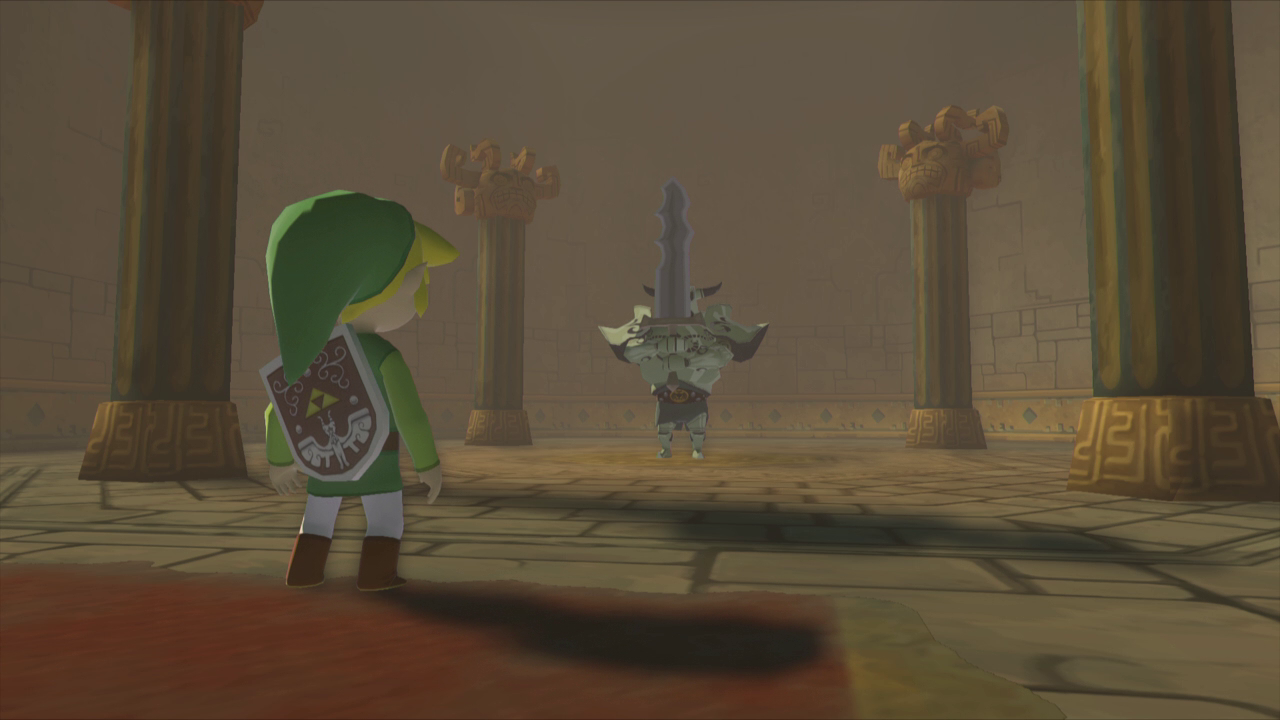
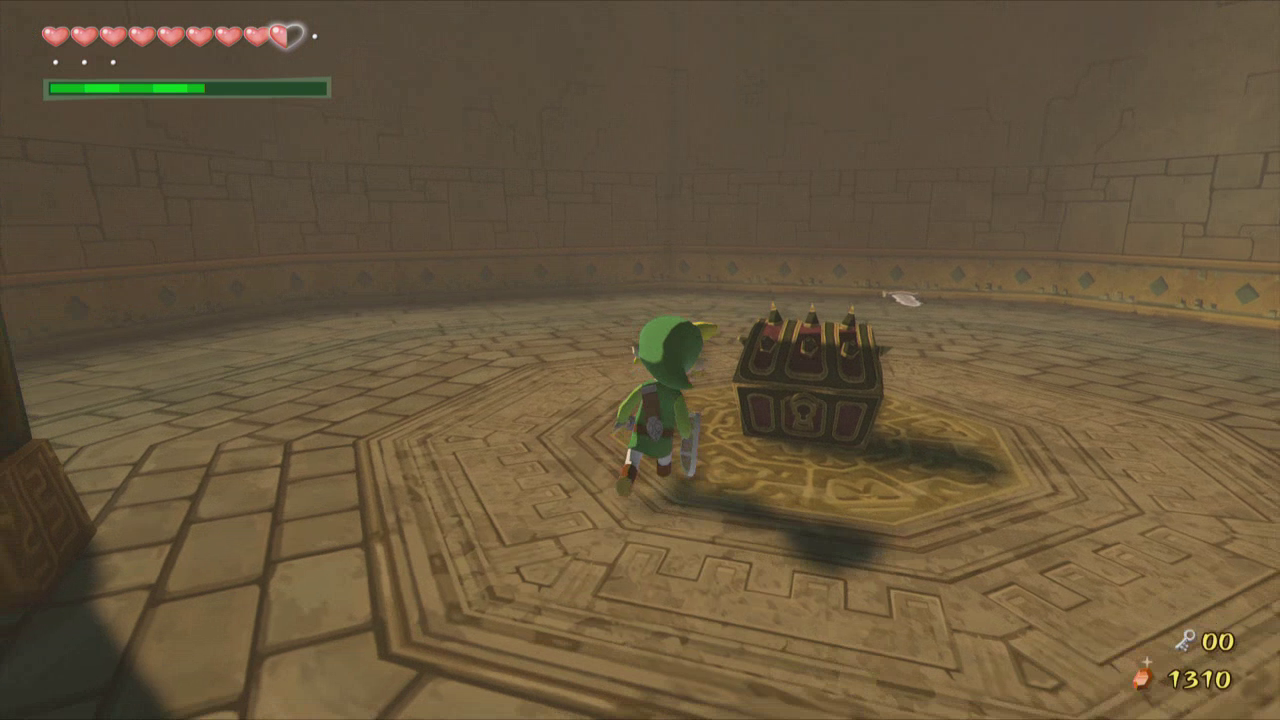
Once their armor is gone you can attack them with the sword to defeat them. They have relatively few attacks, and most of them can be avoiding by simply jumping out of the way. Once it is defeated open the chest for the dungeon item: the Hero’s Bow.
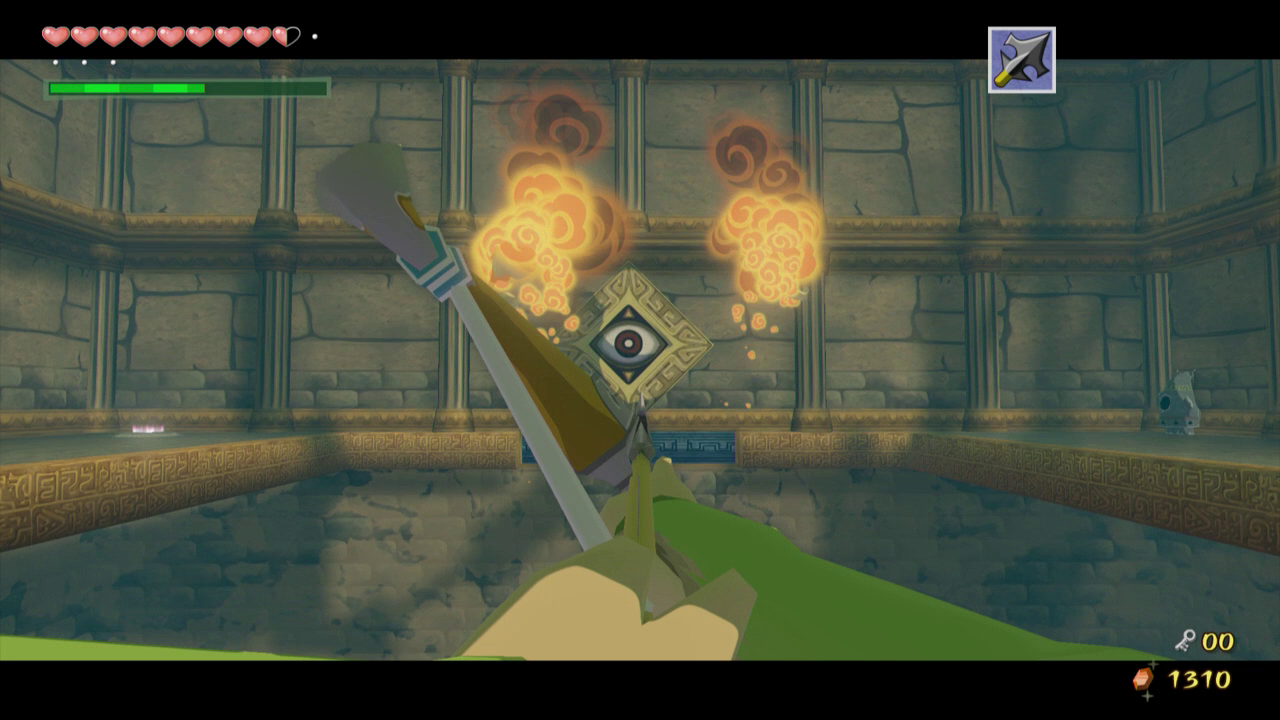
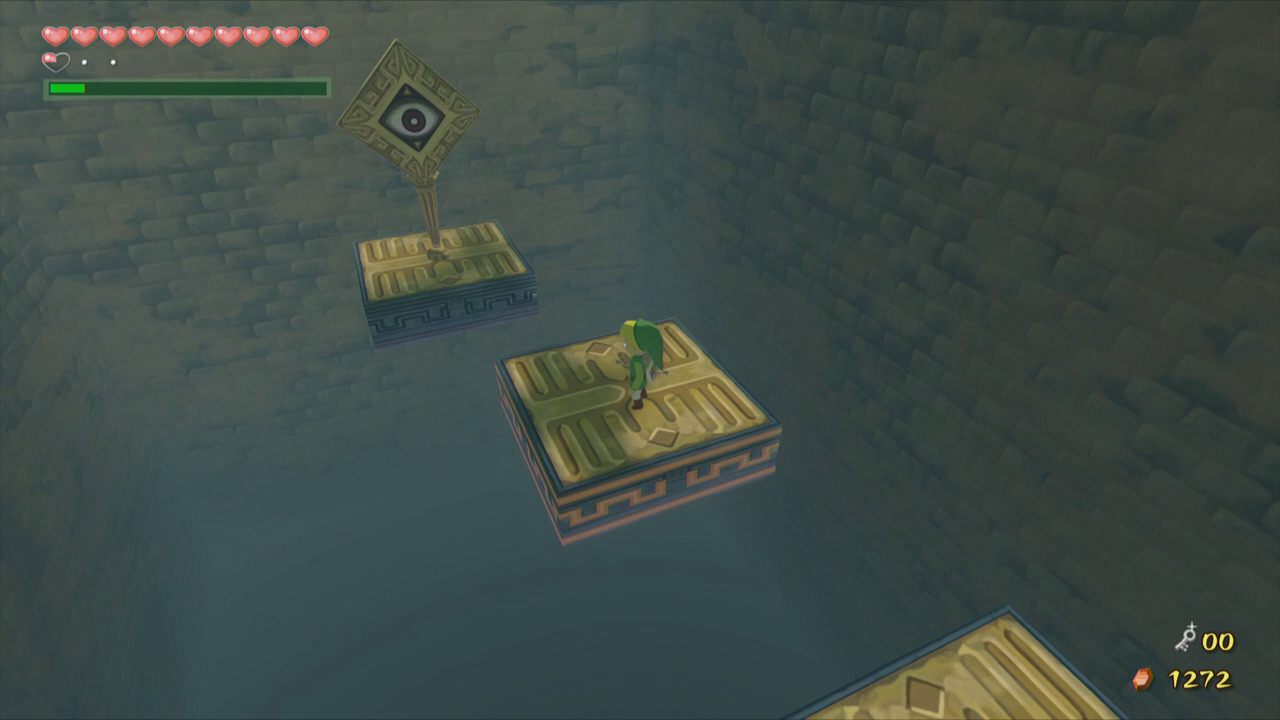
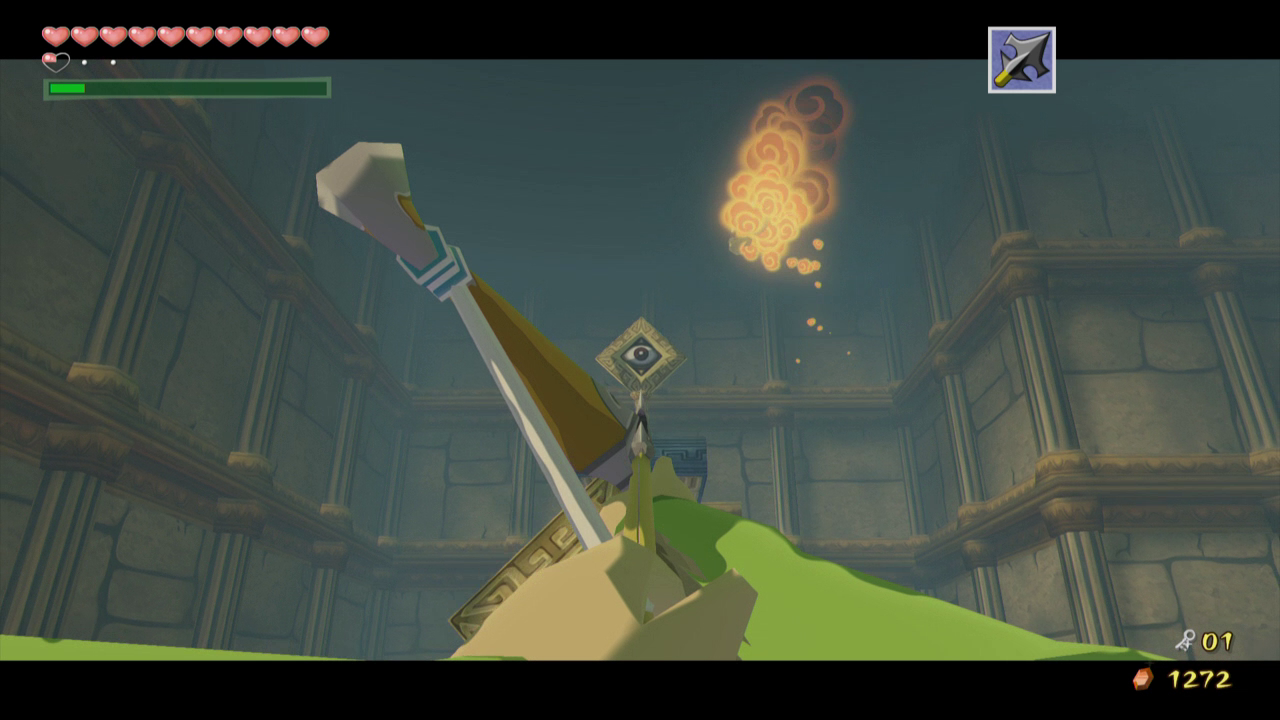
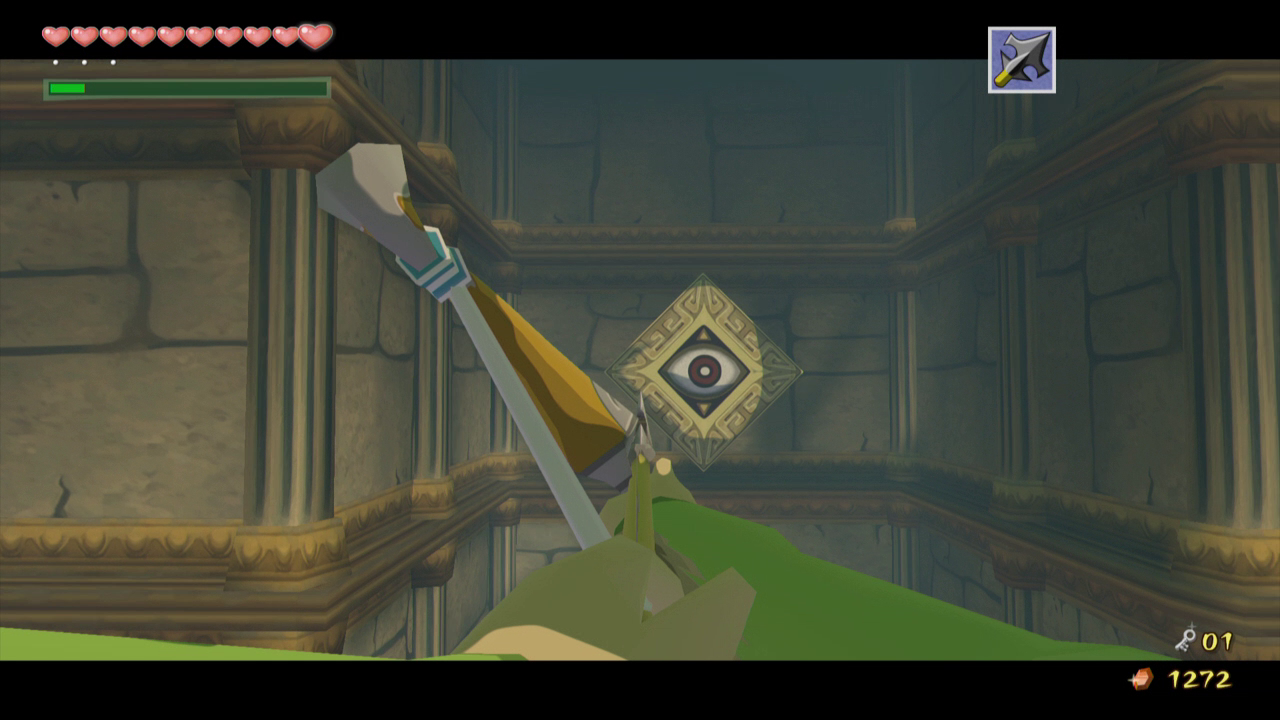
Exit back to the previous room and use the Bow to shoot the eye across the room. This will cause two platforms to come out, allowing us to bring the statue across the room. Use the Bow to shoot down the Bubbles as well and then grapple over to the side with the statue.
Lift the statue and use the platforms to return to the other side of the room. Avoid the Armos that come to life and head through the doorway. Much like the previous statue this one will jump down, take its place, and open the next door.
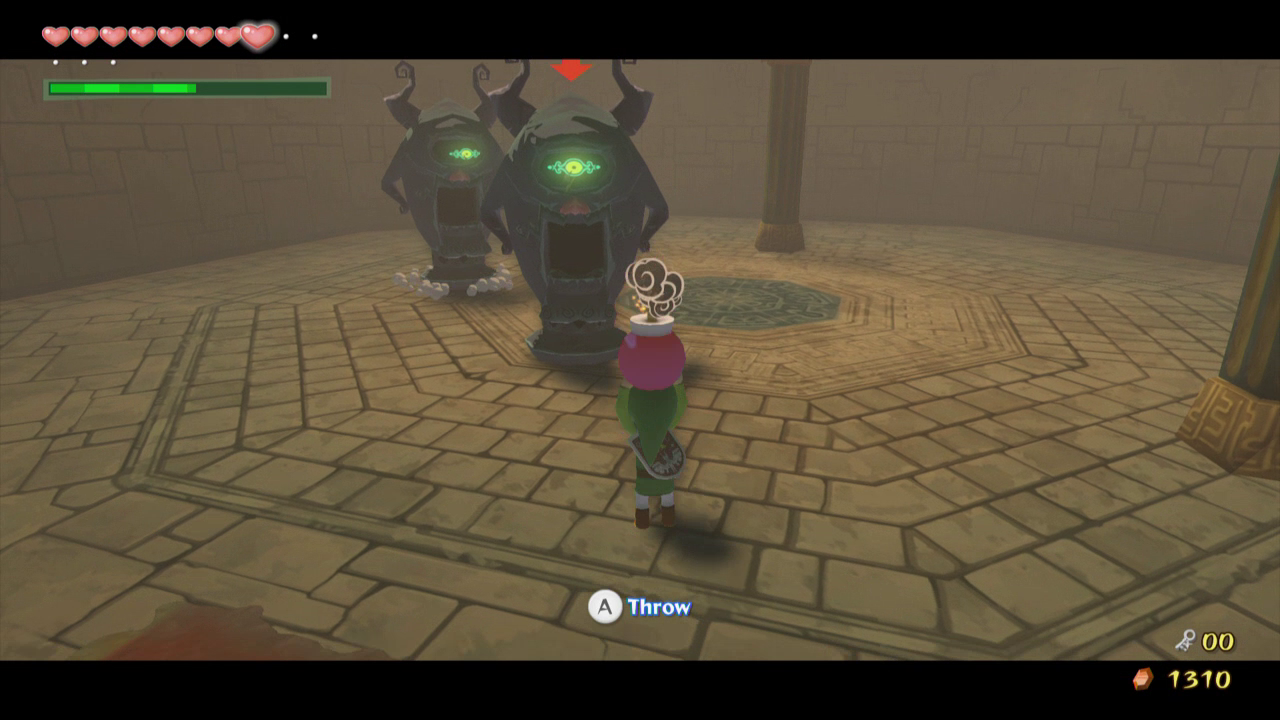
Instead of heading through the next door you can head back through the eastern door to grab another Joy Pendant. Defeat Yellow ChuChus and you’ll also encounter a Wizzrobe. These enemies can be defeated with two arrows. Hop on to the platform and shoot the eye in the gap to the right. Jump onto the platform when it draws near and enter through the door to get to the next room. In this room you will encounter Armos Knights. To defeat these enemies you must throw a bomb inside of their mouth. They can be rather annoying due to their size and you may take some damage, but they only take one bomb to kill. Once they’re defeated, open the chest for the Joy Pendant. Grab it and head back to the room with the two statues. Optional: Joy Pendant
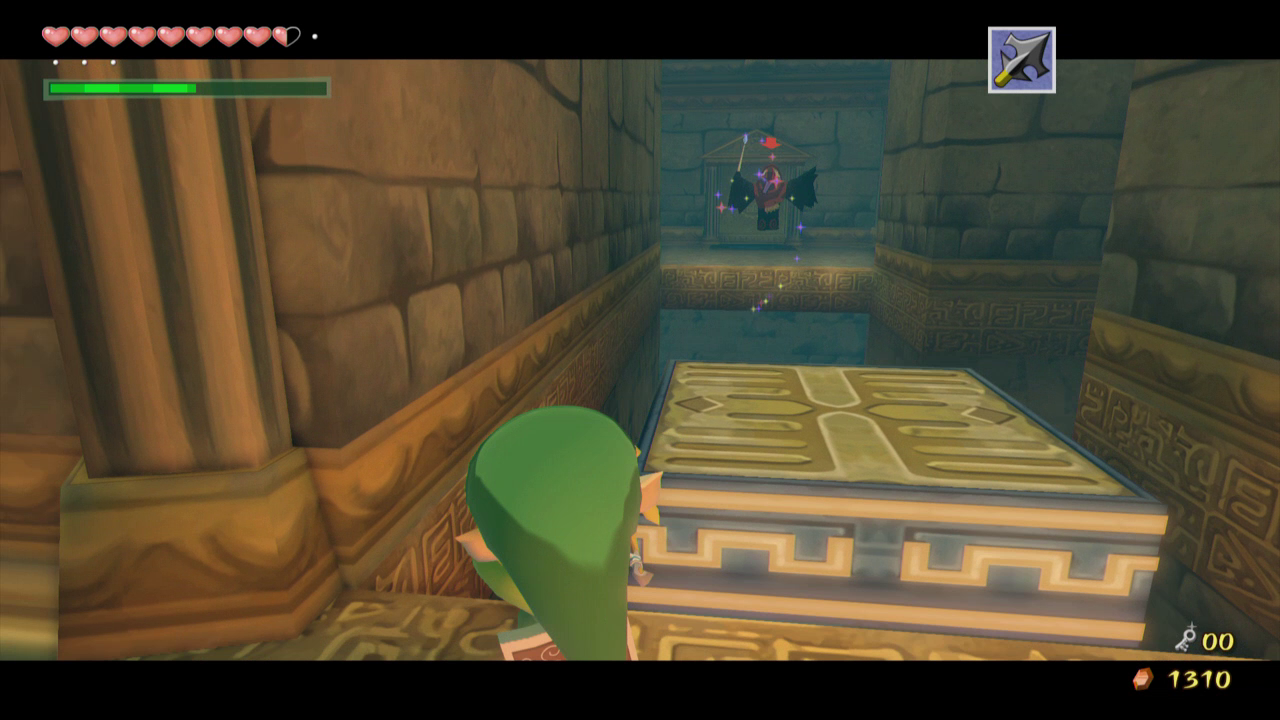


There is one more treasure chart we can get at the very beginning of the dungeon and it involves a bit of backtracking. Backtrack to the the very first room of the dungeon and head through the northwest door to reach the room where we initially got the compass. Shoot an arrow at the eye in the room and the gate underneath the eye will open, revealing a chest. Open it for Treasure Chart #6. After obtaining this, you can now return to the portal of light to continue onto the next area. Optional: Treasure Chart #6

9.4 Big Key
Back in the room where we learned the Command Melody and have returned two of the statues, head through the glowing door to the north.
After defeating the two keese, jump down onto the round scale to the left. Time a bomb throw carefully to blow up the cracked wall to the west. Walk through the door into the next room and stand on the blue symbol. Play the Wind’s Requiem to make a chest appear. Defeat the Armos Knights that wake up and open the chest to get Treasure Chart #30. The backtrack a room to the east to get back to the scales.Optional: Treasure Chart #30

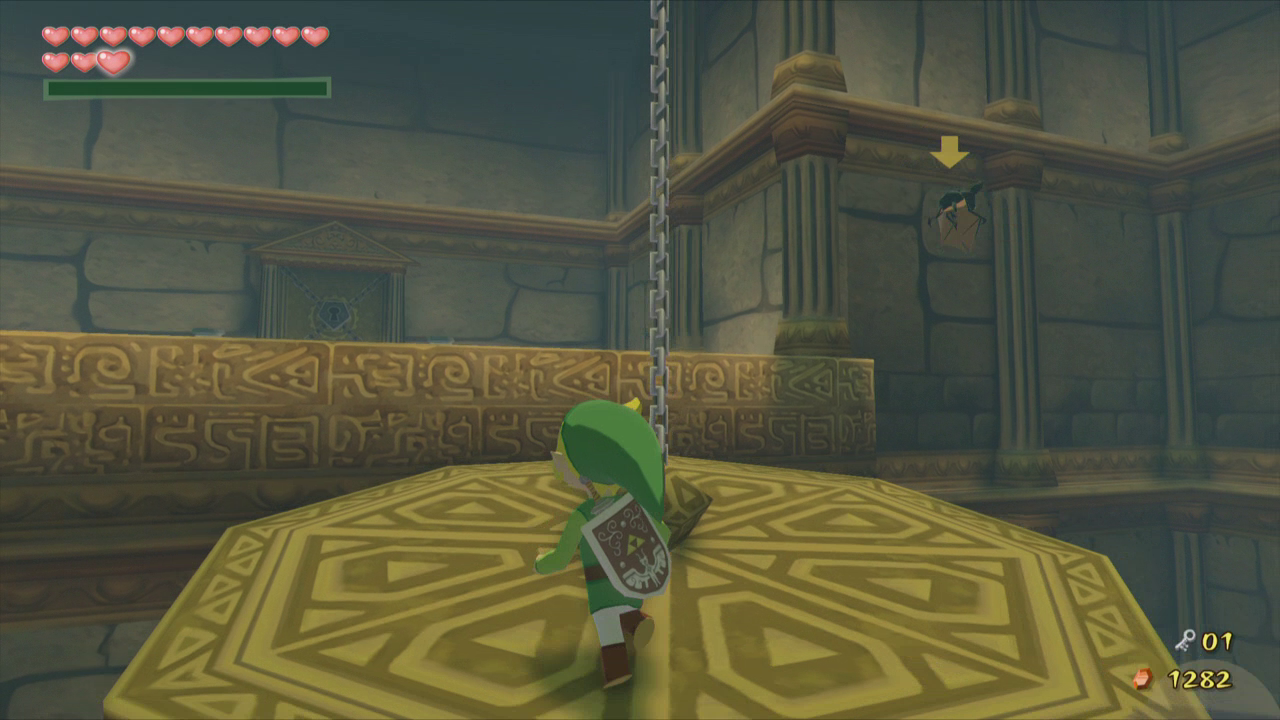
In the room with the two scales, drop down below and head through the door on this side. Use the Bow to defeat the Red Bubbles that are floating around. Hop onto the closest platform and then jump east onto the next one. Shoot the eye on the platform to the north to make it move, and then hop on it when you have a chance. Once you reach the next platform open the chest for a small key.


After getting the small key, hop onto the moving platform to the west that rides Link upwards. Jump onto the horizontal moving platform and shoot the eye on the platform to the south. Jump to the platform when it moves closer. Ride it across the room and shoot the eye above the door along the way. Open the chest that appears for a Joy Pendant, and then use the Deku Leaf to fly back over to the door. Use it to walk back into the previous room. Optional: Joy Pendant
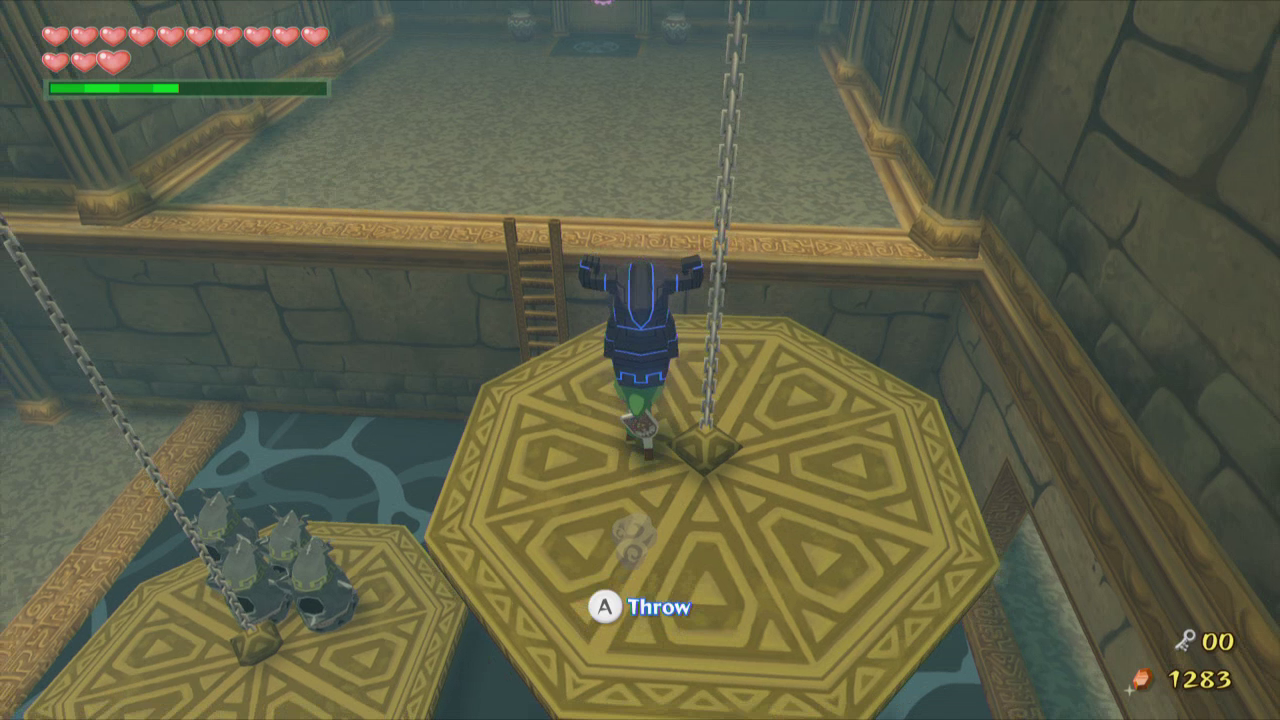
Back in the room with the two scales, jump into the water and climb up the ladder to the left. Throw two of the statues onto one of the scales. Use the other scale to jump across the gap and go through the door to the north.
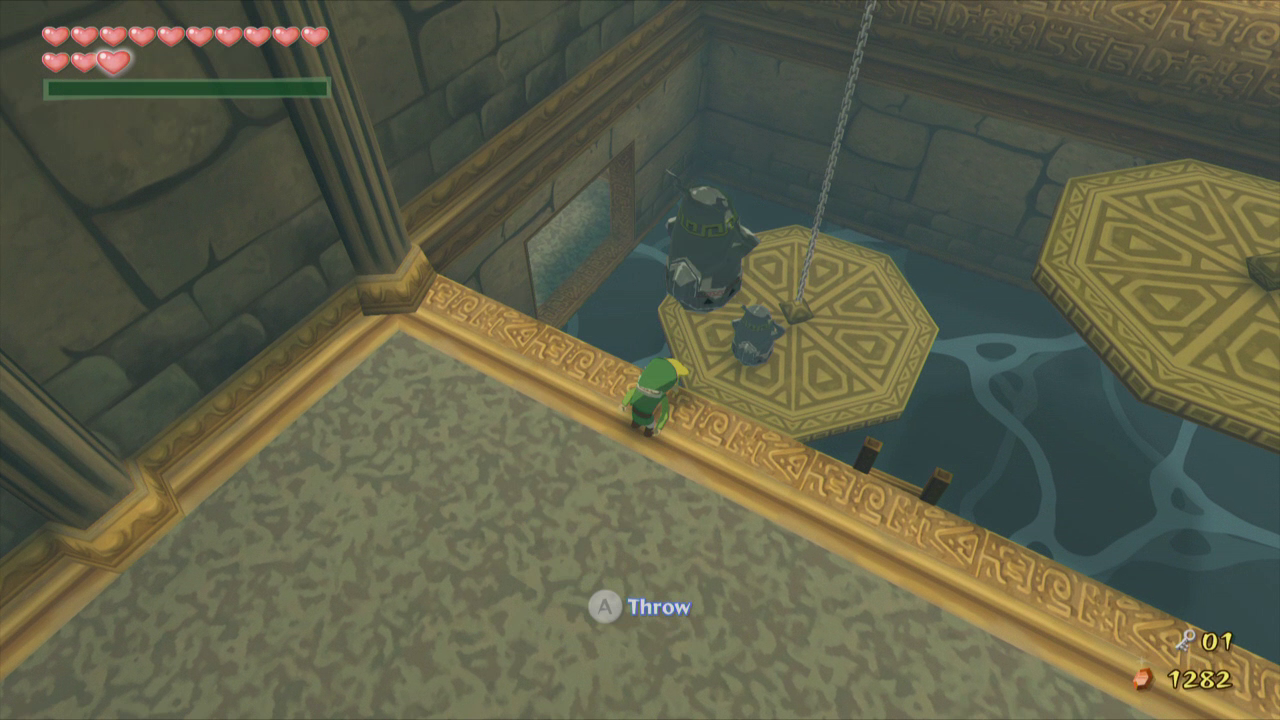
Climb onto the large stone in the center of the room and use the Deku Leaf to float to the north and over the lasers. Call the statue down and then use the Command Melody to take control of the statue. Move the statue through the lasers and use it to press down the light switch in front of the stone. Return to Link and pick up the statue, then head back through the door.
Use the Bow to kill the Wizzrobe that appears and then hop onto one of the scales with the statue. Set the statue down and then climb up the ladder. Throw three of the statues onto the scale that your statue is not on. Jump back over to the scale with your statue and pick it up. Jump across to the southern door and go through it.

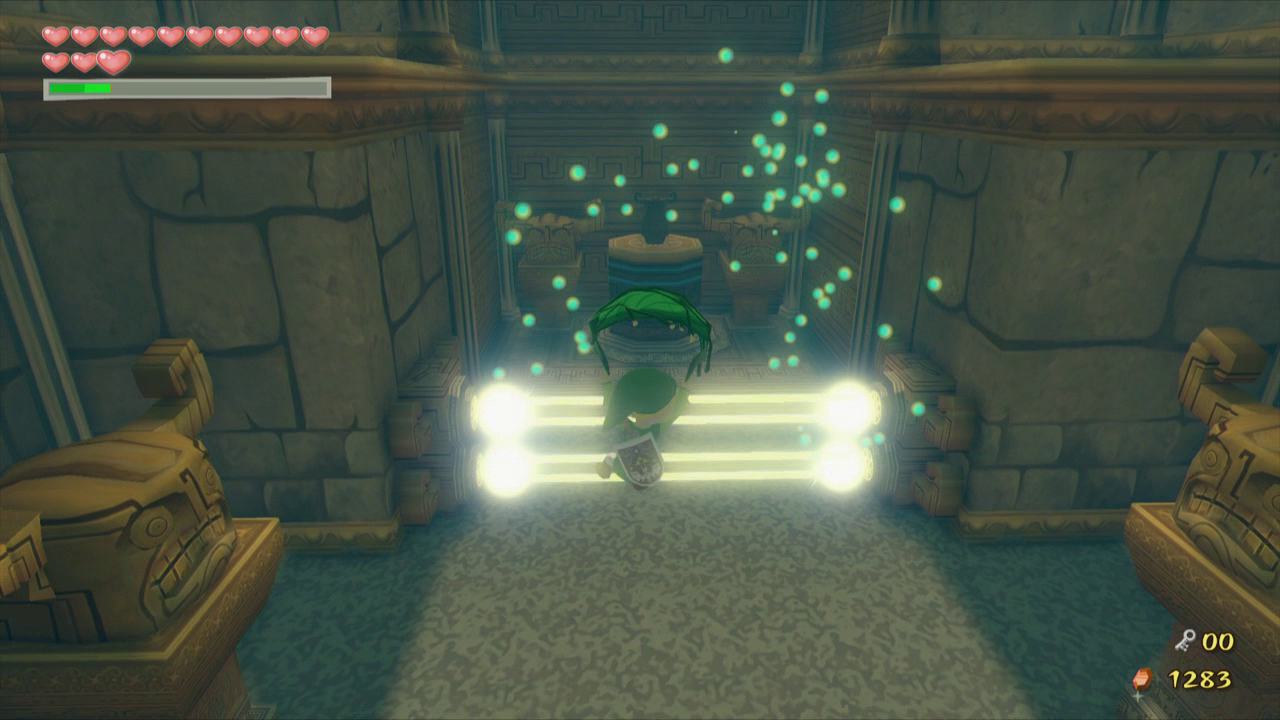
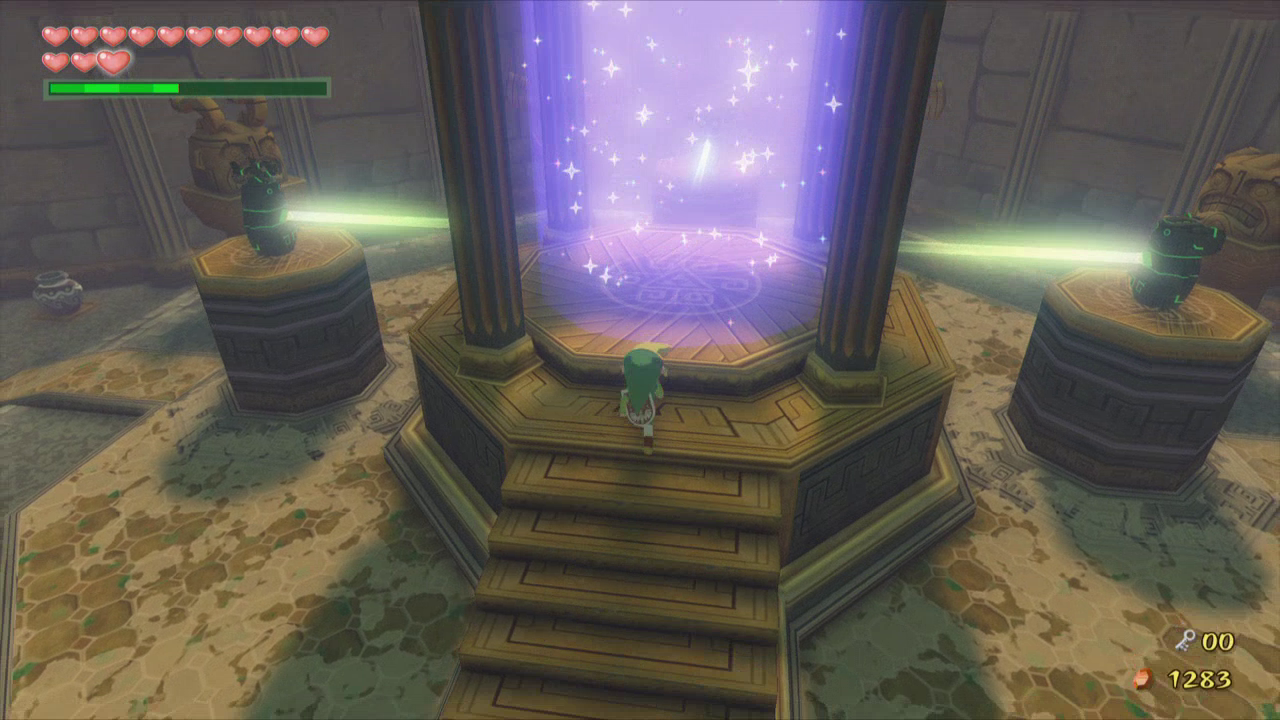
The statue will take its place on the last column and the three of them will reveal a portal to the top of the tower. Step into the portal.
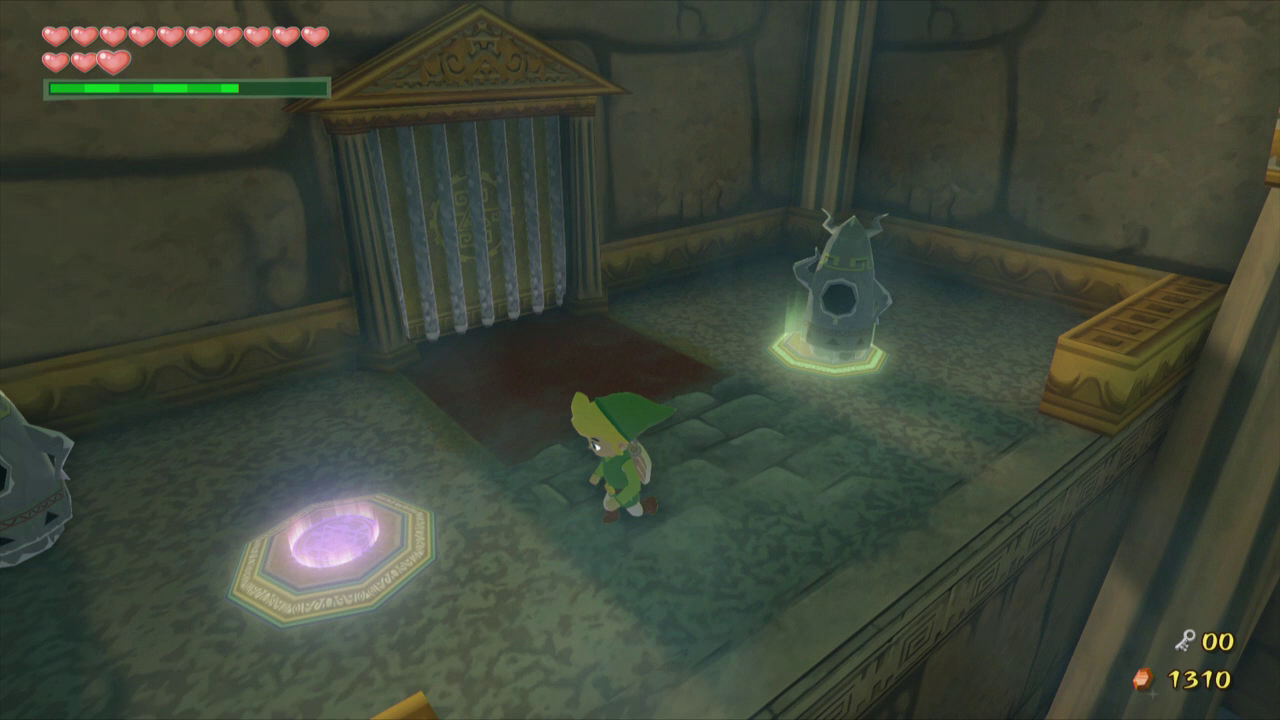
Grab each of the two statues in this room and place them on the light switches to the south. Step on the third one and open the chest for the Big Key. Defeat the armos when they come to life and exit through the door that opens.
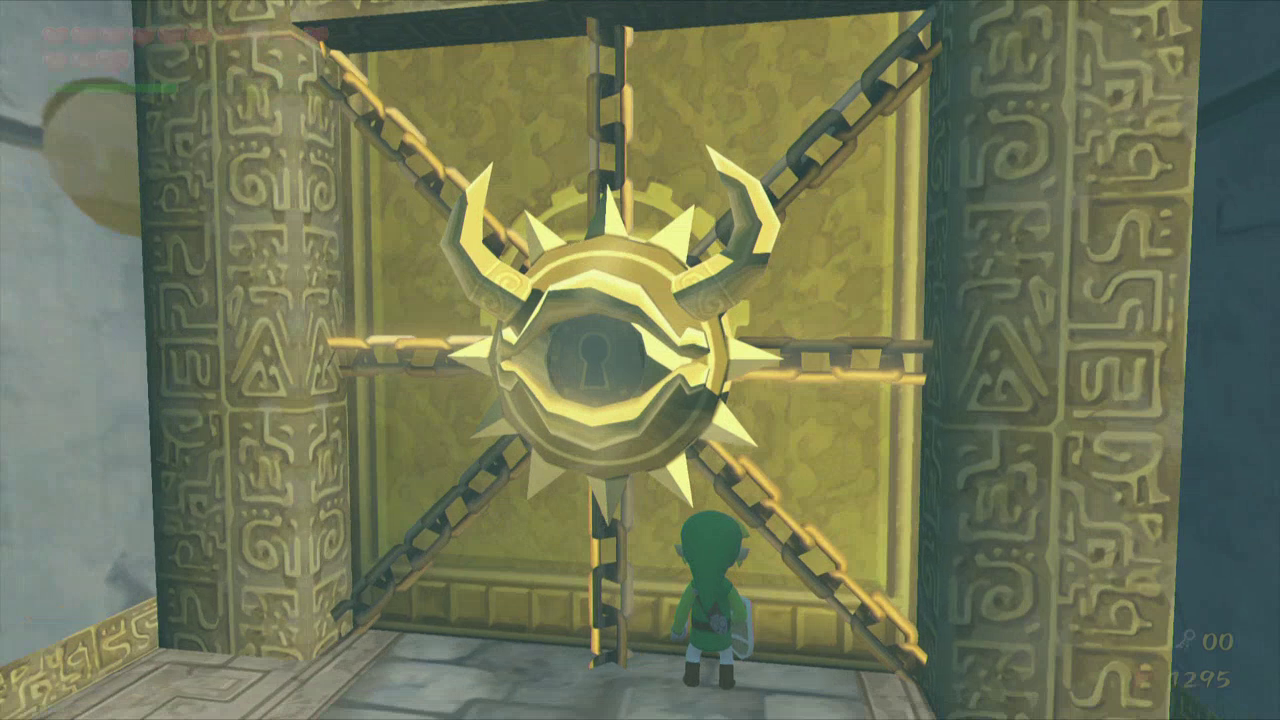
Head up the stairs and defeat the Kargoroc that is flying around. Along the next path you will find many Red and Blue Beamos. You can run right past the Red Beamos, but you will need to shoot an arrow at the Blue Beamos to defeat them. Make your way along the path and break the pots at the end for some fairies, bombs, and arrows. Once you are ready unlock the door to fight the boss.
9.5 Boss Battle: Gohdan
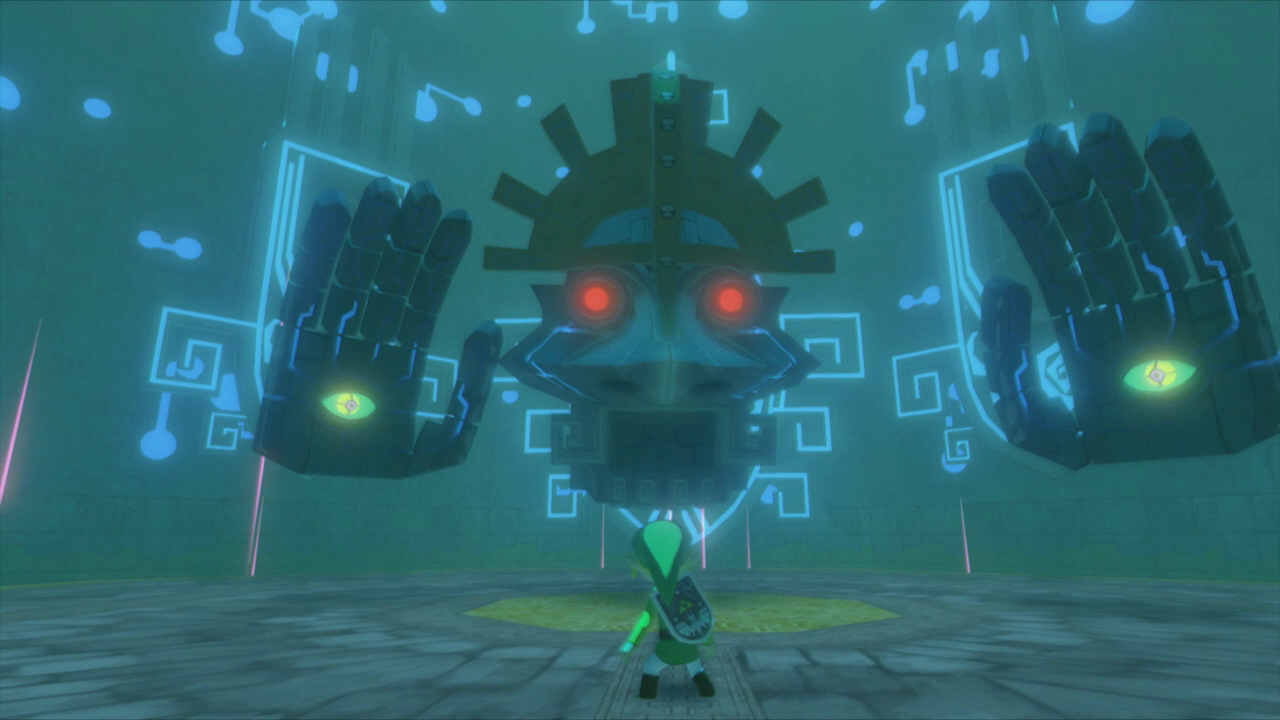
Walk to the center of the room and a voice will tell you that you’ve done well, but you are required to accept one final challenge. The wall will glow and two hands will come out, followed by a head. This is Gohdan, the guardian of the Tower of the Gods.

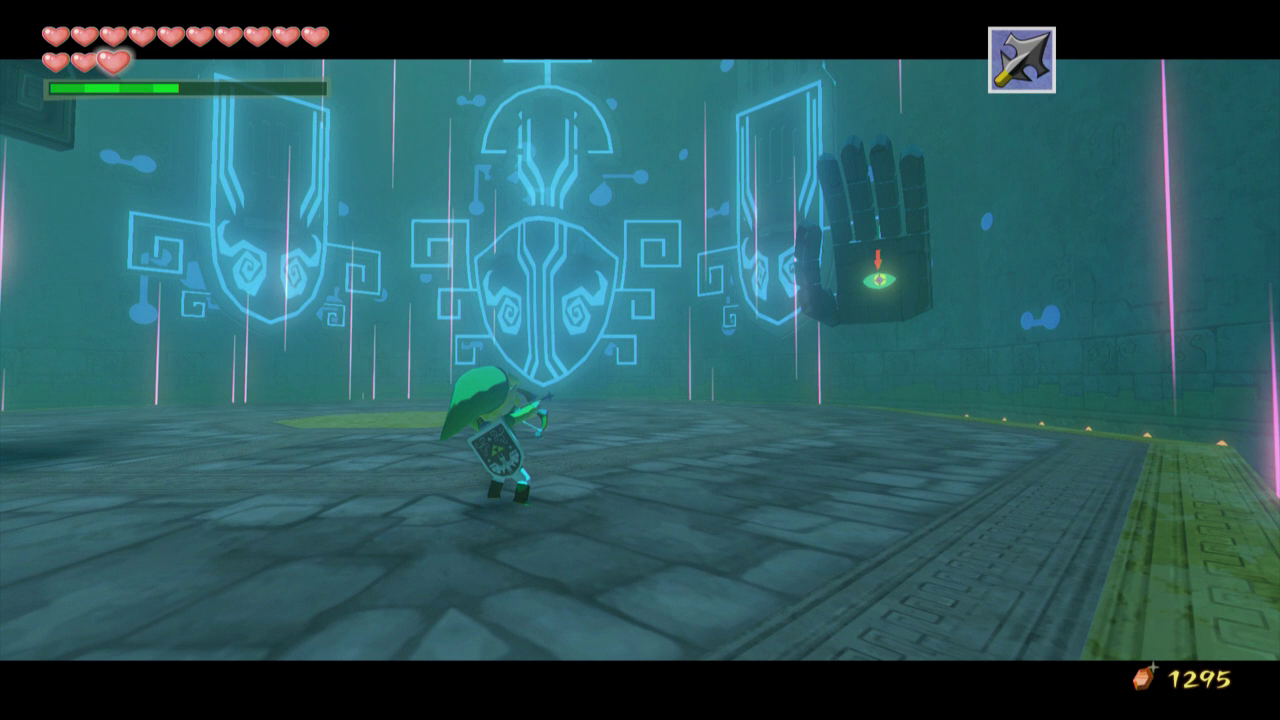
To defeat Gohdan you will need to use the Bow along with the Bombs to damage him. Take out the Bow first and target the eye that is on one of his hands. Shoot it with an arrow twice and the hand will go limp, signaling that it can no longer hurt you during this phase.
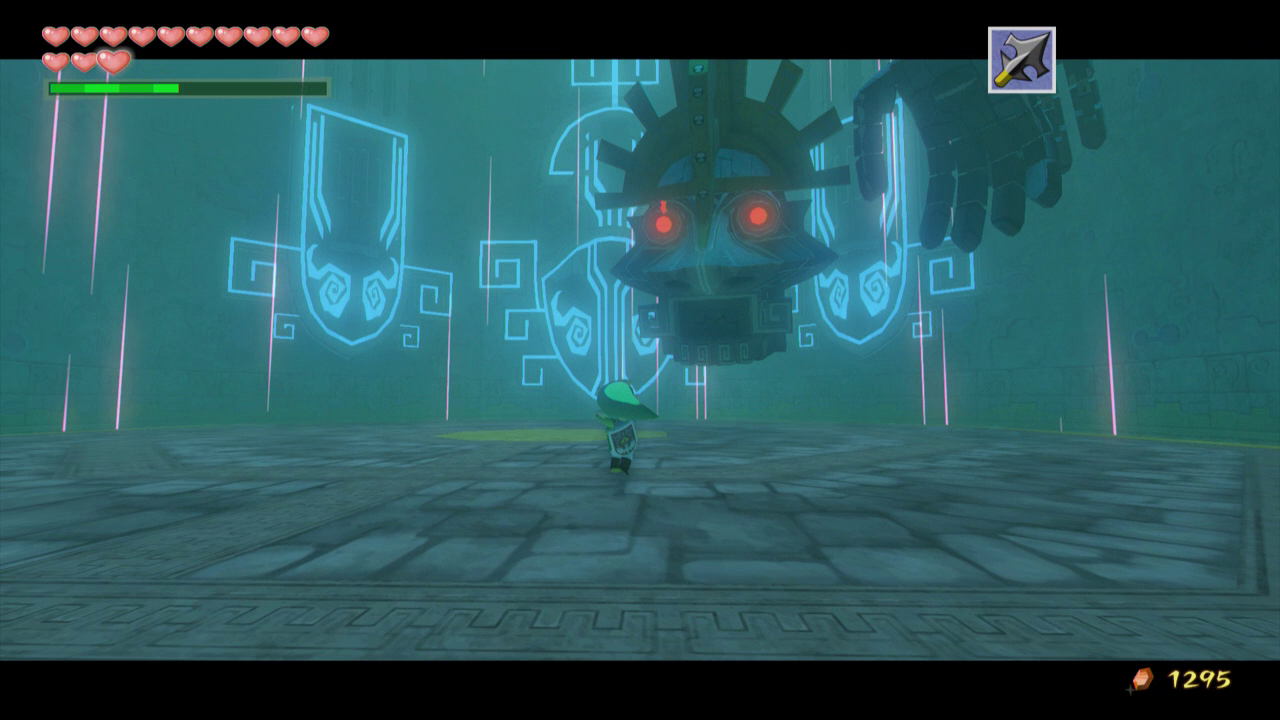
Do the same with the other hand and this will cause both of Gohdan’s eyes to open. Shoot one of them with the Bow twice and do the same for the other one. After both are hit Gohdan’s head will drop to the ground, allowing you to throw a bomb inside its mouth. You will need to repeat this process two more times to defeat Gohdan. If you happen to run out of arrows at any time, Gohdan will sneeze out 10 more for you.
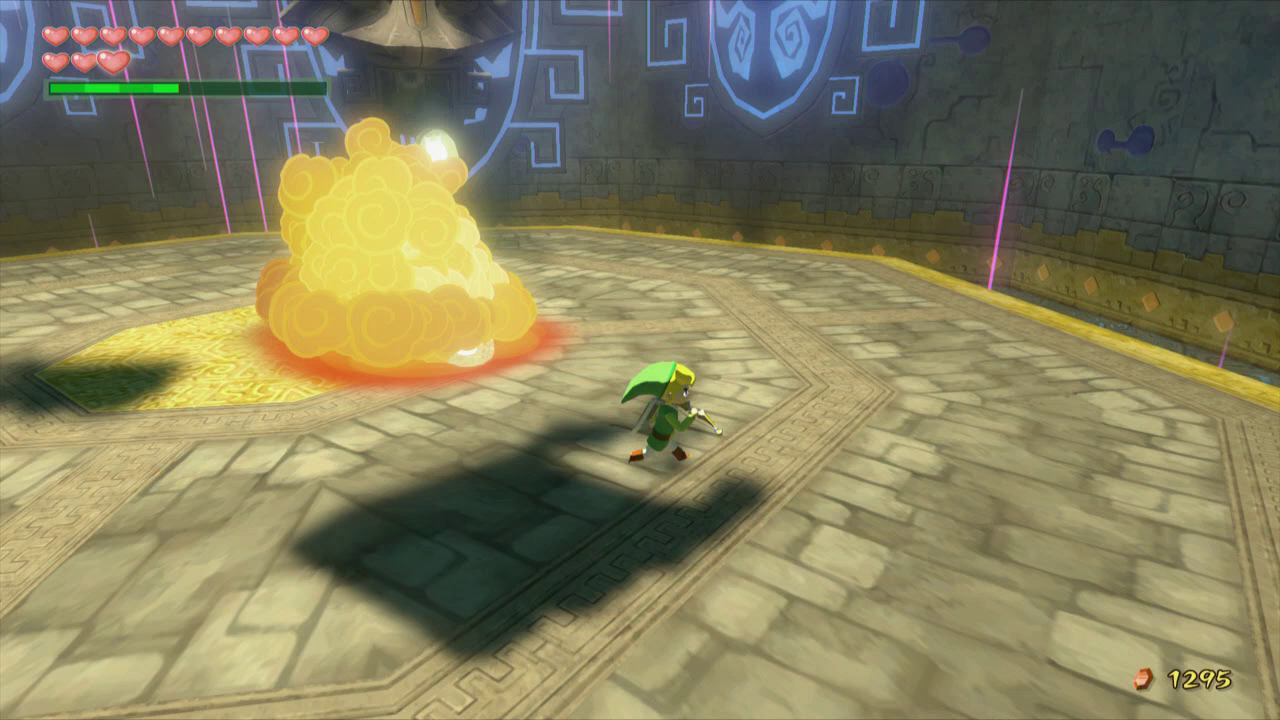
Gohdan only has two main attacks and if you happen to fall off the platform the electric floor will hurt you every couple of seconds. Along with this, Gohdan will also use his hands to push you off the platform, or it will also use them to crush you with a fist. Gohdan’s only other attack is to shoot fire balls out you, which can be avoided by simply running away.
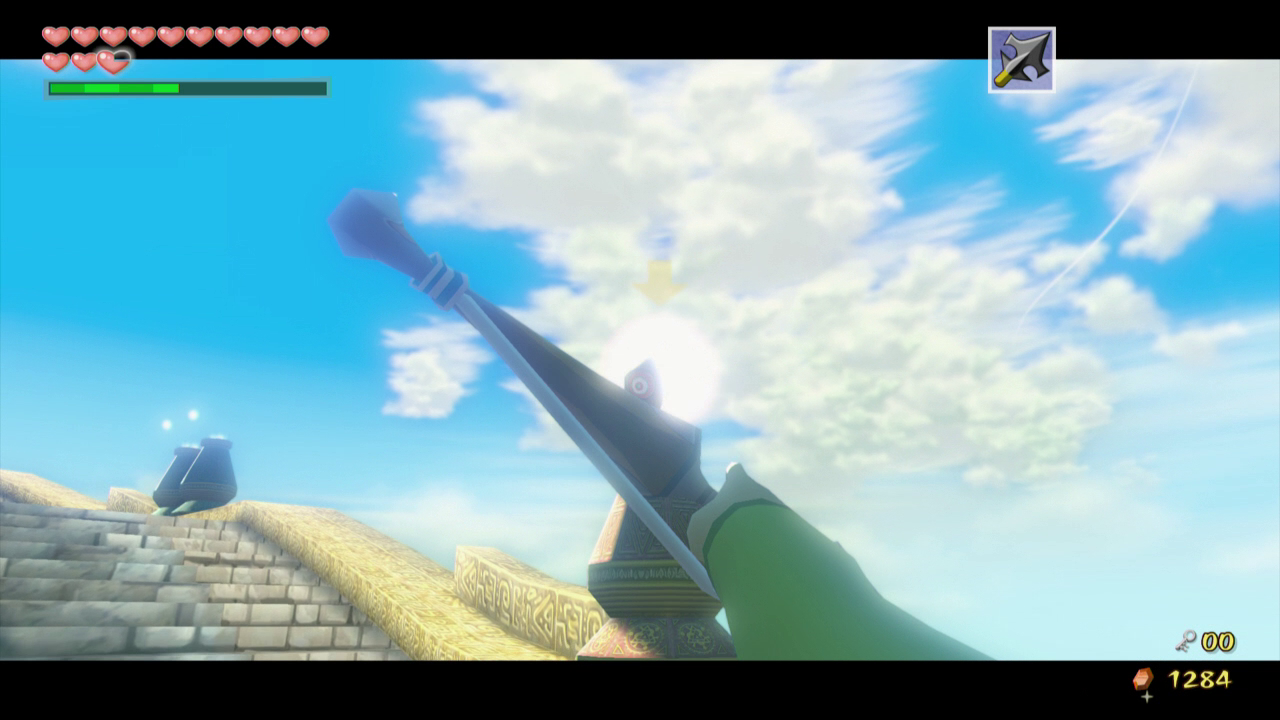
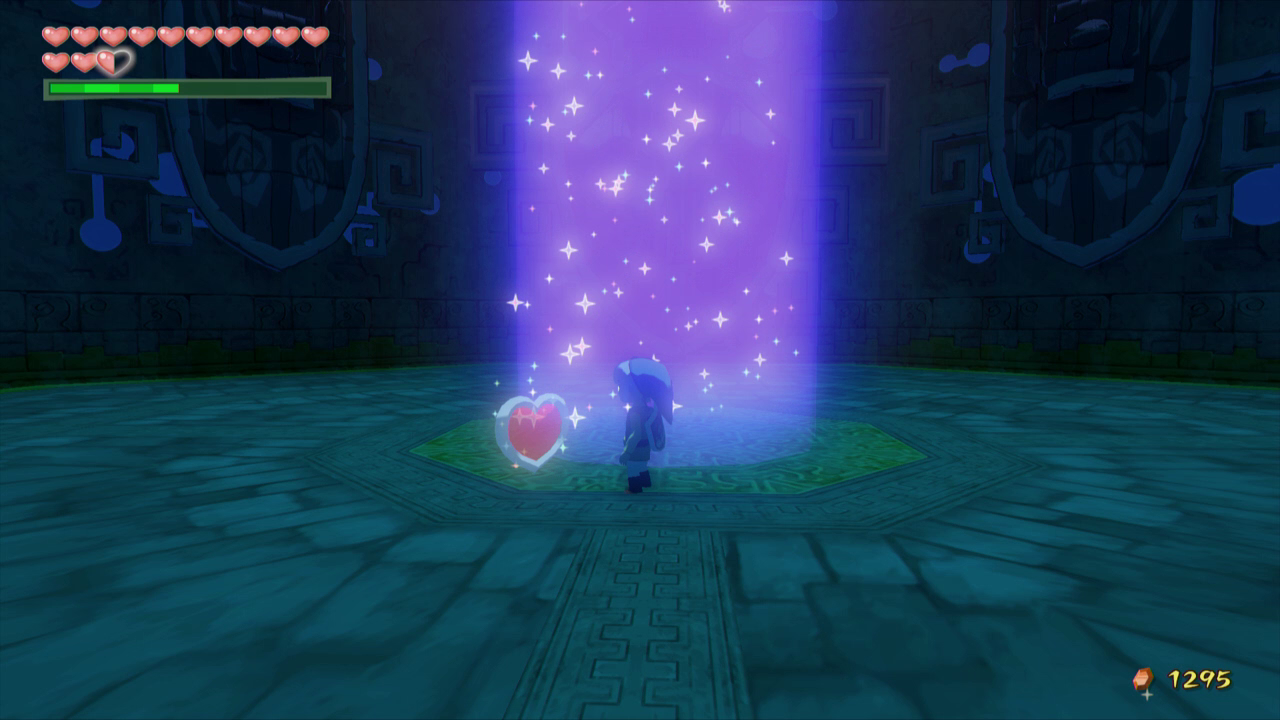
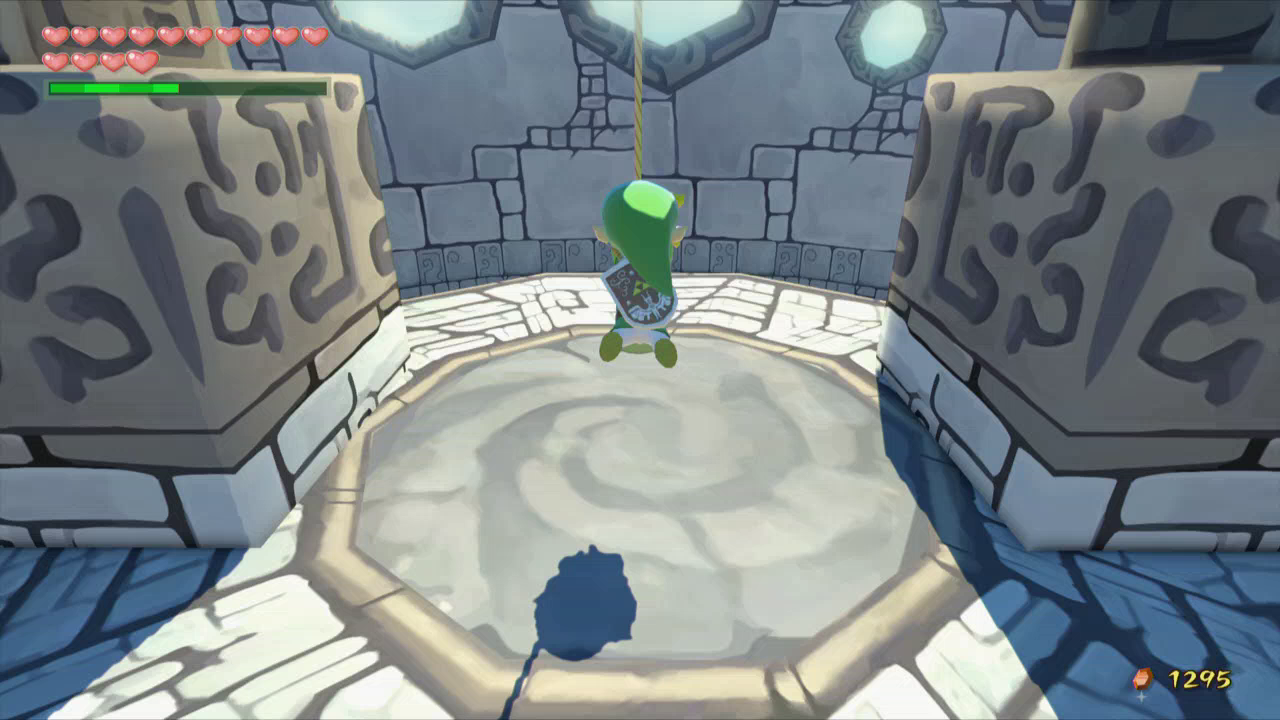
After eating three bombs Gohdan will open the path forward. A beam of light will shoot down and Gohdan will return to the wall. Pick up the Heart Container he sneezes out and head up the portal. Climb the ladder in front of you and use the Grappling Hook to ring the large bell above you.
A portal will soon open in front of the Tower of the Gods and the King of Red Lions will go into the portal and begin to sink down into the water. Link will hold his breath initially, but he soon realizes that he is able to breath underwater. A cinematic scene will show a world of black and white, along with a large stone castle surrounded by nothing.
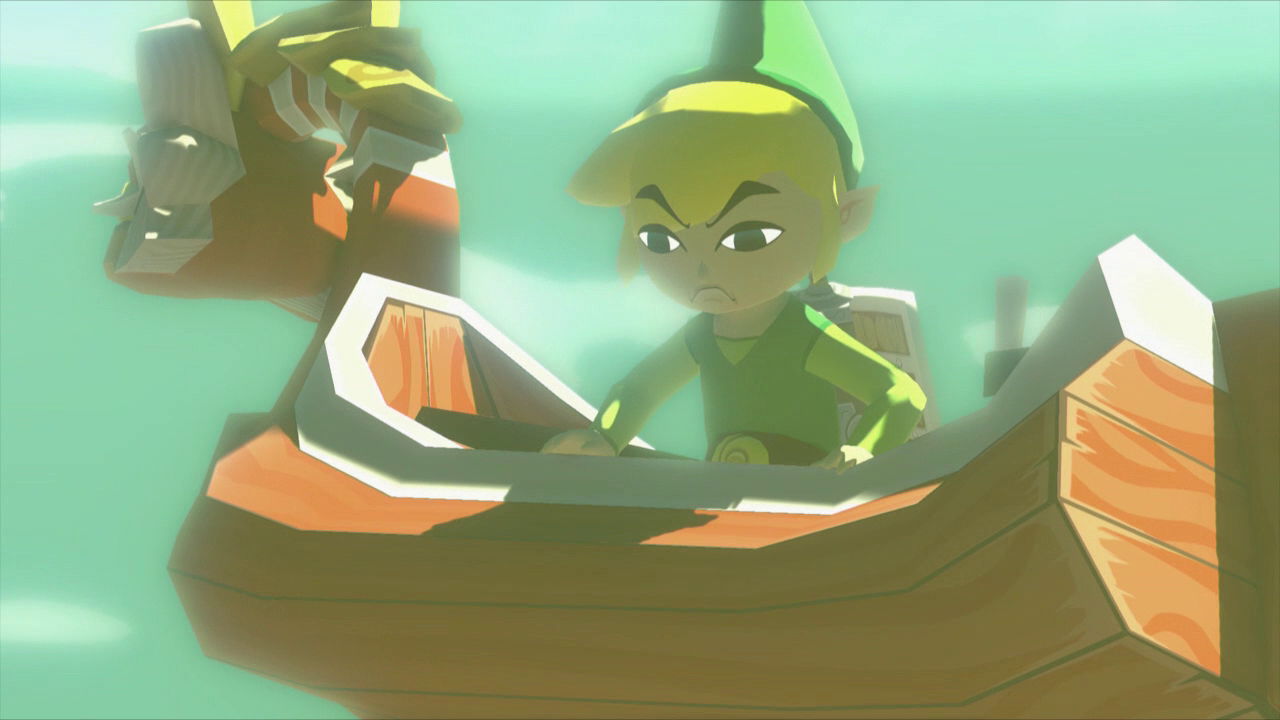
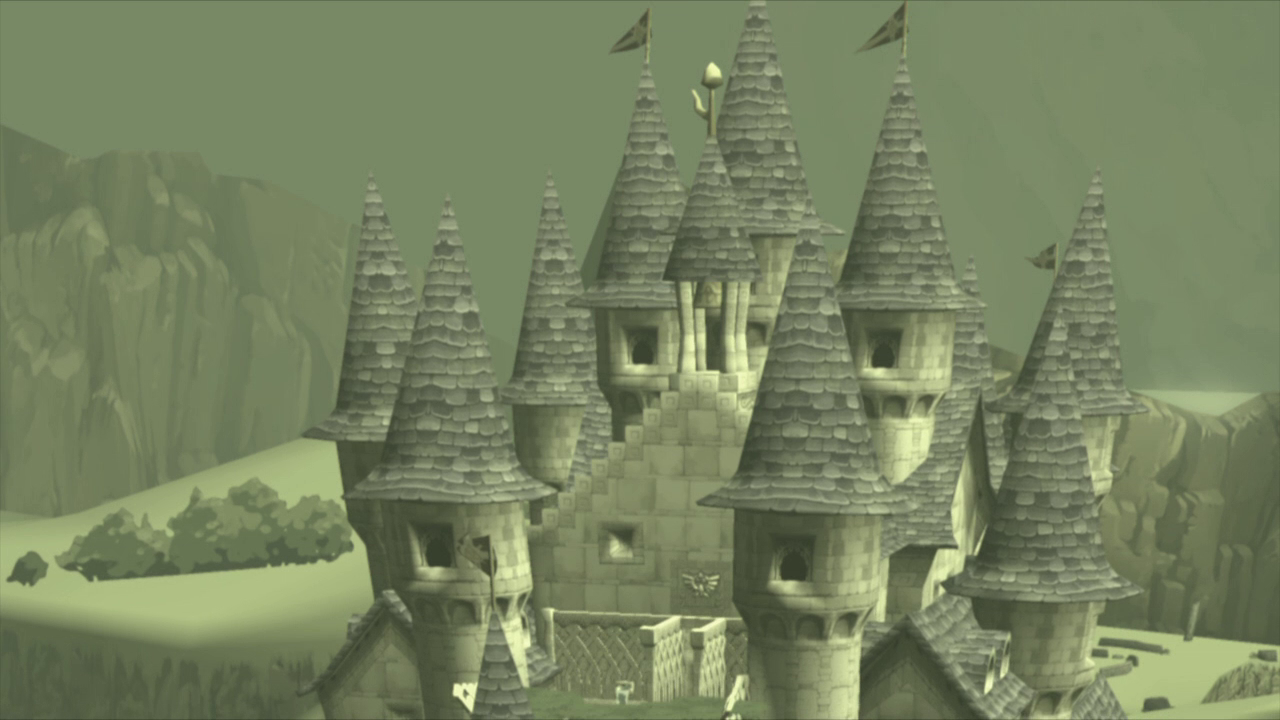
After seeing the great building before you, The King of Red Lions will tell you that there isn’t enough time to explain where you are right now. He tells you to find a special item inside the castle and then all will be made clear to you.
- Chapter 1 – Outset Island
- Chapter 2 – Forsaken Fortress
- Chapter 3 – Windfall Island
- Chapter 4 – Dragon Roost Island
- Chapter 5 – Dragon Roost Cavern
- Chapter 6 – Forest Haven
- Chapter 7 – Forbidden Woods
- Chapter 8 – Nayru’s Pearl
- Chapter 9 – Tower of the Gods
- Chapter 10 – Hyrule Castle
- Chapter 11 – Earth Temple
- Chapter 12 – Wind Temple
- Chapter 13 – The Triforce
- Chapter 14 – Ganon’s Tower
