This chapter covers the Nintendo Switch version of Link’s Awakening. If you are playing the Game Boy Color version, check out the Bottle Grotto Walkthrough.
- Chapter 1 – Tail Cave
- Chapter 2 – Bottle Grotto
- Chapter 3 – Key Cavern
- Chapter 4 – Angler’s Tunnel
- Chapter 5 – Catfish’s Maw
- Chapter 6 – Face Shrine
- Chapter 7 – Eagle’s Tower
- Chapter 8 – Turtle Rock
- Chapter 9 – The Awakening
2.1 Dognapped
| “Hoooot! That is an ‘ Instrument of the Sirens!’ I have to admit, at first I did not believe you were real… That Instrument, along with the seven others in the set, has the power to wake the Wind Fish! You must collect them all! I was instructed to give you directions…Your next goal is north, in Goponga Swamp!! Hoot, indeed!” |
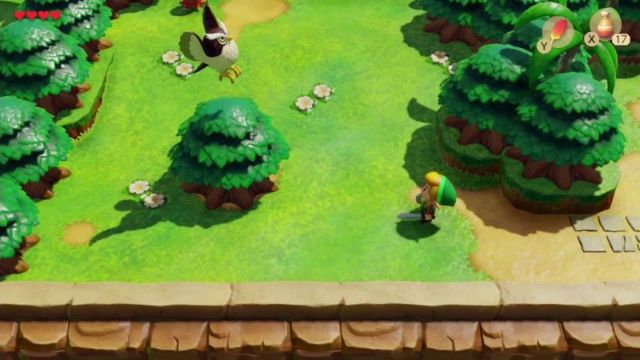
After completing Tail Cave, head left and you’ll meet up with the Owl once again. The feathery fellow will talk about how he didn’t think Link was even real…but will then go on to say that you need to collect seven more of the Instruments of the Sirens. The owl tells us that our next destination is up north in the Goponga Swamp.
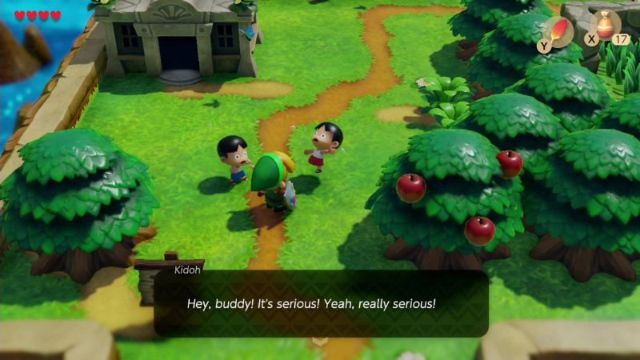
After the owl has flown away, head up and you can now jump over these holes using Roc’s Feather. Walk left and then up to return to Mabe Village. Immediately the two boys will come running towards you, telling you that a band of moblins came to the village and dognapped BowWow, the chain chomp located just west of Marin’s House. You can go check it out for yourself, even speaking to BowWow’s owner, Madam MeowMeow. Our quest to save BowWow takes us through the Mysterious Forest again, so head up to enter the Woods. Make your way to the northeast part of forest and exit to the east.
You’ll be back in the area where we saw a piece of heart earlier, but could not reach it. Now that we have Roc’s Feather, jump over the gap and pick up the Piece of Heart! Use Roc’s Feather once again to jump over the gap and then head up. Walk to the right and you can talk to the strange owl statue here to find out some more cryptic information in regards to the Wind Fish. Then enter the cave to reach the Moblin’s Hideout.
Optional: Piece of Heart #5

| “THE WIND FISH IN NAME ONLY, FOR IT IS NEITHER.” |
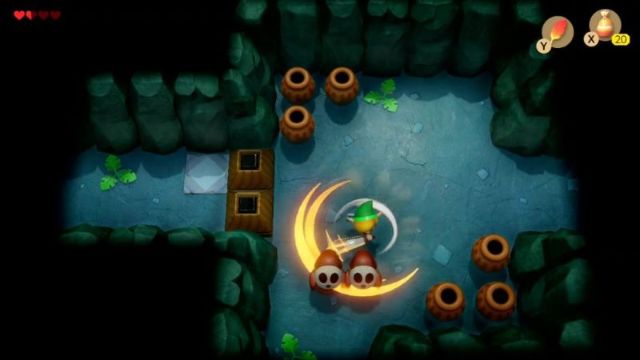
The first room has a Moblin equipped with a sword and shield. Just walk to the left or right part of the screen so that the moblin turns sideways. When the moblin is positioned like this, its shield will have no effect. Defeat the moblin and head up to the next screen. Four moblins that shoot arrows are in this room, but they shouldn’t give you much trouble. Defeat these pesky foes and head right a screen.

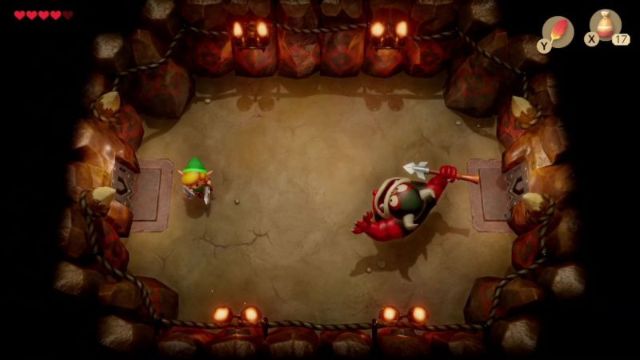


This room has the leader of the band, the King Moblin. He will shoot 1-4 arrows at you before charging madly in your direction. You can use your shield to deflect the arrows or simply just move out of the way. Sidestep the Moblin when it charges and it will ram right into the wall, temporarily stunning itself for a short period of time. Run on over and slash away with your sword. Repeat this same process until you’ve hit him 8 times and he has been defeated. Grab the fairy that is left as a reward and head right a screen. Walk over to BowWow to rescue him! BowWow will now follow you around as you walk, as well as eat enemies that come near. With BowWow at your side, exit the Moblin’s Hideout.


Optional: Piece of Heart #6

2.2 Goponga Swamp
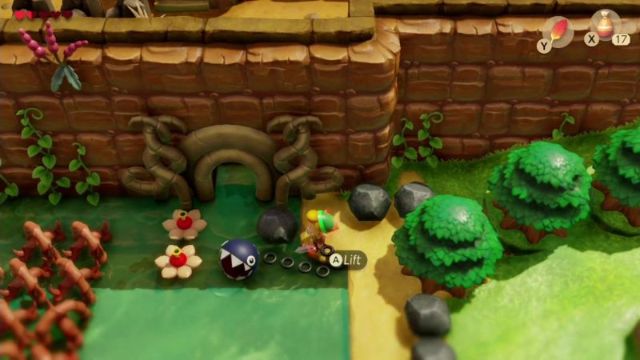
Now that you have BowWow, you can reach the next dungeon, Bottle Grotto. Return to the Mysterious Forest and make your way to the northwest corner of the forest. Exit the forest to the north and then head right to reach the Goponga Swamp. Here you’ll find some new enemy Like-Likes. These foes will gobble up Link and eat his shield, so try to defeat them before you get too close. There is also a phone booth here where you can call Ulrira. He’ll give you some advice on how to make it through the Goponga Swamp. Walk right a screen and you’ll find yourself in the actual Swamp.
There are enemy fish, Goponga Flowers, and Giant Goponga Flowers found throughout the swamp. The fish can be defeated with the sword, but you’ll need BowWow to eat the goponga flowers. Walk around the swamp and gobble up the enemies with BowWow. At the east side of the swamp there is a treasure chest that contains 50 rupees.

Make your way to the northeast part of the swamp and BowWow will gobble up the goponga flowers. Enter the cave to reach the second dungeon, Bottle Grotto. Unfortunately our newly acquired friend cannot enter the dungeon, so you’ll be on your own for this level.
2.3 Bottle Grotto
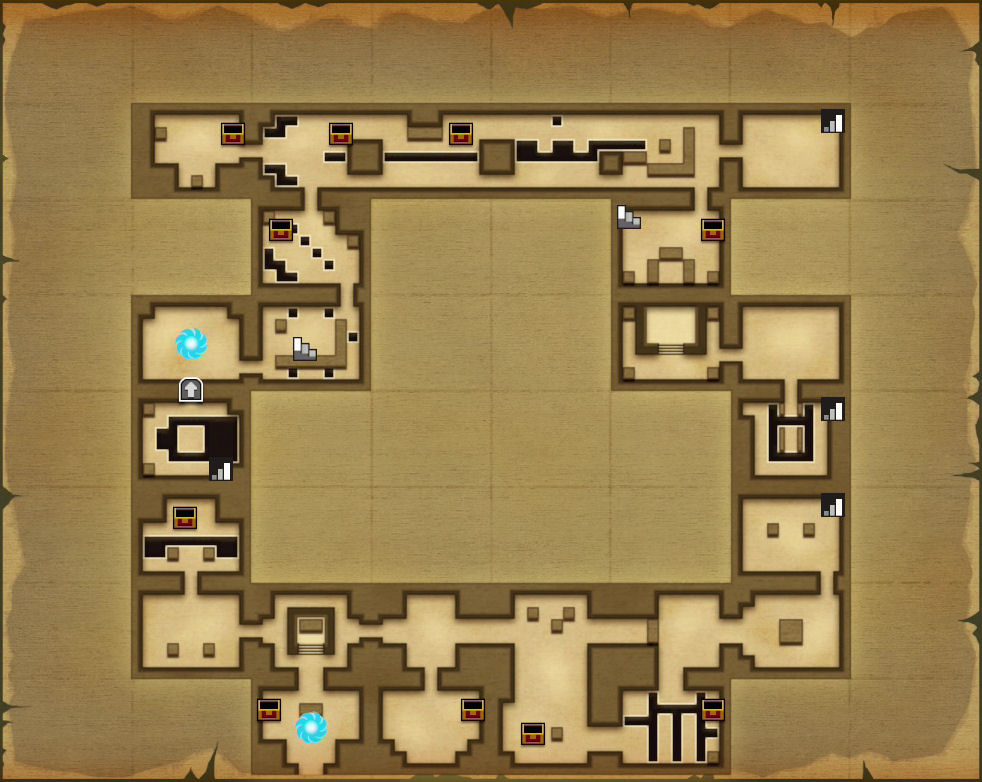
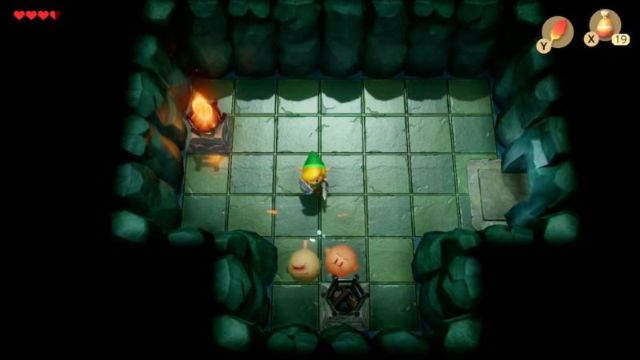
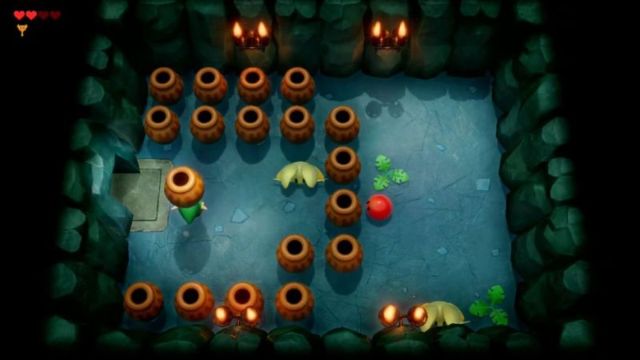
The second dungeon is a bit lengthier and more difficult than the Tail Cave, but it still isn’t something that should give you too much trouble. In the first room you’ll find a treasure chest on the left of the screen, but we cannot get it quite yet as it is surrounded by pots. Ignore it for now and just head up one screen.
There is a spark moving along the perimeter of the room. Just climb the steps and light the two torches using some magic powder. The door on the right side will open up, so avoid the spark and head through. There are two stalfos in this room, including the new green variant. These ones will jump up into the air and try to land on top of you. Just side step them and slash away with your sword to defeat them. Once both have been defeated, grab the small key that is left behind and then head back a screen to the left.
Use the key that we just got to unlock the door on the left. Walk through and avoid the blade traps that will try to squish you. You can light up the two torches with some magic powder if you’d like, but you don’t need to. Use your sword to slash away at the two keese in the room and then head up through the door that opens up.
Jump over the gap and carefully maneuver around the room so that you can slash your sword and knock the hardhat beetle into the abyss. If you stand at the bottom left of the screen the hardhat beetle will move all the way to the left, allowing you to quickly run back right and jump over the gap. This will cause the door at the bottom of the room to unlock. Open up the treasure chest in the room to get the dungeon’s Stone Beak.


Back in the room where we fought two stalfos, head right a screen. There is an Owl Statue at the top of this room and if you speak to it, it will tell you to tap the blue crystal. (NOTE: If you are playing the original, this statue won’t exist). Hitting these crystals will cause blocks that are raised to come down to floor level, allowing you to pass by. However, some blocks that are on the floor will then raise, blocking your way. Hit the crystal switch once and then head down.
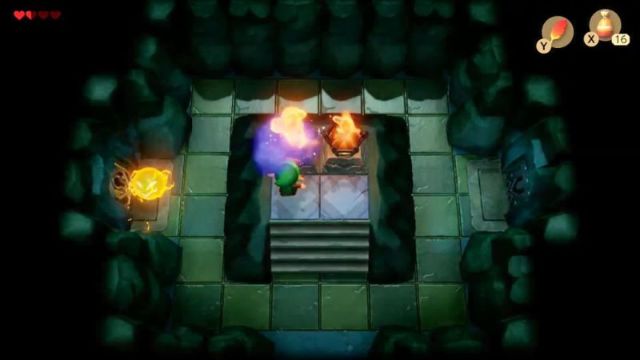
There are some blocks in this room, as well as a new enemy, a Shrouded Stalfos. These guys are not too different from sworded moblins we fought earlier, so just dispose of them with your sword. Afterwards, hit the crystal switch and open up the treasure chest to get another small key. Go through to the room on the right.


Jump over the gaps using Roc’s Feather and grab the magic powder that is floating in the middle of the room. Jump on over to the bottom-right of the room and step on the switch here to cause a treasure chest to appear. Jump towards the treasure chest and open it to get another small key. Jump around the room and head through at the top of the screen.
There is a new enemy here known as a Mask-Mimic. You cannot harm them at the front of their body. Instead, you need to face away from them and they will mimic your move. Use your sword to perform a spin attack while you are close to the mask mimics and this will defeat them. A small key will fall, but on the left side of the room which we cannot reach. Backtrack through the dungeon by going down a screen, left a screen, up a screen, and then back right a screen to collect the key that fell.
We now want to backtrack to the left two screens where there was a locked door at the bottom of the room. Go through this door and defeat a lone mask-mimic that is wandering around the room. This one can be annoying since there are pots in the room, but move in a direction so the mimic is hitting a wall until you’ve gotten close to it. Open the treasure chest that appears to get the Compass. We now need to head back through part of the dungeon once again by heading up a screen, right, down, right, and up to get back to the room with the two mask-mimics.


Walk to the right a screen and you’ll find two spiked beetles. Just like in Tail Cave, we need to use our shield to deflect them, causing them to flip over revealing their weak spot. Defeat or ignore these two enemies and head up through the locked door in this room.
Avoid the spark while getting rid of the keese that are found within this room. There is an Owl Statue and if you talk to it, it will give you a hint about the blocks in this room.(NOTE: If you are playing the original, this statue won’t exist) You have to push the two blocks in this room towards the center so that they cover the blue blocks on the ground. Doing so will cause a staircase to appear at the top-right part of the screen, so let’s head down it.
Make your way through this side-scrolling scene, using Roc’s Feather while avoiding the spikes. Climb the ladder on the second screen to resurface at another point in the dungeon. It is dark but you should still be able to maneuver around. Defeat the keese and then jump to the center platform. Get the floating heart to refill your life and then head up through the one-way door to take on the dungeon mini-boss, Hinox.
Hinox will prepare to charge at you and then quickly dash in your direction. If he grabs you, he will toss you to the side, dealing damage. You want to quickly jump away and then slash away at his side. Just keep repeating this process, whenever he charges at you, side step his dash and continue the onslaught. Once Hinox has been defeated, a fairy will be left behind and a warp portal will appear. The warp will take you back to the entrance of the dungeon if you need to leave. Go through the door that opens up on the right side.


There are two keese, a floating heart, a staircase, and an owl statue in this room. Get rid of the keese and then you can talk to the owl, which gives you a hint about enemies you’ll face later in this dungeon. However, at this time the message is a bit cryptic. We cannot go down the steps here so just progress up to the next room.
There are three keese and a new vacuum enemy at the bottom-left corner. The vacuum will act as a magnet of sorts, pulling you towards the corner. It will only last a few seconds and then turn off…before turning on again. You can make a suicide jump with roc’s feather and hit it with a sword slash to defeat it. Interestingly enough, if you land on top of the vacuum you’ll automatically be taken to the very beginning of the dungeon. Either way, open the treasure chest to get the Dungeon Map and then head up a screen.

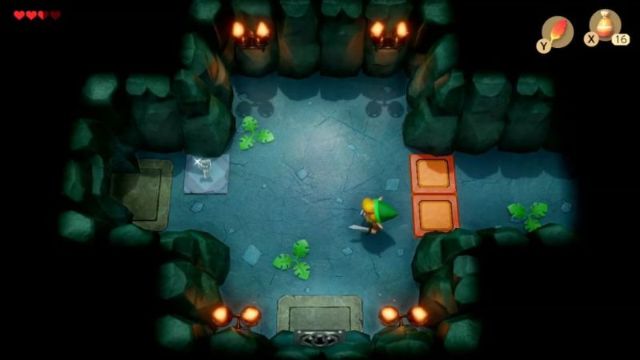
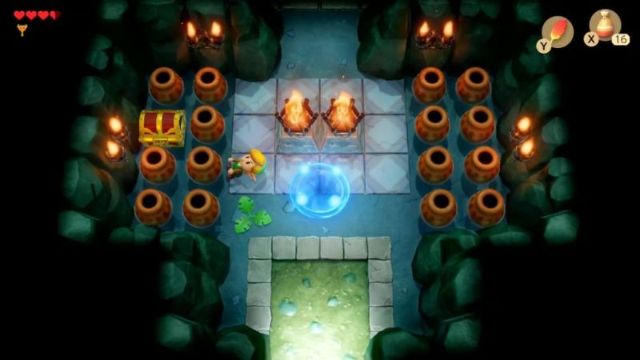
Open the treasure chest to get 20 rupees! Jump up and grab the magic powder that is floating up at the top of the room and then head through the locked door to the left. There are two Boo Buddy ghosts in this room. You cannot defeat them with your sword, but if you slash at them, they will disappear and then reappear at their spawning point. Light the torches in the room and they’ll float away. Once they are gone, a treasure chest appears containing the Power Bracelet! This will allow you to finally lift up pots, stones, and skulls you find through the game.
Now that we have the power bracelet, let’s backtrack several screens to the mini-boss room with Hinox. Step into the warp portal to return to the dungeon entrance. Lift the pots that are in the way and finally open the treasure chest here to get 50 rupees! Go back through the warp portal, head right a screen, and then up two screens.

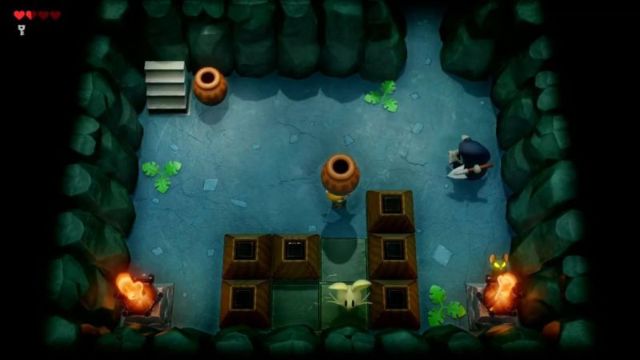
Lift the pots along the top part of the room and then head right. Walk on top of the blocks and hit the blue crystal to switch which blocks are lowered. Walk to the right and hit the crystal again, allowing you to reach the treasure chest. Open it up to get a small key and then hit the blue crystal once again. While standing on the blocks, continue onward and walk to the right.
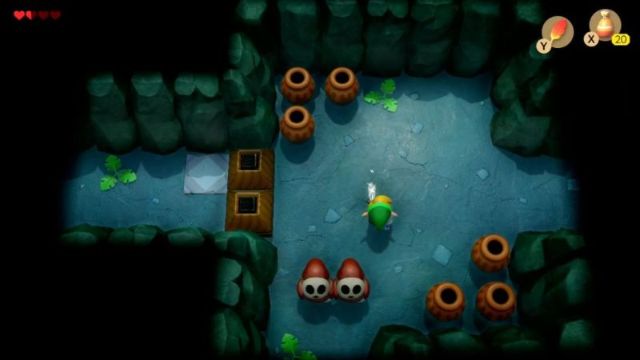
Defeat the keese, gel, and knock the hardhat beetle into the abyss before heading to the right another screen. You can avoid these enemies if you’d like and just head through the open door at the bottom of the screen. There are three enemies found in this room, a keese, a Pols Voice, and a shrouded stalfos. We cannot kill the pols voice with any of our weapons just yet, so you’ll have to toss one of the pots to kill them. However, you have to kill these foes in a particular order. You could take the steps in this room to go through an underground area that has some goombas and Piranha Plants…(Yes more Mario enemies).
On the other side of this cave, you’ll be back in that room that had an Owl Statue. If you listen to what it says, it tells you to first defeat the Imprisoned Pols Voice and the Stalfos last. So go back to the room that had the three enemies and do just that. First push the blocks out of the way so you can reach the pols voice. Pick up one of the pots and toss it at it to defeat it. Then slash the keese and finally, the shrouded stalfos. A treasure chest will appear; open it up to get the Nightmare Key. With our key in hand let’s head up a screen, and then right through the locked door.

Defeat the two pols voice and the zol in this room and a staircase will appear at the top-right corner. Go down the steps and step on the block to lower yourself down. In the next room there is another block, but this one requires a little bit more weight to push down. Lift the pot that is in this room, climb the stairs, and then step on the block to lower yourself down. (I always wondered how Link can climb stairs while he is hoisting a large pot over his head). Climb the steps to resurface at a new part of the dungeon.

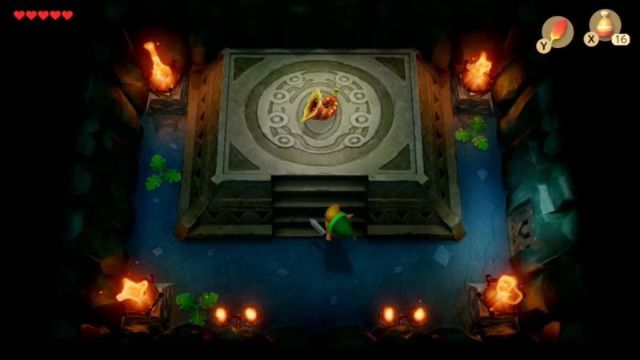
Once you are ready to go, equip Roc’s Feather and jump across the gaps. Use the Nightmare Key to enter the boss room and take on Genie, the dungeon boss.
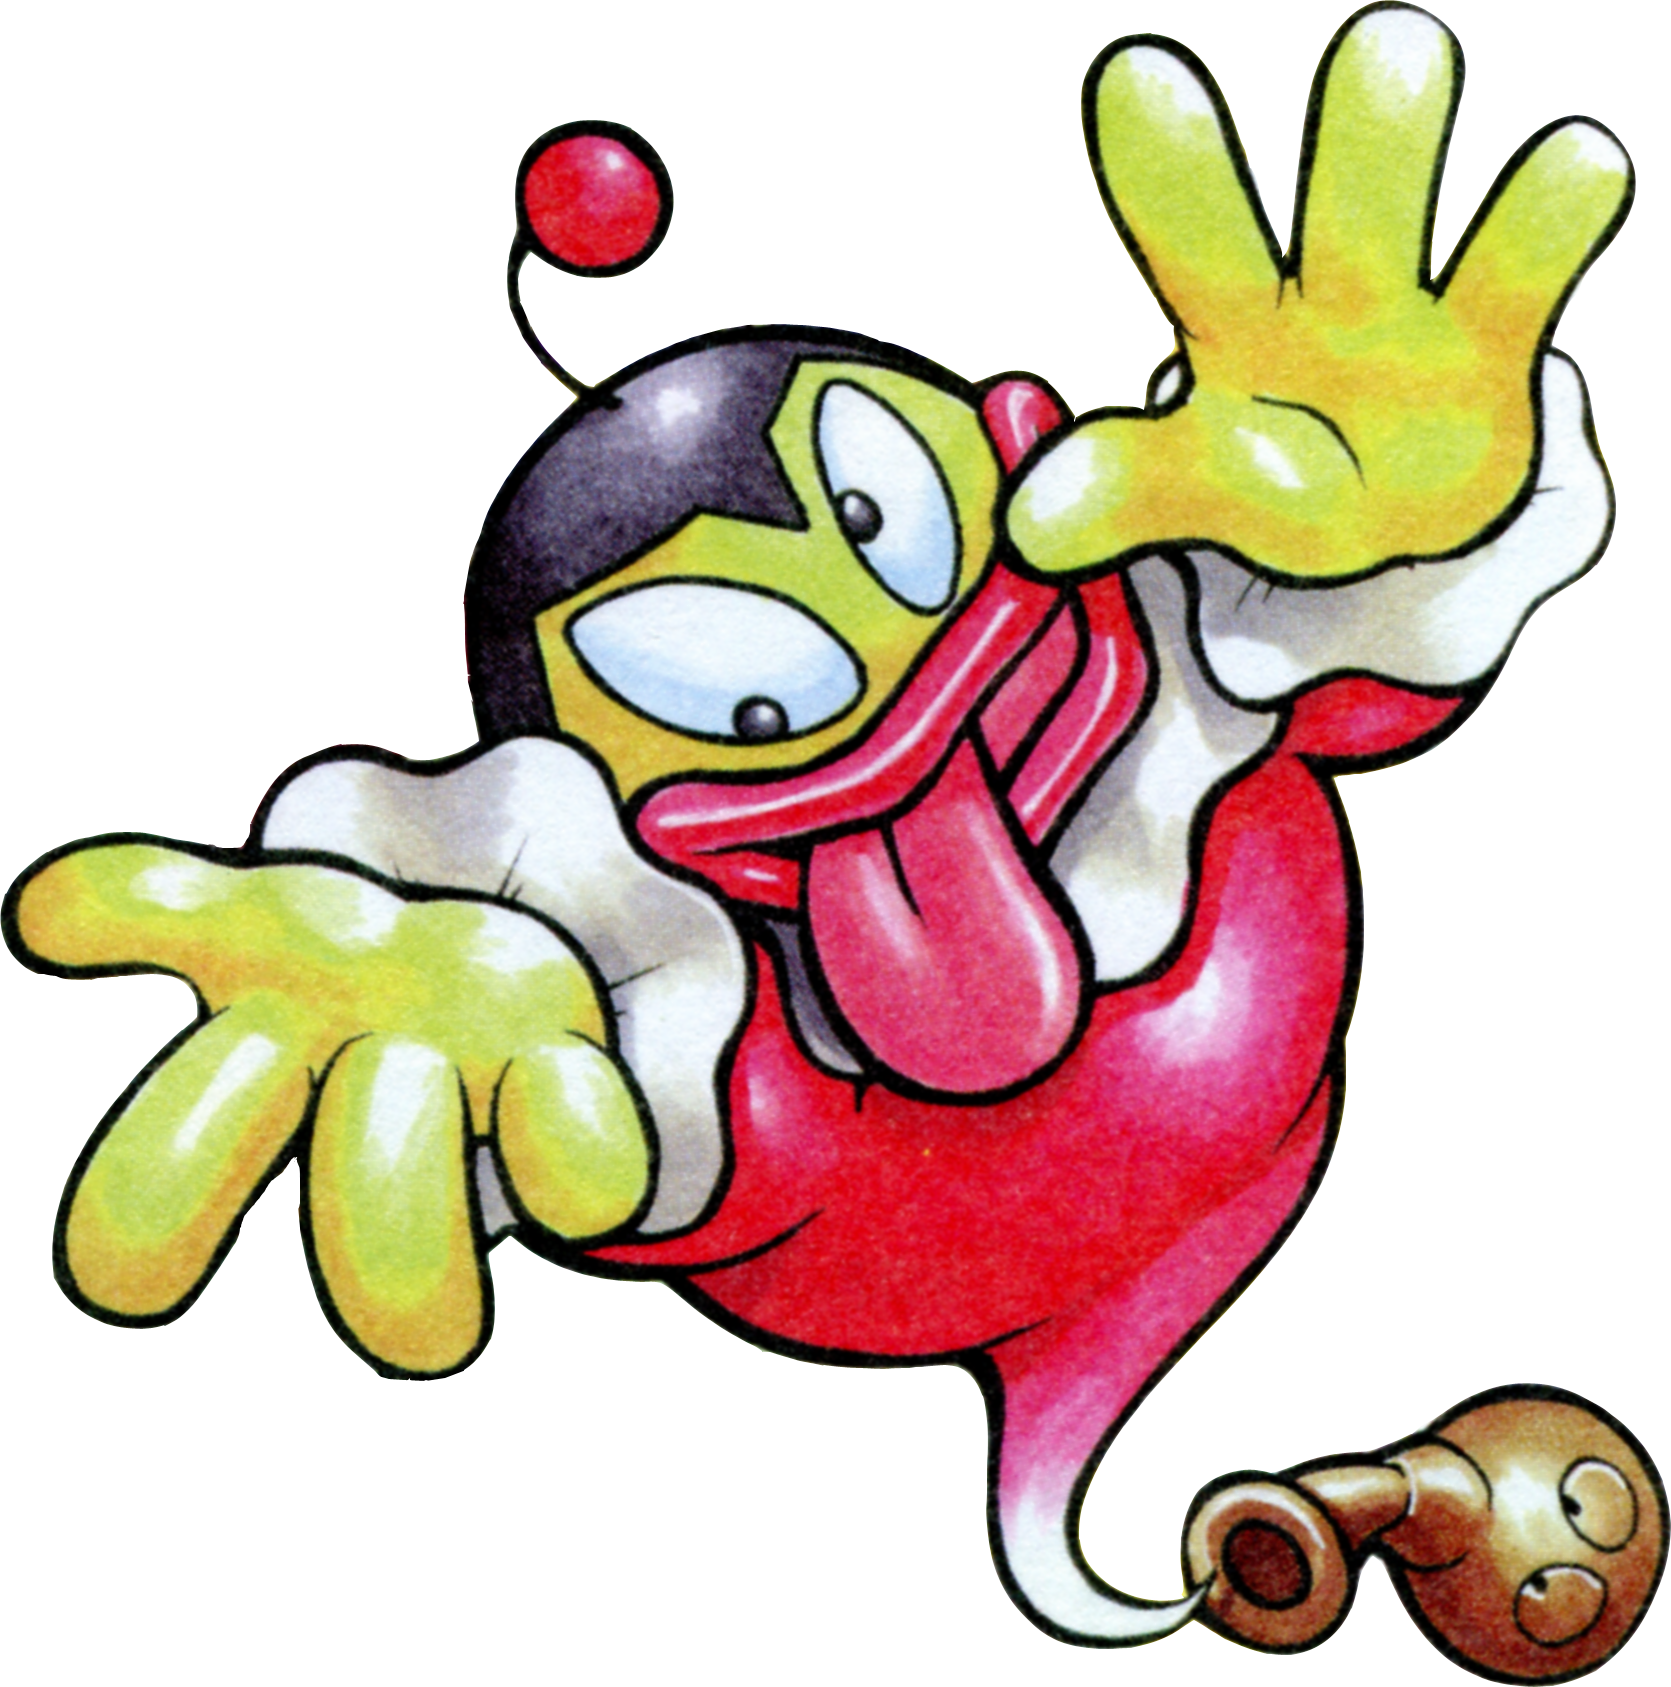
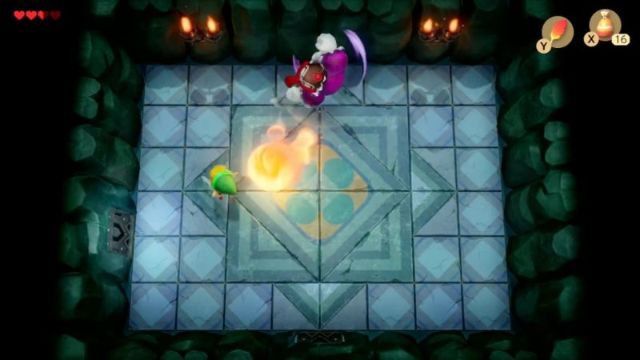
The Genie will start the battle moving back and forth and tossing fireballs out at you. You cannot harm the Genie during this phase, so just move back and forth throughout the room, avoiding the fireballs. Once the Genie goes back into its bottle it will bounce around the room towards you. Slash at the bottle once with your sword to stun it, and then pick it up and toss it to the side using your power bracelet. The process will then repeat and you’ll have to do this until you’ve tossed the Genie’s bottle three times. Once you’ve hit that magic number, the bottle will shatter and the Genie will be vulnerable.
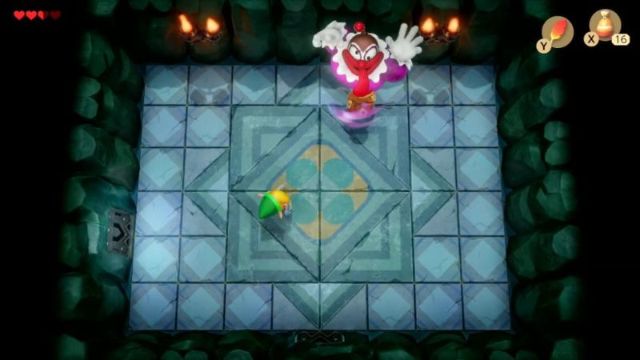
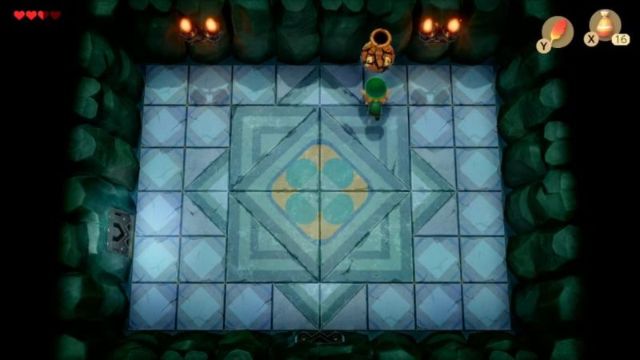
During the second phase of the battle, the Genie will move around the room tossing fireballs at you. Just avoid them by always moving left or right. They do take a full heart of damage each time they hit Link, so be sure to move quickly, perhaps even using Roc’s Feather to jump away faster. When you have a chance, deliver a sword slash at Genie. This will cause the Genie to spin around for a few moments and it will then toss another fireball at you. Repeat this same process until you have hit the Genie 8 times, at which point it will then be defeated.

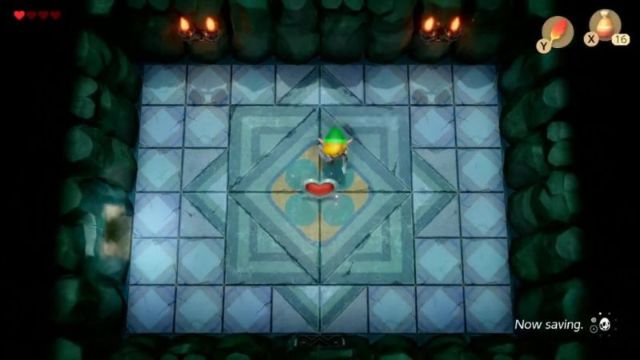
Once Genie has been defeated, pick up the full Heart Container that is left as your reward, increasing your total health to six heart containers. Walk left a screen and collect the second of the eight Instruments of the Sirens…the Conch Horn.
| “…PRAIRIE……PRAIRIE… The Prairie is waiting…” |
