- Chapter 1 – Outset Island
- Chapter 2 – Forsaken Fortress
- Chapter 3 – Windfall Island
- Chapter 4 – Dragon Roost Island
- Chapter 5 – Dragon Roost Cavern
- Chapter 6 – Forest Haven
- Chapter 7 – Forbidden Woods
- Chapter 8 – Nayru’s Pearl
- Chapter 9 – Tower of the Gods
- Chapter 10 – Hyrule Castle
- Chapter 11 – Earth Temple
- Chapter 12 – Wind Temple
- Chapter 13 – The Triforce
- Chapter 14 – Ganon’s Tower
10.1 The Master Sword
After completing the Tower of the Gods, Link can ring the bell at the very top of the tower. This triggers a cut-scene that sends Link, along with the King of Red Lions, below the sea, down to Hyrule Castle. Once you regain control of Link, head inside of the Castle.
There are a ton of Moblins and Darknuts within the Castle, but they are all frozen and are unable to harm Link. Likewise, these enemies are statues and Link cannot defeat them at the moment. Additionally, there is another exit to the castle on the opposite side. However, there is nothing of interest for us to do there at the moment.

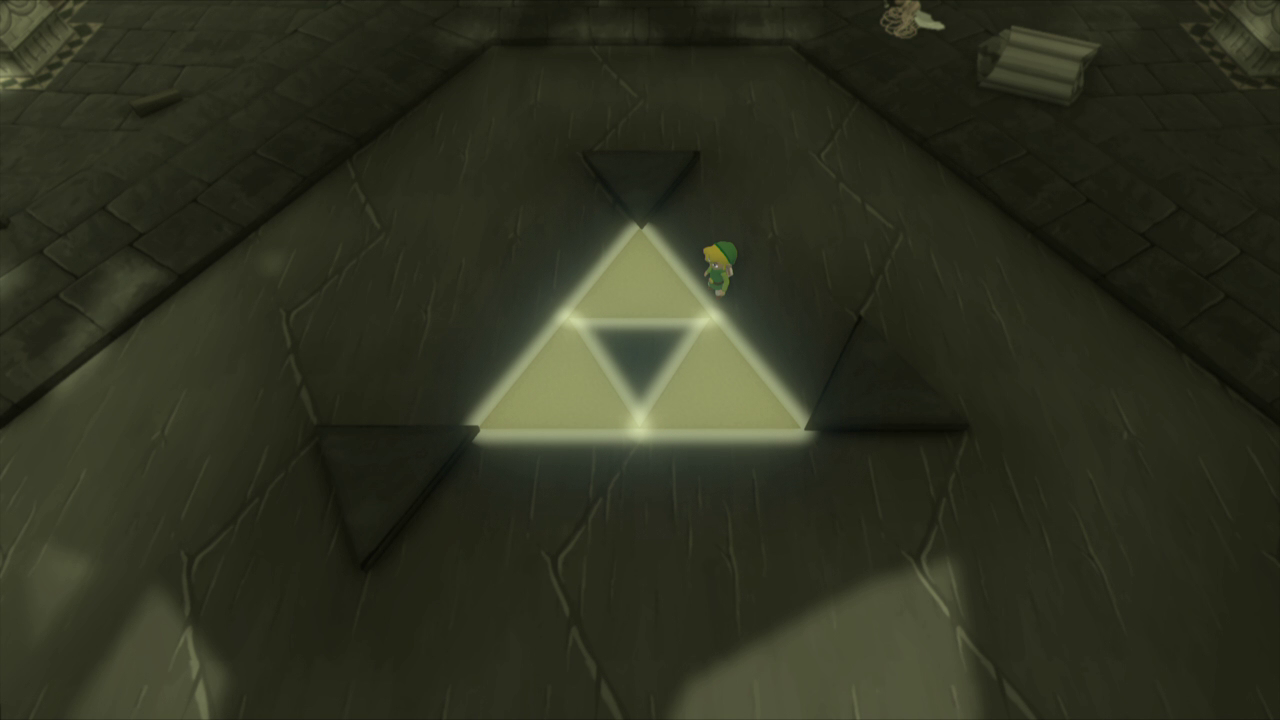
Run over to the center part of the Castle and you’ll see a Triforce emblem on the floor along with a trio of blocks. Two of the blocks are right next to each other, while the third one is just to the side. What you need to do here is pull the triangle pieces so that they sit on top of the Triangle marks on the flooring that makeup the Triforce.
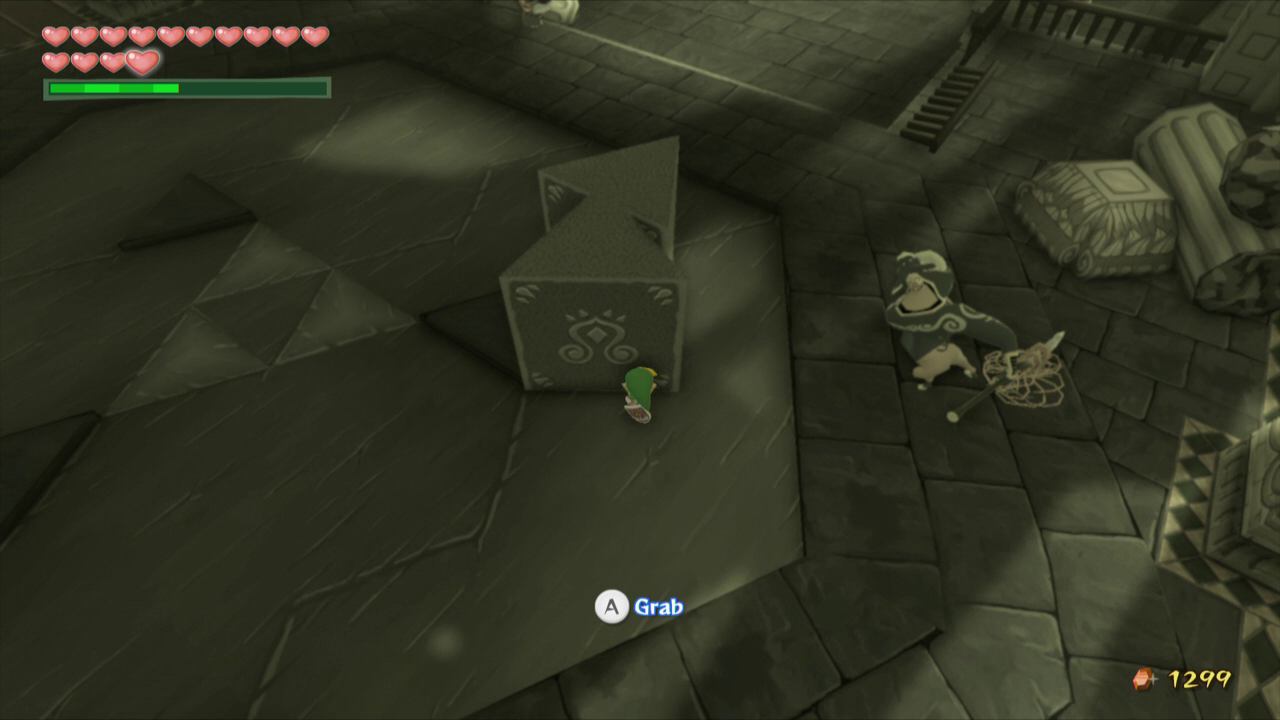


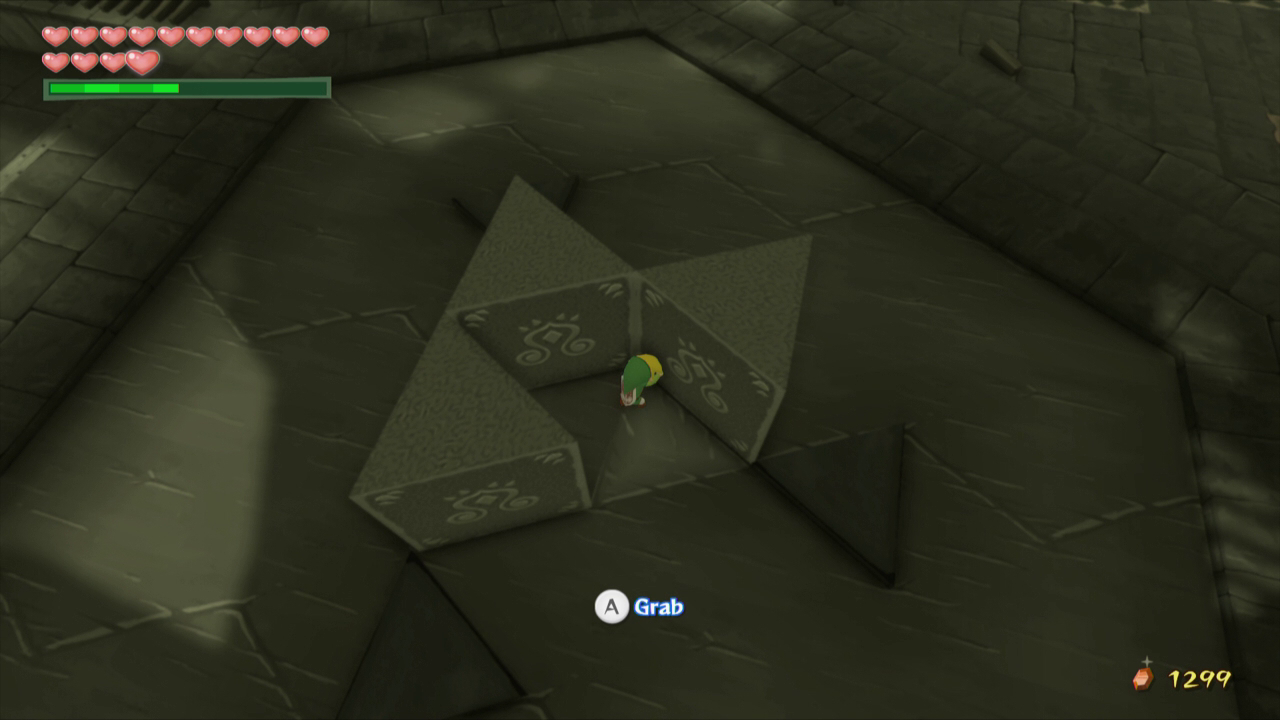
There are a few triangle blocks that stick out of the ground, preventing Link from pushing the moveable blocks on top of them. Once Link successfully shapes the three blocks, they’ll drop into the floor, and the large hero statue in the Castle will move, revealing a staircase.
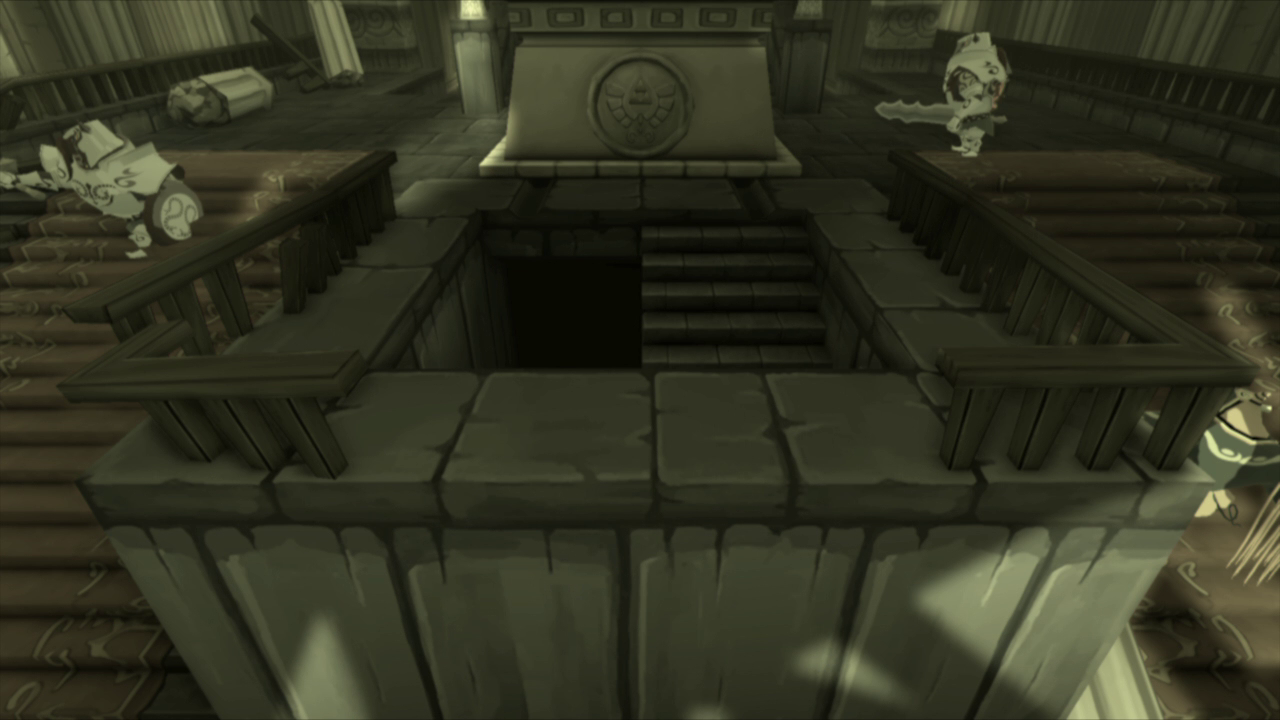
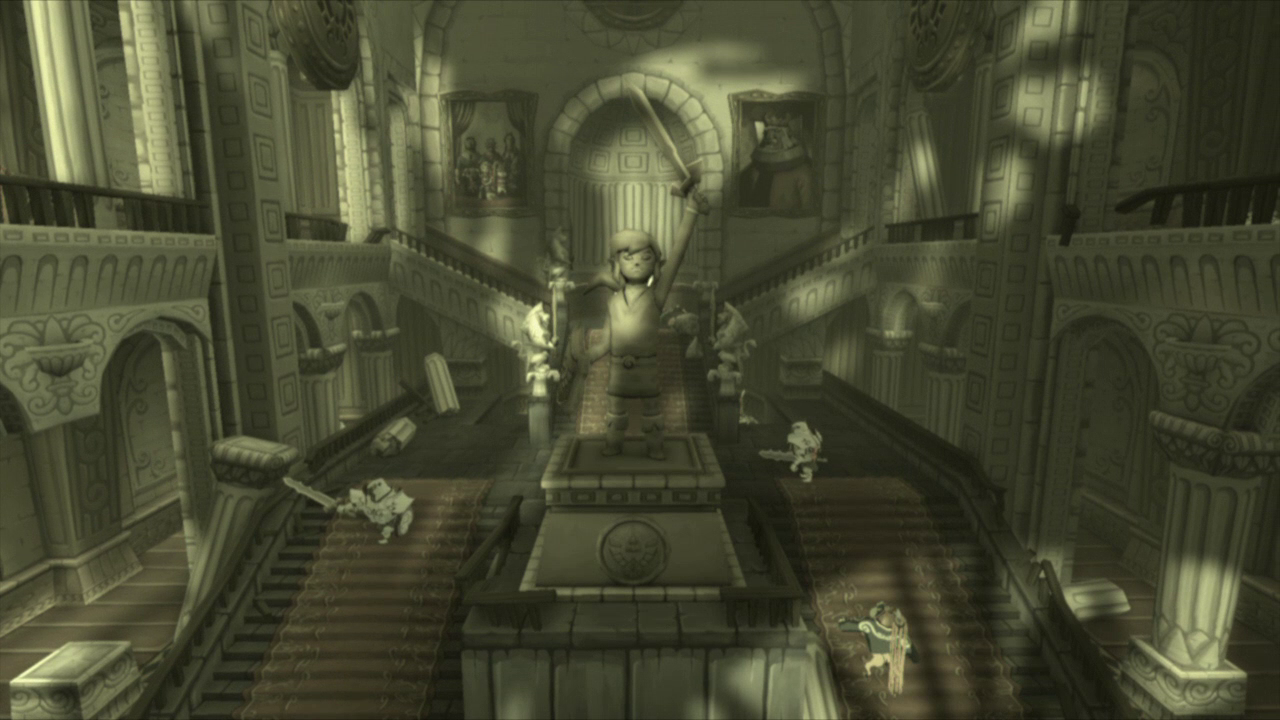
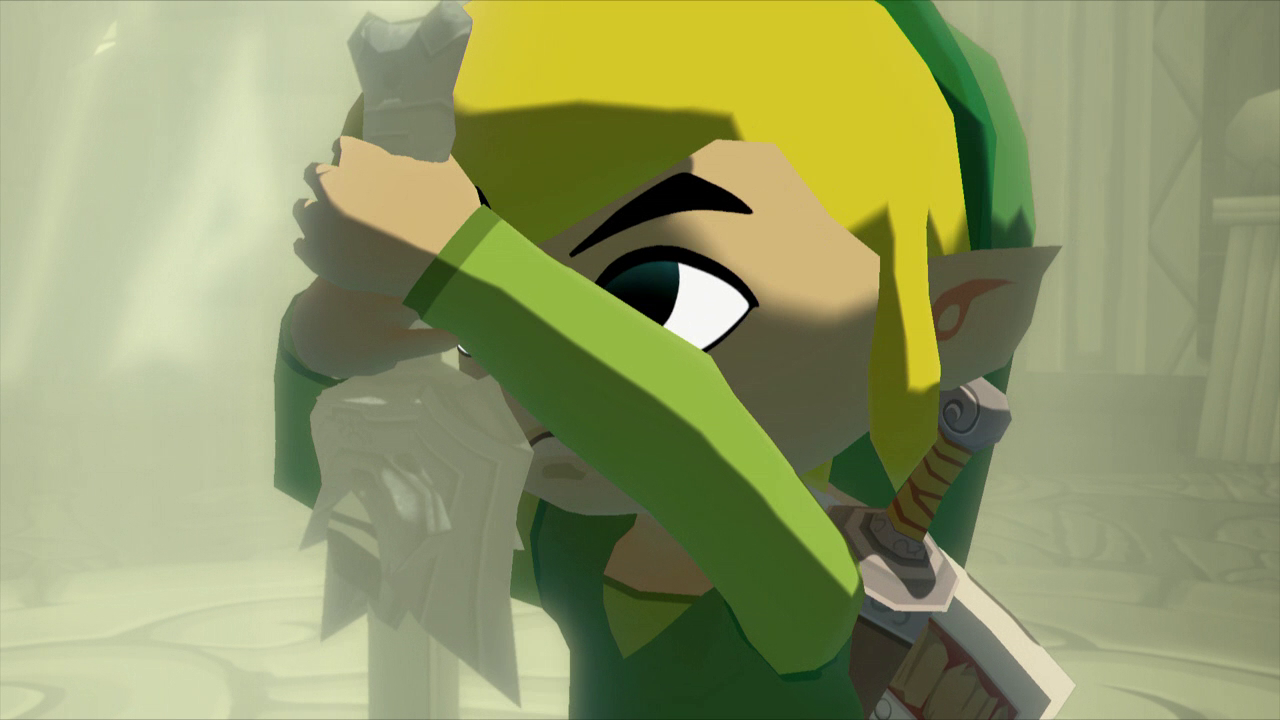
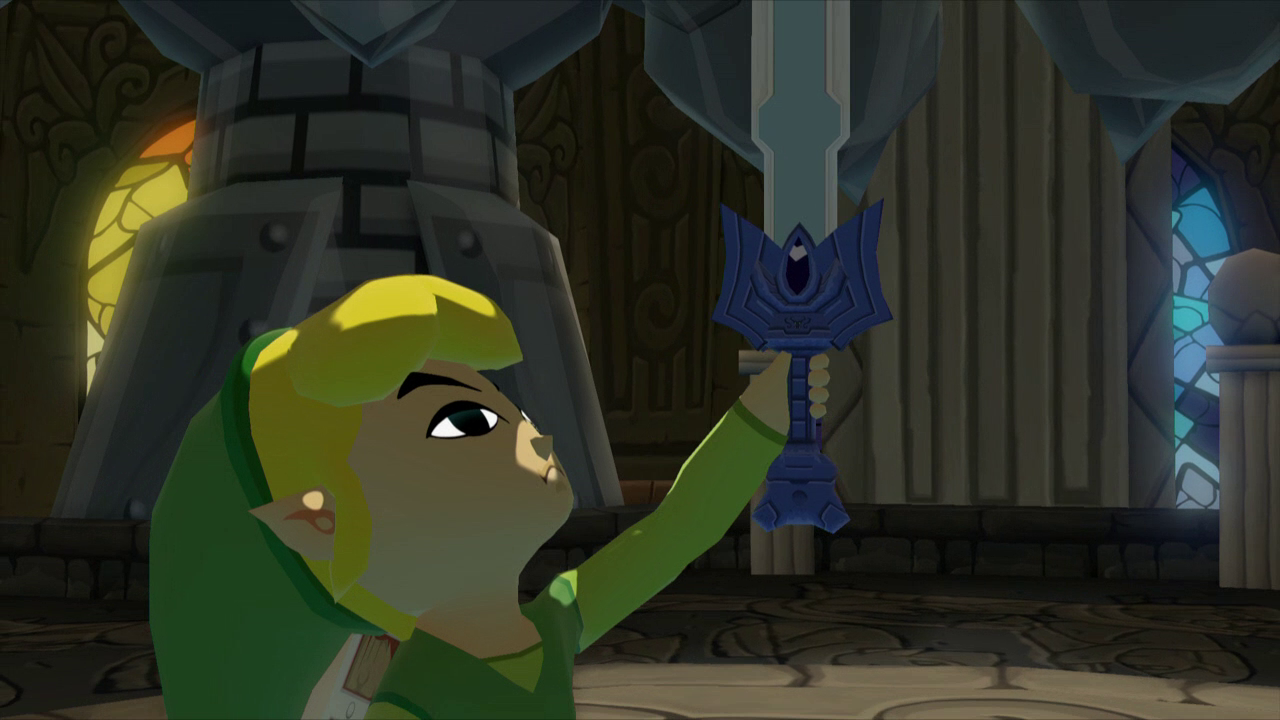
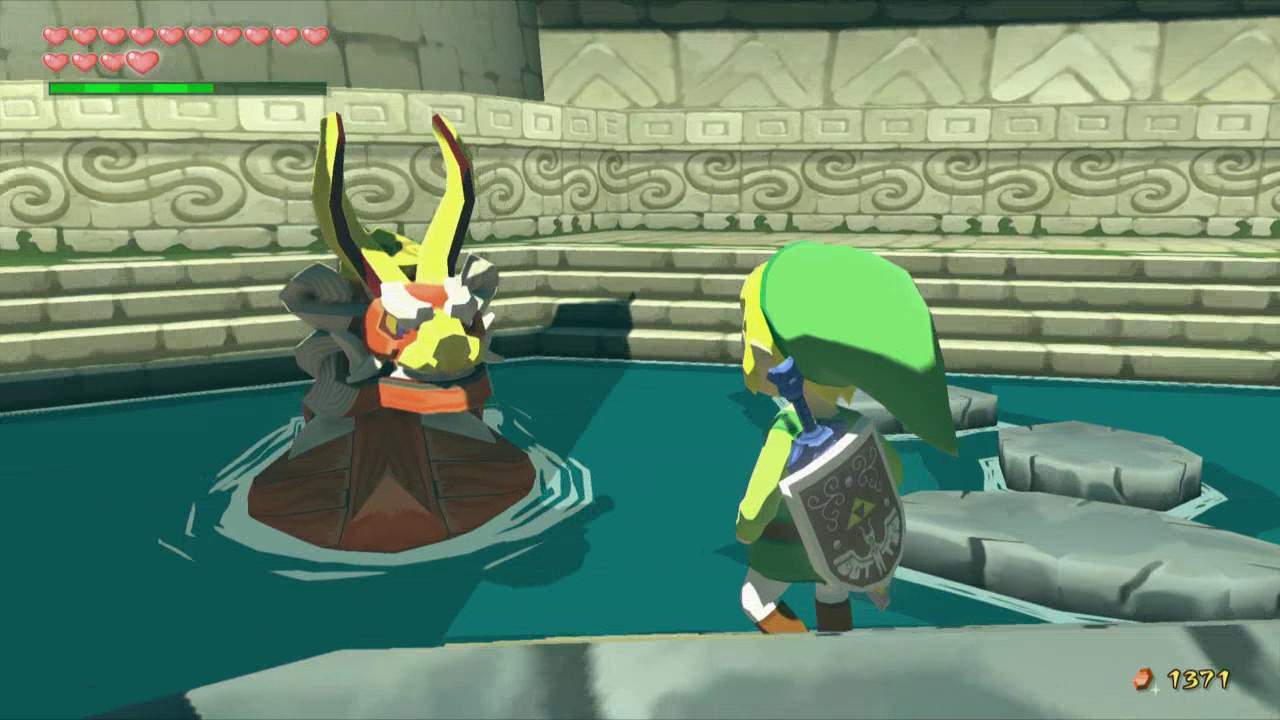
Run down the staircase and make your way over to the Pedestal where the legendary Master Sword sits. After a short cinematic, return to the staircase and climb back up to the upper floor of Hyrule Castle.

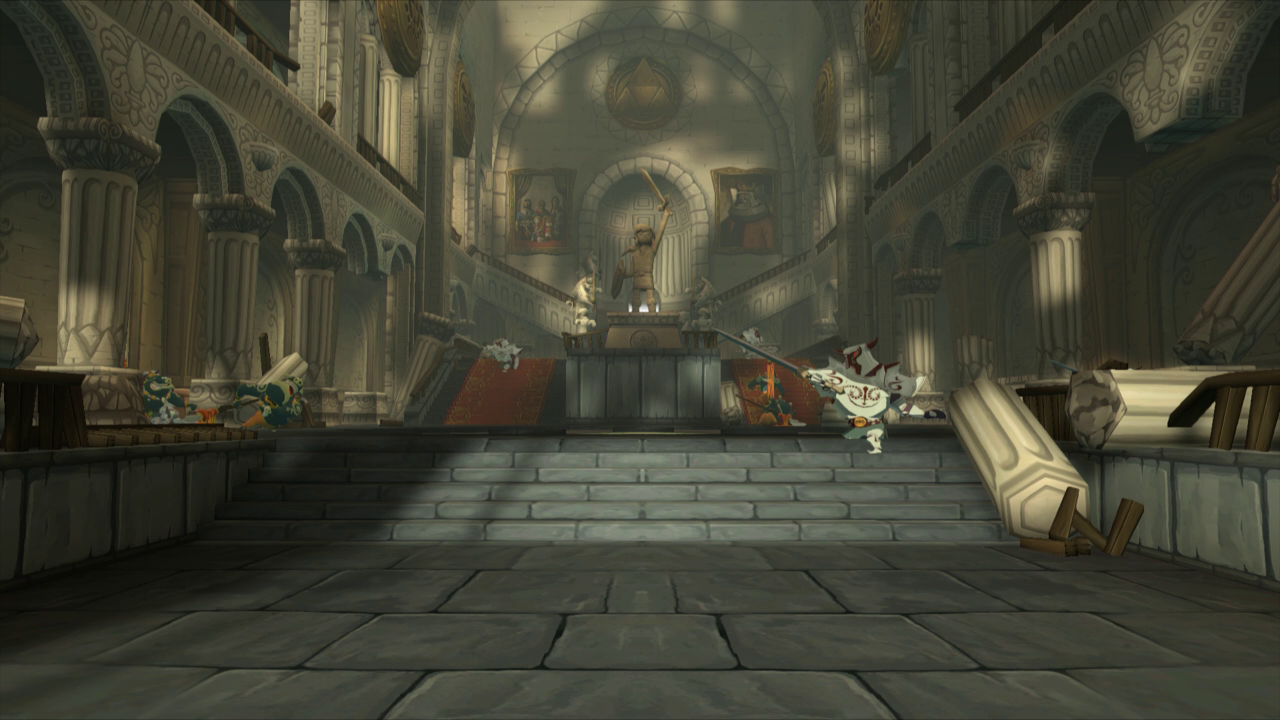
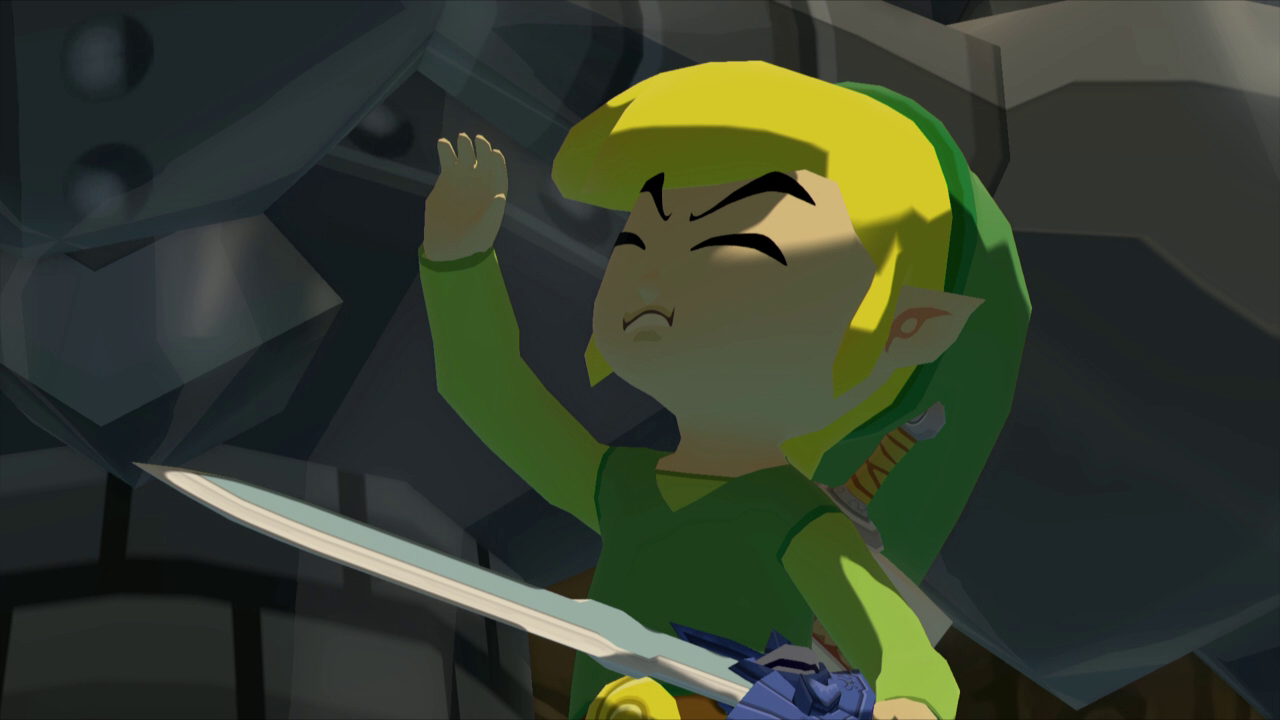
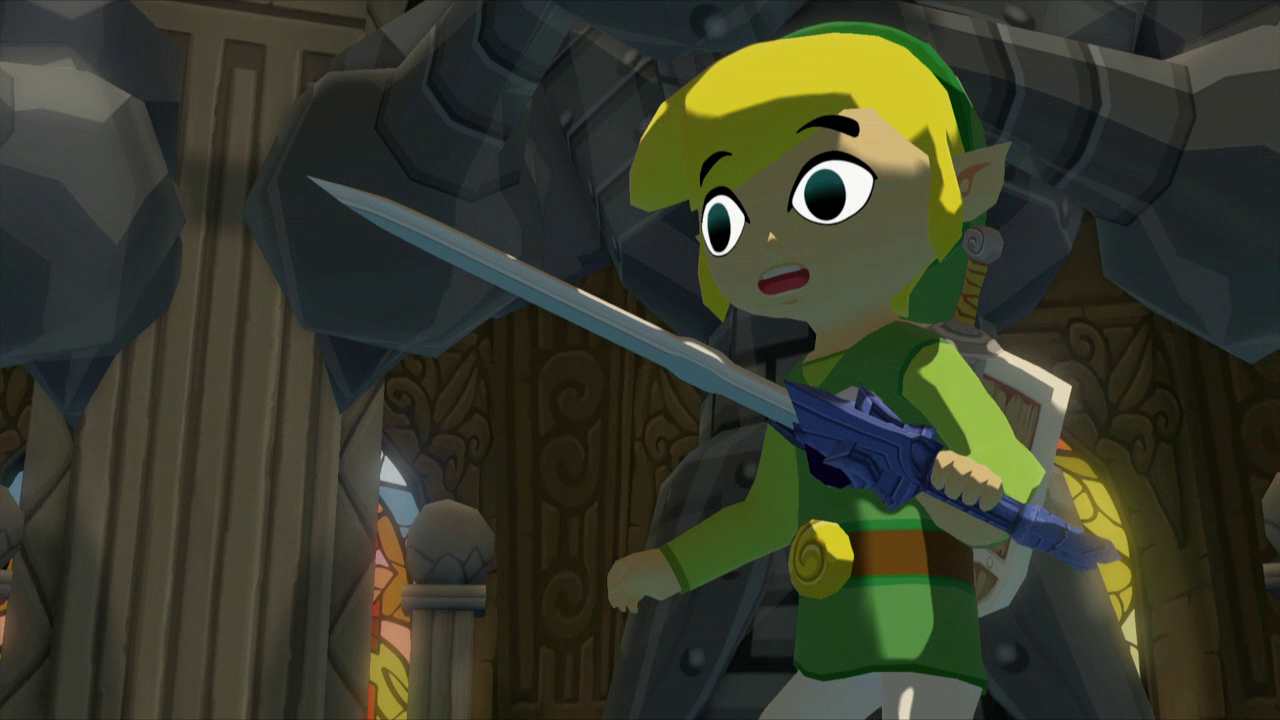
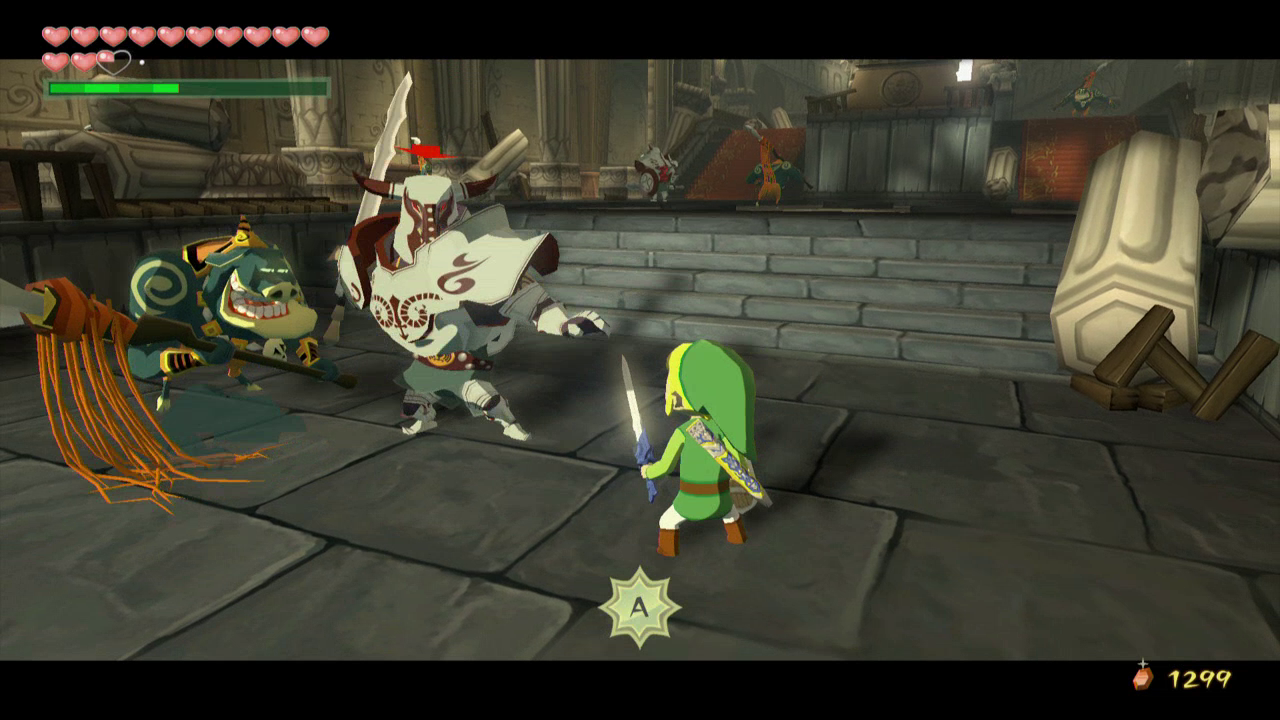
The two entrances of the castle are now blocked off and all of the Moblins and Darknuts are now active. Link will needed to defeat every last enemy in this room to remove the barriers. Fortunately, Link now has the upgraded Master Sword and these enemies are much easier to defeat.
While fighting the enemies, be sure to use the Grappling Hook to snatch up some spoils. Moblins will always leave a Skull Necklace while the Darknut will leave a Knight’s Crest. Link cannot pull the Knight’s Crest out initially and will first need to remove the Darknut’s helmet.
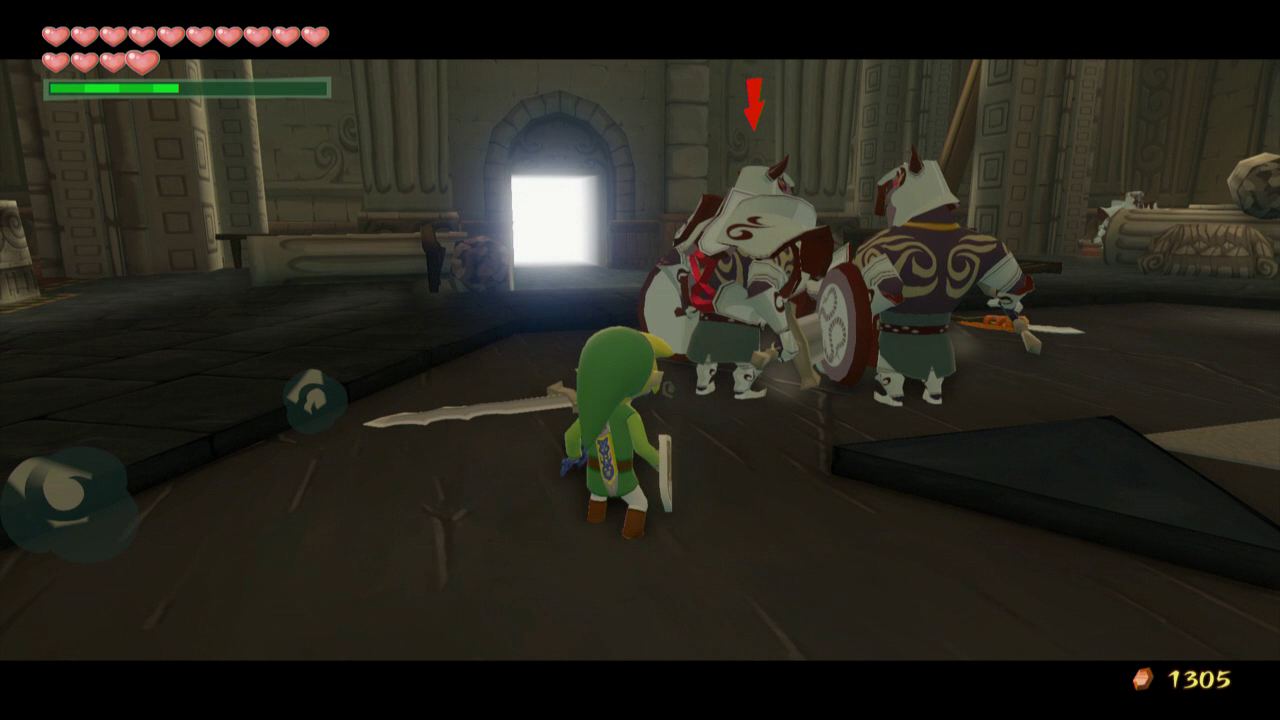
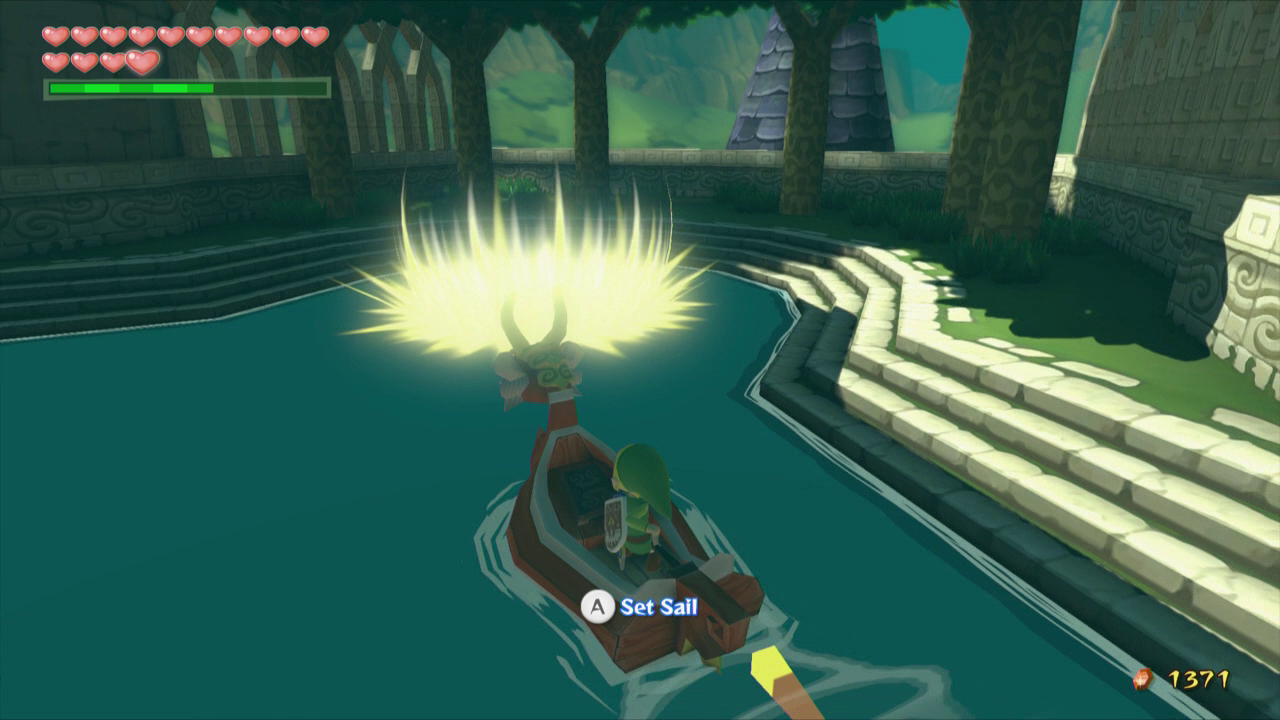
After all the enemies have been defeated, exit the Castle the way your first entered and return to the King of Red Lions. Jump on the sail on the boat and sail over to the shining light to return to the top of the Great Sea, just outside of the Tower of the Gods.
10.2 More Great Sea Goodies
Now that we have the Bow and Arrow, there are a few goodies for us to collect in the Overworld. Most of this chapter will consist of optional material. To continue onward in the Main Quest, jump over to section 10.4.
From the Tower of the Gods our next destination is just to the northwest. However, there is a nearby Sunken Treasure that we can now get.
-Treasure Chart #6 – Six-Eye Reef (West of the Tower of the Gods) – 200 Rupees
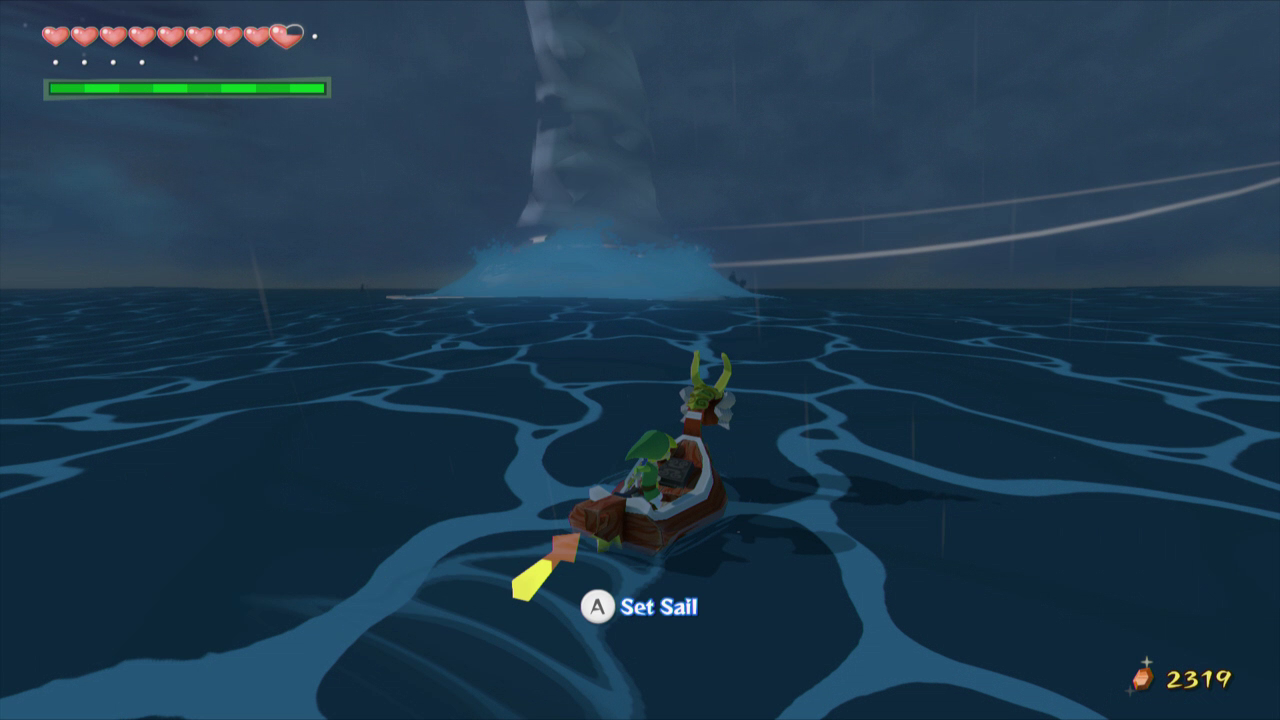
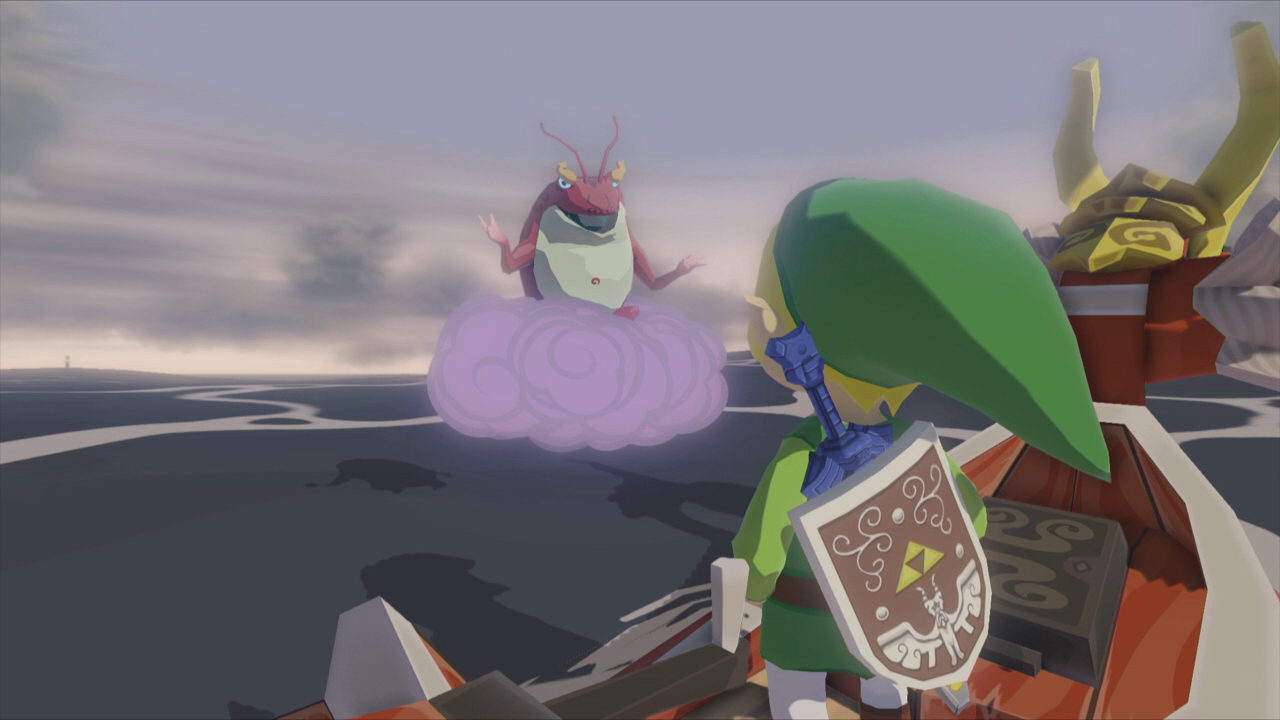
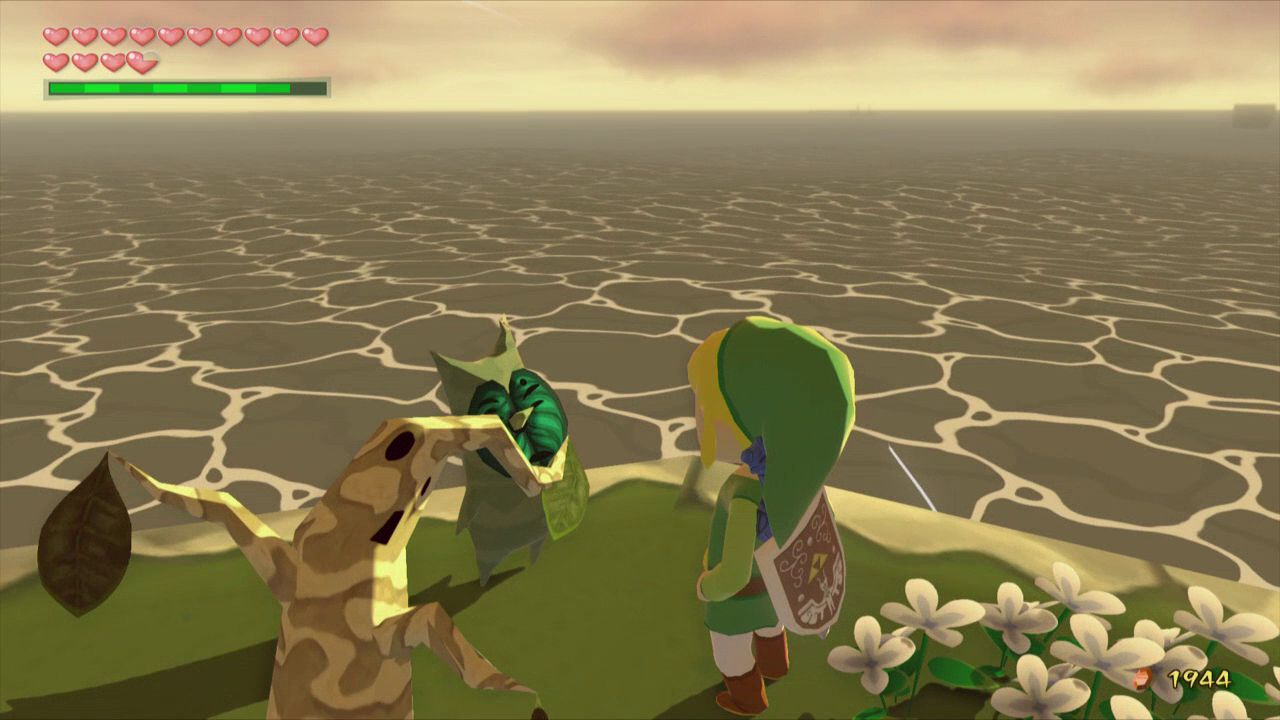
Northwest of the Tower of the Gods is Northern Triangle Island. Within this square region, Link will find a massive cyclone. Sail on over and Link’s boat will begin to get sucked in. Link will also meet Cyclos, the brother of Zephos. Aim carefully and shoot Cyclos with an Arrow. Link will need to shoot Cyclos three times in order to stop the cyclone.
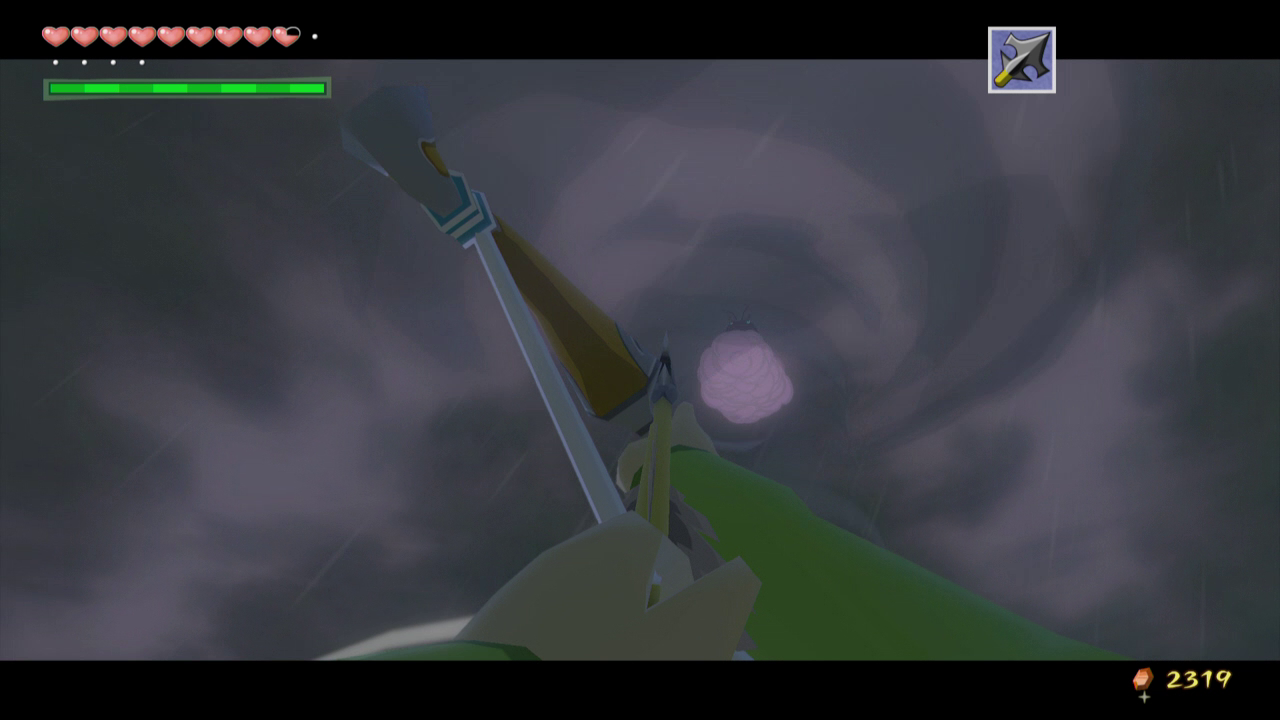
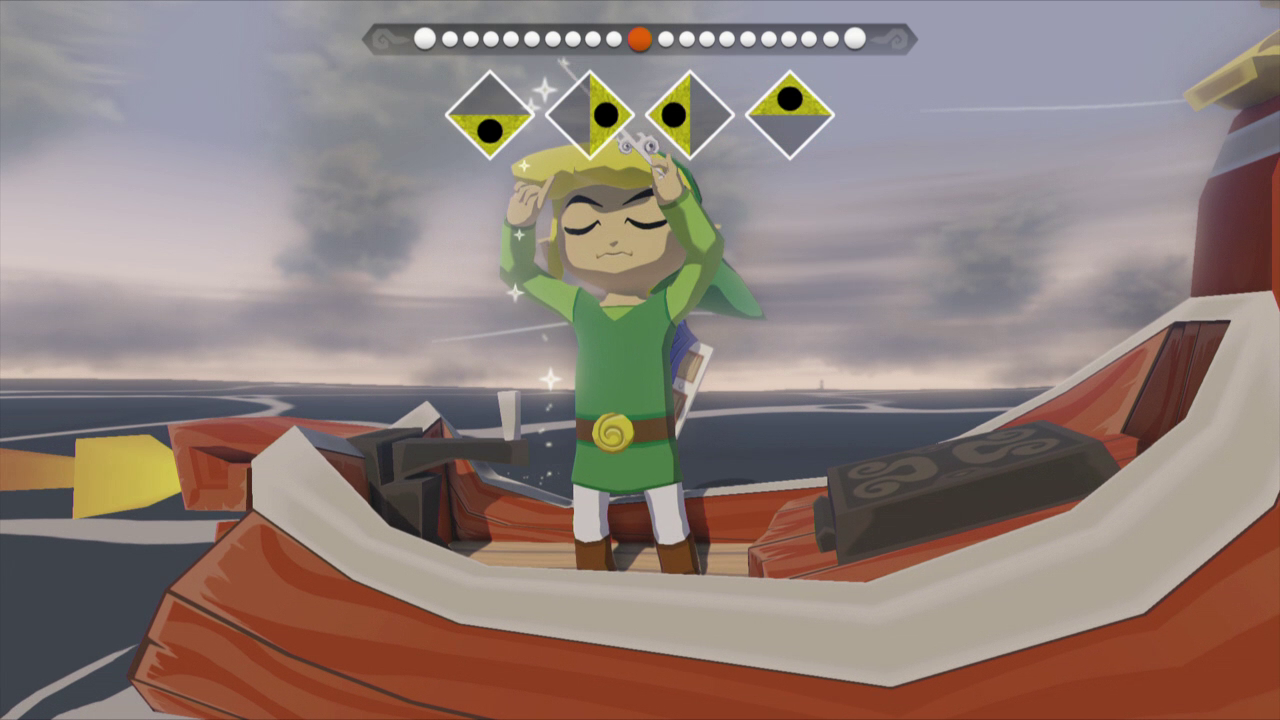
After hitting Cyclos three times, he’ll come and speak with Link, teaching him the Ballad of Gales. This song allows Link to quickly travel to nine set locations along the Great Sea. It makes travel from one island to another significantly easier.
Our next destination is over at the Seven-Star Isles, located just north of Dragon Roost Island. However, there is another Sunken Treasure we can get along the way. This one is important as it contains Piece of Heart #34.
-Treasure Chart #30 – Pawprint Isle (East of Windfall Island) – Piece of Heart #34
Just south of Seven-Star Isles there are a series of platforms. Climb up the middle and Link will encounter a bunch of Wizzrobes. Use your bow to shoot and defeat these enemies. As you defeat them, three different Treasure Chests will appear. The first contains a Red Rupee, the second contains a Golden Feather, and the third one contains Treasure Chart #16.
Our next step is right nearby, just east of Dragon Roost Island over at the Flight Control Platform. Near the actual Platform Link can find another Submarine. Inside of the submarine, Link will find a number of Wizzrobes and Miniblins. The Miniblins will keep on coming, so avoid them whenever possible and use your arrows to defeat the Wizzrobes. Open the treasure chest to get the Platform Chart!
That’s all the new treasure charts and goodies that we can collect for now. We just got Treasure Chart 16, so you can collect the Sunken Treasure. Luckily, we just learned the Ballad of Gales, so you can quickly warp over to Southern Fairy Island and just sail westward.
-Treasure Chart #16 – Shark Island (Northeast of Outset Island) – 200 Rupees
10.3 Trading Sequence
Now that we have the Ballad of Gales, we can more conveniently complete the Trading Sequence. Technically, you could have completed the Trading Sequence prior to the Tower of the Gods, but it would have involved a lot of tedious sailing.
We did the initial step of the trading sequence in an earlier chapter, but just in case, the first step is back at Windfall Island. Sail on over and speak with Zunari, the man who runs the shop where we initially got the Sail. His business isn’t doing so well and he sends Link out on a quest to attract trading merchants so that he can stock his store with new items. He will start off the Trading Sequence by giving Link a Town Flower (if you didn’t get one earlier).
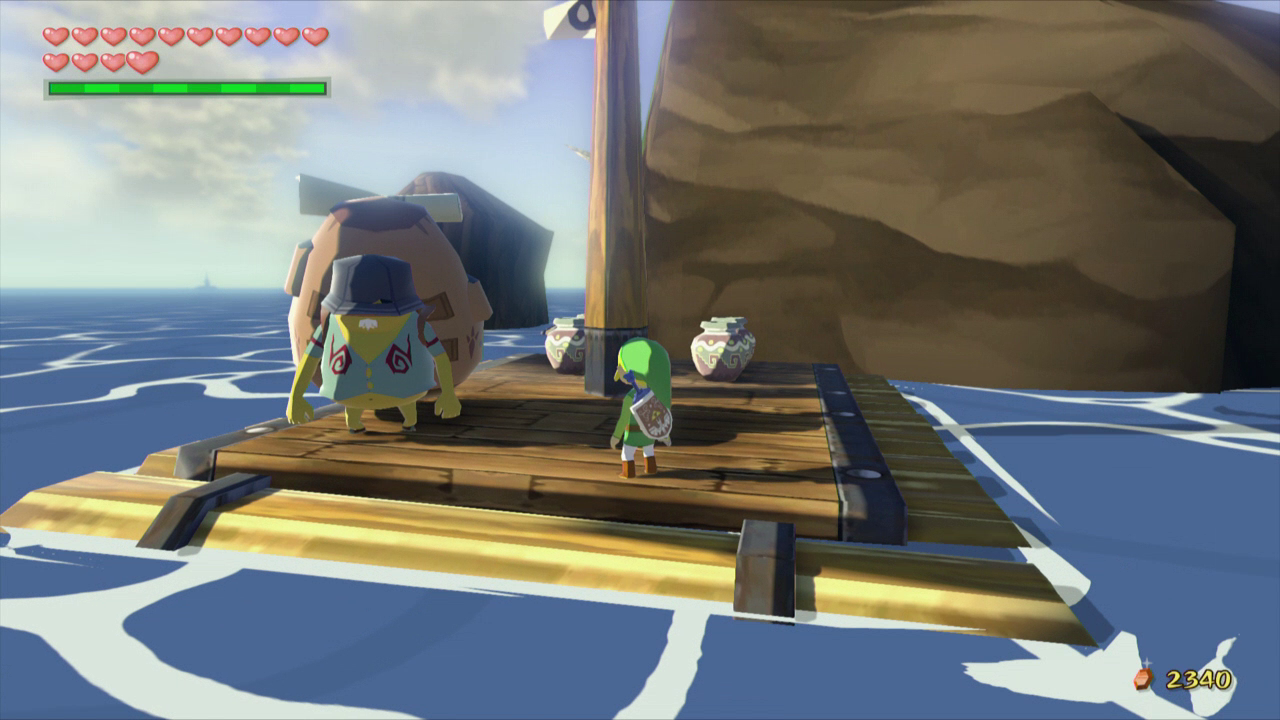
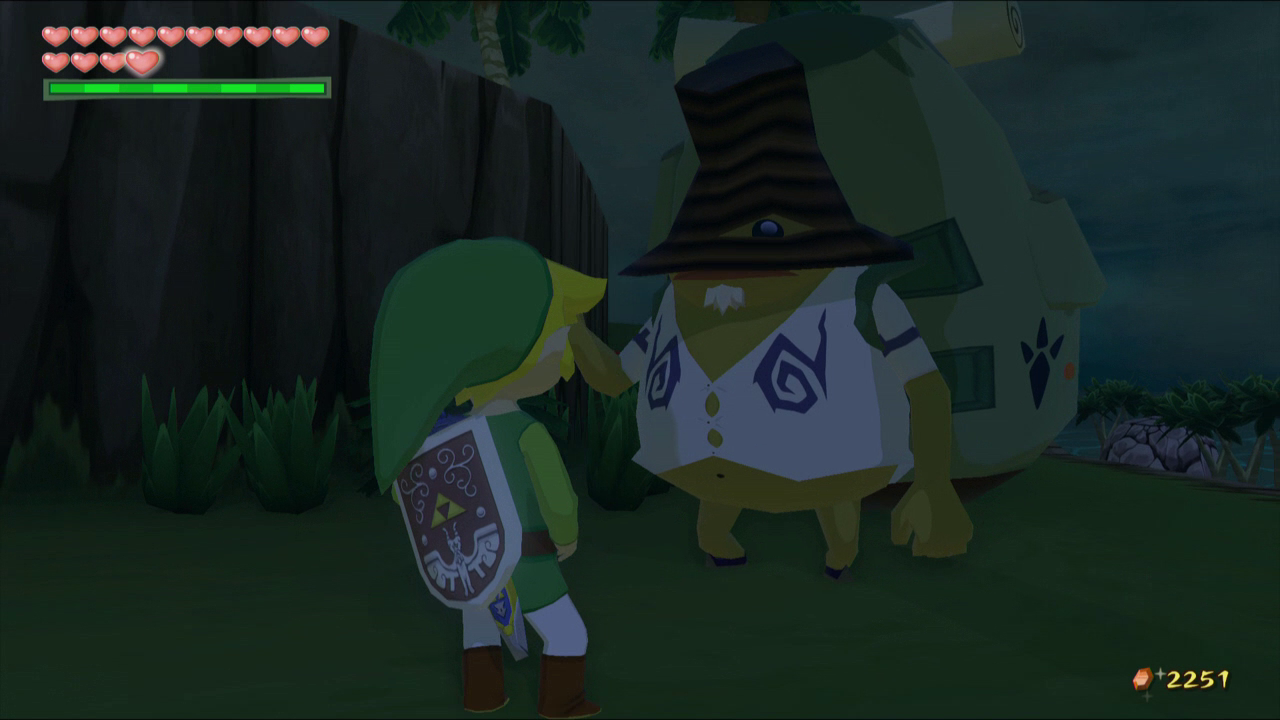
Throughout the Trading Sequence, Link will need to seek out the three Goron Merchants located throughout the Great Sea. One of the merchants is located at Bomb Island, just north of the Forest Haven. Another Goron merchant can be found near Greatfish Isle on a small raft. The third Goron Merchant can be found at Mother and Child Isles on the smaller island, two square regions west of Windfall Island.
Whichever item Link has, he can show it off to any of the three Goron Merchants and they’ll then offer to trade it for another item that Link is holding. However, there will be a rupee charge for Link to make any trade. After making a trade, the item that Link acquires will now permanently be stocked over at Zunari’s Shop at Windfall Island.
There are two major rewards that Link can collect through the Trading Sequence. They included Piece of Heart #35, as well as the Magic Armor. After Link has done the proper trading to acquire the Piece of Heart, enough items will be stocked at Zunari’s shop to where Link can acquire the Magic Armor. The Magic Armor will protect Link from taking damage when it is activated, while draining his magic power.
Shown below is the fastest route that Link can take in order to acquire the Piece of Heart. Additionally, there is a chart of all the potential trades that Link can make along his journey.
- Acquire the Town Flower from Zunari on Windfall Island.
- Give the Town Flower to Greatfish Isle Merchant for the Sea Flower.
- Give the Sea Flower to the Greatfish Isle Merchant for the Exotic Flower.
- Give the Exotic Flower to the Bomb Island Merchant for the Sickle Moon Flag.
- Give the Sickle Moon Flag to the Bomb Island Merchant for the Fountain Idol.
- Give the Fountain Idol to the Mother and Child Isles Merchant for the Big Sale Flag.
- Give the Big Sale Flag to the Greatfish Isle Merchant for the Hero’s Flag.
- Give the Hero’s Flag to the Greatfish Isle Merchant for the Postman Statue.
- Give the Postman Statue to the Mother and Child Isles Merchant for the Shop Guru Statue.
- Give the Shop Guru Statue to the Greatfish Isle Merchant for the Piece of Heart.
- Return to Zunari’s Shop on Windfall Island to acquire the Magic Armor.
| Trading Sequence Chart | ||||
| Item | Bomb Island | Greatfish Isle | Mother and Child Isle | Rupees Needed |
| Town Flower | Sea Flower | Sea Flower | Sea Flower | 0 |
| Sea Flower | Town Flower | Exotic Flower | Town Flower | 20 |
| Exotic Flower | Sickle Moon Flag | Sea Flower | Pinwheel | 25 |
| Pinwheel | Sickle Moon Flag | Exotic Flower | Exotic Flower | 55 |
| Big Catch Flag | Fountain Idol | Fountain Idol | Sickle Moon Flag | 85 |
| Big Sale Flag | Hero’s Flag | Hero’s Flag | Big Catch Flag | 35 |
| Hero’s Flag | Big Catch Flag | Postman Statue | Big Sale Flag | 75 |
| Sickle Moon Flag | Fountain Idol | Fountain Idol | Big Catch Flag | 40 |
| Skull Tower Idol | Fountain Idol | Fountain Idol | Big Sale Flag | 60 |
| Fountain Idol | Sickle Moon Flag | Skull Tower Idol | Big Sale Flag | 60 |
| Postman Statue | Fountain Idol | Fountain Idol | Shop Guru Statue | 100 |
| Shop Guru Statue | Postman Statue | Piece of Heart | Postman Statue | 200 |
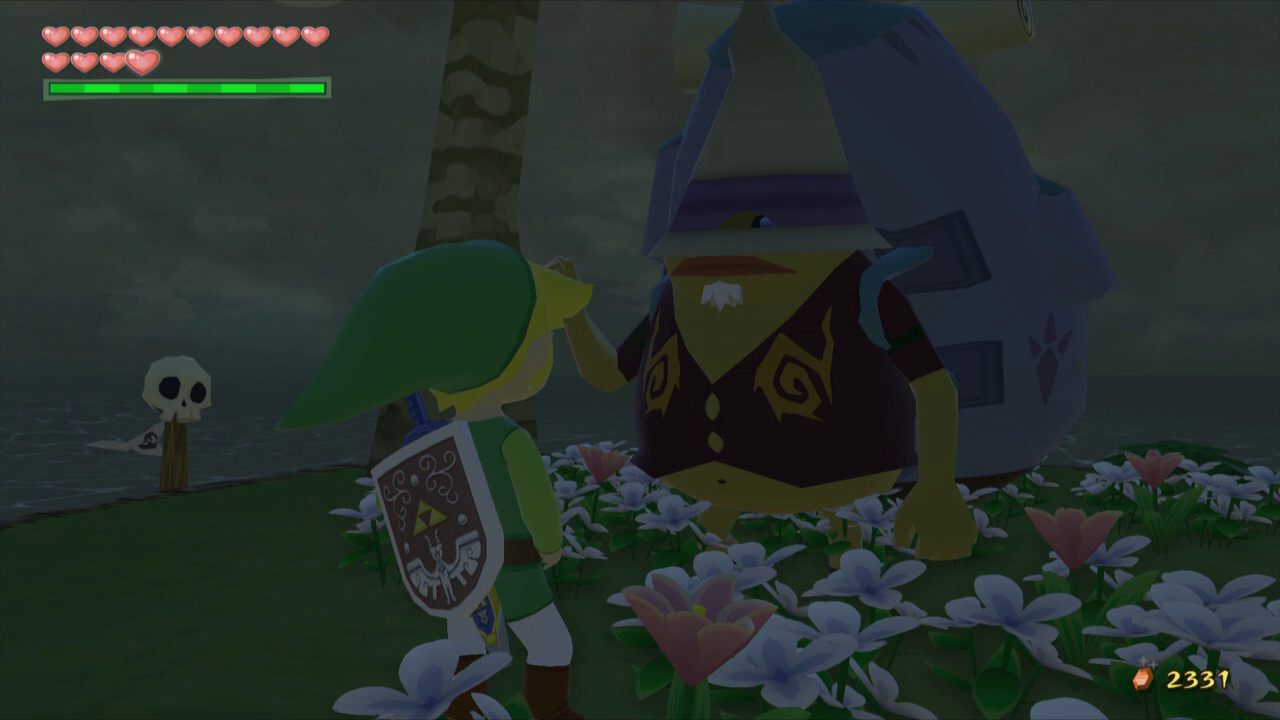
10.4 Withered Deku Trees
Now that we have the Ballad of Gales, we can now complete the Withered Deku Tree Quest. This could have been completed earlier in the game after acquiring the Swift Sail, but it is much more convenient using the Ballad of Gales.
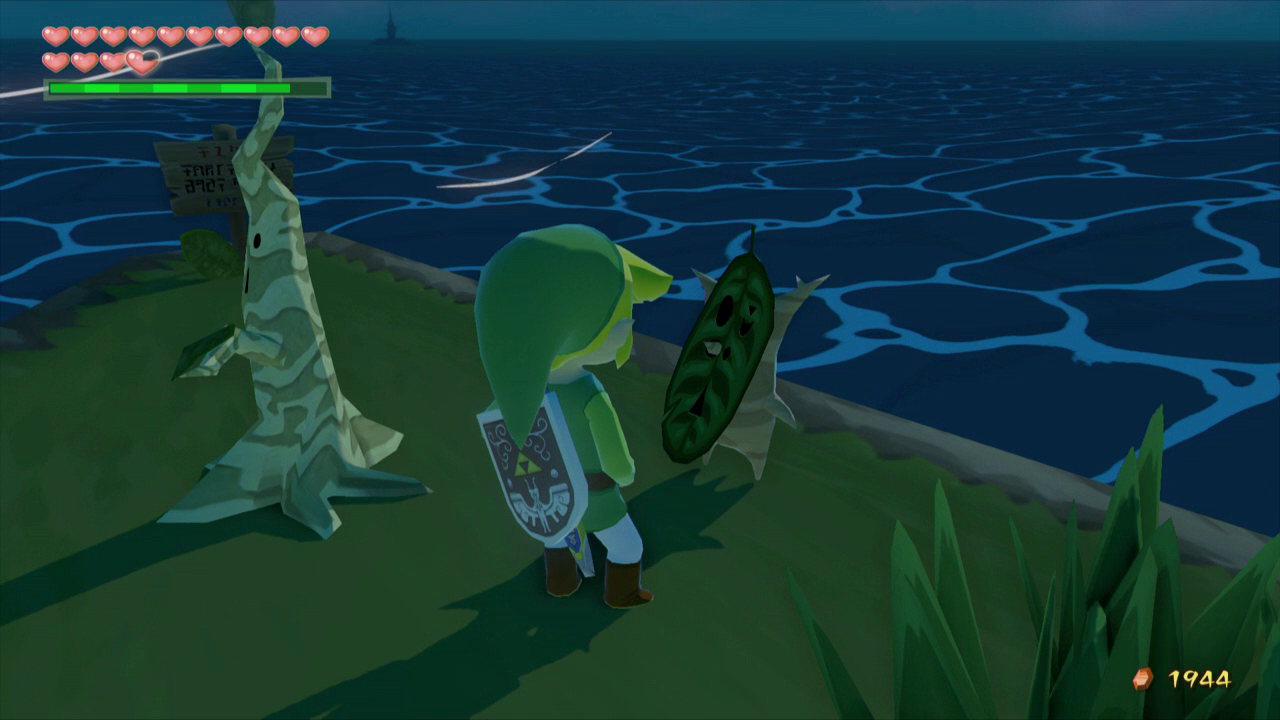
Use the Ballad of Gales to warp on over to the Forest Haven and then make your way inside, near the Great Deku Tree. Use one of your empty bottles to swipe up some Forest Water. This water will stay in Link’s bottle for 30 minutes and then it will revert back to normal water. (Note: In the GameCube version, Forest Water only lasts for 20 minutes).
Link will need to travel through 8 islands along the Great Sea to find the 8 Withered Deku Trees. Once he finds them, he must first speak with the Korok and then he can water the withered tree with some Forest Water. Despite watering the trees, the bottle won’t actually empty and you can use the same bottle for all 8 trees.
There are plenty of different orders that Link can reach the Withered Deku Trees, but listed below is just my personal route to take that is fairly convenient.
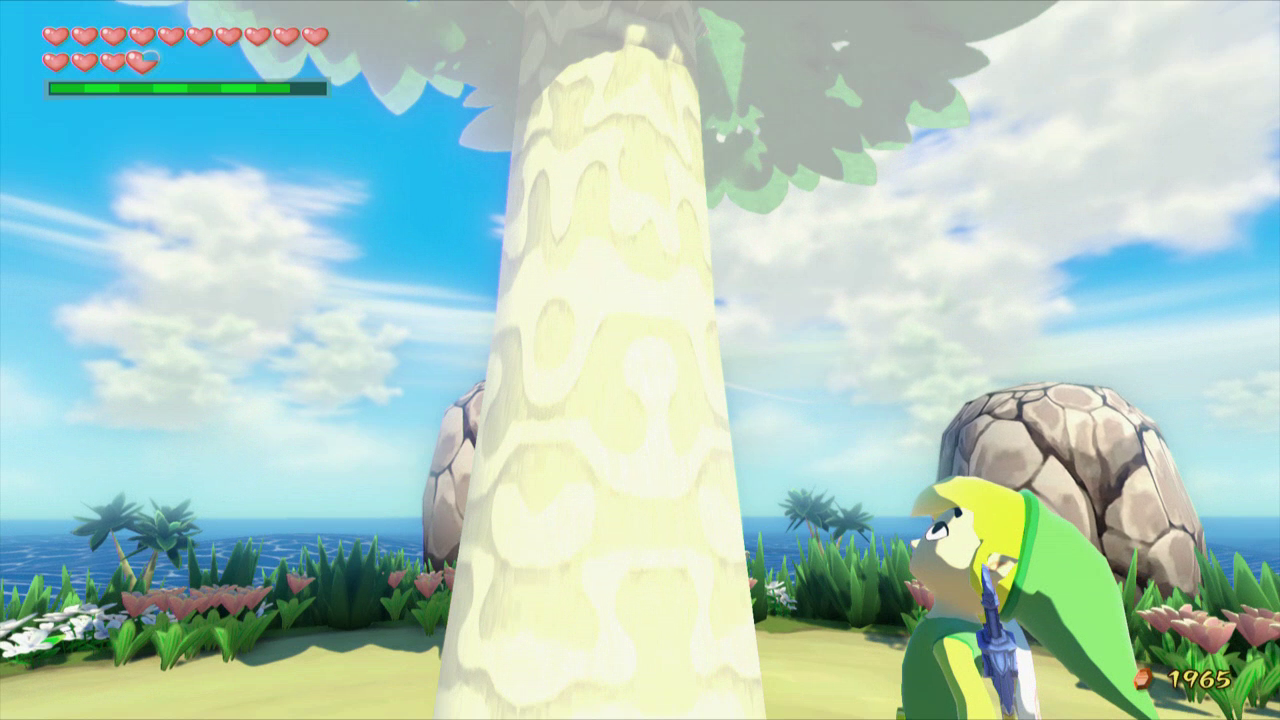
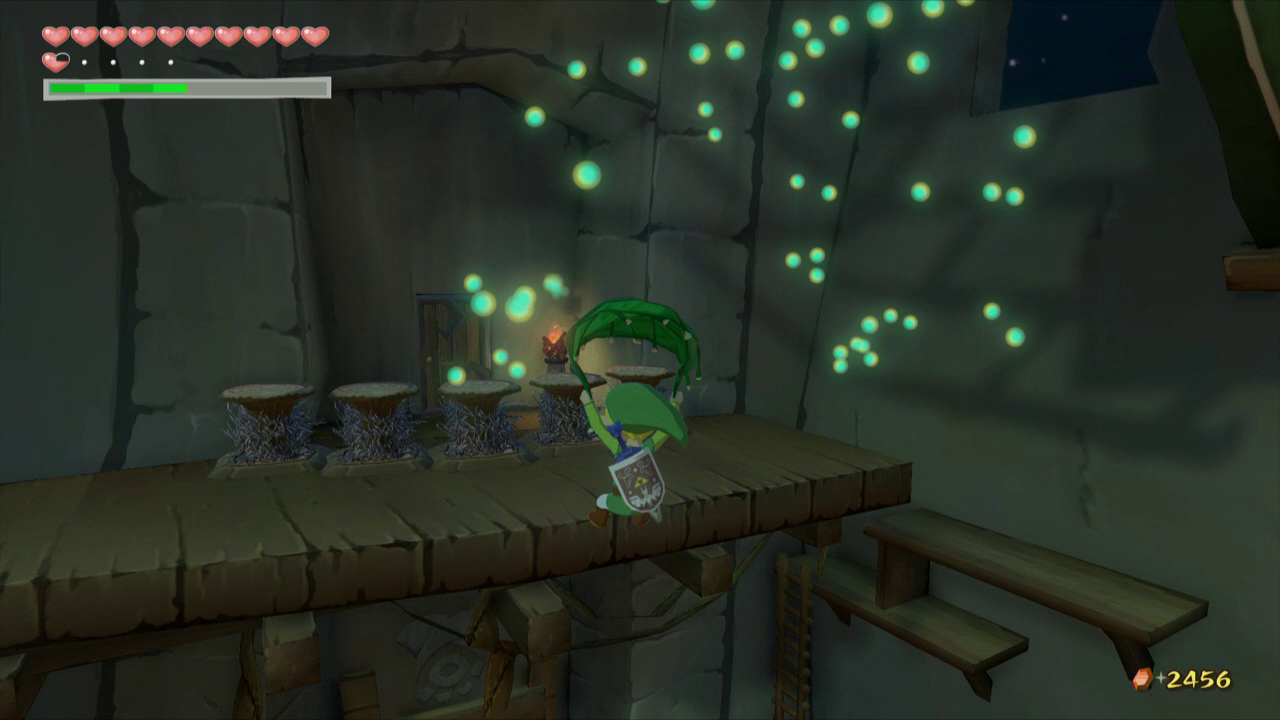
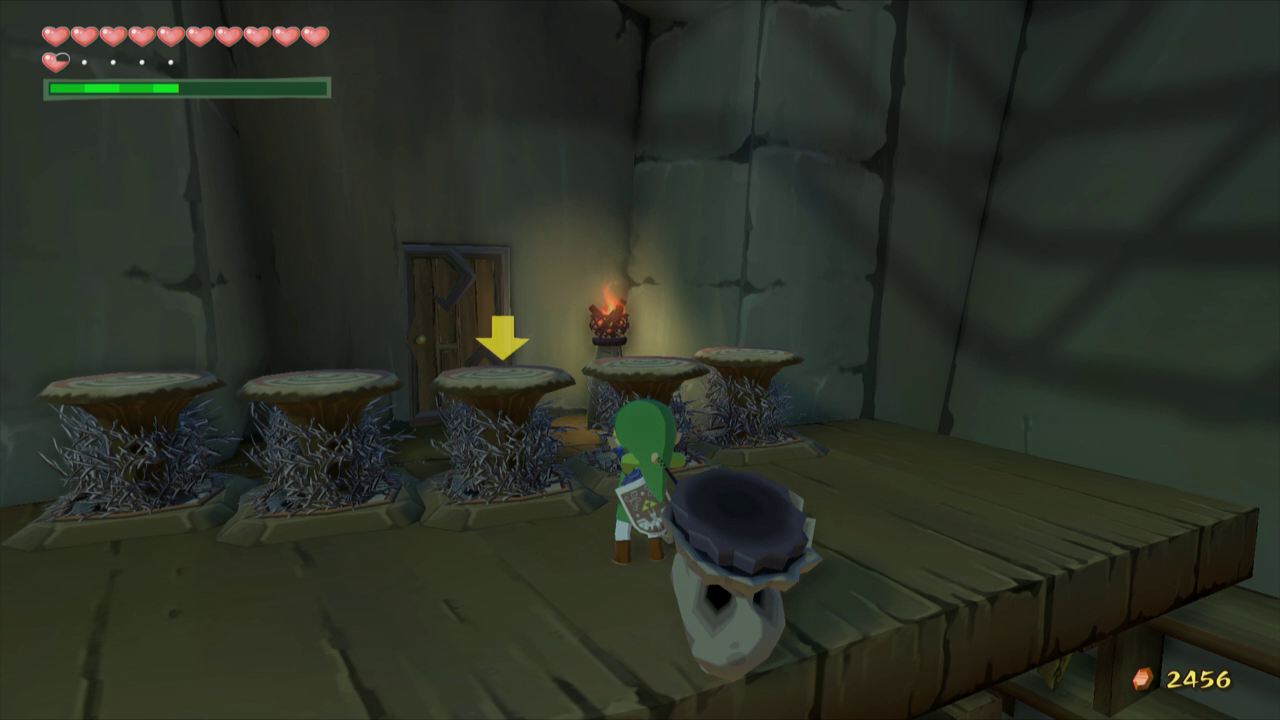
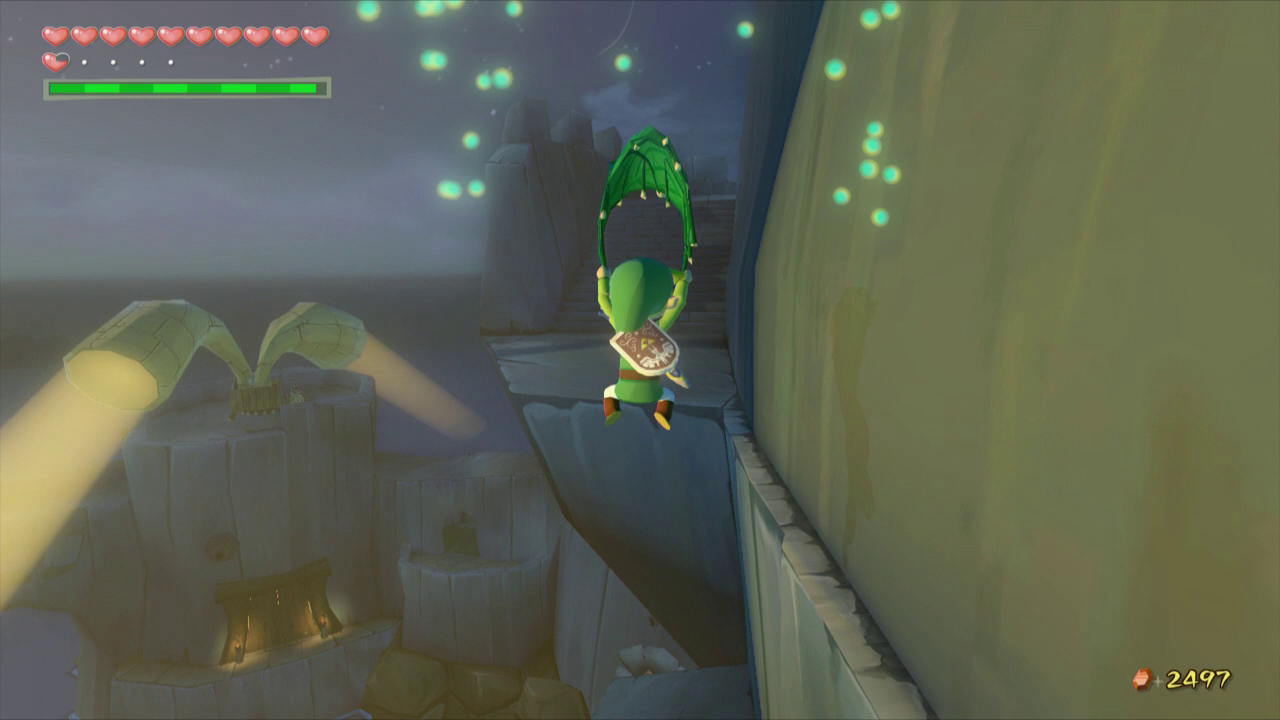
- Sail east of the Forest Haven to the Cliff Plateau Isles. Climb the small island and jump over from island to island until you find an entrance to an underground cavern. Once inside, climb on the platforms to reach the other side of the room that has a bunch of Boko Babas and Vines. Make your way around the room, defeating all the Boko Babas, with the last one leaving behind a Boko Bulb. Pickup one of the sticks left by the Boko Babas and light it on fire using the torch. Jump into the Boko Bulb and launch yourself up. In the distance there is a passage that is blocked by wood. Toss the flaming stick to burn the wood. Float over with the Deku Leaf to get outside. The Korok and withered tree are on this higher island.
- Play the Ballad of Gales and warp over to Southern Fairy Island. From there, sail westward to Shark Island where the withered deku tree can be found.
- Warp over to Greatfish Island and make your way up to the peak of the spirally island to find the withered deku tree.
- Sail southwest a square region to Needle Rock Isle to find the next withered deku tree.
- Warp over to the Tower of the Gods and sail southward one screen to the Private Oasis to reach the next tree.
- Once again warp to the Tower of the Gods and this time sail northward to Eastern Fairy Island to find the next withered deku tree.
- Warp to Tingle Island and then sail northwest a square region to Mother and Child Isles. The withered deku tree is on the small island near the Goron merchant.
- Sail northward to Star Island where the withered deku tree is right in the center of the island.
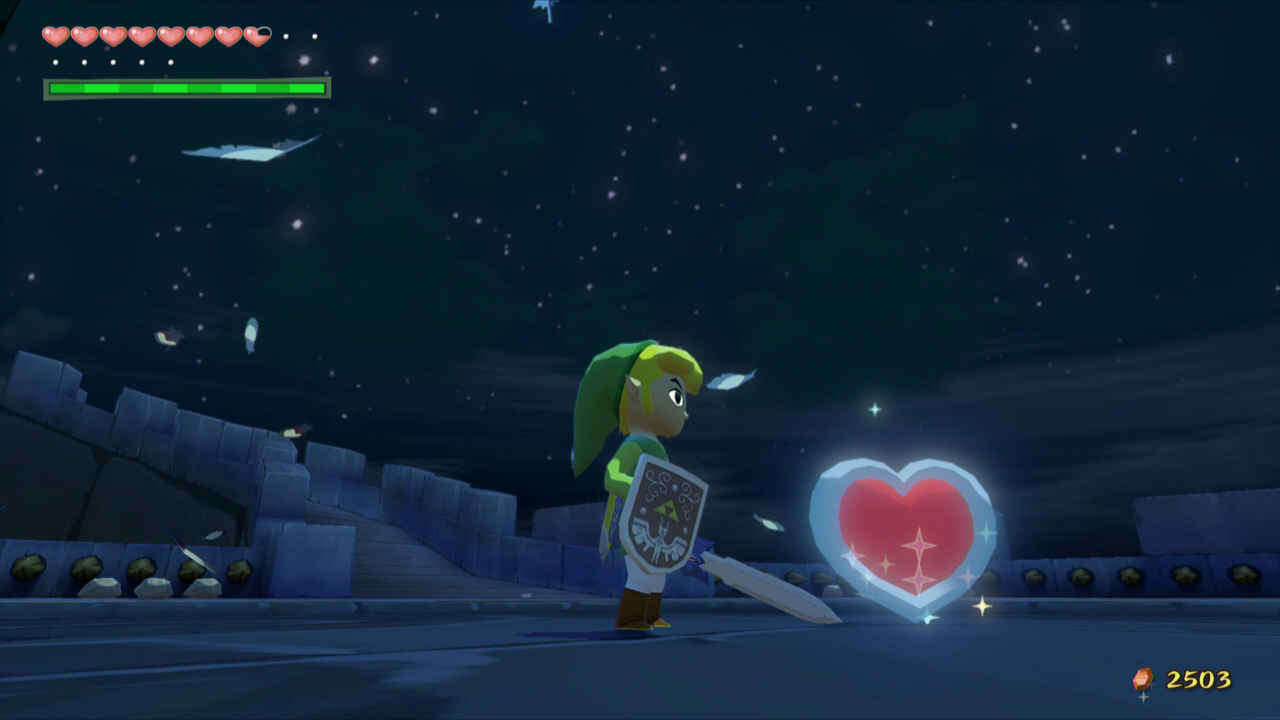
After completing this quest, Piece of Heart #36 will pop out of the last tree, completing another Heart Container.
10.5 Forsaken Fortress
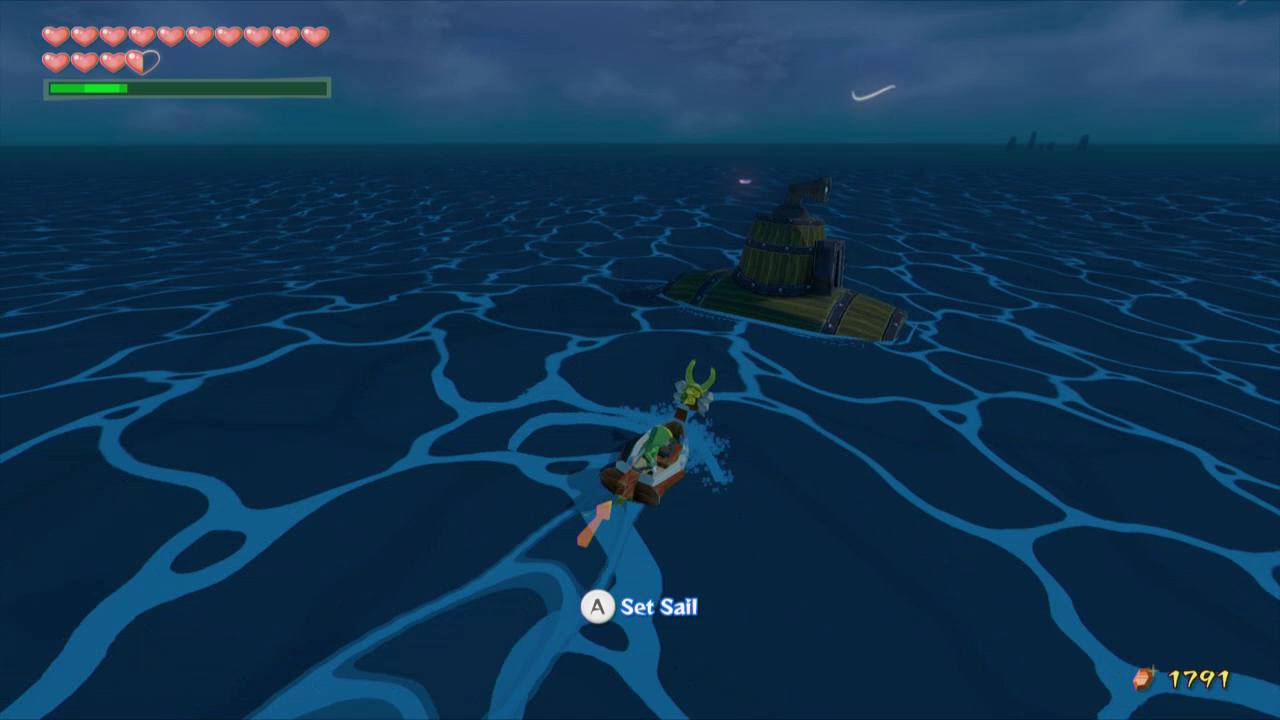
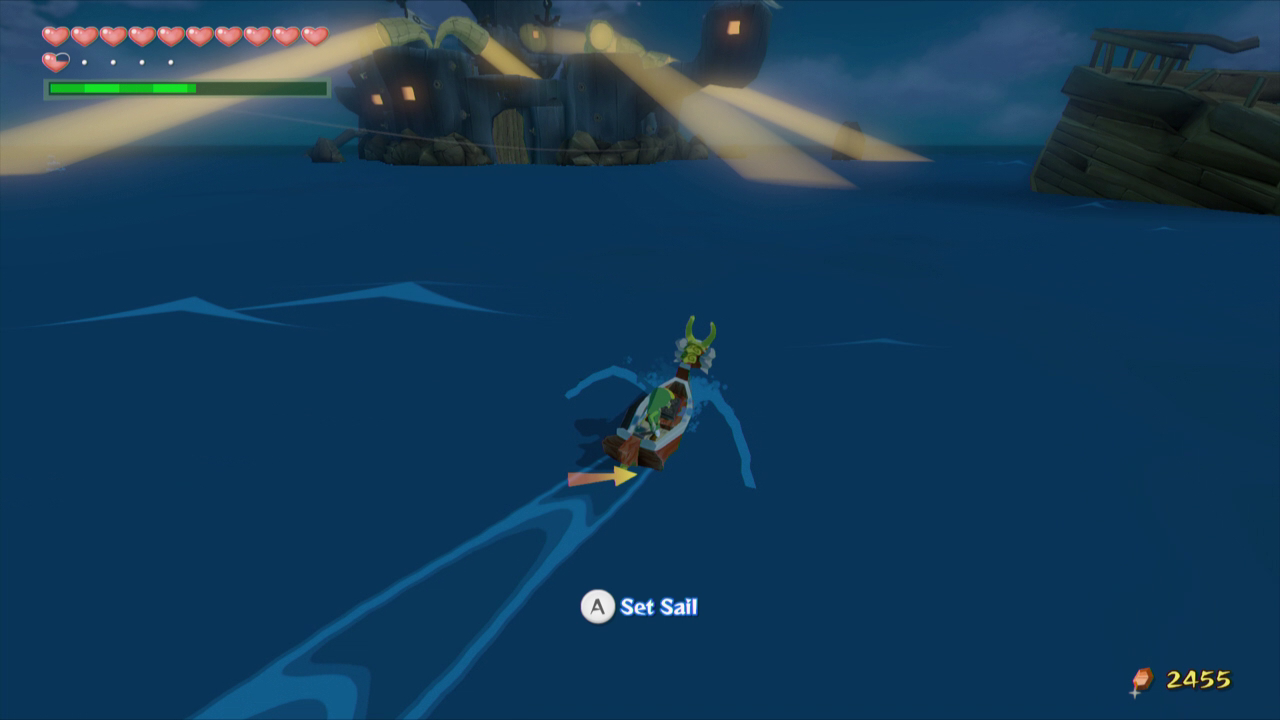
It’s now time to head to the Forsaken Fortress. Jump on your sail and make your way to this square quadrant. This is the first time we are allowed in this area since very early in the game, so if you’d like, you can finally get the sunken treasure from Treasure Chart #25.
-Treasure Chart #25 – Forsaken Fortress – 200 Rupees
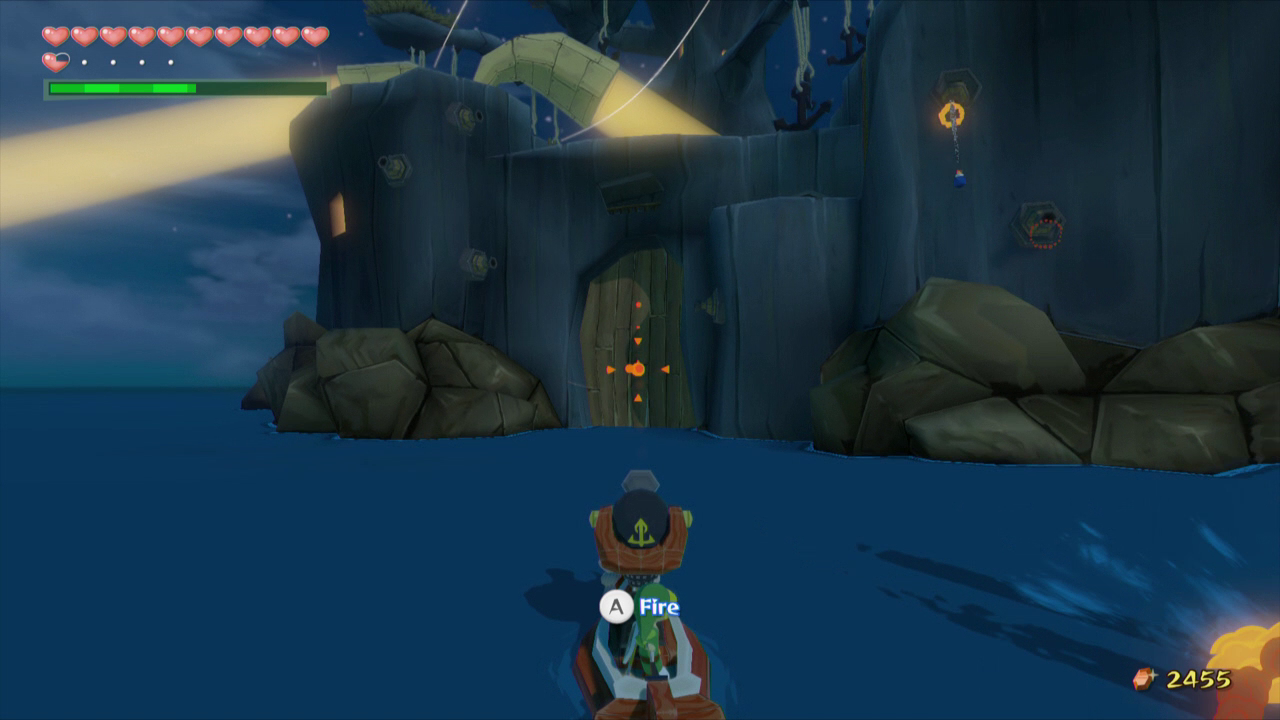
Ride on towards the Forsaken Fortress and you’ll see a bunch of spotlights, as well as cannons that shoot at you. Ignore both of them and you’ll come across a wooden door. Shoot it a few times with your cannon to break it down and then sail on in.
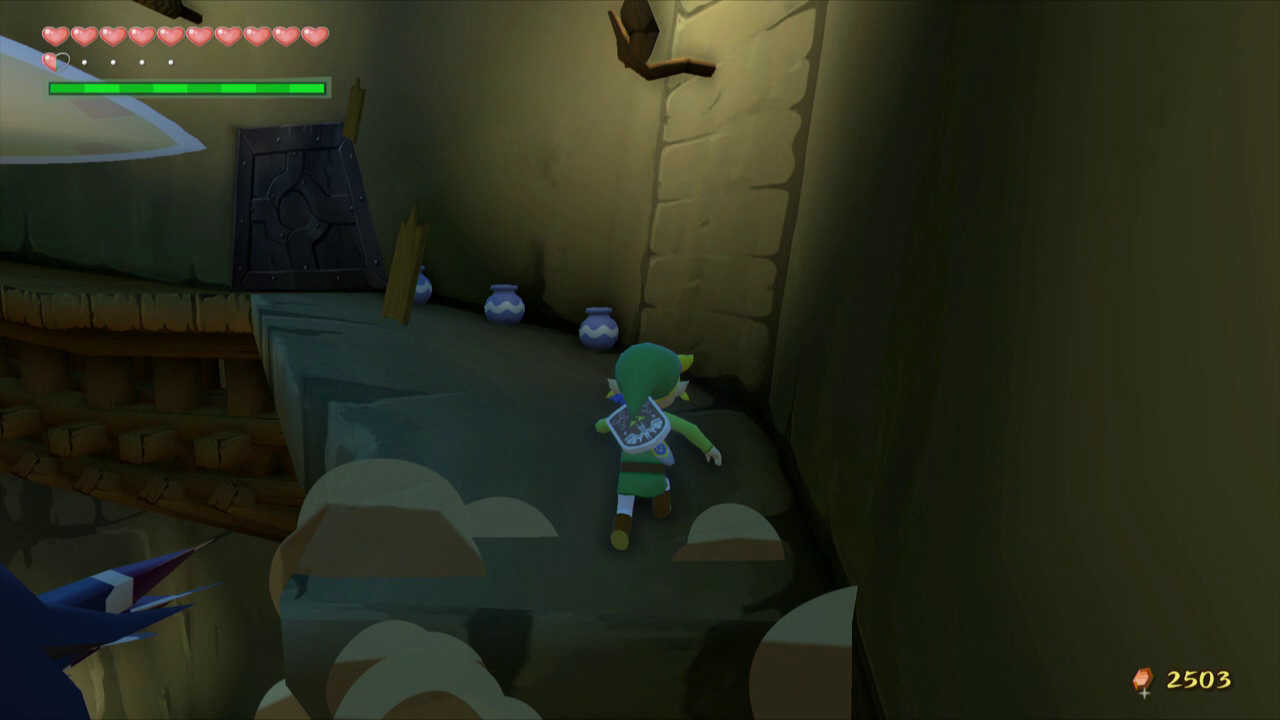
Walk up the stairs and break the skulls nearby for some extra hearts. Head towards the large door ahead and Phantom Ganon will appear, wanting to fight.
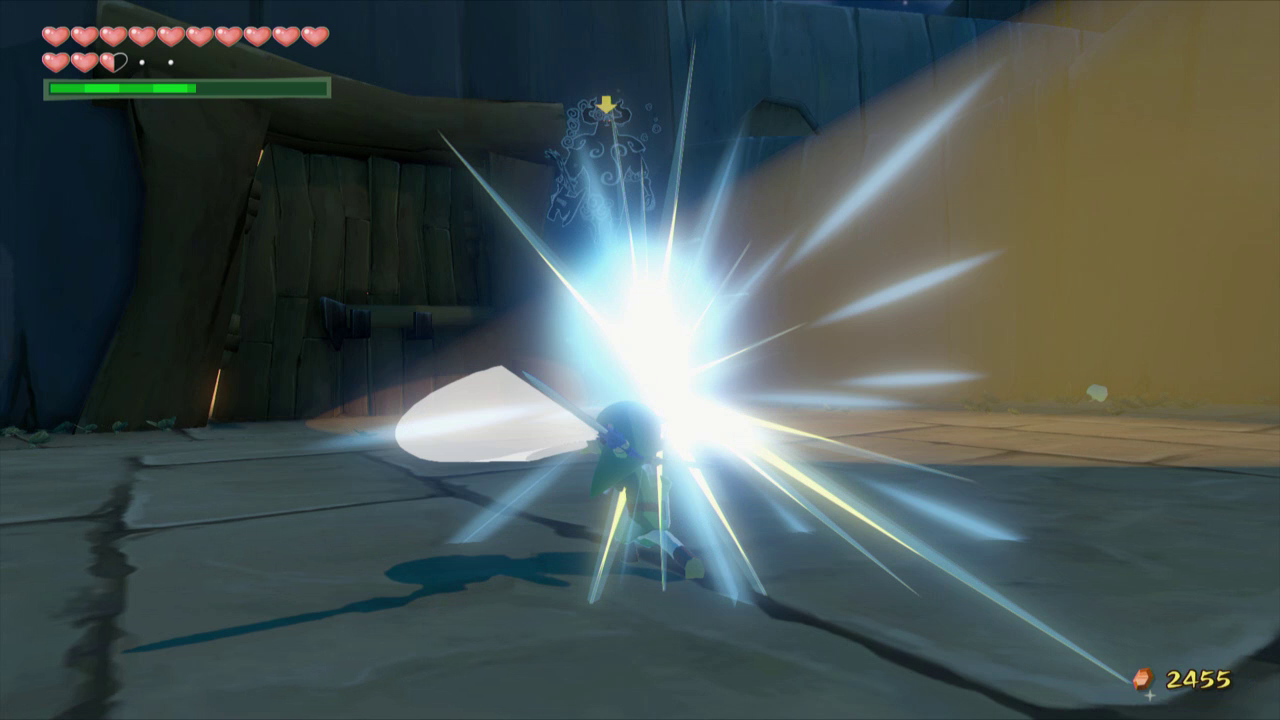
Like incarnations in past Zelda games Phantom Ganon will initiate a game of tennis where he will throw blue balls of light at you. Use the sword to hit them back and forth until Phantom Ganon misses and gets hit, knocking him down to the ground. Run over and attack him with the sword before he vanishes.
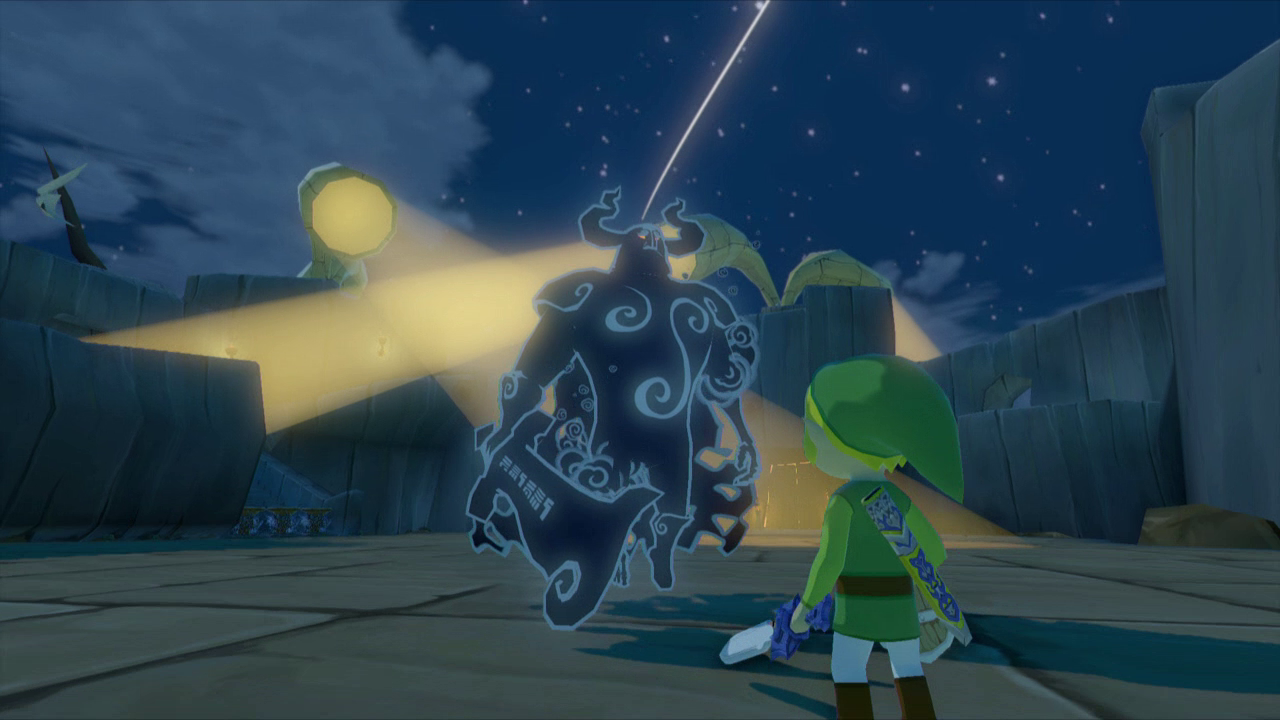
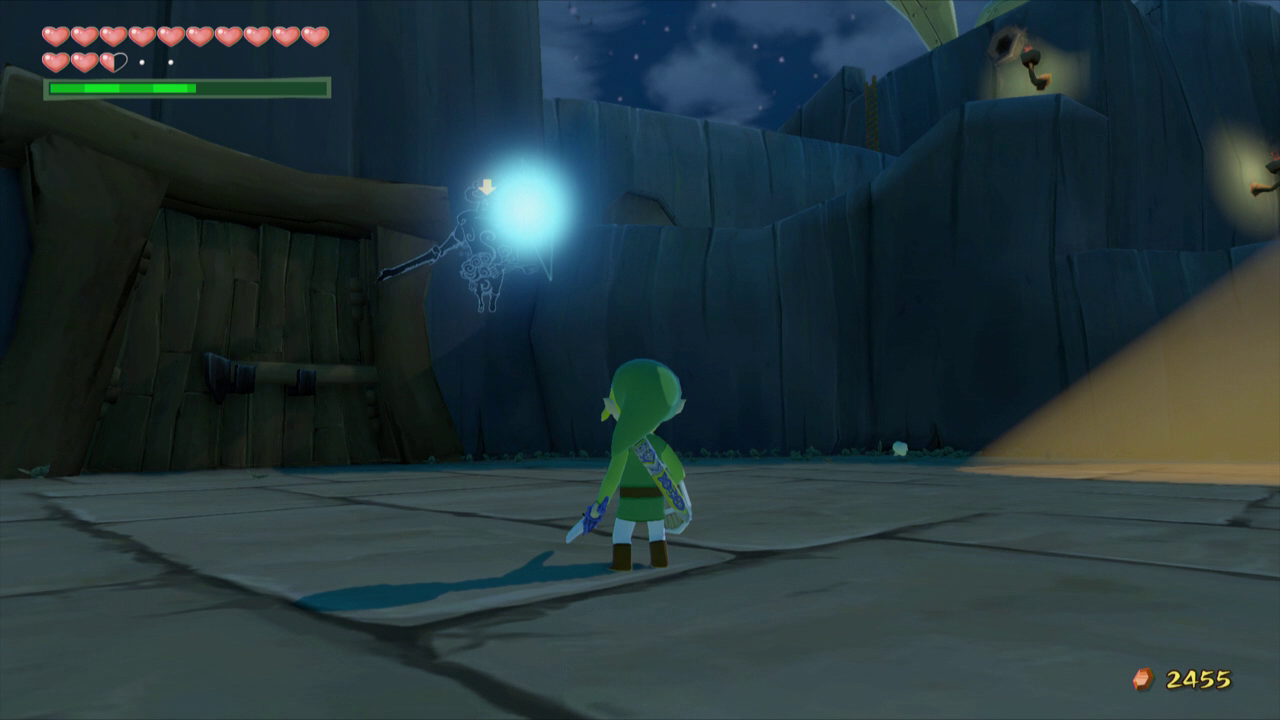
At this point Phantom Ganon will either appear in the air again and throw another ball of light at you, or he will appear directly behind you. If he chooses the second method quickly turn around and attack him with the sword to damage him further. Continue doing this and hitting the balls of light back at him to defeat him.

Once you defeat him the large door will open and a chest will appear. Open it for the Skull Hammer, an item that will allow us to pound various switches and spikes into the ground. Pound the stakes blocking the stairs to the south and head up into the hallway. Turn left and head through the door here.

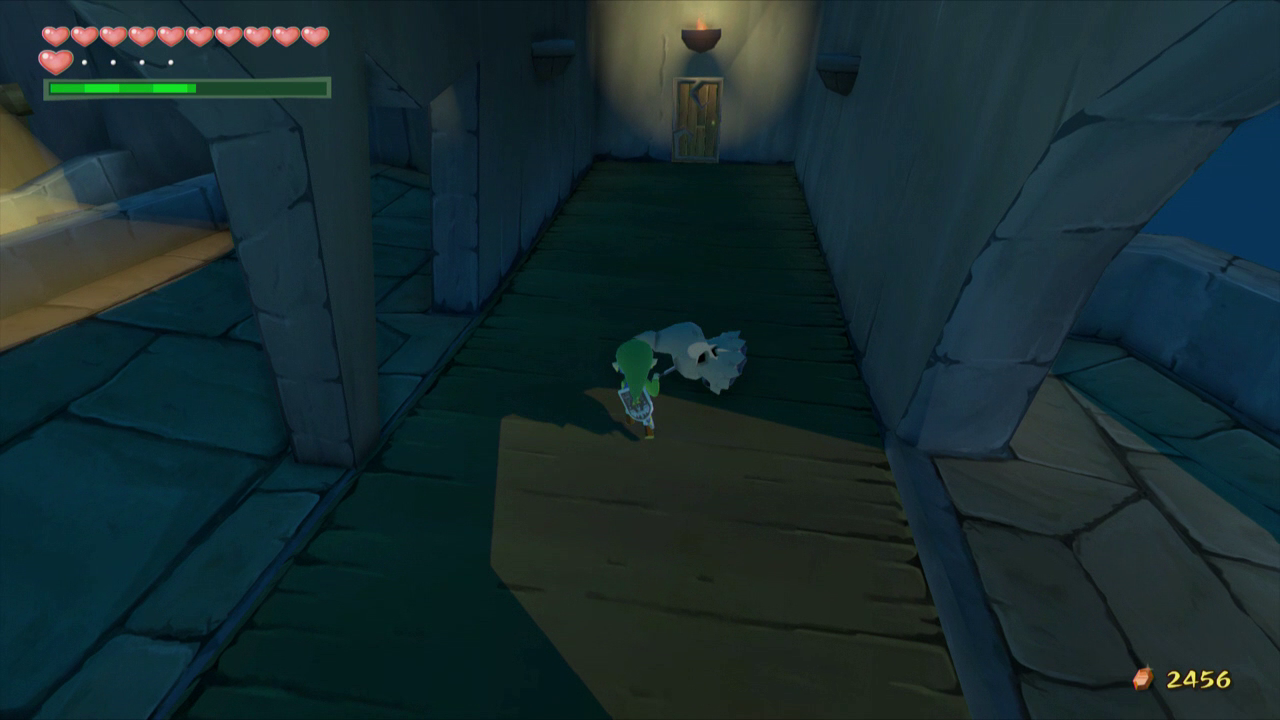
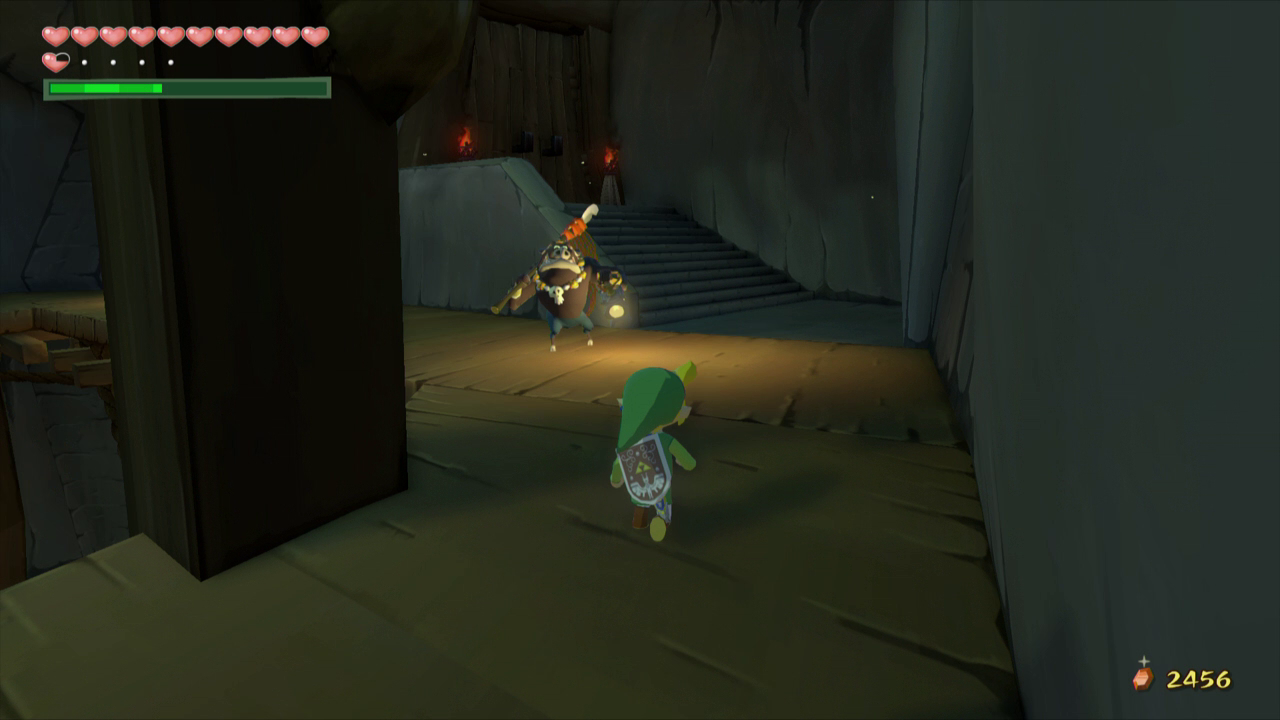
Defeat the Bokoblin here and use the Deku Leaf to float across the gap. Pound the stakes here with the Skull Hammer and walk through the door. Walk through this hallway and head through the next door as well. Jump across the next gap with the Deku Leaf and head through the next door as well.
Follow the platform and defeat Moblin along the way. Walk through the double doors at the top of the room and head up the stairs in the next area. Continue up the path and pound the next set of stakes you find. When you reach the gap, you can either sidle across it like before or change the wind direction to the southeast to float across it. The canons will shot towards Link when he tries to sidle, so it is much safer to use the Deku Leaf. Cross the next gap as well and pound the last stake before the doors to open them.
A cutscene will take place where Link looks cautiously for the Helmaroc King and heads over to Aryll. He will attempt to break into the cell when Tetra and pirate crew shows up and opens the cell for him. Tetra will notice that you have the Master Sword and will begin to ask where Link got it from. The pirates will take the girls and Tetra tells Link there’s something he still needs to take care of. She promises to deliver Aryll back home safely. Link will wave to his sister and Tetra promises to return.
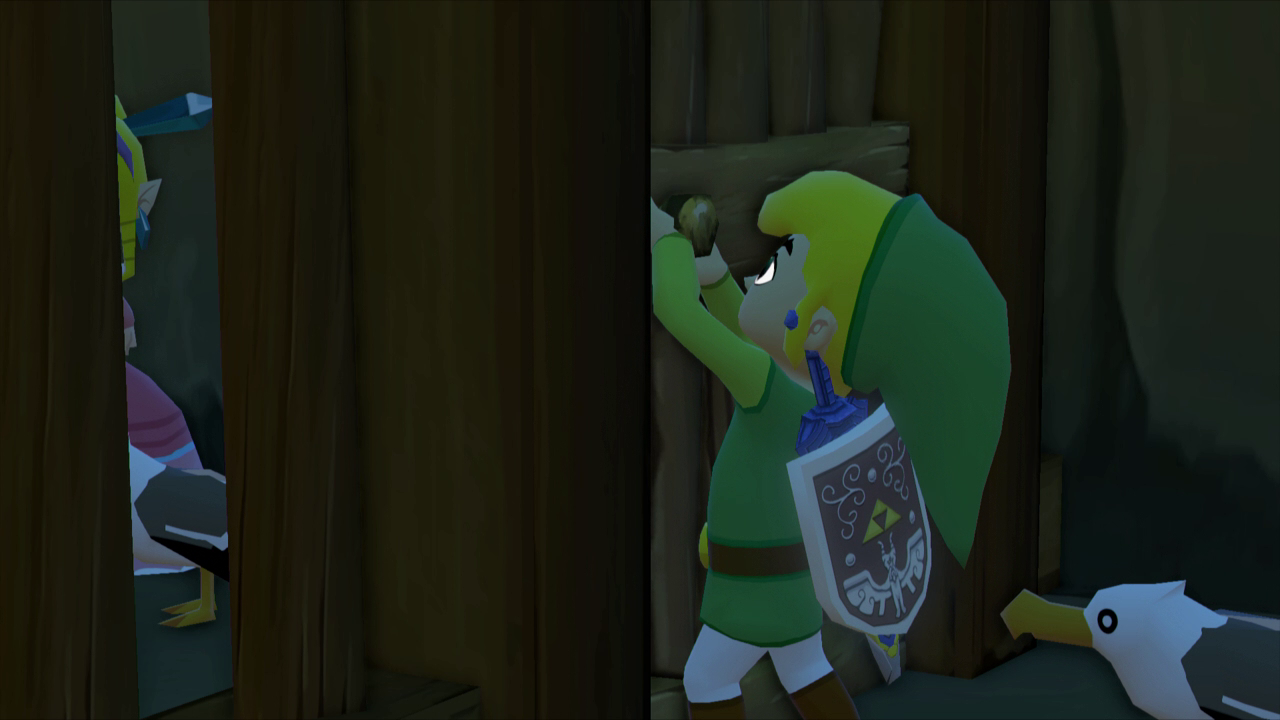
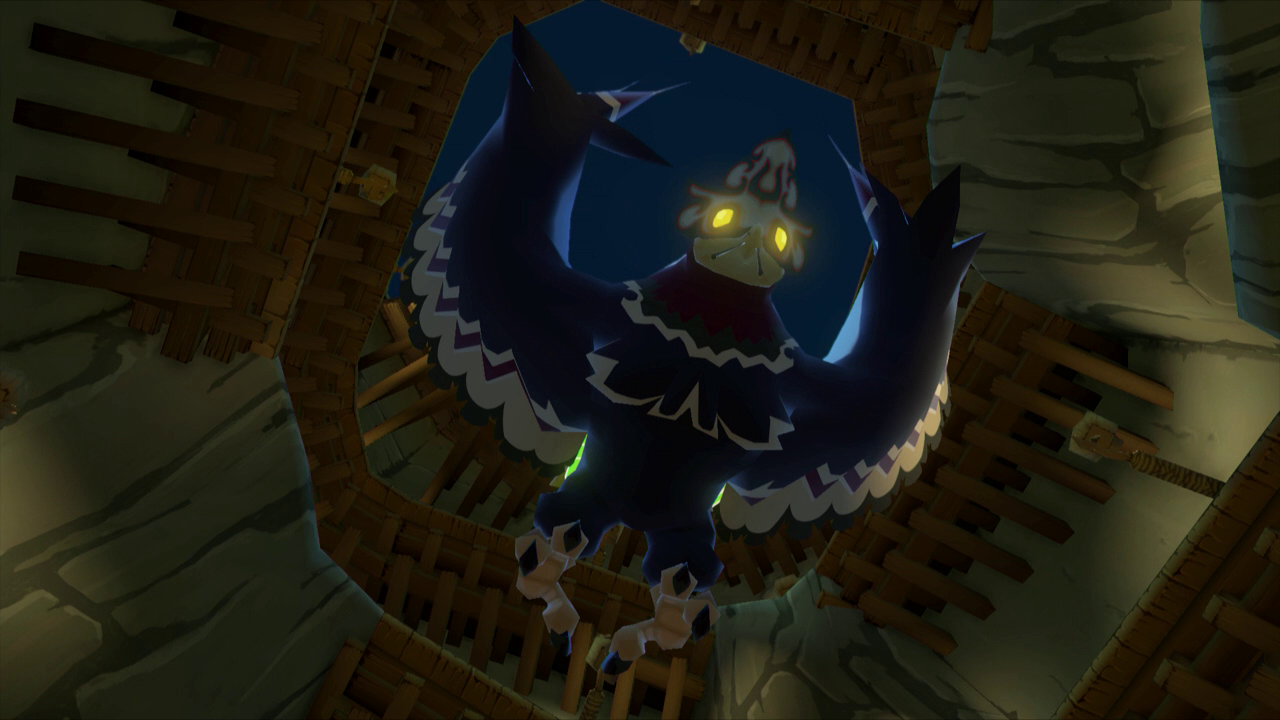
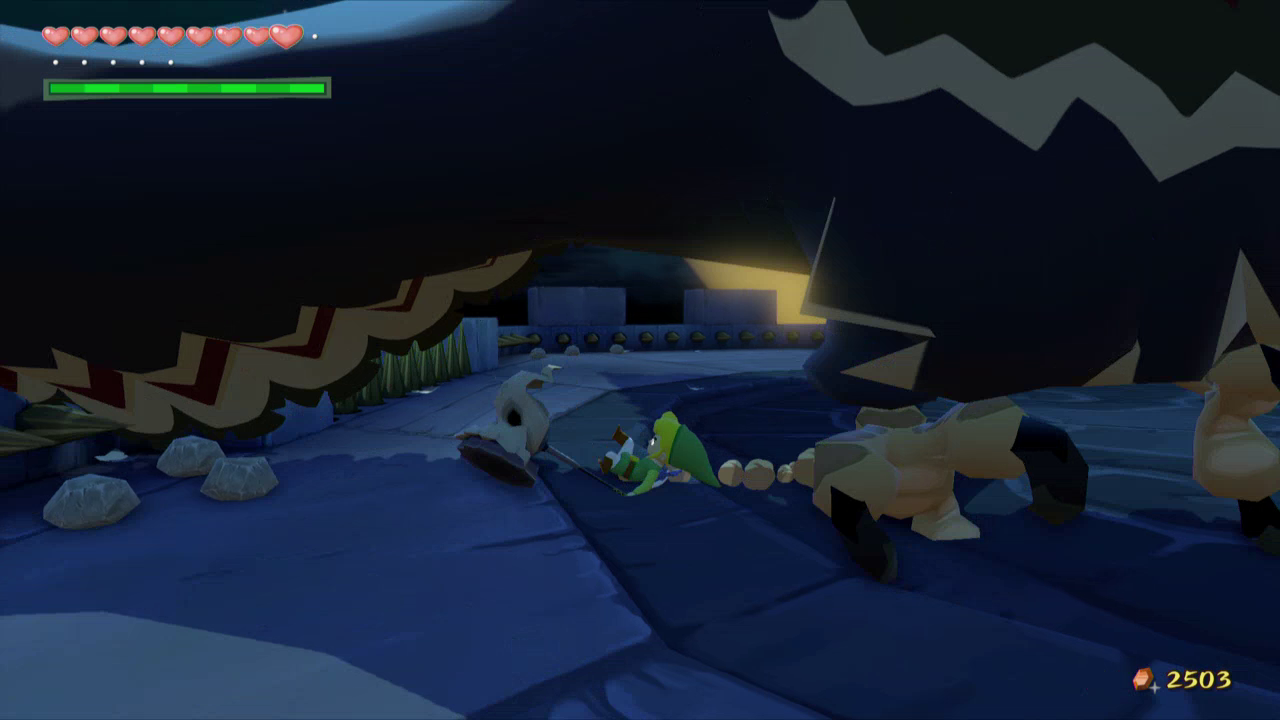
As she leaves the door will lock behind her and the room begins to fill with water. The Helmaroc King will drop in, ready to fight. Once you gain control of Link turn to the right and start running up the ramp. If you feel comfortable doing so you can roll all the way up the ramp to make this phase of the battle much easier. If you don’t climb the ramp fast enough the Helmaroc King will fly into the platform you are on, destroying it and knocking you down. If this happens, you will have to wait for the water to raise and use the Grappling Hook to reach the platform you were at.
Bokoblins will also appear at points along the pathway, but it’s easier and essential to avoid them rather than defeat them. Once you reach the top of the room the Helmaroc King will try and block your path. Hit the mask on its head with the Skull Hammer to hurt him, making him fall down into the water below.
Climb up the next platform and the top of the previous room will start to close. Before it does the Helmaroc King will fly out and initiate the next phase of the battle.
At the beginning of the battle it will start to fly around the sky above you. The Helmaroc King can perform a couple of attacks at this point. If he flies directly at you, you can jump out of the way to avoid it. He can also come near and try to blow you into the spikes surrounding the wall. It can be difficult to avoid this attack, but you can try and push against the wind and land on a part of the wall without spikes if necessary.
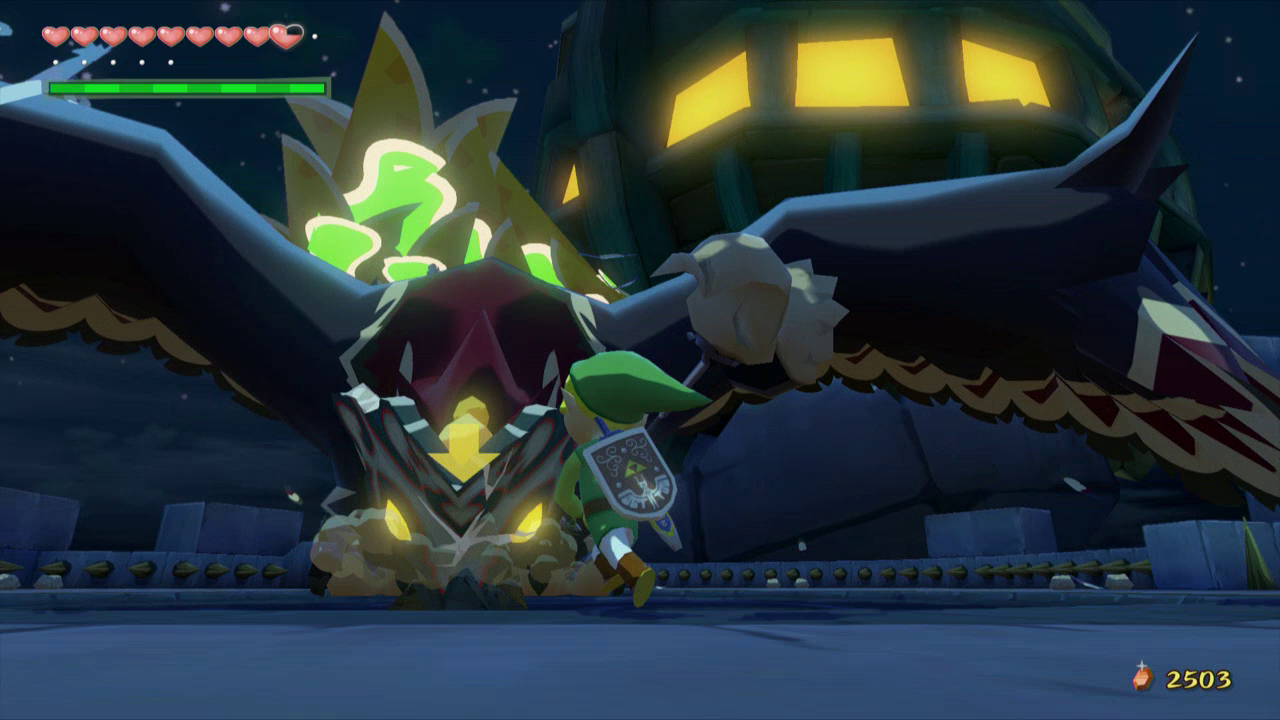
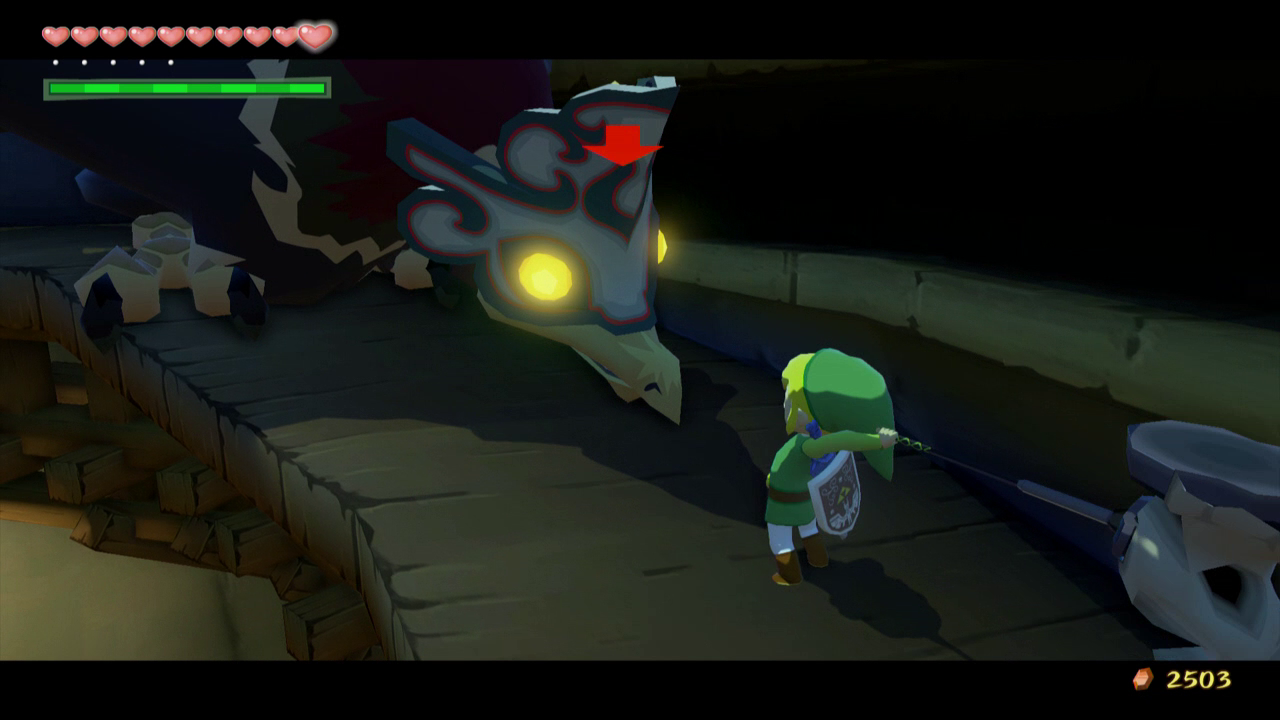
For the most important attack the bird will land on the platform and walk towards you. He will then try to peck at you. Dodge the attack and his face will get stuck in the ground momentarily. Pound it with the Skull Hammer to hurt him. After hitting his mask five times it will fall off, leaving his face vulnerable.
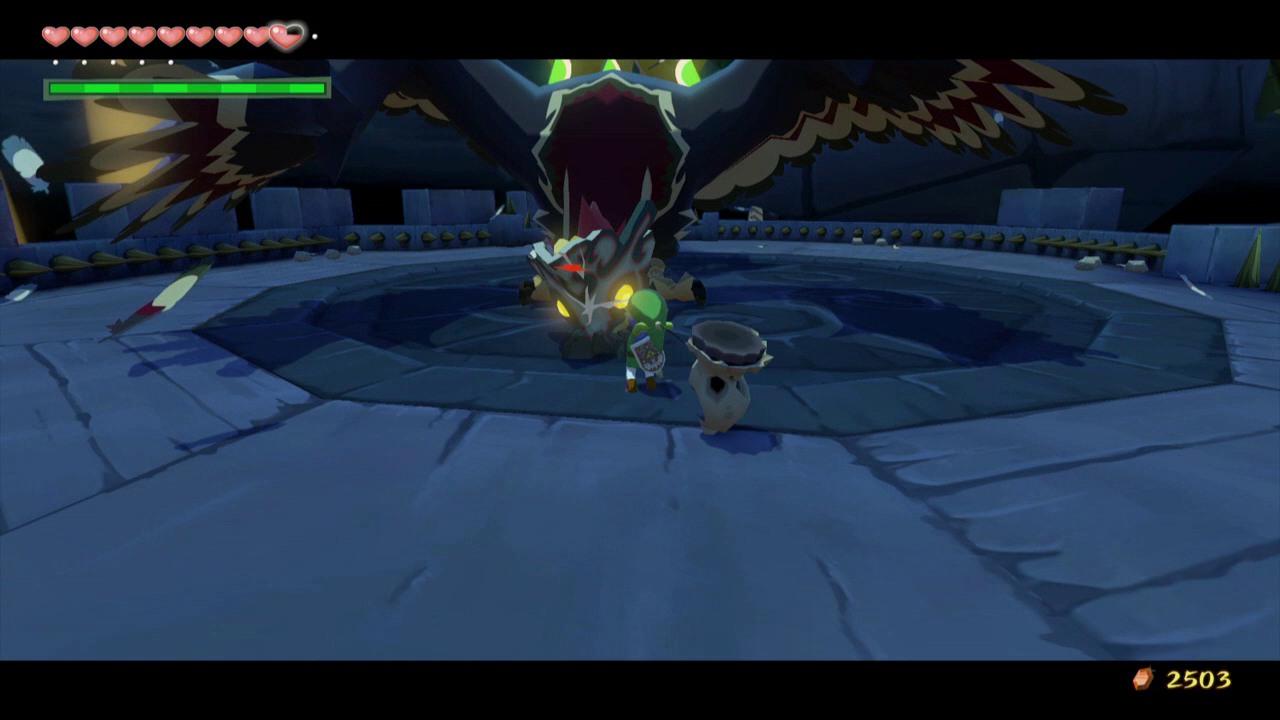
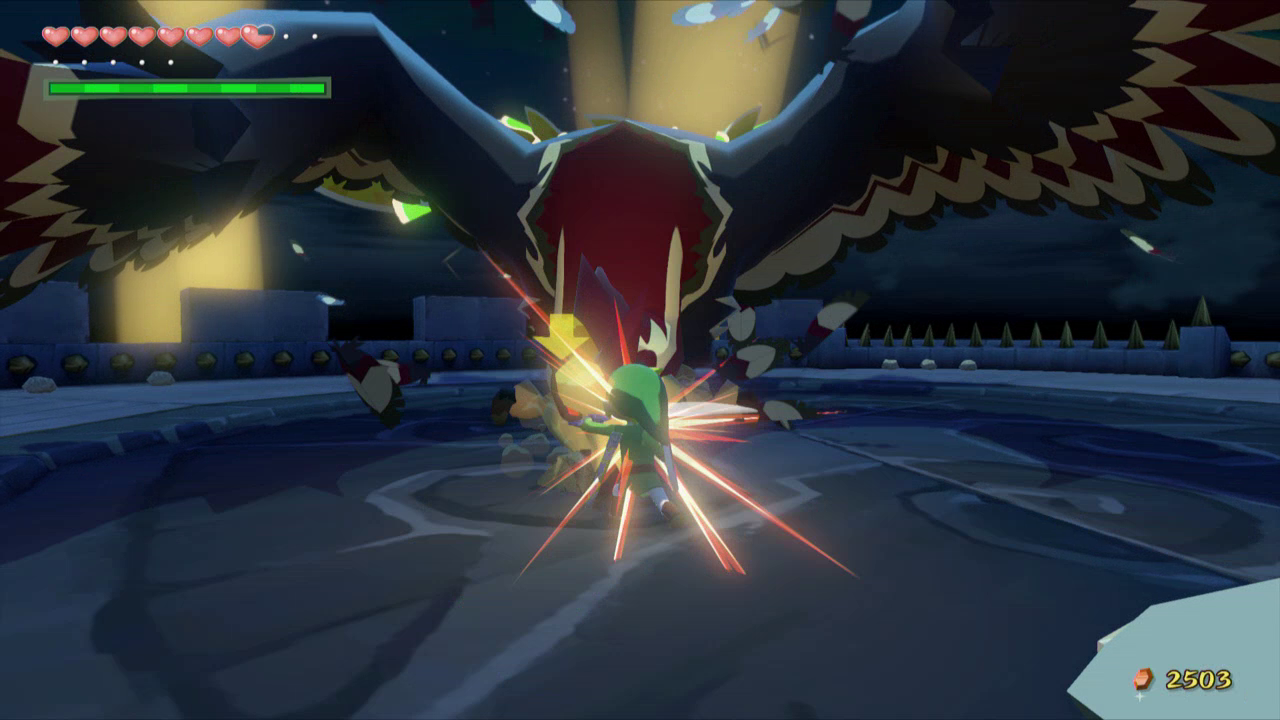
Avoid his attacks whenever necessary and wait until he tries to peck at you again. Dodge out of the way again and attack his face with either the sword or the Skull Hammer. After a few attacks the bird will fly high into the air and explode, ending the battle.
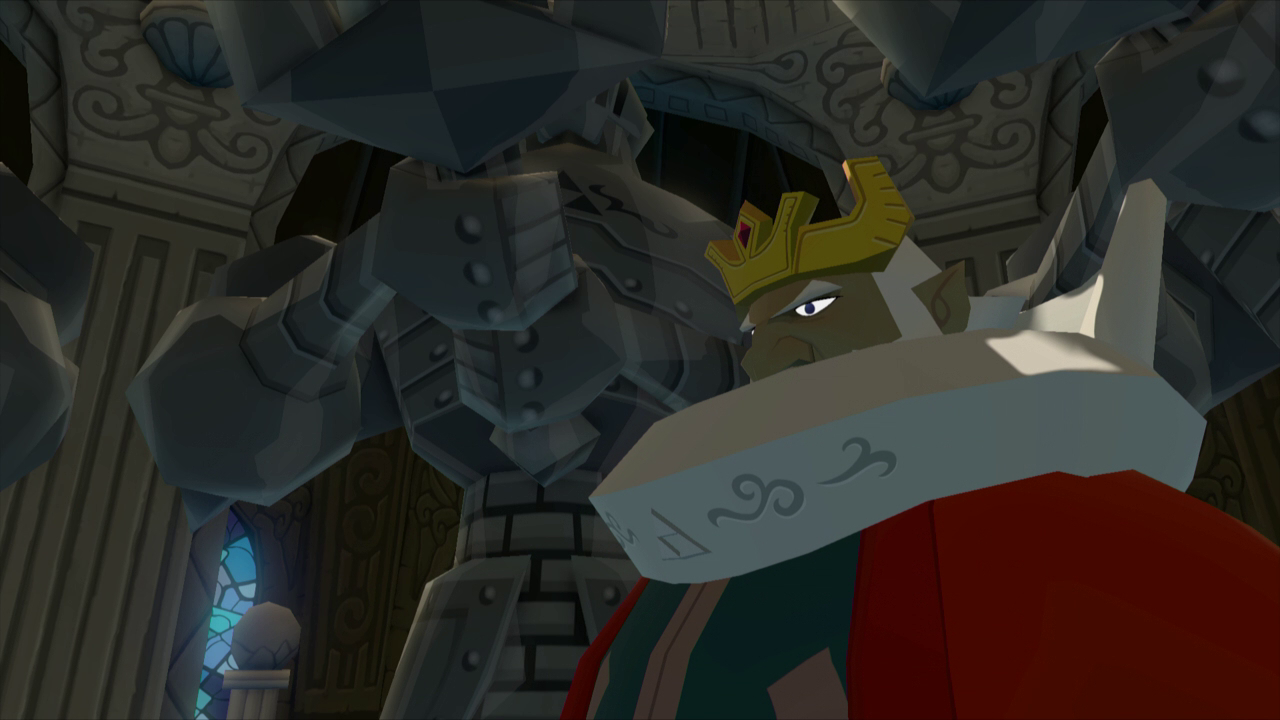
With the Helmaroc King defeated, collect the Heart Container and head up the ramp. Go through the door at the top to enter another cutscene. Link will find Ganon and will charge at him with the sword, inevitably failing to hurt him. Ganon will commend you for your reckless courage and tells you that by pulling out the Master Sword you broke the seal on his magic power.

Link will then charge at Ganon and is stopped once again. Tetra will jump into the room and distract Ganon momentarily. Ganon then grabs Tetra and notices his Triforce of Power resonating, signifying to him that Tetra is Princess Zelda.
Before Ganon can capitalize on this info Komali and Quill will fly into the room and rescue Link and Tetra. Valoo will then set the ship on fire, destroying Ganon’s power base. Quill will then tell you that Tetra has only lost consciousness and Komali tells you that your sister is safe. The King of Red Lions thanks Valoo and Valoo will leave.
10.6 Hyrule Castle Revisited
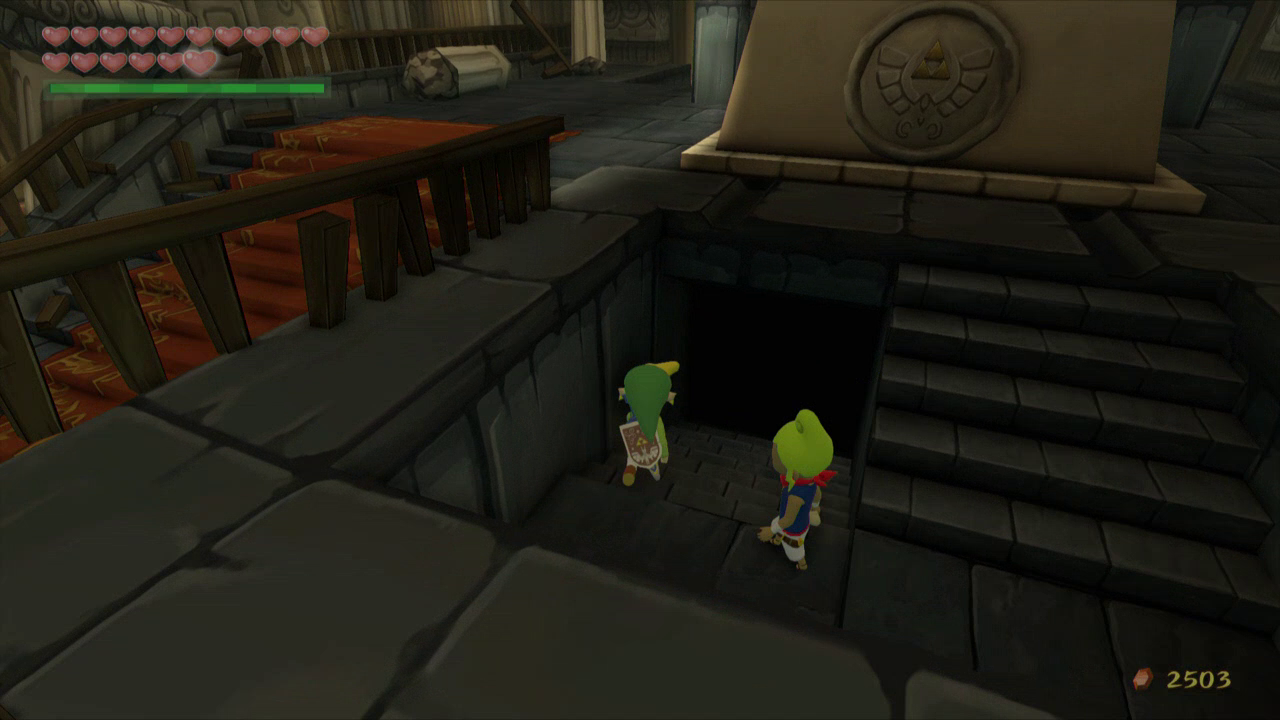
The King of Red Lions will then take you and Tetra back down to Hyrule. Tetra will soon awaken, and a voice will then speak to Link and Tetra through the Gossip Stone. The voice will tell Link to show Tetra the way to the room where the Master Sword was hidden. After the speech is over, hop off the boat and head into the castle and back down into the basement.
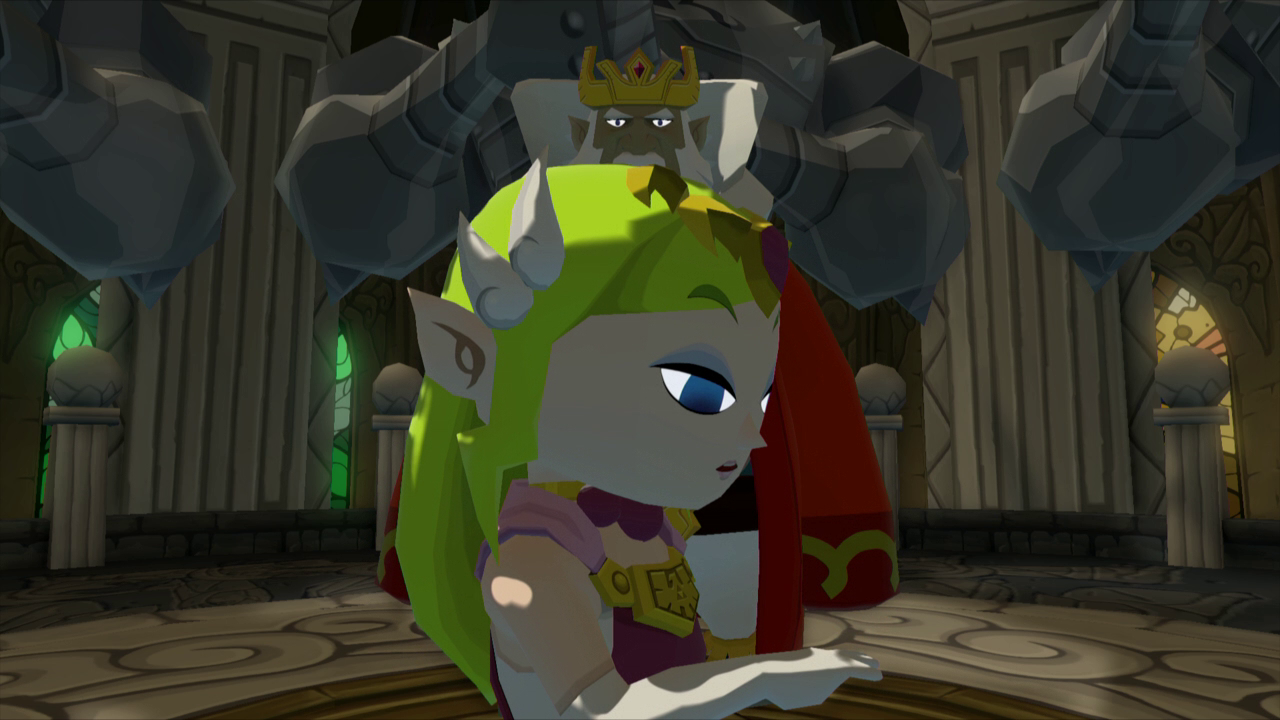
A cutscene will then take place with a man who refers to himself as the King of Hyrule, as well as the King of Red Lions. The King will merge the golden triangle on Tetra’s neck with his own piece, creating the Triforce of Wisdom and transforming Tetra into Princess Zelda. Tetra will then realize who she is and her place in the story.

Unfortunately, Ganon now knows who Tetra is as well and will be actively searching for her. Before we can defeat Ganon we must continue on our own quest, so we must leave Zelda here to stay hidden. The King will then disappear, telling you to meet him back outside. Walk back up the stairs and the statue of the Hero will close the entrance to the basement. Continue outside and hop into the King of Red Lions. Cruise over into the portal and it will take you back to the Great Sea.
- Chapter 1 – Outset Island
- Chapter 2 – Forsaken Fortress
- Chapter 3 – Windfall Island
- Chapter 4 – Dragon Roost Island
- Chapter 5 – Dragon Roost Cavern
- Chapter 6 – Forest Haven
- Chapter 7 – Forbidden Woods
- Chapter 8 – Nayru’s Pearl
- Chapter 9 – Tower of the Gods
- Chapter 10 – Hyrule Castle
- Chapter 11 – Earth Temple
- Chapter 12 – Wind Temple
- Chapter 13 – The Triforce
- Chapter 14 – Ganon’s Tower
