- Chapter 1 – Outset Island
- Chapter 2 – Forsaken Fortress
- Chapter 3 – Windfall Island
- Chapter 4 – Dragon Roost Island
- Chapter 5 – Dragon Roost Cavern
- Chapter 6 – Forest Haven
- Chapter 7 – Forbidden Woods
- Chapter 8 – Nayru’s Pearl
- Chapter 9 – Tower of the Gods
- Chapter 10 – Hyrule Castle
- Chapter 11 – Earth Temple
- Chapter 12 – Wind Temple
- Chapter 13 – The Triforce
- Chapter 14 – Ganon’s Tower
3.1 Tingle's Bottle and the Boat Sail
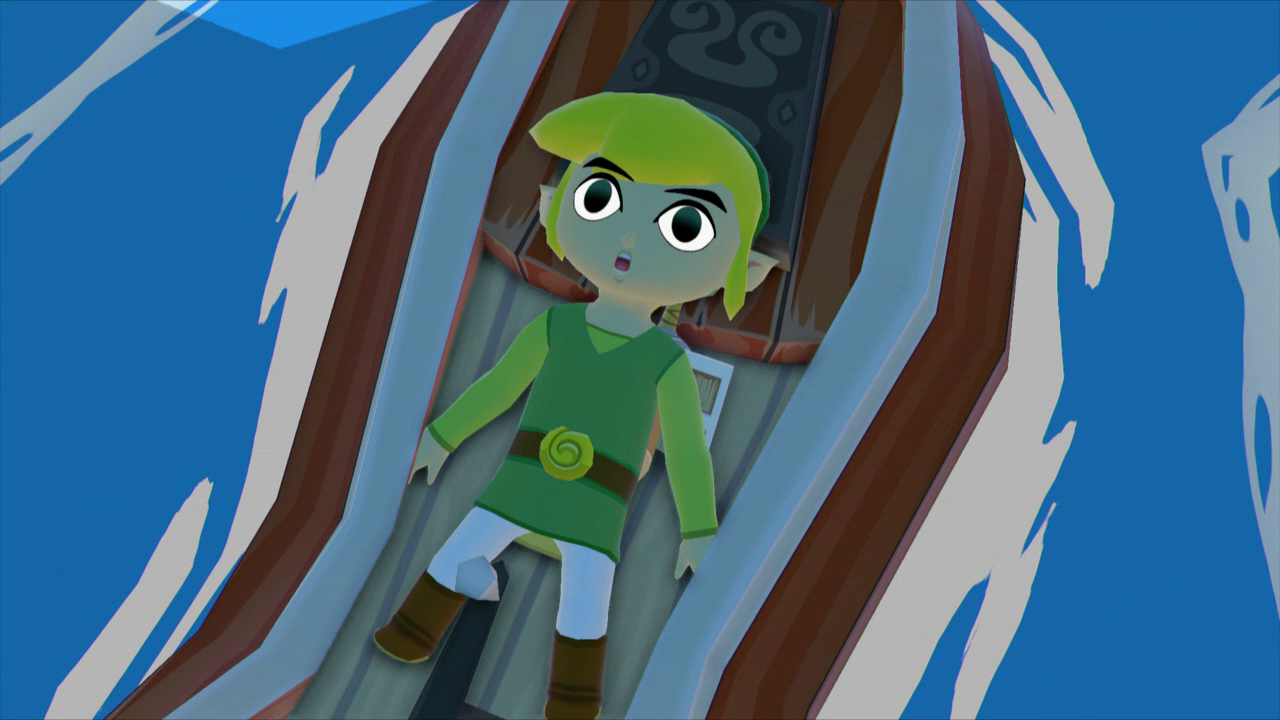
After being thrown into the sea by the Helmaroc King, Link will hear a strange voice that is calling him by name. Link wakes up to see the sunrise and finds himself lying in the back of a boat. He gets to his feet and the strange voice continues speaking. Link looks around for the source and suddenly the boat he’s in turns his head! Link falls over in astonishment and the boat introduces himself as the King of Red Lions.
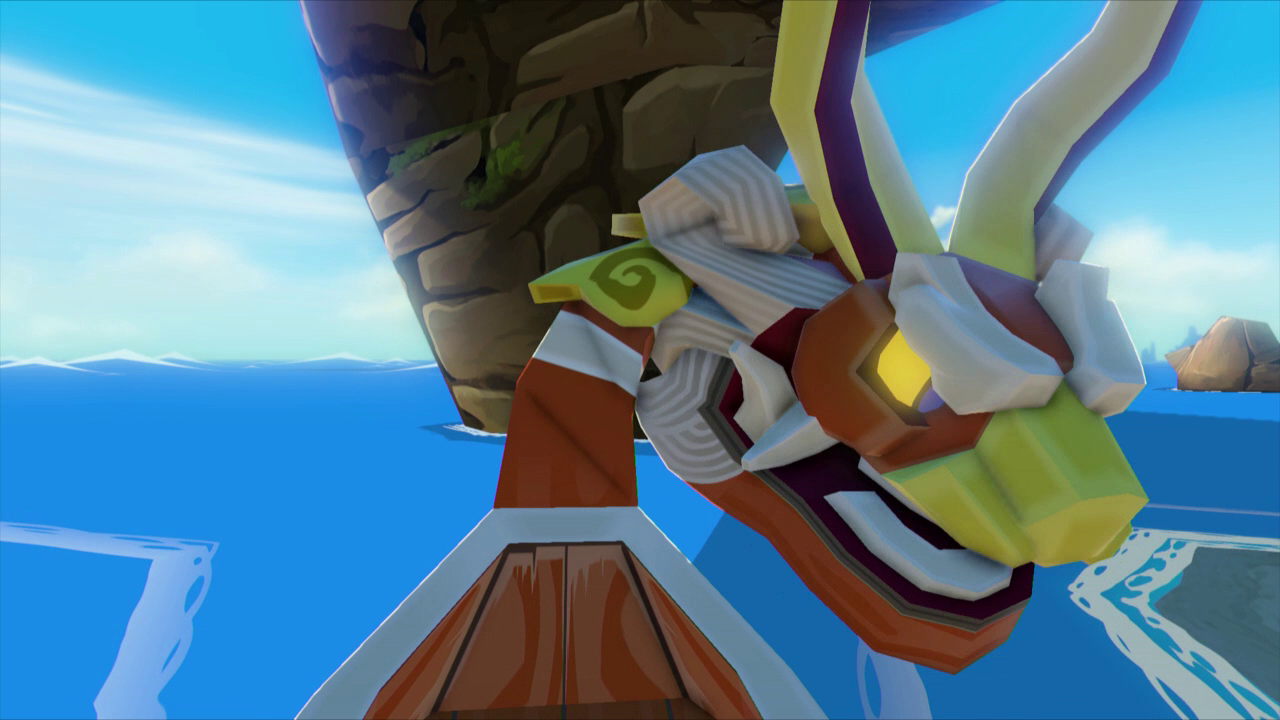
The King of Red Lions tells Link that his attempt to rescue his sister was courageous, but foolish. He tells you that the man whom you saw at the top of the Forsaken Fortress was Ganon and that he is the same Ganon that the legends speak of. He also mentions that he’s not sure why Ganon is back, but that the land is threatened by his evil magic once again. The King of Red Lions offers to guide Link along his journey and tells Link he needs to find a sail before they can set off.
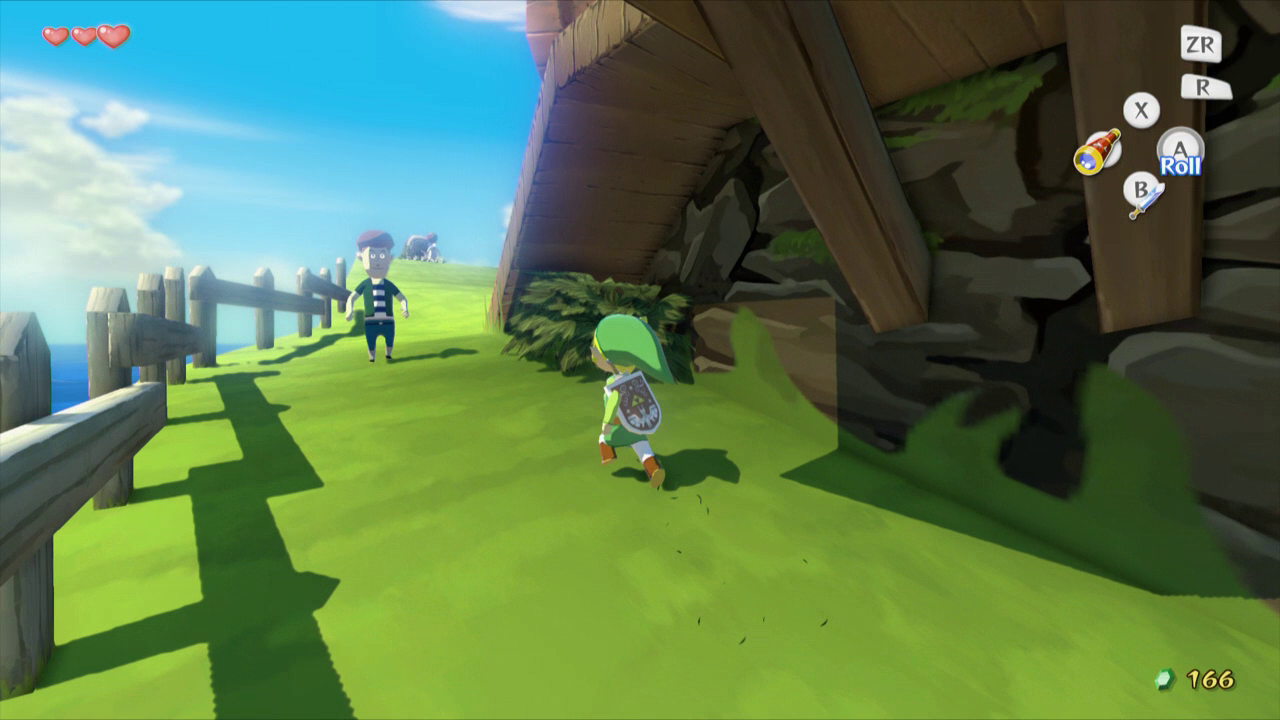
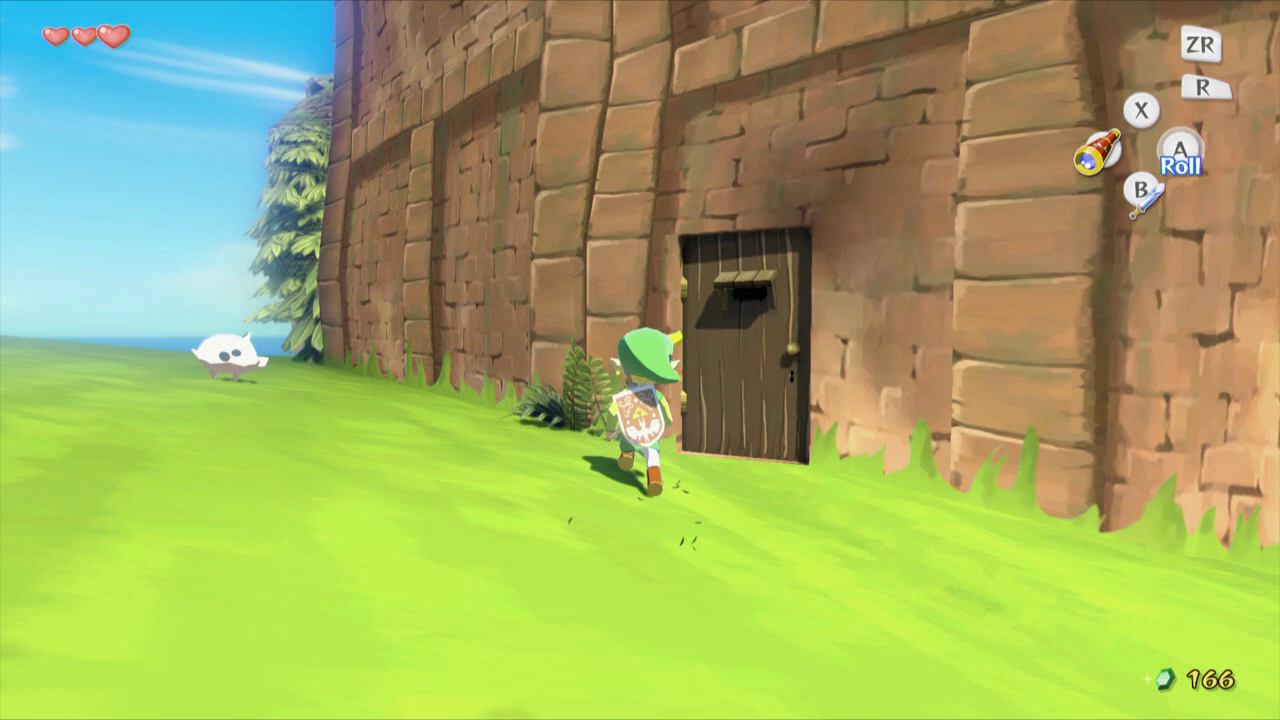
Once you’re off the King of Red Lions, it’s time to explore the island a bit. Turn left and head around the ridge, walking south until you come to a large bush on the left. Walk around the bush and continue walking up the incline towards the gravestone in the distance. Along the way there will be a red building to the right; open the door and enter it.
Inside the building a small green figure will start waddling towards you. Look to the left and move the barrels here to find a switch. Step on the switch and it will open the jail cell, allowing the man to exit. This is Tingle, one of the main characters in the game.

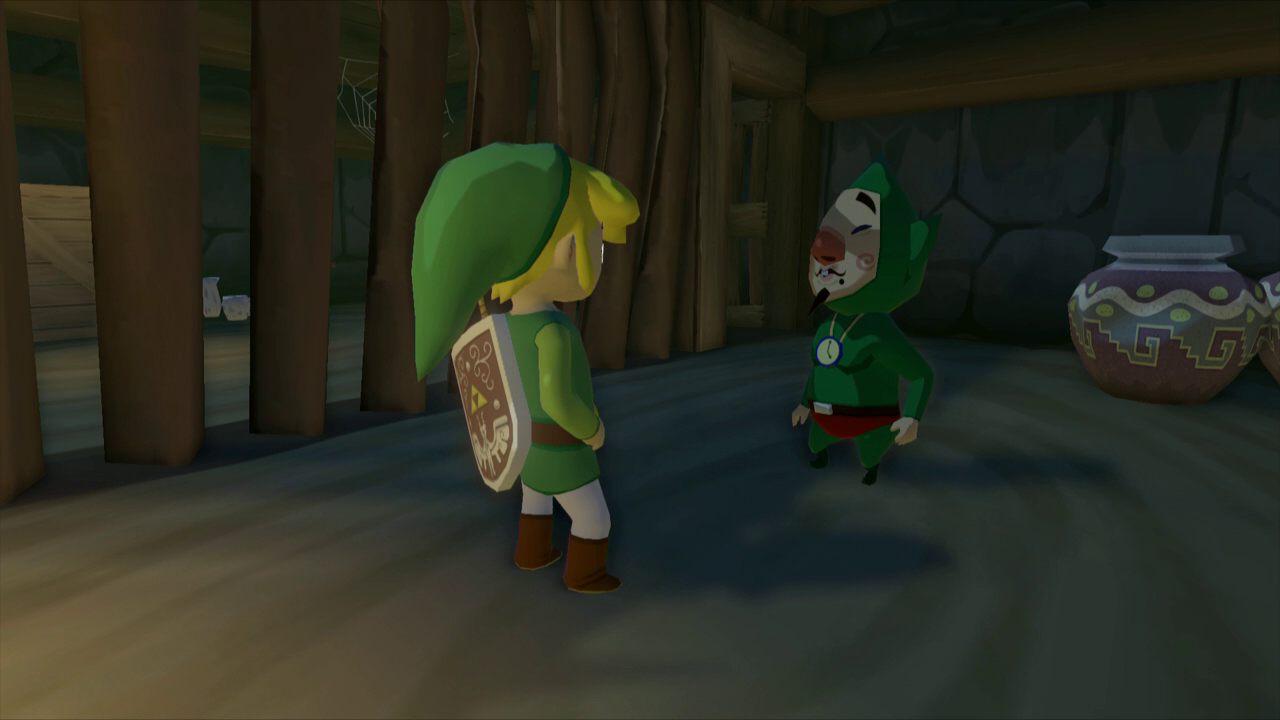
Tingle will give you the Tingle Bottle (or the Tingle Tuner in the Gamecube version) and Tingle’s Chart before leaving.
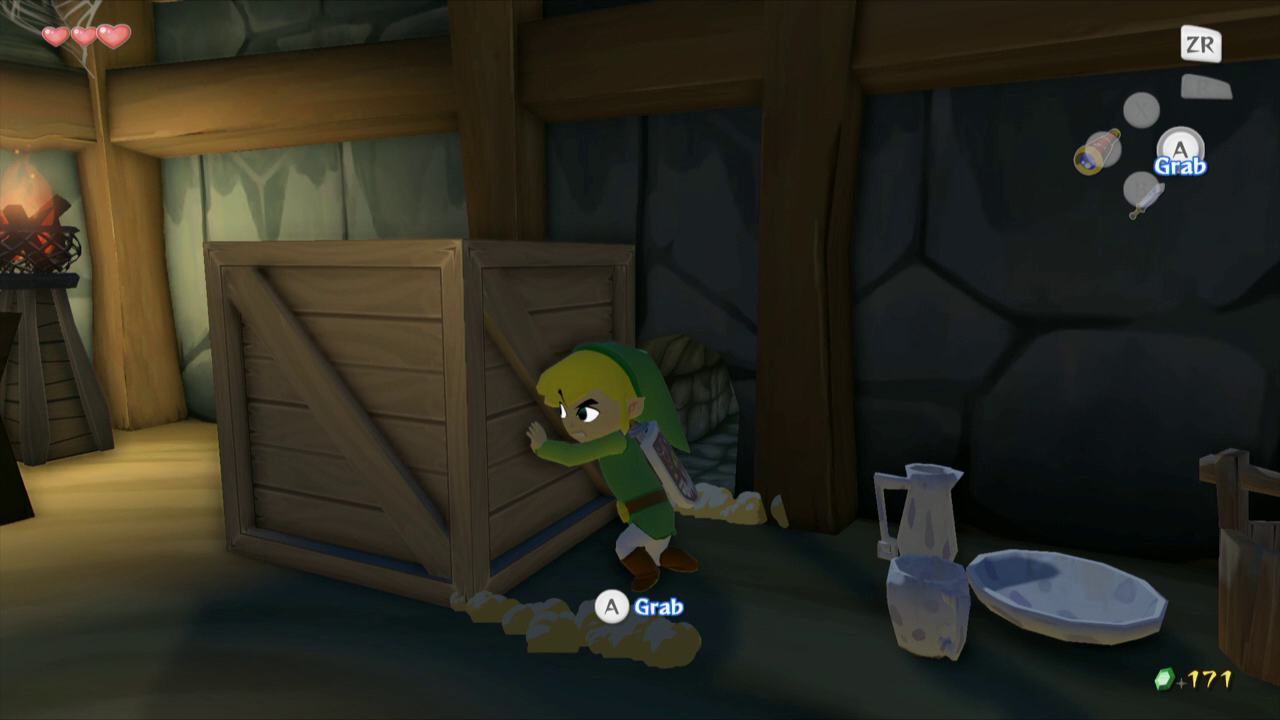
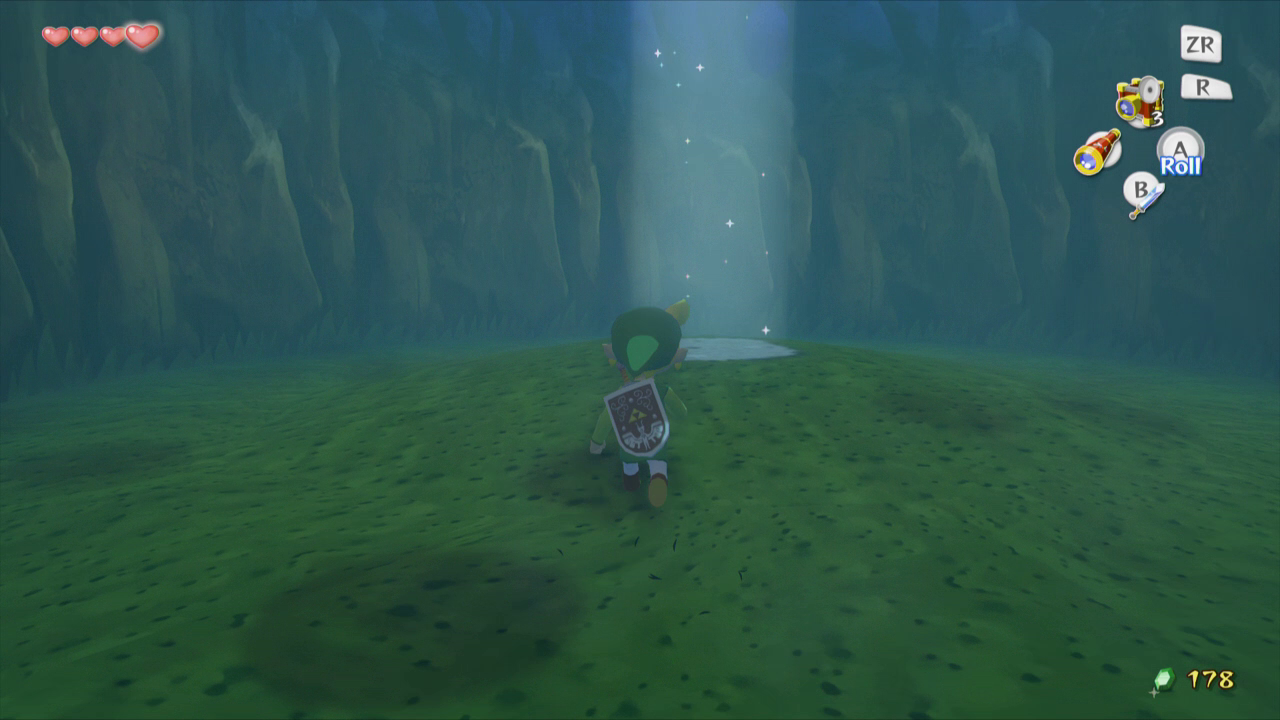
Once Tingle finally leaves, walk into his cell. Crawl under the table for 5 rupees, and then push the large crate out of the way to reveal a hole behind it. Enter the hole and when you come to the intersections, take the following paths: right, left, straight, right, left, straight, left, right, right, straight, and right.
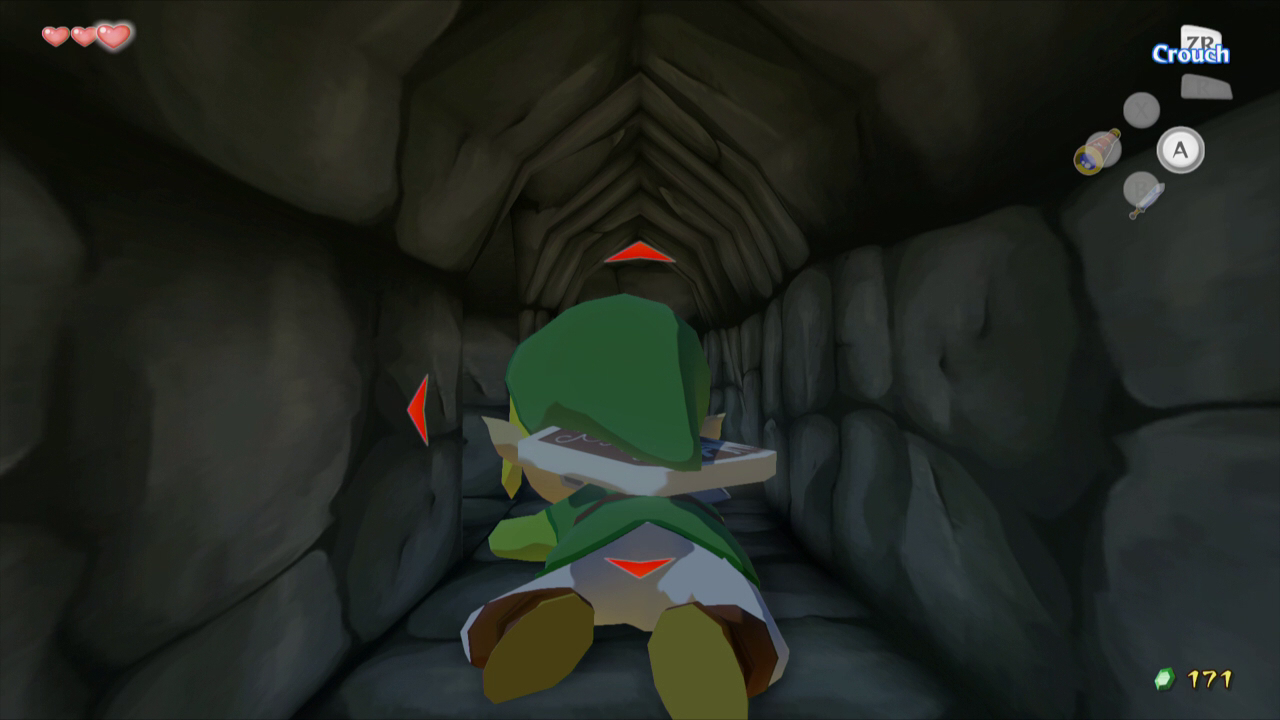
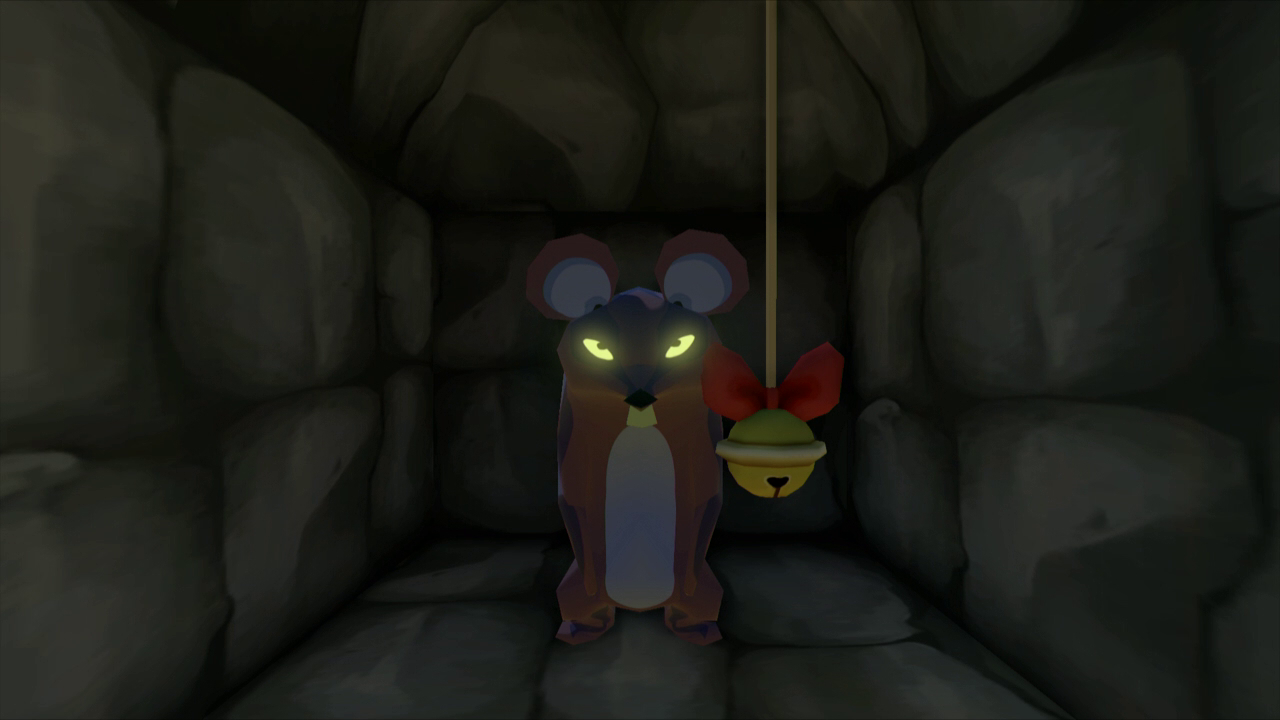
You should pick up 5 rupees along the way and emerge into a room with a large chest. Open the chest to get the Picto Box, an item that will allow you to take various pictures throughout the game. Break the pots in this room for some extra rupees, then crawl back into the hole. Take the first right that you can and a rat will drop you back out to the King of Red Lions. He will tell you about your Sea Chart, but we still have to get the sail.

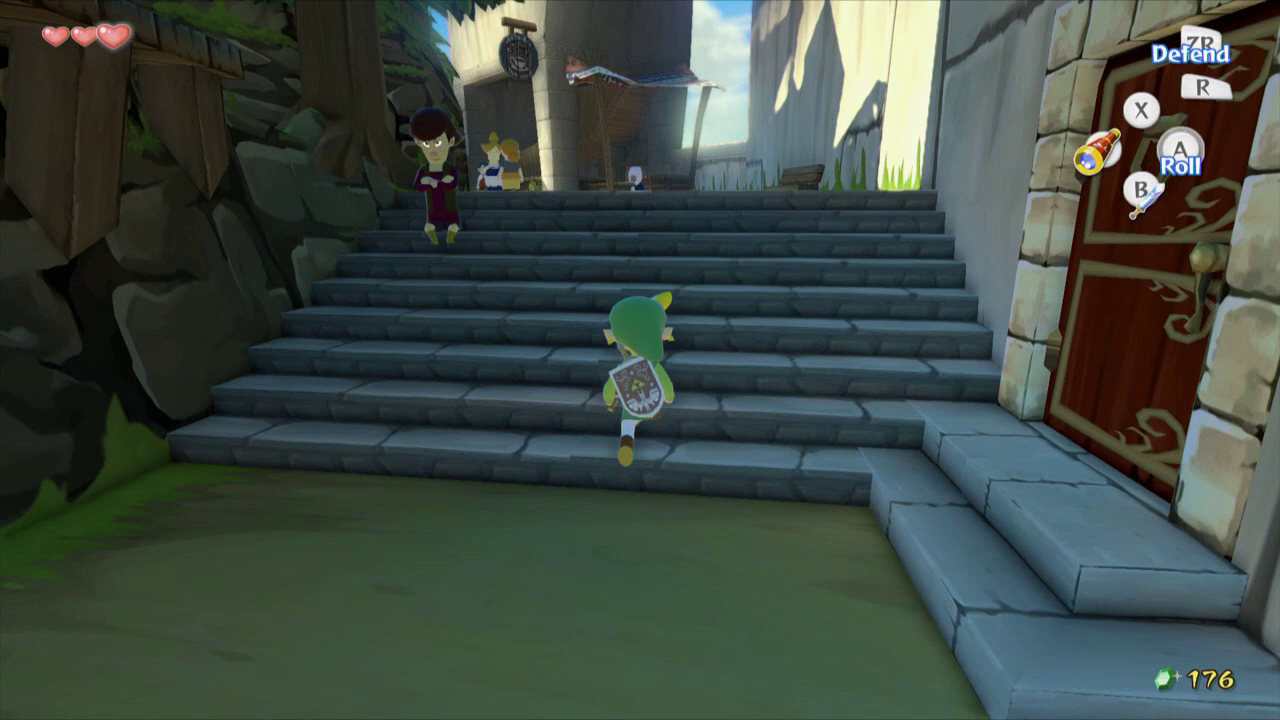
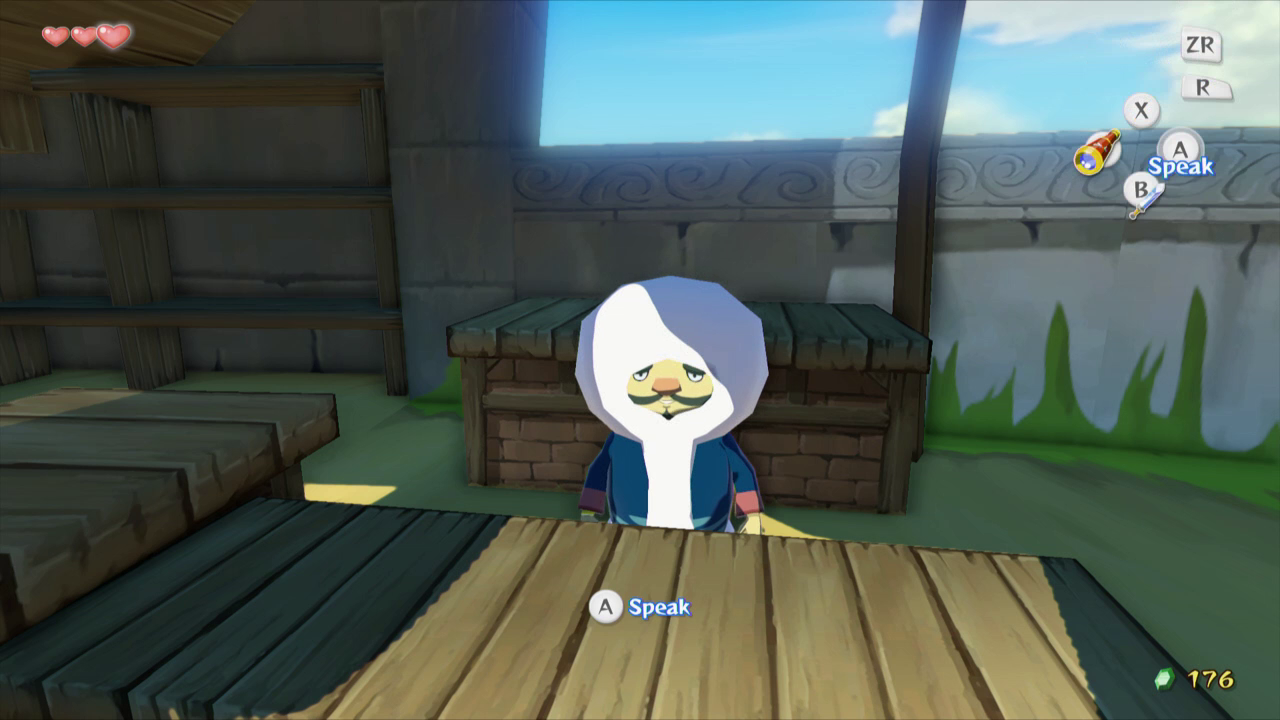
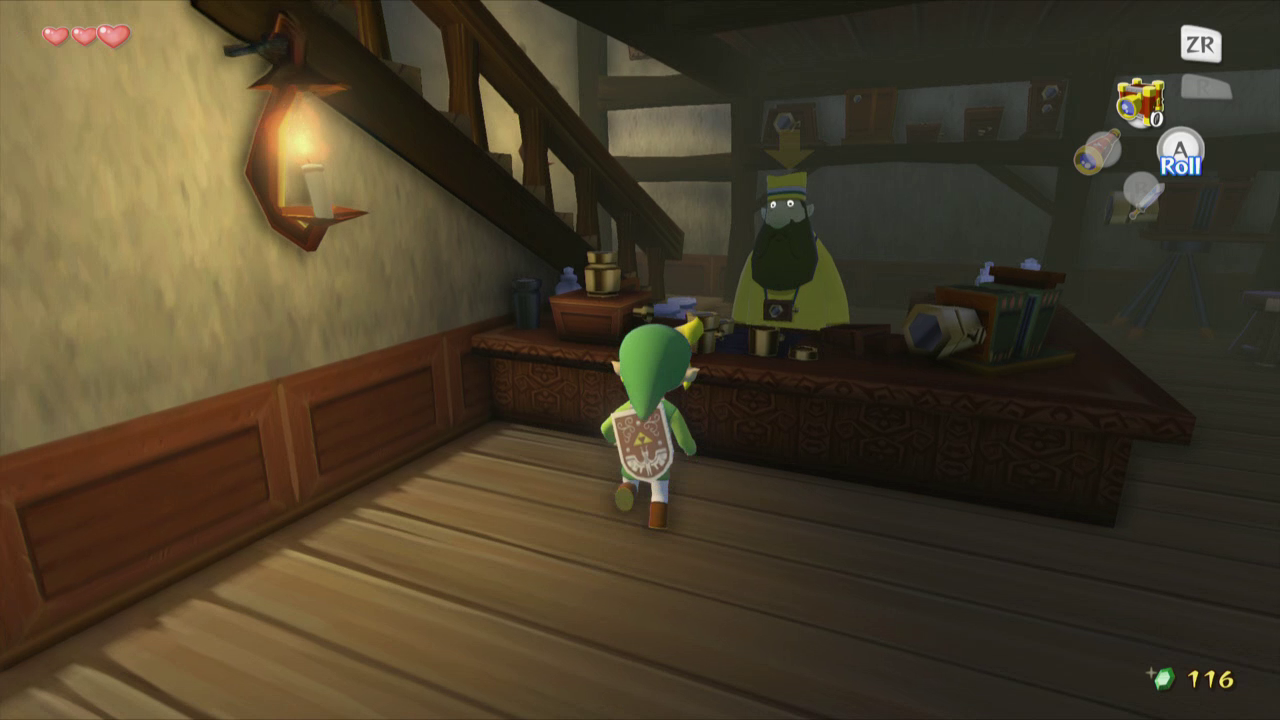
Head back onto the island and take the pathway on the east side of the island. After climbing some stairs you will find a stall on the right side. Speak with the short man here, known as Zunari. After a small speech, you can purchase “that” from him for 80 rupees. Buy it and you’ll obtain the Sail that you needed.
That is all that is required of Link here at Windfall Island. With the sail in hand, Link can head over to the Kind of Red Lions and set sail for our next destination. However, there are several optional goodies for us to collect here on the island.
3.2 Hide-and-Seek
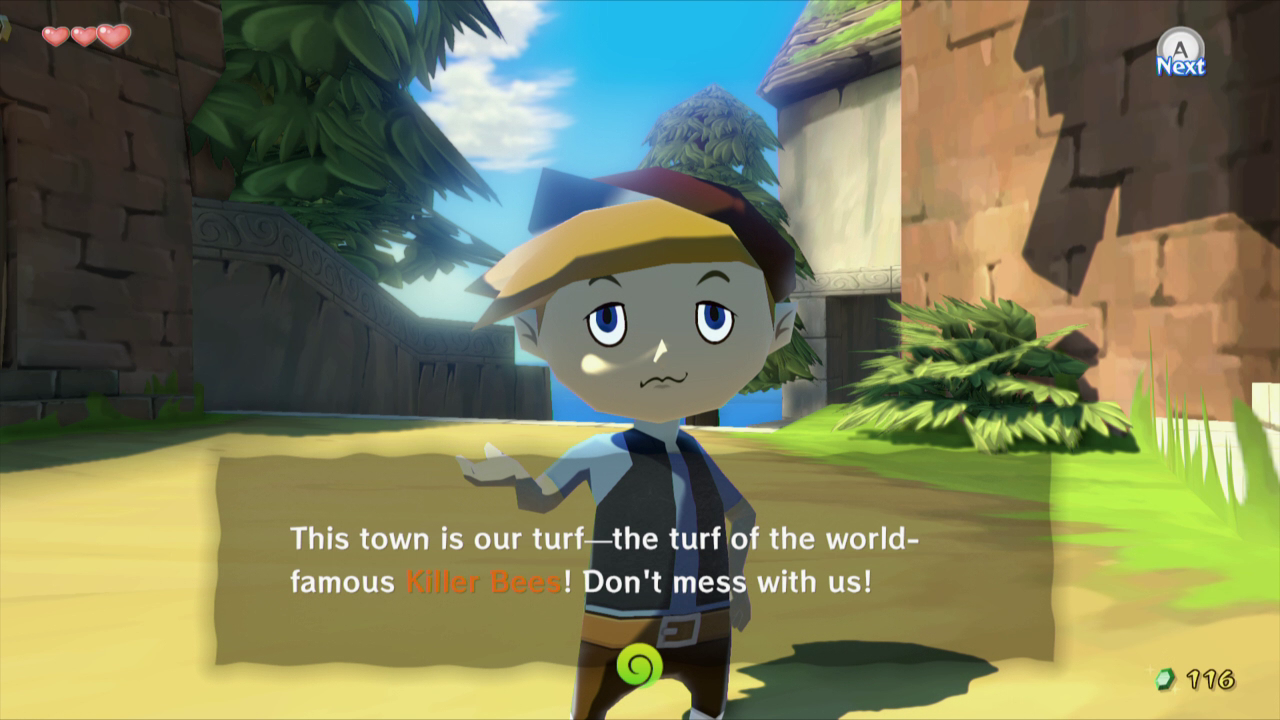
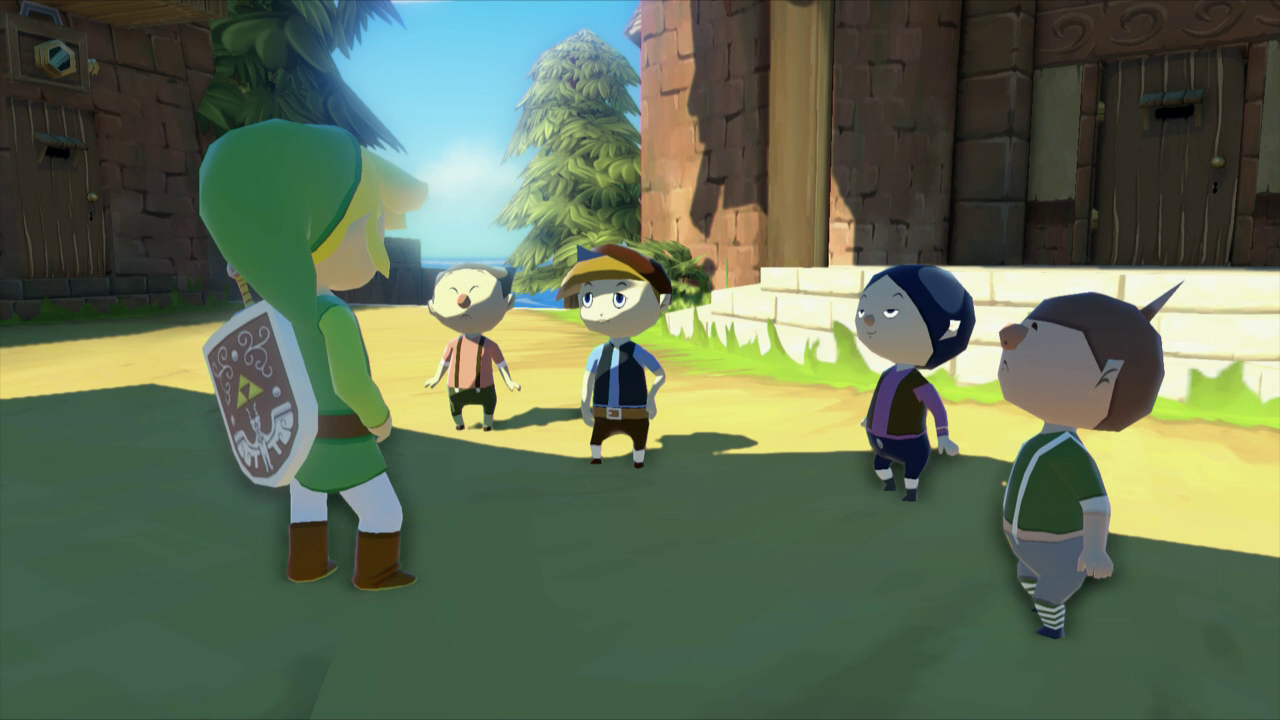
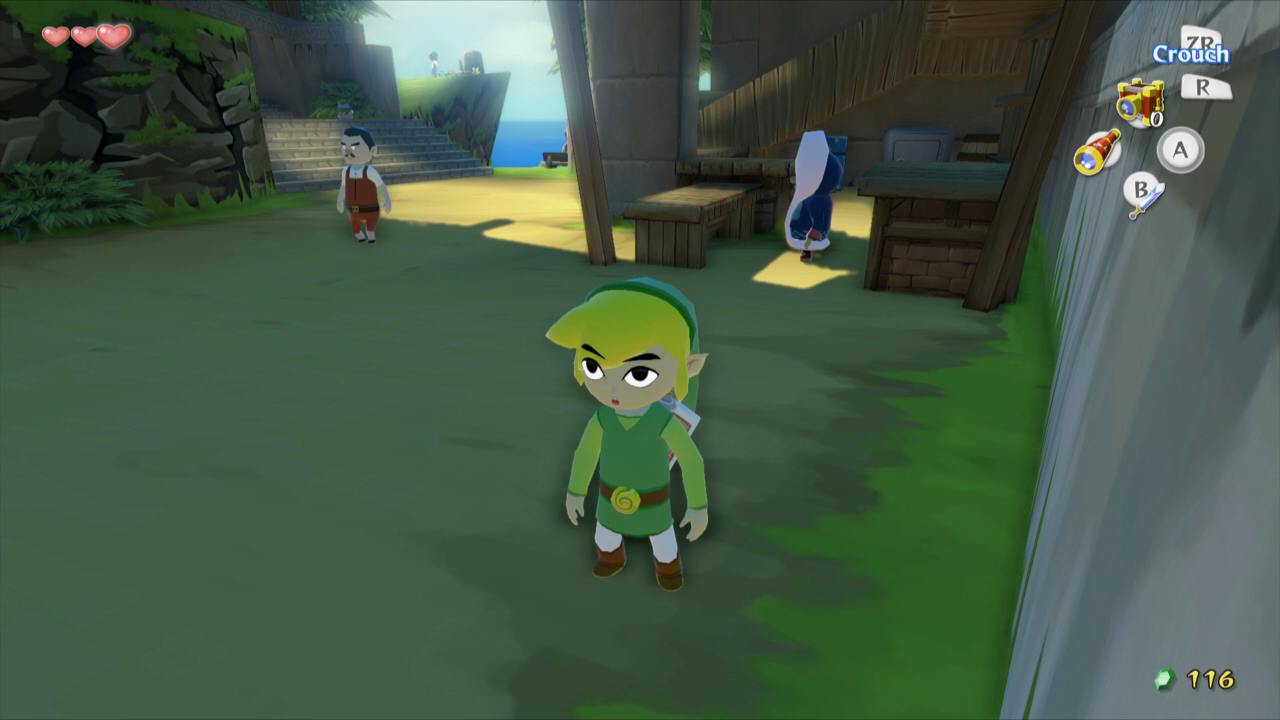
One of the quests we can now complete on Windfall Island involves the four children running around near the top of Windfall Island. While Link does need to eventually complete this task, it doesn’t need to be done until significantly later in the quest. Nevertheless, outside near the center of town, you should see a group of four children running around outside. This group of troublemakers is known as the Killer Bees.
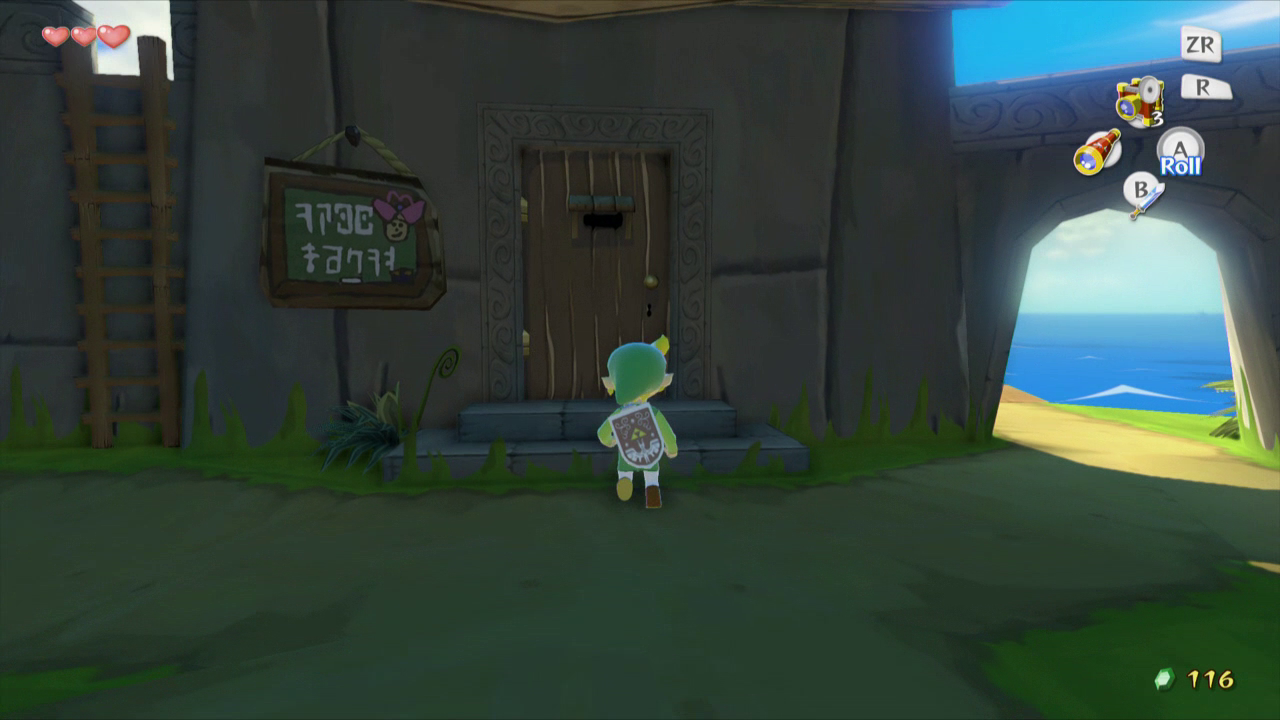
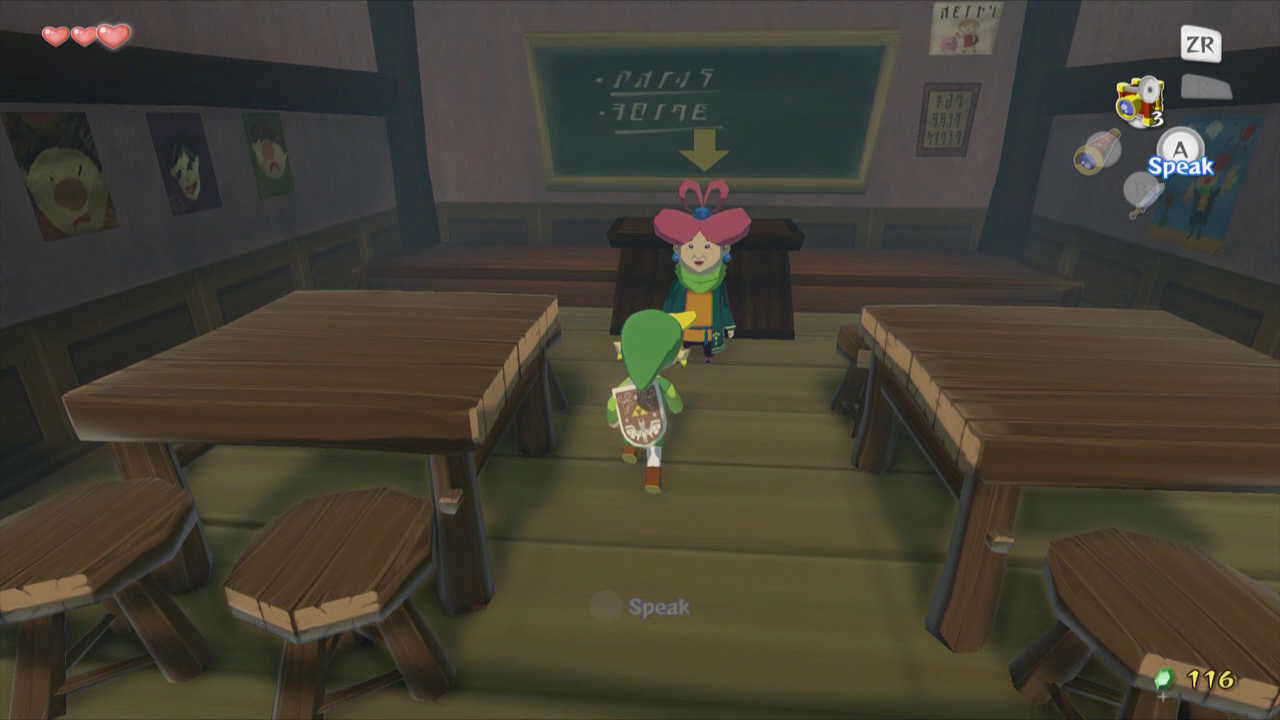
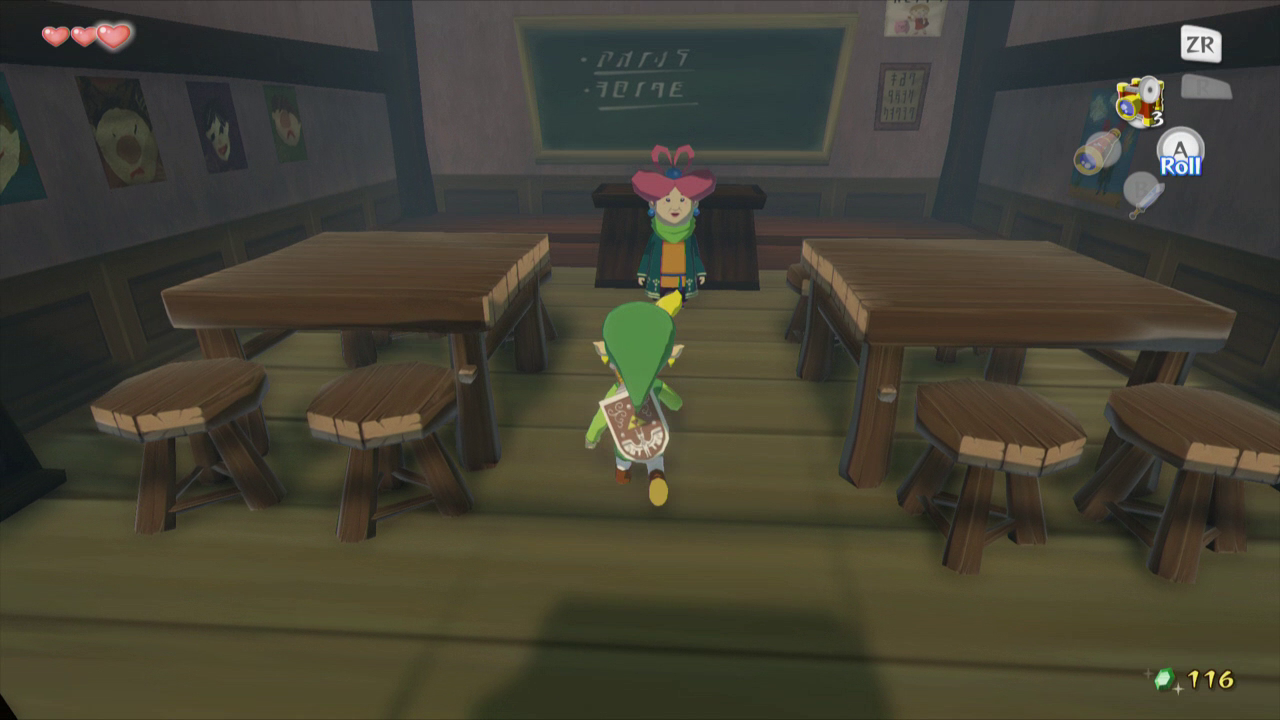
Speak with the one with the hat, Ivan. He’ll tell you that Windfall is their turf. Head inside the building with a green chalkboard outside and speak with Mrs. Marie.
Talk with her and she’ll tell you she’s never seen your face before. Talk to her again and tell her that you need to talk. She tells you that the Killer Bees have been giving her problems and asks you to talk with Ivan. Tell her yes and head back outside.
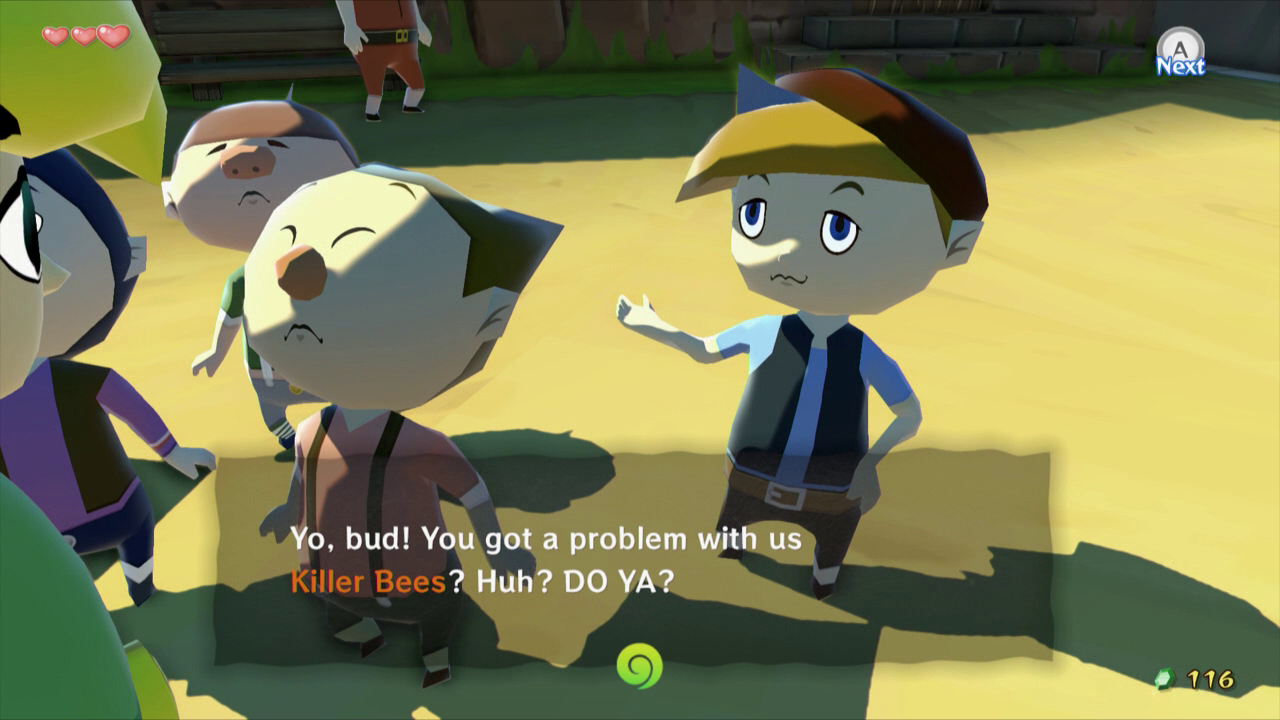
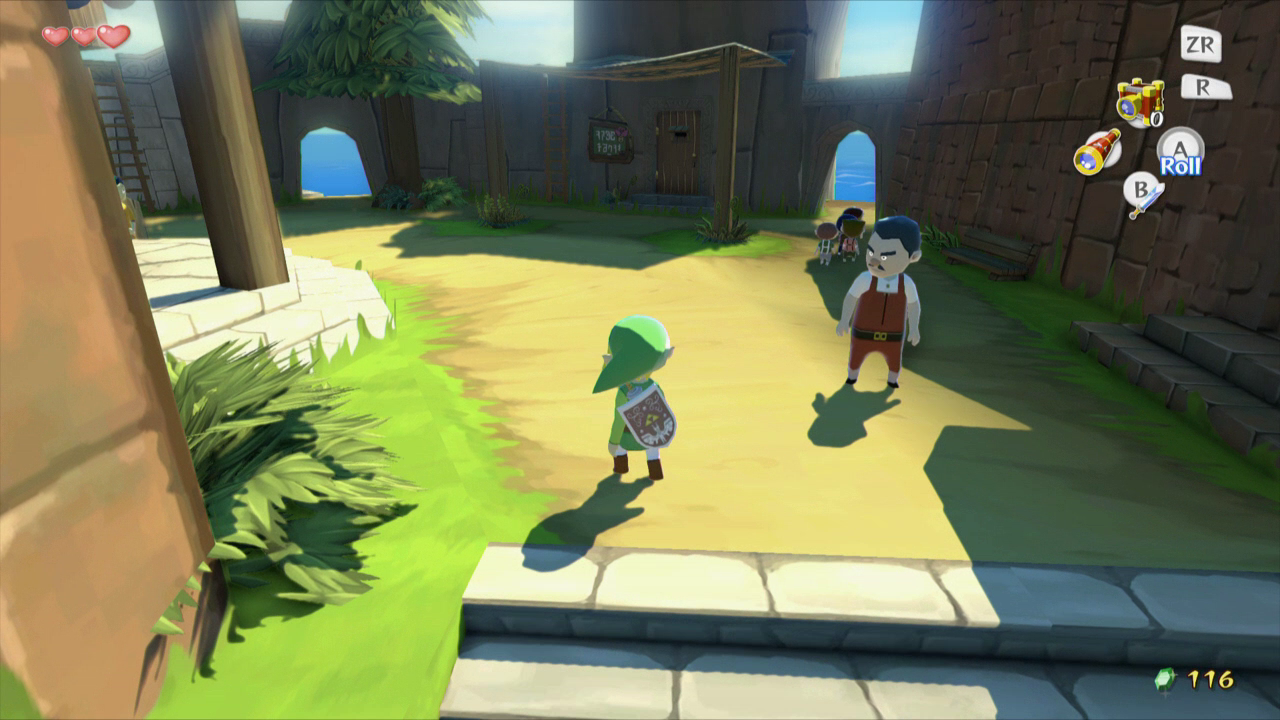
Speak with Ivan again and he’ll ask you if you’ve got a problem with the Killer Bees. He then asks you if you want to challenge him. Agree and they’ll run off, telling you to catch them.
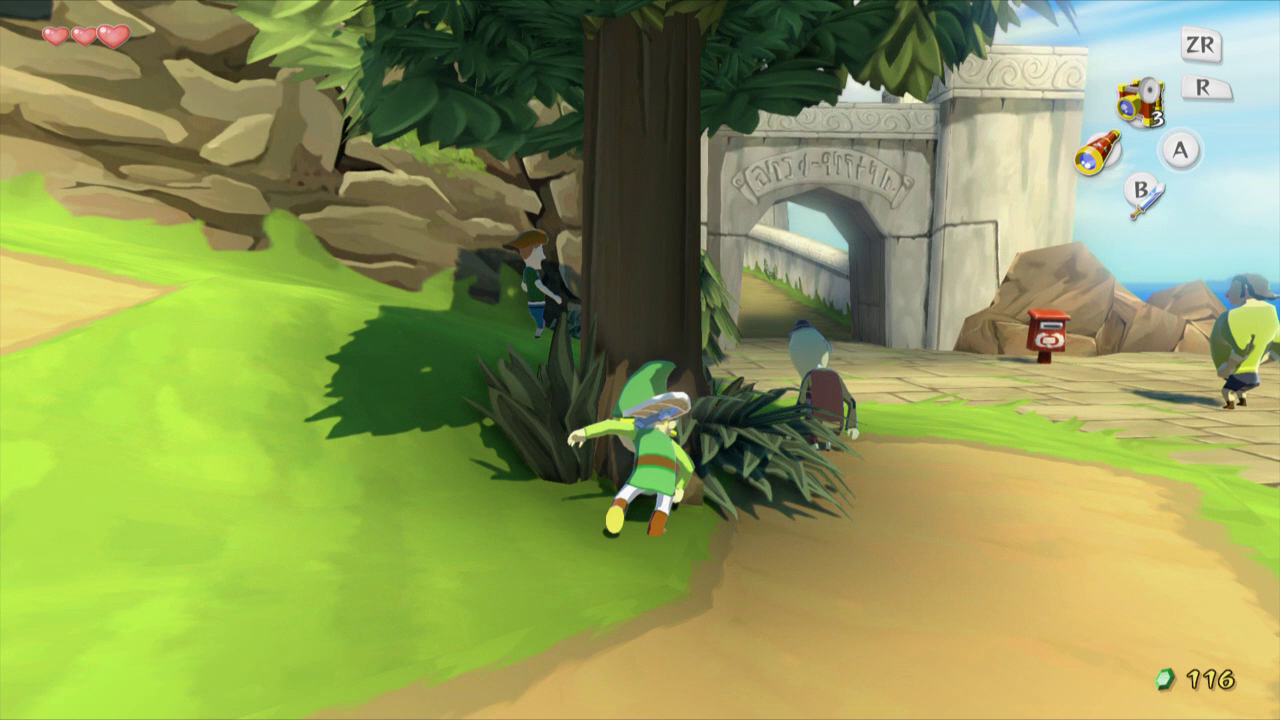
Jan, the first child, can be found behind some bushes outside the archway across from where Linda is standing. After you find her, she will run away from you. You will need to run after her and tag her to stop her. To make this faster and easier, you can roll across the ground to gain speed.

The Leader Ivan can be found on top of a tree near the docks. Roll into the tree to knock him down, then catch him as well. Jun-Roberto can be found behind the gravestone near Tingle’s jail cell. The fourth child Jin can be found behind the Bomb Shop at the docks. Walk around the left side of the building and sidle across the ledge to reach him.

After catching all four of them, Ivan will make you an honorary Killer Bee and reward Link with a Piece of Heart. He also asks you to apologize to Miss Marie for them. Head back inside the school building and speak with Miss Marie. She gives you a purple rupee in return for setting the Killer Bees straight. Before you leave, you can roll into the tree in front of the Bomb Shop for an extra Joy Pendant. Heart Piece #2
3.3 Windfall Side Quests
There are plenty of optional goodies here on Windfall Island. Nothing here is required at all in this section, or in 3.4. So jump ahead to Chapter 4 to continue onward with the main quest.
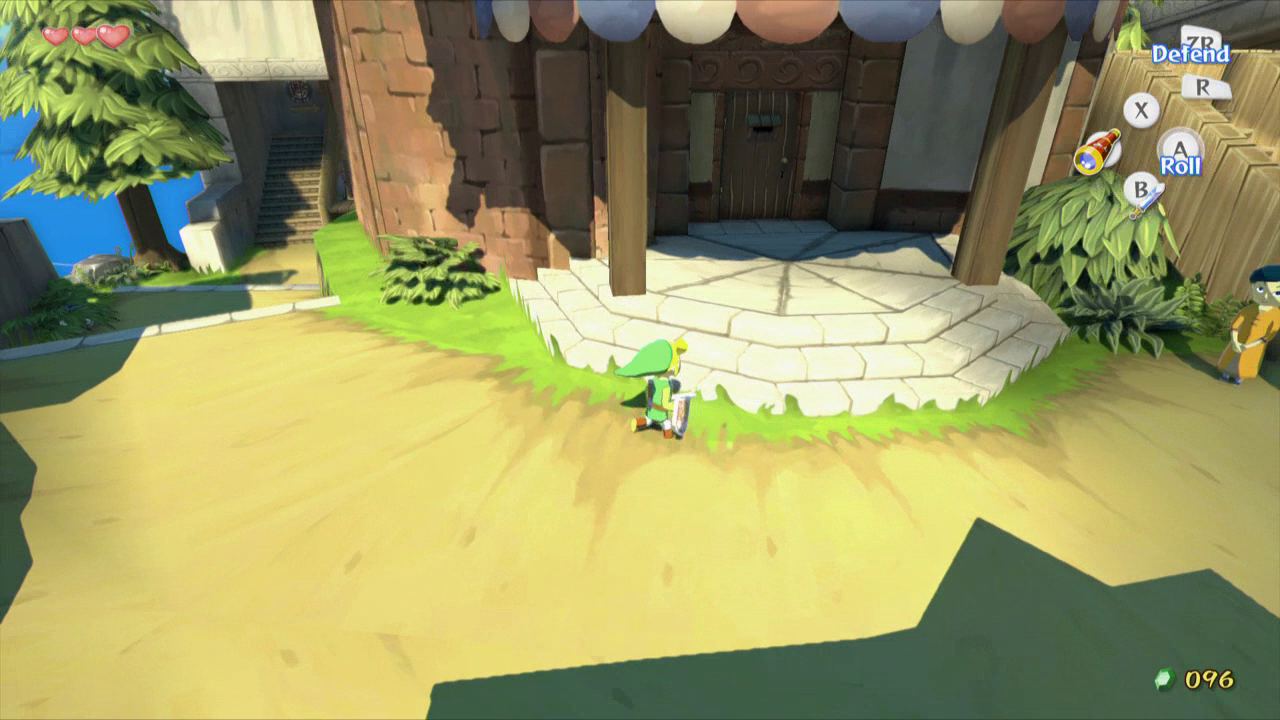
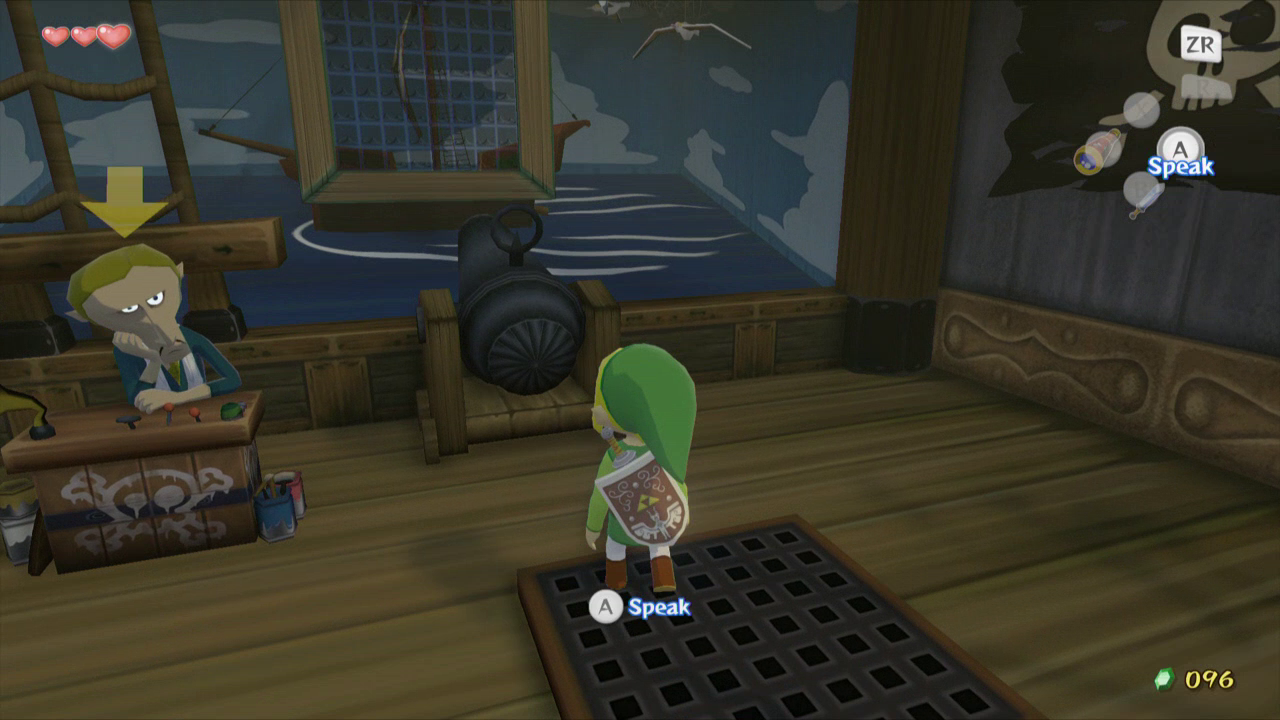
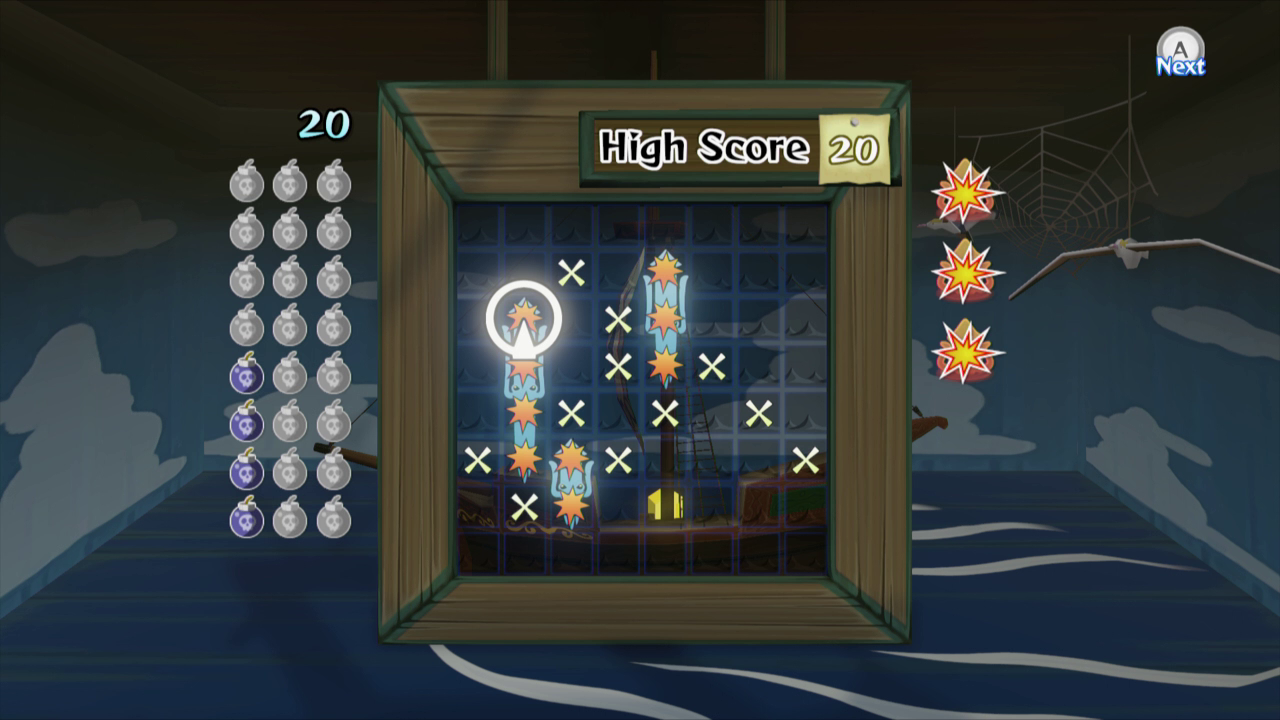
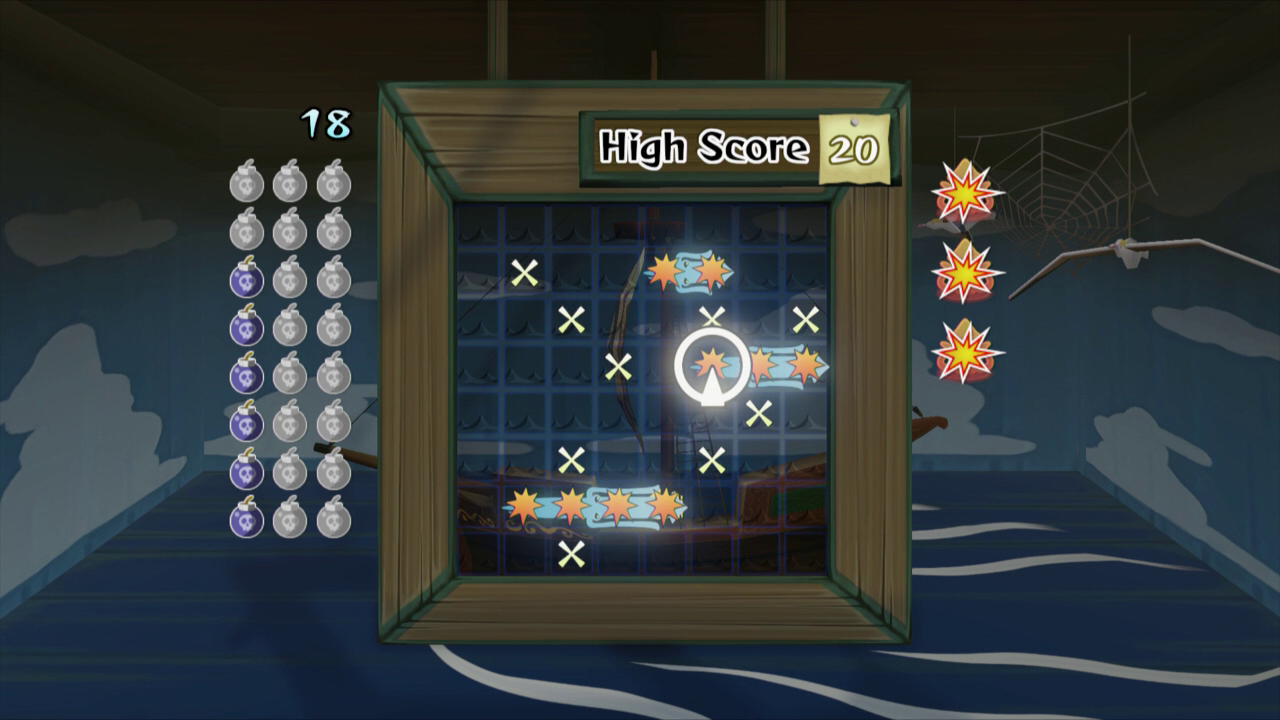
One optional Mini-Game can be played is Salvatore’s Sinking Ships. Salvatore is located at the top portion of the island, where there are four young children running around. His doorway has two pillars in front of it, along with a white concrete base. Enter through the door and speak with Salvatore, the man leaning on the counter. He’ll ask you if you want to play a game for 10 rupees. Tell him yes and he’ll give you a neat little intro to the game. If you can beat the game with 24 cannonballs or less he’ll give you a Piece of Heart.
Optional: Heart Piece #3
If you play Salvatore’s Sinking Ships and beat it a second time he’ll give you Treasure Chart #7. This will eventually lead to Link acquiring 200 Rupees.
Optional: Treasure Chart #7
Each subsequent time you beat the Sinking Ships game, Link will yearn a Purple Rupee, worth 100 rupees. However, if Link is able to beat the record and score 19 bombs or less, he will earn himself Treasure Chart #23, which will eventually lead to a Piece of Heart. For beating the record, Link will also earn an Orange Rupee, worh 100 rupees.
Optional: Treasure Chart #23
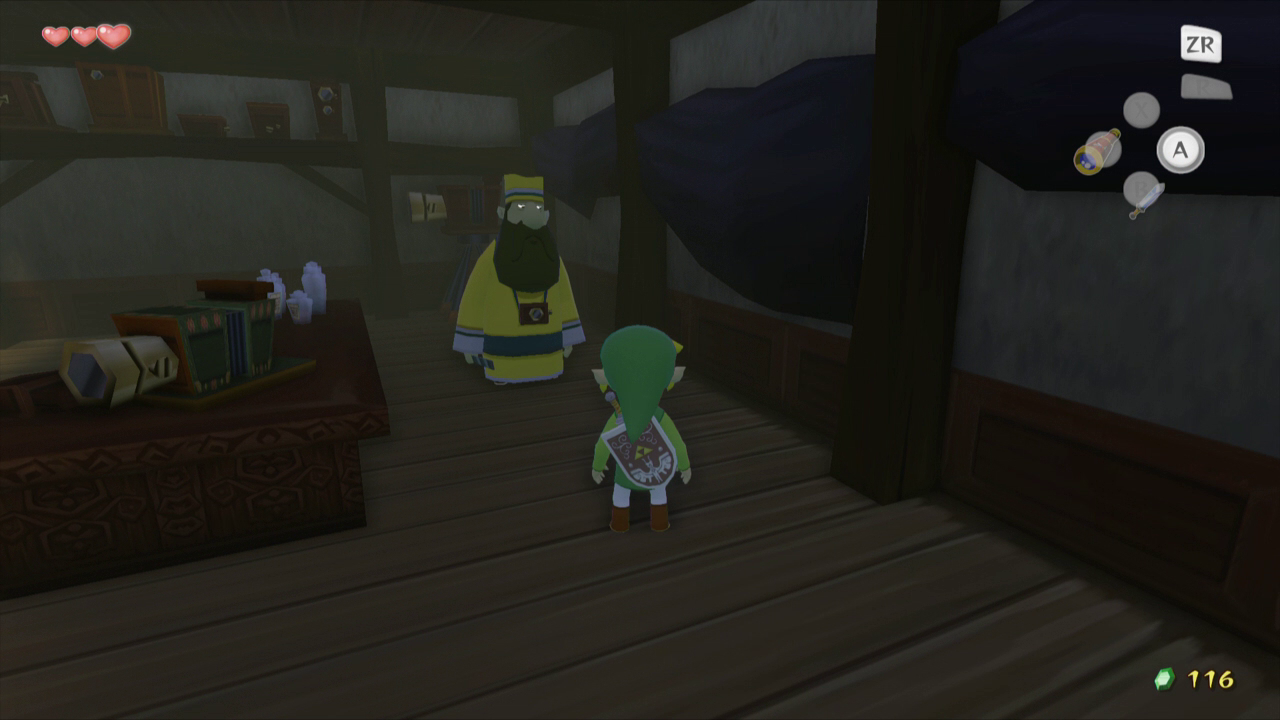
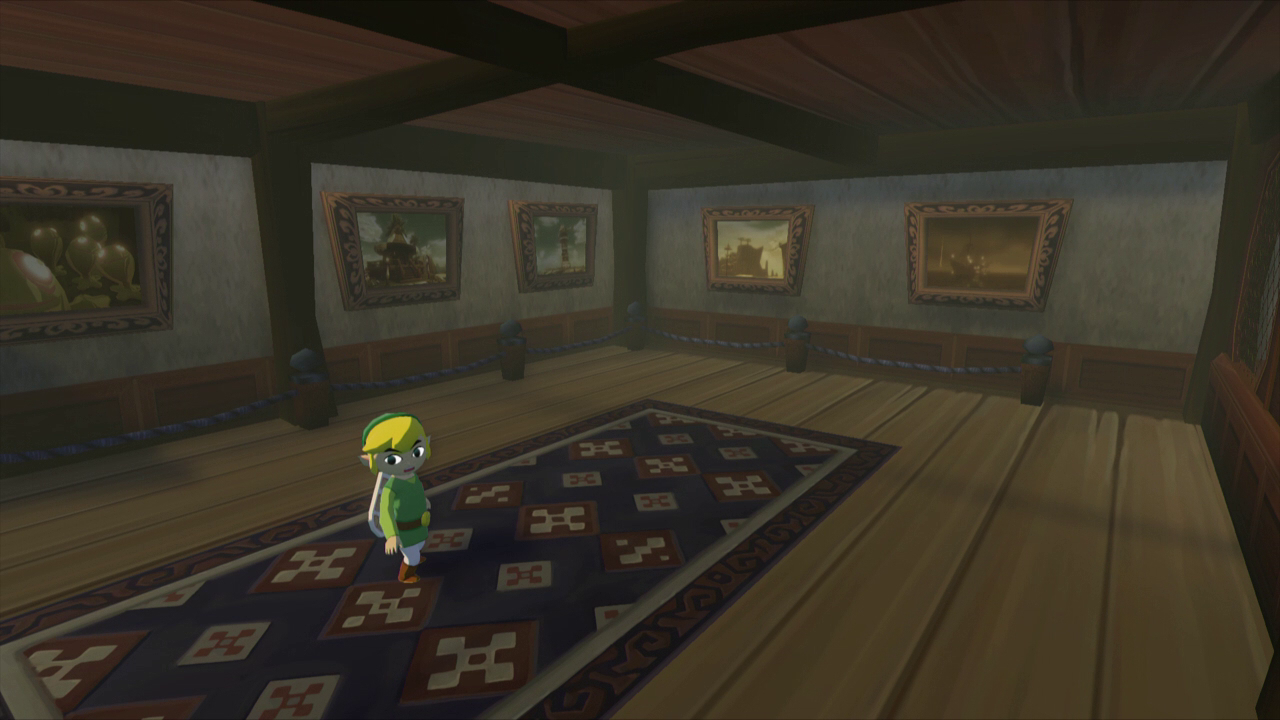
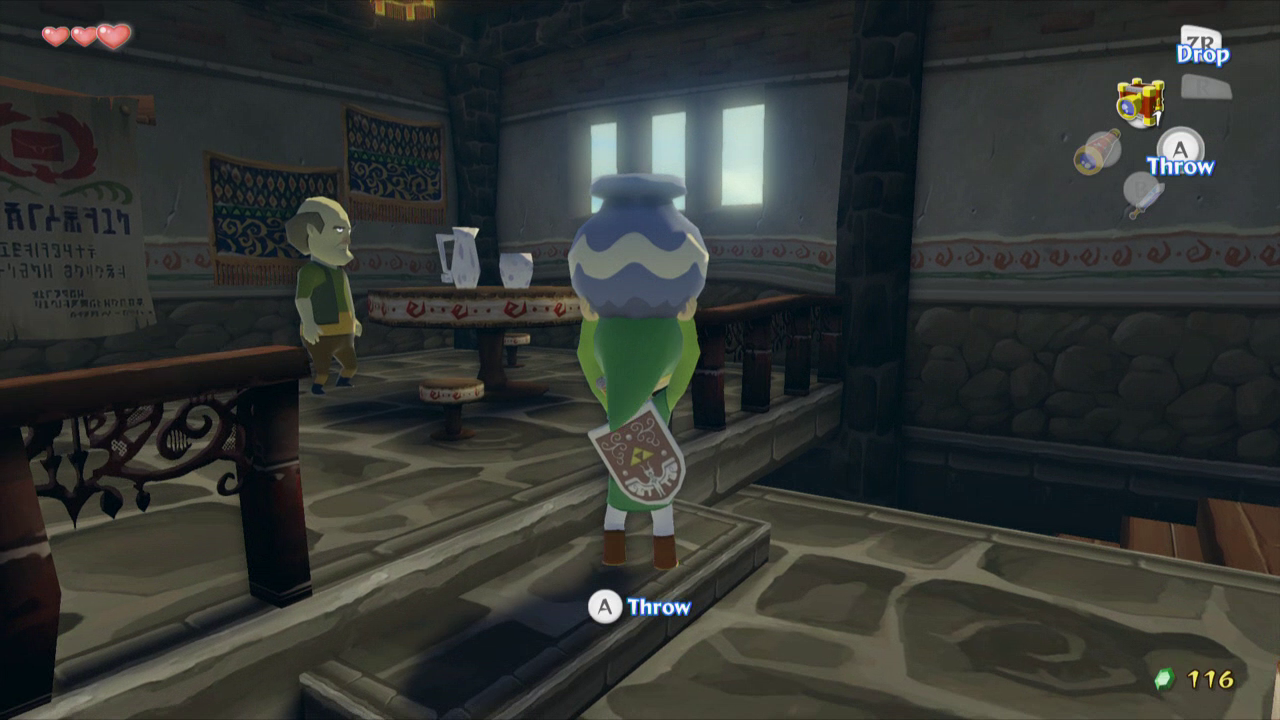
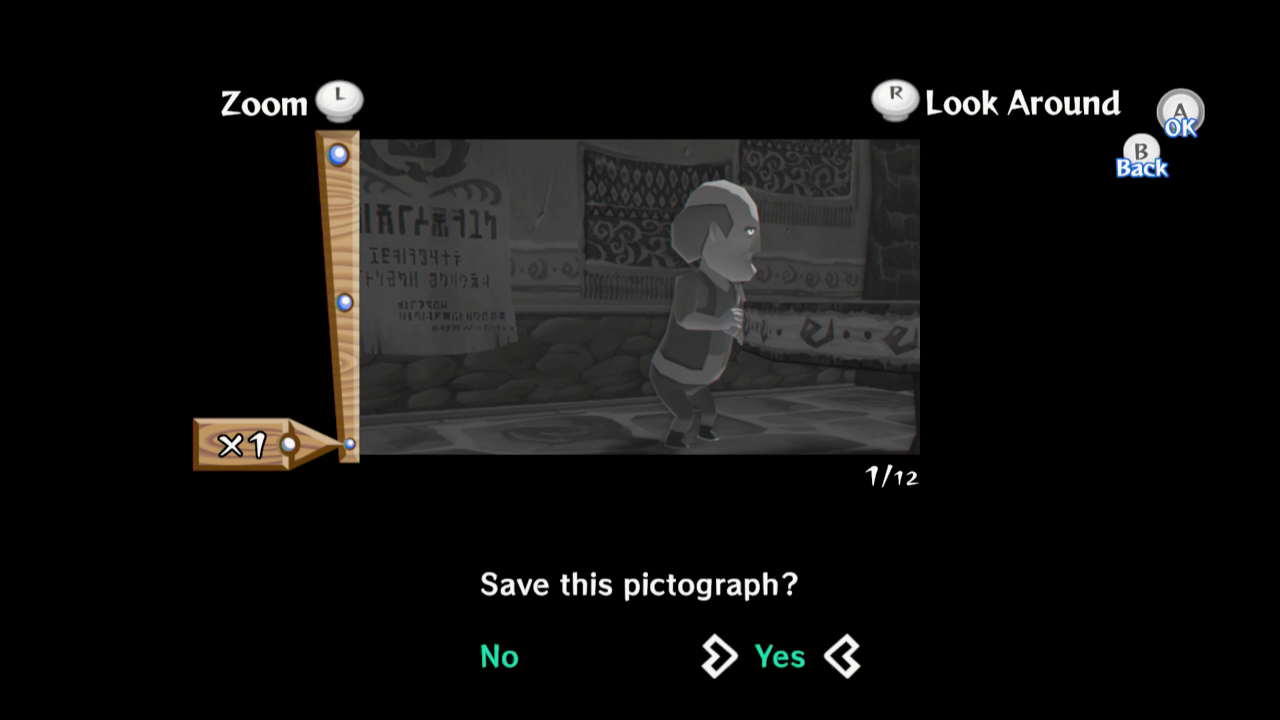
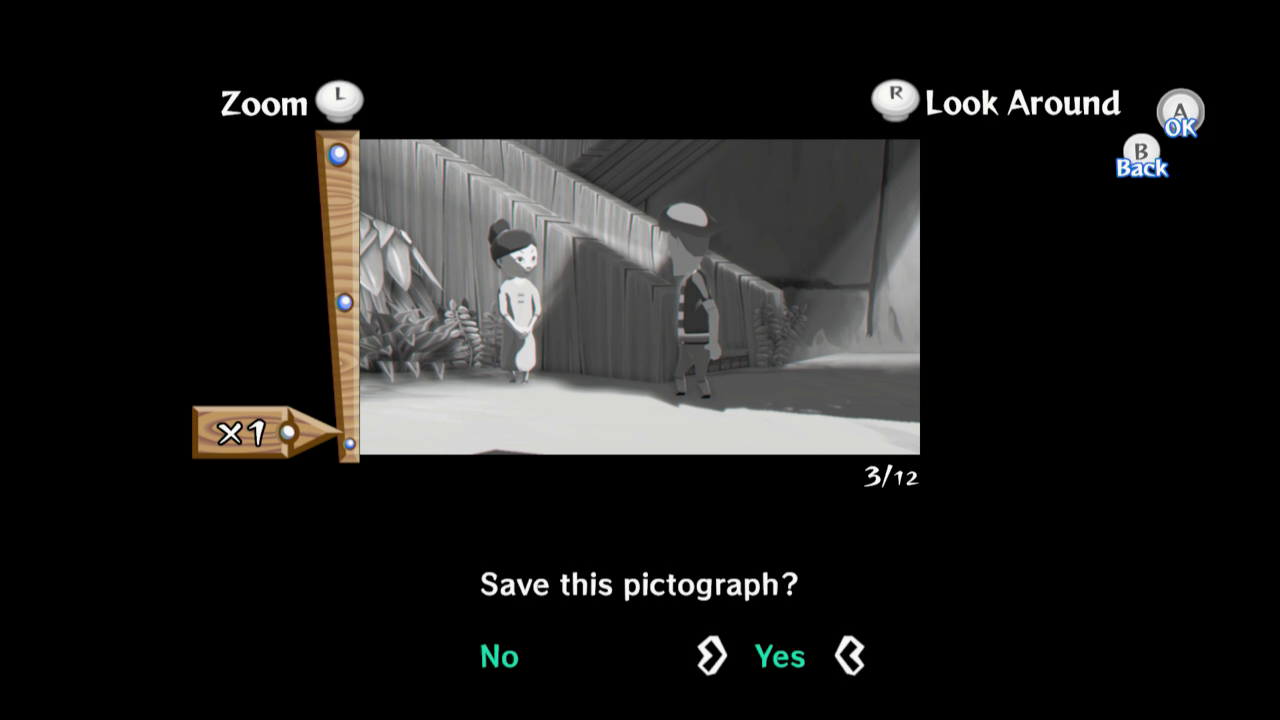
NOTE: If you are playing the Gamecube version, you must first obtain the Forest Firefly before Lenzo will give you the Deluxe Picto Box. One of the other optional quests here at Windfall Island involves acquiring the Deluxe Picto Box. In order to complete this quest, you will first have needed to acquire the Picto Box, found in the secret cavern at the back of the Jail Cell. We first want to enter Lenzo’s Picto Box shop, located near the top of Windfall Island. It can be found in the area with the four young children, near Salvatore’s mini-game. Just above the doorway there is a picture of a Picto Box. Inside, speak with Lenzo, the owner of the shop and he’ll tell you that you are in possession of a very fine Picto Box and tells you to have a look around. Head up the stairs and you’ll find yourself in an art gallery. Lenzo comes up the stairs behind you and tells you to have a look at all the pictographs hanging on the walls. Take a look at all the pictographs and then speak with Lenzo again. Leave the building and then go right back in the Pictograph place, where Lenzo should now be standing behind the counter. Speak with him and he’ll ask if you want to be his research assistant. He tells you that being his assistant will be a challenge, and asks if you’re up to it. Tell him yes and he’ll tell you that he will give you three commands to complete this task. For Lenzo’s first command, he wants a picture of a hopeless romantic sending a letter. The man’s name is Garrickson. Go outside and head down to the docks. You should see a red postbox near the docks. Stand on the other side of the bush near the archway and get out the Picto Box. Zoom in on the post box and take a picture of Garrickson putting a letter into the postbox. You need to include his whole body and get the picture while the letter is in his hand. With the first picture successfully taken, return to Lenzo and show it to him. He’ll take the pictograph, and if you talk with him again he’ll give you your second task: finding the most cowardly resident in town. Go back to Zunari’s shop, the place where you bought your sail, and head up the stairway next to it. Enter the cafe and head up the stairs to find the only customer: Gossack. Grab a pot from in front of the counter and throw it to break it. Gossack will begin to shake, so quickly get out the Picto Box and take his picture. Once this has been accomplished, return to Lenzo and give the pictograph to him. Lenzo will give you the third task: to find a couple that secretly like each other, but have never spoken. For this pictograph, you will be getting a picture of Anton and Linda looking at each other. The easiest way to get this pictograph is to stand directly outside Lenzo’s studio and zoom in on the lady in the orange dress. Keep her full body in the shot though. Make sure she’s on the left side of the frame. When Anton strolls up and they both look at each other, take the picture. Take this picture to Lenzo and he’ll give you a Joy Pendant. Optional: Deluxe Pictobox Quest


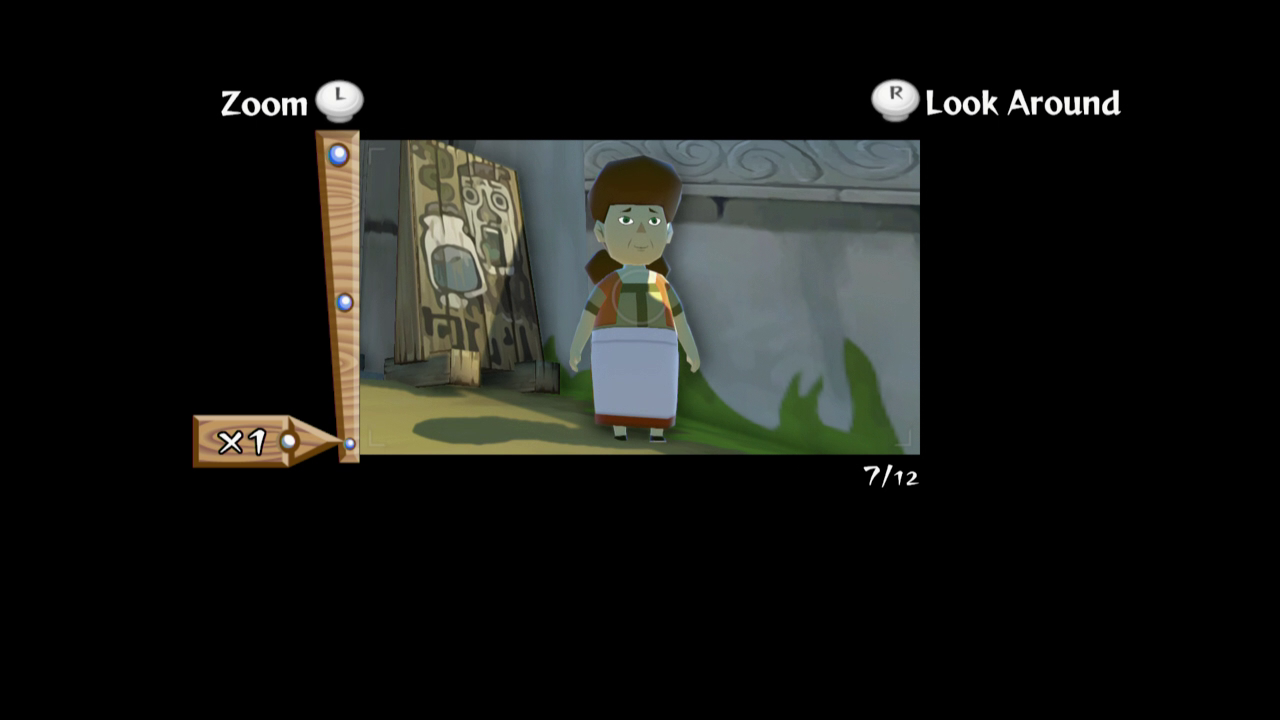
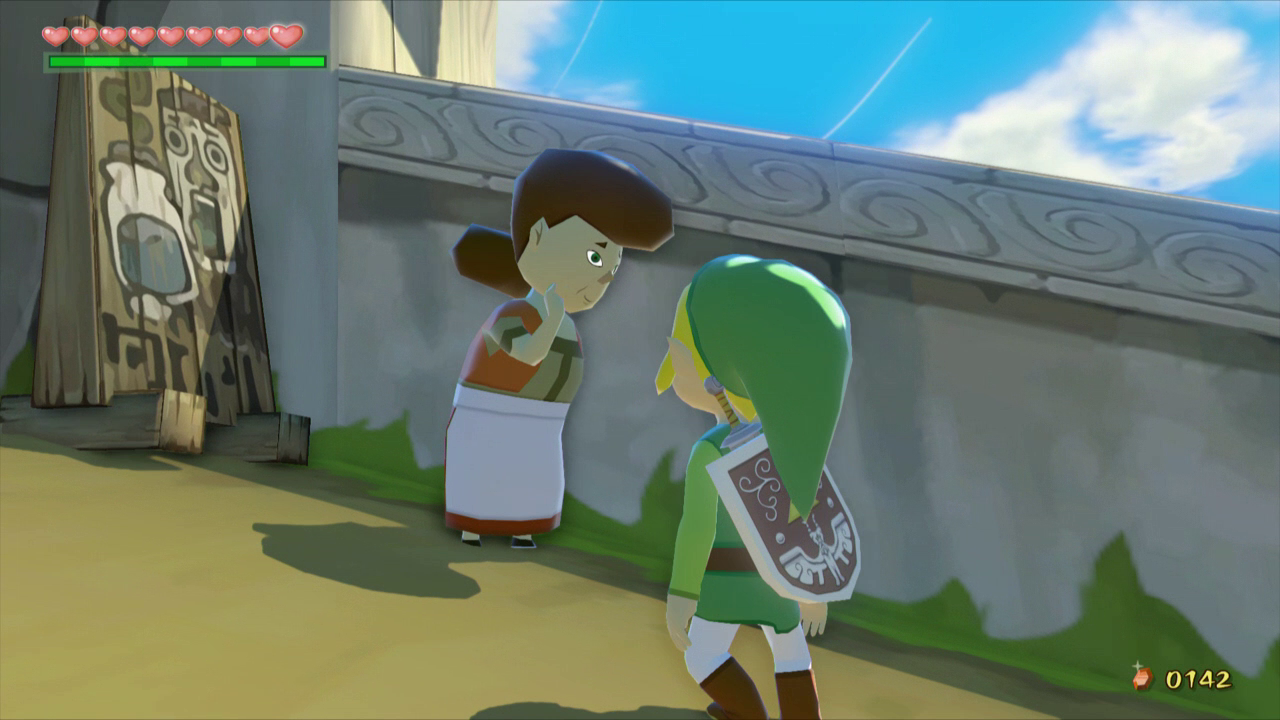
That’s all we can do with Lenzo right now, but we can immediately put our Deluxe Picto Box to use. Walk back to the mailbox and then walk through the archway. Link will see a woman wearing an orange shirt on the right, known as Minenco. Use the Deluxe Picto Box to snap a photograph of her. After taking the picture, walk up to her and show her the picture. She’ll thank you for taking her photograph and will reward you with Treasure Chart #33. Optional: Treasure Chart #33
3.4 Pawprint Isle
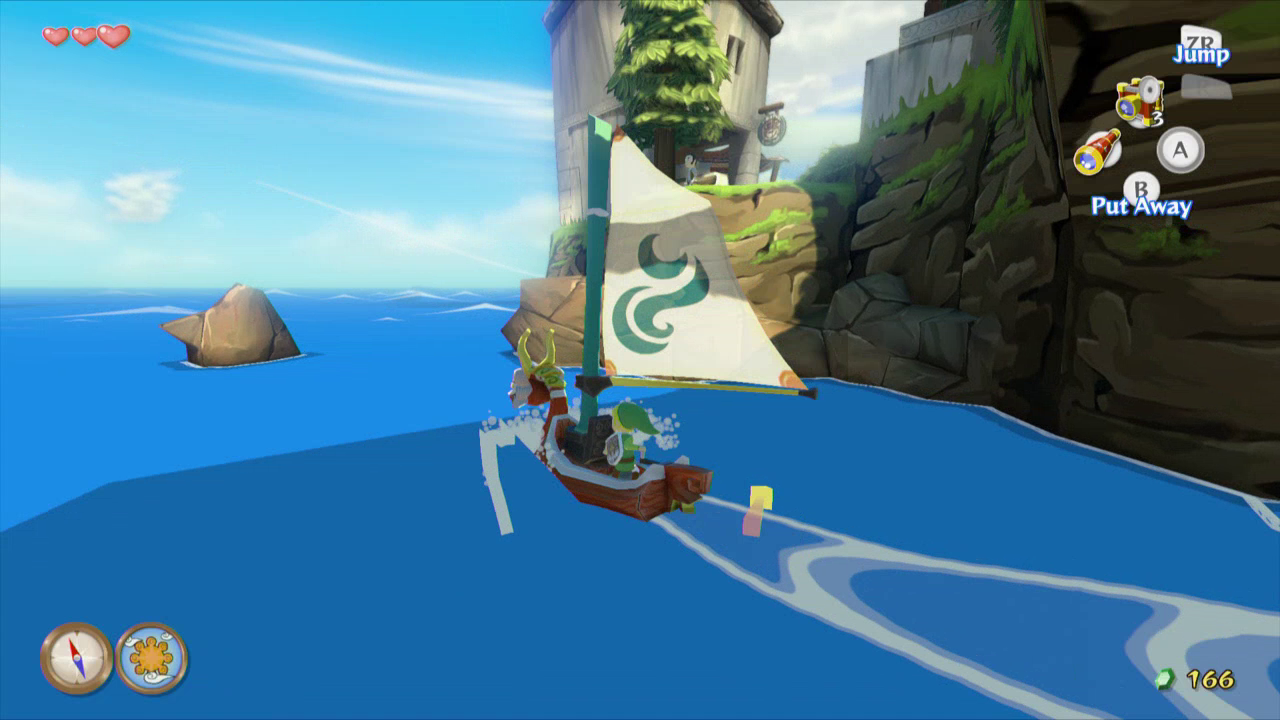
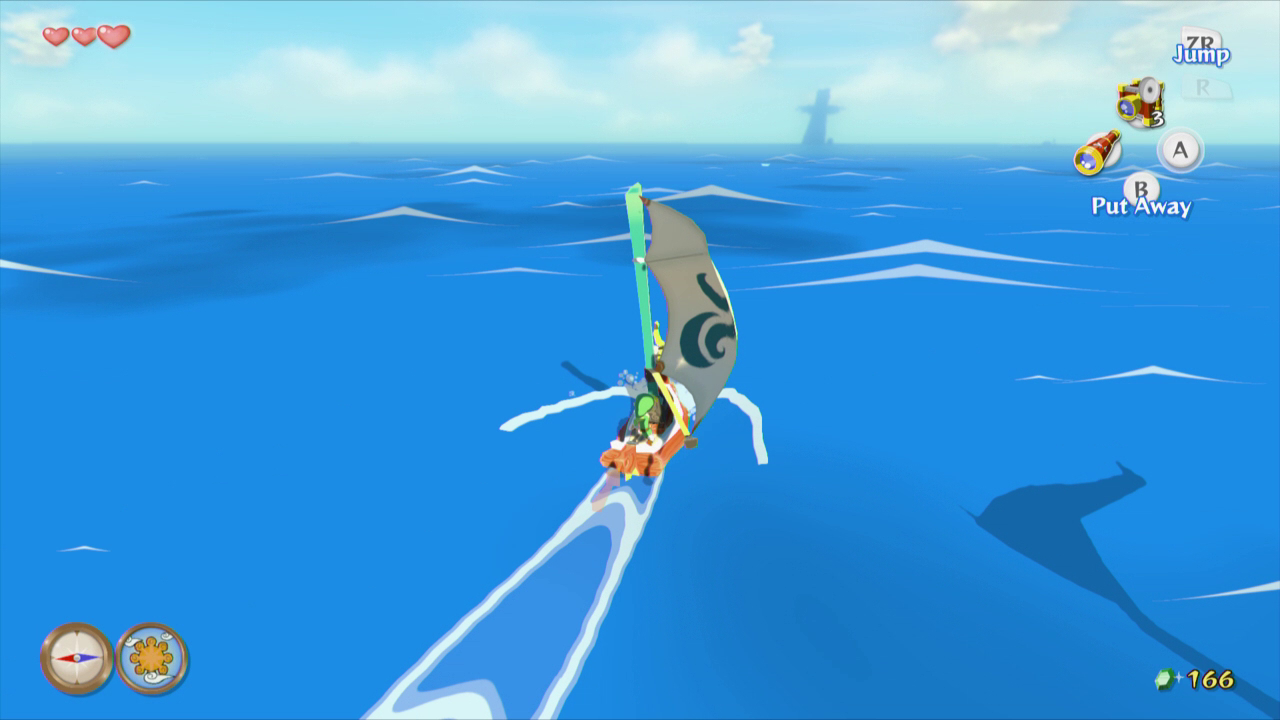
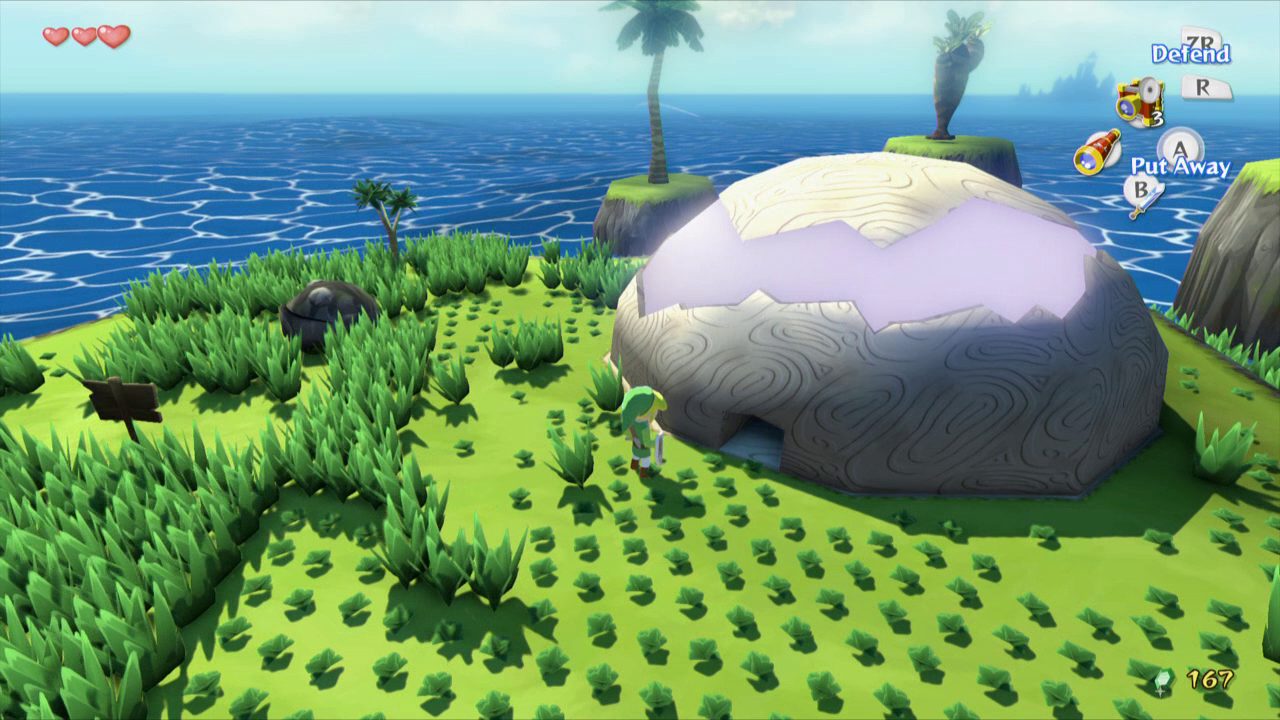
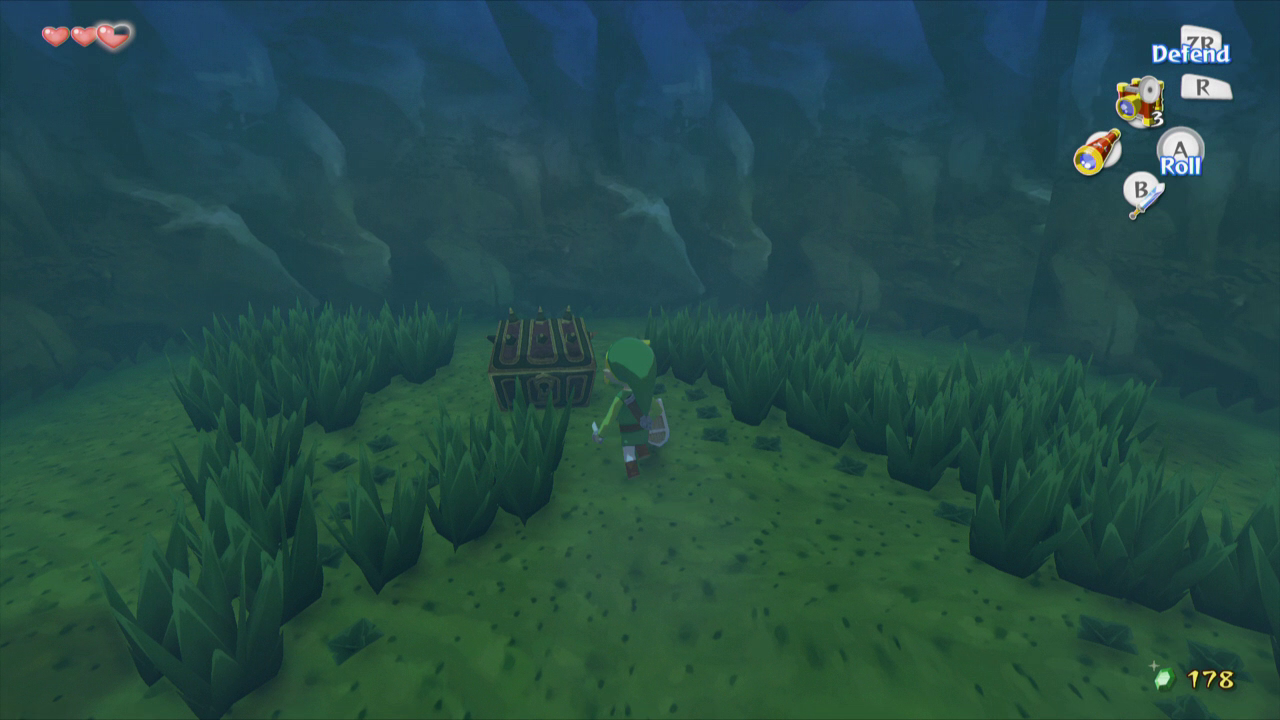
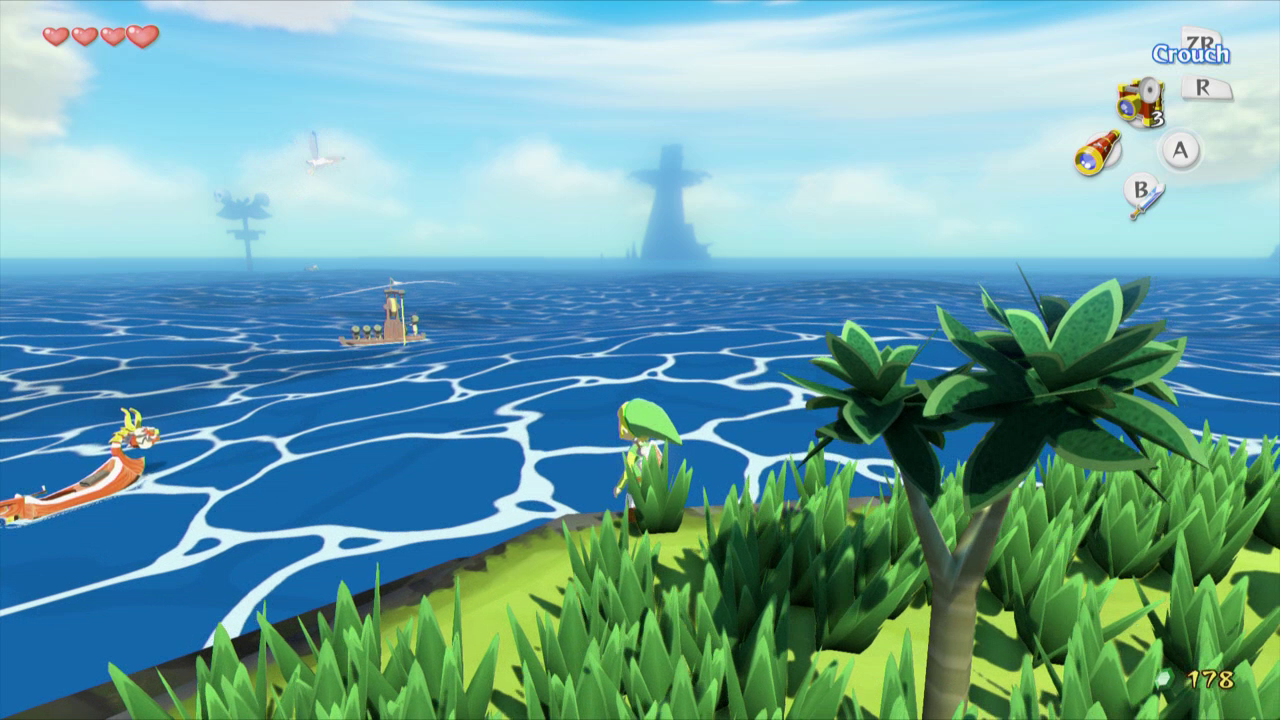
Now that you have a sail you can make your way around the Great Sea with ease. You can also access your Sea Chart at any time to see where you are located on the Sea. With that in mind, get on the King of Red Lions and pull out your sail. Turn right and make your way around the island until you’re heading east, the direction that the arrow behind you is pointing. You should see a tall mountain off in the distance. About halfway there you should notice a small island to the right, Pawprint Isle, which is surrounded by some palm trees. Get off the King of Red Lions and climb onto the island. Cut down the grass around the dome in the middle to reveal a small hole that you can crawl through. Fall through the hole inside the dome and you will land inside an underground cave. Head down the tunnel here, killing the Red ChuChus that appear in your path. Collect the Red Chu Jelly they drop and head down the path to the right. Defeat the three Red ChuChus at the end and open the chest for the fourth Piece of Heart, completing the first Heart Container and adding one heart to your life gauge. Return to where we entered the cave and exit through the portal of light.Optional: Heart Piece #4

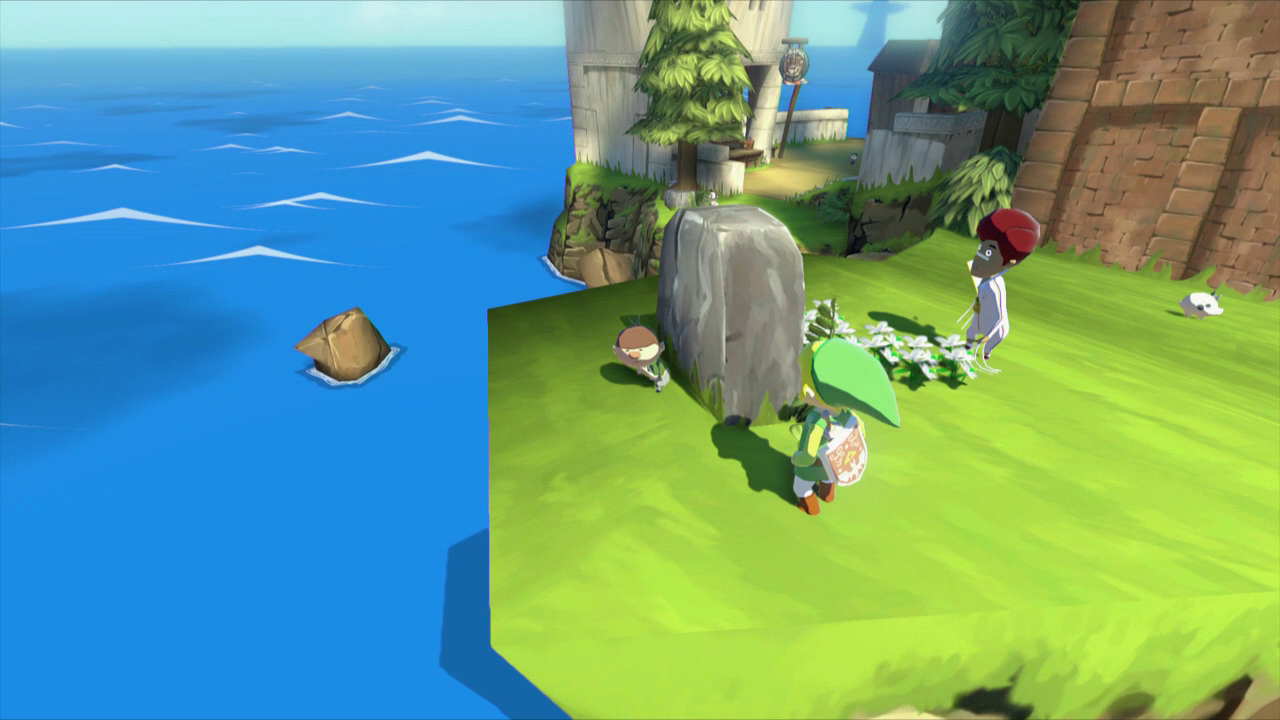
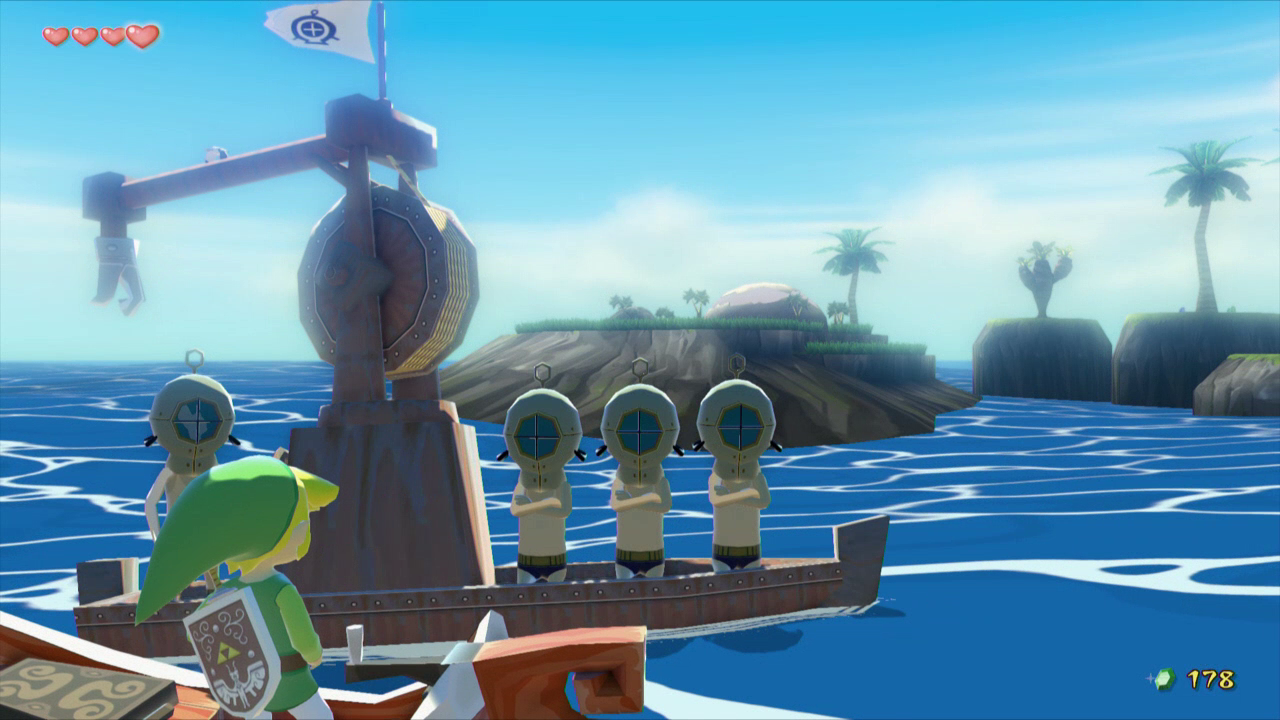
Crawl out of the dome and take a look around the island. You should notice a small platform to the east of the island. Get on the King of Red Lions and sail over to the platform. Speak with the man to the left and he will give you Treasure Chart #34. The man will also mention that a Grappling Hook would be perfect to haul up treasure. That’s all we can do on Pawprint Isle, so continue on to Dragon Roost Island. Along the way you will find a raft with a Pink Bokoblin on it. It’s completely optional, but you can stop and defeat it for a chance to collect a Joy Pendant. You’ll need quite a few of these in the future, so it’s best to start collecting early.
Optional: Treasure Chart #34
- Chapter 1 – Outset Island
- Chapter 2 – Forsaken Fortress
- Chapter 3 – Windfall Island
- Chapter 4 – Dragon Roost Island
- Chapter 5 – Dragon Roost Cavern
- Chapter 6 – Forest Haven
- Chapter 7 – Forbidden Woods
- Chapter 8 – Nayru’s Pearl
- Chapter 9 – Tower of the Gods
- Chapter 10 – Hyrule Castle
- Chapter 11 – Earth Temple
- Chapter 12 – Wind Temple
- Chapter 13 – The Triforce
- Chapter 14 – Ganon’s Tower
