- Chapter 1 – Outset Island
- Chapter 2 – Forsaken Fortress
- Chapter 3 – Windfall Island
- Chapter 4 – Dragon Roost Island
- Chapter 5 – Dragon Roost Cavern
- Chapter 6 – Forest Haven
- Chapter 7 – Forbidden Woods
- Chapter 8 – Nayru’s Pearl
- Chapter 9 – Tower of the Gods
- Chapter 10 – Hyrule Castle
- Chapter 11 – Earth Temple
- Chapter 12 – Wind Temple
- Chapter 13 – The Triforce
- Chapter 14 – Ganon’s Tower
2.1 Pirate Ship
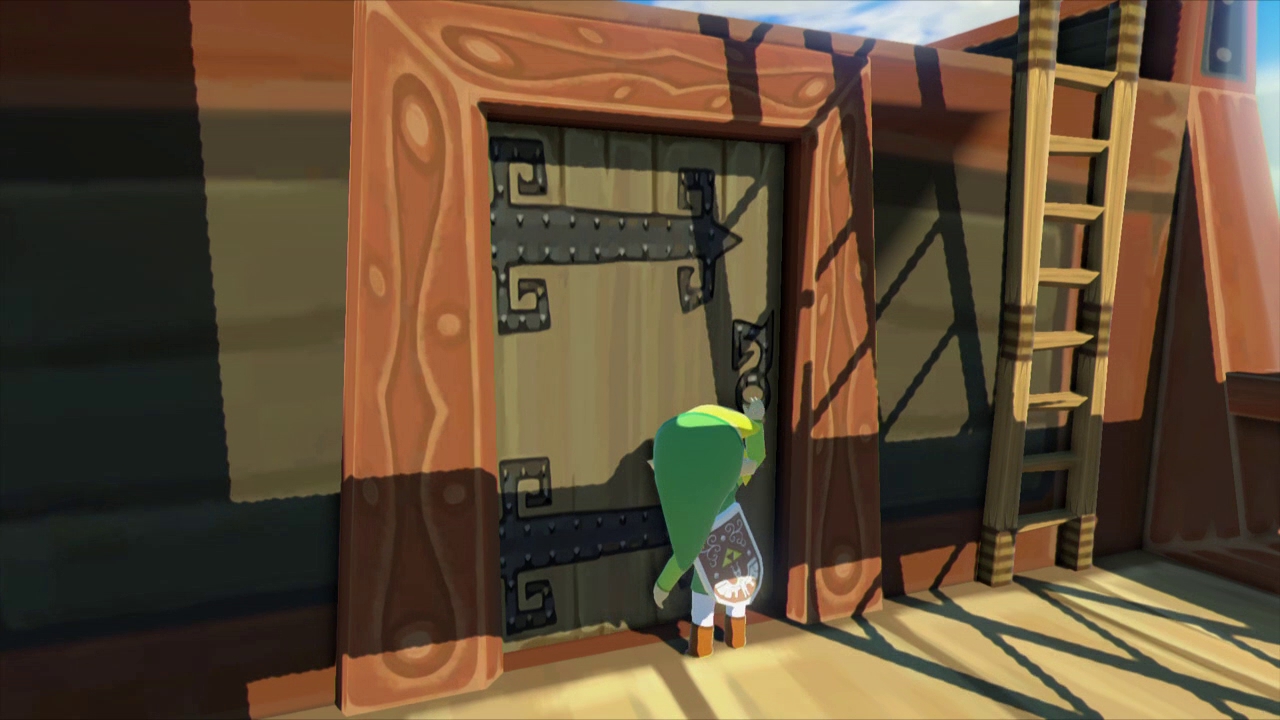
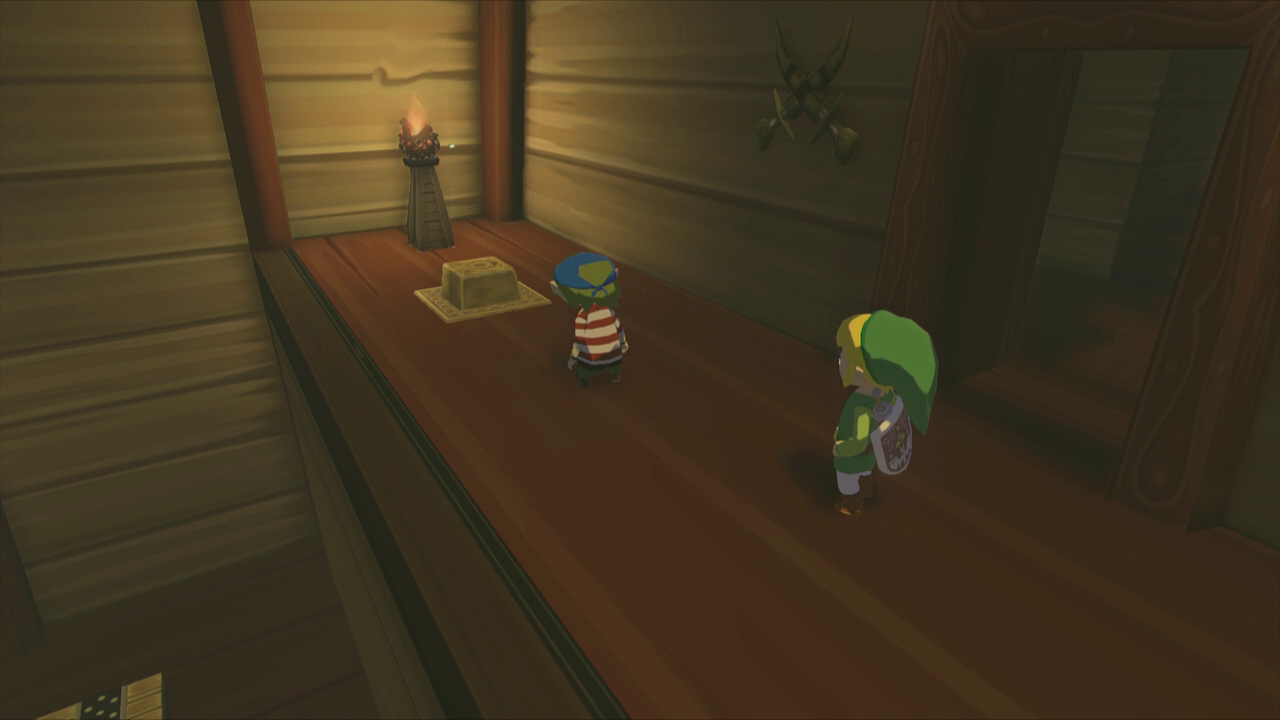
Tetra cuts into your farewell and tells you to just give up. When she’s finished talking, head through the door behind you to get below decks and speak with the little pirate named Niko. Niko will challenge you to a game and promises you treasure if you succeed.
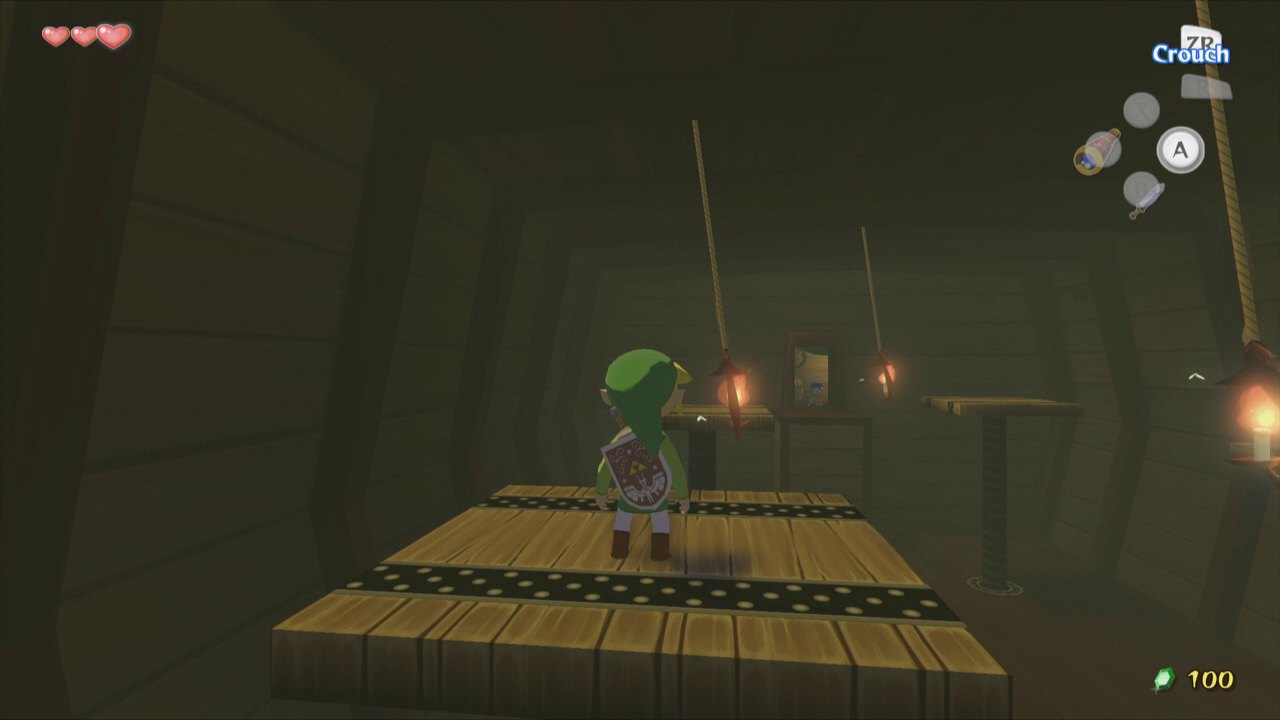
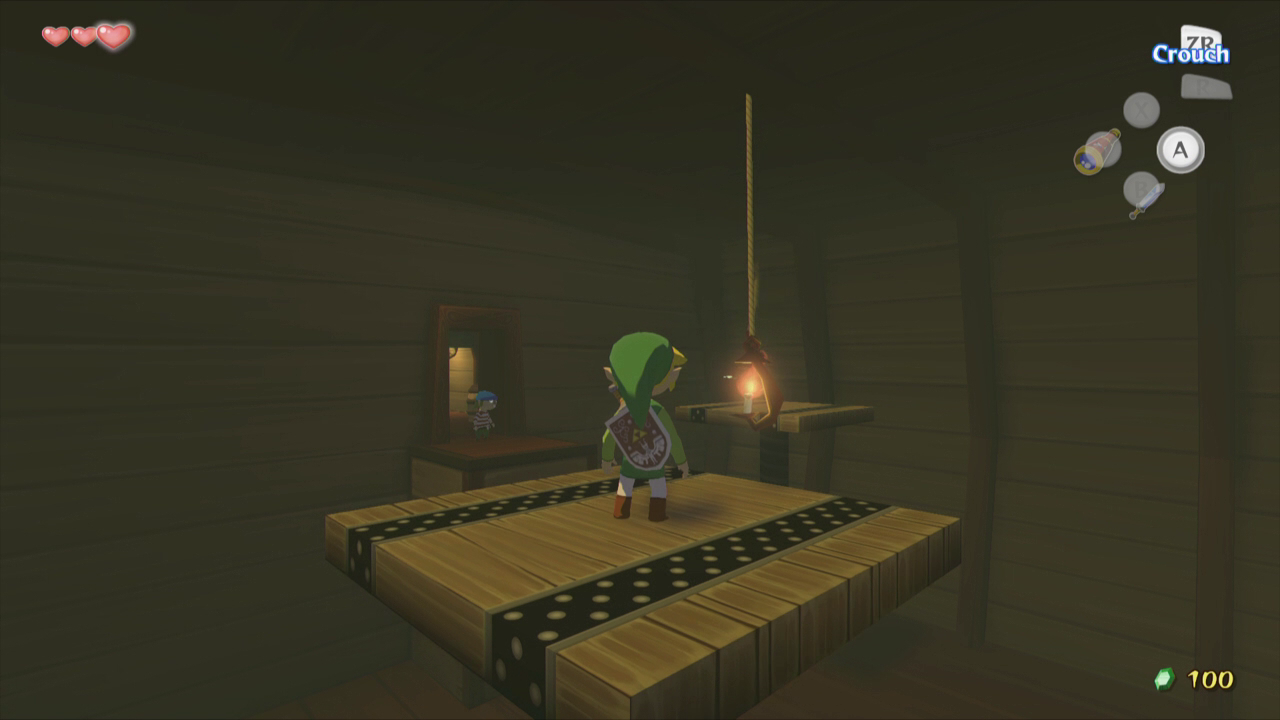
The game is fairly simple to win. Step on the switch to your right to raise the platforms and then start jumping across them. You can use the ropes to swing from platform to platform and reach longer distances. While on the ropes you can also stop and change direction, allowing you to be more accurate. If you fall, there is a ladder you can climb to try again. Once you get across, Niko will be amazed and give you the Spoils Bag. If you accidentally fall during this task or if the time is about to run out before you get to the end, you can step on the left switch to return the platforms back to their original position before they were raised.
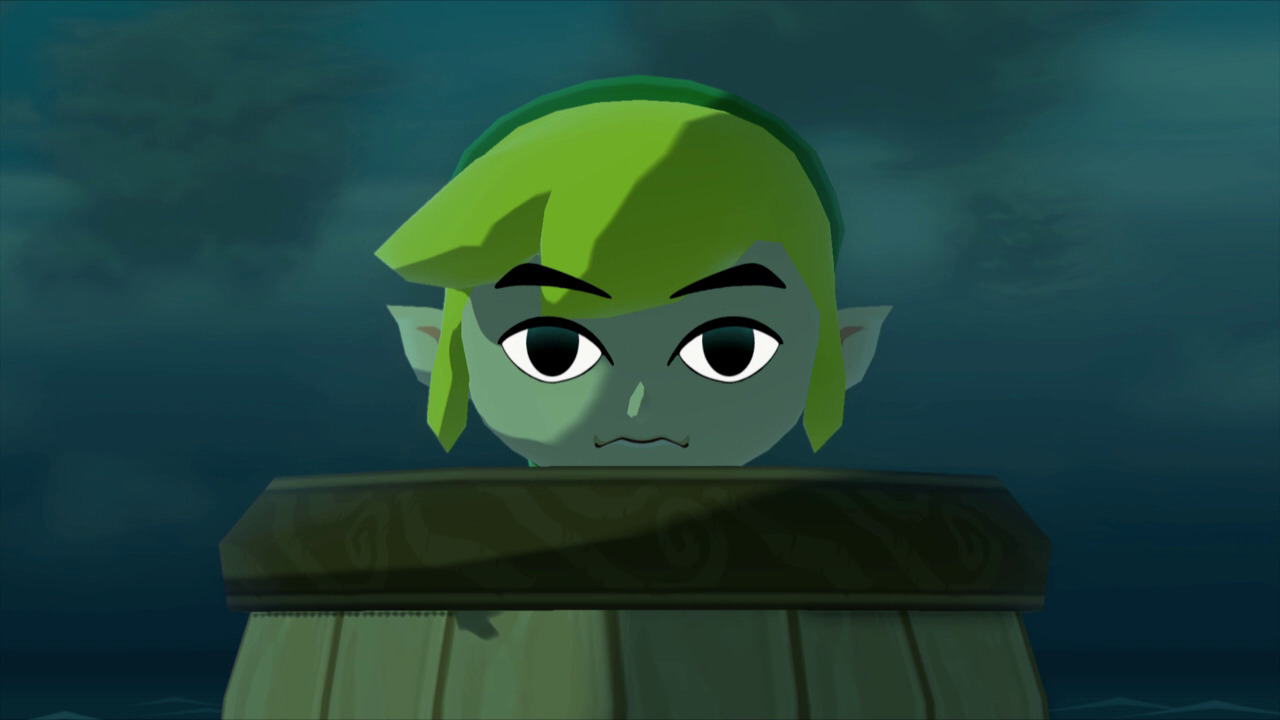
Once you finish, Tetra will call down and tell you that you’ve reached the Forsaken Fortress. Head back outside and Tetra will tell you to climb up to the lookout post. Climb the ladder and she’ll get angry at you for playing games with Niko. Tetra will show you the Forsaken Fortress and the giant bird that kidnapped your sister nesting on the top. She devises a plan to get you in and you end up being launched over in a barrel only hit the wall which causes you to fall into the waters below. Unfortunately due to Tetra’s poor aim you also lose your sword and it lands onto one of the upper floors.

2.2 Forsaken Fortress
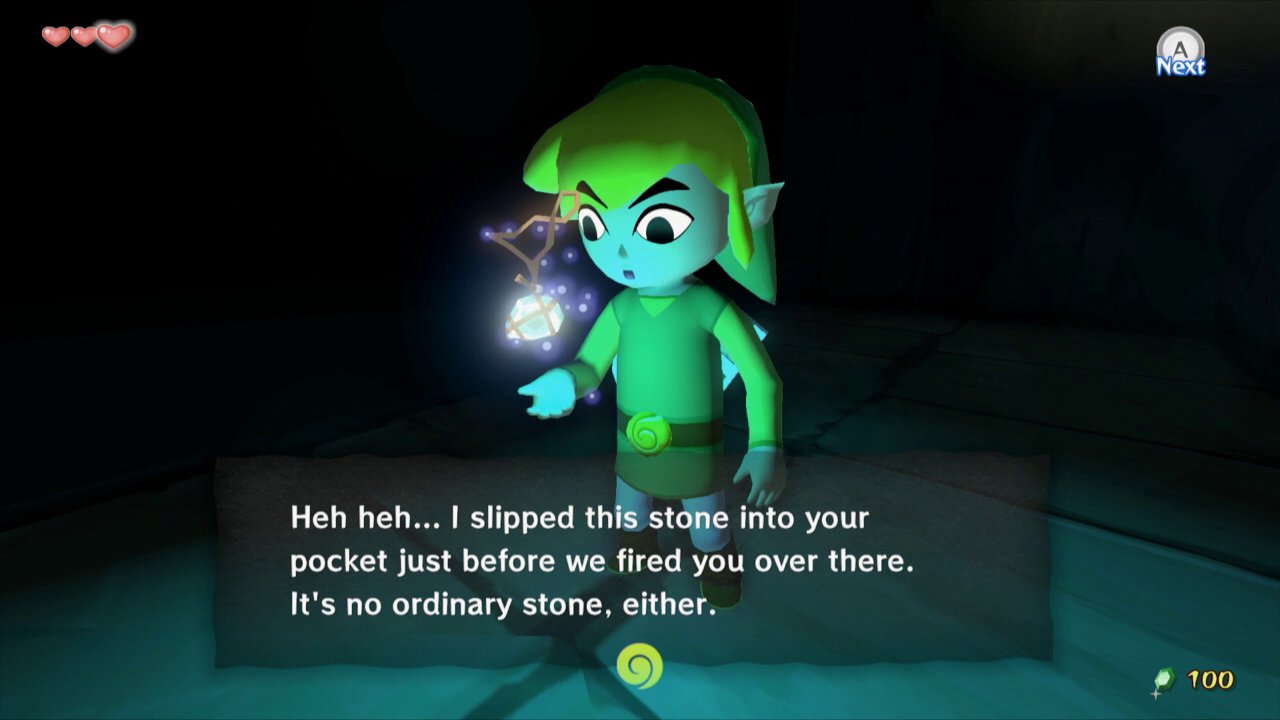
Swim out of the water and start walking up the pathway nearby. As soon as you head towards the staircase you will hear a whistling noise and Tetra will begin talking with you. She apologizes for the rough landing and tells you she slipped a stone into your pocket. This stone is called the Pirate’s Charm. She notifies you that she can see what you’re doing through the stone and that you can hear her through it. Tetra will also warn you that she needs it back once you save Aryll.
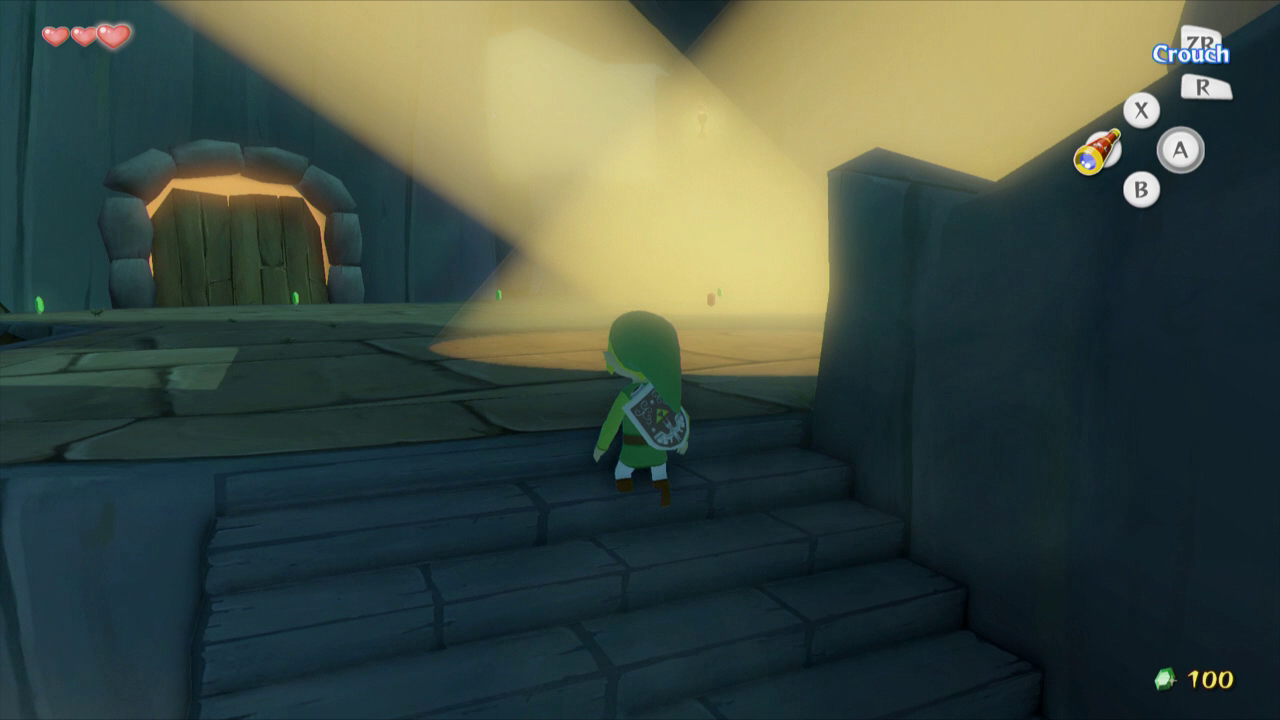
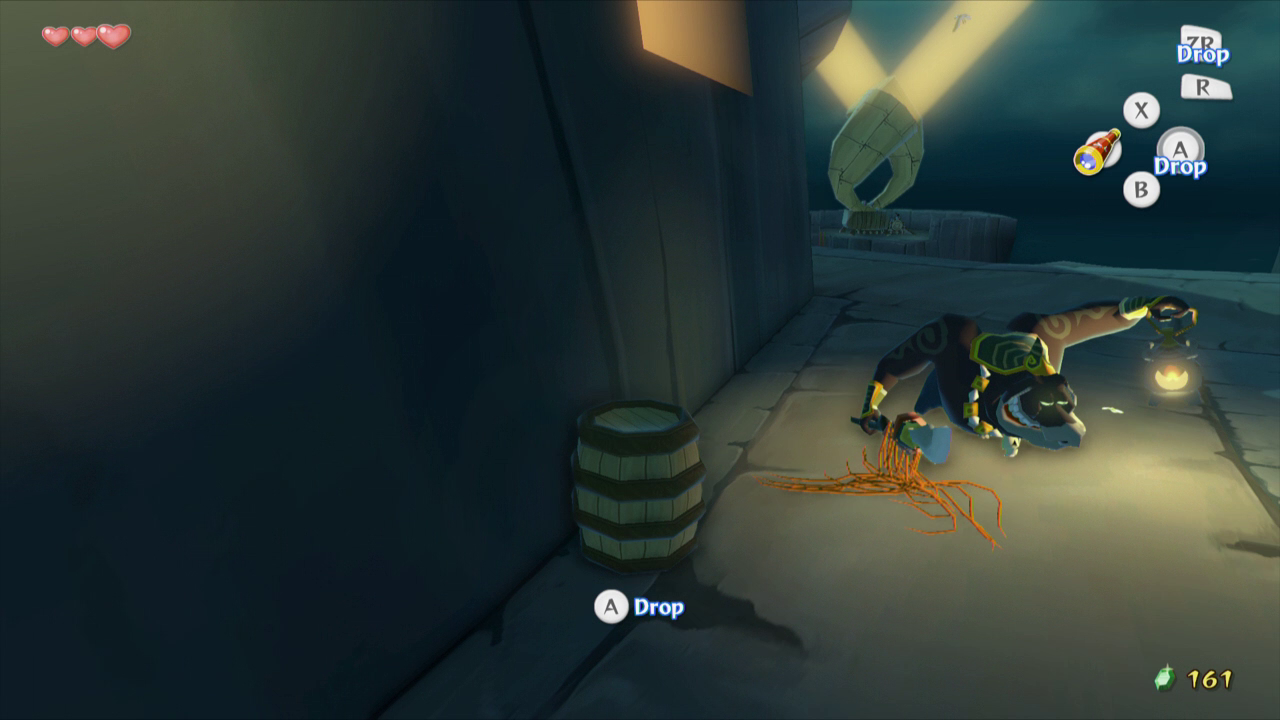
Head up the first set of stairs and grab a barrel from the middle area. Link will hide under this barrel, making it easier for you to sneak around. This is to help prevent yourself from getting caught and thrown in jail.
Continue up the stairs and you will reach an area full of searchlights. If any of these lights see you moving, Link will be thrown in the nearby jail. If you stay still while it passes over you, you’ll be safe, but if you move, you’ll get caught. If you think you’re really good you can try and grab the rupees in the middle of the area.
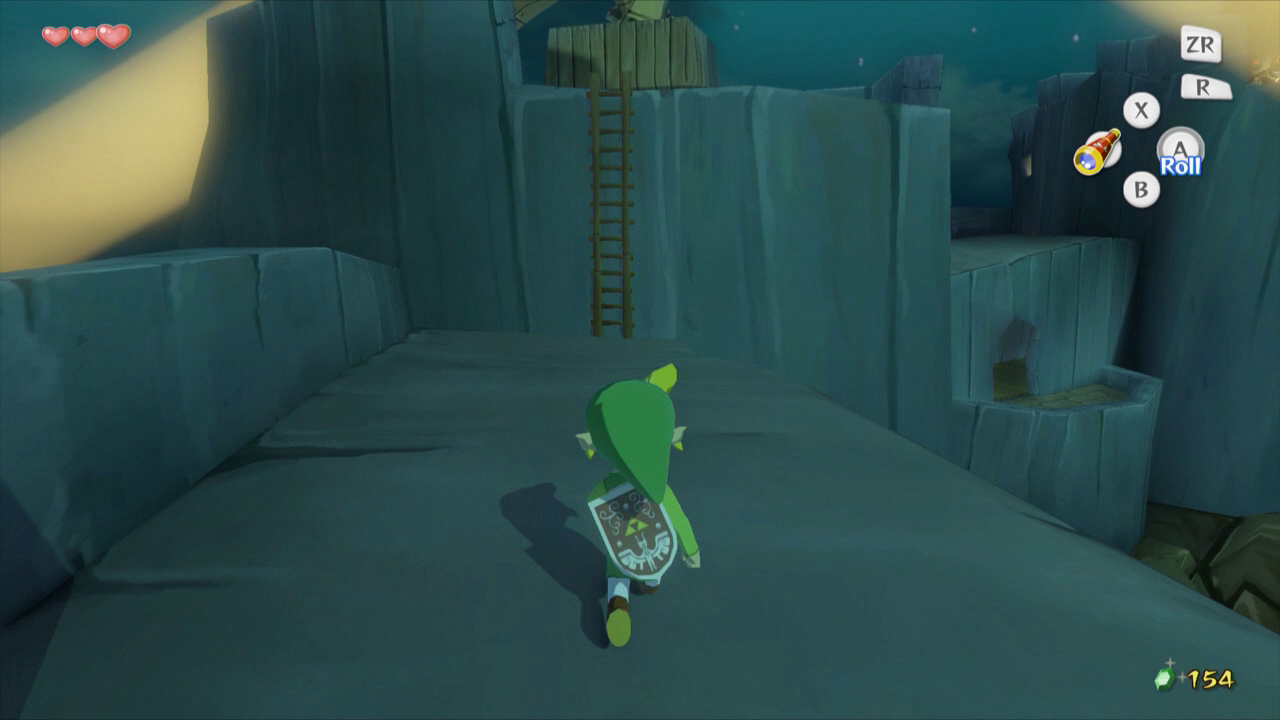
Keep avoiding the searchlights and climbing the stairs nearby. Once you reach the hallway at the top it is safe to remove the barrel and head up the ramp to the right. When you get near the stairs Tetra will tell you that there’s a monster running the searchlight up there. She tells you that she would use her shield to deflect the monster’s blows and make it drop its weapon. With this in mind, climb the ladder to the searchlight.
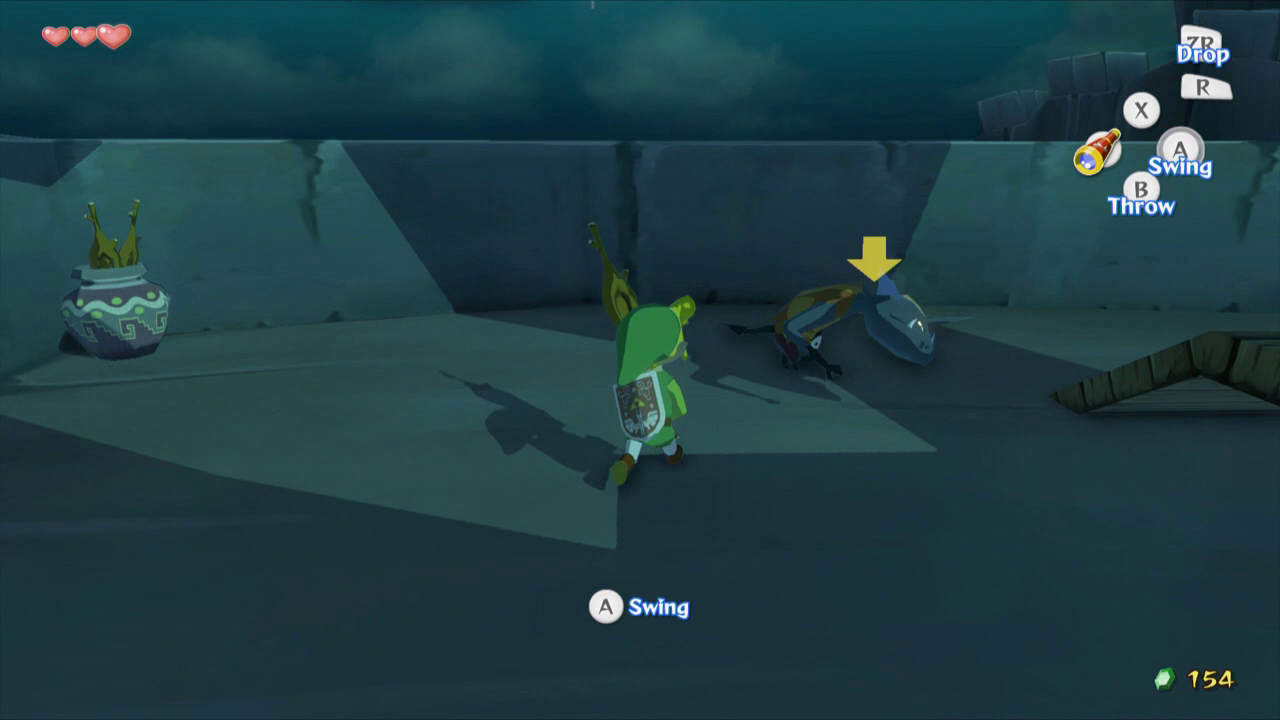
Much like Tetra said, there are two ways to defeat this Bokoblin. One is to use your shield and wait for him to attack. The other is to find a pot nearby with wooden sticks that you can use to attack. Whichever way you choose, pick up a stick and attack the Bokoblin before it attacks you. Recover anything it drops, as it may be a Joy Pendant.
Once the Bokoblin is defeated, the searchlight won’t work anymore, making it easier for you to sneak around the place. Head down the ladder and back down the ramp. At the bottom of the ramp (don’t go down the stairs!) you will see a hallway. Head through the door to the right (the one closest to the searchlight) and drop down to the lower level in the room.
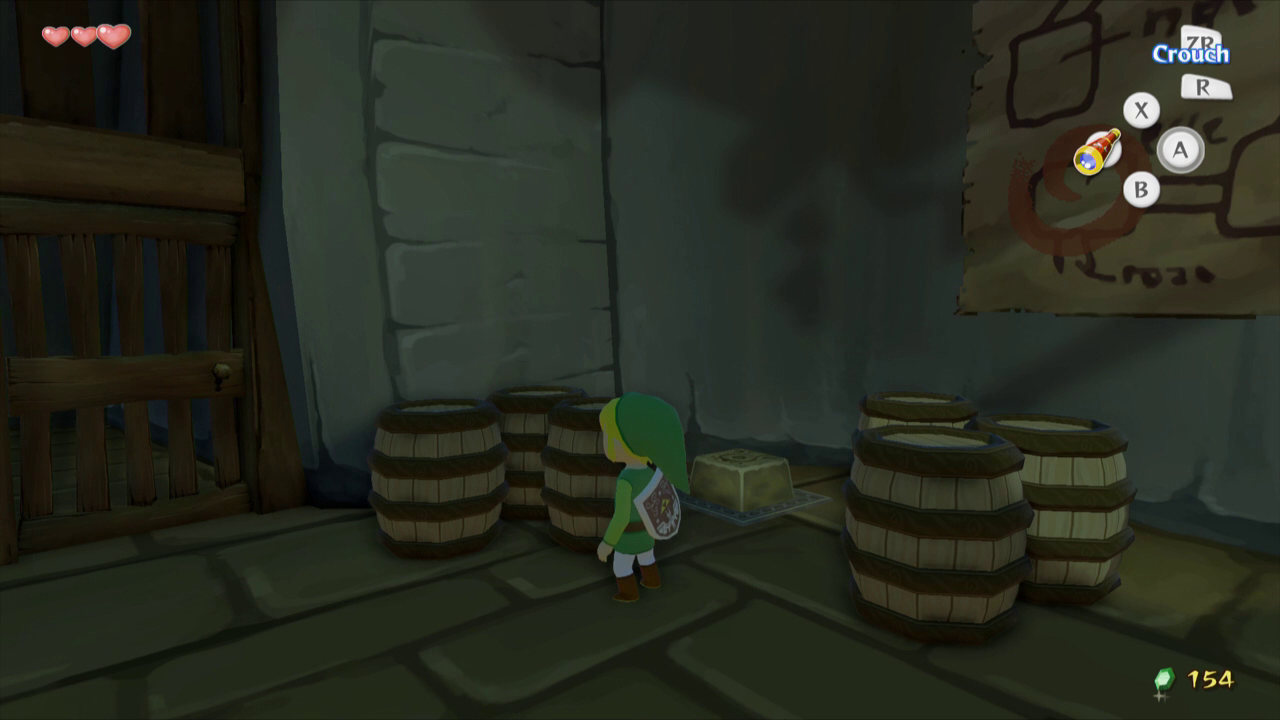
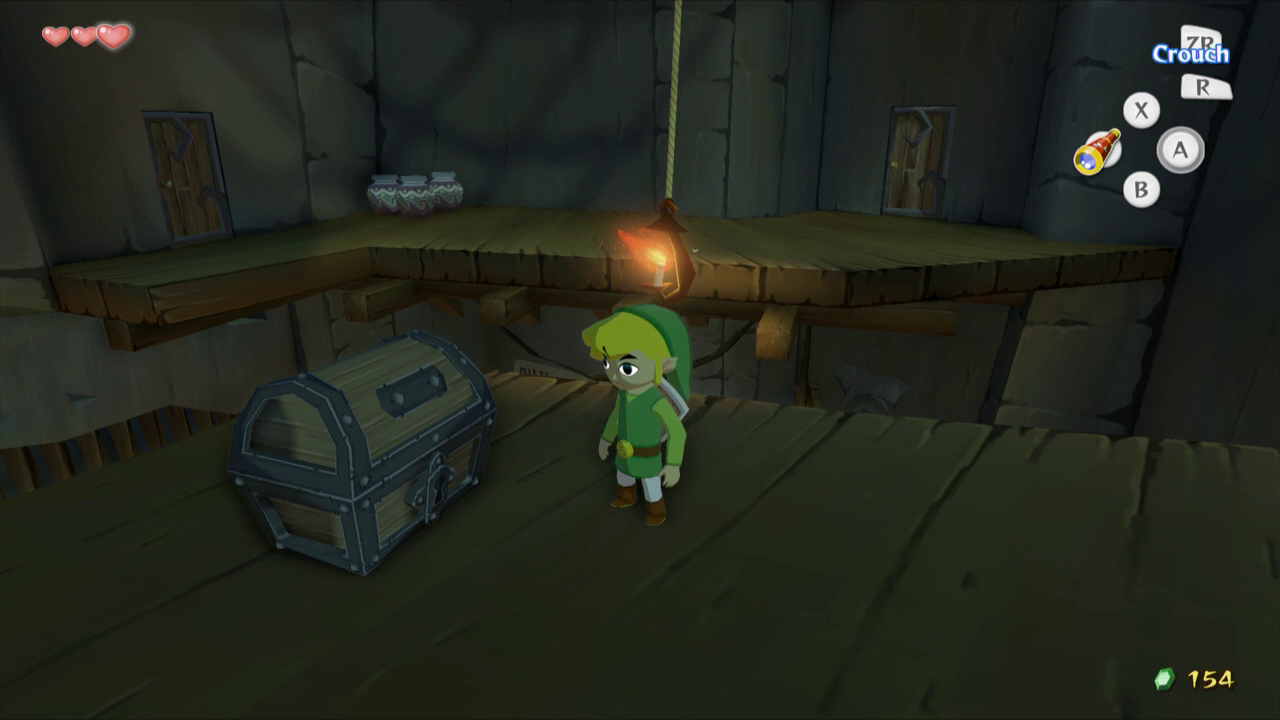
Avoid the rats and move the barrels near the jail cell. Step on the switch behind them and enter the cell. Open the chest inside for Piece of Heart #1. Pieces of Heart help you to gain more life, therefore making your quest easier and more manageable. You will need four of these pieces to receive another heart in your life meter.
Optional: Heart Piece #1
Once you get the Piece of Heart, head down the hallway towards the Moblins and get caught by them. Getting caught is easier than making our way back to where we need to go, so if you fall down or get lost, get yourself caught and continue from where you were.
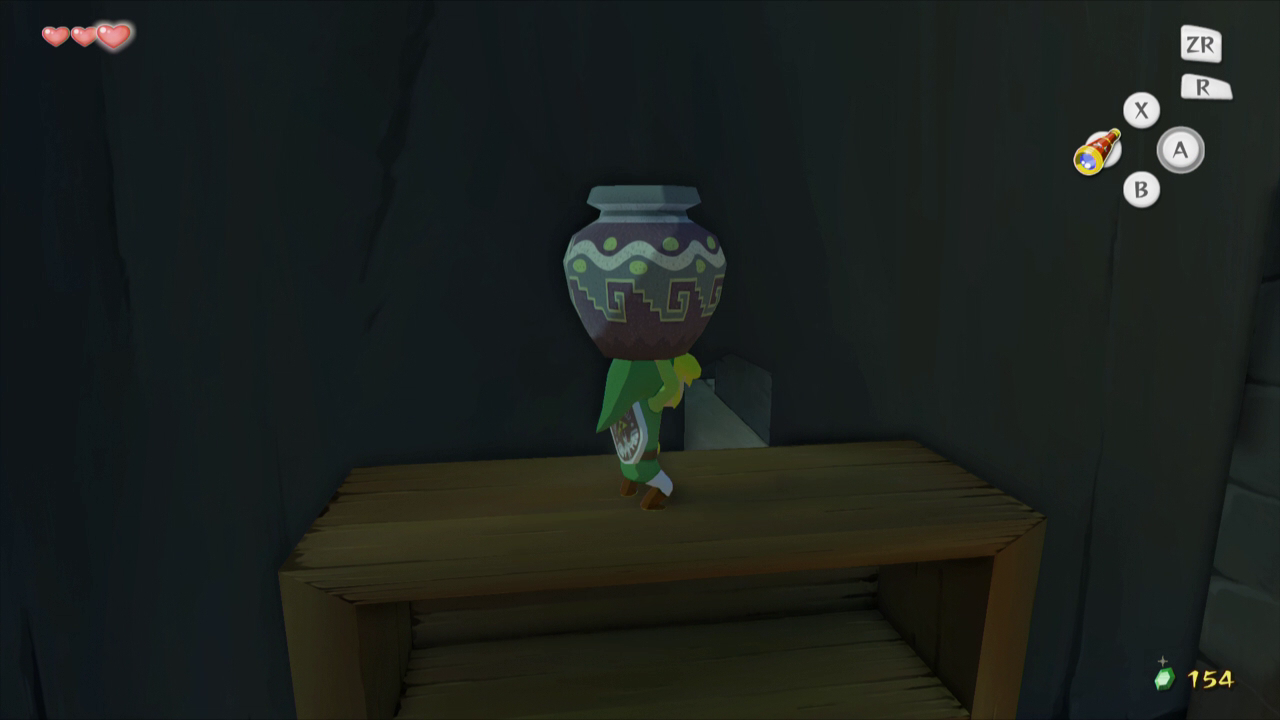
Now that you’re stuck in jail, climb up onto the table in your cell. Leap across to the book shelf and move the pot off of the top of it. Crouch in front of the hole and crawl into it, moving through so you can get back outside your jail cell.
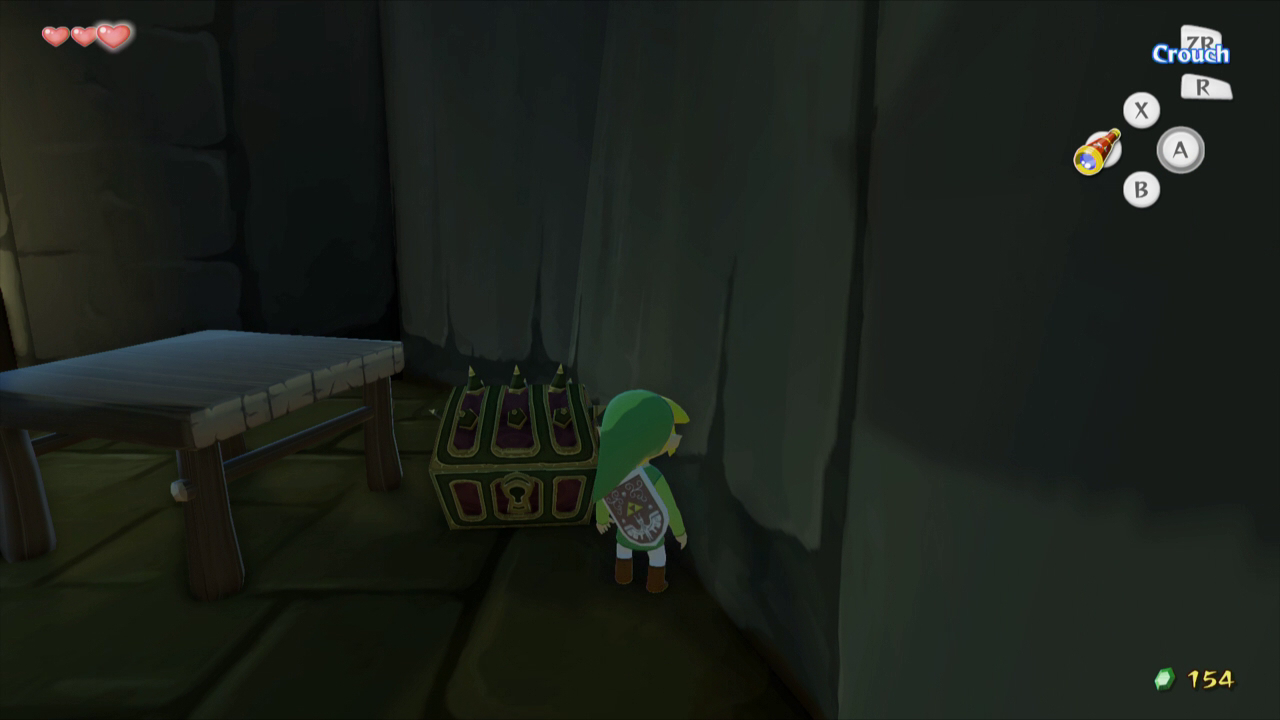
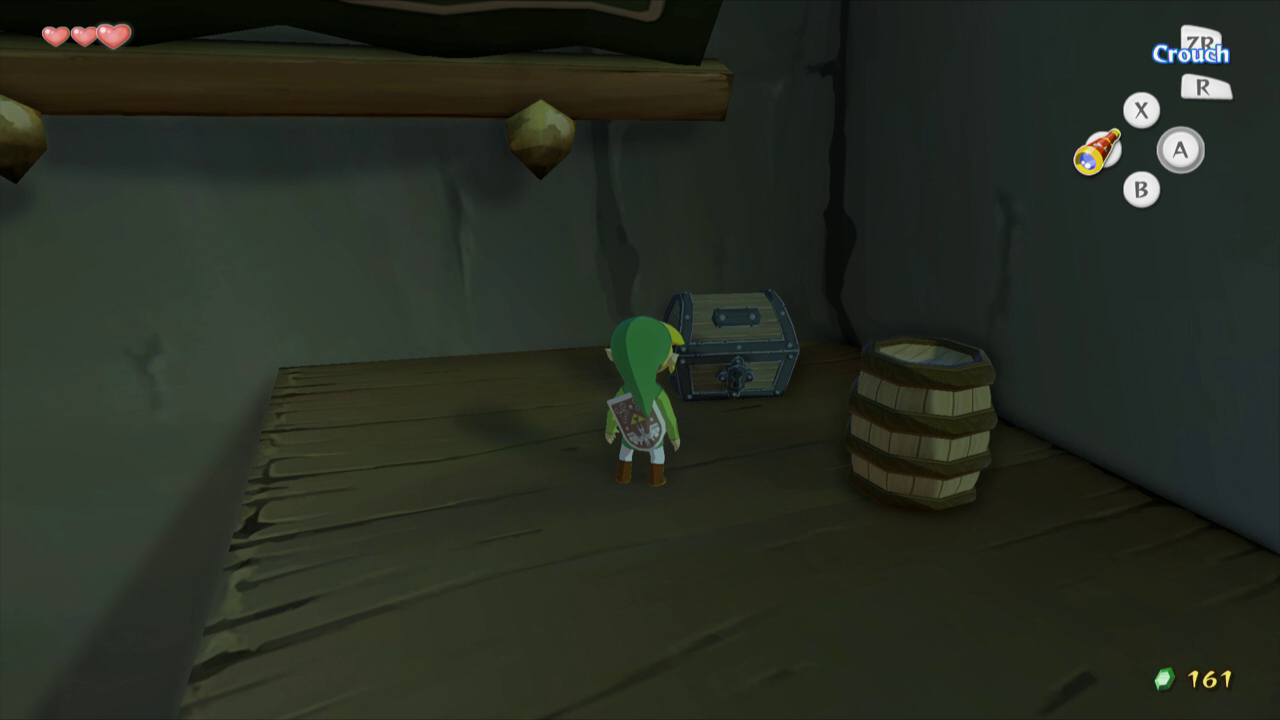
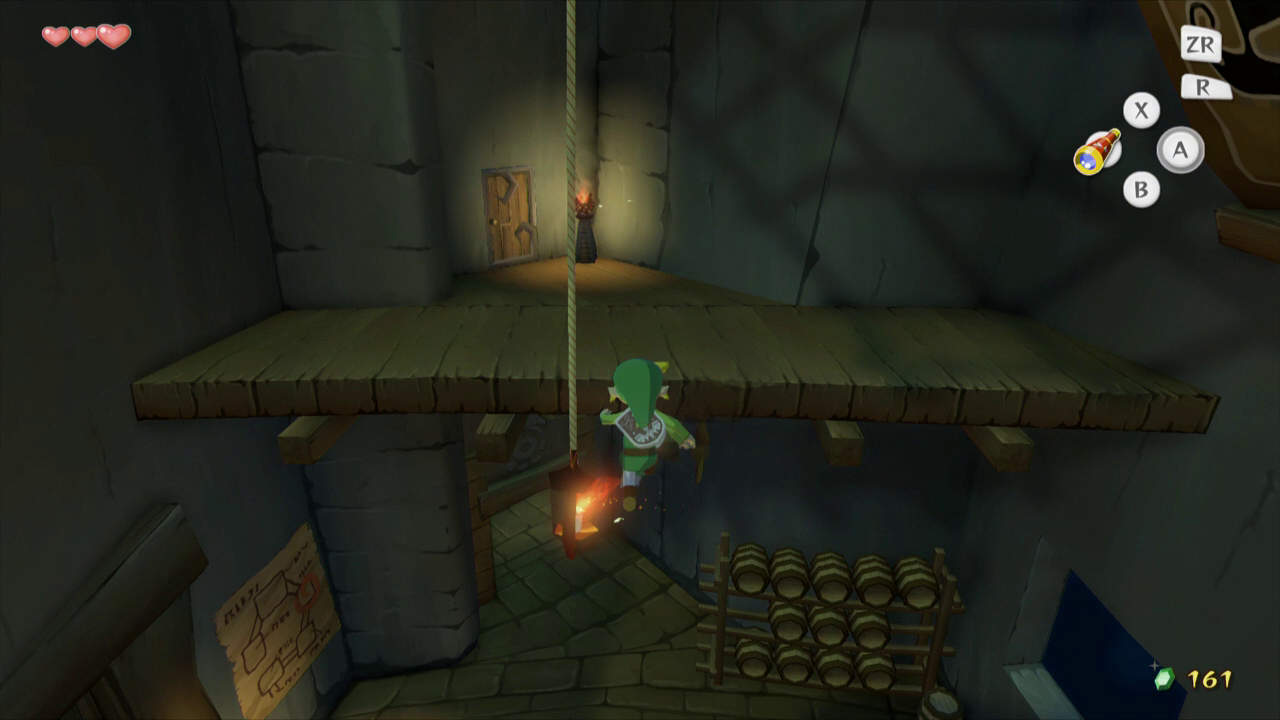
Head down the hallway outside your cell and you’ll end up above the room you were just in. Open the chest for the Dungeon Map and use the rope to swing across the room. Once you’ve made it across, head through the door to your left and then take the path immediately to your left. Climb the ladder and defeat the Bokoblin to take out the second searchlight.
Climb down the ladder and walk back through the door to the right. Walk straight across the room and head through the door nearby. Continue straight down this hallway and through the door at the opposite end.
Walk over to the barrels on this platform and move behind them to find a chest containing the Compass. Turn left and swing across the room to another door. In the next hallway, head through the opening to the left and up the ramp. Climb the ladder at the top and defeat the Bokoblin at the top, rendering the last searchlight useless. Go back down the ramp and head through the door to your left. Simply swing across this room and go through the opposite doorway.
This room can be very tricky, so don’t get frustrated if you can’t do it your very first try. You’ll have to sneak past the two Moblins while avoiding the rats in the room. If a rat runs into you, it can knock your barrel off, completely exposing you to the Moblins. So with that in mind, grab the barrel and slowly walk past the Moblin when he is not looking your way. Take it slow if necessary and stop if a Moblin comes near you. Once you make it through, head through the double doors at the top.


Walk up the many stairs here until you see a barrel. Use it to sneak down the path and past the Moblin, heading up the path to the left when you get there. Once you pass the Moblin you can remove the barrel and run the rest of the way.
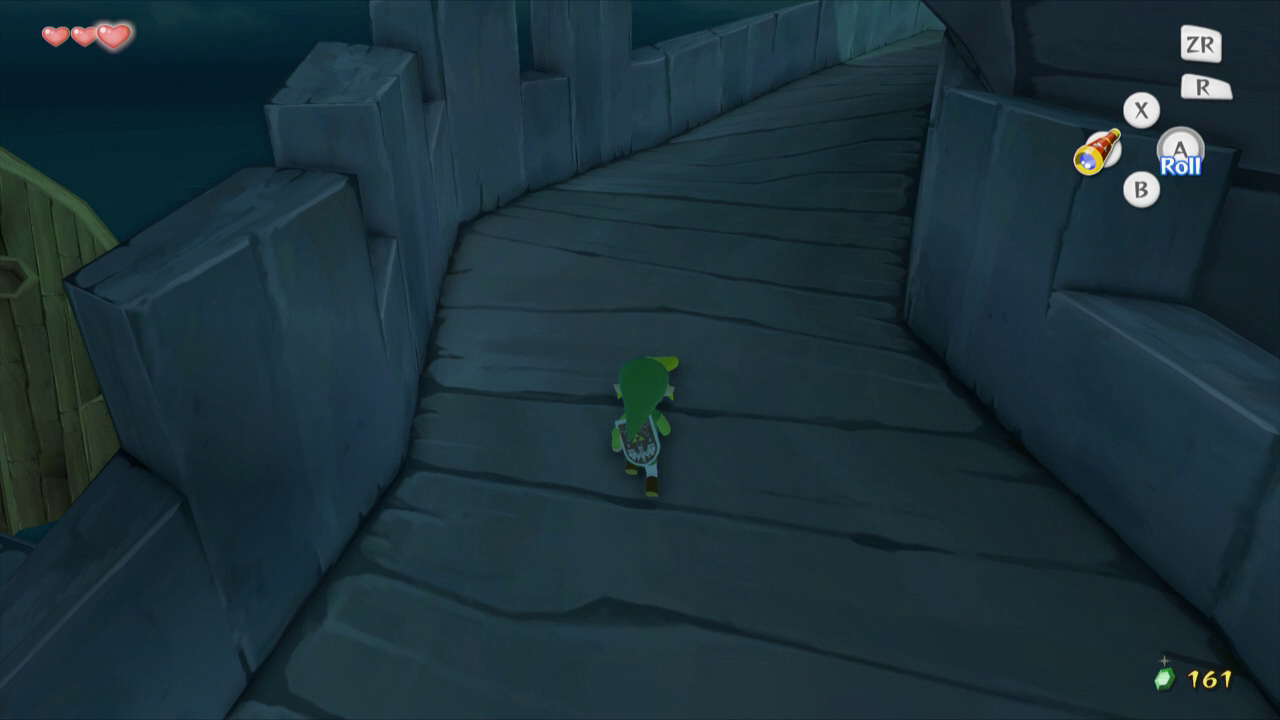
You will eventually come to a gap that you cannot jump across. If you look to the right, there is a small ledge. Walk towards the wall with the ledge and sidle across it.
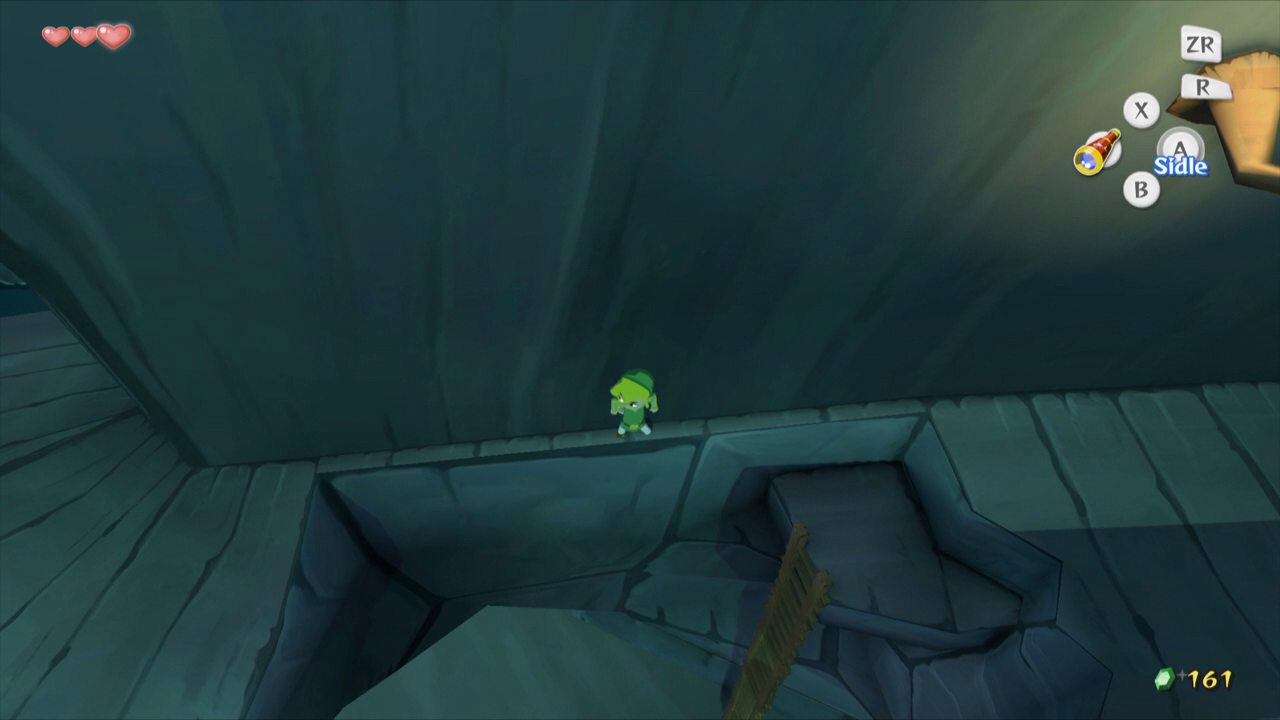
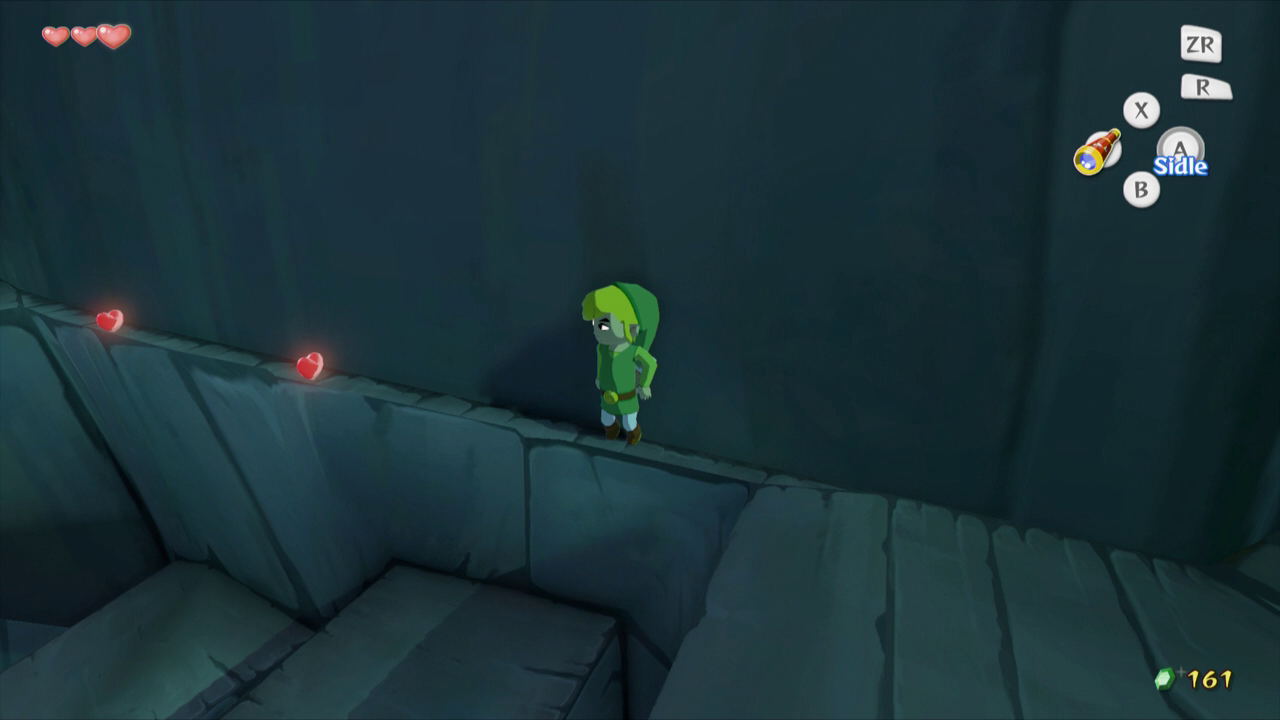
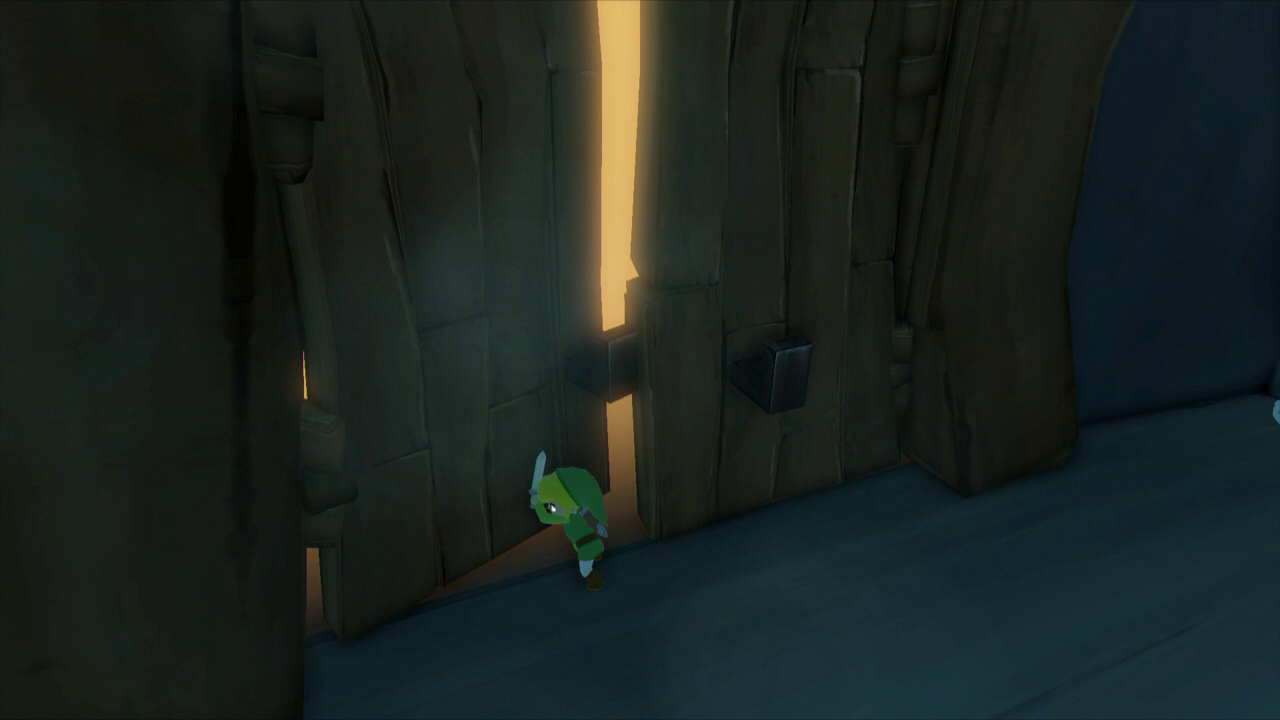
Walk around the corner and there will be another gap. Sidle across this one as well and head up the stairs. You should recognize this as the area where you dropped your sword. Once you start to run towards it to pick it up and you’ll be attacked by a Green Bokoblin. Quickly grab your sword and defeat the Bokoblin to continue on your quest to save Aryll.
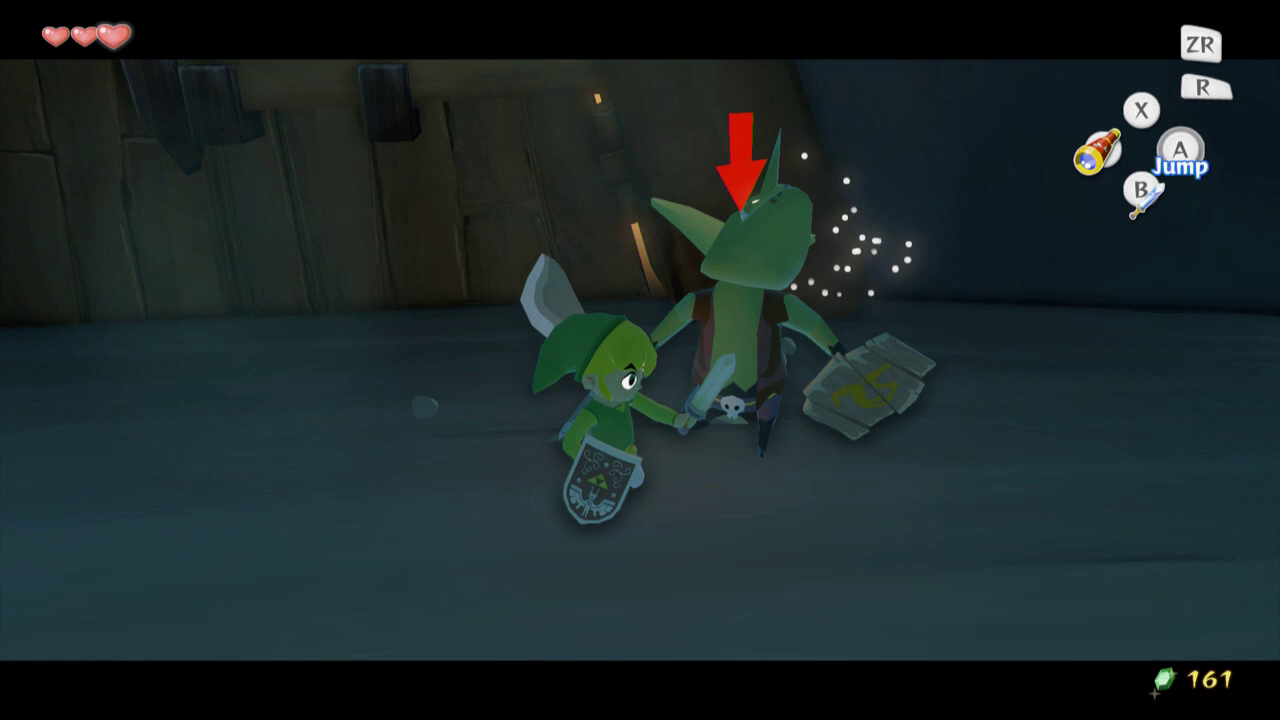
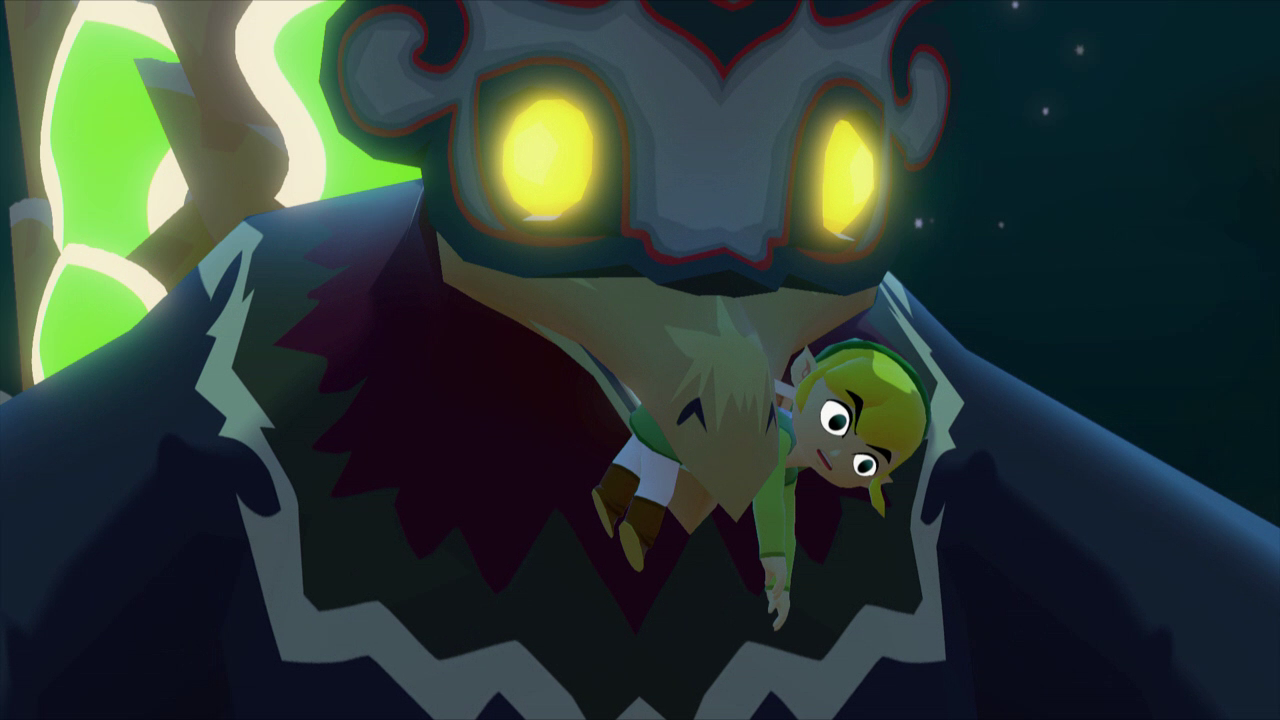
Once the Green Bokoblin is defeated, head through the doors and you’ll find your sister, along with two more girls. Link hears something and looks up to see the Helmaroc King descending on him. He picks Link up in his beak and carries him up to a broken ship on the top of the Forsaken Fortress. He shows Link to a mysterious man who motions to the Helmaroc King to toss Link into the sea. Luckily for Link though, a little red boat comes to the rescue.

- Chapter 1 – Outset Island
- Chapter 2 – Forsaken Fortress
- Chapter 3 – Windfall Island
- Chapter 4 – Dragon Roost Island
- Chapter 5 – Dragon Roost Cavern
- Chapter 6 – Forest Haven
- Chapter 7 – Forbidden Woods
- Chapter 8 – Nayru’s Pearl
- Chapter 9 – Tower of the Gods
- Chapter 10 – Hyrule Castle
- Chapter 11 – Earth Temple
- Chapter 12 – Wind Temple
- Chapter 13 – The Triforce
- Chapter 14 – Ganon’s Tower
