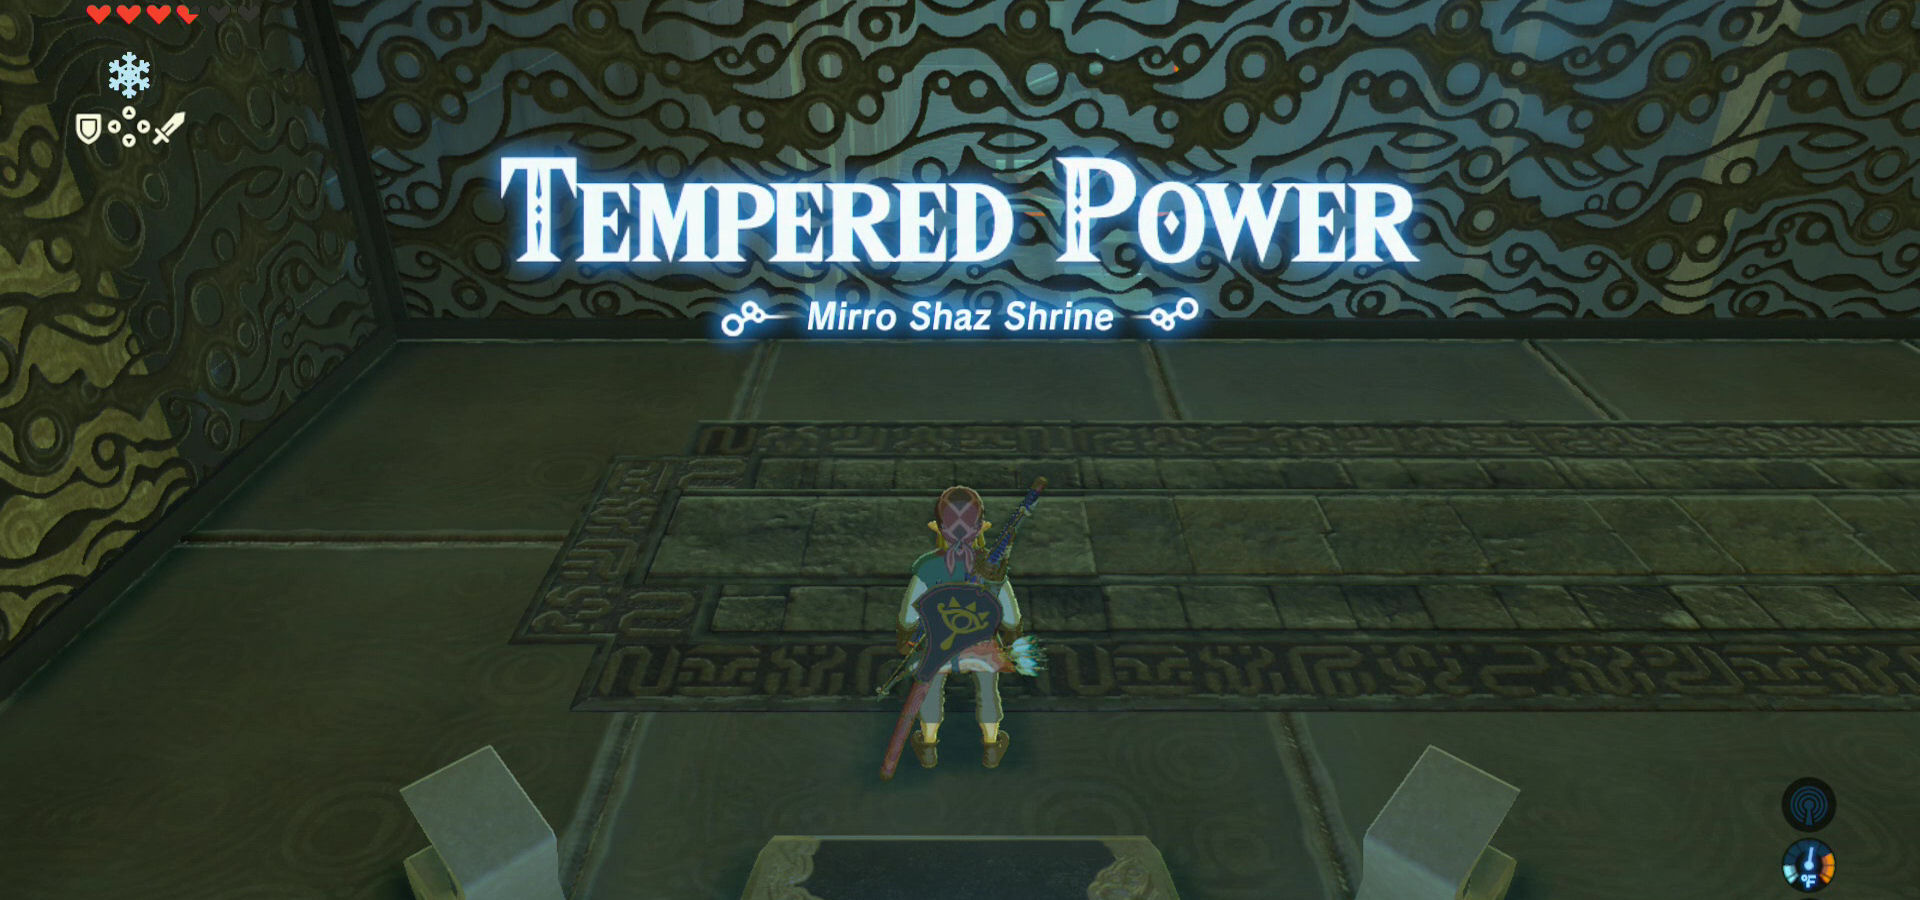
Location of Shrine
- View location on the Breath of the Wild Interactive Map.
- Located just southeast of the Woodland Tower and just northeast of the Woodland Stable.
Video Guide
Walkthrough
This surely is one of the more fun, but also frustrating shrines in the game. Especially if you are trying to get the second treasure chest. Run to the right and use the moving platform to get down to the ground level. Run over to the treasure chest to get a sledgehammer.
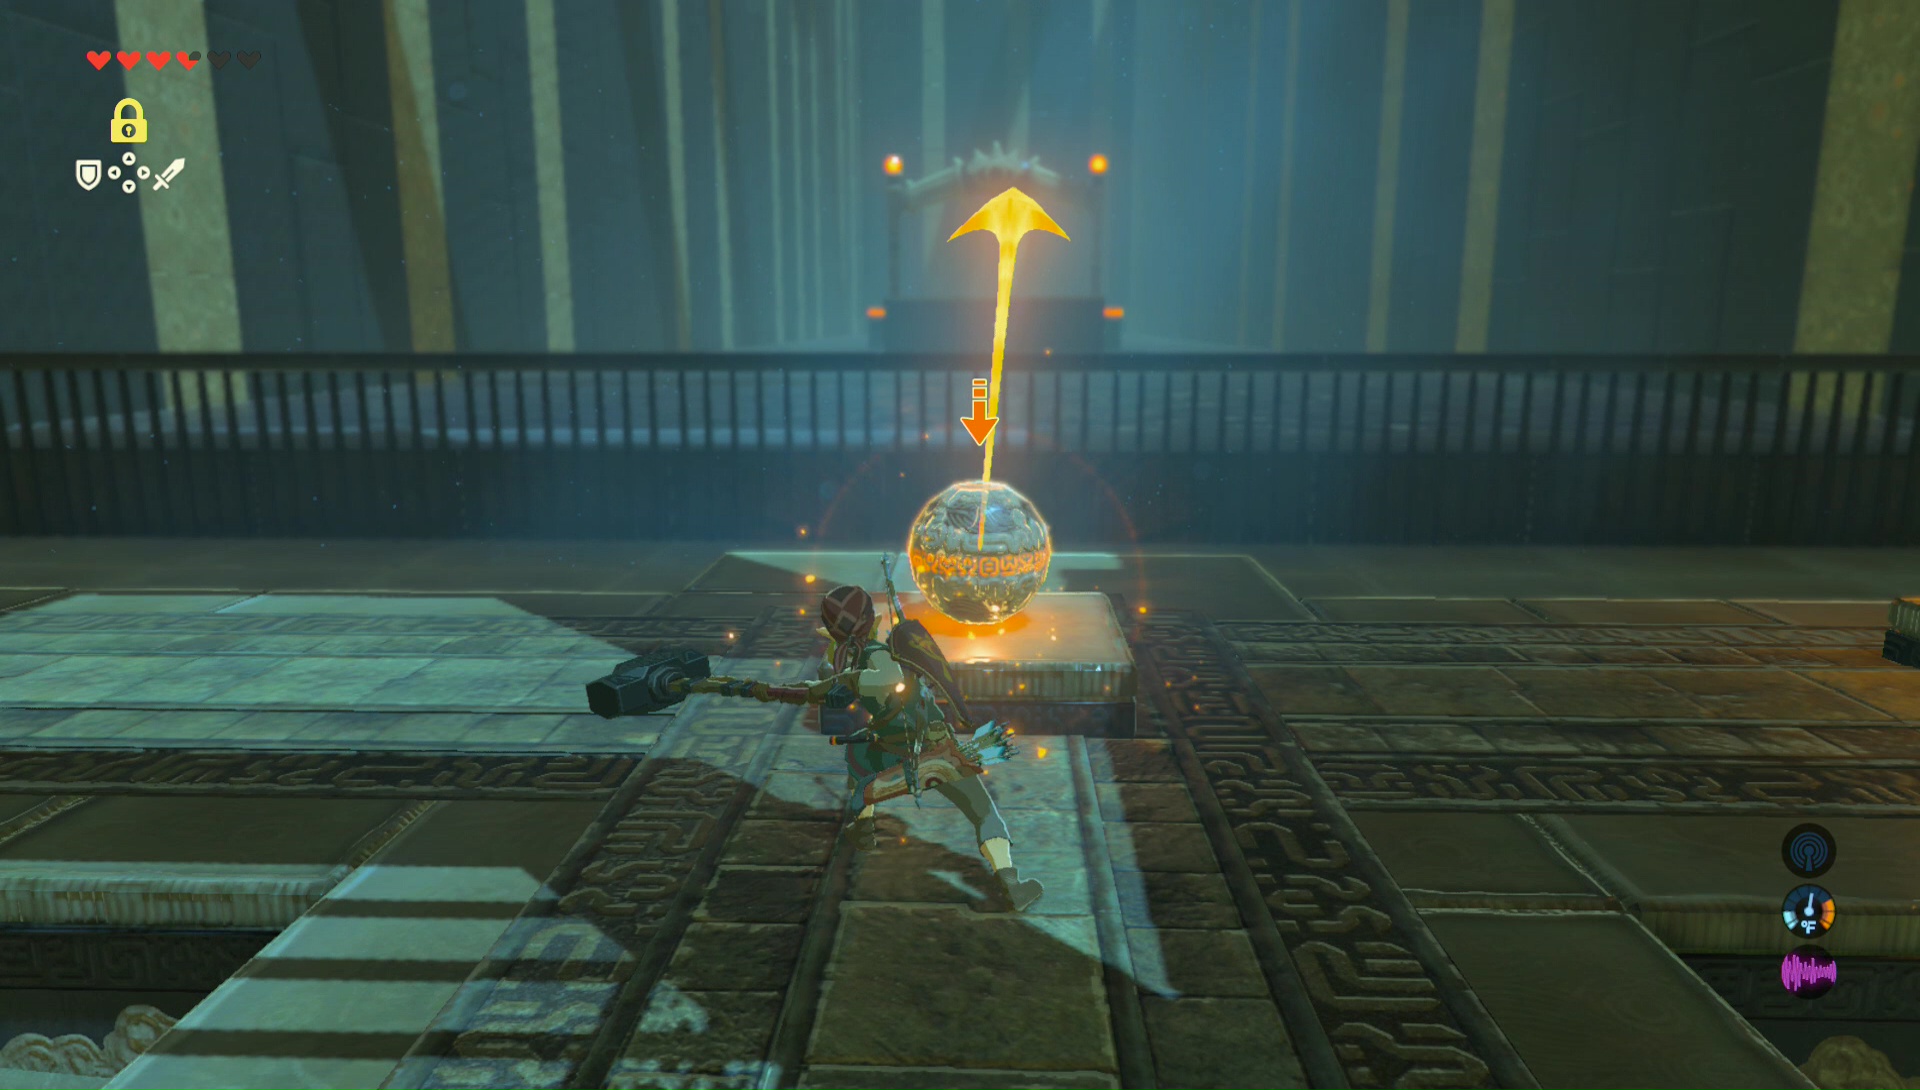
Here you are basically playing a game of golf. You need to use your Stasis ability on the ball found here. Then hit it with the Sledgehammer or any other weapon a number of times. You need to position it so that the ball goes straight forward. With most two handed weapons, if you hit the ball five times and have the proper direction, it will land on the platform way in front of the hole, but it will role its way in. This is not easy and it will take a bit of time to get a handle on aiming the ball. Alternatively, you can use a one handed weapon, specifically a spear, but you’ll need to hit it significantly more times.


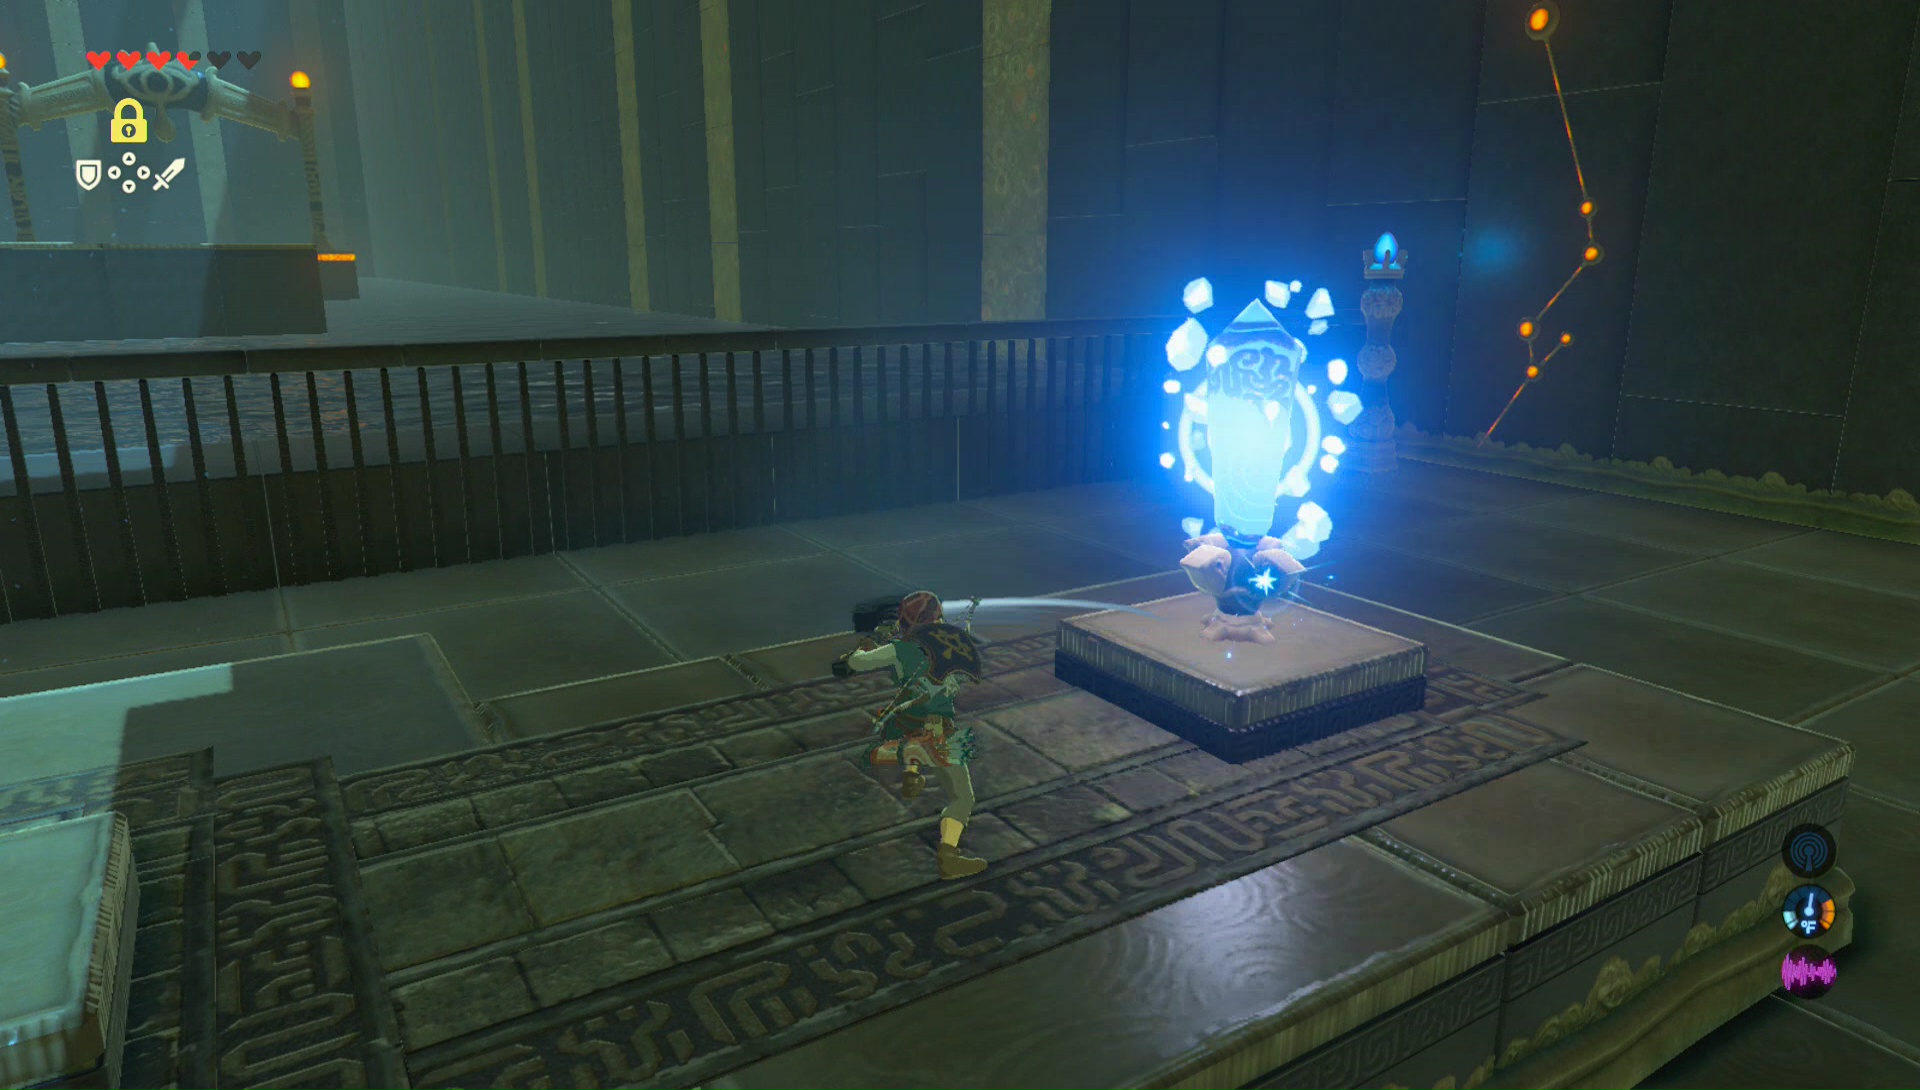
In the next area, use Stasis on the block. Once again smash it several times with the two handed weapon until the arrow turns red. It will launch forward, causing the massive platform to fall over. Climb either ladder and then run up the ramp.


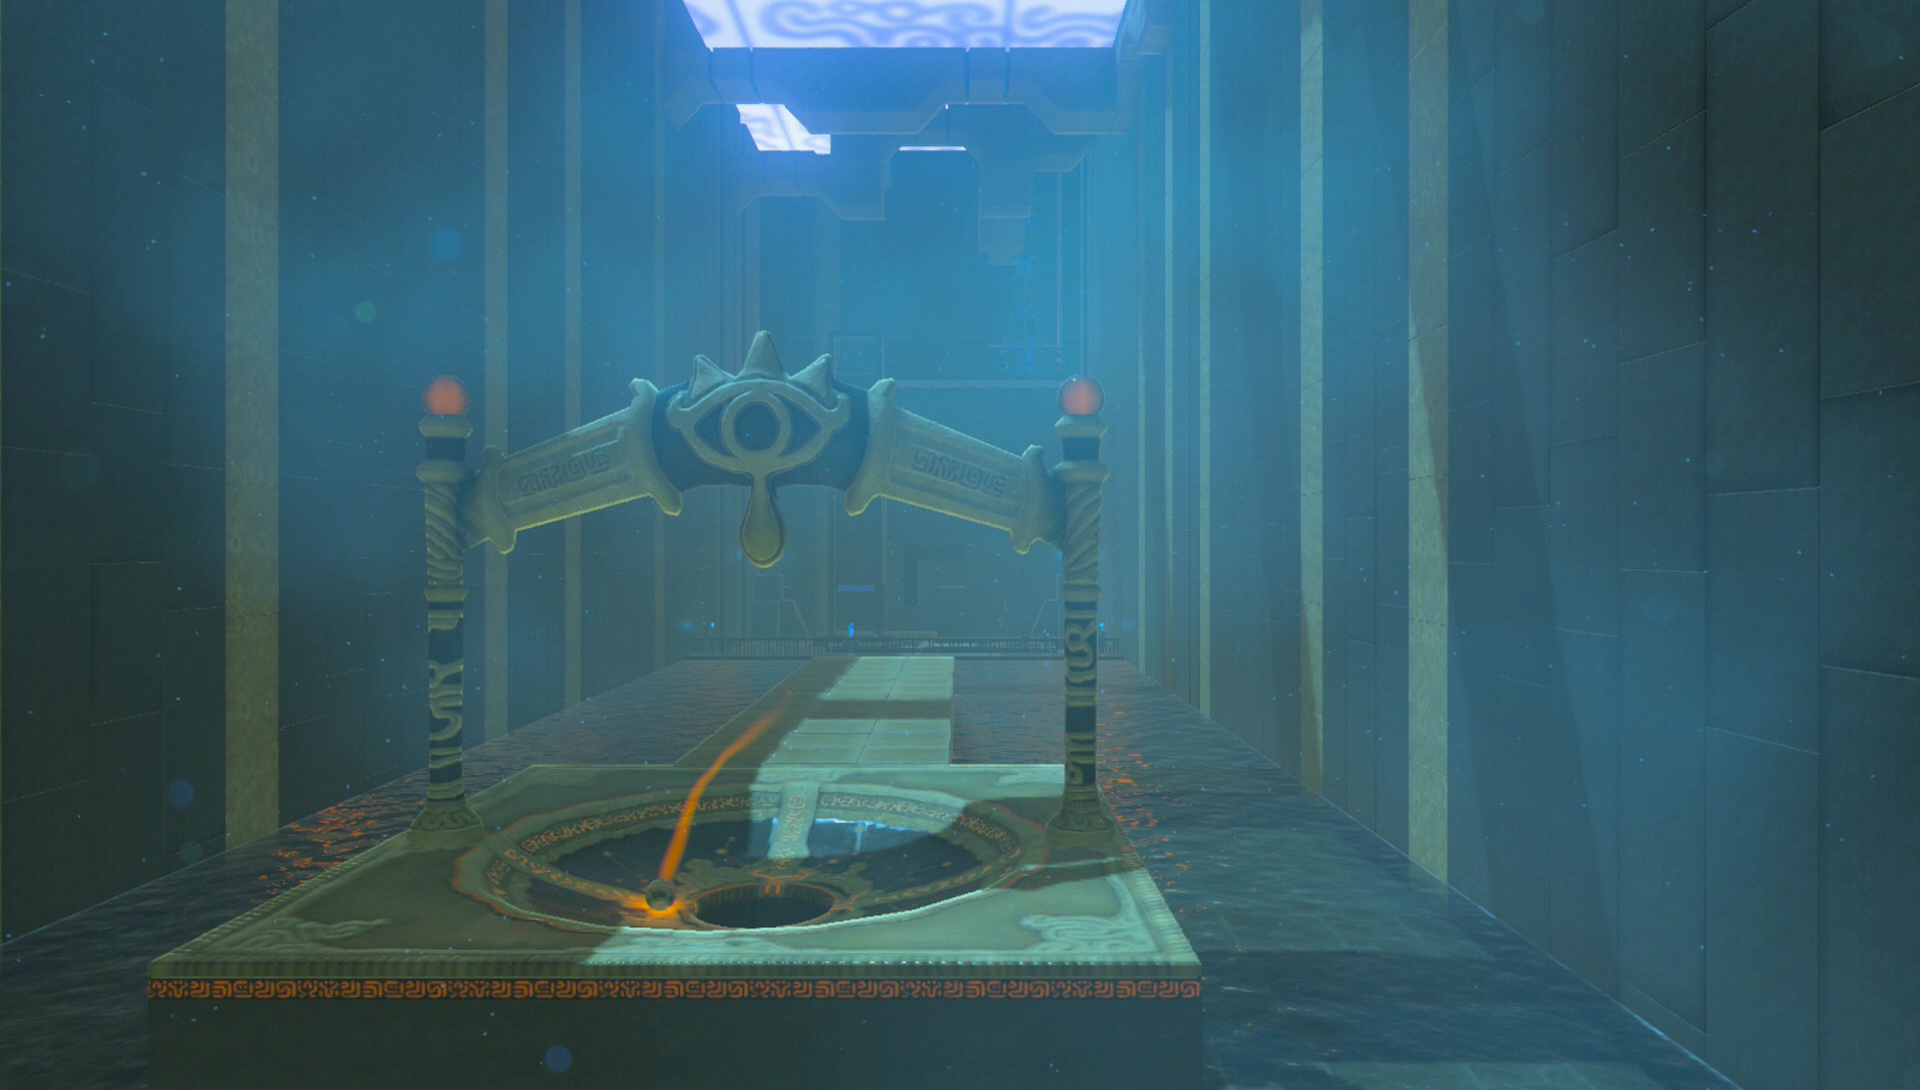
The monk can be see straight ahead, but there is still one more secret here in the dungeon. Just before the monk, take the path to the left and it will eventually lead down to another golfing range. This one is considerably more difficult than the previous one. The main difference is that there is a large pillar in the way, with only a small narrow hole in the middle. Furthermore, there isn’t the ramp before the hole like there is in the first room.

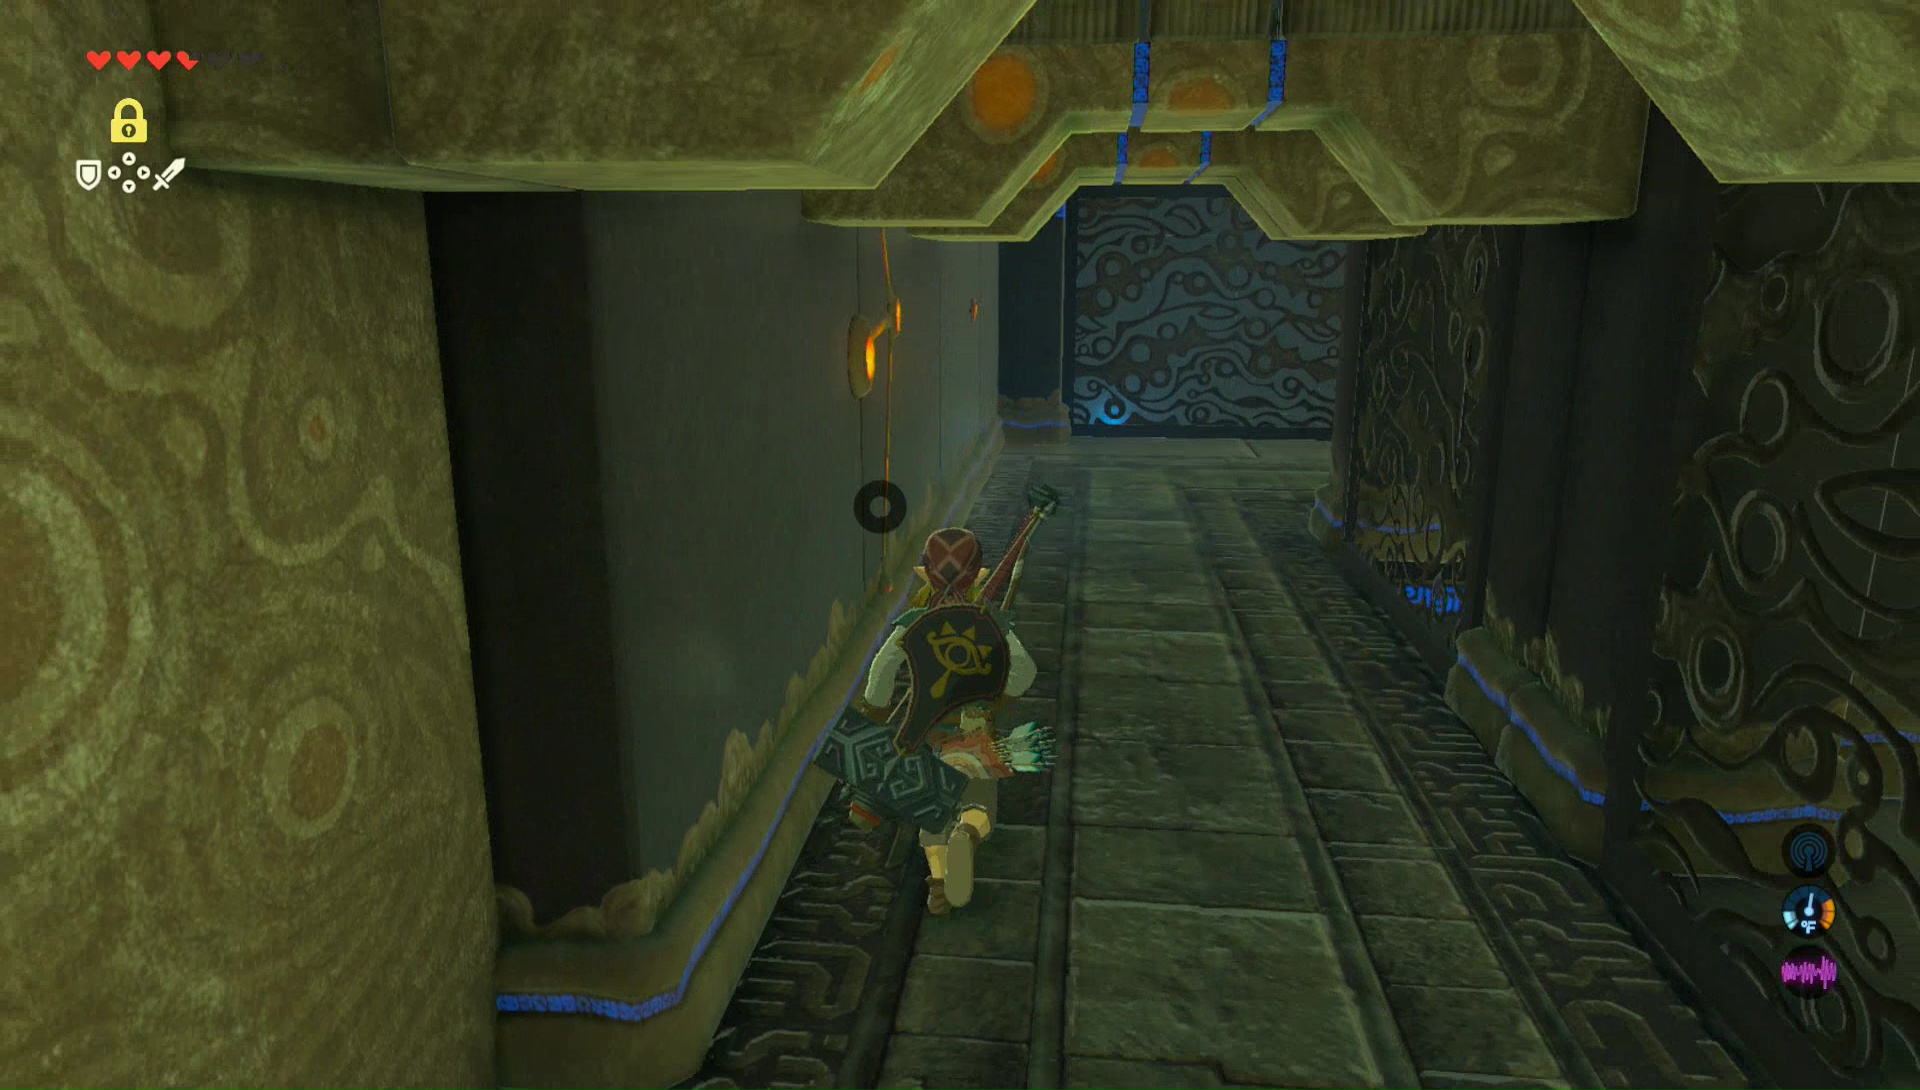
While it isn’t exactly clear, you don’t need to hit the ball from where it stands on the pedestal. I attempted to do so for a good 30 minutes, before realizing you can pick up the ball and move it around. I have heard that you can get it in the hole from this platform, but it’s very hard.
You can likely make this ball into the hole from almost anywhere in the room, but this is a method I used. Lift the ball and take it to the back of the room, on the lower level. When facing the hole, move the ball to the left a little bit, to avoid that annoying pillar all together. There are a lot of different variables here, depending on what item you use, how close you are standing to the ball, and if you mix and match items. Sometimes I’ve gotten the red arrow at 6 hits, and sometimes I hit the ball 7 times and didn’t get the red arrow. Nevertheless, hitting it from this stance will allow you to bounce it in a bit. This is hard. One of the harder mini-games I’ve played in any Zelda game to date. Just stick with it and you will eventually get it.


Your reward for completing this puzzle is a Giant Ancient Core. Return to the ramp and run up to speak with the monk, Mirro Shaz. He will reward you with a Spirit Orb.


