This chapter covers the normal mode of Twilight Princess for the Nintendo Wii. If you are playing on the Nintendo Wii U, check out the Snowpeak Ruins – HD Version.
- Chapter 1 – Ordon Village
- Chapter 2 – The Twilight
- Chapter 3 – Faron Woods: Twilight
- Chapter 4 – Forest Temple
- Chapter 5 – Kakariko Village: Twilight
- Chapter 6 – Death Mountain
- Chapter 7 – Goron Mines
- Chapter 8 – Lanayru Province: Twilight
- Chapter 9 – Lake Hylia: Sidequests
- Chapter 10 – Lakebed Temple
- Chapter 11 – The Master Sword
- Chapter 12 – Gerudo Desert
- Chapter 13 – Arbiter’s Grounds
- Chapter 14 – Scaling Snowpeak
- Chapter 15 – Snowpeak Ruins
- Chapter 16 – Sacred Grove: Round Two
- Chapter 17 – Temple of Time
- Chapter 18 – In Search of the Sky
- Chapter 19 – City in the Sky
- Chapter 20 – Palace of Twilight
- Chapter 21 – Cave of Ordeals
- Chapter 22 – Hyrule Castle
15.1 Map of the Mansion
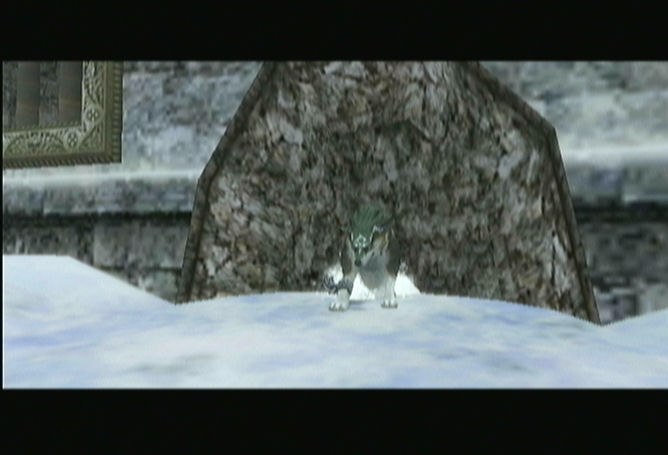
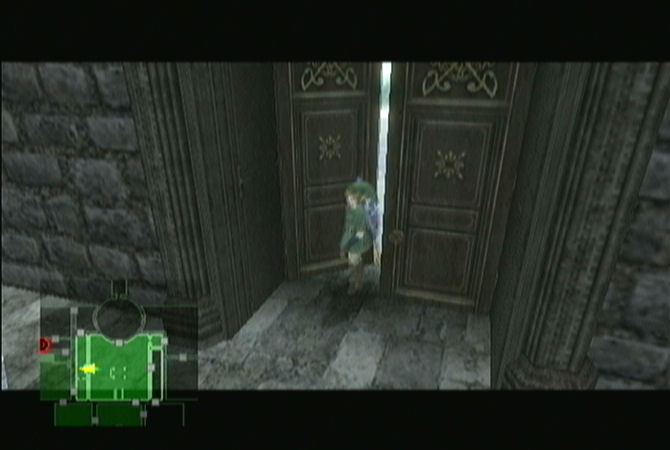
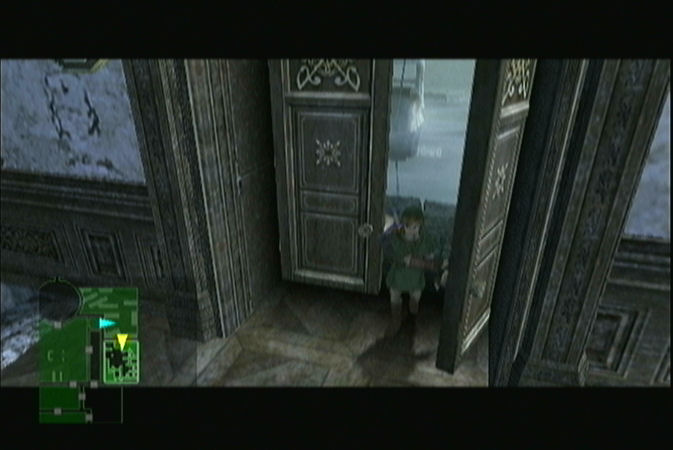
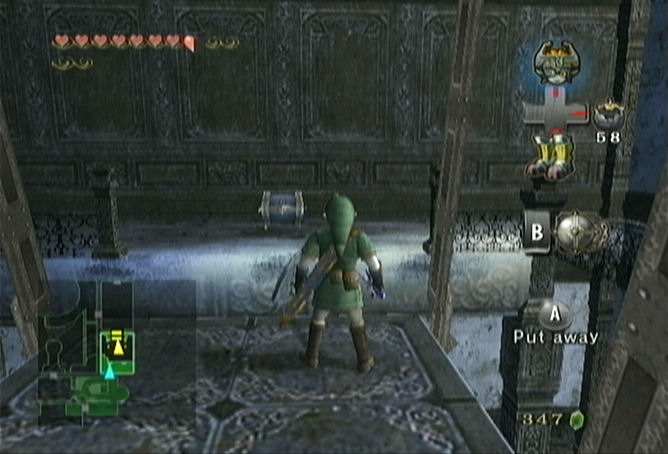
After a short cinema that displays the Snowpeak Ruins, walk straight ahead with Link. Immediately you’ll see a Poe floating around. Use wolf Link’s senses to see it, and then defeat it for the 45th Poe Soul. Go through the door at the north end of the room.


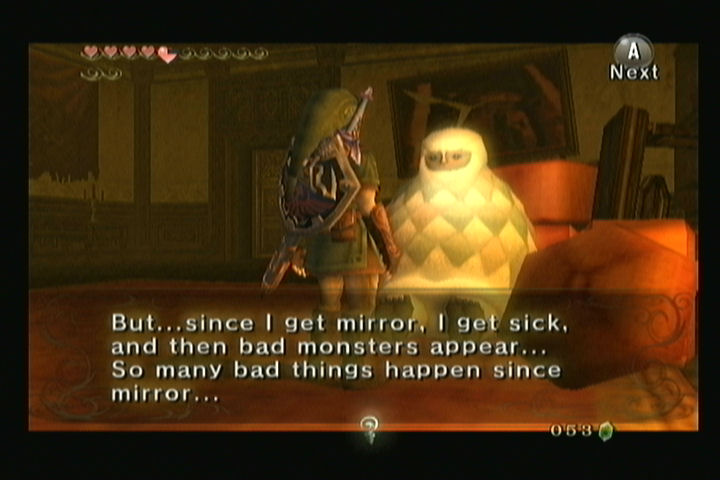
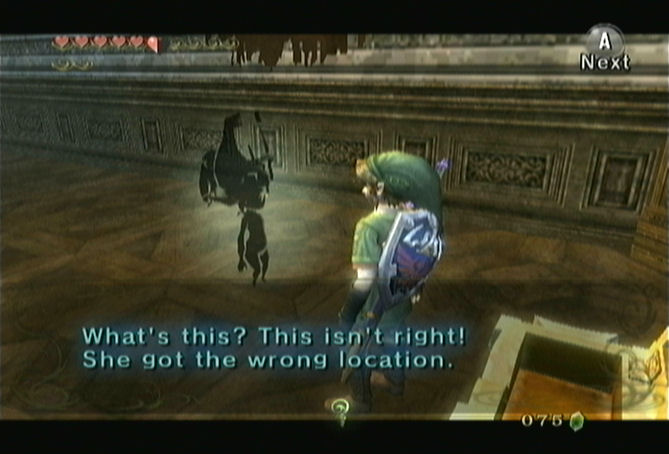
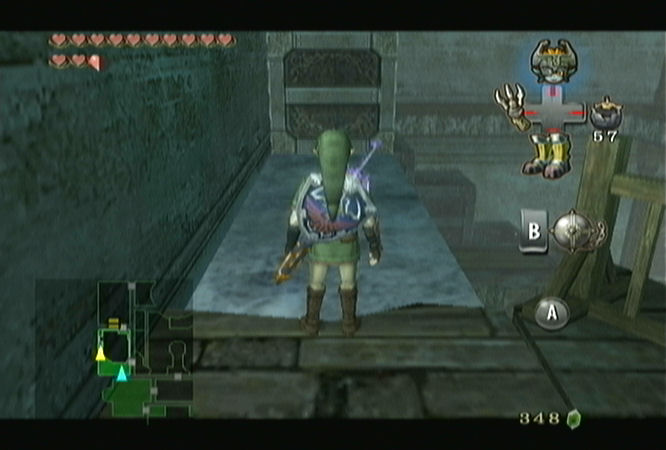
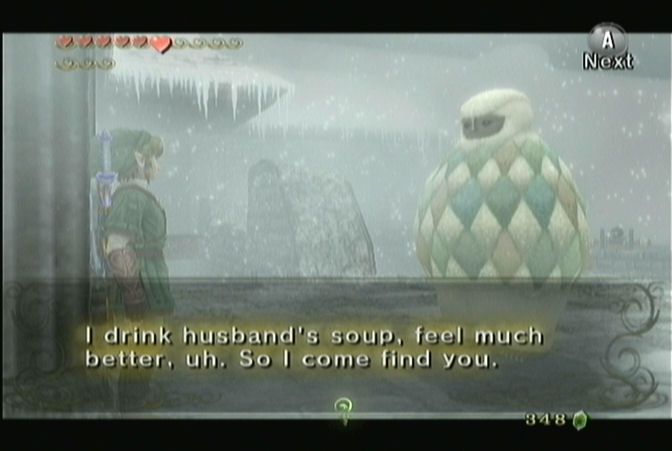
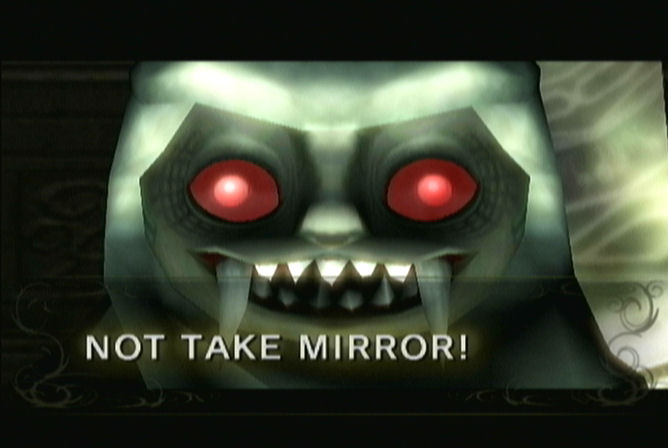
Walk forward and you’ll see a women wrapped up in some strange clothing sitting on the chair. This is actually Yeta, who is the wife of the beast man Yeto. She asks you to come closer. Do so and she talks in broken English. She gives you a hint that the mirror shard we are looking for is locked in the bedroom on the third floor. She then gives you the Map of the Mansion. A red spot is filled in the map where she says the bedroom key is. She tells you to start with the door on the west side of the room. Walk over and open the door.
15.2 An Ordon Pumpkin?
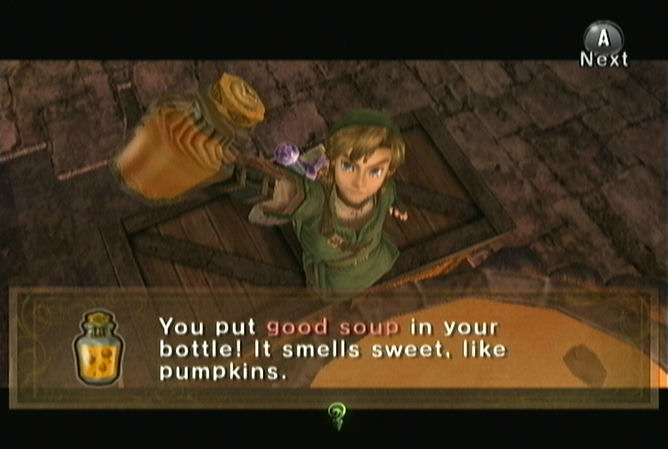
Yeto is waiting for you in this room. He is in the process of making some sort of soup. Link is free to fill up one of his bottles with the soup. For now, it is rather weak and won’t restore many hearts of Link. However, Link will progressively add more ingredients, which will increase the quality of the soup. For now, it is known as the Simple Soup and will restore only two hearts.
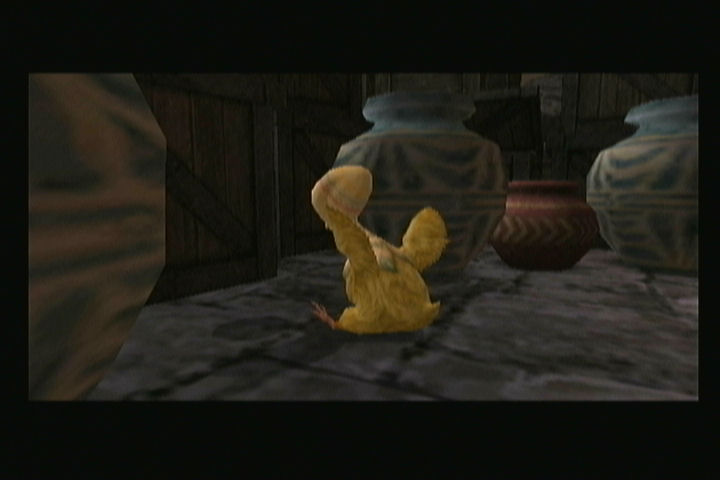
On the far south end of the room you’ll see a series of pots. One of them is shaking and holds Ooccoo, your useless friend that you find in every dungeon, of which there is no reason for her to even exist. Use the door at the north end of the room to continue to the next room.
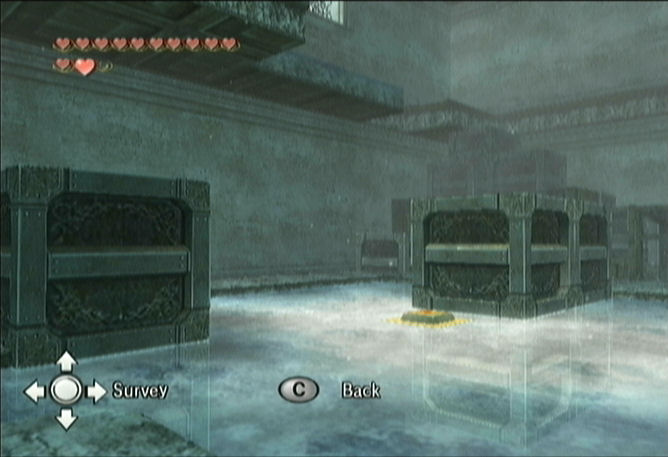
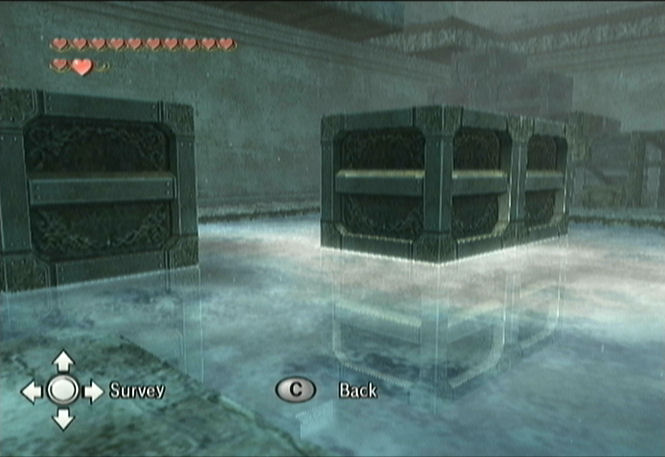
There is a classic Zelda block puzzle in this room. You’ll notice there is a switch at the south end of the room. If you step on it the door will open on the east side of the room. However, once you step off it, the door will shut. There are two moveable blocks in this room, with a third being frozen in ice. You have to push the blocks so that one of them is on top of the switch.
First, move over to the block in the southeast part of the room and push it to the west. Now move over to the block at the northwest corner. Push it south, then east, then south, then west, and south again onto the switch. With the block on the switch, head through the door at the east end of the room.
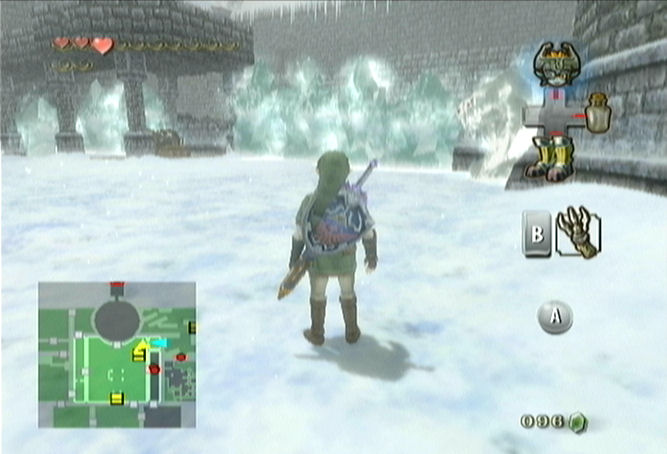
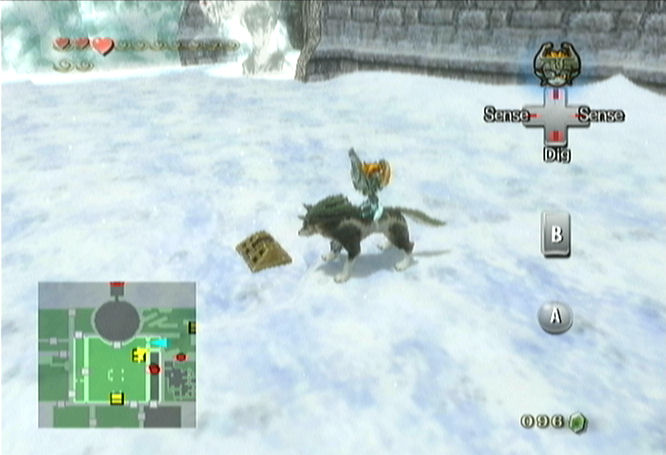
You are actually outside in a courtyard of the mansion. The path to the north is blocked off by ice. Transform into Wolf Link and use your senses and dig to get to the larger outdoor area to the east.
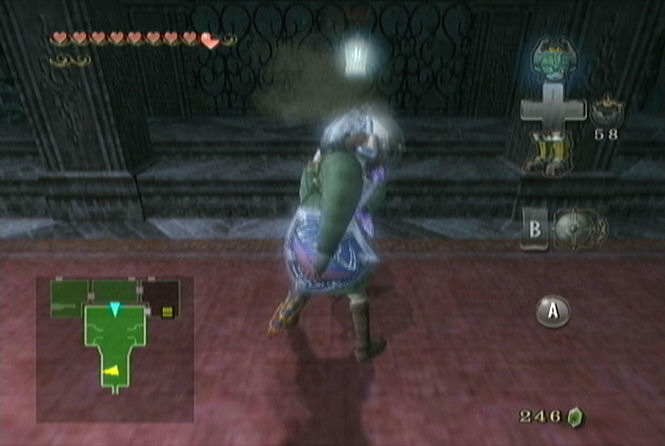
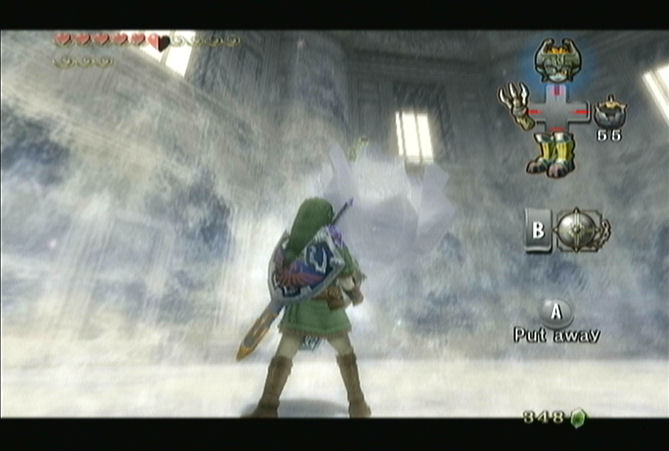
After a short cinema of the courtyard area, you’ll regain control of Wolf Link and several White Wolfos will come after you. Since we are now in an enclosed area, you can take the time to defeat these creatures if you’d like. Human Link moves terribly slowly in this deep snow, so you are advised to stick with Wolf Link.

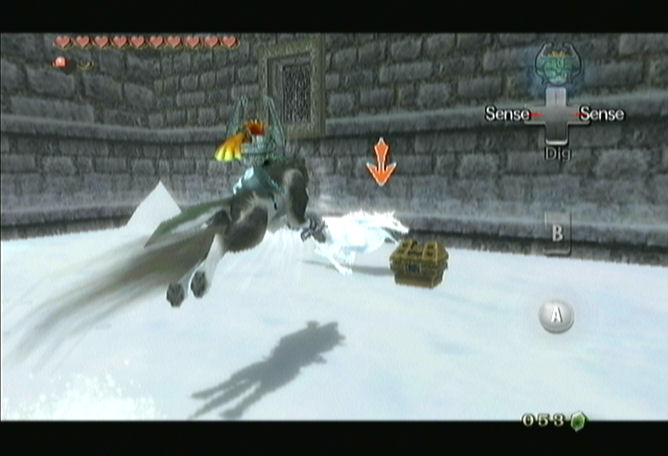
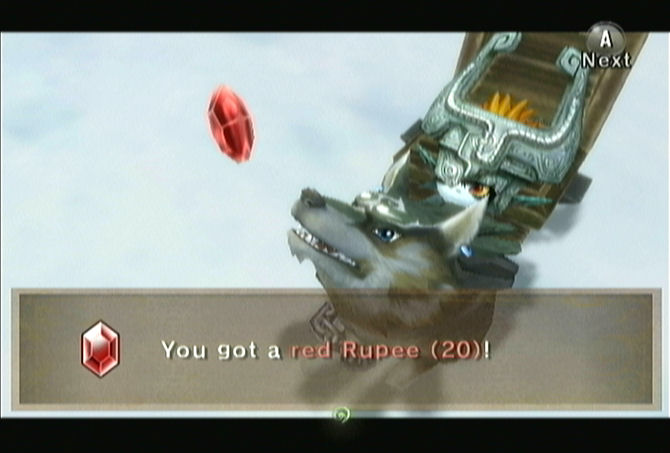
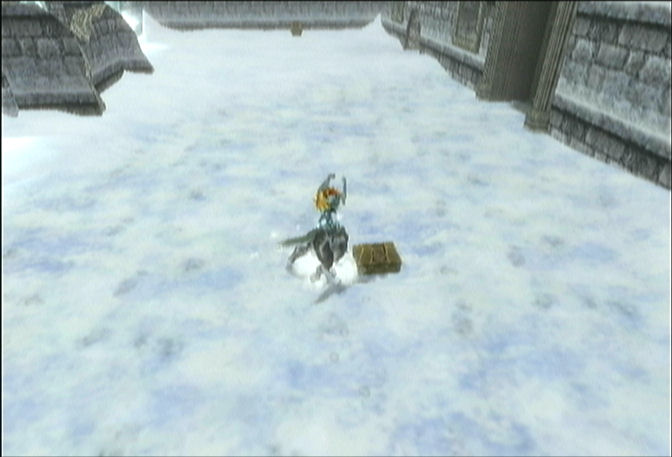
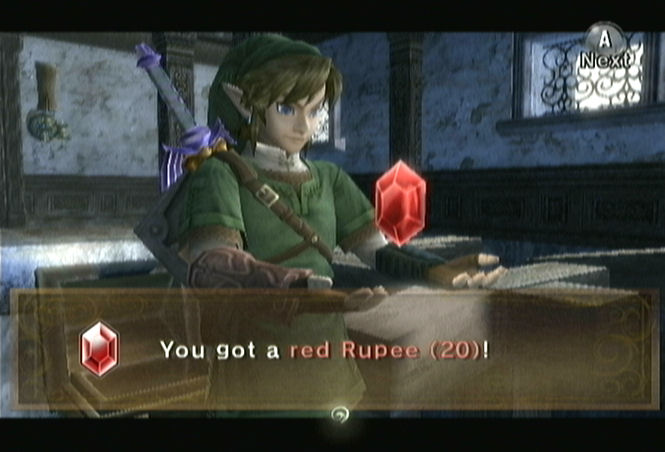
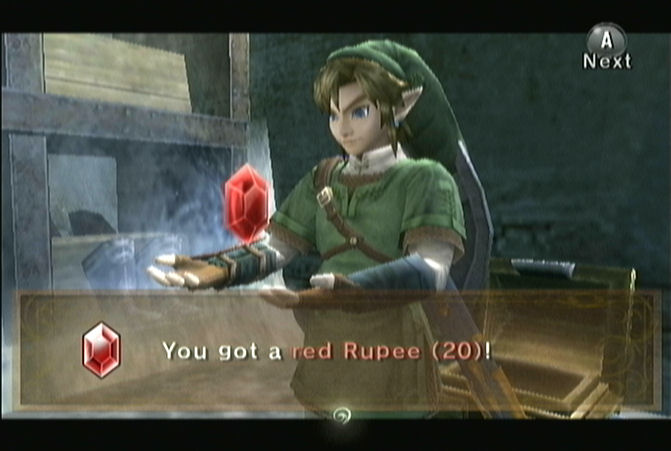
Open the treasure chest at the south end of the courtyard to get a red rupee. Walk to the north end of the courtyard and you’ll notice there is something in the snow, but it is half buried. Dig up the area with Wolf Link to reveal a treasure chest. Open it up to get a small key. Transform back into human Link and head through the door at the west side of the courtyard.
You are now on the other side of that large piece of ice that blocked your path. Walk to the north and you’ll find some weird looking ice enemies known as Mini-Freezards. These small circular enemies will slowly walk across the ice and if they touch Link, he will freeze for a short period. If Link swipes at them with his sword, they will go spinning quickly along the ice.
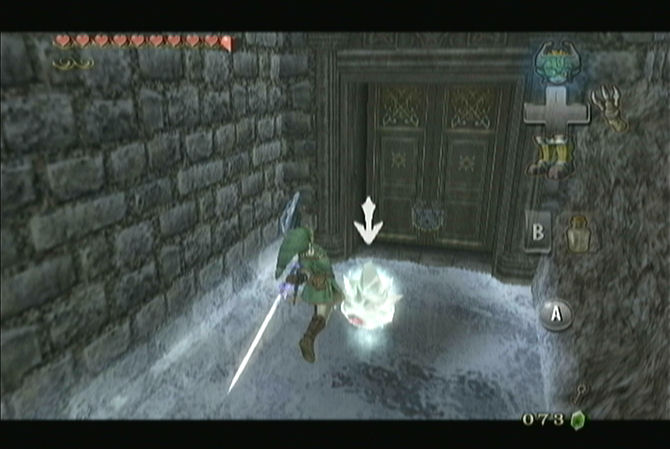
The jump attack works against them as it deals a lot of damage. If they are spinning towards you, the shield attack will deflect them away. With them out of the way, head through the locked door to the north.
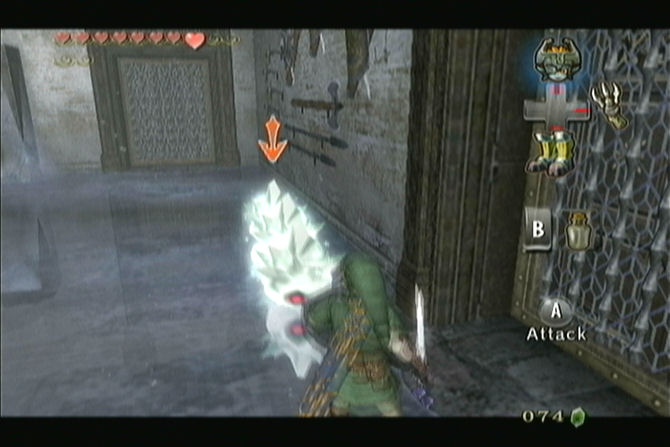
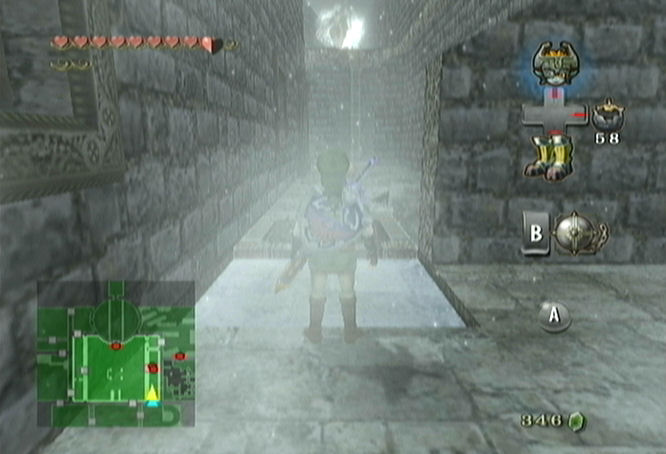
Three more Mini-Freezards fill this room and they can be quite annoying to defeat. Just be patient and be sure to use your shield attack if they come bouncing close to you. The mortal draw attack works against them to. Once these three are defeated, both doors in the room will unlock. Go through the door at the northwest part of the room.
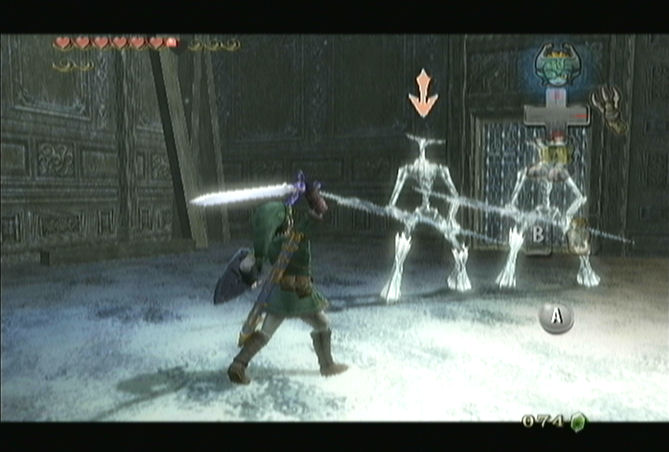
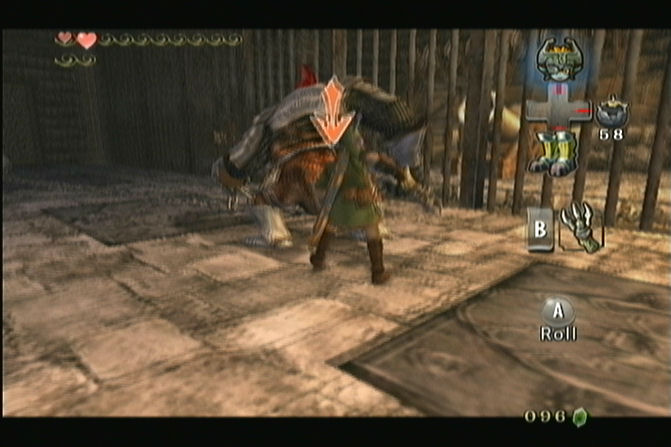
You’ll see the treasure chest that is in the next room. Walk towards the door and as you get close, it will close and two new enemies appear. These creatures are known as Chilfos. These creatures are made of ice and use icicles as sword like items to strike Link. Any of your sword attacks were nicely against them including the jump attack, helm splitter, or the mortal draw. Once they are both defeated both doors will open up, so head through the one at the south.
This is the treasure chest where Yeta said the bedroom key can be found but instead, the treasure chest contains an Ordon Pumpkin. This is definitely not a key, so let’s go and see what Yeta is up to. Exit through the door at the south end for a shortcut.

15.3 The Compass
Climb up the crates on the right and jump to the south part of the room. Return to the room with Yeto. Speak with him and he will add the Ordon Pumpkin to his soup. If you grab some soup this time around, it is now known as Good Soup and will restore four hearts. Return to the room just to the east.

Speak with Yeta and after some more broken English, she tells you to try another room. She marks another room with a symbol on it and the opens one of the nearby doors. Open the door to the north to get back outside in the courtyard. This time however, you are now on the east end of the courtyard.
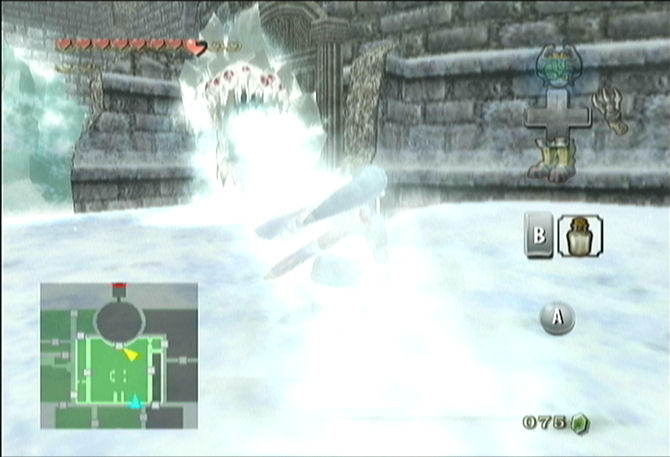
Transform into Wolf Link and you’ll see there are three more White Wolfos in this area running around. Also, at the northeast corner of this section, a scary ice enemy known as a Freezard is waiting for you. This creature will blow ice-cold air out at you and if it hits you, you will freeze.


There is a cannon on the platform near the center of the courtyard. We can’t use it quite yet but we will get back to this shortly. There is a short window at the northeast corner of the courtyard. Climb through it and head through the door that is straight ahead.
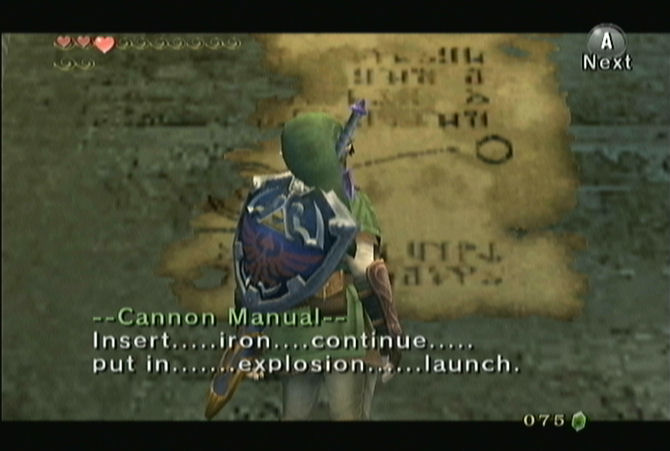
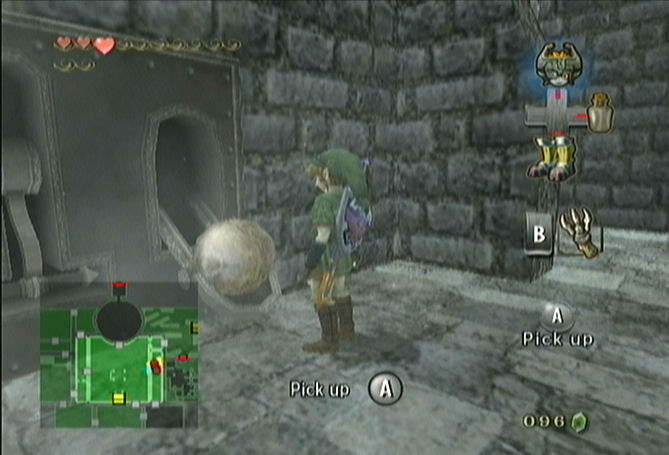
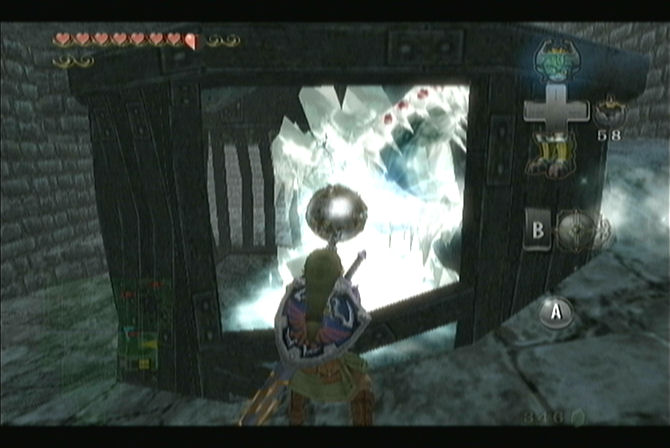
There are a bunch of Mini-Freezards moving along the ice. Repeat similar methods that we used before to defeat them. You’ll notice there is a circular cannon ball lying on the ice straight ahead. Once you’ve defeated all the Mini-Freezards in the entire room, pick up the ball and bring it to the north end of the room where you will find a cannon. If you look at the northeast corner of the room, you’ll see a small map that gives you a hint of what to do. First, you insert the cannonball into the cannon. Then you insert a bomb and it will blow the cannonball out.
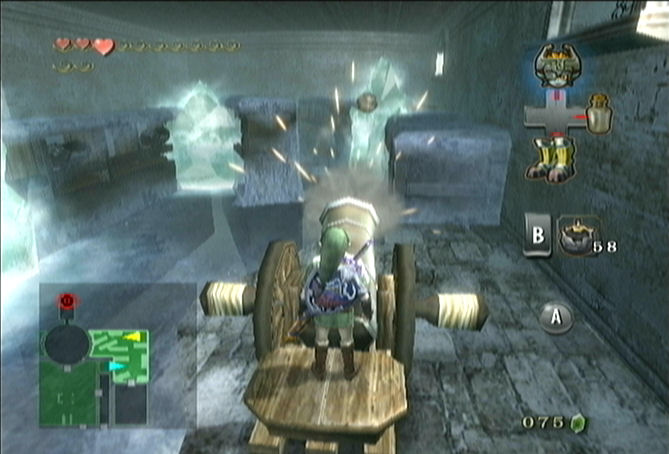
The cannon is aiming straight to the west. Place the ball in and then place a bomb and it will shoot towards the west, breaking a block of ice that is in the way. Walk over in that direction and you’ll find a treasure chest. Open it up to get five bombs.
Lift up the cannonball and take it back to the cannon. Put the cannonball into the cannon and then stand on either side of the cannon. Push or pull it 90 degrees so that it is facing the south end of the room. Then place a bomb into the cannon and it will shoot through a bunch of ice. Walk to the south end of the room and go through the door that is now accessible.
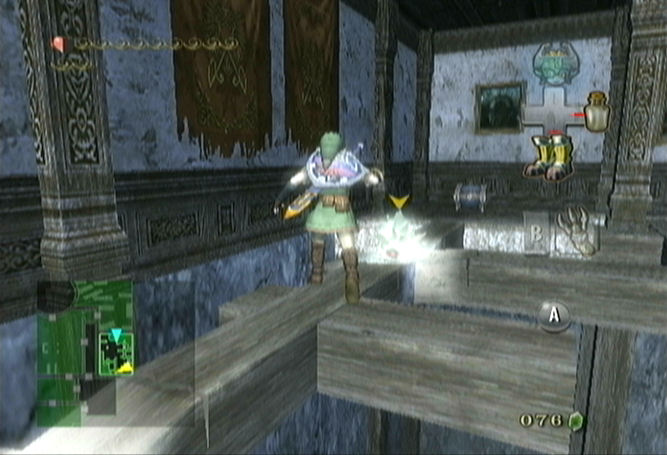
You’ll now be in a room with a few Mini-Freezards and a few Ice Keese. In addition to that, much of the room does not have a solid floor, but instead, a series of wooden planks. Walk to the left side of the room and pull out the clawshot. Hit the Mini-Freezards with it and they will go falling to the floor. Watch out for the Ice Keese that flies by. Jump over to the next wooden plank. As you come close an Ice Keese will fly in from the window. Once that is defeated walk forward and the ice will slide you forward. Another Ice Keese appears from the window. Only strike it once and be careful not to move forward or else you’ll slip down the ice.

Don’t walk to the edge of the plank since the ice will slide you off it. Instead, turn and face to the west. There is a wooden plank that if you jump, you will land perfectly on it. Jump across to it and then jump across to another plank. Turn to the right and open the treasure chest here for a red rupee. Now slowly walk along the planks to get to the southwest part of the room. Open the treasure chest to get the Compass.

Walk to the north along the platform and then if you look towards the door, you’ll see there is a target that you can hook onto with the clawshot. Do so and return to the previous room. You’ll notice there is a treasure chest in this room, but we still can’t quite reach it. Return to the west to get back in the courtyard.
15.4 Ball and Chain
Back in the courtyard, climb through the window and transform into Wolf Link. Defeat the White Wolfos once again. Look at your map and you’ll notice that the compass shows there is a treasure chest buried under the snow. Walk over to it and use your senses and dig up the snow a few times until you see the treasure chest. Open the treasure chest to get a small key. Use the small key on the locked gate to the east and head through it.
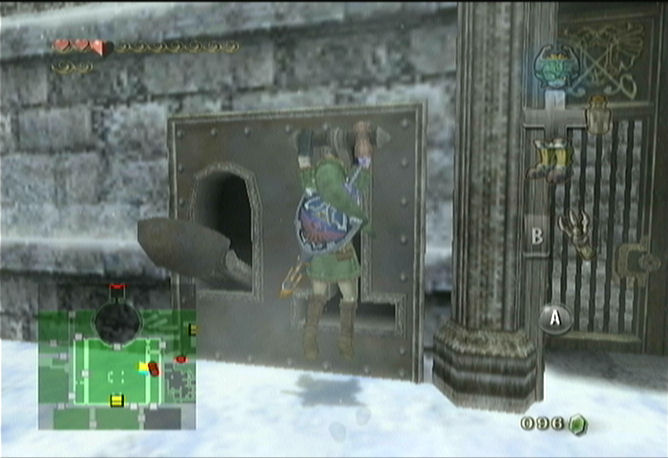
You’ll notice three cannonballs lying on the ground. If you turn back around, just right of the gate, you’ll see a weird looking mechanism. Grab onto the lever on the left side and Link will pull it down. Now the other part of the mechanism is lowered. Lift up one of the cannonballs and place it in here. Now open the gate and return to the courtyard area.
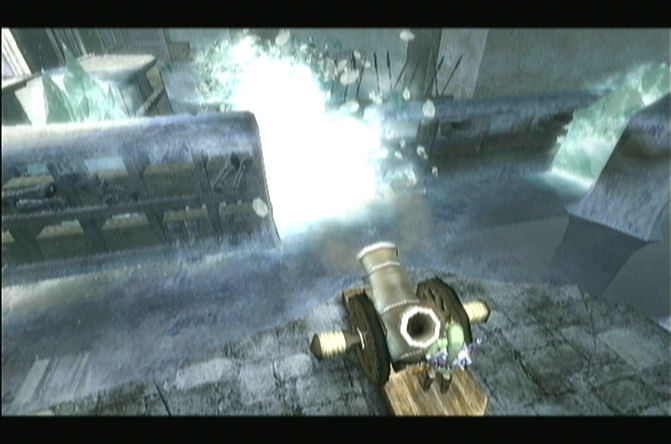
Turn to the right and the other side of the mechanism is here. Pull down the lever and the cannonball from the other side of the wall will roll over to this side. Lift up the cannonball and take it to the cannon in the center of the courtyard. Place the ball into the cannon and then place a bomb into the cannon. This will shoot through the ice at the south end of the room. Run on over and open the treasure chest to get some bombs.
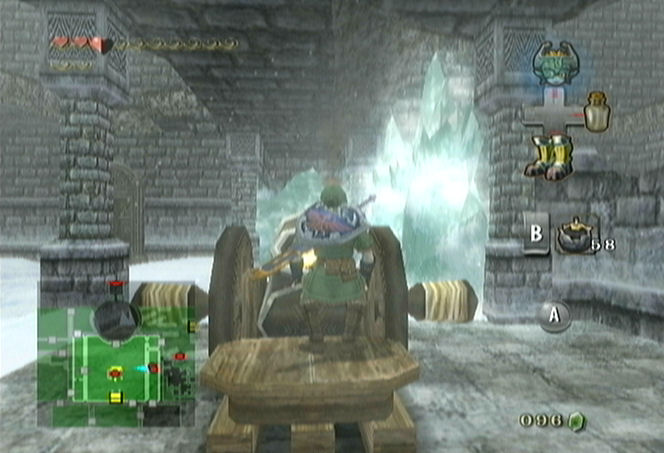
Lift the ball from behind the chest and return to the cannon. Place the ball into the cannon and then step to the side of the cannon. Rotate it around 180 degrees so that it is facing the Freezard at the north end of the room. Place a bomb into the cannon and it will destroy the Freezard. Run on over and you’ll see that a Mini-Freezard is now in the place of the massive Freezard. Just ignore it and enter the door.

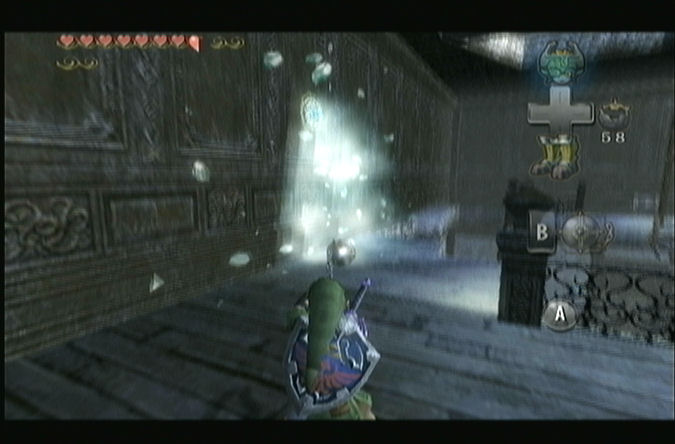
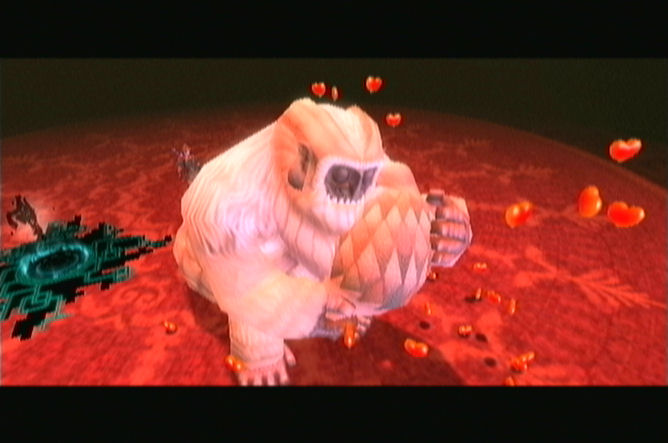
Walk forward past the two statues and the door that is straight ahead will close. All of a sudden the first statue awakes and destroys the second statue with a massive ball and chain. This begins a mini-boss battle with Darkhammer.
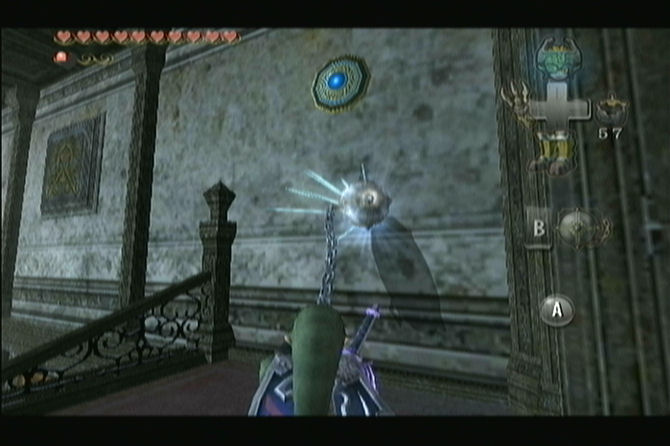
Darkhammer has only one attack and that is to sling the ball and chain towards Link. It is quite damaging and if you don’t know exactly what to do, it can be hard to avoid. You might notice there are several targets along the ceiling. Once Darkhammer has gotten close to you, use the clawshot to hook over to one of the targets.
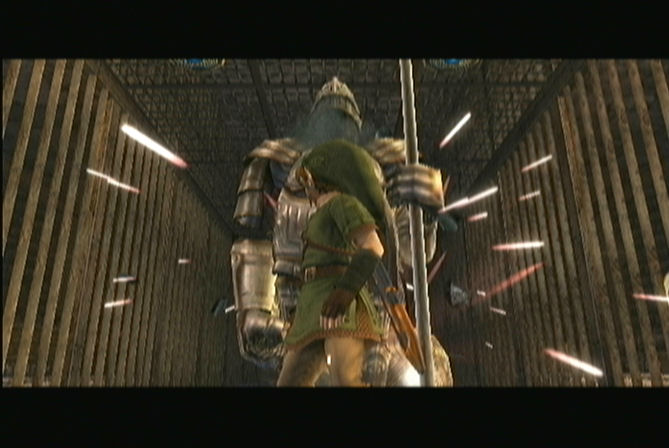
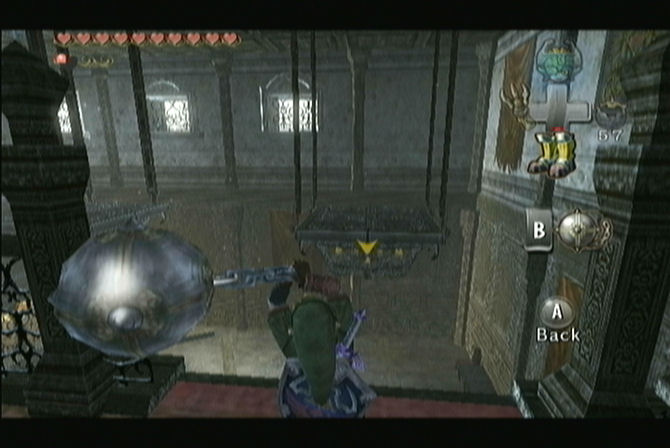
Once you fall to the ground quickly z-target Darkhammer. It will toss its ball and chain out at you, so quickly side jump. It takes a while for Darkhammer to pull his weapon back in, so quickly run to its backside and slash at its tail that is sticking out. Now run to the other side of the room away from Darkhammer. He will start swinging the ball and chain once again. Repeat the same process a second time and slash at his tail. Two sets of tail slashes should enough to defeat him.
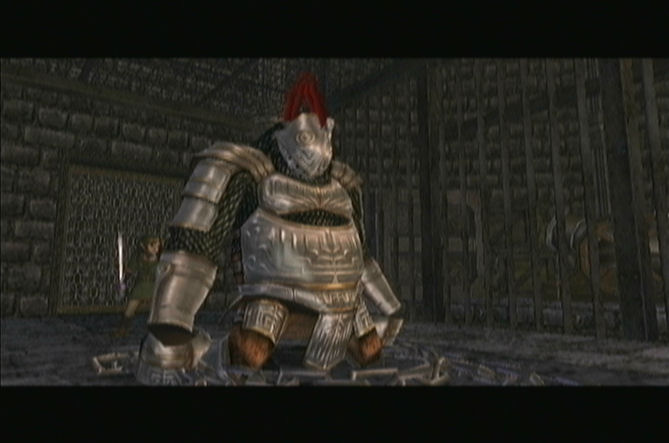
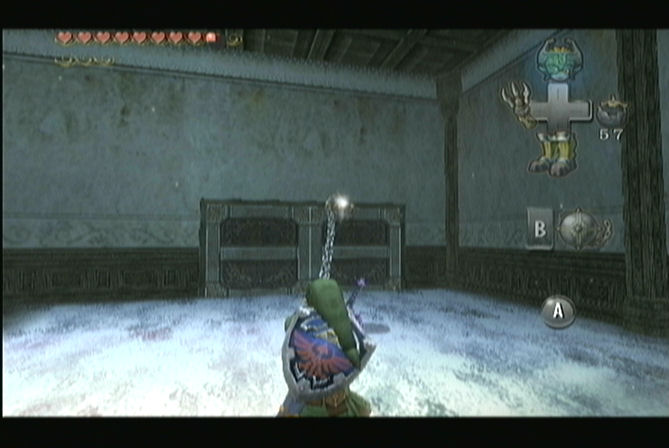
After the battle, both doors will unlock and Darkhammer’s Ball and Chain is left in the center of the room. Walk up to it and grab the dungeon item, the ball and chain. Exit the room through the door to the north.
There are huge blocks of ice in your way of getting to the target that Yeta pointed you towards. Use the ball and chain to break these ice blocks. Open the treasure chest to find not the bedroom key, but some Ordon Goat Cheese. You can smash the soldier statues and barrels in this room and a Bubble will pop out. Defeat it and your reward will be an orange rupee. Leave the room and then backtrack to the courtyard.
15.5 Some Hidden Heart Pieces
You can use your newly acquired ball and chain to break all the ice in the courtyard, but there really is no need to do so. Run to the northeast corner of the room, climb through the window, and enter the door. You can now defeat all the Mini-Freezards with a single hit with the ball and chain. Break through the ice that hasn’t been broken and open the treasure chest on the east side of the room to get a red rupee.
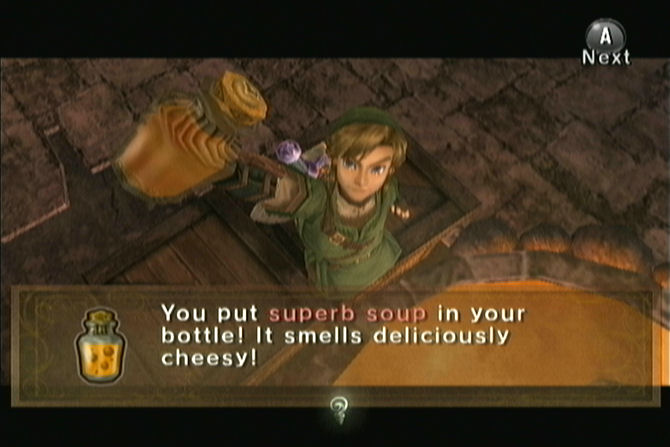
Exit the room back into the courtyard and from here, return to the room to the south to meet up with Yeta once again. She tells you to take the cheese to her husband while she tries to remember where she put the bedroom key. Open the door to the west and give the cheese to Yeto. Now if you take a scoop of the soup, it is now known as Superb Soup and will restore eight hearts. Return to the previous room.
Speak with Yeta and she now makes another mark on the map. She opens the door at the east end of the room. Before progressing in that direction there are some new treasure chests we can open. Open the door to the south to get to where we first entered the mansion. There are two treasure chests that you can see on your map. Break the soldier statues with two hits with the ball and chain. One treasure chest has a yellow rupee while the other has a red rupee.

Also break the soldier statue that is in the middle on the left side of the room. A Poe’s lantern can be seen, so transform into Wolf Link and defeat it for the 47th Poe Soul. Break all six soldier statues and your reward will be an orange rupee. Now return to the previous room with Yeta and go through the door at the east end of the room.
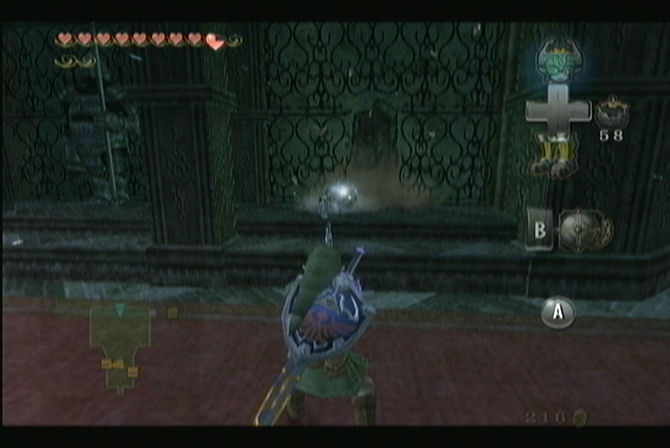
Open the door at the north end of the room and then push the block forward. Run over and grab one of the cannonballs and bring it back towards the door. Use the mechanism next to the door on both sides of the wall to get the cannonball inside. Just leave it for now and pull out the ball and chain. Break the ice with the ball and chain and then you’ll see a Freezard on the inside of these spiraling steps. There is a small gap where Link can use the ball and chain to hit the Freezard. Wait until it’s facing up the stairs and hit it twice with the ball and chain. Afterwards, defeat all the Mini-Freezards with the ball and chain.
Defeat the next Freezard, and head up to the top of the room. Enter the door to the left, and you’ll see a Chilfos to your right. Use the ball and chain to defeat it in a single shot. Then use the ball and chain again to break the ice on the other side of the room, which will reveal a target on the wall. Stand near the opening in the center of the room and z-target the chandelier. Use the ball and chain to hit it and the chandelier will start rocking back and forth. Jump on top of it and then jump to the other side of the room. Open the door to get a small key. Pull out the clawshot and hook over to the target we created. Return to the previous room.
Walk to the north end of the room through a broken part of the wall. Look at the floor and you’ll notice it is a bit cracked. Place a bomb on the floor and it will create a hole. Drop down and open the treasure chest to get a Piece of Heart. Aim back up to the floor above and hook on to target with the clawshot.
Go to the west end of the room and use the small key to open the door. Destroy the chunk of ice with the ball and chain and it will reveal a target. You can now reach this area from the mansion entrance. Walk to the end of the ledge and use the ball and chain to get the hanging platform to rock. Jump onto it and then use the ball and chain to defeat the Chilfos.

Look to the south and you’ll see a series of hanging platforms. Wait for the one you are on to stop and then use the ball and chain to get the next one to rock. Be careful as there are Ice Keese floating above these next two platforms. Wait for this one to stop and then hit the next one with the ball and chain. Once you reach the far south end of the room, you’ll see a treasure chest. Open it up to get a piece of heart.
It’s probably easier to just jump off to the bottom of the mansion from here. Climb up the staircase on the right side and then use the clawshot to get back up to the second floor. Use the ball and chain once again to rock the platform. Then jump across to the west balcony. Enter the door.
15.6 Bedroom Key
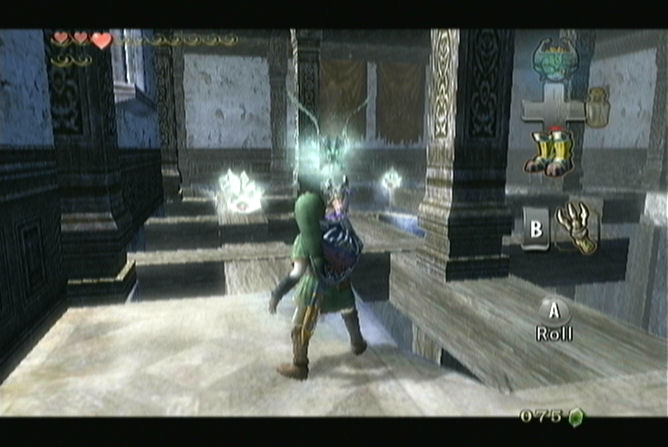
There a ton of Mini-Freezards in this room. Use the ball and chain to defeat them all. Then use the ball and break the ice on the west side of the room. A Poe is behind this area. Transform into Wolf Link and defeat it for the 48th Poe Soul. Transform back into human Link and head through the door to the north.
On the east side of the room you’ll notice there is a door, but it is locked. Push the block on the west side of the room which will make for easy access to the higher balcony. Drop down to the first floor and we are back in this familiar room.


Use the ball and chain to break the ice in the center of the room and to break the ice surrounding a third block. We need to now push the blocks so one is sitting on the switch in the center of the room. Start the puzzle by pushing the block that is on the far south of the room. Push it northward and it will slide across the ice. Now push the block that was frozen to the south, then to the west, and then to the north. Now we want to push the first block we pushed. It is the block furthest to the north. Push it east, then south, then west, and then back north to land on the switch. The door on the second floor will open up.
Climb the crates on the north side of the room and then jump back to the south side of the room. Go through the door on the east that is now open.
You are now in the courtyard once again, but on the second level. You’ll notice there are three Chilfos to your left. Walk across the platform, using the ball and chain to defeat all three of them. At the far north there is a broken area in the wall and if you look past, there is a target. Use the clawshot to hook on over to it. Open the door on the west side of the room.


Break the ice on your right using the ball and chain. Hit the hanging platform that is straight ahead with the ball and chain. Jump over to the platform and wait for it to stop moving. Face the south part of the room and repeat the same process to rock this hanging platform. Jump onto and then jump to the south part of the room. Open the small chest here to get a small key. Then head through the door nearby.
Jump off the ledge and then climb the crates and make your way to the south end of the second floor. Open the door to return to the room with Mini-Freezards. They have returned but you can avoid them and just open the locked door on the east side of the room.
There are two Freezards in this room. Defeat them one at a time using the ball and chain and then hit the blocks on the east side of the room to knock them down. This will open a passage to a room that we’ve previously visited. Run over to the cannon and turn it so it is aiming to the west. You should have already loaded it with a cannonball already, but if you haven’t, go to the bottom of this room and get a cannonball from the room to the north. Place a bomb in the cannon and it will shoot the ball to the west.
Follow the ball back to the room where the two Freezards were. Use the mechanism on the north side of the room to get the cannonball into the courtyard area. Open the door and you’ll find yourself on the second floor of the courtyard. Turn to the right and break the ice to reveal a target. Use the mechanism near the door to get the cannonball. Take it and insert it in the cannon. Turn the cannon 180 degrees so it is facing the northeast. Place a bomb into the cannon and the cannon ball will break the Freezard that was in the corner.

Jump off the ledge and enter the door on the east end of the courtyard. Walk to the north and climb up the larger ladder. Defeat the four Mini-Freezards that are left from the big Freezard and then open the door to the east.
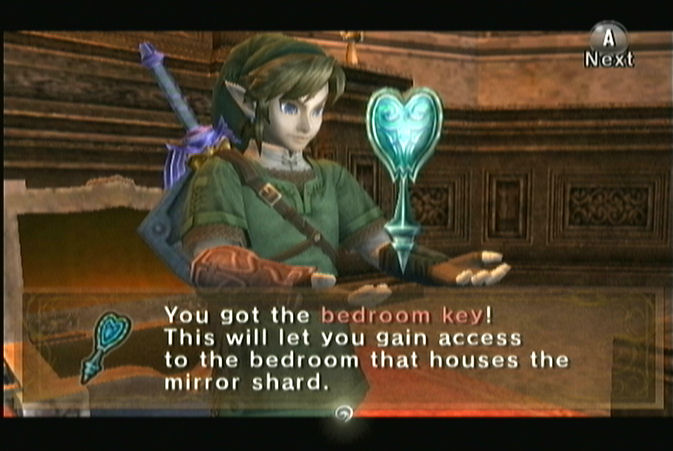
Once you enter this room, both doors will close. Walk around the room and several Chilfos will fall from the ceiling. Defeat them all using the ball and chain. Once they have all been defeated, both doors will open up. Open the door to the north and then open the large treasure chest to get the Bedroom Key.
15.7 Twilit Ice Mass: Blizzeta
Backtrack through two doors to get back to the courtyard. You’ll meet up with Yeta, who is waiting for you right outside. She says the bedroom is right above you and that she’ll take you there. She walks so slow, so just run to the top of the area and use the bedroom key on the locked door. She’ll appear next to you and tell you to come inside.

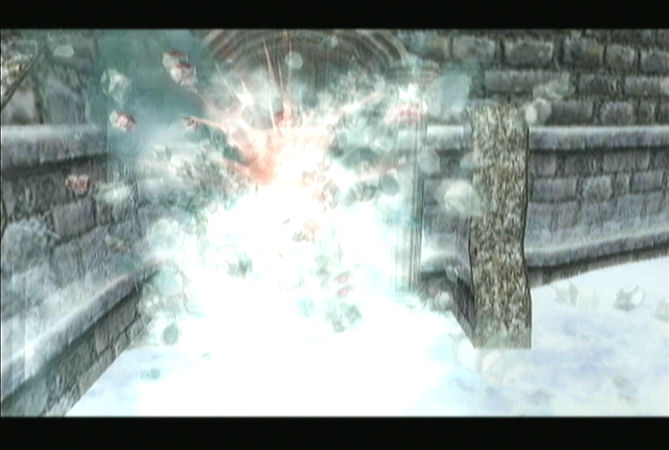
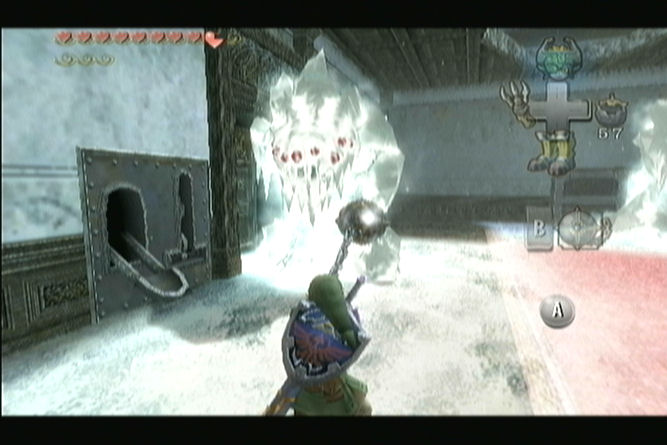
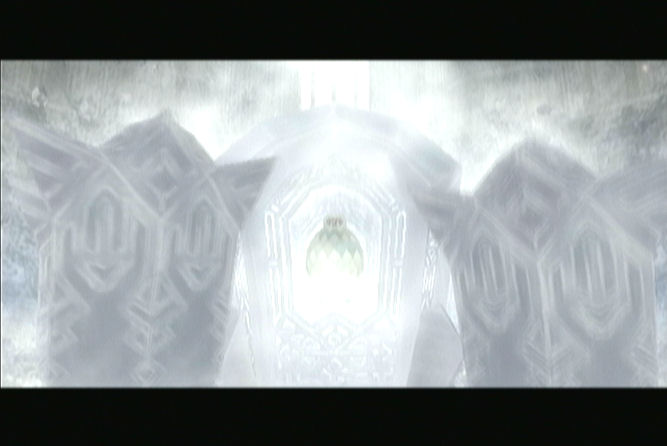
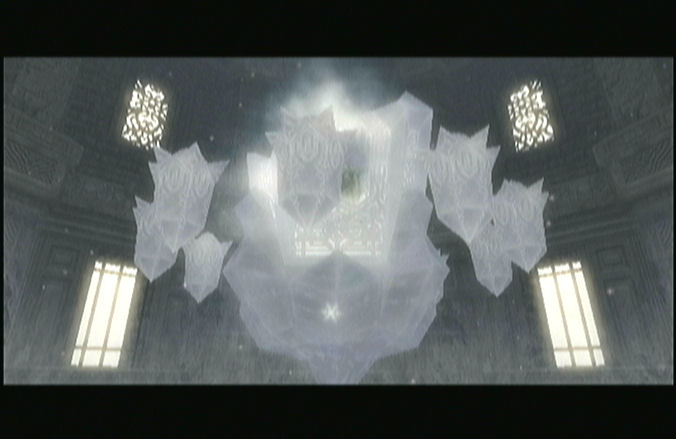
She takes you to the mirror and she says how pretty it is. Her head turns around and all of a sudden she transforms into a monster. All the windows will break and the wind and snow will come in. They will all combine with Yeta and become the mansion’s boss, Twilit Ice Mass: BLIZZETA.
The battle begins with Blizzeta as an ice statue in the center of the room. Just pull out the ball and chain and hit her repeatedly with it. Once you hit her, she will start moving around the room rapidly. Just continue to z-target her and hitting her with the ball and chain.

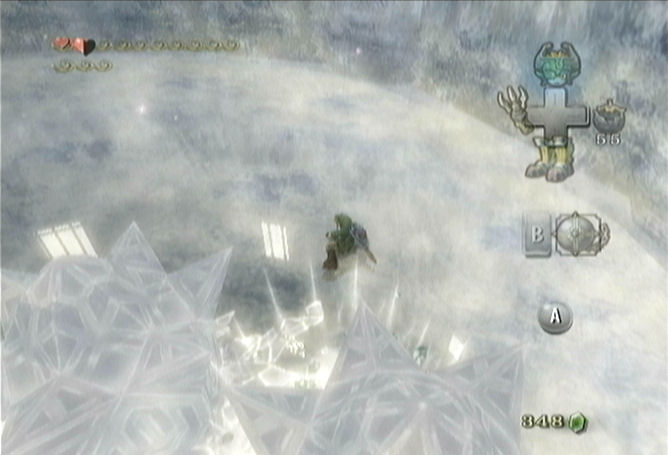
After hitting her a few times with the ball, she will start to shoot out some Mini-Freezards. They really are just a distraction. Just completely ignore them and keep hitting Blizzeta with the ball and chain. After each hit, Blizzeta will get smaller and begin moving quicker until you’ve hit her eight times. At this point she will completely break from the ice and then lift into the air.
The next phase of the battle begins and Blizzeta will be enclosed with more ice, with spikes of ice around her. The ice spikes that are around her will attack you. You can see their reflection in the ice when they are about to attack. Quickly roll out of the way when they do fall on you. Once the ice drops, pull out the ball and chain and break as many of them as you can.
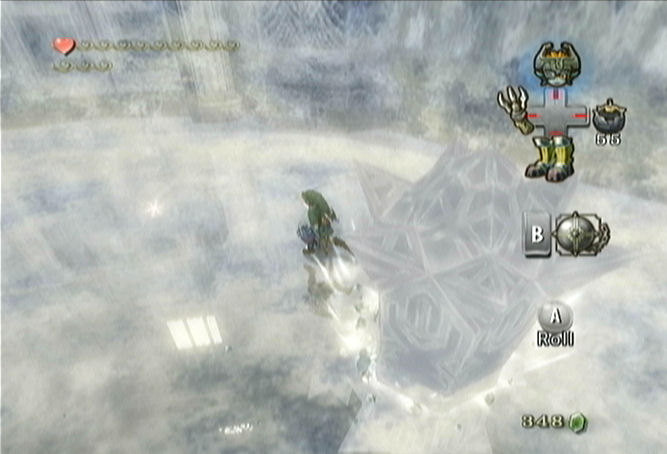
After ice spikes attack, Blizzeta will drop all the ice spikes in a circle and then Blizzeta will drop in the middle of it. Roll out of the way of the circle and then once Blizzeta has landed, use the ball and chain to hit her. Afterwards, she will float back in the air and regenerate the ice spikes. The attacks with the spikes will start over. Repeat this process over again. Three hits to Blizzeta with the ball and chain will defeat her.
After the battle, the room will return to normal and Link will get the second Mirror Shard. After a speech from Midna, Yeto will appear and run towards Yeta. Yeta will awake and seem completely back to normal now that the mirror is in Links hands. There is a lovely scene as Yeto and Yeta hug. Little hearts come falling out of them and then a full heart container does as well. Run over and grab the Heart Container. That should now put you at 14 heart containers. Return to Midna and warp out of the mansion.
- Chapter 1 – Ordon Village
- Chapter 2 – The Twilight
- Chapter 3 – Faron Woods: Twilight
- Chapter 4 – Forest Temple
- Chapter 5 – Kakariko Village: Twilight
- Chapter 6 – Death Mountain
- Chapter 7 – Goron Mines
- Chapter 8 – Lanayru Province: Twilight
- Chapter 9 – Lake Hylia: Sidequests
- Chapter 10 – Lakebed Temple
- Chapter 11 – The Master Sword
- Chapter 12 – Gerudo Desert
- Chapter 13 – Arbiter’s Grounds
- Chapter 14 – Scaling Snowpeak
- Chapter 15 – Snowpeak Ruins
- Chapter 16 – Sacred Grove: Round Two
- Chapter 17 – Temple of Time
- Chapter 18 – In Search of the Sky
- Chapter 19 – City in the Sky
- Chapter 20 – Palace of Twilight
- Chapter 21 – Cave of Ordeals
- Chapter 22 – Hyrule Castle
