This chapter covers the normal mode of Twilight Princess for the Nintendo Wii. If you are playing on the Nintendo Wii U, check out the Faron Woods: Twilight – HD Version.
- Chapter 1 – Ordon Village
- Chapter 2 – The Twilight
- Chapter 3 – Faron Woods: Twilight
- Chapter 4 – Forest Temple
- Chapter 5 – Kakariko Village: Twilight
- Chapter 6 – Death Mountain
- Chapter 7 – Goron Mines
- Chapter 8 – Lanayru Province: Twilight
- Chapter 9 – Lake Hylia: Sidequests
- Chapter 10 – Lakebed Temple
- Chapter 11 – The Master Sword
- Chapter 12 – Gerudo Desert
- Chapter 13 – Arbiter’s Grounds
- Chapter 14 – Scaling Snowpeak
- Chapter 15 – Snowpeak Ruins
- Chapter 16 – Sacred Grove: Round Two
- Chapter 17 – Temple of Time
- Chapter 18 – In Search of the Sky
- Chapter 19 – City in the Sky
- Chapter 20 – Palace of Twilight
- Chapter 21 – Cave of Ordeals
- Chapter 22 – Hyrule Castle
3.1 Spirit of Light: Faron
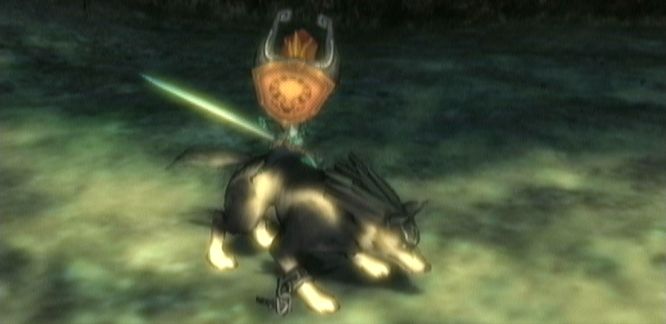
Once you enter the Twilight, Midna will mention that she cannot use the sword and shield, but she will hang on to them for Link. There are a few things that Link must gather to help Midna. Returning light to Ordona is his first mission.
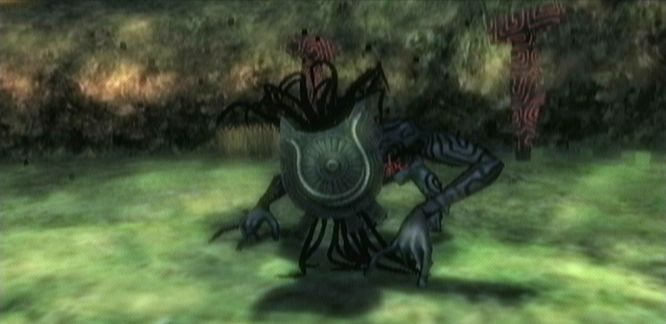
Link can no longer backtrack at this point so just head on forward within the Faron Woods. A wall of twilight surrounds Link and three Shadow Beasts drop in. This is a bit trickier than it was before as there are now three instead of just one. Once you defeat two of them, the third one screams out and brings the other two back to life. Walk on over to the end of the twilight wall and you’ll find Midna just watching from the sideline. She’ll give you some advice on how to defeat them. By holding B an energy field is created.
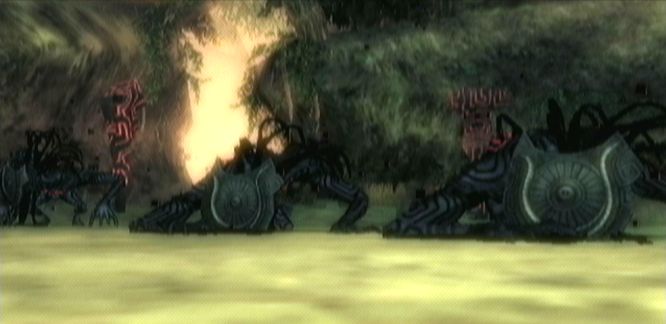
Defeat one of the shadow beasts and then use the energy field so that the remaining two shadow beasts are in it. Release B and Wolf Link will dash and defeat both shadow beasts. Once all three are done away with, they’ll evaporate back into the twilight cloud and the twilight wall will disappear.
3.2 Tears of Light
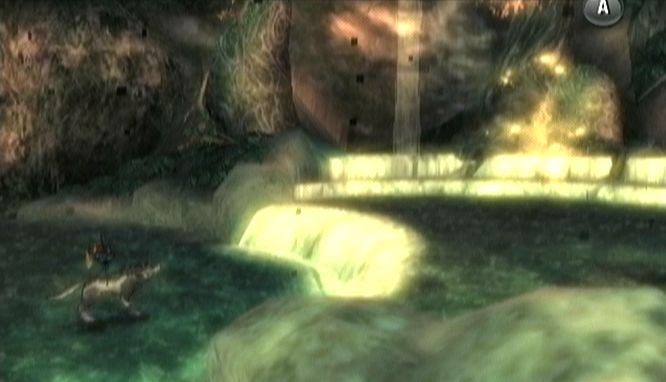
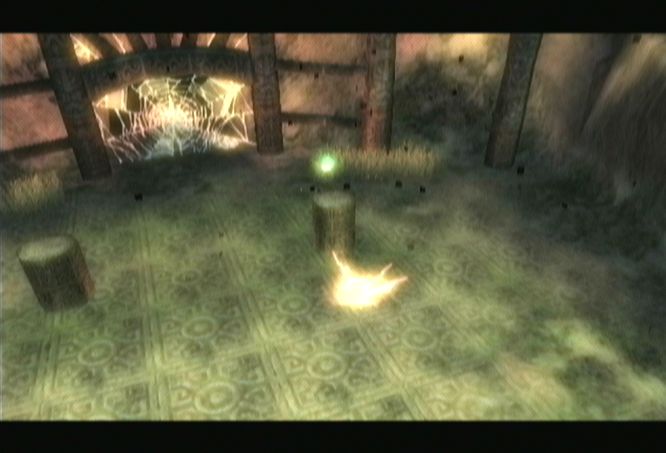
Continue heading north and you’ll enter the waterfall area, which is known as the Faron Spring. Run on over and check out the glowing shape that is floating above the waterfall. It is the Spirit of Light, Faron.
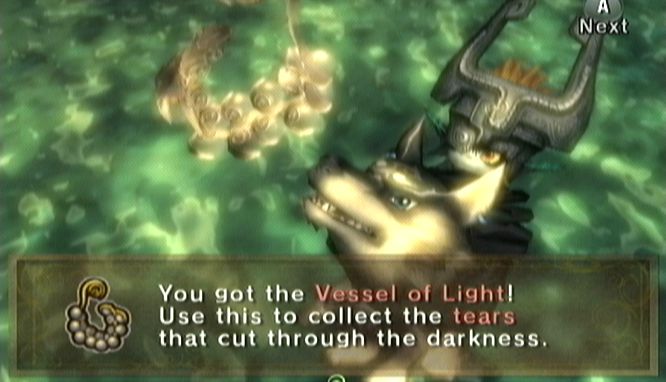
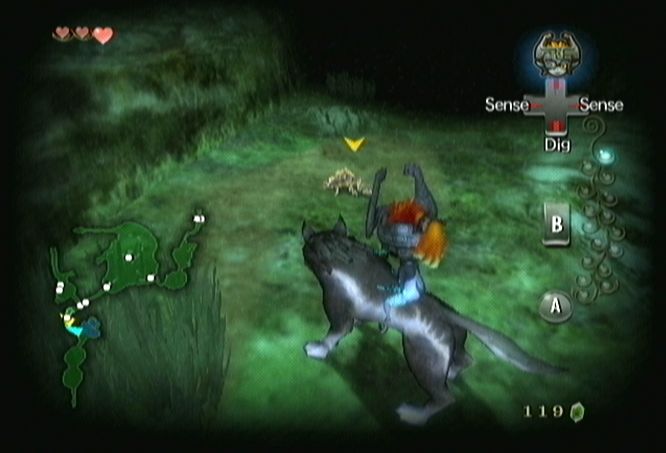
Faron will give you some background about the Twilight Realm and then give you a Vessel of Light. Link needs to collect 16 tears of light and fill up the vessel to return the land to normal. Wolf Link must use his senses to be able to see the dark insects that hold the light. The insects that need to be defeated are known as Shadow Insects. The sixteen insects will appear on Link’s map as small white dots.
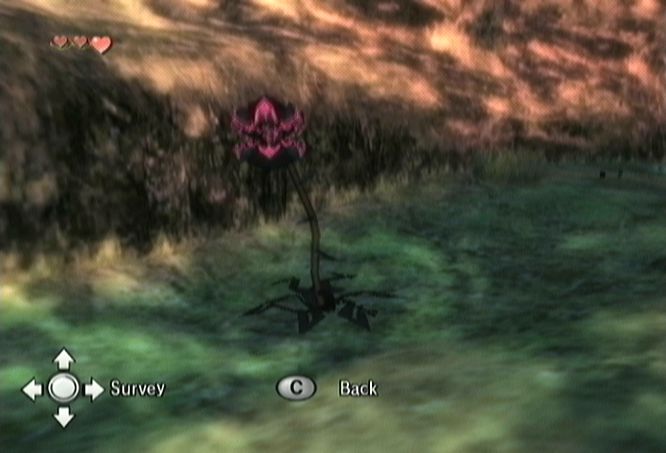
Walk to the north and you’ll see a Twilit Deku Baba. This creature greatly resembles a regular Deku Baba, except it is only found when the world is covered in twilight. Its attacks are identical and it can be defeated with a simple sword strike. Unlike its regular counterpart, the Shadow Baba does not leave a nut after it is defeated.
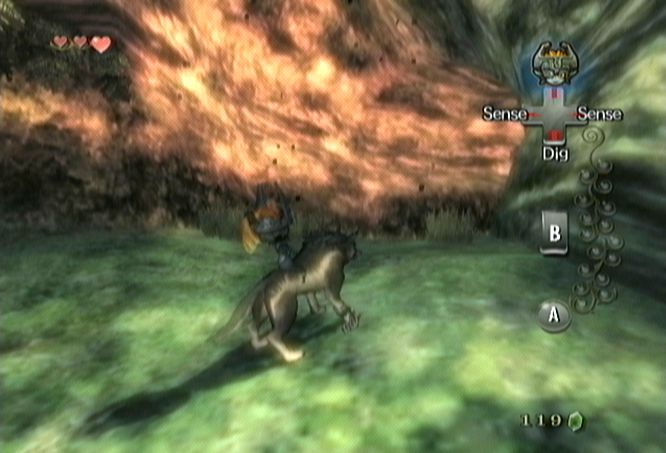
Use your senses to spot the first Shadow Insect. Be sure not to attack it while it is sparkling with electricity. Just z-target the insect and attack it to defeat it. A ball of light will release in the air. Just walk into it to get the 1st tear. The 2nd insect is right next to the first one. Repeat the same process to defeat the insect and grab the 2nd tear.

Follow the path northward defeating a few more Shadow Babas until you get to the split in the path. You’ll see a few more insects but they’ll more than likely run passed the locked gate on the right. Don’t mind them for now and just head down the other path towards the lantern shop.
Run around to the north side of the house and use your senses to see another insect against the wall. Just dash into the wall and it will come falling to the floor. Defeat it to fill up the 3rd tear in the vessel.
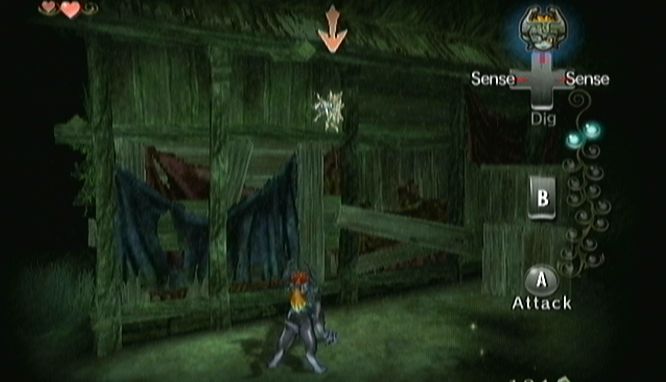
On the south side of the house, there is a higher ledge and from there you can see an open window leading into the house. Midna will notice this as well and allow you to target her to jump over to the window. Do so and then enter the house.
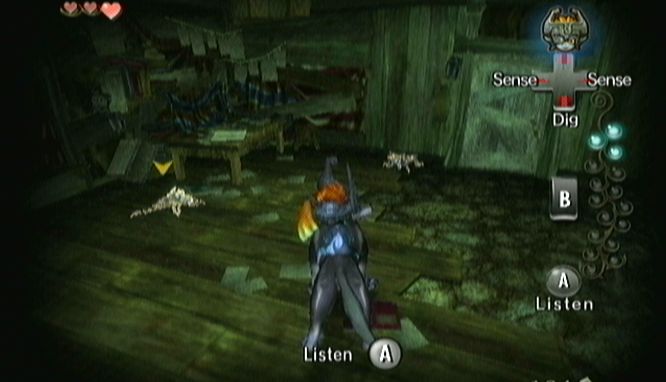
Jump down to the bottom floor and use your senses. You can see Coro, the lantern salesman. Talk to him and he’ll mention that he is scared of the bugs. Two insects will then come out into the open. Defeat the two insects to get the 4th and 5th tear. Coro will be happy to see them gone. Exit the house the same way you came in through the window at the top of the house.
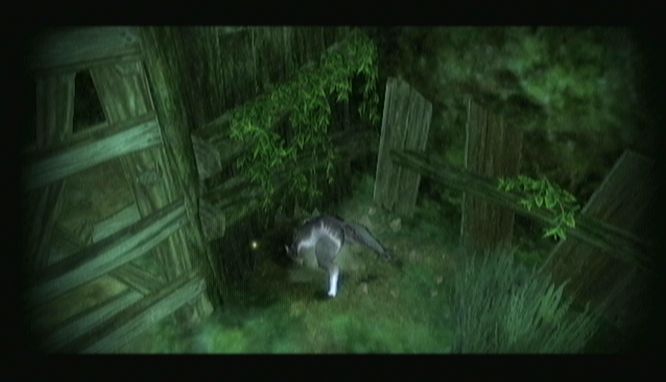
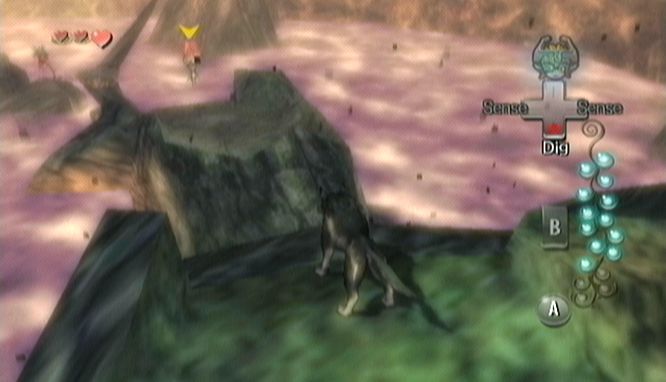
Run back over to the locked gate at the intersection of the road. Use your senses and you’ll see a small area on the right side of the gate where you can dig. Dig in the spot and wolf Link will crawl under. On the other side of the gate, defeat two insects to get tears number 6th and 7th. Walk northward into the cave.
The cave is much brighter this time around but there are no insects to be found. There are a few Deku Babas and Keese in this area but nothing to special. Just run through the cave and exit to the north. Back outside, you’ll notice that the ground in this area has been filled with purple fog. If Wolf Link puts one paw into the swamp he’ll be done away with, so avoid it.
On the left side of the river, use your senses and you’ll see two more insects. These ones will fly away a bit so z-target them and defeat them to collect tears number 8 and 9.
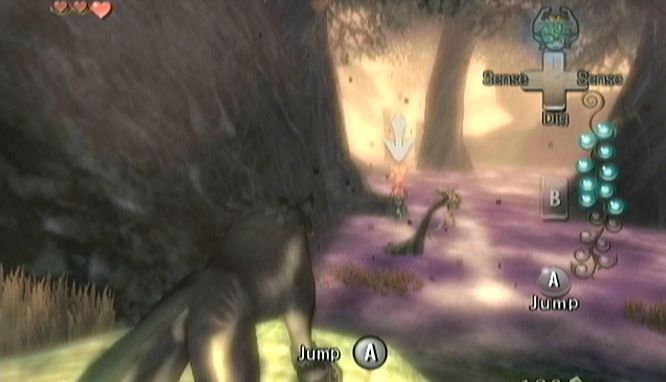
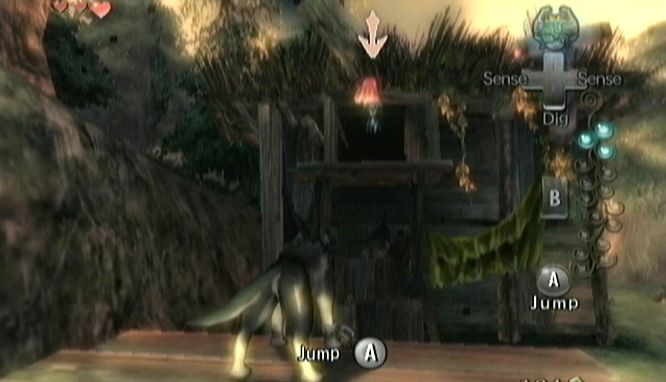
Now head to the left side of the area and Midna will find a tree limb that Wolf Link can jump over to. Z-target her and jump over. Keep following her for four jumps to get to the next safe area.
Walk up this area to the highest point and you’ll find more places to hop across. Do so and once you get to the center land area of the map, use your senses to spot three more insects. Two of them are on the ground while a third is floating around. Just use the same tactics and get tears number 10, 11, and 12 into the Vessel of Light.
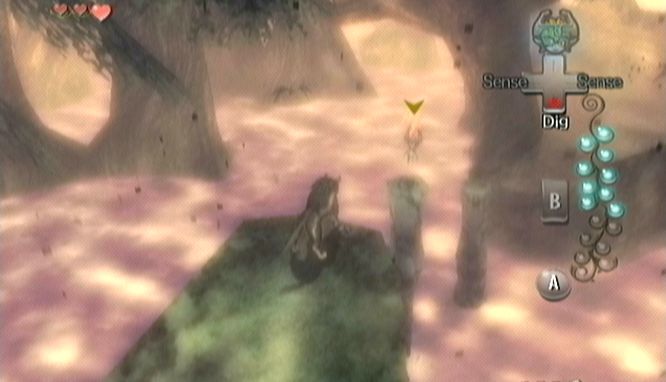
Continue moving to the right and there are more spots Wolf Link can jump over to. Z-target Midna and jump from area to area until you are all the way on top of the large tree stump. There are some more Deku Babas here but as long as you jump fast enough you should be able to avoid them. Z-target Midna and jump quickly until you get to another tree stump passed the enemies. You’ll then see a large swinging tree branch in the way. Just wait until the branch is swinging towards ones of the sides and then jump across the gap. Continue following Midna until you’ve reached the ground level area on the far right of the map.
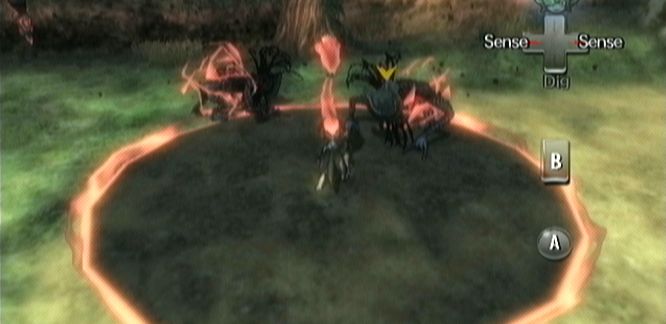
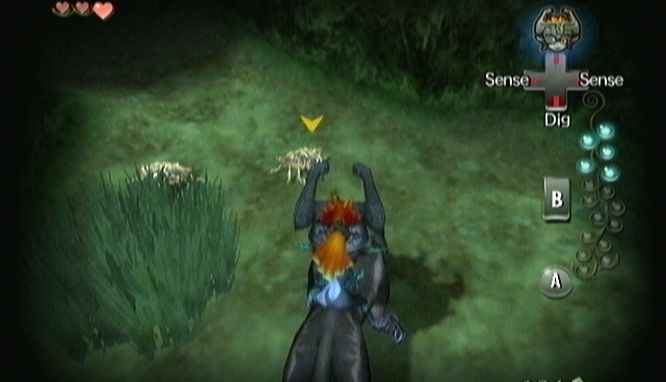
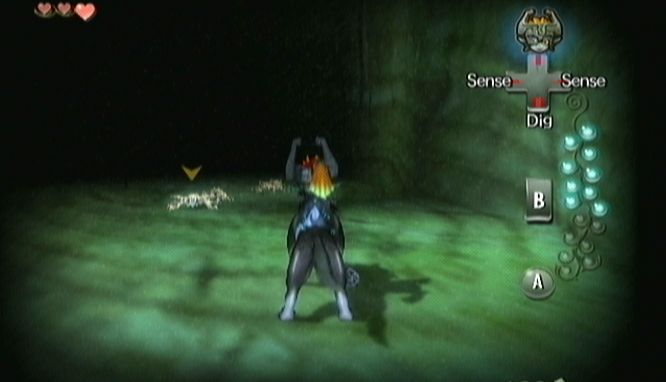
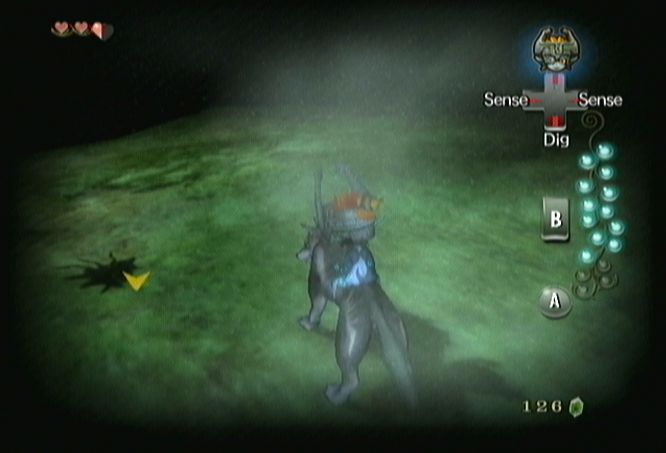
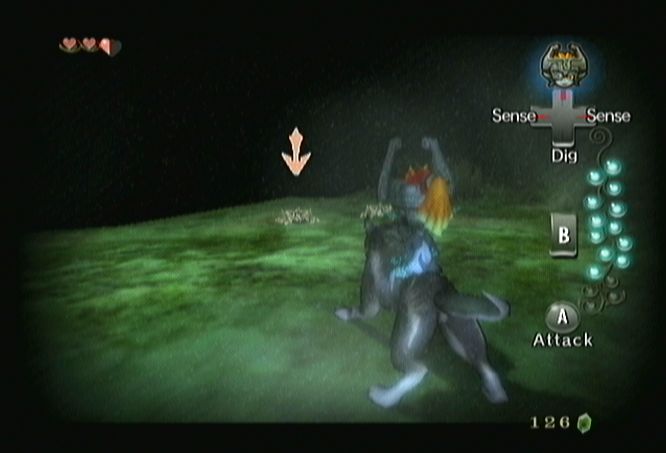
You’ll see two more insects crawling around, but these ones are actually underground. Use your senses and then dig them up to bring them to the surface. These guys are a bit trickier to catch and they’ll run around a bit more. Use Midna’s charged attack to create a circle of energy with the bugs nearby for an easy kill. Gather tears 13 and 14 and then head east through the open gate.
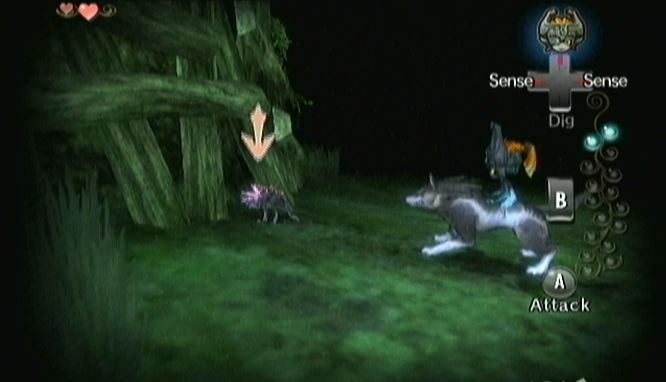
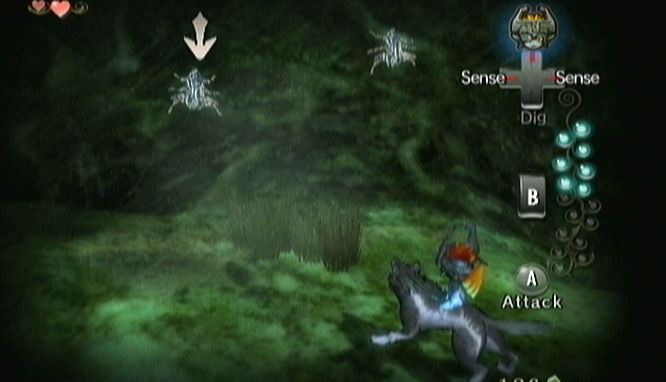
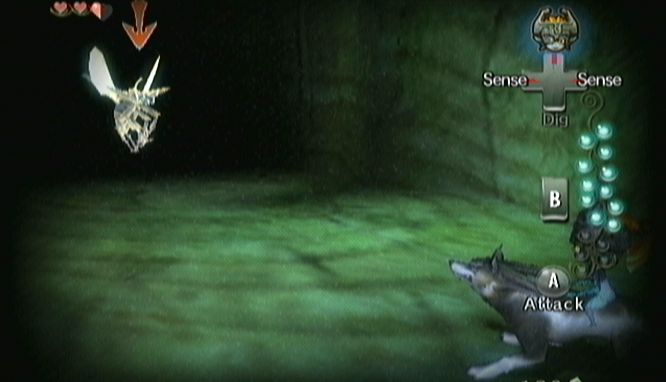
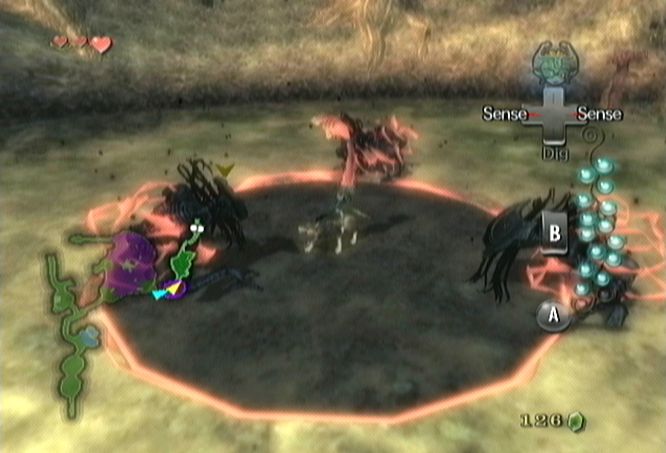
Three more Shadow Beasts await you in this area. Make sure you never leave one remaining otherwise it will rejuvenate the other two. Use Midna’s charged attack to defeat the monsters and then continue northward.
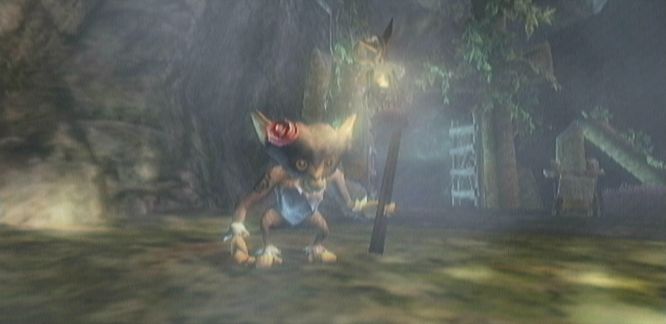
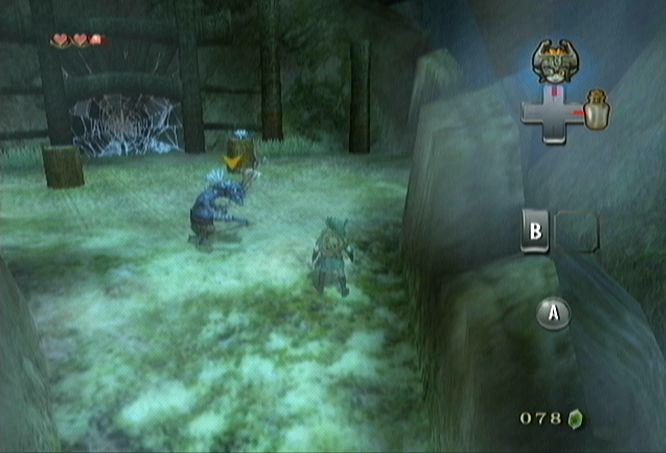
Just keep heading northward all the way to the end of the line. Use your senses and you’ll see a monkey scared of the final two Shadow Insects. Defeat the two insects to get tears 15 and 16. The monkey will give a speech about weird things going on in the forest. Once all 16 tears are gathered, Link will be returned to the Faron Spring.


3.3 Key and a Bottle
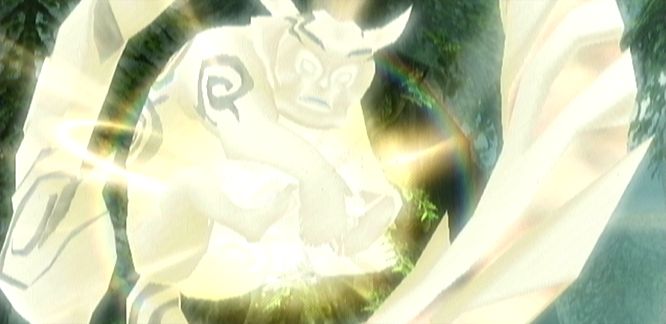
The Vessel of Light is now full of tears and light returns to this area. Faron, the Spirit of Light, awakens in his true form. Faron gives Link a speech about him being the chosen one. We get a look at Link and he has returned to his human form and is now wearing the Hero’s Clothes, which is a garb that once belonged to the ancient hero chosen by the gods. The last thing Faron mentions is that the evil power that lies deep in the woods must be stopped.
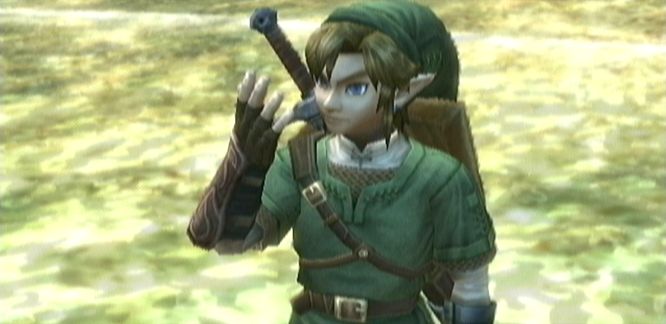
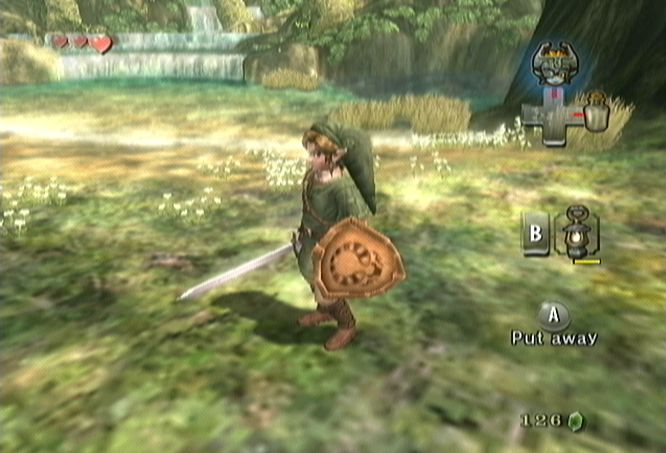
Next we see Midna is in her spirit form talking to Link and then disappears back into Link’s body. Hey look, the Ordon Sword and Shield that Link had found earlier are now equipped. You can take a second to get used to your new gear. Now that we are back in human form there is a small secret we can take care of. Go south and enter back into the Ordona Province.
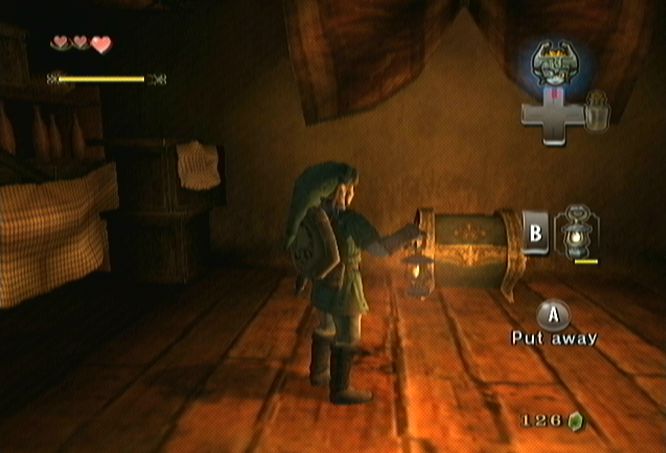
Run across the bridge and all the way to Link’s house. Enter the house and then go down into the cellar. Now that we have the lantern, we can see what is down here. There is a treasure chest over here so open it up to get a purple rupee, which is worth 50 rupees. Link will need these extra rupees very shortly. Leave the house.
Run back up north to the Faron Woods. Our next stop is at Coro, the lantern salesman. Talk to him and he’ll mention that things have gotten a bit weird lately and he locked the path to the temple. However, he gives Link a hand by giving him a small key, which will allow Link to pass through the locked gate.

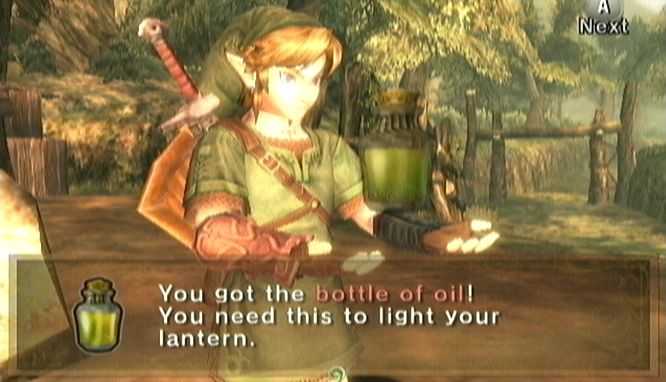
Coro also mentions the need for the lantern and makes Link an offer. He offers a Bottle full of lantern oil for 100 rupees. The oil is alright but the real prize here is the actual bottle. After you use the oil you can use the bottle to store a variety of items. You should be somewhat close to the 100 rupees by now. If you need just a few rupees, run around and cut down some of the grass to gather a few. If not, no worries, you can always come back for the bottle later, even though he says it is a one time offer.
3.4 Path to the Forest Temple
Walk back to the road on the path and use the key to open the locked gate. Walk into the tunnel once again. If you lit the torches the first time through when you were in human form, they will still be lit. Just walk through and exit at the end of the tunnel.
Back outside you’ll notice that the purple fog is still here even though you have left the Twilight Realm. No worries just walk ahead and pull out your lantern. Out of nowhere that same darn monkey you saved earlier appears and steals your lantern. It’s okay though since the monkey is one of the good guys. She waves towards Link, indicating that she wants Link to follow him.
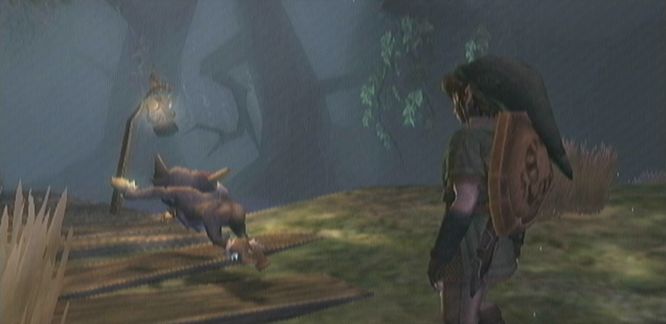
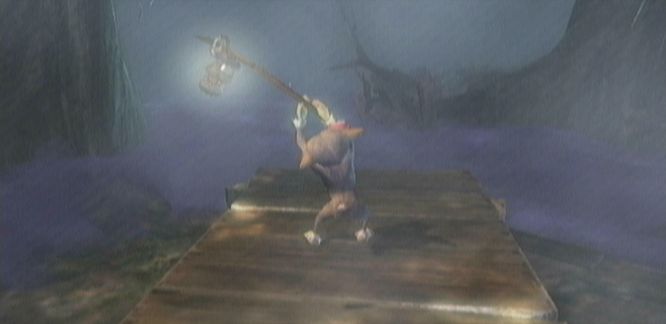
She slowly makes her way through the purple fog using the lantern to clear the path. Just follow behind her but don’t stay too far behind or go too far ahead otherwise the purple fog will get to you. Defeat the various enemies on your way and just slowly follow the monkey as she makes her way through the fog. The monkey just happens to take a long route through the fog, which is quite annoying. Once you reach the platform on the right, the monkey will drop the lantern and then run off ahead. Pick up your lantern to find that it is now out of oil. If you purchased the bottle of lantern oil, fill up the lantern with the oil. Follow the monkey and head right through the open gate.
There are a few more Bokoblins in this area but they are a bit easier now with the Ordon Sword. You’ll notice a huge bridge on the right side of the area. Don’t mind it for now and just head northward. You can stop at Trill’s shop and purchase some extra lantern oil or some red potion.
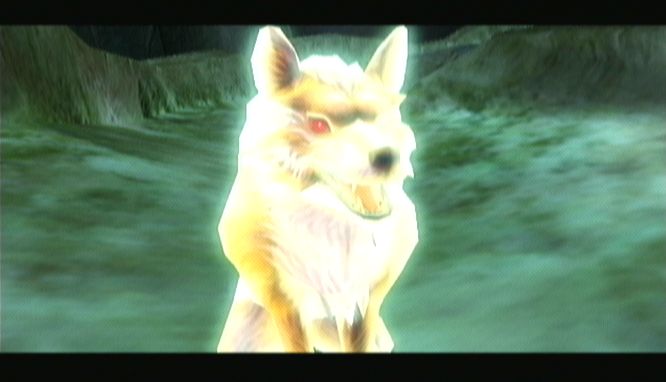
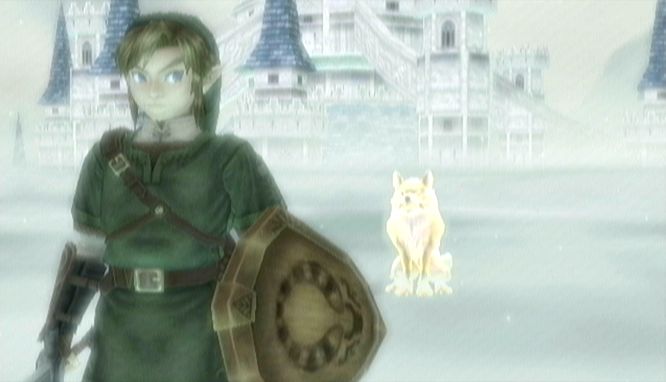
Continue northward and you’ll notice a golden wolf. This will be a reoccurring event throughout the game and will lead to Link learning new abilities with his sword. The wolf will seemingly attack Link and you’ll be taken to a cloudy area outside Hyrule Castle. There is a warrior covered in armor straight ahead. He is known as the Hero’s Shade or the Hero’s Spirit.

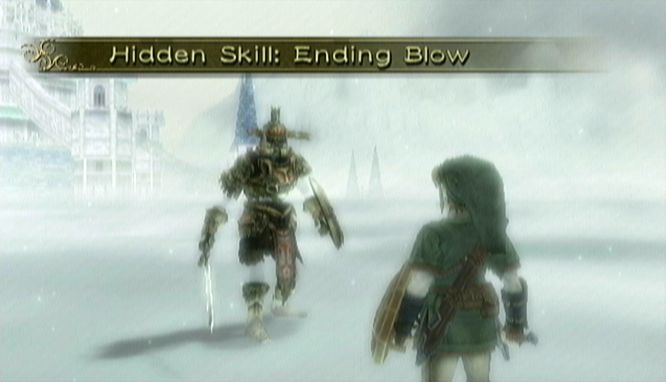
Try to attack him and he’ll immediately knock you to the ground. He talks about Link having to use courage to seek his true power. The warrior will then proceed to teach link the ‘Ending Blow‘. It is an ability Link can use to defeat an enemy when they are stunned on the ground. When an enemy is stunned on the ground, Link can Z-target them and deliver a final strike. The warrior will then ask you to try it on him. First knock him to the ground with a few sword strikes. Then z-target the warrior hero and deliver the final blow. After some more chit chat, Link will be transported back to the North part of Faron Woods.


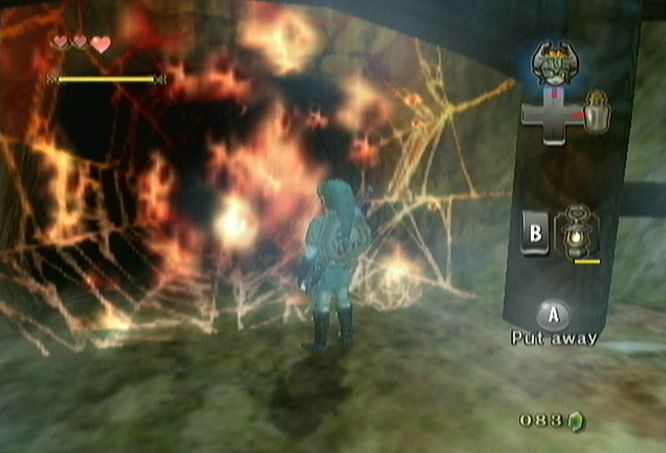
Continue northward along the path and defeat the two Bokoblins. This is now the third time we have reached this point in the woods and we can finally progress further. Pull out the lantern and use it on the web. Walk inside to enter the first dungeon, the Forest Temple.
- Chapter 1 – Ordon Village
- Chapter 2 – The Twilight
- Chapter 3 – Faron Woods: Twilight
- Chapter 4 – Forest Temple
- Chapter 5 – Kakariko Village: Twilight
- Chapter 6 – Death Mountain
- Chapter 7 – Goron Mines
- Chapter 8 – Lanayru Province: Twilight
- Chapter 9 – Lake Hylia: Sidequests
- Chapter 10 – Lakebed Temple
- Chapter 11 – The Master Sword
- Chapter 12 – Gerudo Desert
- Chapter 13 – Arbiter’s Grounds
- Chapter 14 – Scaling Snowpeak
- Chapter 15 – Snowpeak Ruins
- Chapter 16 – Sacred Grove: Round Two
- Chapter 17 – Temple of Time
- Chapter 18 – In Search of the Sky
- Chapter 19 – City in the Sky
- Chapter 20 – Palace of Twilight
- Chapter 21 – Cave of Ordeals
- Chapter 22 – Hyrule Castle
