This chapter covers the normal mode of Twilight Princess for the Nintendo Wii. If you are playing on the Nintendo Wii U, check out the Temple of Time – HD Version.
- Chapter 1 – Ordon Village
- Chapter 2 – The Twilight
- Chapter 3 – Faron Woods: Twilight
- Chapter 4 – Forest Temple
- Chapter 5 – Kakariko Village: Twilight
- Chapter 6 – Death Mountain
- Chapter 7 – Goron Mines
- Chapter 8 – Lanayru Province: Twilight
- Chapter 9 – Lake Hylia: Sidequests
- Chapter 10 – Lakebed Temple
- Chapter 11 – The Master Sword
- Chapter 12 – Gerudo Desert
- Chapter 13 – Arbiter’s Grounds
- Chapter 14 – Scaling Snowpeak
- Chapter 15 – Snowpeak Ruins
- Chapter 16 – Sacred Grove: Round Two
- Chapter 17 – Temple of Time
- Chapter 18 – In Search of the Sky
- Chapter 19 – City in the Sky
- Chapter 20 – Palace of Twilight
- Chapter 21 – Cave of Ordeals
- Chapter 22 – Hyrule Castle
17.1 Dungeon Map
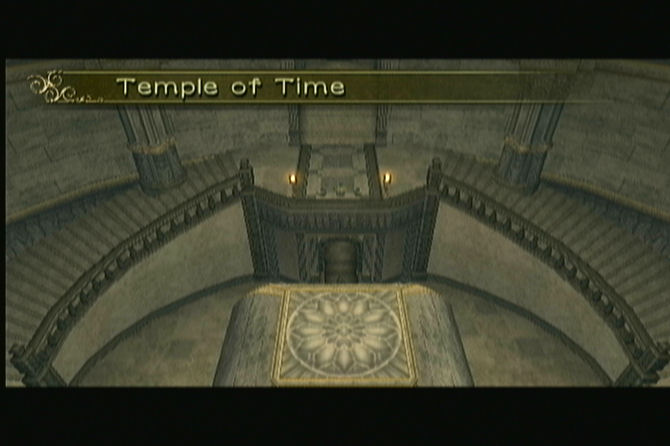
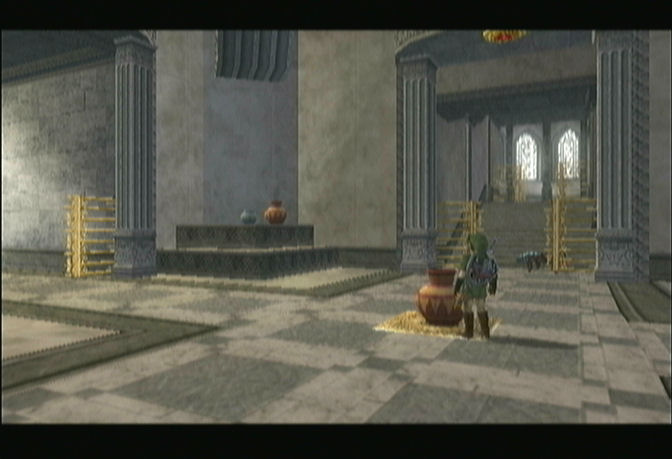
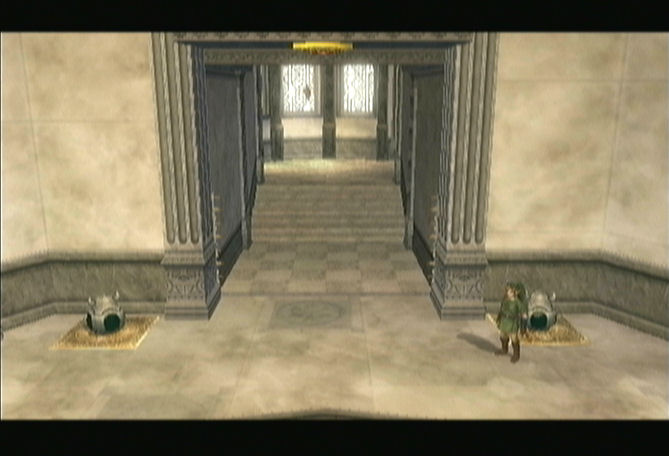
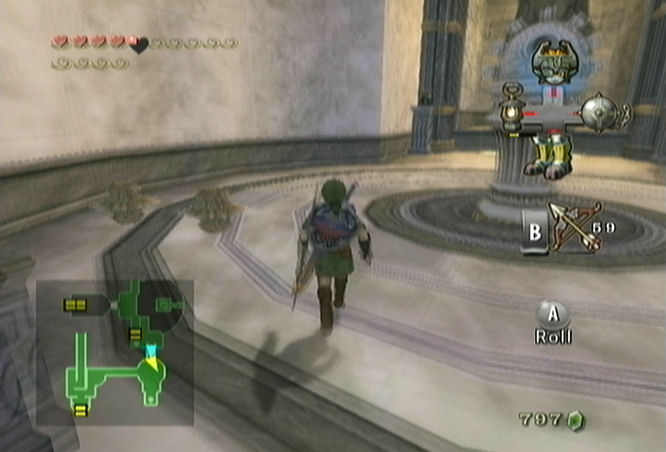
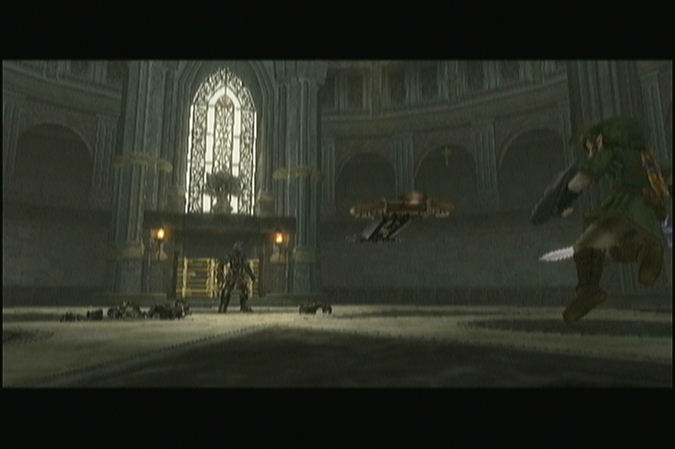
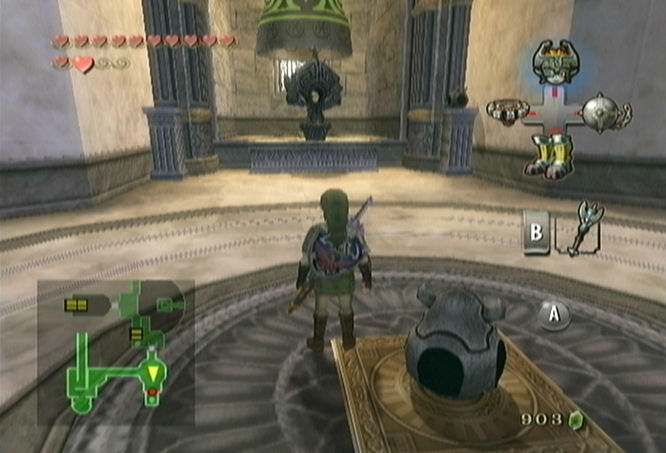
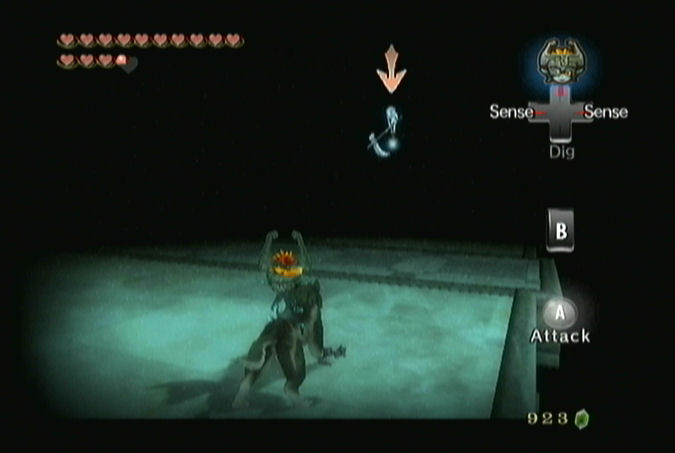
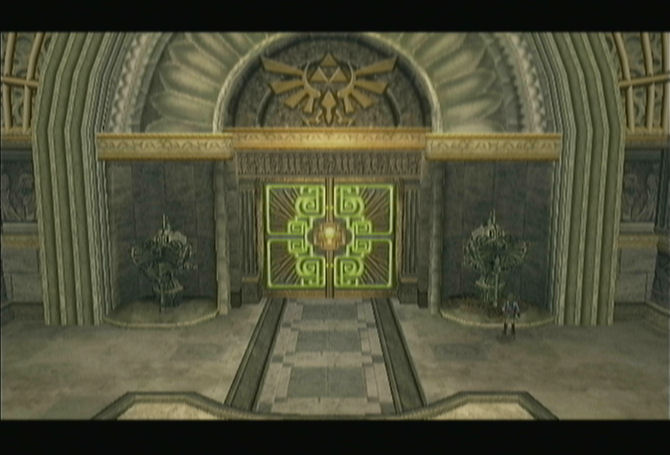
Run forward and you’ll see a short cinema that showcases the Temple of Time. Once you regain control of Link run to the north end of the room and Midna will mention that there is something odd about the statue next to the golden door. There should be a matching statue on the other side. If you use your senses as Wolf Link, you’ll notice there is a shadow of a statue on the other side.

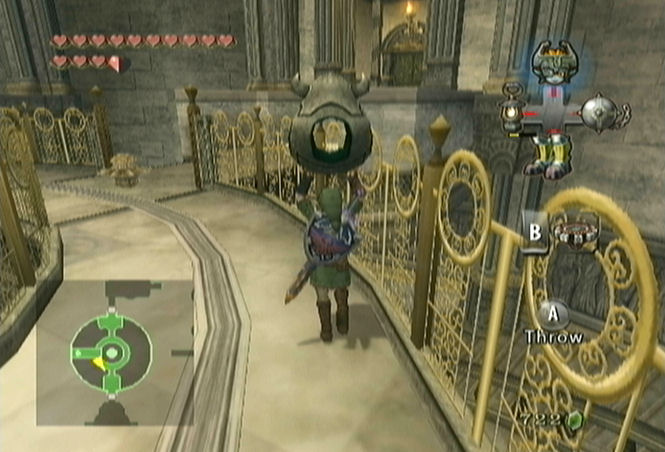
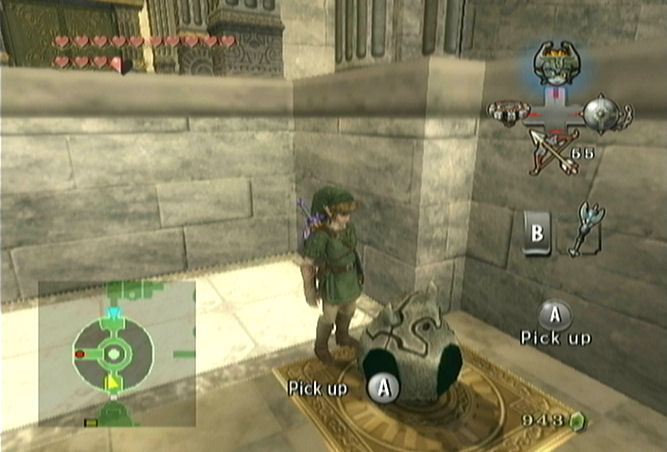
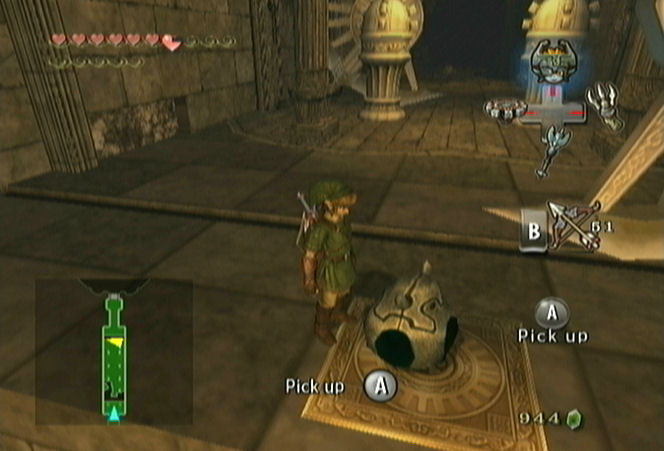
There are two small rectangular platforms in this circular room. The one at the northeast portion of the room has a small switch. If you step on it, a small platform will rise from the ground. However, once you step off it, the platform will fall. On the square platform at the northwest part of the room there is a small statue. Lift it up and then drop it onto the switch at the northeast. This will keep the small platform raised so that Link can climb up.
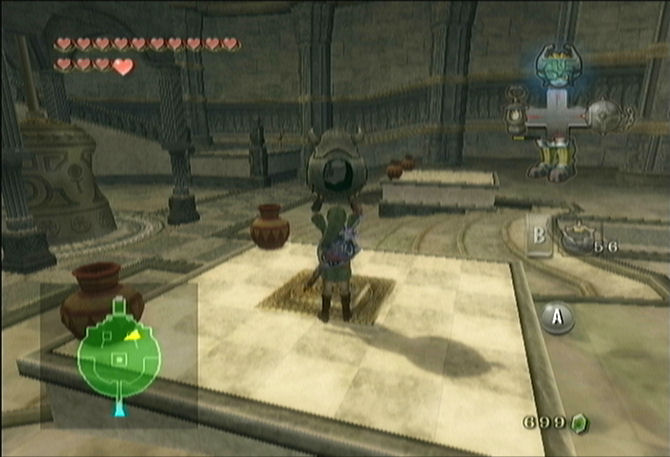
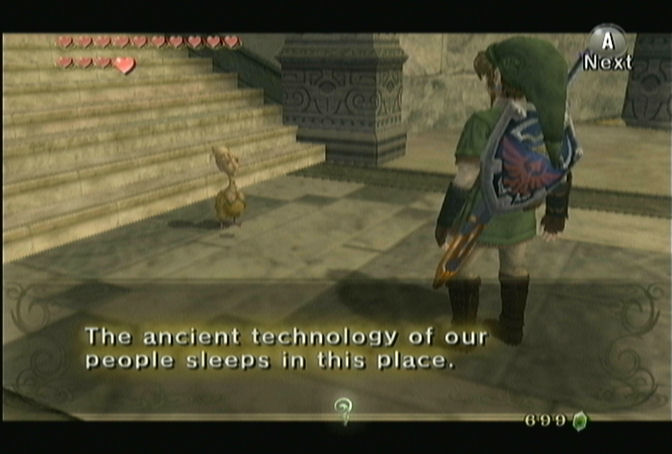
Run over to the platform and climb it. Run up the steps and you’ll meet up with Ooccoo once again and she’ll explain the ancient technology of her people sleeps in this temple. You’ll then be reunited with Ooccoo, so you can use her to leave the dungeon if you really want to.
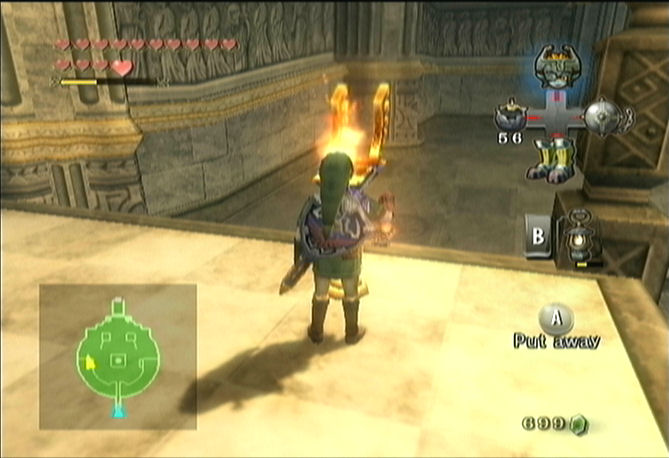
Walk down the steps on the west side of the room and you’ll see two torches. Use the lantern to light both of them up and a treasure chest will appear. Open it to get a small key. Climb the circular steps and then walk up the southern steps. Use the small key to open the locked door.
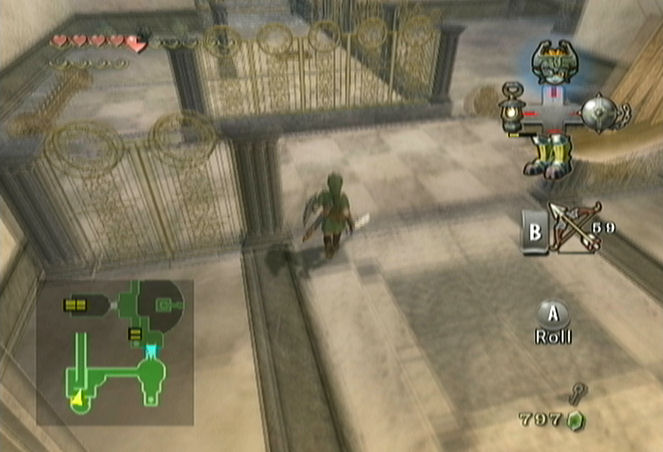
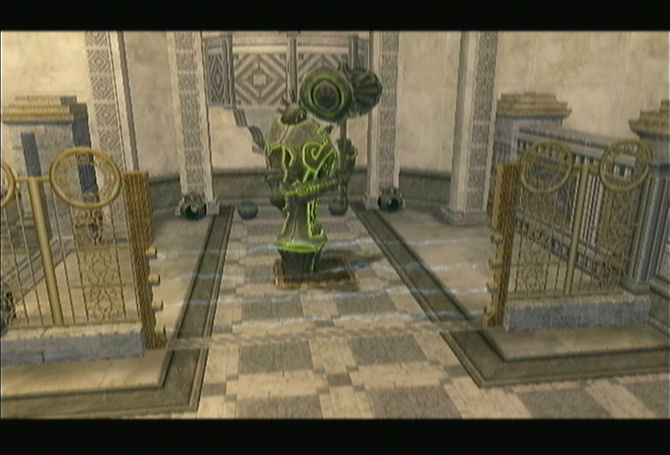
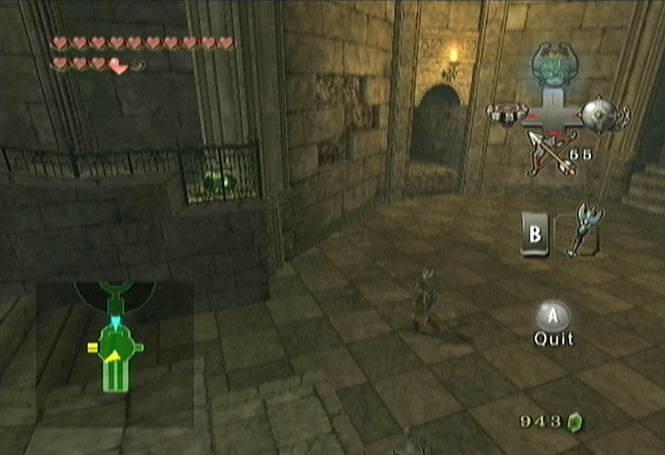
Walk forward and you’ll bump into a new enemy here, a Young Gohma. These creatures can be defeated with two simple sword slashes. Lift up one of the pots and place it on the switch in the center of the room and the two gates will open up. Open the treasure chest at the south end of the room to get some arrows.
Now go through the passage to the west and defeat another Young Gohma. Once you pass the gate, turn around and use your clawshot to break the pot that was holding the switch down. This will cause the front gate to close but the back gate to open and allow Link to progress.
Climb the steps and you’ll bump into a Lizalfos. Use the shield attack and the helm splitter to easily defeat the creature. Continue climbing the stairs and fight off three more Lizalfos.
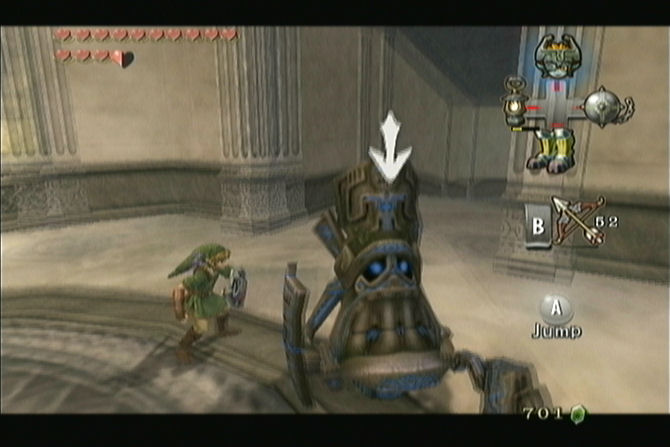
There is also another new enemy in this room, an Armos. These appear as statues but once they spot Link they are activated and will come after you. They have a massive hammer that they will swing at Link, but it can be blocked with your shield. The back slice work wonders against these creatures. If that is not enough, keep your distance and use bomb arrows against them. Once they are defeated keep your distance as they will explode.
Once all the enemies have been defeated a treasure appears at the southwest portion of the room. Open it up to get the Dungeon Map. At the south end of the room you’ll see a treasure chest. Open it to get a red rupee. Grab one of the small statues on the sides of the treasure chest and place it on one of the switches on the north side of the room. Grab the second small statue and place it on the other switch and the gate will open up. Run through the corridor to the north and through to the next large circular room.
17.2 The Compass
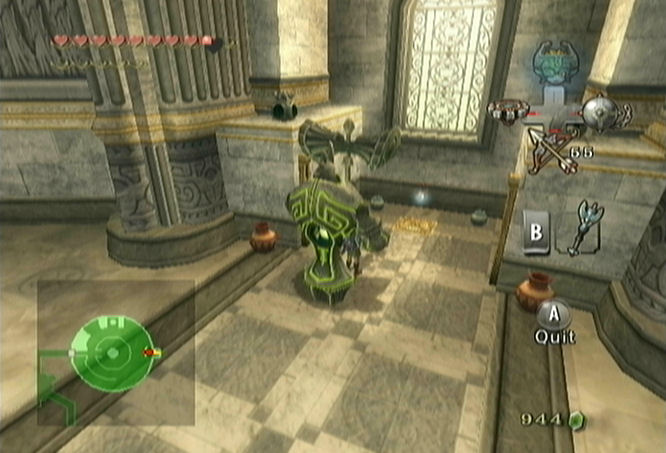
Turn to the right and you’ll bump into several more Lizalfos. Defeat them just as you have before and begin walking counter-clockwise, scaling the room. There a few more Lizalfos that are hanging out on the staircase, so defeat them once you come to them. Keep scaling the steps and you’ll reach a gap at the northwest portion of the room. If you look at the wall there is a spinner track. Use the spinner to get across the gap and continuing climbing up the steps.
You’ll see a locked door at the north end of the room. Don’t mind that for now and walk towards the center platform. There are two spikes that spin around this platform, each in opposite directions. Be careful of the spikes as you make your way to the platform on the west side of the room. Just wait for the outside spike to pass and follow behind it. Lift the small statue and use the same method to over to the south end of the room. There are two switches here, place the stone statue on one of them.


Turn around and go back through this circular area to get back to the north side of the room. From there you can run to the very center of the room. Push the wedge that is sticking out clockwise and it will lower the platform to the bottom of the room.
There is a small statue that is just to the east. Lift it up and bring it back to the center area. Don’t mind the enemies that are crawling around the floor. These enemies are known as Baby Gohma and can just be avoided for now. Push the wedge counter clockwise once and it will rise back up. Carry the stone statue to the south end of the room and place it on the second switch. Once you place the second one down there is a slight delay and the nearby platform will rise. Quickly get onto the platform and let it carry you up. Go through the door to the south.
Once you enter this room, the door will close behind you. There are two more Armos waiting for you in this room. Use the back slice or bomb arrows to defeat them just as before. Once defeated a treasure chest appears on the east end of the room. Open it up to get a small key. You can walk to the south end of the room where you will find another treasure chest containing a red rupee. Now head through the door to the north and return to the large circular room.
Run back to the center platform with the spinning spikes. Maneuver around them and get to the north side of the room. Use the small key and head through the locked door.
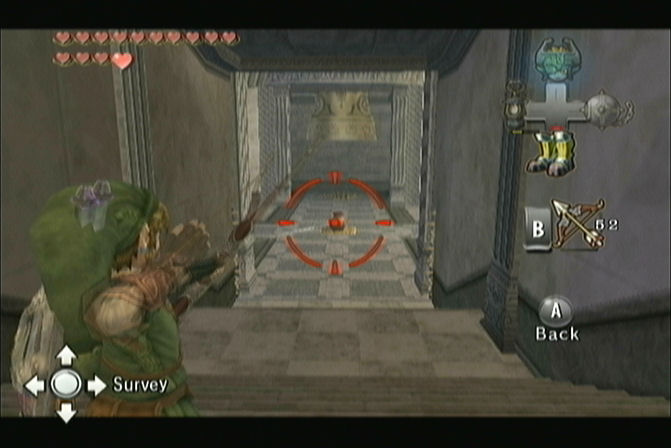
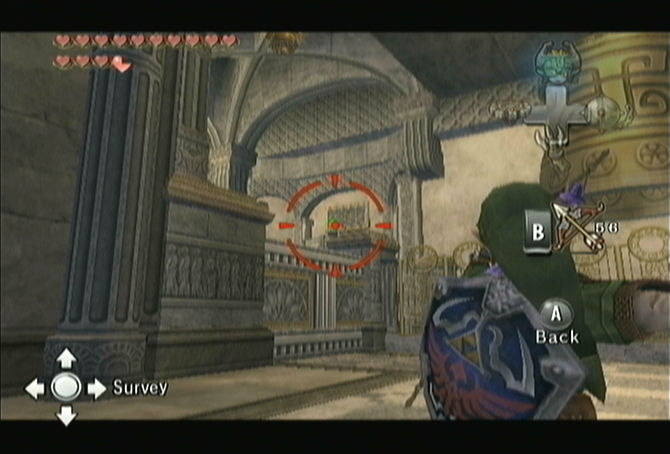
There is a green crystal switch in this room which controls certain walls. Slash at it and it will turn red, causing a few walls to move. Walk to the north and you’ll see a new version of a Beamos. You defeat it just as you have done before, using an arrow and aiming at its red eye to deactivate it.
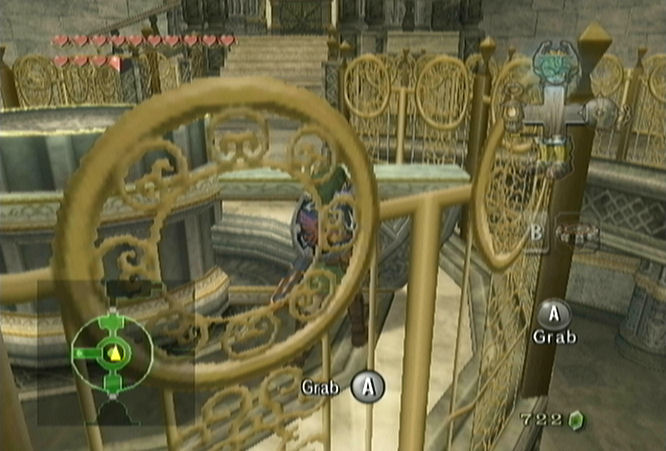
Walk around the statue and you’ll be more towards the center of the room. There is a small ring which Link can see through and look back at the red crystal from the beginning of the room. Aim through the ring with the arrows and hit the crystal to change it back to green. Defeat a second Beamos and make your way to the east side of the room. Open the treasure chest that is found here to get the Compass.

From here, move away from the treasure chest and aim through two rings. Hit the crystal switch to change it back to red. You can now head through a corridor at the northeast portion of this room. Walk up the steps and defeat two Lizalfos on your way.
17.3 The Dominion Rod
Continue following the path as it climbs up some more steps. In this next room you’ll see a red crystal switch along the east side of the room. Use the arrows and the hawkeye, if you need to, to hit the crystal switch.
Continue to the south and you’ll find another Lizalfos as well as its fiercer cousin, a Dynalfos. Dynalfos have more armor to guard against Link’s attacks and can be difficult to hit. Wait for the Dynalfos to attack and then quickly retaliate with your own attack. Alternatively, a few of the sword techniques can work against this enemy. Once defeated, shoot the red crystal once again with arrow to change it back to red.
Continue southward and defeat a second Dynalfos. Once defeated, again shoot the crystal switch to change it back to green. From here, head south, walk up a few steps, and then through a door.
Walk forward and you’ll see three Young Gohma as well as a ton of Baby Gohma. The spin attack works well against the Baby Gohma. Some of them will try walking away. Use the clawshot and with one hit they will be defeated. Once they all have been defeated a treasure chest will appear. Open it up to get a purple rupee.
Climb the steps on the north side of the room to get to a strange looking balancing puzzle. Step on the first scale and the balance of weight will be off and the scale you are on will go down. Pick up the stone statue and toss it over to the higher scale and it will balance the weight. Now walk over to the second scale and the weight will be unbalanced once again. Pick up both of the stone statues and toss them to the other scale to once again balance the weight. Walk to the south end of the room and head through the door.
Use your arrows to defeat the Beamos that is in the center of the room. Walk around the spikes in this area and you’ll fight three more Lizalfos near the top of the steps. Defeat them and walk to the south of the room to find some long rolling spikes. Wait until the spikes have rolled to your left and then quickly run straight ahead. Quickly run past the giant pendulum blade and open the treasure chest to get a small key.
Run back past the pendulum blade and then wait for the rolling spikes to pass to your right. Quickly run to the left where you’ll be greeted by a second rolling spike. Quickly run across when you get a chance to get to the northwest corner of this small area. On the other side of the fence you’ll see a small switch in the floor. In the area you are in, there is a small statue. Lift the statue and then wait for the rolling spikes to pass and quickly run over to the switch. Place the statue on the switch and the electric charge to the north will stop.
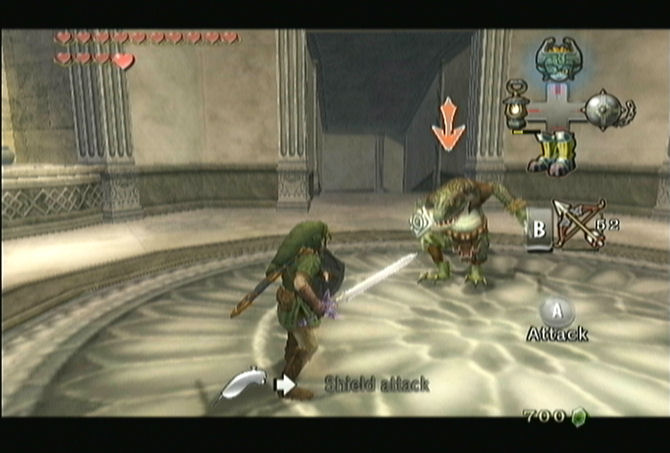
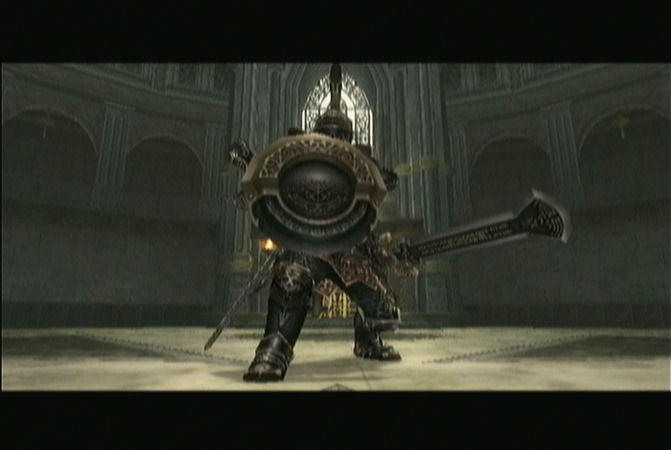
Walk up the steps and you’ll find a bunch Baby Gohma as well as two more Armos. Use the clawshot or spin attack on the Gohma and then bomb arrows or back slice to get rid of the Armos. Once all the Gohma have been defeated, a treasure chest appears on the higher ledge which contains a purple rupee. Once both Armos are defeated the gate to the east will open up. Follow past this next small area and open the locked door using the small key you have. Once you enter the room, you’ll be shown the missing statue from the entrance of the temple. Walk forward and you’ll fight a mini-boss battle with a massive Darknut.
This enemy is filled with loads of armor and makes very good use of his shield. It uses its massive sword to attack, but this can be blocked with your shield. The back slice works well against the Darknut but even that will be blocked quite often. Your best bet is to just hold out your shield and keep side jumping and when he appears vulnerable strike with your sword. Use the shield attack and helm splitter if the attacks pop-up. Each time you hit the Darknut a piece of armor will fall off of him. After several hits, all his armor will be removed and he’ll toss away his massive sword and pull out a more traditional blade.
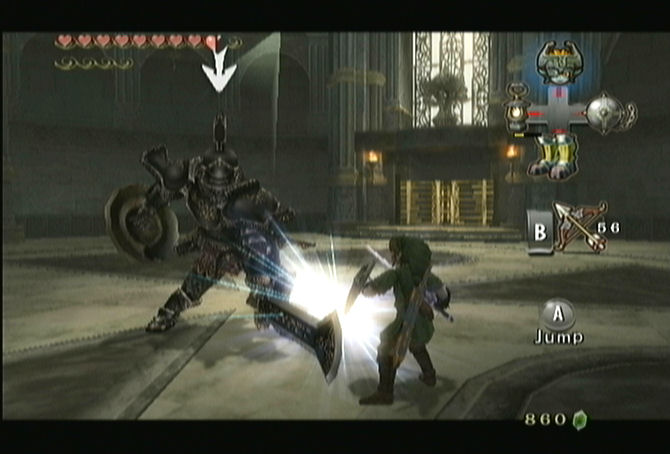
The second phase of the battle is quite simple. You can simply wait for him to attack, dodge its strikes, and then slash at him repeatedly with your own sword slashes. Alternatively, you can use the back slice attack and the Darknut will block. However, once it blocks the attack, it will be vulnerable for a few seconds at which Link can slash at him with his sword. After this second phase has been defeated, the gate at the east end of the room will open.

Run on over to the opened gate and open the treasure chest to receive the Dominion Rod. This is the item that Ooccoo spoke of. Walk away from the treasure chest and then equip the Dominion Rod.
17.4 The Big Key
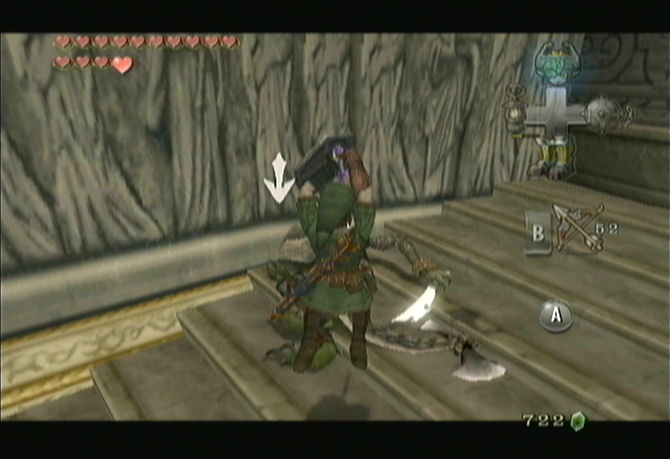
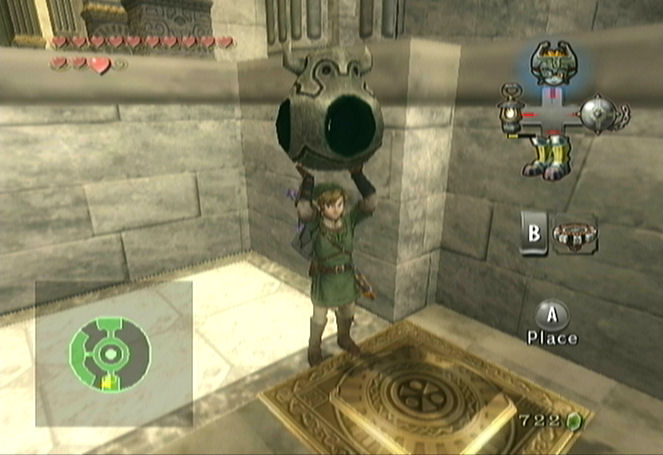
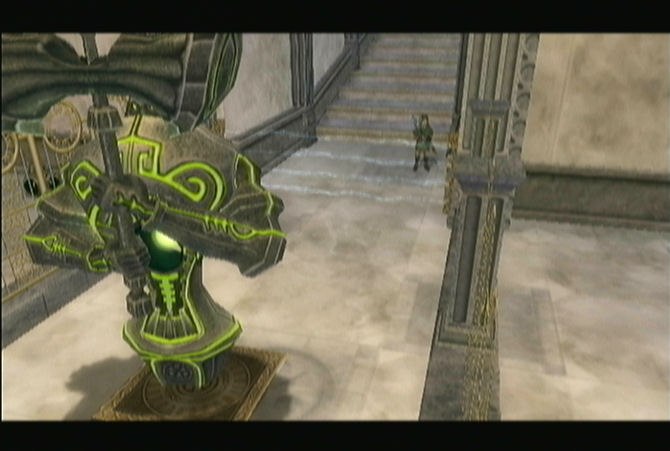
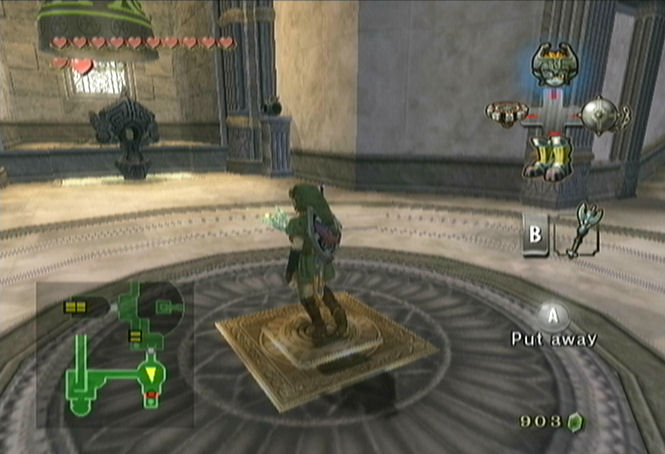
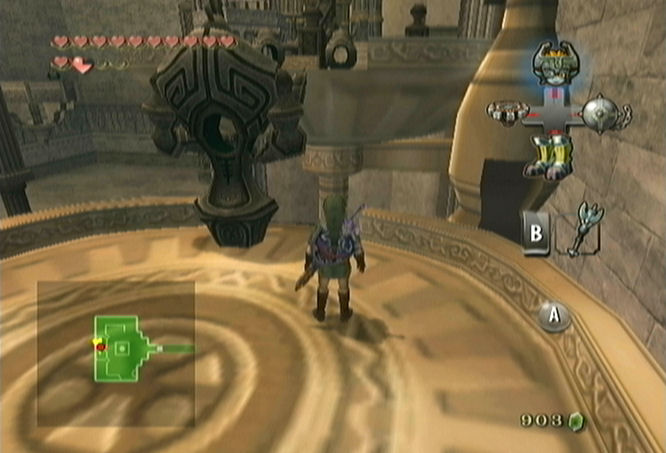
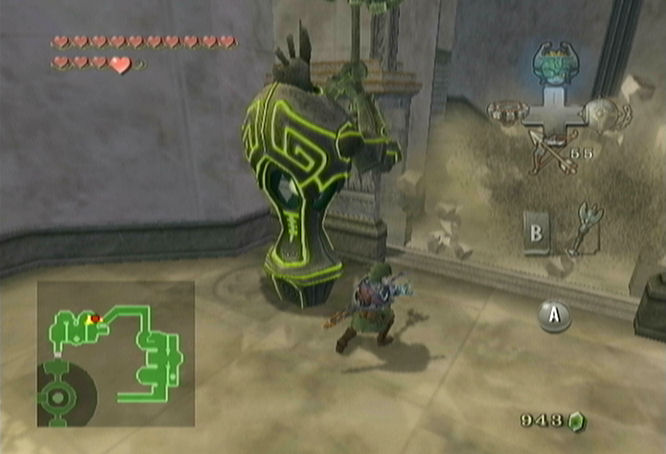
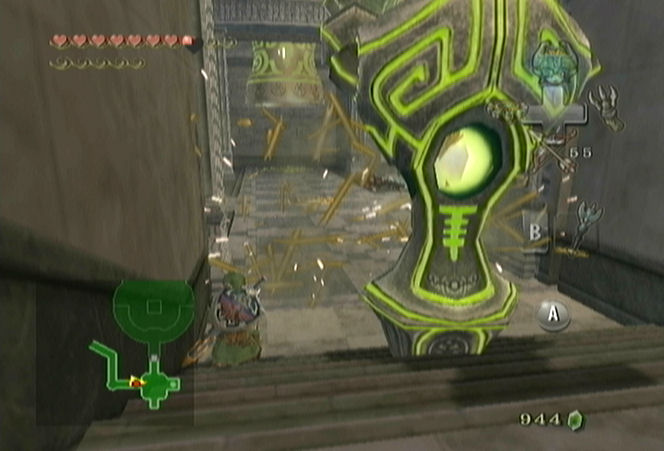
Above the treasure chest that you just opened to get the dominion rod, you’ll see a statue. Aim the dominion rod at the statue and Link will gain control of it. Walking with Link will also move the statue in the same direction. Walk to the west and the statue will fall to the floor. Activate it again with the dominion rod and walk all the way to the west side of the room.
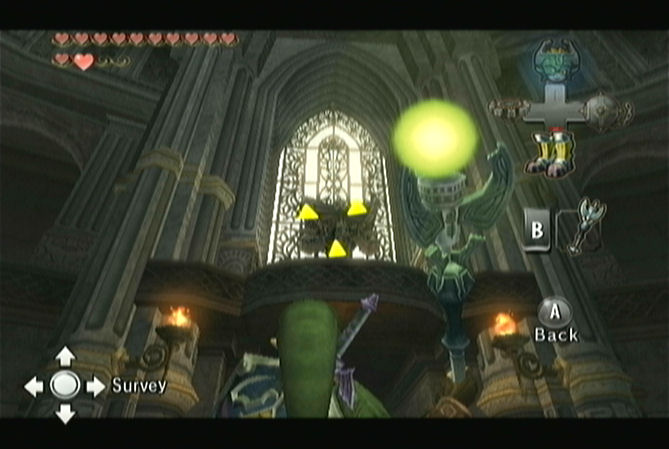

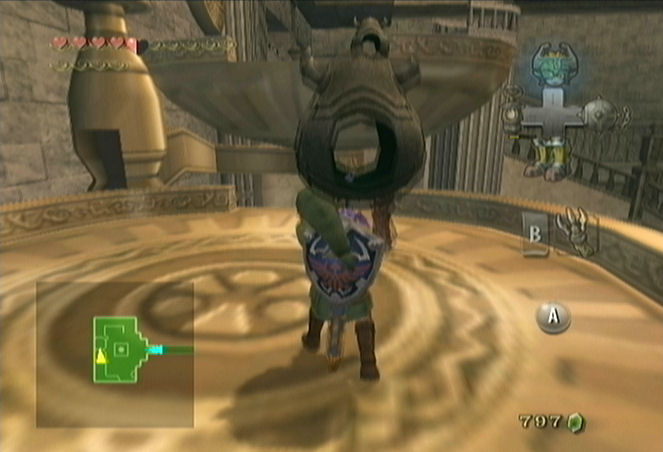
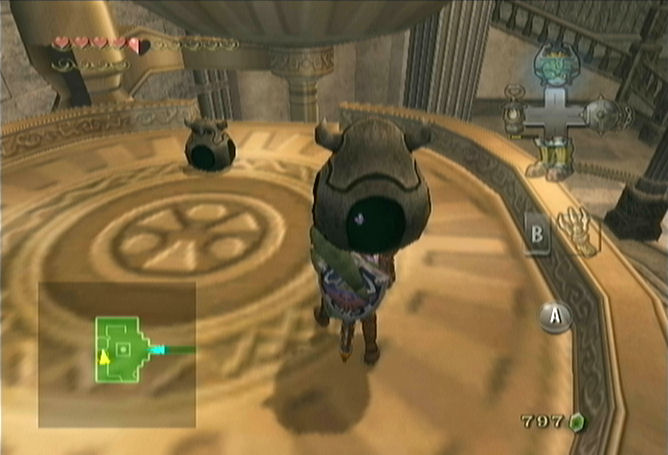
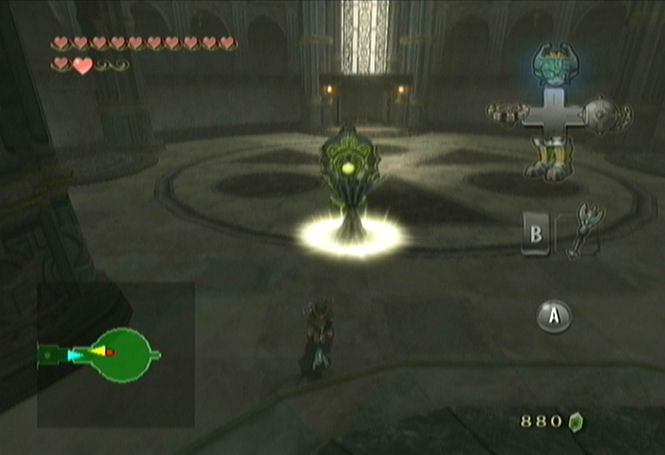
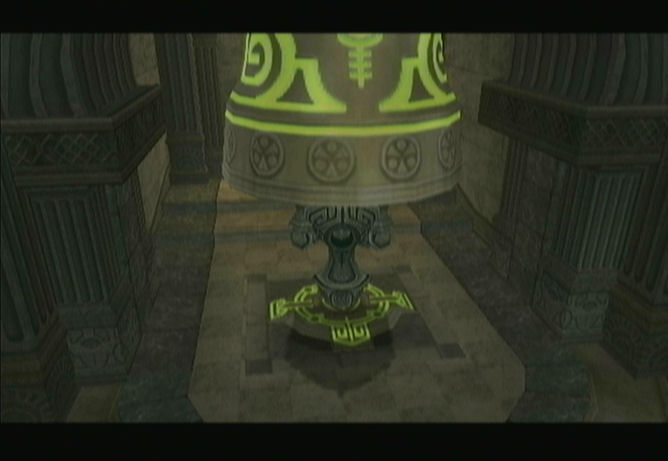
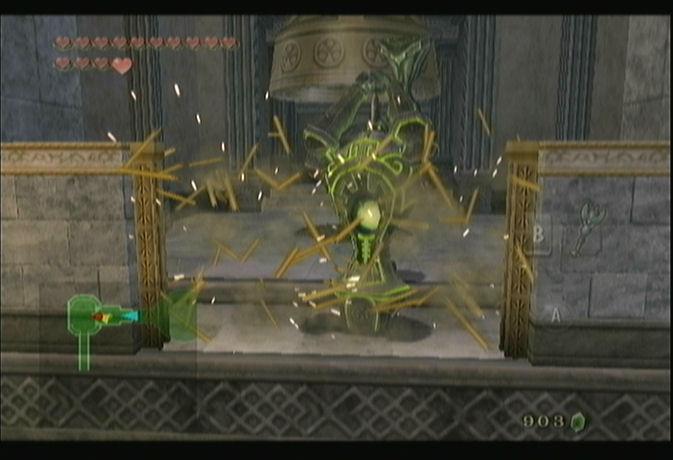
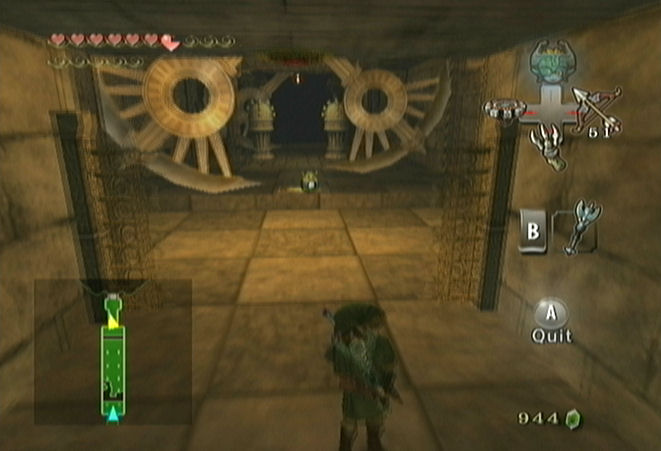
While controlling the statue, Link can use the dominion rod and the statue will use its massive hammer that it is holding as a weapon. Under the massive bell at the west side of the room there is a small symbol on the floor. Move the statue over the symbol and the bell will close down on the statue and transport it to the next room. The red dot that is on the map will signify where the statue is presently located. Open the door and head back to the previous room.
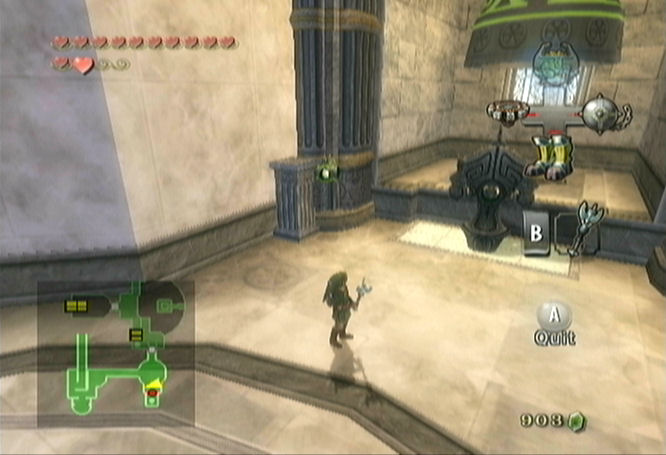
You’ll see the statue appear in the next room. Use the dominion rod and activate it once again. Walk it towards the gate and then use its massive axe to break it down. Move the statue down below and defeat the two Armos that have re-spawned. There is a switch on the floor in the center of the room that controls a platform to the south. Use the dominion rod and move the statue all the way against the platform at the south. Deactivate the statue and then go stand on the switch to lower the platform. Activate the statue while standing on the switch and walk to the south. The massive statue will climb up with the platform.

Activate the statue again and walk your way back to the east side of the room. Use the statues giant axe hammer and break the moving spikes that are rolling along the floor. Walk down the steps with the statue and use the axe hammer to break all the tiny spikes as well as the dead Beamos. Under the Beamos a small switch is revealed which controls a platform at the south end of this room. You need to use this platform in order to get the statue to the bell that is at the south end of this room. Move the statue so that it is standing on the platform.
If you look to the sides, you’ll see two small statues that are on top of pillars. Use the dominion rod and you are able to activate even these statues. Move one so it falls to the ground. Now run over and pick it up. Place it on the switch where the Beamos stood. Activate the large statue and then walk south. Move the large statue under the bell and it will be taken to the adjacent room. Go through the door to the north.
Use the dominion rod and bring the statue down from the higher ledge. Walk it down the steps and onto the first scale. Since the statue is so heavy, this scale will move to the bottom. Pick up the small statue that is also on this scale and toss it to the higher scale. The weight is still not enough on the other scale.
Jump down to the bottom of this room and the Baby Gohma will have re-spawned. Defeat them if you’d like and then climb the stairs along the north side of the room. Step on the scale on the north end and the weight will be even. Take control of the large statue once again and walk it over to the scale to the north. The weight will become unbalanced once more. Lift up the two small statues and toss them over to the other scale. This is still not enough weight.

Climb back up to the north and if you look at the wall to the west, you’ll see three small statues. Use your dominion rod to bring down two of them and toss them onto the other scale. Step off both scales and the weight should finally be level. Control the large statue and walk it to the north end of the room. Walk down the stairs and position the statue in the center of the room above the symbol. The bell will transfer it to the adjacent room.

There is still more we can do in this room. Climb back up the stairs and onto the scale. Since there are four small statues on the other side of the scale, your side of the scale will remain high even when you stand on it. Use your clawshot and aim at the ceiling in the center of the room. Grab onto the target and then fall and you’ll land on the center structure.

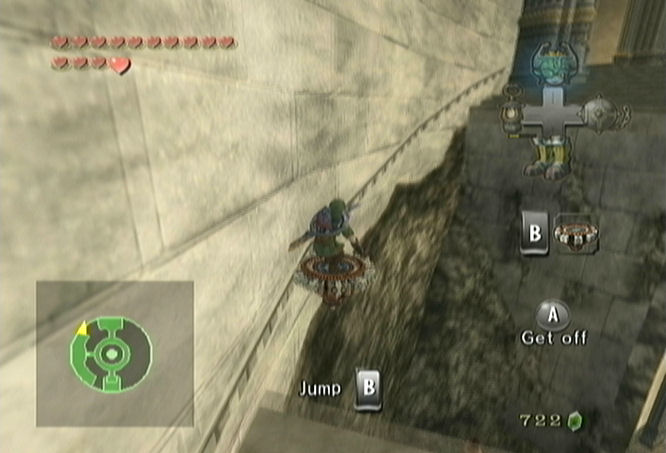
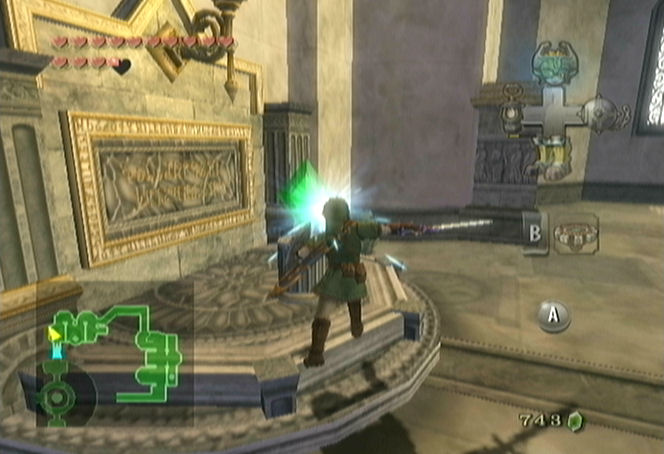
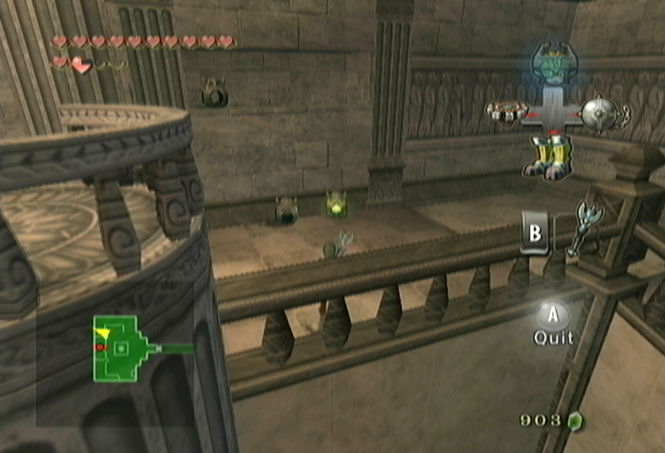
Equip your spinner and attach yourself to the spinner track along the wall. If you go clockwise, the track is broken, so be sure to go counter clockwise. Take the track around the room and then jump off the spinner and transform into Wolf Link. A Poe is waiting for you right in this area. Use your senses and defeat it to get the 52nd Poe Soul. Once defeated, be sure to open up the nearby treasure chest to get a red rupee. Now go through the door on the west side of the room.
Defeat the two Helmasaurs as well as the Armos that are on this bottom level. You’ll notice a gate that is in the way of a treasure. For now, look to the ceiling and use the clawshot on the target. Open the nearby treasure chest for a red rupee. There are four switches that you can see on the ground and two small statues that are nearby. Put the two statues on two of the switches.
Look to your north and you’ll see a third small statue on a higher area. Use the dominion rod and place the statue onto a third switch. Now look back towards the lower portion of the room and use the clawshot on one of the two Helmasaur pieces of armor and place it on the fourth switch. The gate will open so drop down to the lower area. Open the treasure chest to get the Big Key. Return to the previous room.

17.5 Two Hidden Heart Pieces
Drop down to the lower area and head back to the room to the east. Run down the steps and you’ll see the guardian statue on the other side of the fence. Use the dominion rod and take control of the statue. Walk to the north and even though Link will walk into a wall, the statue will keep moving. Once it reaches a wall deactivate it. Step on the small circle and then use your arrows to shoot the crystal switch and change it back to red.

Walk to the north and use the dominion rod on the large statue once more. Move it so that it is standing on the switch in the center of the room. This will deactivate the electric charge. Walk to the northeast corner of the room and you’ll see a treasure chest. Open it to get a Piece of Heart.
Walk back to the other side of where the electric charge was and activate the statue. Instead of hitting the crystal switch, you can just use the statues axe hammer to break through the moveable wall. Now walk the statue through the corridor at the northwest part of the room. Use the statue to break through any dead Beamos and moveable walls. Once those are out of the way, move the statue on to the symbol that is in the center part of this area. Go through the door at the southwest part of this room.
If you look at your compass, you’ll notice there is a treasure chest in the corridor that is just to your south. You have to repeat the same process you did before in order to get to the door that leads south. Push the wedge of the center platform to the bottom and grab the small statue. Push the wedge in the center back up and place it on the switch near the door to the south. Grab the second nearby statue and place it on the other switch. Quickly run onto the platform and then go through the door to the south.

This room is now filled with Young and Baby Gohma. Defeat all of these annoying creatures and then go to the far south of the room where there is a treasure chest that we opened up. Face the east end of the room and you’ll see a small statue on the higher ledge. Activate it with the dominion rod and walk northward. After going down as far as the statue can go, it’s hard to see, but there is a switch in the ground. Move the small statue onto it.
Now look on the opposite side and you’ll notice there is no small statue on this side. Lift up one of the small statues that are in the center of the room and then head to the south of the room. From the center area, toss the stone statue over the ledge. Activate this statue with the dominion rod and move it just like you did to the other one. There is another switch at the end of this area. Once both statues are on both switches, a treasure chest will appear. Run on over and open it up to get a Piece of Heart. Return to the large circular room.
17.6 Uniting the Guardian Statues
Run to the wedge that controls the central platform and this time push it counter-clockwise, raising the platform to the top of the room. The large stone statue is found under the bell here. Activate it and bring it to the central platform. Push the wedge clockwise twice to get all the way to the bottom of the room.
Defeat a bunch of Baby Gohma that are found here and the electric charge on the west side of the room will disappear. Activate the guardian statue and walk past where the electric charge was. Walk to the east end of the room with the statue and use the axe hammer to break the gate here. Transform into wolf Link and defeat the Poe here to get the 53rd Poe Soul.

Transform back into human Link. Activate the guardian statue and take it to the north end of the room. Break the gate with the axe hammer and move the guardian statue underneath the bell, where it will then be taken to another part of the temple. Go through the door that is at the west end of the room.
Run down the stairs and then use the clawshot on the target on the ceiling to get past the gate. Defeat the Armos and then activate the guardian statue. Walk down the steps at the southeast corner of the room along with the guardian statue. Break through the gate and then take the statue to the bell at the east end of the room. Go through the door to the north to get back to the temple’s first room.
Jump down to the bottom of the room and use the dominion rod to activate the statue. Move it over to the door to the north and place it above the symbol that rests on the floor. The door will open so go straight ahead.
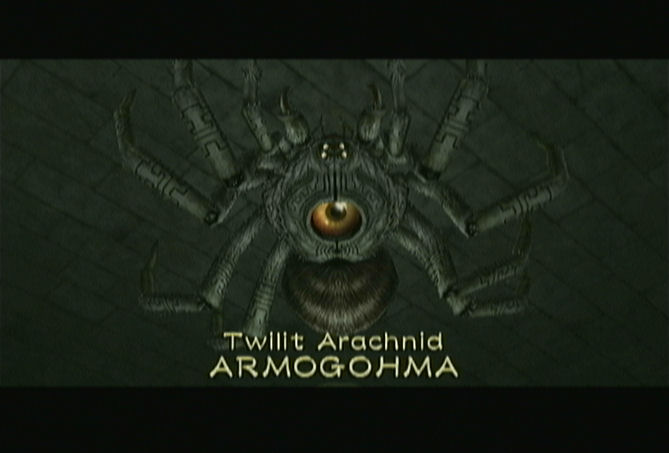
17.7 Twilit Arachnid: Armogohma
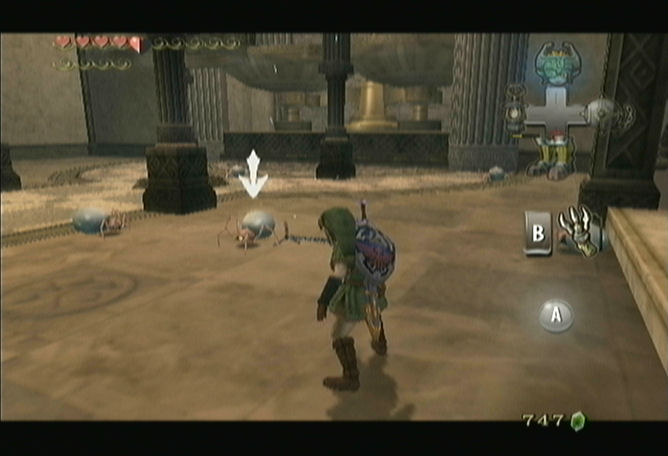
Use your arrows and deactivate the Beamos to your left. Avoid the spike that patrols the area and jump across the gap. Continue through the room defeating two more Beamos while avoiding the pendulum blades. After passing two pendulum blades, you’ll notice a switch on the ground. Pick up the small statue that is by the first pendulum blade and place it on the switch. The first gate will open but the back gate will close. Jump across the gap and cross where the first gate was. Turn around and use the dominion rod on the small statue you just placed. Walk to the north and the statue will move off of the switch, opening the back gate.
Defeat two Gohma and then prepare for the temple boss. Break some of the nearby pots to get some loose items. One of the pots actually has a fairy, so you can capture it in a bottle if you’d like. Once you are prepared, use the big key on the door and enter the boss lair.
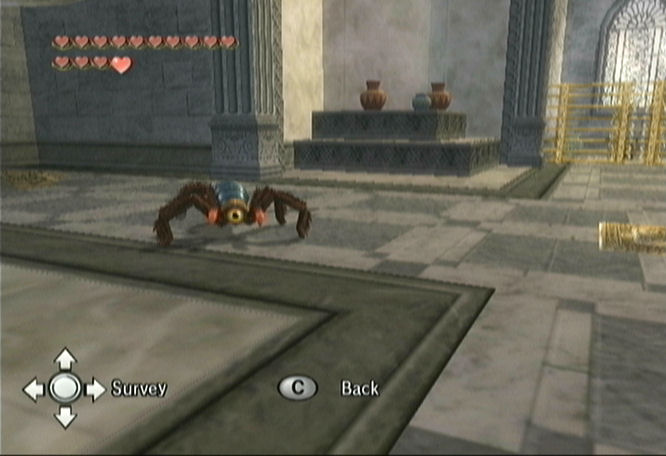
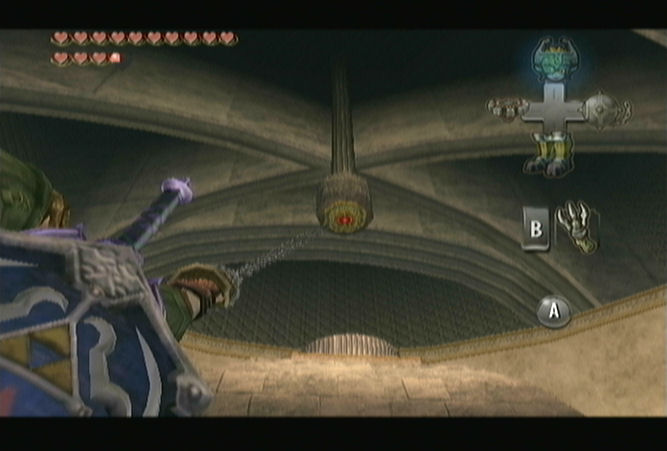
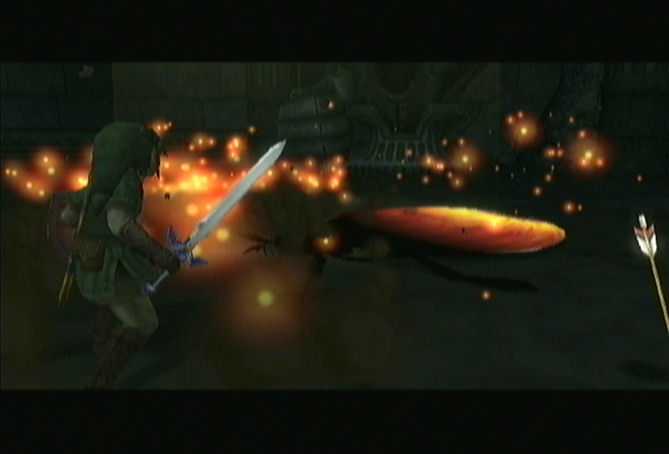
Once you enter, the door will lock behind you and a short cinema will play. Link will look to the ceiling and the battle will begin with the Twilit Arachnid, ARMOGOHMA.
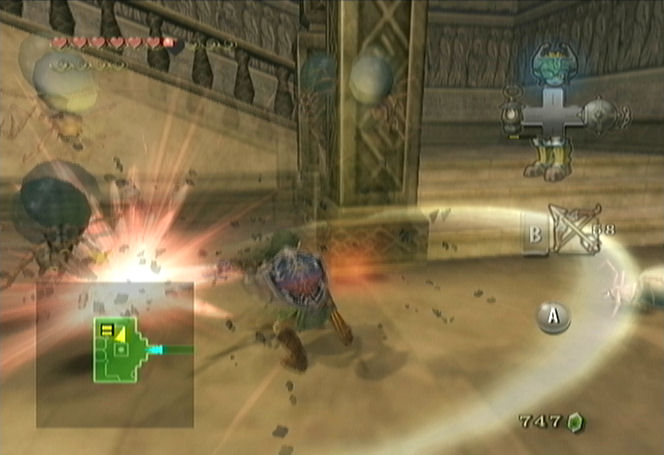
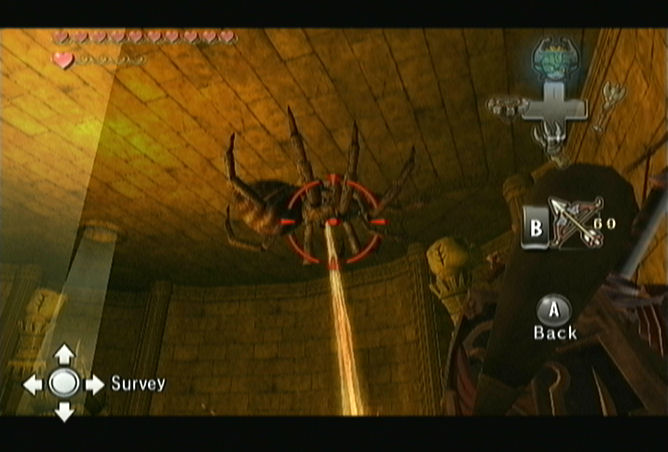
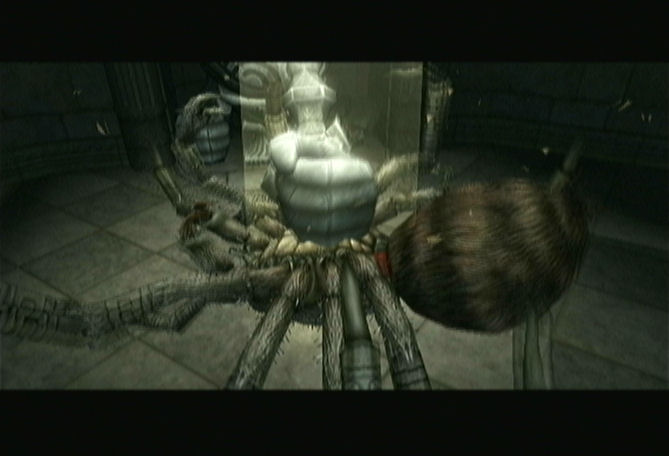
If it isn’t obvious enough, Armogohma’s weak spot is the giant eye that is on its back. Use the bow to shoot an arrow at the eye when it is open and Armogohma will tumble to the floor. Equip the dominion rod and use it on one of the four statues in the corners of the room to activate. Then use the dominion rod once again and the large statue you selected will use its powerful fist to smash Armogohma. The giant spider will then crawl back up the wall and return to the ceiling.

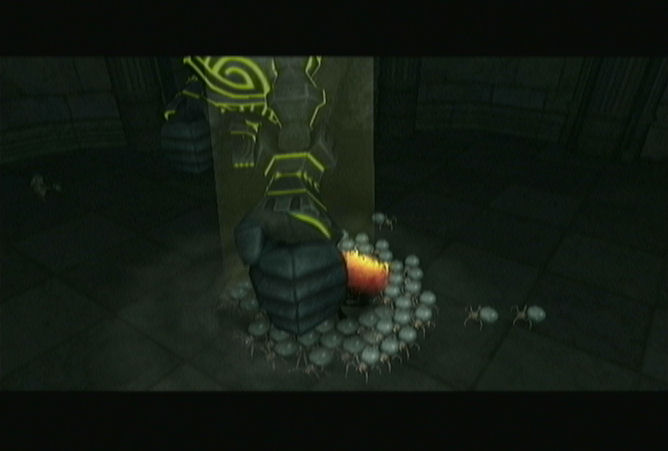
While Armogohma is on the ceiling, you can tell exactly where it is, because it will be covering the hole where light shines in. Armogohma will also lay a bunch of Gohma eggs on the floor. These egg Gohmas will hatch into small Baby Gohma and will swarm towards Link. Defeat them all with the various sword techniques and turn your attention back towards Armogohma. Another attack of Armogohma’s is to use its eye to create a line of fire. This is pretty easily avoidable and can be blocked with the hylian shield.
After three fist smashes from the statues, it will appear as if Armogohma has been defeated, but not quite. The remains of Armogohma’s eye will still remain and it will be carried around by several hatched Baby Gohmas. You can slash at the Baby Gohmas and the eye, but the faster way to defeating the remains of Armogohma is once again with the massive statues. The eye will walk in a counterclockwise pattern around the room. Once it arrives in front of a statue, activate it and smash the eye with one last fist smash and Armogohma will be defeated. Alternatively, you can also shoot at the eye using arrows. Three normal arrows or one bomb arrow will kill it.
Link will be rewarded with the 3rd Mirror Shard, at which Midna voices her approval. After some chatter from Midna, grab the nearby Heart Container and leave the temple.
- Chapter 1 – Ordon Village
- Chapter 2 – The Twilight
- Chapter 3 – Faron Woods: Twilight
- Chapter 4 – Forest Temple
- Chapter 5 – Kakariko Village: Twilight
- Chapter 6 – Death Mountain
- Chapter 7 – Goron Mines
- Chapter 8 – Lanayru Province: Twilight
- Chapter 9 – Lake Hylia: Sidequests
- Chapter 10 – Lakebed Temple
- Chapter 11 – The Master Sword
- Chapter 12 – Gerudo Desert
- Chapter 13 – Arbiter’s Grounds
- Chapter 14 – Scaling Snowpeak
- Chapter 15 – Snowpeak Ruins
- Chapter 16 – Sacred Grove: Round Two
- Chapter 17 – Temple of Time
- Chapter 18 – In Search of the Sky
- Chapter 19 – City in the Sky
- Chapter 20 – Palace of Twilight
- Chapter 21 – Cave of Ordeals
- Chapter 22 – Hyrule Castle
