- Chapter 1 – Eastern Palace
- Chapter 2 – House of Gales
- Chapter 3 – Tower of Hera
- Chapter 4 – Hyrule Castle
- Chapter 5 – Thieves’ Hideout
- Chapter 6 – Desert Palace
- Chapter 7 – Dark Palace
- Chapter 8 – Swamp Palace
- Chapter 9 – Skull Woods
- Chapter 10 – Turtle Rock
- Chapter 11 – Ice Ruins
- Chapter 12 – Lorule Castle
3.1 Death Mountain
NOTE: At this point Link can acquire the Power Glove, Zora’s Flippers, and the Pegasus Boots. Once Link gains access to Ravio’s Shop, he will also be able to rent almost all the items. With all these items, Link can get an additional 14 pieces of heart. Consult our Heart Piece Guide for detailed information. Additionally, Link can acquire two bottles and detailed descriptions can be found in our Bottle Guide.Optional: Extra Heart Pieces
NOTE: You can play through the second or the third dungeon in either order. This Chapter covers Link’s journey through the Tower of Hera. Alternatively, you can visit the House of Gales by jumping to the corresponding chapter.
In order to scale Death Mountain and reach the Tower of Hera, Link will need to acquire an item to lift rocks. Warp on over to the weather vane near the Sanctuary, located just north of Hyrule Castle. From there head left a screen and up two screens to find a house where a man named Rosso resides. After speaking with him initially, talk to him again and he’ll reward Link with the Power Glove. This gives Link the ability to lift small rocks.

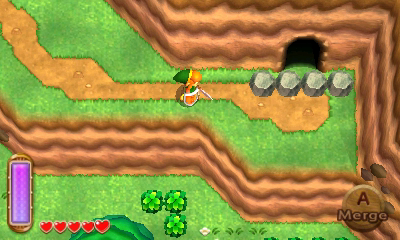
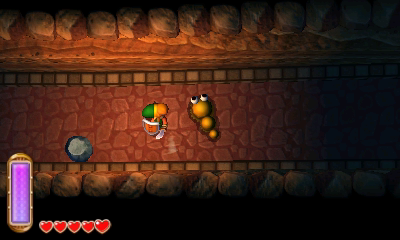
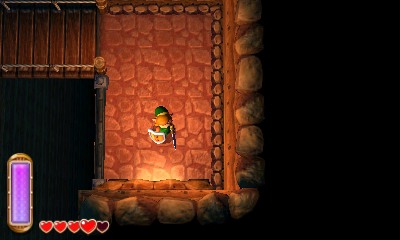
One screen south of Rosso’s house, there is a cave on the right side that is blocked off by rocks. Lift the rocks with your newly acquired Power Glove and enter the cave. Follow the linear, windy path, defeating Mini-Moldorms along the way. Exit the cave to find yourself on top of Death Mountain.
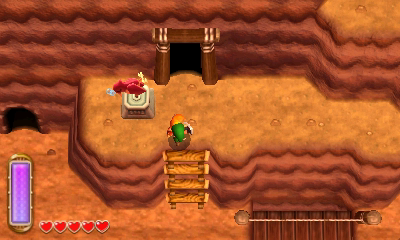
There is a windy path of rocks here, along with enemy Deadrocks. These enemies will turn to stone if Link hits them. Avoid them, along with the falling boulders and make your way through the maze. Once you cross a bridge, head straight northward and enter a cave. There is a treasure chest here containing a blue rupee. If you turn into a painting and walk along the wall to the left, you’ll find a hidden cave that can be blown up with a bomb. Inside there is a chest containing a purple rupee. Walk over to the nearby weather vane where you can save your status.

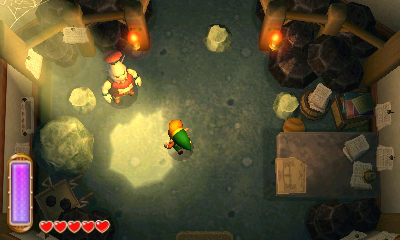
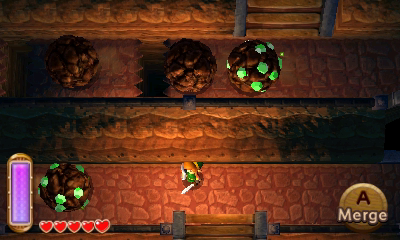
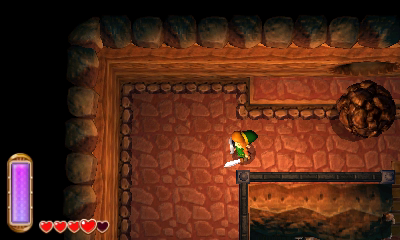
Enter the cave and you’ll find a bunch of boulders rolling around. You have to scale this cave, while avoiding the boulders. Link can use his ability to turn into a painting, so that he can easily avoid the boulders. There are some gaps where Link will need to turn into a painting to cross. Once you reach the top, there will be two exits. Be sure to take the exit on the far left of the cave.
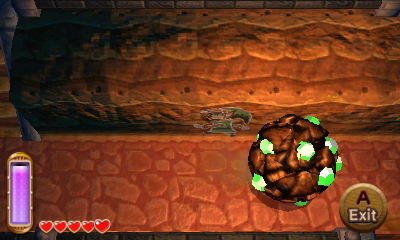
Back outside, open the treasure chest to get a red rupee and then leap off the ledge. Walk to the left and then enter another cave. This one is identical to the previous cave, with more rolling boulders. Make your way to the northeast corner of the cave and then exit. Walk to the left and enter the cave.
You’ll actually find yourself in the exact same cave, but in a different area. Make your way to the northeast corner of the cave where you’ll find a treasure chest containing some monster guts. The exit to the cave is at the northwest corner.
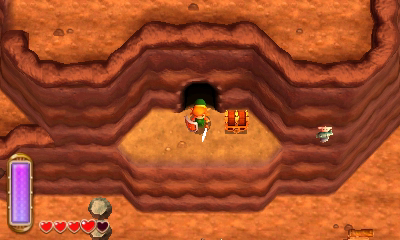
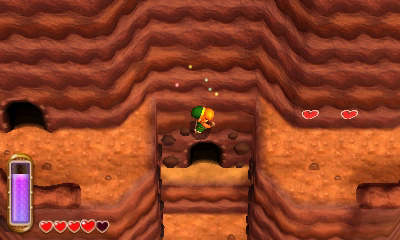
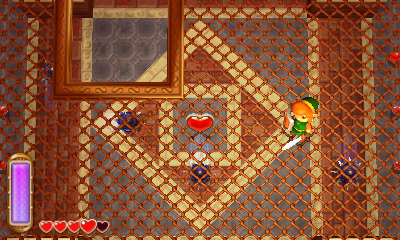
Once you surface, look down below just to the right to see a cave on a very narrow ledge. Turn into a painting and move directly above this cave. Get out of the painting to fall down right in front of the cave. Walk northward and you’ll come across a Piece of Heart! Continue onward and enter the cave.

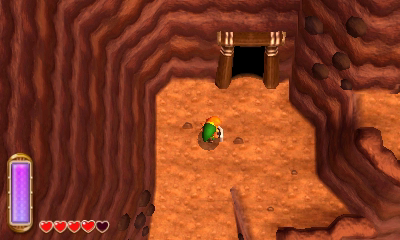
In this cave, you’ll find a fairy fountain, so be sure to fill any bottles you have with fairies. Jump off the ledge and exit the cave.
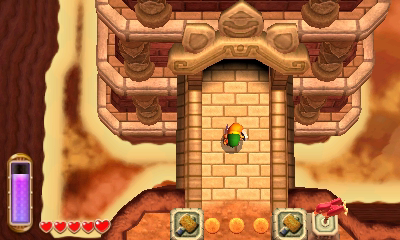
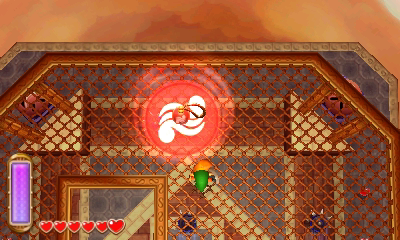
Just to the right you will find the entrance to the Tower of Hera. You’ll notice the symbol of a Hammer on the pillar, indicating that you’ll need that item to make it through the dungeon. Use the weather vane to save your status.


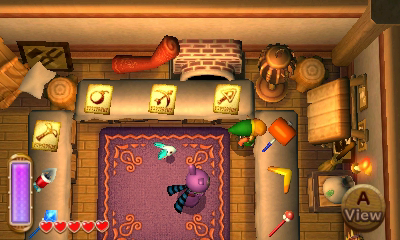
Shake the Bell and warp back over to Link’s House. You will need the Hammer in order to make it through the Tower of Hera, so be sure to pick that up. Use the Bell and warp back up to the top of Death Mountain. From here, pound the stakes and head up to enter the Tower of Hera.
3.2 Northeast Death Mountain
Before entering the Tower of Hera, you can continue east to explore the remainder of Death Mountain. There are plenty of rupees, a heart piece, some Maimais, and another bottle that we can acquire. Be sure to consult our Heart Piece Guide and Maimai Guide for all locations.
The quest to acquire the 3rd Bottle starts back at the southeast portion of the Overworld. After acquiring the Zora Flipper’s swim to the southeast of the House of Gales. Follow the river here and you’ll eventually find a Letter in a Bottle. The letter speaks of a man on the mountain who fell and hurt himself. He asks you to bring him some Premium Milk. Make your way over to Kakariko Village and enter the Milk Bar. Speak with the bartender here and after showing him the letter, he will fill your bottle up with some Premium Milk. He asks you to bring it to the man who wrote the letter, as he is one of his most loyal customers. Warp over to the Tower of Hera and head eastward. Hookshot across the broken bridge and enter the first cave that you find. Drop down the moving platforms until you reach the large platform with the two Lynels. From here, merge against the south wall and ride along a series of moving platforms. This will eventually lead to a platform where you can exit to get back outside. Merge against the wall and walk to the right to find the Bouldering Guy. Talk to him and give him the Premium Milk. As a show of thanks, he will allow you to keep the 3rd bottle.Optional: Bottle #3


3.3 Tower of Hera
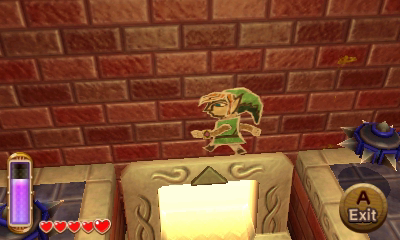
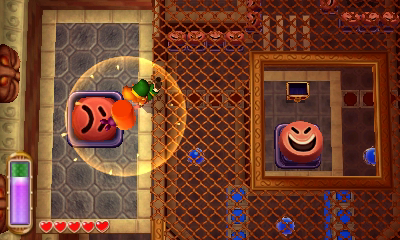
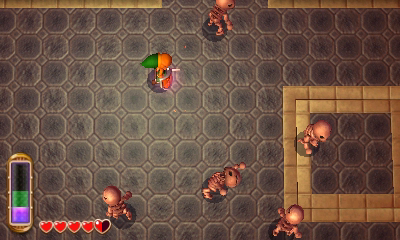
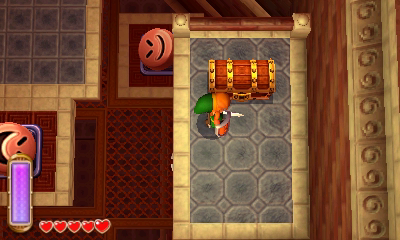
Smash the moles with the Hammer and make your way to the north end of the room, hitting the crystal switches along the way. The enemy Terrorpins here can be smashed with the hammer, revealing their bellies. Smash the moles at the top-left part of the room and stand on top of them. They will spring you up to the higher platform. Turn into a painting and walk out through the window at the north end of the room. Open the treasure chest here to get a purple rupee.


Turn into a painting and make your way to the west side of the room. Once again walk along the wall to reach the east side of the room where you will find a large mole on the higher ledge. Slam it with the hammer and it will launch you up to the second floor of the dungeon.
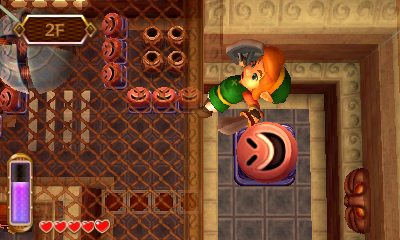
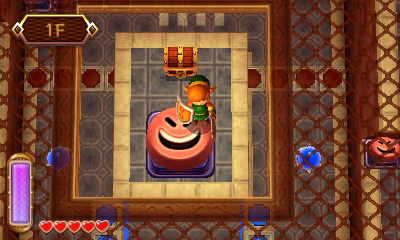
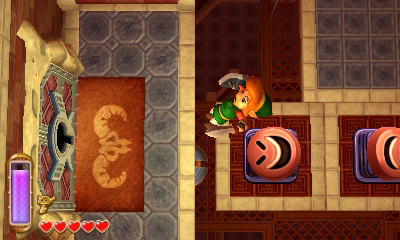
The enemy Hardhat Beetles here will cause you to bounce away when you hit them, so you should just try to avoid them. Fall down the hole in the center of the room and open the treasure chest here to get the Compass. Hit the mole to get back up to the second floor and run to the west part of the room. Smash another large mole and have it shoot you up to the third floor of the dungeon.
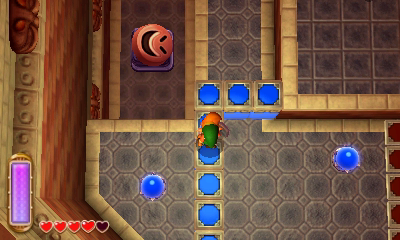
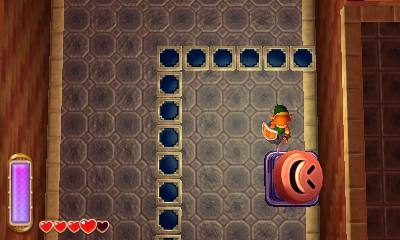
Walk along the walls to reach the southwest corner of the room. Hit the switch so that the blue blocks are lowered and then stand on the blue blocks. While standing on the blocks, hit the second crystal switch, causing you to move upwards with the block. Walk to the center platform and grab the small key. Walk over to the right side of the room and head through the locked door.
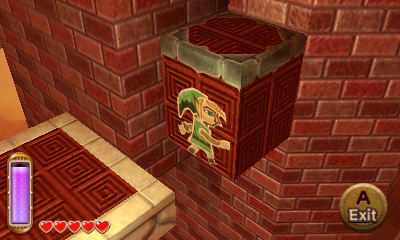
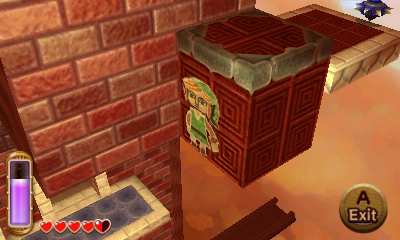
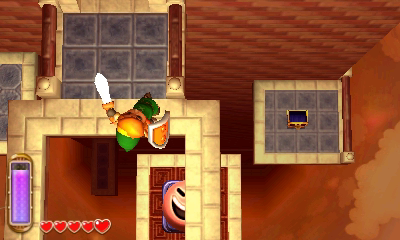
Stand on the moving platform and have it take you around the tower. At the south part of the tower, there is a block that is sticking outward. Turn into a painting and walk around the block, landing back on the moving platform. On the west side of the tower, turn into a painting and walk onto the red platforms that move vertically and ride it up to the fourth floor.
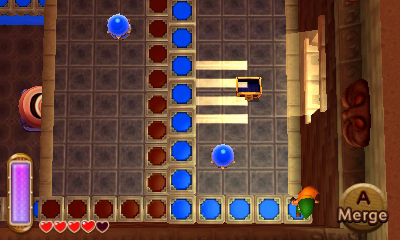
Hit the crystal switch and pound the mole to get up to the fifth floor. Hit the crystal switches and open the treasure chest on the right side to get a blue rupee. Stand on the blue blocks and hit the crystal switch to raise them. Then turn into a painting and walk out the window on the right side of the room.
Ride the moving platform and watch out for the enemy Blade Traps. South of the tower, the wall will jut out, so turn into a painting to avoid falling. Fall back onto the moving platform and take it to the west side of the tower. Turn into a painting and walk onto the red block, taking you up to the sixth floor. You can turn into a painting and walk to the north end of the tower to find some extra rupees, but then head back.

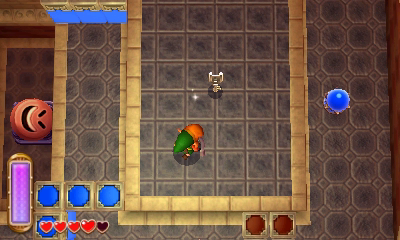
On the sixth floor, walk back into the tower to take on some enemy stalfos. Once defeated, the green portal will appear and the nearby platform will begin to move. Take the platform up to the seventh floor. Hit the crystal switches and make your way to the north end of the room.

There are some cracks in the floor that you can smash with the hammer and then drop down to the previous floor. At the top left part of the room you’ll find a small key and at the top-right part of the room there is a treasure chest containing some monster guts. With the key in hand, return to the seventh floor and head through the door to the west.

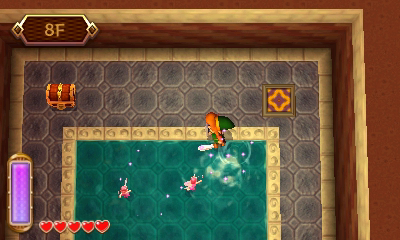
Walk onto the platform and it will move to the southwest part of the tower. Smash the mole and it will shoot you up to the eighth floor. Walk onto the next moving platform and ride it to the right. You’ll see a treasure chest down below that you can drop down to that contains a silver rupee. Back on the eighth floor, when you are on the moving platform, you can smash the mole, timing it so that it will spring Link upward right through the hole above to the ninth floor.

Back inside the tower you’ll find some floor tiles that will fly towards you. You can deflect them with your sword or just block them with your shield. After they are gone, the platform will begin to move. You can drop down below to the previous floor to find some fairies and then step into the warp portal to get back up.

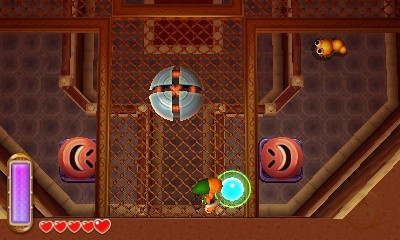
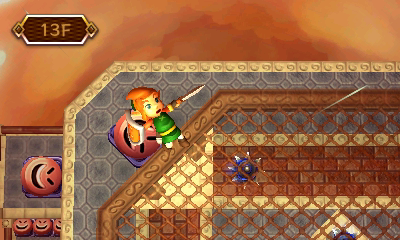
Ride the platform up to the tenth floor. There are a few hardhat beetles as well as some Bumpers. The key here is don’t bother striking the enemies. You can try leading them into the bumpers, which likely causes them to fall off the ledge. Hit the four crystal switches that are in the four directions of the floor and this will cause one of the nearby platforms to lower. Smash the mole to get up to the eleventh floor.
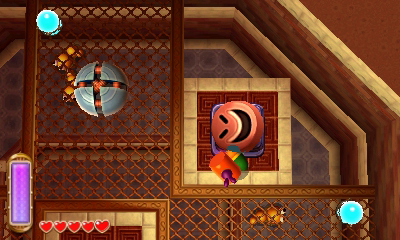
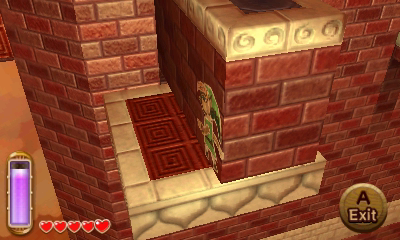
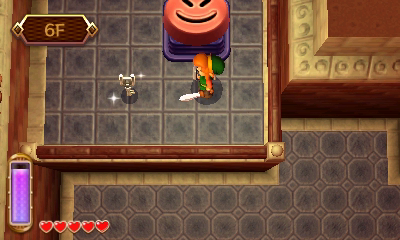
Smash the mole on the right side, timing it so that it springs you up to the nearby treasure chest. Open it up to get the Big Key. Now time the mole on the left side to reach the higher ledge. Open the door to get back outside. Smash the little mole and the big mole to get up to the twelfth floor.
Collect some recovery hearts to fill up your life. Once you are ready, hit any of the large moles to spring up to the top floor of the dungeon to take on the dungeon boss, Moldorm.

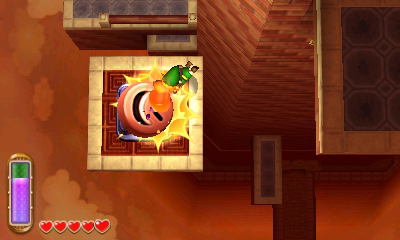
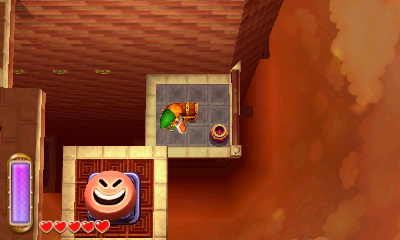
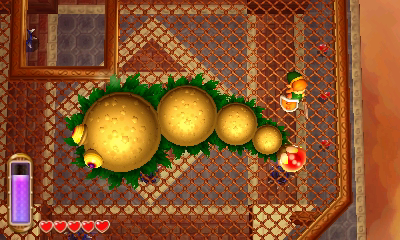
Moldorm’s weakness is the red spot at the end of its tail. You’ll need to slash at it with your sword, but be careful, as Moldorm can hit you off of the ledge, causing you to fall down to the floor below. After a few successful hits, Moldorm will start to move faster and the battle gets more difficult. Link can use the hammer to hit the floor, temporarily stunning Moldorm, allowing him to get a quick hit. Repeat this process until Moldorm has been defeated.

Grab the Heart Container that is left behind and then grab the third and final pendant, the Pendant of Power.
- Chapter 1 – Eastern Palace
- Chapter 2 – House of Gales
- Chapter 3 – Tower of Hera
- Chapter 4 – Hyrule Castle
- Chapter 5 – Thieves’ Hideout
- Chapter 6 – Desert Palace
- Chapter 7 – Dark Palace
- Chapter 8 – Swamp Palace
- Chapter 9 – Skull Woods
- Chapter 10 – Turtle Rock
- Chapter 11 – Ice Ruins
- Chapter 12 – Lorule Castle
