- Chapter 1 – The Beginning
- Chapter 2 – The Forest Realm
- Chapter 3 – Tower of Spirits 2
- Chapter 4 – The Snow Realm
- Chapter 5 – Tower of Spirits 3
- Chapter 6 – The Ocean Realm
- Chapter 7 – Tower of Spirits 4
- Chapter 8 – The Fire Realm
- Chapter 9 – Tower of Spirits 5
- Chapter 10 – The Sand Realm
- Chapter 11 – Tower of Spirits 6
- Chapter 12 – The Dark Realm
2.1 Whittleton Village
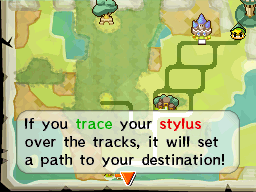
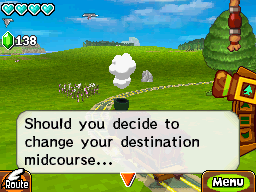
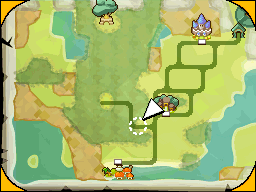
Now that we are back on the train there is a new way we can travel that is a bit simpler for longer distances. You can now use the stylus to trace the entire path that you’d like to go along rather than having to make the decisions as you go along. You can change your route at any time by clicking the route button or by just changing the rail switch at the bottom of the screen. Now that we are in full control of the train, you can travel to any destination you’d like.
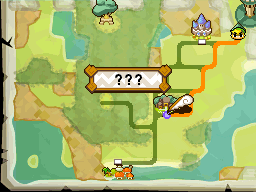

Our next destination will be the small village in the center of the map. Trace your route to the location whose name is just “???” at the moment. In the route towards this village you’ll encounter some Moinks that are roaming across the train tracks. Pull your whistle to scare them off. Additionally, you’ll find a few new bird like enemies known as Snurgles flying around. They will attack your train if you don’t do anything to stop them. Pull the train’s whistle and it will scare them off temporarily. Do that repeatedly and they will stop bugging you. You will soon arrive at the village, which is named: ‘Whittleton’.


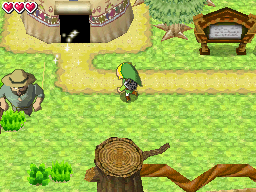
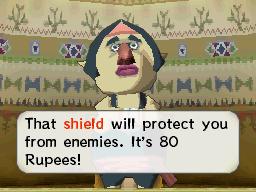
Whittleton is a small village filled with many lumberjacks who make their living by cutting down trees and selling wood. There are just four houses in the town. Real quick, if you didn’t get the shield earlier now is a great time to do so. The “triangle shaped” house on your map, the one all the way to the left, is the town shop. Inside you can purchase the Shield for 80 Rupees. You should have more than enough rupees at this point. =)

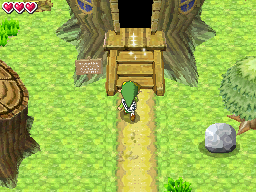
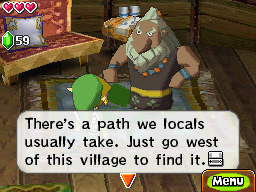
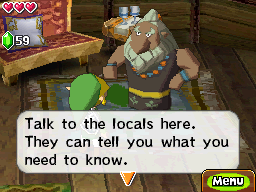
You can walk around and talk to the townsfolk if you’d like, but otherwise make your way to the hut at the north end of the village. Enter the house and speak with Whittleton Chief. He has heard about your journey and mentions that there is a secret path to get to the Forest Sanctuary just west of town. The Forest Sage, Gage, lives in this area. The chief warns you that this area is known as the Lost Woods, and if you go the wrong way, you’ll end up right back where you entered. He tells you that some of the locals may have more information for you.

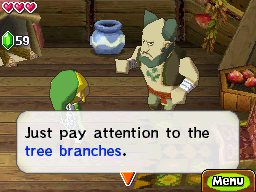
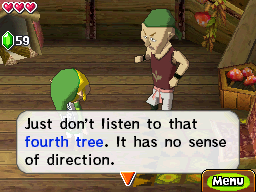
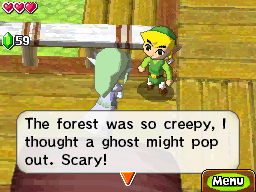
If you wander into the house on the right side of the village, the resident here has some kind of advice for you. He tells Link to listen to the trees as they talk a lot, but do not listen to the fourth tree since it has no sense of direction. Keep that in mind as it will be of use shortly. There really isn’t anything of importance to do in Whittleton at this moment. Run back over to the Spirit Train and jump onboard.
2.2 Lost Woods
Our next destination is the Lost Woods, located just west of Whittleton. Trace a route along the piece of track that extends into the forest. Upon entering you’ll notice the scenery changes quite a bit as we are now in a new area, the Lost Woods.
Follow the path straight ahead until you see a brown tree near the tracks. This tree will be pointing to the left or right side and, immediately after the tree, there is a fork in the road where Link must choose which direction to go.


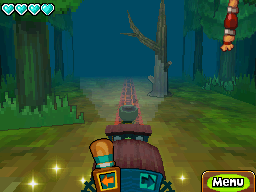
There are four of these forks in road within the Lost Woods. Follow the path that the trees point to for the first three forks. However, as you heard from the villager in Whittleton, do not listen to the fourth tree. Whichever direction the fourth tree is pointing in, be sure to head in the opposite direction. Your reaction time needs to be spot on, as after each fork, the train will speed up quite a bit, giving you less time to decide which route to take. After correctly choosing the four paths, you will arrive at the Forest Sanctuary.
2.3 Forest Sanctuary
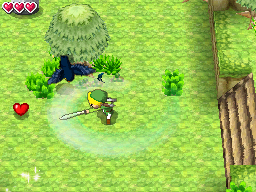

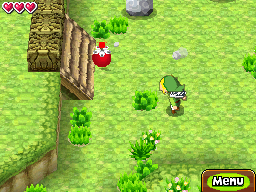
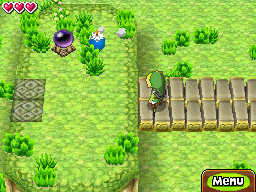
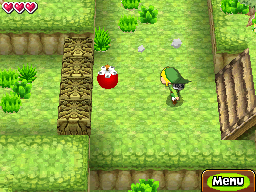
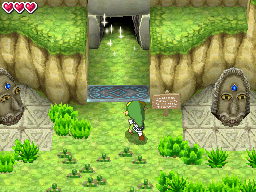
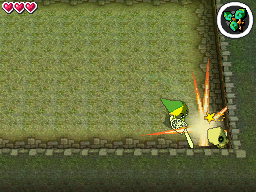
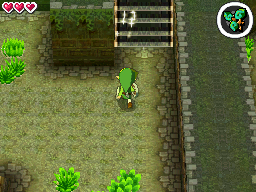
This land is filled with Yellow Spinuts all over the place as well as a new foe, a Crow. Crows will sit on tree tops and will fly at Link when he gets close. The enemies shouldn’t be too much of a problem for you. Walk to the northeast corner of the map and head up two small sets of stairs, which lead to an area with two bomb flowers. Before walking across the bridge, pick up one of the bomb flowers and take it back down the steps, heading to the left where you’ll find some cracked blocks. Tap on the steps just before the blocks to toss the bomb flowers at them, blowing them up and making a shortcut for later.

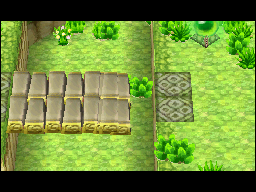
Once you’ve done that, head back to the bomb flowers and walk across the bridge to find a switch. Hitting the switch creates a small bridge to your left, but only for a short period of time. If you run across the bridge, you’ll see that the path is blocked by more cracked blocks that are just begging to blown to smithereens.
Puzzle Time! Unfortunately, the switch-bridge does not give us enough time to hit the switch with our sword and get a bomb flower in time to cross the bridge. In order to solve this rather simple puzzle, head back over to the bomb flowers. Pick one up, run across the first bridge, and toss it right next to where the switch is. Before it blows up, run back and pick up the second bomb flower. By now the first bomb flower will blow, activating the switch and giving you a few extra seconds. Quickly run across the bridge with the second bomb flower in hand and toss it at the cracked blocks, opening the new path!
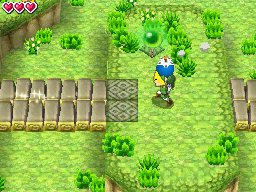
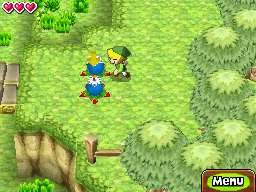
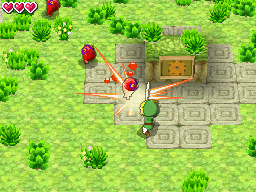
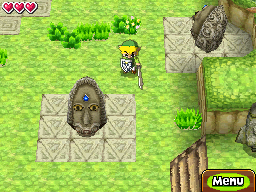
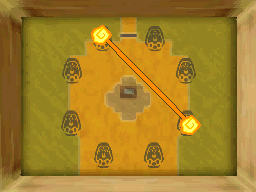
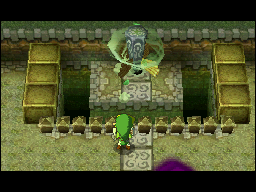
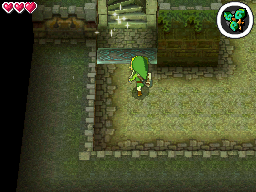
You’ll notice a strange statue down the path that is making some noise. Don’t mind this for now and we’ll come back to it shortly. Walk down the steps and defeat all the red chuchus in this area. Check out the map in the center of the area and it tells you to connect the statues that are facing each other. Exit the map and look around at the 8 statues in this area. You’ll find that the two facing each other are the one at the top-left near the closed door and the one on the right, just north of the odd looking statue we saw earlier. Go back to the map and draw a line connecting these two statues and the door above will open up! Go inside.
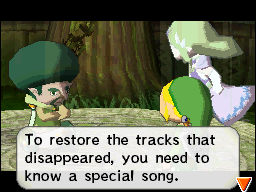
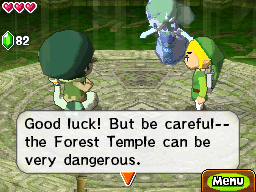
You’ll meet up with Gage, the Sage of the Forest. Gage already knows about your situation and tells you that we must recharge the Tower of Spirits with the energy of the forest. Link needs to learn a special song that Gage must play on his cello while Link plays it on his Spirit Flute. Speak with Gage once again and you can practice how to use the Spirit Flute.


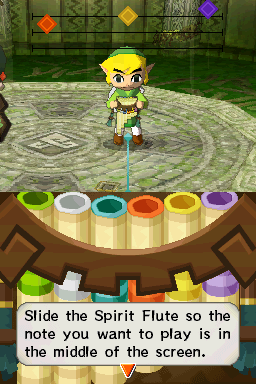
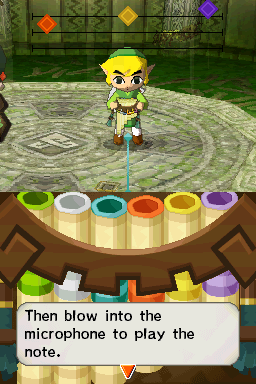
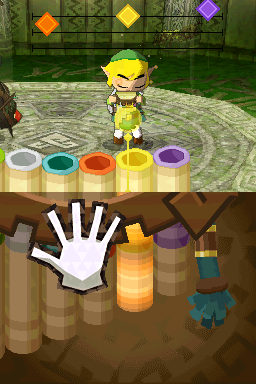
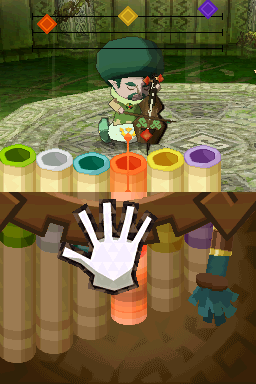
The Song appears at the top of the screen and it’s a simple three note tune of Orange, Yellow, and Purple. Gage will play it first so you can get the sound and timing down. Afterwards you can try it out for yourself. In order to play the Spirit Flute, you must use the Stylus to slide the flute so the note you want to play is in the center. Then just blow into the Nintendo DS Mic to play that sound. As you are blowing, you can move your stylus on the bottom screen to change the note that you’d like to play. Don’t lose your breath trying to play this properly! Just a slight blow into the mic is fine and be sure to move the stylus quickly as the note changes. Practice a few times and then click the back button.

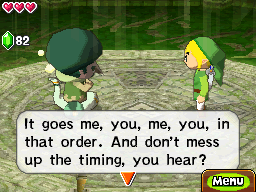
Gage explains that for the real deal he will play a different sound and Link will have to follow up with the orange, yellow, and purple set of notes. Don’t let his part confuse you, just practice it a few times and you’ll eventually get it. It took me a few times to get it, so don’t worry if you can’t get it on your first try. After you get the basic set of notes three times in a row, you can watch as Link and Gage play in harmony.
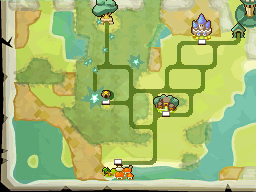
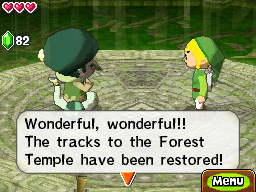
One you get it down, Link will have completed the duet with Gage and the Forest Rail Map will start glowing, revealing more of the Spirit Tracks! The path to the Forest Temple is now complete! Leave the area and head back to that odd linking statute that we hear some noise coming from.
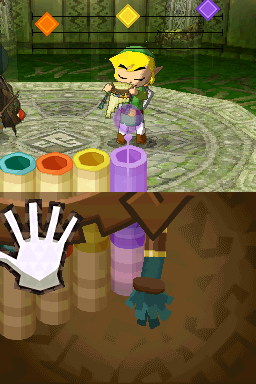

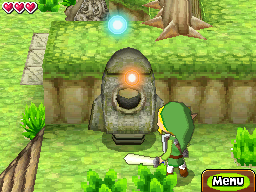
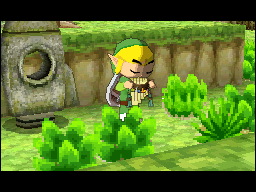
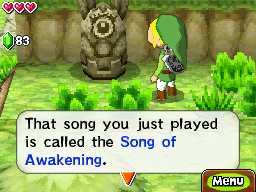
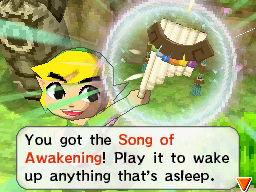
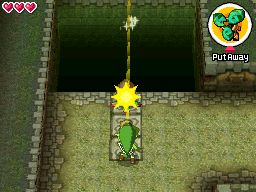
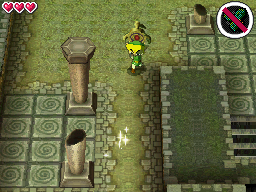
Walk up to the statue and you’ll see two circular light balls come out; one is a turquoise color and the other is orange. Pull out the Spirit Flute and play this very simple couple of notes. A short cinema will play and a rocket will shoot to the sky. A statue, similar to that of talking stones from Phantom Hourglass, will appear and talk to Link. That song is known as the Song of Awakening and, if Link plays this song at statues, they will awaken and give Link valuable information. That’s about all we want to do right now, so head back to the train.
With the path now opened, our next destination is the Forest Temple to the north. Trace a path that leads to the entrance. As you travel on the train you’ll bump into a new enemy, a Skulltula. These spider enemies will hang over the tracks, but with a simple pull of the train whistle they will be scared off and Link can pass quite easily. Continue along the path and enter into the Forest Temple!


2.4 The Forest Temple
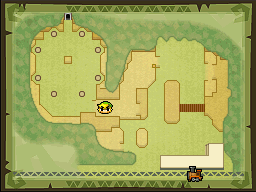
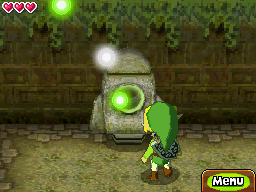
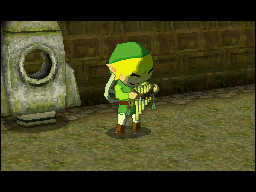
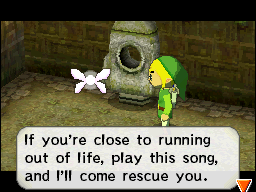
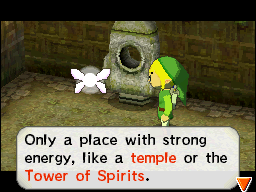
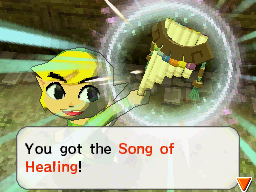
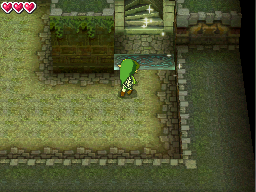
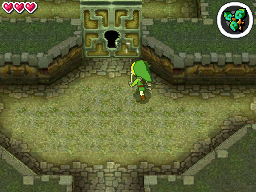
After a short pep talk with Zelda, walk northward and you’ll see another one of those statues. Tap on it and you’ll see a light green, a white, and another light green note come out of the statue. Whip out your Spirit Flute and play these three notes. Doing so will cause a fairy to appear. The fairy will say that if you are low in health and play the tune at any point in a dungeon, the fairy will come and restore your life. The health saving measure can only be used in temples though and can only be used once per temple! The song is known as the Song of Healing. With that out of the way, head through the door above and let’s go dungeon exploring!
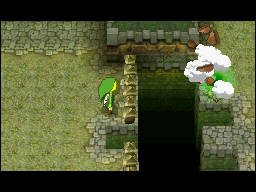
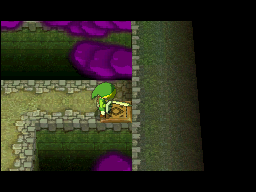
Straight ahead you’ll see a locked door. Turn the corner and walk around until you see two chestnuts growing out of the ground, much like bomb flowers. Lift up one of them and carry it to the right, where you will see a switch across the gap. Tap the switch and Link will toss the chestnut at the switch, which will cause a bridge to appear. Walk across and then continue to the bottom-right portion of the map.


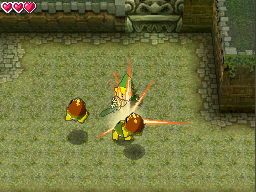
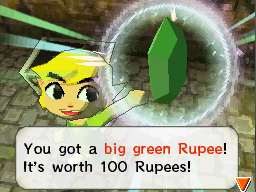
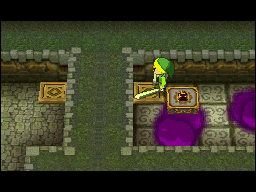
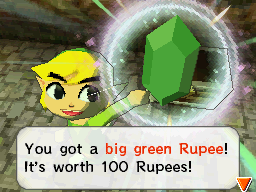
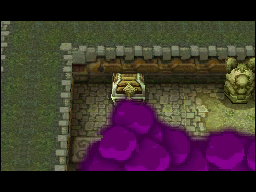
Upon entering, the door will close behind you and three enemies will appear. Two of them are yellow blobs that we’ve already fought before, while the third enemy is a slightly stronger Green Spinut. After all three have been defeated a treasure chest will appear and the doors will unlock. Open the treasure chest to get 100 rupees! Walk up the staircase to get to the 2nd floor.

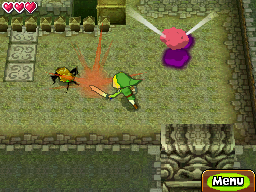
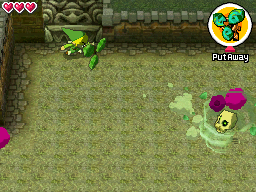
Avoid the Poison Gas here, as Link will take damage if he runs into it. We’ll get back this area in just a bit, but for now and just make your way to the northeast corner of the room. The door will close behind you and four Vengas will appear. These pesky enemies aren’t too difficult to defeat; just sword slash away. After they have been defeated they will leave a small field of poison gas. Defeat all four of them and a treasure chest appears in the corner of the room. Open it up to get the Whirlwind!


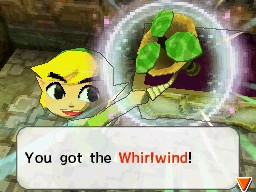
The whirlwind utilizes both the stylus and the Nintendo DS microphone. Equip the whirlwind from the menu screen. At any point you may click one of the shoulder buttons on the Nintendo DS (R or L), and the Whirlwind will appear. Aim the whirlwind in whichever direction you’d like, using the stylus, and then blow into the microphone to unleash a whirlwind. This baby can be used against enemies, to clear purple fog, or to hit switches and solve puzzles.
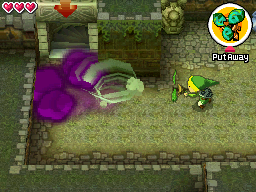
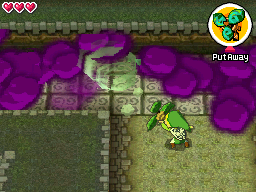
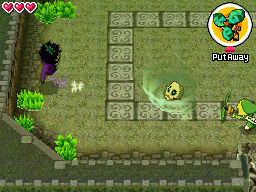
Walk back to the southeast corner of this room and clear all the fog. A treasure chest will be revealed that contains a treasure piece! Back at the northeast corner of the room you’ll see that the path to your left is blocked. However, there is a switch at the top of the screen that can be twirled. Use the whirlwind to blow a gust towards it and it will spin, causing the door to the left to open up!

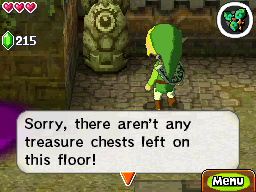
Run to the top-left corner and you’ll see one of those sleeping statues. Playing the Song of Awakening (Turquoise then Orange) will awaken the statue. Just like in Phantom Hourglass, these statues will reveal how many treasure chests are still left on this floor. Depending on if you got the treasure near the bottom-right of the floor, he may say there is just one or none at all. Clear the purple fog with the whirlwind and head back downstairs.

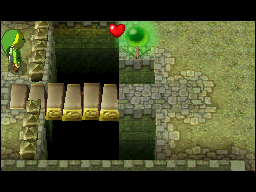
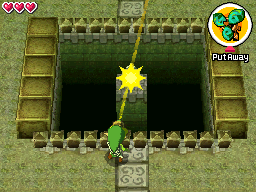
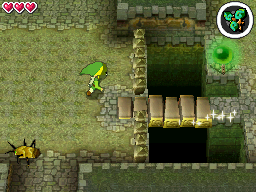
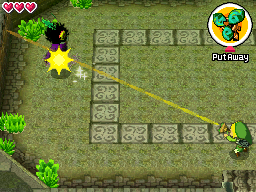
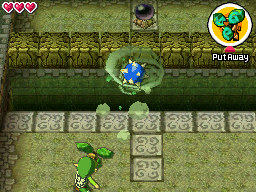
In this room there is a key in the center, but Link cannot reach it on his own. Pull out the whirlwind and aim at the small key in the center of the room. Blow into the DS microphone and it will send the key flying to an area that Link can reach. Run over and grab it!
Run to the right and step on the switch to open the door. We are now back in an area we previously were, but it is infested with Vengas now! Defeat them all and then make your way to the top-right corner of the map. Blow away all the fog and you’ll notice there is a stamp station. Don’t mind this, as more importantly there is a switch on the ground to the top-left of it. Step on this switch and it will cause a treasure chest to appear elsewhere on the floor. Run back over to the treasure chest and open it up to get another 100 rupees!
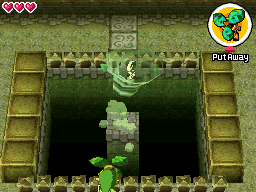
Walk back over to near the entrance of the temple and use the small key on the locked door. Walk to your left and you’ll see another statue that you can awaken to tell you how many treasure chests remain on the floor. Keep walking around to get to the bottom-left portion of the map. The door will close behind you and several Bubbles will appear. These enemies cannot be defeated with your sword unless the fog has been removed from their body. Use the whirlwind to blow off the purple fog and then slash away with your sword to finish them off. Afterwards, head up the staircase.
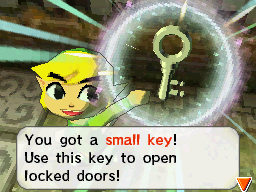
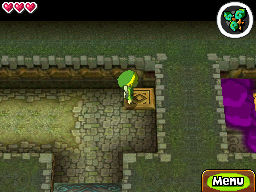
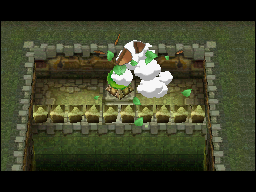
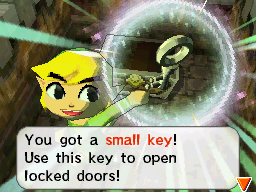
Two more pesky Vengas can be found in this area. Defeat them and head up the stairs on the left side of the room. Walk to your left and you’ll see a chestnut and a switch across the gap. Stand just below the chestnut and blow it straight upwards. It should hit the switch, causing a treasure chest to appear. Open it up to get a small key and then return to the floor below.
Use the small key on the locked door near the bottom of the room and walk in to face a tougher enemy known as a Mothula. It will float around quickly in this area and will occasionally shoot out fog bubbles towards Link. Whip out the whirlwind and target Mothula, but don’t use it just yet! If you blow a whirlwind prematurely, Mothula will reflect it back at you, stunning you for a short time while it sweeps in for a hit. Instead, wait until it charges up its attack and shoots a Bubble towards you. Use the whirlwind to send it flying right back at Mothula to stun it, then run on over and slash your sword! For a quick kill, you can perform a spin attack and it will be defeated in one hit.
Mothula isn’t too difficult though and will be defeated after just two sword slashes. Walk up the staircase to get to the third floor of the temple.


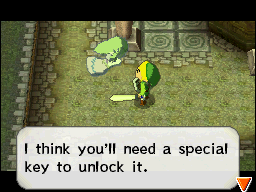
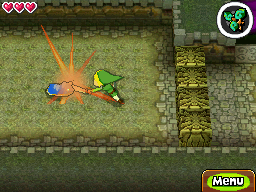
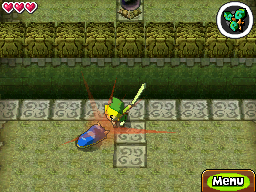
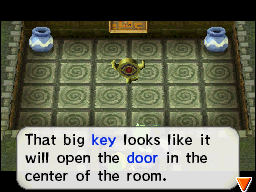
Walk to the south end of the room and Princess Zelda will point out the huge lock, saying you need a special key to unlock it. That special key can be seen on the map at the top-right corner, but we must take care of a few things before we can access it. Head south and walk down the path to the right, where you will find a Blastworm. Hit it with the sword and it will turn into a spiked ball. Use the whirlwind and aim the spiked ball so that it targets the blocks to right and causes them to blow up!
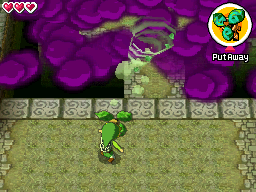
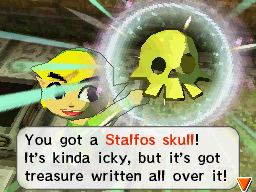
Walk over to the southeast corner of the map and use the whirlwind to clear up quite a bit of poison gas. Step on the switch that is revealed and it will cause a treasure chest to appear. Open up the treasure chest to get a random piece of treasure. You’ll notice another statue here that you can awaken to find out the number of treasure chests there are left on this floor. (Hint, there are none). Hit the switch to the right and it will cause the door to open near the bottom-left of the map.

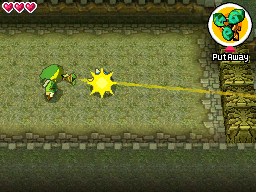
Run on over and you’ll find two blastworms, several blocks across the gap above, and a switch. Just as before, slash at the slugs to turn them into spikes. Then use the whirlwind to send the spiked bombs over and blow up the barrier. Now repeat this process, but this time aim at the switch. Doing so will cause the door at the top-right of the map to open up, giving Link access to the Boss Key!


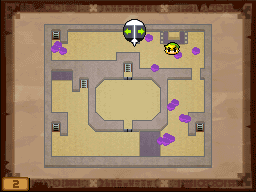
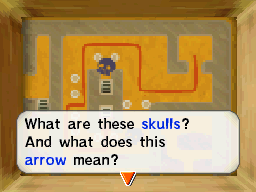
Run on over and you’ll notice just behind the boss key there is a map with a line and two skulls. This is the route that Link must take when holding the boss key. If Link picks up the boss key and deviates from this route, scary looking Key Masters appear and will come to grab the boss key. They’ll pick it up and toss it back to where it was located originally. Pick up the boss key and follow the path that is shown on the map carefully. Toss the boss key into the giant lock to unlock the door. Head upstairs to get to the 4th floor of the temple.
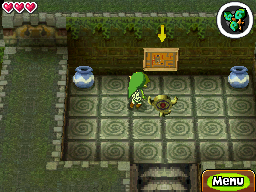
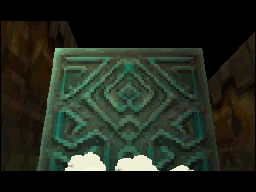
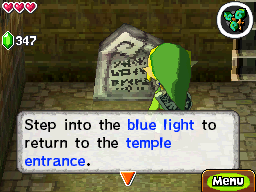
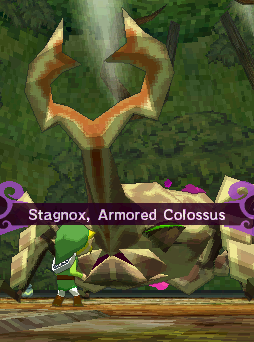
Break any of the nearby pots to fill up your life. Tap the stone tablet and this will cause a blue warp portal to appear. Stepping in this warp portal will allow Link to return back to the entrance of the dungeon. Once you are ready, head up through the door and you’ll fight the temple boss, Stagnox.
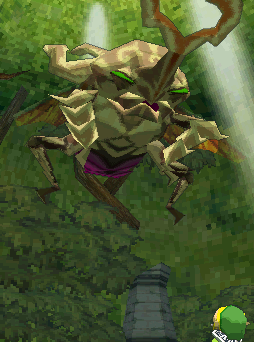
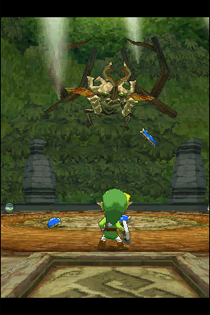
Stagnox will make his dramatic entrance from the top of the Temple and slowly drop itself to the ground. You’ll immediately see a gigantic horn on its head, as well as its purple backside cover with poison gas. As you may have guessed, that bright purple backside of his is the weak point. After a cry out from it, the battle with Stagnox will begin.


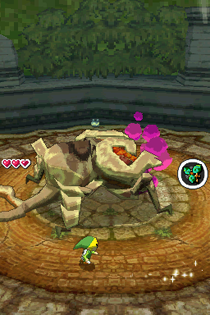
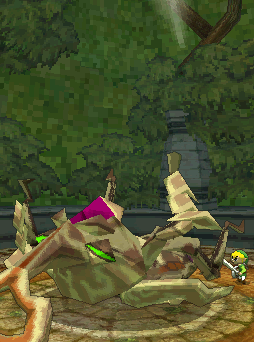
The first phase of the battle is rather simple. Just run around the outer edge of the circular platform that you are standing on. Be careful not to get too close, as doing so will cause the boss to smack you. Stagnox will slowly turn as well, but will eventually stop to try to attack you using an incredibly slow horn thrust that looks quite impressive, but is extremely easy to avoid. When Stagnox misses its attack, quick run to its backside and pull out the whirlwind. Target the poison gas and send a gust out of the whirlwind, which will stun Stagnox and leave its backside vulnerable. Run up and slash at its backside repeatedly until it gets back up on its feet. Repeat this same process a few times and just keep striking at its backside.
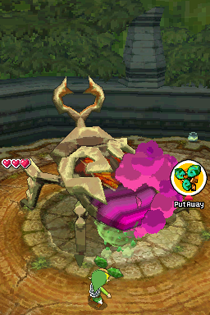
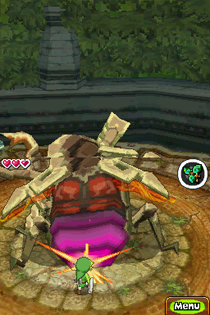
Eventually Stagnox will give up on this failed strategy and will then use its wings to fly up in the air. Stagnox will summon three blastworms and toss them down to the battle platform. Slash at these three slugs to turn them into spiked balls. After a few moments, Stagnox will try to hit Link with a flying thrust as he drops down closer to the platform. Stand below a spiked ball and when Stagnox is coming towards you, use the whirlwind to send the blastworm right in the boss’s face. The explosion will stun Stagnox and leave his backside vulnerable yet again, giving you the perfect opportunity to run over and slash away at its purple spot. Repeat this same process until Stagnox has been defeated.


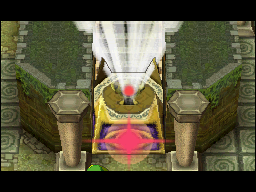
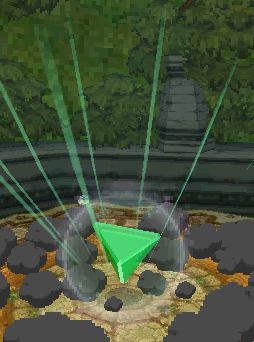
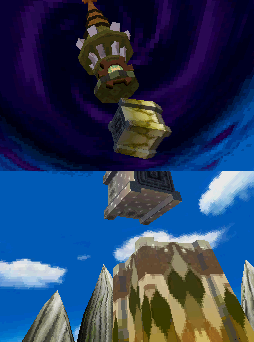
After the battle a massive green gem will appear on a large structure in the center of the boss room. This will power the Spirit Tracks and you’ll see the power flow through the tracks all the way to the Tower of Spirits, where the next section of the tower has been restored!

The Forest Rail map will shine and some more tracks will now be laid within the overworld. Back inside the boss lair a large treasure chest will appear, as well a blue warp portal. Open the treasure chest to get a full Heart Container! Now walk over and enter the blue warp portal to be sent back to the entrance of the dungeon.
- Chapter 1 – The Beginning
- Chapter 2 – The Forest Realm
- Chapter 3 – Tower of Spirits 2
- Chapter 4 – The Snow Realm
- Chapter 5 – Tower of Spirits 3
- Chapter 6 – The Ocean Realm
- Chapter 7 – Tower of Spirits 4
- Chapter 8 – The Fire Realm
- Chapter 9 – Tower of Spirits 5
- Chapter 10 – The Sand Realm
- Chapter 11 – Tower of Spirits 6
- Chapter 12 – The Dark Realm
