- Chapter 1 – The Beginning
- Chapter 2 – The Forest Realm
- Chapter 3 – Tower of Spirits 2
- Chapter 4 – The Snow Realm
- Chapter 5 – Tower of Spirits 3
- Chapter 6 – The Ocean Realm
- Chapter 7 – Tower of Spirits 4
- Chapter 8 – The Fire Realm
- Chapter 9 – Tower of Spirits 5
- Chapter 10 – The Sand Realm
- Chapter 11 – Tower of Spirits 6
- Chapter 12 – The Dark Realm
1.1 Adoba Village
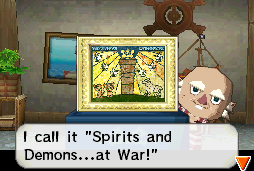
As soon as you enter your character name on the select screen and begin the game, a series of slides will be shown giving some backstory. The tale that is told discusses the first settlers of the land and a great battle between demons and the spirits of good. The battle resulted in the Demon King being sealed underground, with shackles built to imprison the Demon King and a tower that acted as a lock.

After the slideshow is complete, an elderly man is shown to be the person telling the backstory. This elderly man is actually a familiar face to the Zelda series. It is Niko, who was in The Wind Waker and also was responsible for a slide show backstory in Phantom Hourglass.
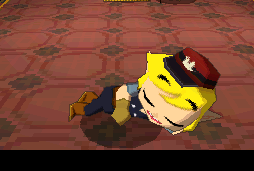
The story was so interesting…that it put our hero Link to sleep! Link will eventually awaken, to which Niko rants at Link for falling asleep during his lovely story. Niko mentions how, because Link is his roommate, he is so lucky to be hearing Niko’s great stories.

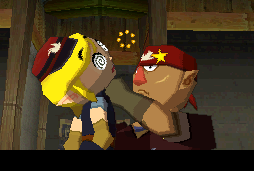
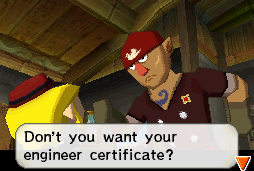
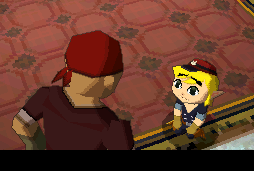
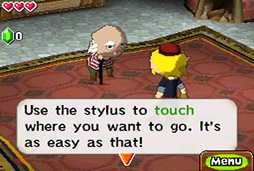
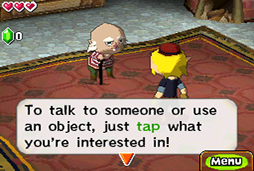
Link and Niko will eventually be joined by Link’s mentor, Alfonzo. Alfonzo picks up and shakes Link to awaken him, and then reminds him that today is an important day as Link is going to meet the princess to get his engineer certificate! That’s right, our hero Link is graduating today and will now be able to be the conductor of his own locomotive! Alfonzo will then head off and tells Link to meet him at the station. Niko will give you some instructions on how to use the Nintendo DS to control Link’s movement. If you’ve played Phantom Hourglass, you should already be familiar with these basic controls. If not, it doesn’t take much time to get use to it. Exit the house at the bottom of the screen.

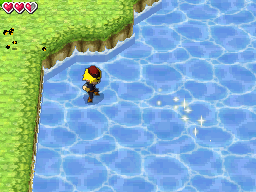
You will then get a quick cinema of Aboda Village, which is a small town along the coast that has just three small houses and a train station. This village acts as an introductory area, much like many of the first villages in Zelda games.
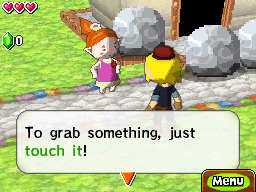
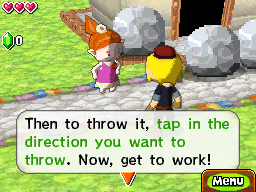
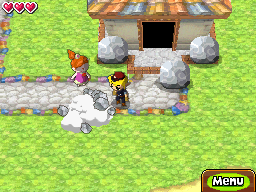
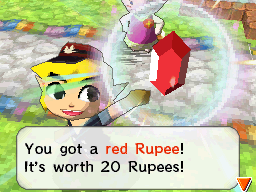
The girl near the house on the right will teach Link how to pick up rocks and asks you to clear the rocks in front of the house. Clear the four rocks by picking them up and tossing them aside. Speak with the girl again and she will reward you with a red rupee! You can enter the house to meet an older woman, but there isn’t much to learn here.Optional: Red Rupee
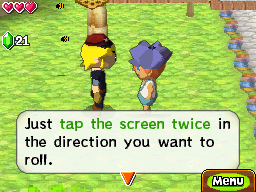
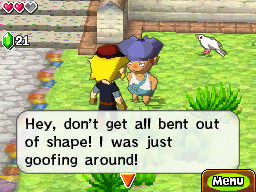
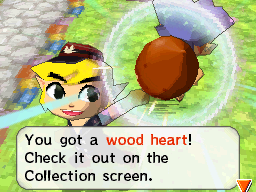
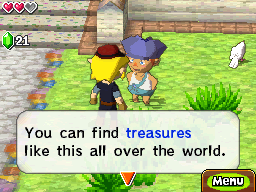
Near the center of the village you’ll see a young boy who is standing near a tree with a beehive. The boy will teach Link how to do a somersault and will tell you to somersault into the tree yourself. Do just that and the beehive will fall to the ground, causing the bees to start flying everywhere. After the boy calls you a klutz, the bees will start chasing you. Just run around the village doing somersaults to get away faster and eventually the bees will stop following you. They aren’t too damaging but can be quite annoying if you don’t move quickly enough. Walk over to the train station entrance and you’ll see the young boy we just spoke with. Talk to him and he’ll say that he was just kidding, and he will give you a random treasure. The most common reward is a Wood Heart, which we’ll have a use for later on.Optional: Joe's Bees

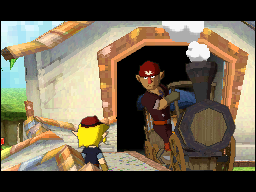
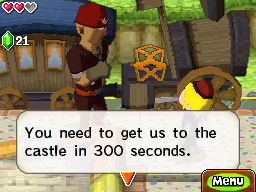
Aside from optional content, there isn’t much of use in this village. There is a man near the top-left portion of town who someday wants to raise cuccos…interesting. There is also a stamp station, but we have no use for it at this point in time. Head onto the station and a short cinema will pop up showing a door open and Alfonzo riding out on his train. Speak with Alfonzo and he repeats that you need to meet Princess Zelda in order to be able to operate a train yourself. Hop on board and Alfonzo will allow Link to operate the train as he calls it Link’s “Final Exam”. He says that he needs to reach Hyrule Castle in 300 seconds or less.

1.2 Train Tutorial
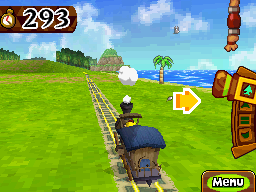

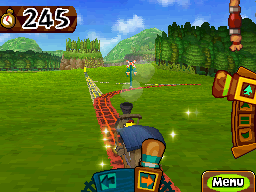
Once Link is on board the train, Alfonzo will teach Link how to use some of the features. Right off the bat you’ll see a gearbox along the right side of the screen and it has a lever with four speeds. Moving the lever to the very top will allow the train to go at top speed. Just below it is the standard, slower speed. Below that is the slow down button that will bring the train to a halt. At the very bottom is the emergency brake, and it will also allow Link to travel in reverse on the train. At the top-right of the screen is the whistle. Link can pull on it and it will blow the train’s whistle, which can be used to scare animals of the tracks. Lastly, if you tap any part of the screen, it will change the camera angle so you can see your surroundings.
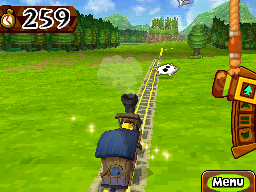
You can see the first portion of the path outlined on the top screen and it’s pretty straight forward. Given this portion of the game is very introductory, there is very little to do. Just let the train ride around the corner and you’ll eventually see some cow-like Moinks in the path of the train. Blow the whistle to get rid of them.
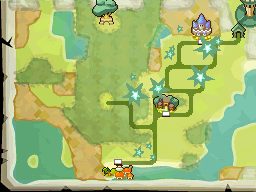
You will eventually come to the first fork in the tracks. Alfonzo will explain that the rail switch at the bottom of the screen controls the actual tracks. Looking at the map above, you have the option of heading straight or turning to the right. We cannot go straight ahead since another train is in our path. Adjust the handle so that you are heading to the right. The tracks will highlight in red the direction that you will be heading.
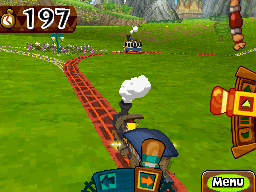

Continue along until you get to the next fork in the tracks. At this point, you want to take the path to the right, so make sure the handle is facing the right. Take the next right at another fork in the road and while it appears that you are almost going to hit another train, you should be in the clear. There really is no set path that you must take here, as long as you don’t bump into other trains and you make it to the castle in 300 seconds.
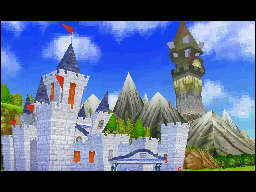
When you ride on the tracks near the northeast corner of the map, Alfonzo will point out the Tower of Spirits. He’ll also mention that you are almost at the castle and that you need to use the lever on the gearbox to stop at the station. As you draw near, slow down a bit by adjusting the gear box and come to a complete stop.
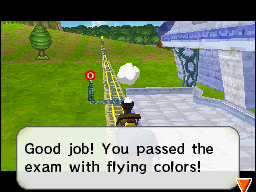
1.3 Hyrule Castle
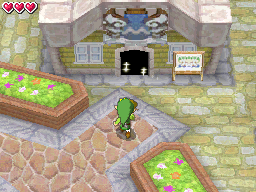
A short cinema will play as you are introduced to Castle Town. After some kind words from Alfonzo you will be able to run around town. You can enter the various buildings found within Castle Town and talk to some of the residents. There aren’t too many things of interest right now, other than some backstory about the history of the kingdom and a few characters that we’ll speak with much later in the game.


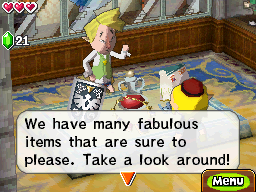
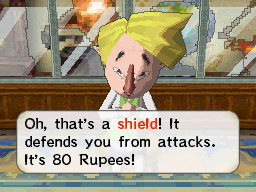
You can enter the Castle Town Shop for a moment, which is just to the right of the entrance to Hyrule Castle. It currently has five items for sale, two of which are pieces of treasure. Also for sale are some prize postcards. These can be put into a mailbox and might return a large reward later on. Red Potion is also for sale for 100 rupees. The most notable item is the shield, selling for a more reasonable 80 rupees. Everything is a bit pricey for Link’s wallet at this point in time, so we’ll likely return later. Optional: Castle Town Shop


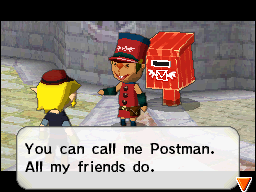
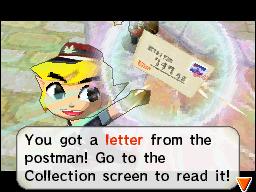
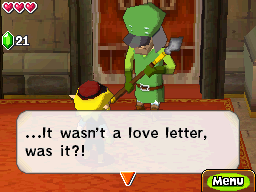
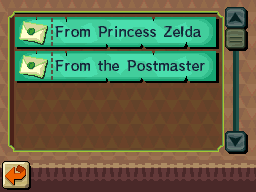
Just to the left of the entrance to Hyrule Castle you will see a mailbox bouncing, similar to the mailboxes from Phantom Hourglass. Walk towards it and Link will meet up with the new Postman. Unlike the postman from Phantom Hourglass who had wings, this particular postman runs around, similar to the postman from Twilight Princess or Majora’s Mask. More notable however, is the humorous way he imitates a train as he walks, ha! The postman already has a letter to you, but their new policy is that they do not read the letters out loud. After giving you your first letter he’ll then run off, presumably delivering more mail. You can tap the menu at the bottom right of the screen and then tap collection. Next go to the letters section to see that the first letter is actually from the Postmaster, who tells you about the new postal system.
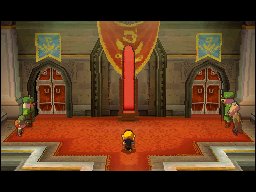
Now that all this is out of the way, let’s head north to Hyrule Castle. Upon entering walk straight ahead and you’ll see two Guards doing that “guarding thing” at the entrance. They’re both wearing the green tunic that is usually the garment worn by Link in previous Zelda titles. Speak to the chubby guard and they’ll move out of the way for you. Enter the Castle.

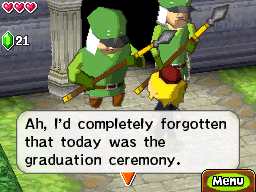
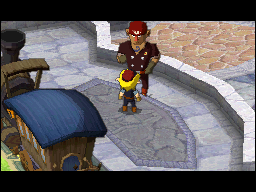
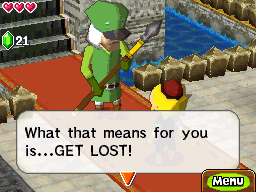
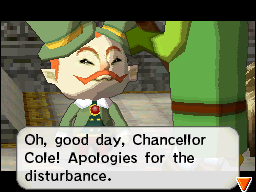
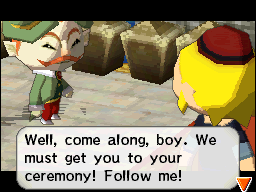
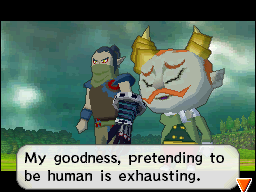
Walk straight ahead and speak with another guard who tells Link to get lost. However, the two are interrupted by a man who goes by the name Chancellor Cole. He’s an odd looking fellow who had two hats on his head. After giving Link a bit of a hard time, he’ll allow you to pass the guard and head to your “ridiculous ceremony”. This Cole dude really has quite an attitude towards Link and the Castle Guards. Walk up the stairs to the north.

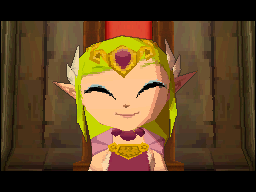
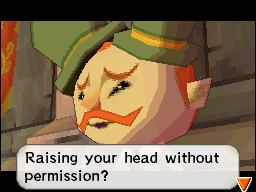
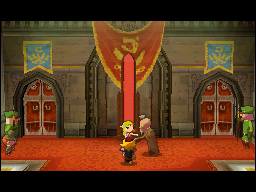
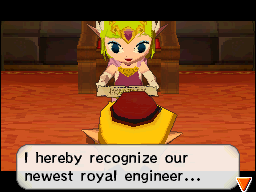
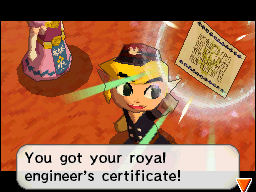
Next we see, Link is kneeling down on the red carpet and…Princess Zelda appears! After the two make eye contact, Chancellor Cole jumps in and calls Link an ‘ill-mannered urchin’ for looking up at Princess Zelda without permission. This continues on and on, with Princess Zelda and Link talking and Cole constantly interrupting in a very rude fashion. Eventually Teacher will appear and Zelda will grab the Certificate and give it to Link, officially promoting him to a royal engineer!

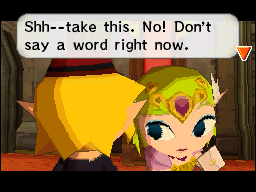
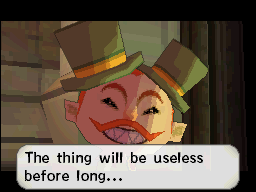
Princess Zelda also moves in closer to Link and slips him a Note. She tells Link to read this later and to beware the chancellor. Princess Zelda will then leave for her chamber. Chancellor Cole gives off some more words for Link, followed by a very cynical statement filled with an awkward looking smile and evil sounding music.

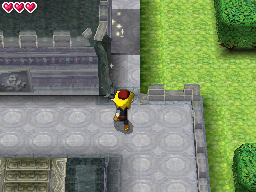
Once we’ve gained control of Link, open up Princess Zelda’s letter and read it. You’ll see that she wants you to meet up with her and she includes a map with her letter. Click the map icon and jot down the directions that she gave you on your own map on the bottom screen. Leave the Castle Chamber and at this point Link can wander around the Castle. On the left side there is a room where the guards rest up. On the right side there is a room where the guards practice their swordsmanship. We’ll get to these a bit later, but for now, let’s head up the stairs found at the bottom-right of the screen.


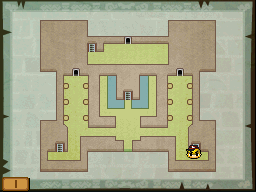
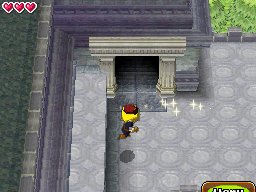
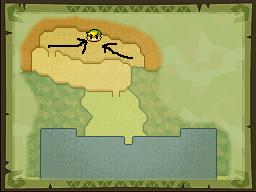
If you jotted down the route Princess Zelda showed you in the letter, then you’ll see that our destination is that door near the top-right of map. Just follow the path, jump down, and enter the door. Make your way to the staircase near the north end of the map and head upstairs to enter Princess Zelda’s chamber.
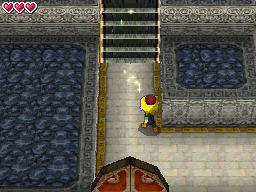
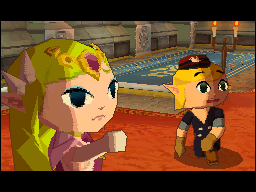
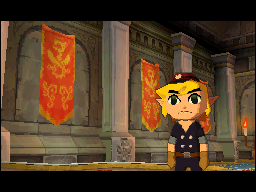
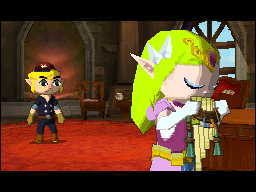
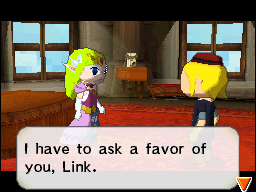
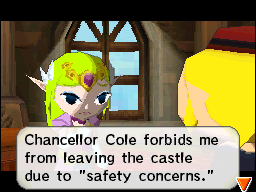
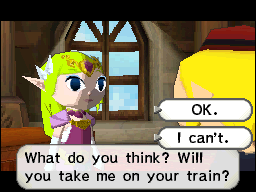
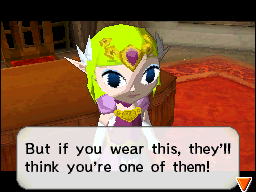
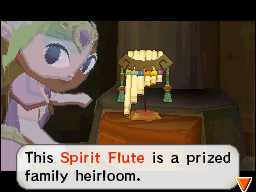
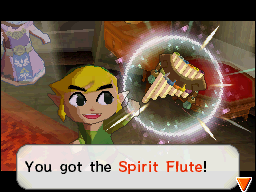
Upon entering Link will see Princess Zelda playing the Spirit Flute, an item that will be of importance in just a bit. Princess Zelda talks to Link about the Tower of Spirits and how it crisscrosses the land with the Spirit Tracks. However, the Spirit Tracks have been vanishing and she thinks something is wrong at the tower. Princess Zelda wants to go to the tower to meet a special Sage, but needs Link’s help to sneak outside. Chancellor Cole forbids Zelda from leaving the Castle, but Zelda suspects that Cole is really hiding something and thinks something terrible is about to happen. After agreeing to help, Princess Zelda gives Link his ‘Recruit Uniform‘, which is his classic tunic. After Link changes his clothes, Princess Zelda and Link are off on their journey. Exit the chamber.

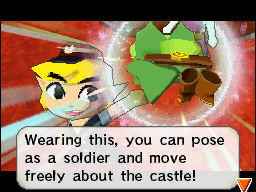

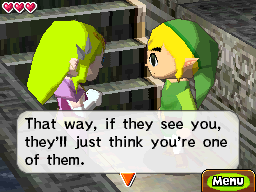
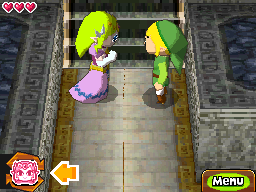
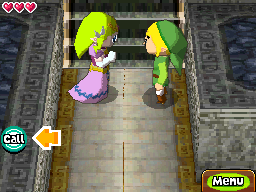
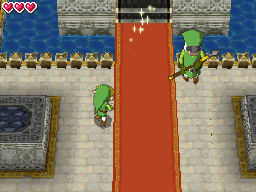
The guards are now doing their rounds and their locations will appear on the map. Princess Zelda will explain to Link that since he now has the green tunic, the guards will think he is one of them. Princess Zelda explains how you can make her move along her own path, rather than following Link. You can press the switch icon to change control between Princess Zelda and Link. Also, by the press of a button, Link can whistle and Princess Zelda will follow behind.
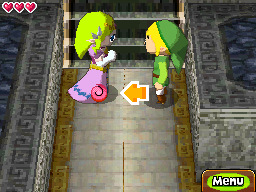
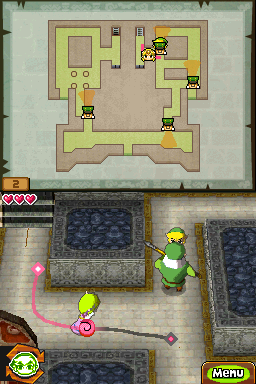
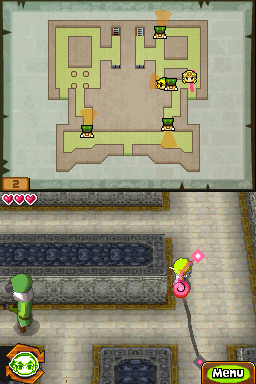
We want to enter from the same path where we came in, which is the passage on the far right side of the map. Just wait until one of the guards is at the very top of this area, and the other is near the bottom. At this point you can move along with Princess Zelda at the same time through the middle passage. Maneuver around the guards and exit through the path at the right. Alternatively, you can have Link stand in front of a guard so his view is away while Zelda sneaks past.
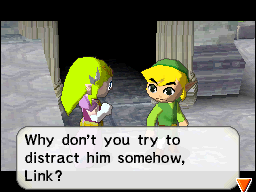
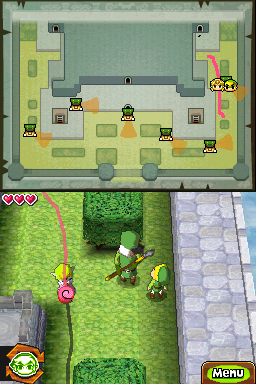
Now that we are outside there are even more guards. Luckily, these ones are quite easy to get by. First things first, jump down to the area below. The first two guards are stationary and do not patrol the area at all. Link needs to distract them by talking to them, while Zelda sneaks by. Separate from Zelda and walk around the bush on the right. Talk to the first guard here so that he is facing towards the top-right. Now switch to Zelda by tapping the button at the bottom-left of the screen and trace her path to walk right past the guard and settle between the two bushes. Switch back to Link and catch up with Zelda. Now send Link alone and talk to the next guard, this time forcing the guard to the face the top-left. Sneak by with Princess Zelda and wait at the very bottom of the map.

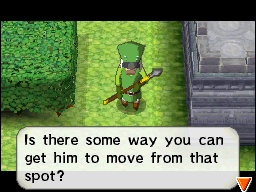
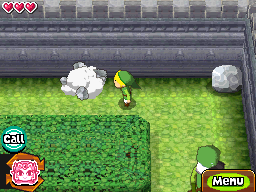
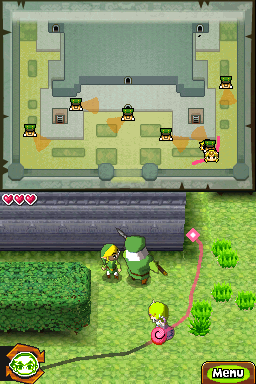
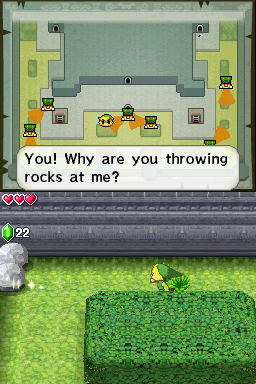
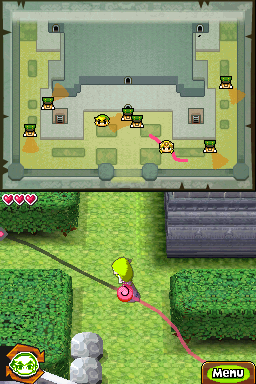
This last guard is a bit trickier. He won’t be distracted by just being talked to; instead he will go off to investigate any noise. Have Link pick up one of the rocks that are above him and toss them in that area. The guard will go to investigate, at which point you can then control Zelda and have her move all the way to the entrance of the Castle Courtyard. Follow Princess Zelda and leave the courtyard.
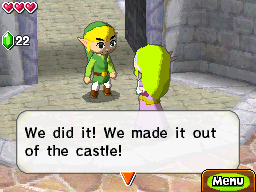
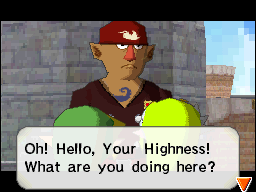
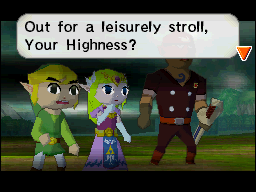
After talking with Zelda you’ll next appear back by the train with Alfonzo. Alfonzo notices Link’s clothes and then notices Princess Zelda. After some small talk, Princess Zelda tells Alfonzo that she wants him to come along with them on their trip to the Tower of Spirits. We learn that Alfonzo was once one of the greatest swordsman of the land, but is now just a train engineer living in the countryside. All aboard and off to the Tower of Spirits!

1.4 Disaster at the Tower of Spirits
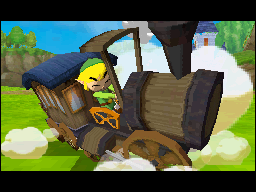
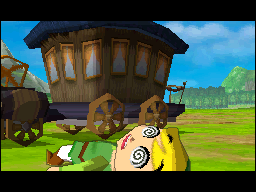
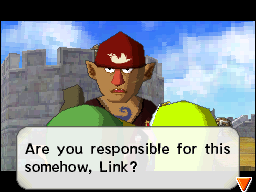
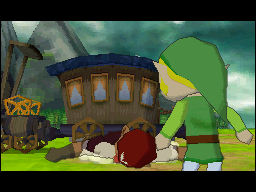
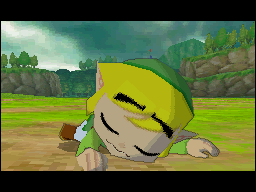
Link begins driving the train towards the Tower of Spirits when all of a sudden the Spirit Tracks disappear and it almost sends the train tumbling on its side. Link falls to the ground, while Princess Zelda and Alfonzo soon step outside to see what’s going on. They quickly notice that the Spirit Tracks are missing. Alfonzo then notices something fishy happening at the Tower of Spirits and a cloud covers the sky, making things darker. The scene then shifts to the actual Tower of Spirits and the dark purple clouds surrounds the tower. After some zaps, the tower is broken into several pieces that hover above where the tower stood with lightning filling the air.


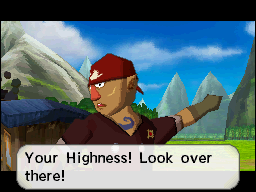
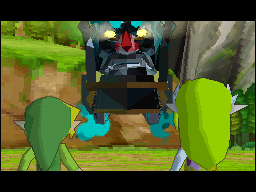
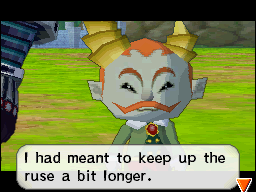
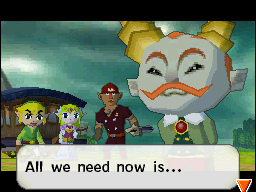
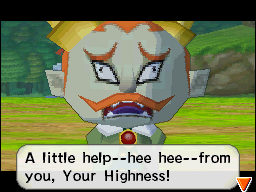
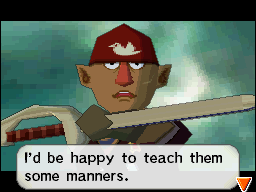
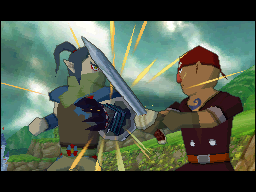
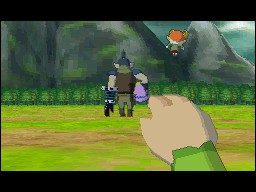
Out of the clouds comes a fearsome looking Train and some very dark music. Chancellor Cole will appear with a sinister laugh and after fog moves over his body, his real appearance is revealed. His two hats are gone, revealing two massive horns on his head and his insane looking eyes and mouth glaring ahead. Chancellor Cole reveals that he is not human at all, as he is joined by his partner in crime, Byrne, a human looking man with a massive steel arm. Cole reveals that the only thing he now needs is… Princess Zelda. Alfonzo steps in the way in an attempt to protect the princess with his sword in hand. However, Alfonzo is soon confronted and greatly over powered by Byrne, as he is tossed away and lands on top of the train.


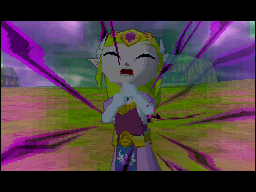
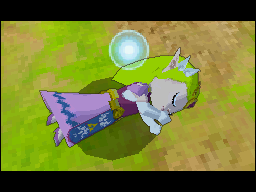
The impersonal Byrne then walks towards Princess Zelda, but Link stands in his way only to be slapped away. Chancellor Cole will then float into the air and zap the Princess with a purple and black cloud that separates the spirit and body of Zelda. The spirit is seen exiting the body and flies back towards Hyrule Castle while her lifeless body remains on the ground. Byrne will pick up the body of Zelda and will walk away with Cole.


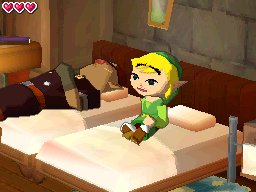
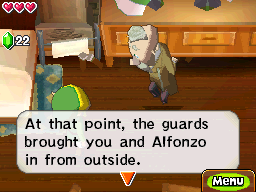
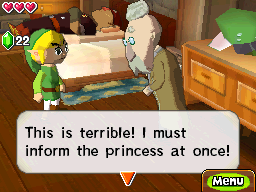
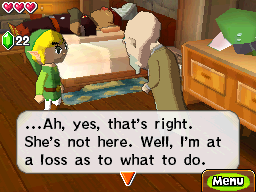
The next scene shows Link and Alfonzo back at Hyrule Castle lying in some beds. Teacher will walk up to Link once he wakes up. Talk to Teacher and you’ll find out how you are back in Hyrule Castle. However, Teacher does not know the whereabouts of Princess Zelda until you tell him. You can talk to the castle guard if you’d like, but afterwards, leave the room.

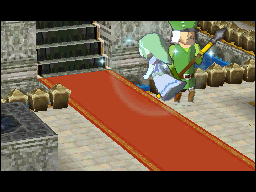
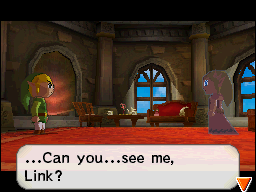
Make your way over to the center of the room. A short scene will take place showing the spirit of Princess Zelda appearing in the Castle and trying to talk to the Castle Guards, but she is not getting any sort of response. She will then float up the stairs. Follow her spirit up to the 2nd floor and you’ll see Princess Zelda trying to talk to another guard to no avail. Follow the spirit into the chambers.
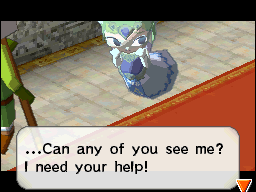

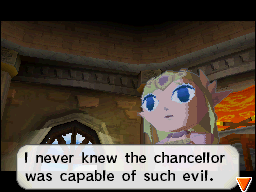
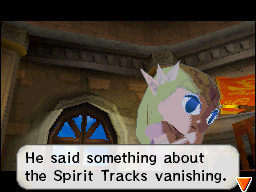
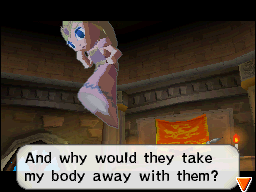
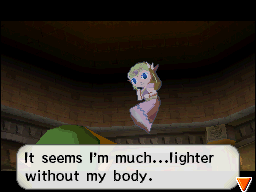
Once you enter her chambers, she will turn around and talk to you. She finds out that unlike the Castle Guards, Link can still see the princess. She gives a speech summarizing everything that just happened with Chancellor Cole, the Tower of Spirits, and the Spirit Tracks. Princess Zelda starts floating into the air as she is thinking, completely unaware that she is much lighter without her body. She wants to head to the tower once again since she must speak with the sage. However, before she goes, she briefly talks about the Spirit Flute and asks Link to bring it with him.
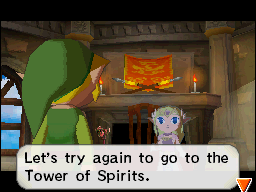
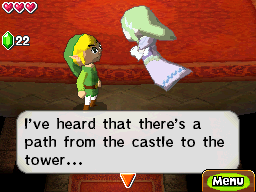
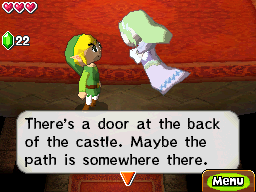
Try to leave the chamber and Princess Zelda reminds you that the Spirit Tracks are gone and you don’t even have a train, so you’ll have to find a new way to the Tower of Spirits. She mentions a secret path by the back entrance of the Castle that Link should try out. Exit the chamber and go through the red door to get back to the ceremony room. The route to the back door is through the door on the left, so head through it. Walk down the steps directly in front of you.
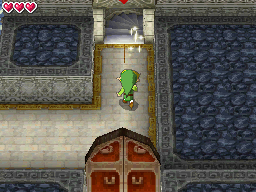

Speak with the guard by the exit, but he will not let Link pass unless he has a sword since there are strange beasts on the other side of the door. Princess Zelda’s spirit will appear and tell you to find the guard captain and ask him to loan you a sword. There is a treasure chest to the right of the guard; sopen it up to get 20 rupees!
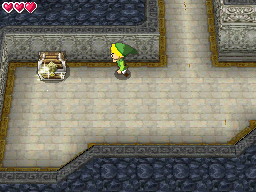
Go back up the stairs we came down. Before heading to the guard captain, there are two quick treasure chests we can get to. One of them is at the bottom-left of this room and it holds a red rupee. At the far left of this room there is an exit to the castle, which is symmetric to an exit we used on the other side of the castle. Go outside and open the treasure chest there to find another piece of treasure! This will come into use later on. Now backtrack to the ceremony room with the red carpet. From here exit to the south to get back to the first floor.

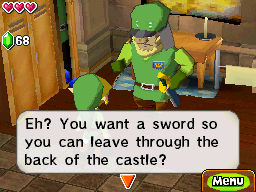
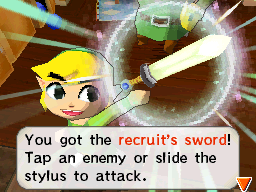
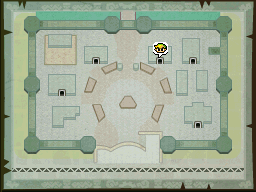
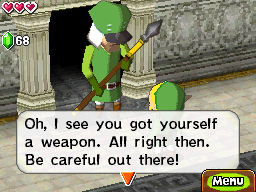
Our next destination is the room on the right side of the map, as that is where the Castle Guards practice their swordsmanship. Enter the room and speak with the Husky Man and he will give Link the Recruit’s Sword! Before you can leave the room, you must master the art of swordsmanship. This tutorial will give you the basics as to how to use the sword. There are three attacks that you will learn and they are quite easy to perform. Perform each attack on the three castle guards to move on.
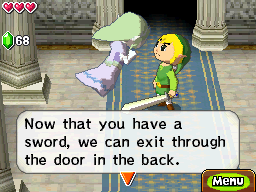
After learning all three attacks, Link can now keep the sword and leave the room. Make your way all the way back to the guard at the back entrance of the Castle. Now that you have a sword in hand, he will allow Link to exit.


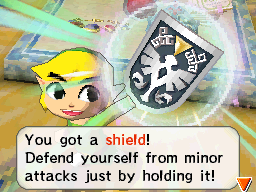
If you’ve been gathering the treasure chests along the way and smashing pots, you should have at least 60 Rupees at this point. Now that we have the sword, you can run around slashing bushes to get even more “moolah”. There isn’t much we can realistically purchase yet, but there is a Shield for sale in Castle Town at a nice price of 80 Rupees. It’s a good time to grab it if you’re up for it, or you can skip it for now and pick it up at a later time.Optional: Buying the Shield
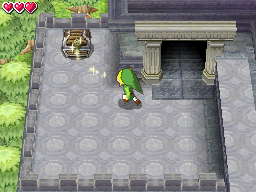
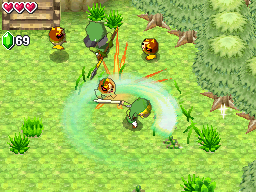
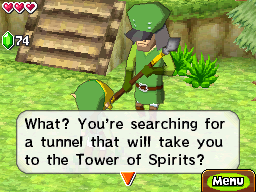
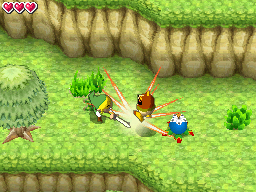
Link will encounter his first true enemies here, and they are these pesky yellow Spinuts that hobble around. There are a bunch of them in this area but they are quite easy to defeat. Just two sword slashes, or one jump attack will finish them off. There is a castle guard here and he mentions that there used to be a path but it has been closed off because of rocks. He doesn’t remember exactly where it was, but suggests that you investigate the wall.

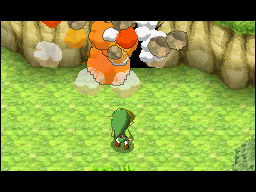
Climb up the two sets of small stairs and defeat all the spinuts in your way. There are two bombs flowers in the area here. The area of the wall that can be blown up is the large wall near the top-center of this portion of the map. Pick up the Bomb Flower and toss it near the wall above, which will cause an explosion revealing a hidden cave.
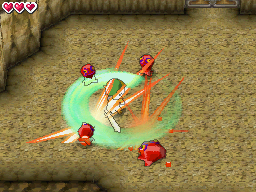
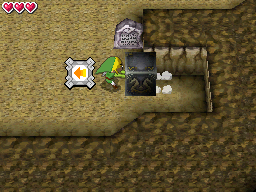
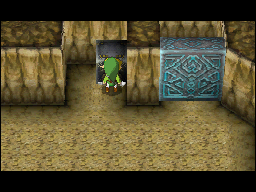
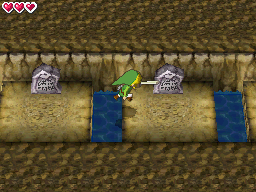
This cave has a couple of enemies, many of which are familiar from previous Zelda titles. Walk straight ahead and defeat a bat like enemy known as a Keese. Turn the corner and defeat four Red ChuChu by using simple sword slashes. After all the enemies in this area of the cave have been defeated, take a look at the right side of the cave. There is a block at the bottom-right corner and a switch at the top-right. Click on the arrow for the block, and push and pull it across the cave so that it is on top of the switch. The nearby door will open up revealing a treasure chest. Open it up to get a small key! Use the small key on the locked door and head up the stairs.

There are a series of stone tablets that will give an answer to an upcoming puzzle in this room. Defeat the red chuchu and head around the corner to find three stone tablets.
- The Switch after the bottom switch is the left one.
- Before you hit the bottom switch, hit the top one.
- Hit the right switch before the top switch.
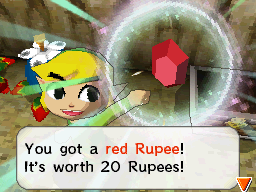
Based on this information we can see that the correct order is: Right, Top, Bottom, and Left. We’ll use this shortly. Defeat the red chuchu that are to the right of the tablets. You’ll notice there are two bomb flowers as well as a treasure chest. Open the treasure chest to get another red rupee. Now use the bomb flowers to blow up the blocks that are blocking the path to the north.
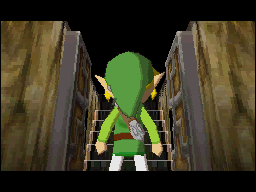
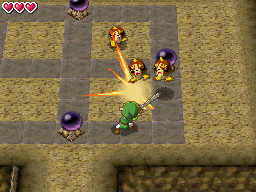
Defeat the four yellow spinuts in this area and then hit the switches in the order that the tablets told you. The door in the corner of the room will open up; go through it and head up the stairs.
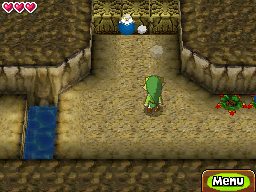
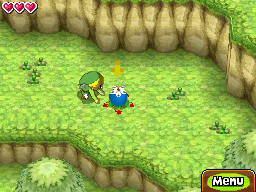
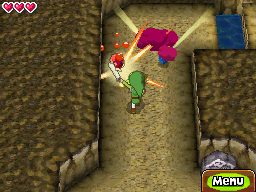
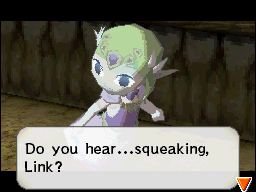
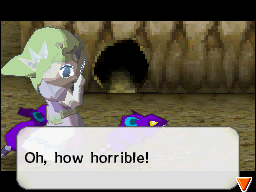
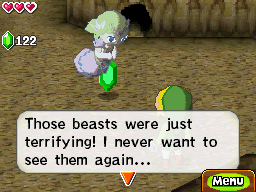
Defeat the two keese and head up north. The spirit of Princess Zelda will appear and she hears a squeaking sound. Apparently, Princess Zelda is incredibly frightened of…little, harmless, Rats. Slash away with your sword to defeat the two rats and Princess Zelda will thank you for defeating those ‘beasts’. She even says that the rats were terrifying. (If she is scared of these enemies, imagine what will happen when we actually face tough enemies?) Continue northward and exit the cave through the stairs above.
Link will appear back outside and is now near the Tower of Spirits. After glancing at the floating pieces of the Tower of Spirits hovering above, Link and the spirit of Princess Zelda will make their way into the entrance of the Tower of Spirits.


1.5 Tower of Spirits
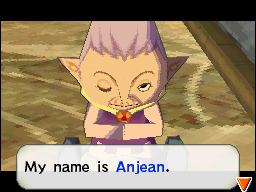
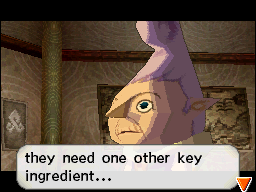
Upon entering the Tower, Link and Princess Zelda notice a giant train that appears almost like a statue. Then a voice appears and says that this item is the Spirits’ Train. This person is Anjean, the sage of the Tower of Spirits. Anjean watches over the Tower of Spirits and Princess Zelda is ecstatic about meeting her, telling her everything that has happened so far. Anjean responds giving a funny, yet cruel, response, talking about Princess Zelda’s look as a spirit. It is also apparent that Anjean is quite old and knows the ancestors of Princess Zelda. (She is referring to our beloved Tetra from Wind Waker and Phantom Hourglass). Anjean then once again discusses the story of the Tower of Spirits and the Demon King, who is now named as Malladus. Malladus needs Zelda’s body in order to return.


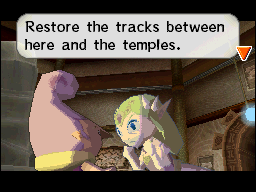
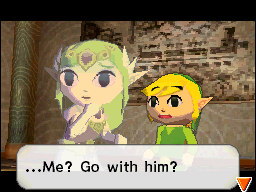
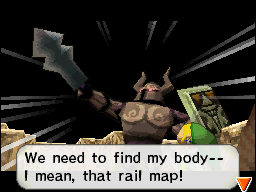
Princess Zelda gets right up in Anjean’s face as she is really quite angry by the news of her body possibly being used by Malladus. In order to stop this, Link and Zelda are going to need to rebuild the Spirit Tracks that lead to the four temples across the land. Four stone rail maps are enshrined in the Tower of Spirits and Link must retrieve them in order to restore the Spirit Tracks and gain access to the various temples. Princess Zelda, still in her angry mood, begins to aggressively yell at Link. Anjean interrupts saying that ascending the tower alone is impossible and Link will need help. After Princess Zelda names off all sorts of potential helpers, Anjean suggest that Princess Zelda herself go with Link.

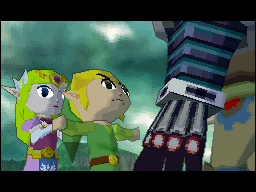
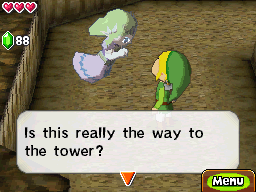
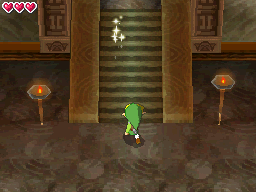
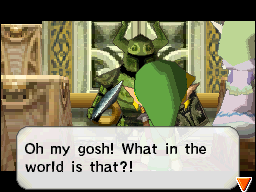
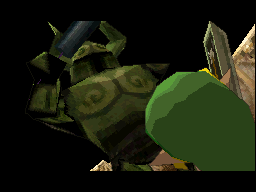
After finally regaining control of Link, walk up the stairs to the north. Following another short talk with Zelda, walk up the rounded staircase and go through the door. Walk straight ahead and Zelda comments about the giant doors…and then a massive Phantom appears! Princess Zelda then suggest that the two get out of there. Do just that…run back out of this room and you’ll appear back by Anjean.
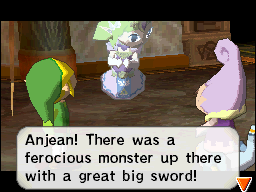
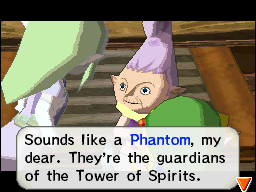
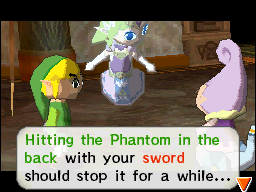
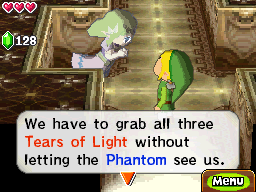
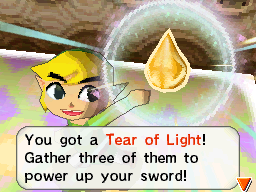
Anjean senses that Link looks a bit scared and once again takes a stab at Princess Zelda’s ghostly pale look. Anjean mentions that Phantoms once protected the Tower of Spirits but seem to be turned to the evil spirit. Anjean suggests an idea to Link. Link must first acquire three Tears of Light, at which he can then strike the phantoms in the back, which will cause them to freeze. Afterwards, you’ll regain control of Link. Walk up the stairs, then around the circular stairway, and back into the room where you faced the phantom.

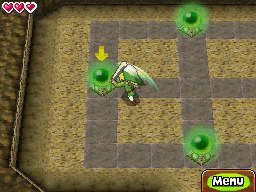
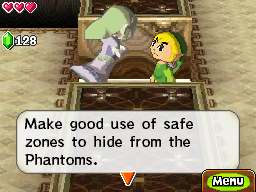
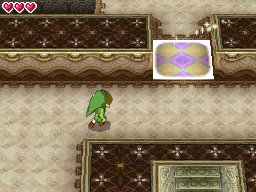
If you look at the map you’ll notice the phantom is now patrolling the inner portion of the room. The three Tears of Light are shown on your map as well. The first one to go after is on the left. Just follow the path along the map and run towards it. On your way, Princess Zelda will tell you that those shiny purple areas are safe zones. Anjean telepathically talks to you and tells you these areas are protected by the spirits. As long as you are in them, you are hidden from enemy view and enemies cannot enter the safe zones. Run across to the left side of the map and grab the 1st tear of light!

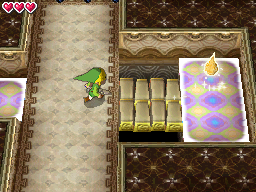
The second tear of light that we want to get is at the top of the map. It’s rather easy to get to and the Phantom should only be patrolling the right side of the screen at this point. Run towards it and grab the 2nd tear of light. The third tear is a bit more complicated. From where you collected the second tear, head straight to the right. There is a switch here that Link can strike with his sword. Doing so will create a small bridge that leads to the 3rd tear of light, but it is only up for a short period of time. Link will have to quickly run around the room through the inner portion of the room in order to reach the tear.

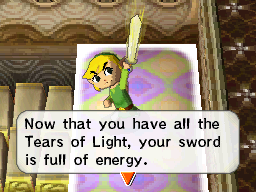
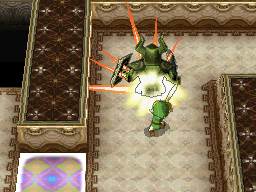
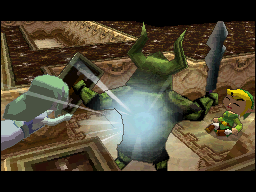
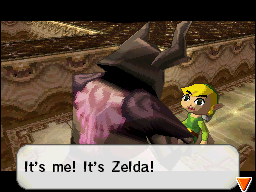
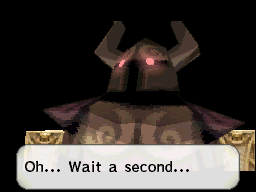
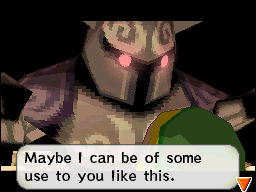
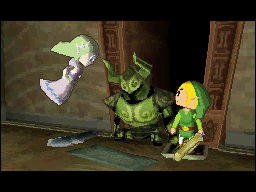
With all three Tears of Light, Link’s sword is now full of energy and he’s ready to attack Phantoms from behind. Run over to the phantom, trailing it from the back and once you are close enough, give it a quick stab. After hitting the phantom, it will freeze momentarily, but then quickly turn around and go to strike Link with its massive sword. The spirit of Princess Zelda attempts to save Link and flies into the phantom. This allows Princess Zelda to actually take control of the massive phantom! Link is still scared a bit, but Princess Zelda assures Link that it is her under that suit of armor. She mentions that perhaps she can be of use while in this massive armor.
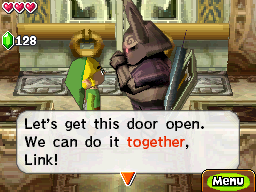
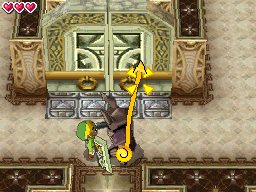
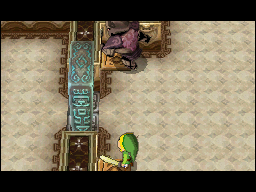
Now that Princess Zelda is controlling the phantom, the two of you together can push the massive door in the center of the room. Link can move the phantom just as he moved Princess Zelda when he was controlling her in the Hyrule Castle Courtyard. Tap the phantom and move her towards one of the doors and then Link will push the second door. Open the door and head up the stairs.
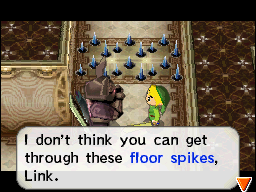
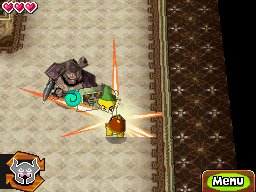
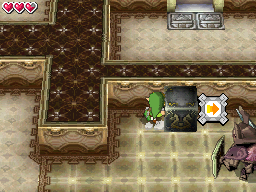
Walk to the right and you’ll see that spikes are blocking the path so Link cannot progress. However, the Phantom can walk over spikes. Control the phantom and trace a path over the spikes and hit the switch that is around the corner. Once the phantom hits the switch, the spikes will lower and allow Link to cross.


Run to the bottom-right corner of the map and defeat the two yellow spinuts that can be seen here. You’ll notice that there are two switches near a locked door. Call over the phantom and have her stand on one of the switches while Link stands on the second switch. Doing so simultaneously will open the door and allow Link to progress in this room.
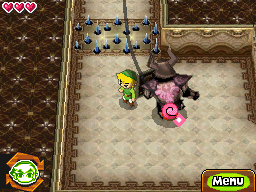
Have the phantom trail you and you’ll find rats running around that will surround the phantom. Princess Zelda is too scared to move any further so be sure to defeat the rats before progressing. There are an endless amount of rats that will come out of the small rat hole. Push the small block so it blocks the rat hole, preventing any more of them from torturing the helpless Phantom Princess Zelda.

There is a phantom standing guarding at the top-left area of this room. Send Princess Zelda over the spikes and have her hit the switch that is located just beyond the phantom. This will lower the spikes and allow Link to catch up. Now use Princess Zelda and talk to the phantom so it is facing northward. Run with Link and strike the phantom in its back to freeze the phantom. Quickly walk northwards into the safe zone and head up the stairs with Phantom Zelda.


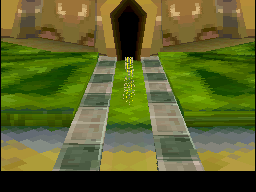
At the 3rd floor, Princess Zelda will leave the phantom’s body and the phantom will disappear. Link will also lose the ability in his sword. This signifies that the floor is safe from phantoms and is actually the last floor of the Tower of Spirits…for now. Walk up the stairs and collect the Forest Rail Map! This will restore at least some of the Spirit Tracks located in this area of the map! A small scene is shown just outside the Tower of Spirits and the Spirit Tracks are reforming! A blue portal appears nearby. Walk into the portal and Link will be sent back to the tower lobby where Anjean is located.
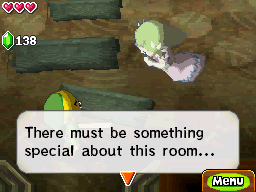

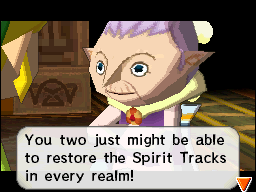
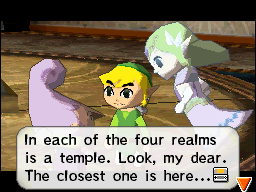
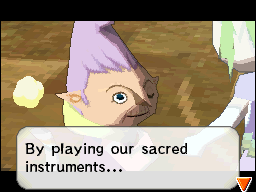
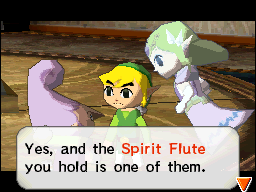
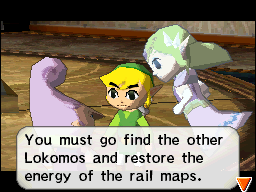
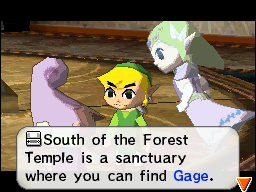
Talk to Anjean and it will trigger another scene. Anjean seems to have quite the confidence in Link and Princess Zelda! Anjean will point to where the nearest temple is, but unfortunately we can’t quite make it to this area yet and still have a ways to go. Anjean mentions that she is a member of the Lokomo tribe, and that there are others who can be used to help restore the rail maps and in turn, more of the Spirit Tracks in the regions. The Lokomo have special instruments and by playing them, they can generate energy that powers the Spirit Tracks. Anjean also mentions that the Spirit Flute that Link holds is one of those sacred instruments. It turns out it was Anjean who originally gave the Spirit Flute to Zelda’s ancestors. Anjean instructs Link and Zelda to go the Forest and speak with the Lokomo Gage.
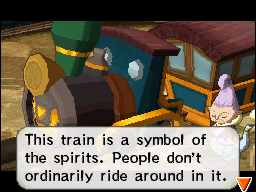
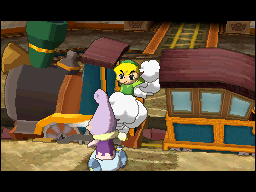
After realizing that they do not have a train, Anjean grants them access to the Spirit Train. She performs some magic to turn this apparent statue into an actual train that is lowered onto rails and ready to be used. Link and Zelda jump on board, the ground rotates, and off they go! That concludes chapter 1 of the Spirit Tracks Walkthrough!
- Chapter 1 – The Beginning
- Chapter 2 – The Forest Realm
- Chapter 3 – Tower of Spirits 2
- Chapter 4 – The Snow Realm
- Chapter 5 – Tower of Spirits 3
- Chapter 6 – The Ocean Realm
- Chapter 7 – Tower of Spirits 4
- Chapter 8 – The Fire Realm
- Chapter 9 – Tower of Spirits 5
- Chapter 10 – The Sand Realm
- Chapter 11 – Tower of Spirits 6
- Chapter 12 – The Dark Realm
