Category:Twilight Princess Bosses
Jump to navigation
Jump to search
Want an adless experience? Log in or Create an account.
Here is a listing of all of the bosses found within The Legend of Zelda: Twilight Princess.


- [[Twilight Princess]]
- [[Twilight Princess Bosses]]
- [[Bosses]]
Pages in category "Twilight Princess Bosses"
The following 11 pages are in this category, out of 11 total.
Media in category "Twilight Princess Bosses"
The following 3 files are in this category, out of 3 total.
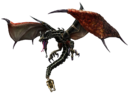
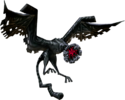
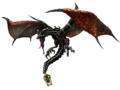 Argorok.png 800 × 600; 314 KB
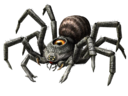
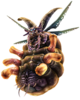
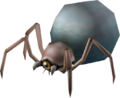 Baby Gohma.png 681 × 556; 183 KB
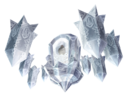
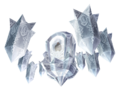 Blizzeta.png 800 × 600; 437 KB


