- The Gathering
- Level 1: The Eagle
- Level 2: The Moon
- Level 3: The Manji
- Level 4: The Snake
- Level 5: The Lizard
- Level 6: The Dragon
- Level 7: The Demon
- Level 8: The Lion
- Level 9: Death Mountan
5.1 Extra Heart Container
In the previous dungeon we acquired the Raft, which allows us to do two things in the Overworld. One is reach a future dungeon, the Lizard. The other optional use allows us to acquire a heart container.
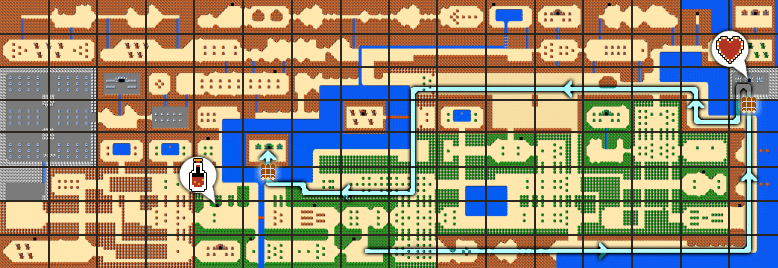
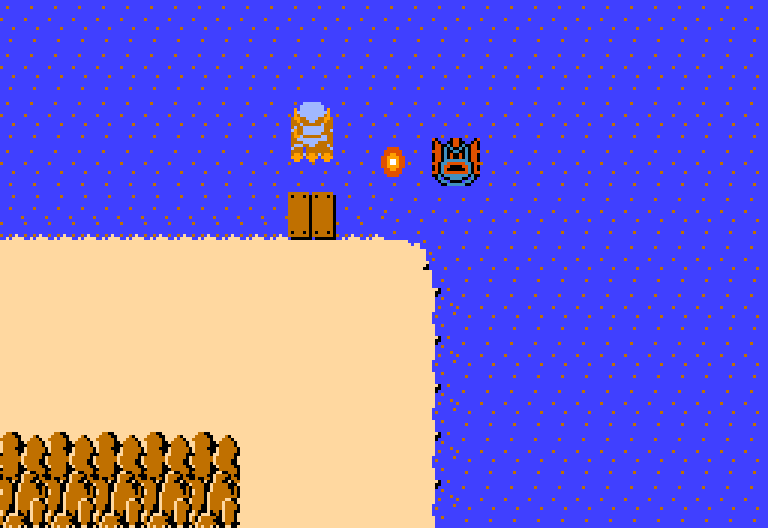
Return to the starting screen and from there travel easy eight screens all the way to the far coastline. From there travel north four screens to reach a dock. Simply walk on to the dock and the raft will carry up a screen. Enter the cave and the Old Man offers a 2nd Potion or a Heart Container. Choose the Heart Container to increase your overall health.
The next dungeon is located not far from the previous dungeon. Cross the dock on the raft and then travel left a screen, up a screen, left six screens, down three screens, and left three screens. Walk across the dock again to get onto the island. Enter the building to take on the fourth dungeon, The Snake.
If you are having trouble with the dungeon, the nearest potion shop is the same one from the previous dungeon. From the dock, just travel down a screen and left a screen.

5.2 The Snake


x12
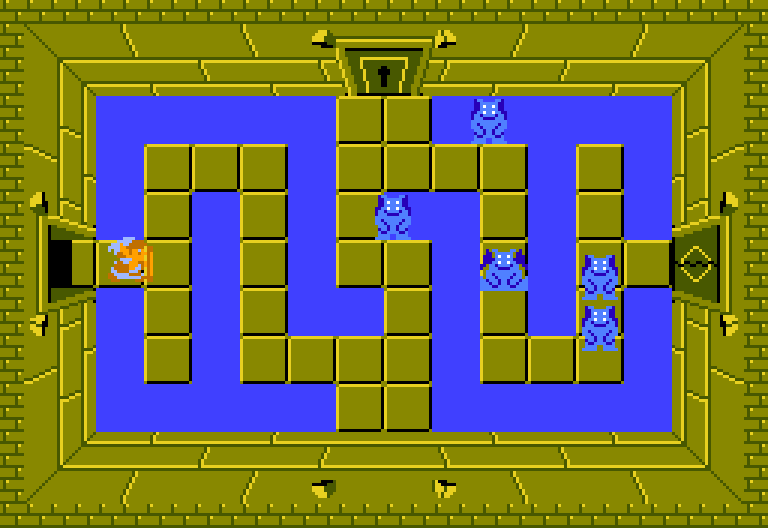
From the start screen go through the door on the left.


x8
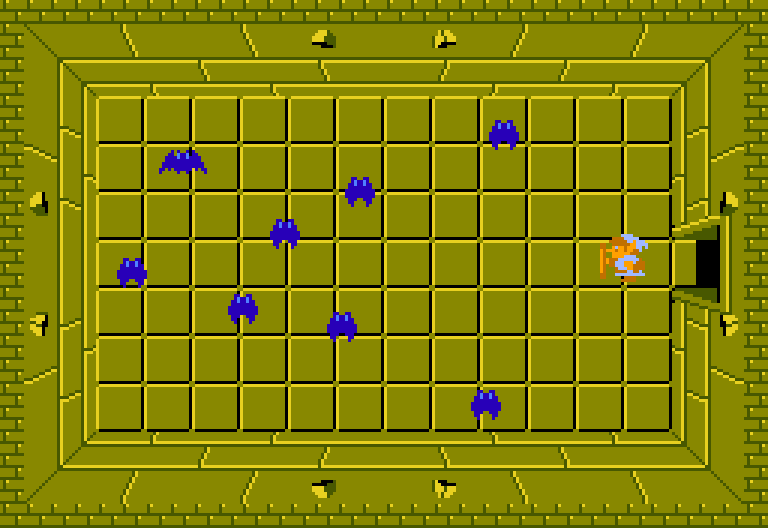
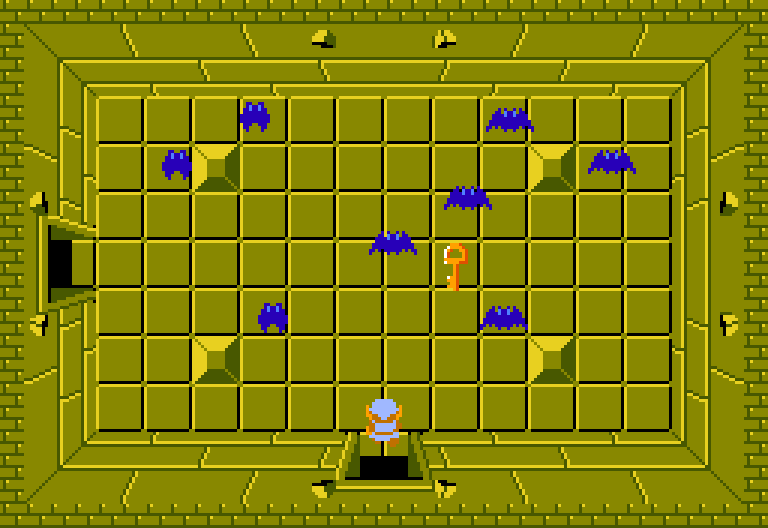
Defeat the eight Keese here and grab the key that is left behind. Travel back right a screen and then up a screen.


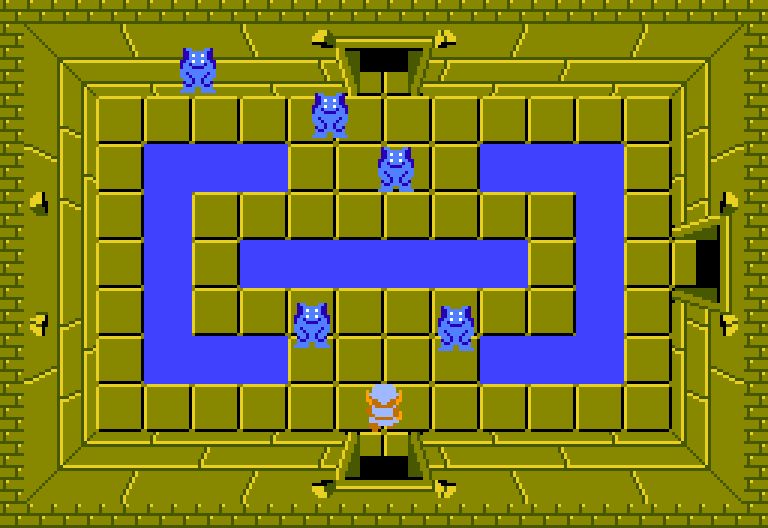
x3
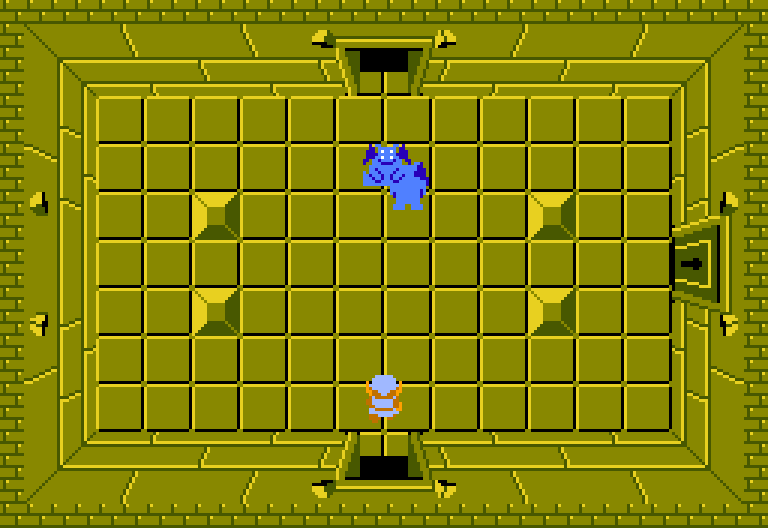
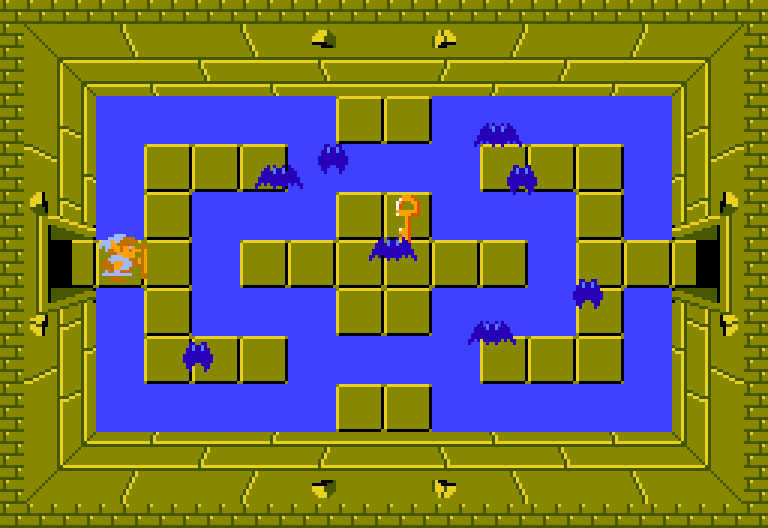
Here you will encounter a new enemy known as a Vire. These creatures will hop around the room and are best avoided if at all possible. If you slash at them with your sword, they will split into two smaller red Keese. These red Keese are identical to their blue counterparts. Use a key and head through the door to the right.


x5
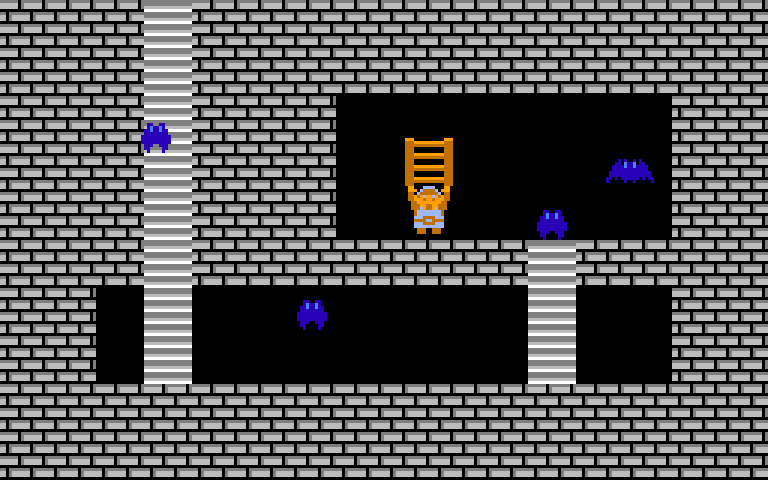
 Once you enter this room, it will be dark, so use the Blue Candle if you have it to light up the room. Navigate the maze to grab the Compass and then head back left a screen. From there continue up through the next door.

x8
Grab the key that is here and then head left a screen.

x5
Another dark room can be found here. Light up the room and then head up a screen.


x5
Light up the room and then collect the key. Continue up to the next room.

x3

x2
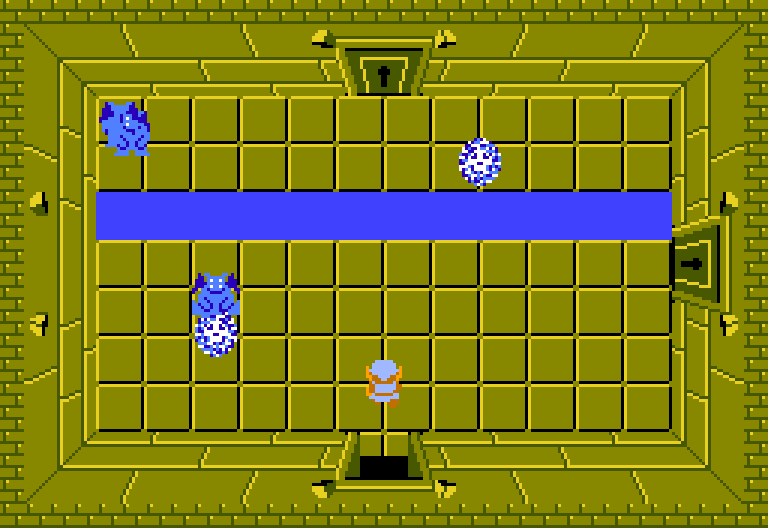
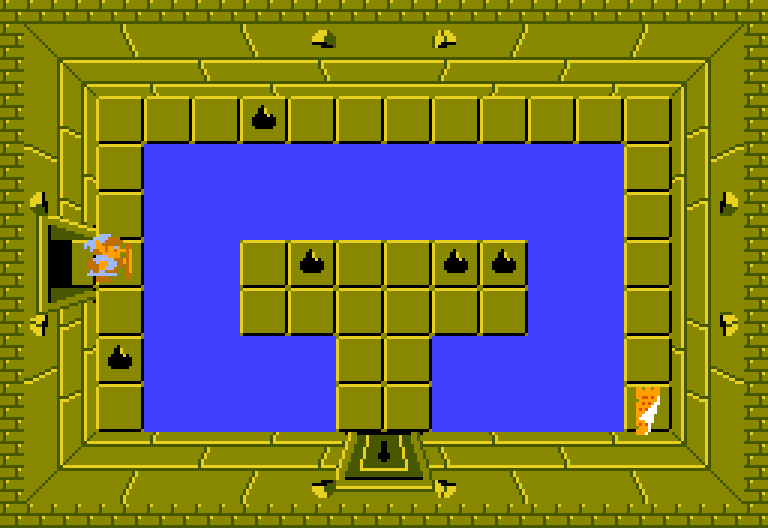
Light up the room and you’ll find that water is blocking your pathway heading up. We need to acquire the dungeon item to get passed this obstacle. Use a key and head through the locked door on the right.

x5
Defeat the five Vire in this room and the Keese that appear to open up the door on the right. The locked door above leads to a completely useless room, so don’t waste a key. Continue onward through the door to the right.


x2
x2
x2
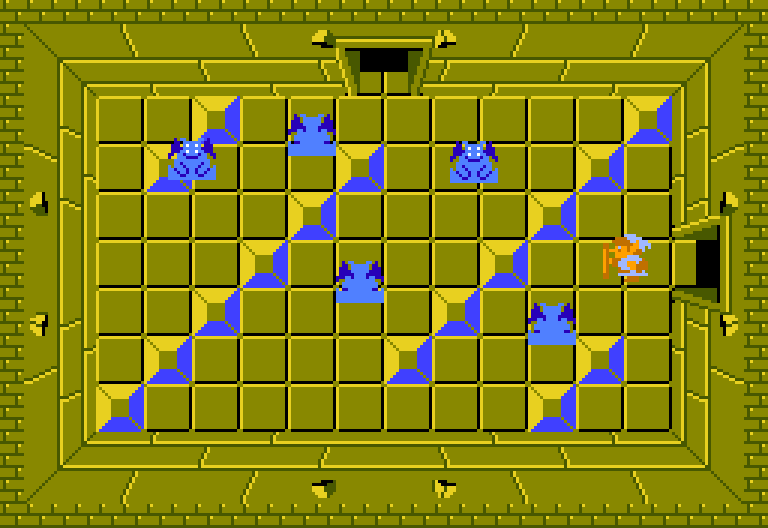
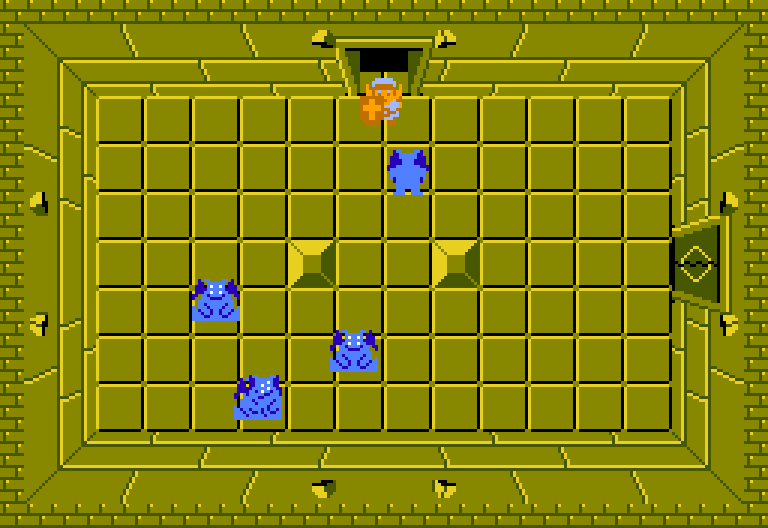
Here you will encounter a new enemy known as a Like-Like. These enemies move rather slow, but if they come into contact with Link, they will gobble him up and if he’s inside for a few moments, the enemy will eat Link’s Magical Shield. Keep your distance when at all possible and use safe attacks. After both Like-Likes and both Zols have been defeated, you can push the block on the left to reveal a staircase.

x4
Avoid the Keese and pick-up the dungeon item, the Stepladder. This will allow you to step over small paths of water. Climb back up the steps and backtrack to the left two screens. Use the ladder to step across the water and then use a key on the locked door.

x5
Avoid the Vires that are in this room and head to the right a screen.


x5
Make your way around the room and pickup the Dungeon Map. If you have Bombs, you can blast a hole in the wall to the north, leading to a secret Rupee room, and also allowing you to bypass some rather difficult rooms ahead. The rupee room has secret walls on all four sides. If not, you can backtrack left and up a screen.


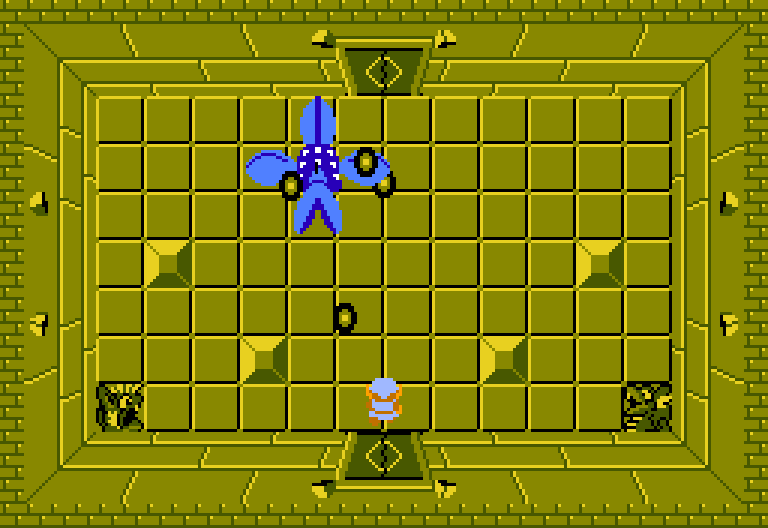

x1
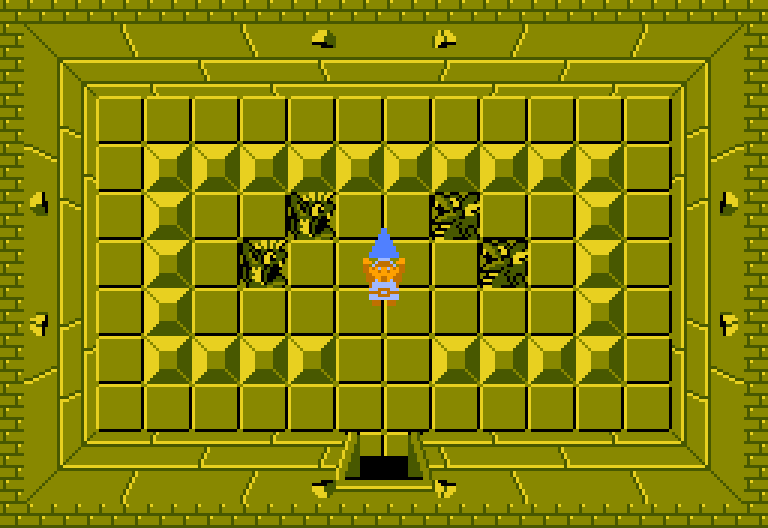
Here you will take on Manhandla. This time the battle is more difficult as there are blocks in the room that prevent your movement. If you have bombs, use them, but if not, just go at it with your sword. Grab the bombs once Manhandla has been defeated. You can use them on the right side to get to the Rupee room, or preserve them and just head up a screen.


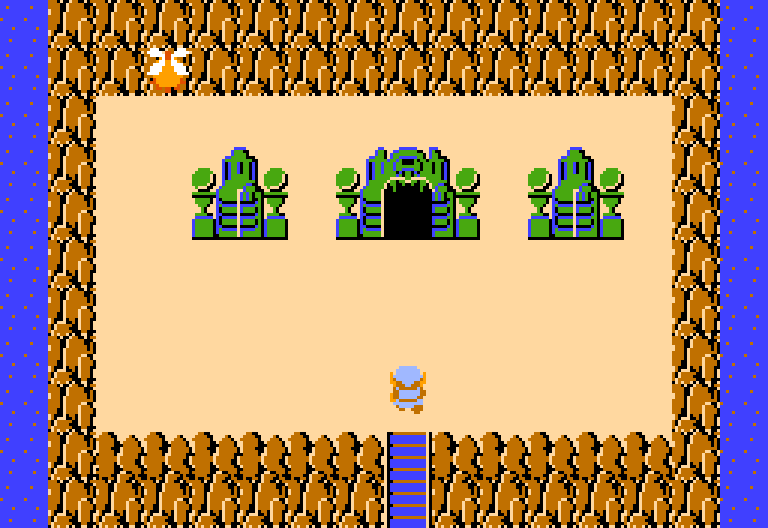
The Old Man here gives you some advice, Walk Into The Waterfall. This will leads to another clue, which gives the location of the fifth dungeon of the game. Use a key and head through the door to the right.

x8
Light up the room and run over and grab the key. You can blast open the wall below to get to the Rupee room, but otherwise, just continue onward to the room to the right.


x6
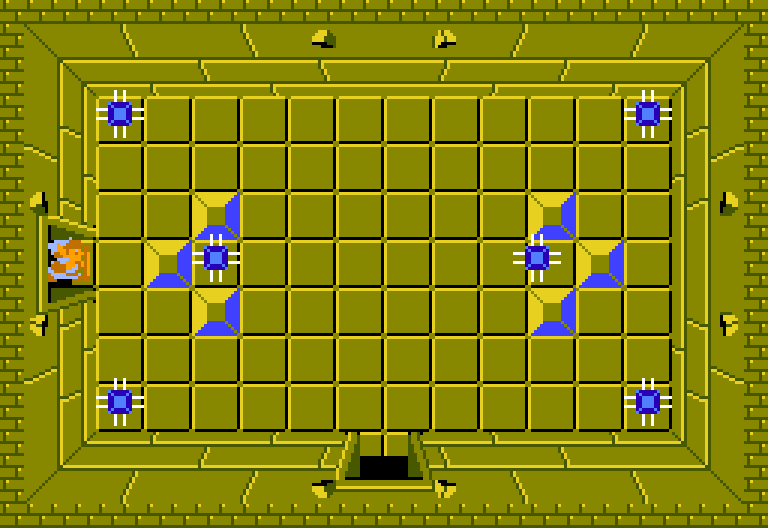
Watch out for the Blade Traps and head down a screen.

x5
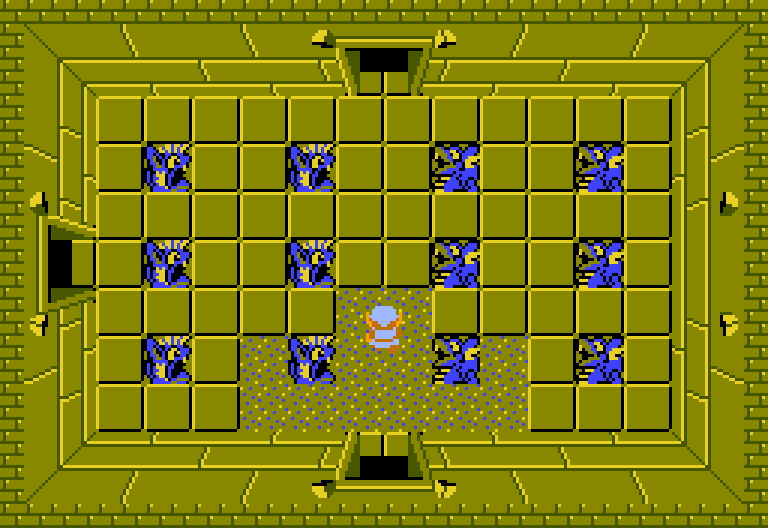
Here is another one of the few rooms where you must defeat the enemy Vires. Defeat them, along with all the Keese that spawn. Push the block on the left to unlock the door and head right to take on the dungeon boss.


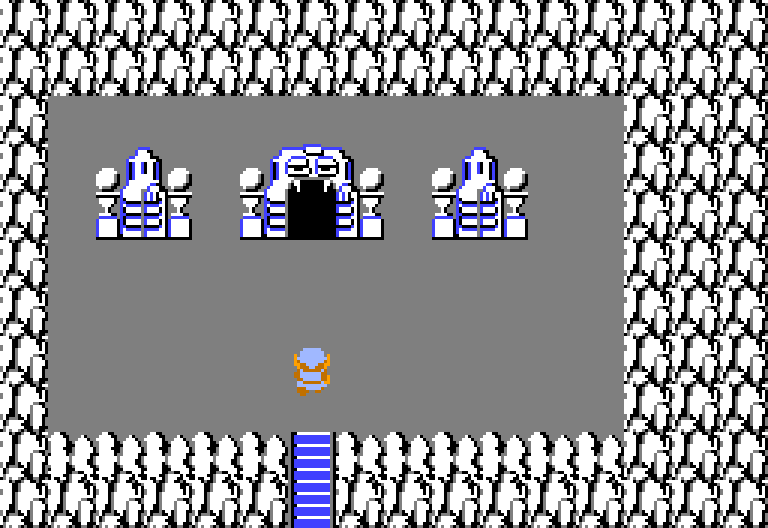
The two-headed dragon Gleeok can be found here as the dungeon boss. Gleeok will shoot fireballs out towards Link and these cannot be blocked so try to avoid them. Run close to the enemy and slash away with your sword. Keep on the move and avoid the fireballs as best as you can. After enough hits to one of its heads, it will break off from the rest of its body and will start to bounce around the room, making it yet another hazard to deal with. Continue slashing away until the second and final head has been defeated.
After defeating him, grab the Heart Container that is left behind to increase your overall life meter.