- The Gathering
- Level 1: The Eagle
- Level 2: The Moon
- Level 3: The Manji
- Level 4: The Snake
- Level 5: The Lizard
- Level 6: The Dragon
- Level 7: The Demon
- Level 8: The Lion
- Level 9: Death Mountan
3.1 Getting to Level 2
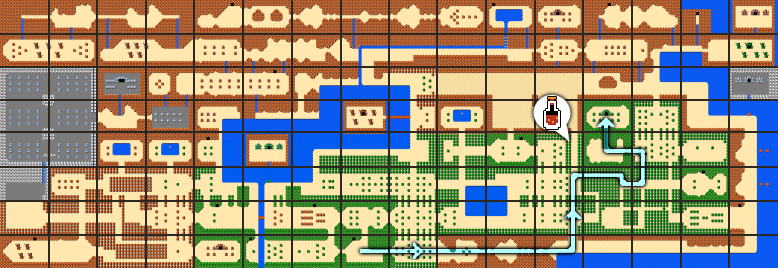
The route to the second dungeon is fairly straight forward and there is nothing additional for us to do in the Overworld. If you haven’t acquire the few extra upgrades and heart containers, check out the first chapter of the guide.
From the start screen, walk right four screens, up two screens, right two screens, up a screen, left a screen, and up a screen to reach the dungeon. The pathway has you encountering a number of rather simple Overworld enemies including Octoroks, Tektites, Zolas, Leevers, and Moblins.
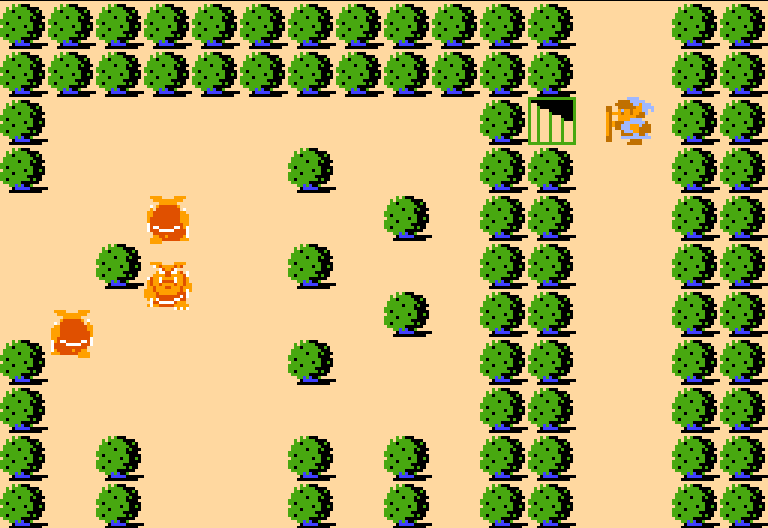
If you are having trouble making it through the second dungeon, a potion shop is nearby. From the dungeon, head down a screen, right a screen, down a screen, left two screens, and up a screen along the right side. Use the Blue Candle to burn down the bush that is third from the top on the left side of this pathway.
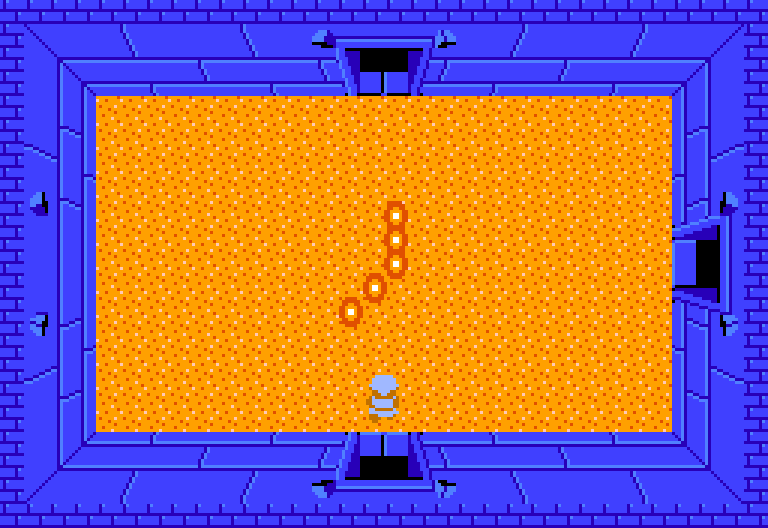
3.2 The Moon
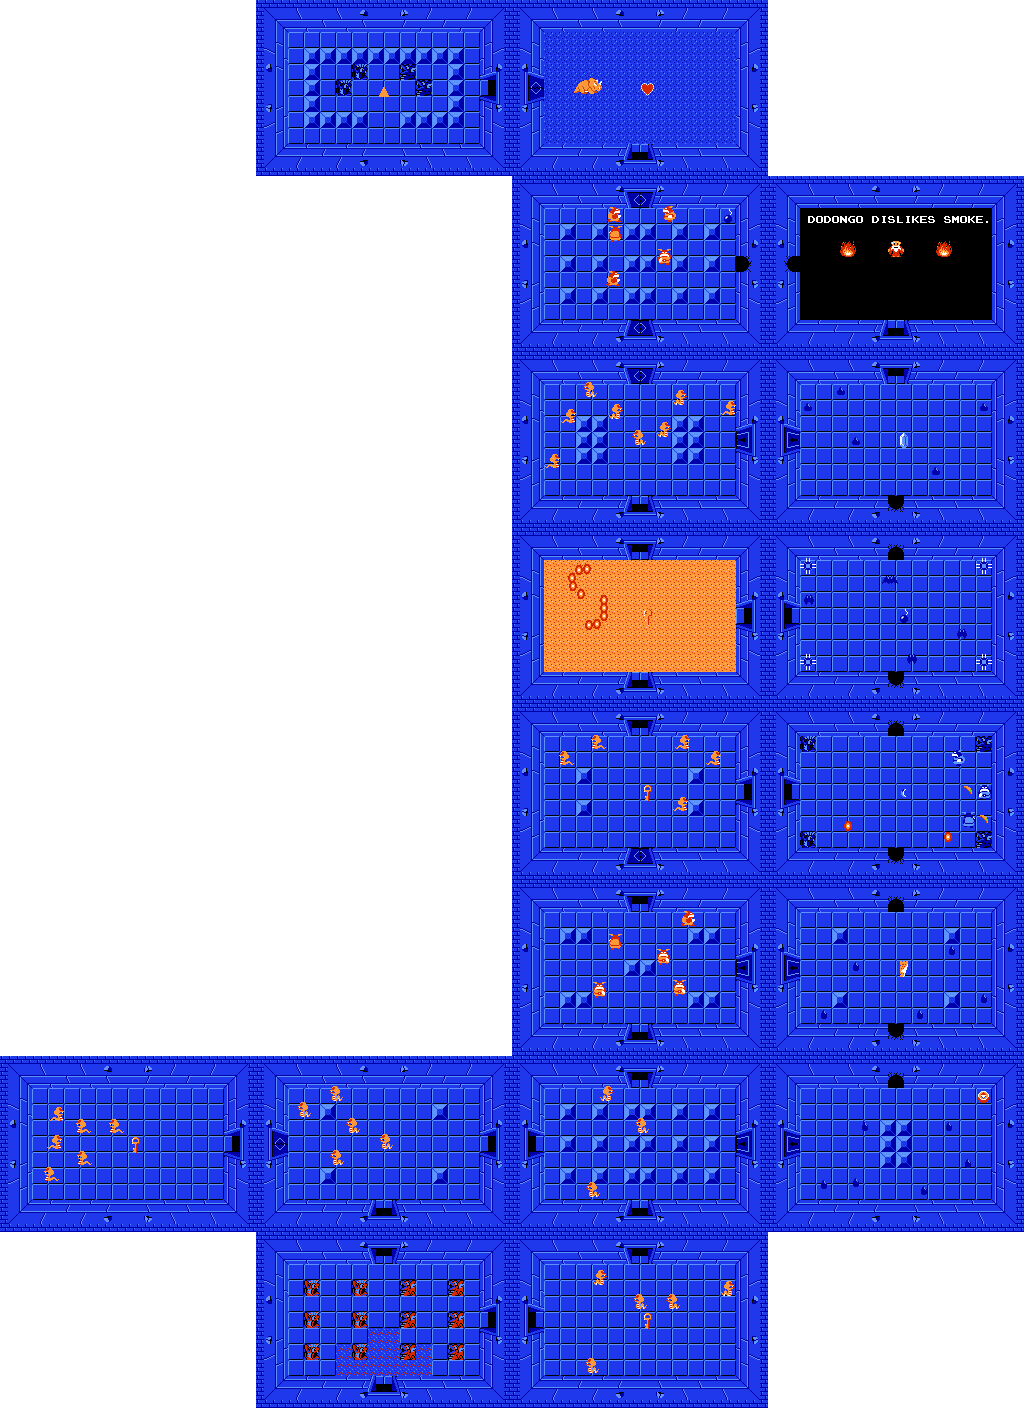


x12
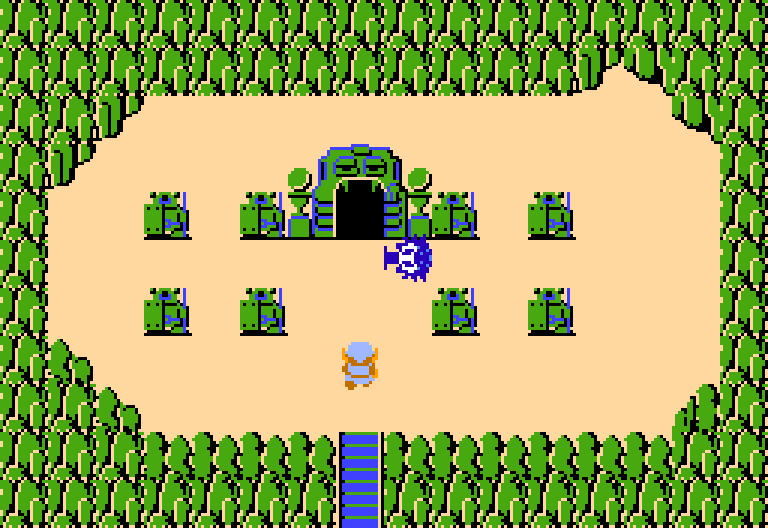
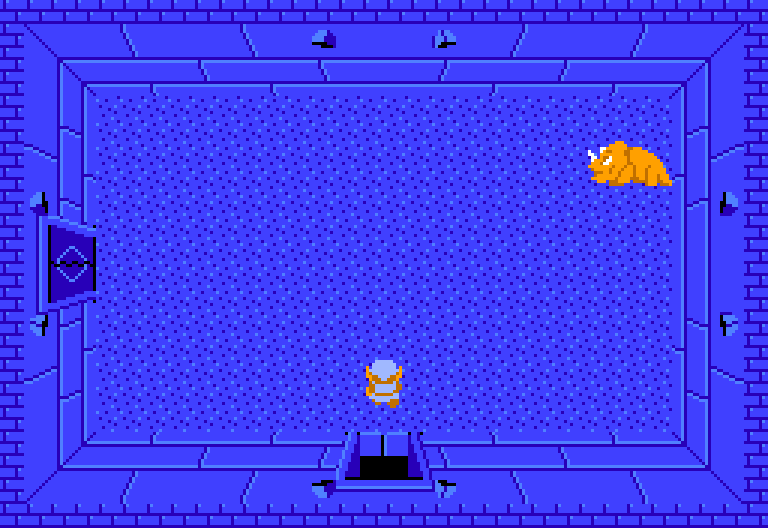
From the start screen, head up through the door above.


x5
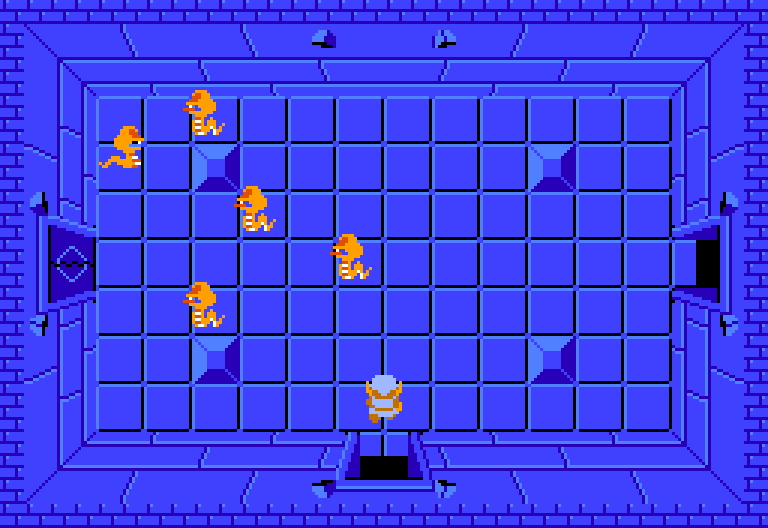
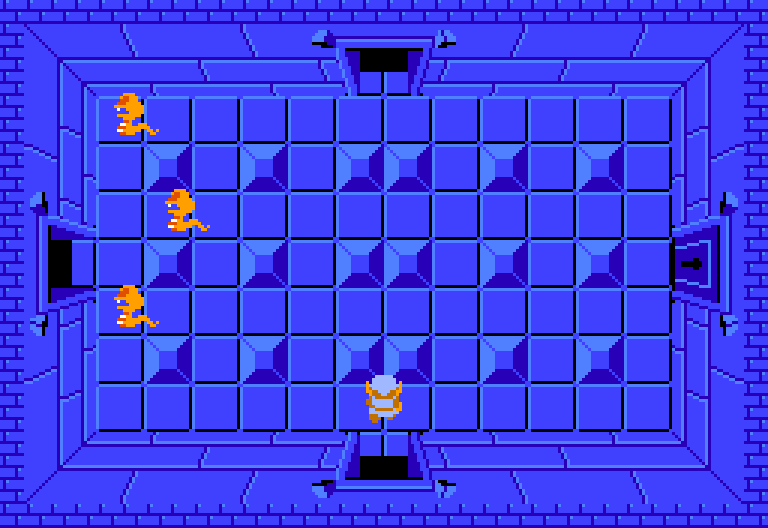
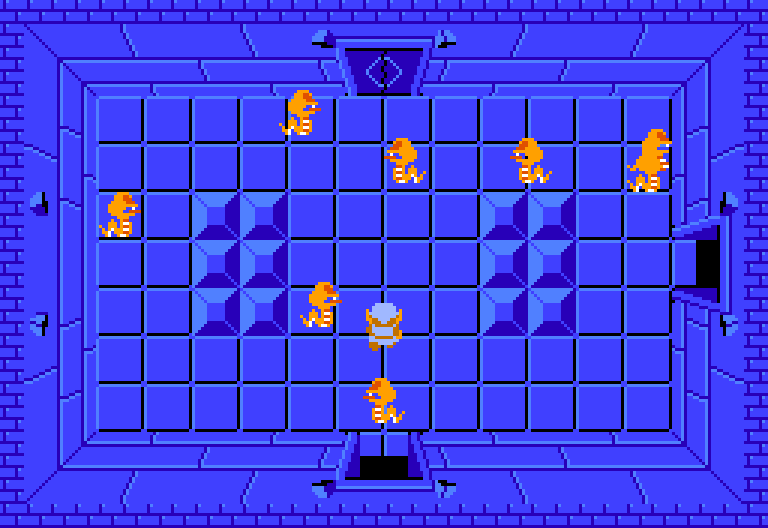
Here you will find an enemy known as a Rope. A strange name indeed considering they are snakes. They will wander around but once you are in their direct line of sight, they will quickly run over. Defeat them with a simple sword slash and they usually drop nice rewards. Go through the door to the left that opens up.


x6
There are six more Ropes in this room and once they have all been defeated, a key will be left behind. Grab it and then return to the entrance of the dungeon. This time take the pathway on the right.


x5
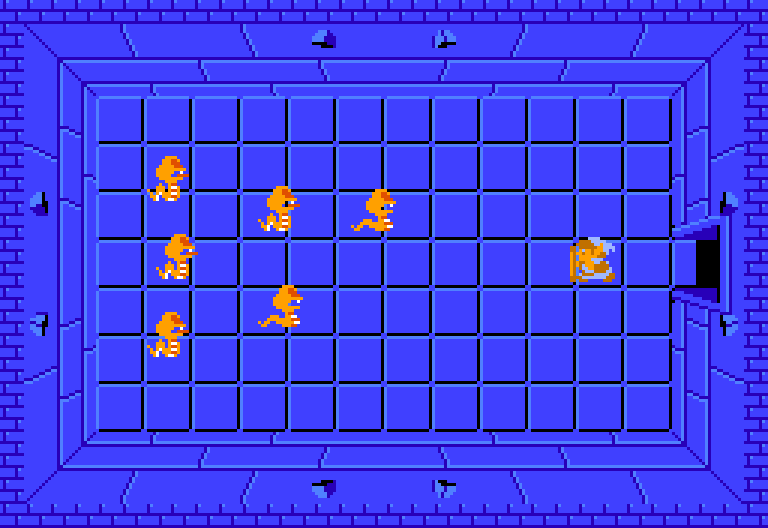
Five more Ropes can be found here and once they have all been defeated, another key will appear. Grab it and then head up a screen.

x3
Three more Ropes appear in this room, but you can just avoid them. Use a key to head through the locked door to the right.


x6
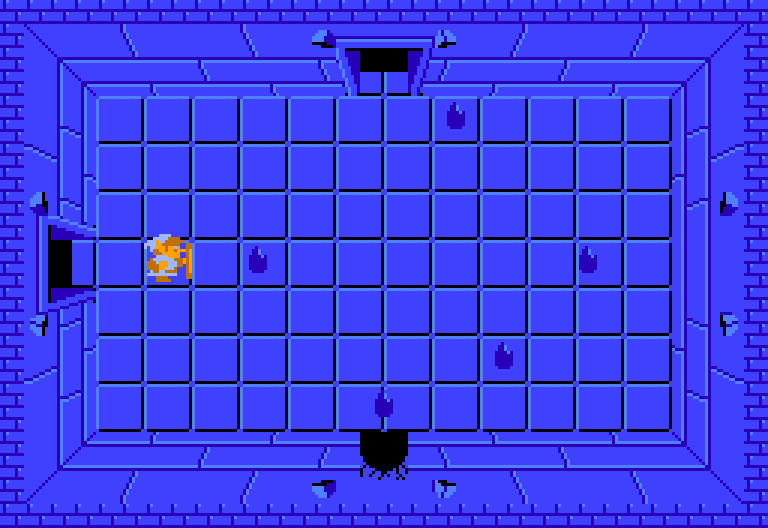
This room has six Gel but there is no need to defeat them. The Compass can be found at the corner of the room. You can bomb the north wall if you’d like, as it creates a shortcut and will save you a key. If you don’t have any bombs return left a screen and then head up.


x5
The five Red Goriya in this room do not need to be killed and you can advance through the locked door on the right. Strangely enough, one of the Goriya in this room, if defeated, will cause all five of them to be defeated immediately, giving you all the spoils without having to do the work.


x5
Five more Gel in this room and you can avoid these guys as well. Grab the Dungeon Map. You can once again bomb the northern wall here as a shortcut, but if you don’t have any bombs, return left a screen and then head up.

x5
The door behind you will close once you enter this room. Defeat the five Rope enemies and the door will re-open. Grab the key and then head right a screen.


x3
x4
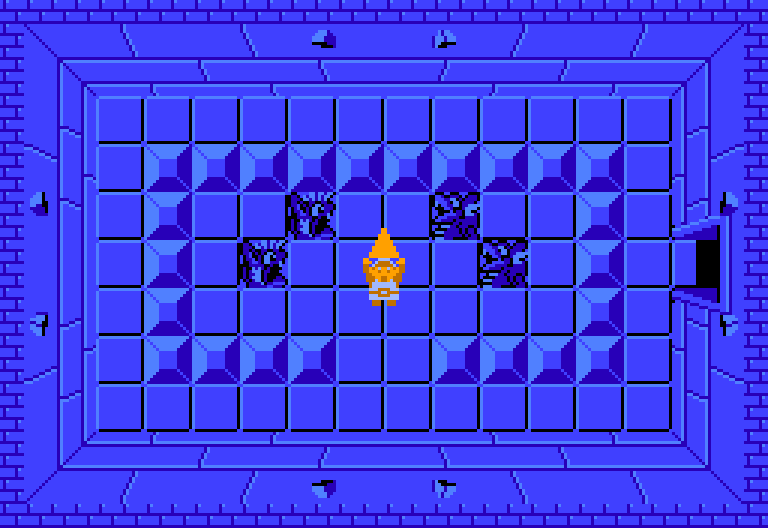
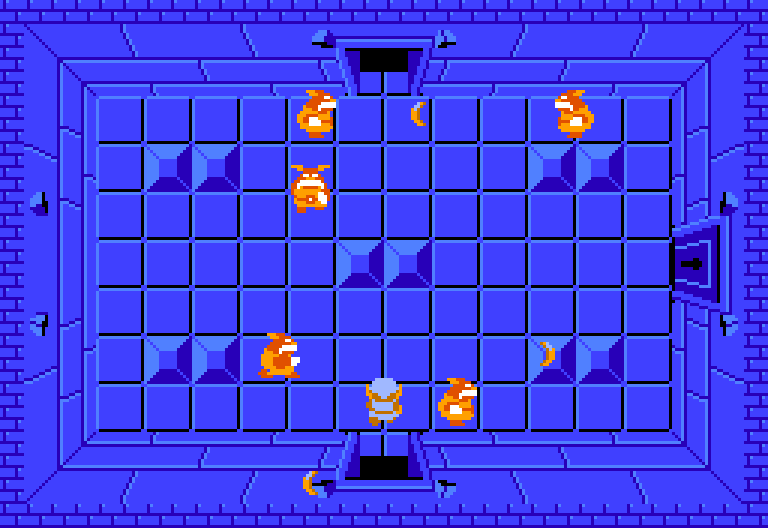
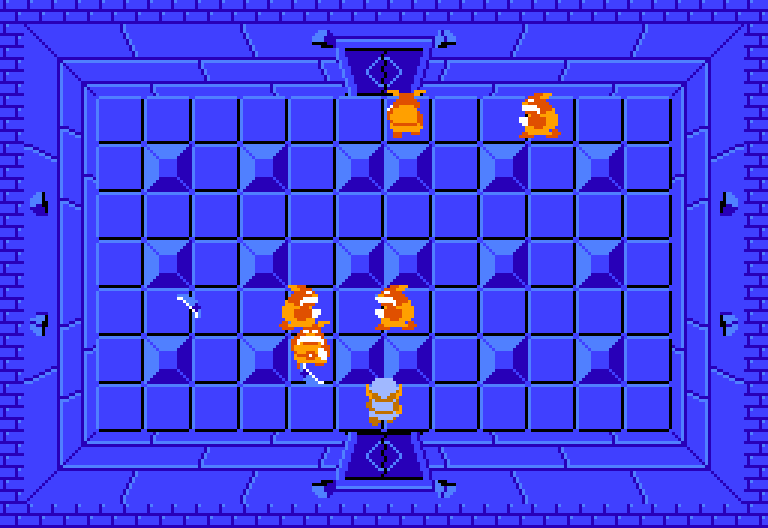
Here you will encounter the Blue variant of the Goriya. These guys are a bit tougher and will take a few extra hits. Additionally, this room has four Stone Statue enemies. These statues can shoot beams out towards you. Avoid the beams and defeat the Goriyas to get the Magical Boomerang. This upgraded boomerang will extend across the full screen, allowing you to stun and defeat enemies from much further away. It is a bit odd that we get the upgrade so soon after getting the initial boomerang, but oh well.
This room is another room that has a secret wall to the north, so use a bomb to blast it open. If you have no bombs, head left a screen and then up a screen.


x1
Here you will encounter a new enemy known as a Moldorm. Each time you hit the enemy a part of its body will fall off and you can repeat this process until the full enemy has been defeated. Grab the key that is left behind and then head right a screen.


x4

x4
This room has a few Blade Traps and Keese. You can use your newly acquire Magic Boomerang to get red of the four Keese. Upon defeating all four of them, some Bombs will be left as a reward. Grab them and you can use one to blowup a secret pathway to the north. Alternatively, if you want to preserve your bombs, backtrack left a screen and up a screen.

x8
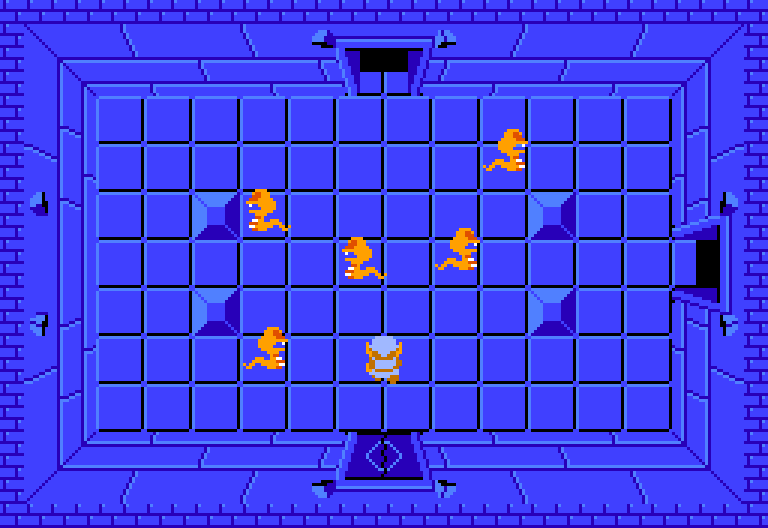
Defeat all the Ropes in this room to unlock the door ahead. Before progressing in that direction, take the door to the right.


x4
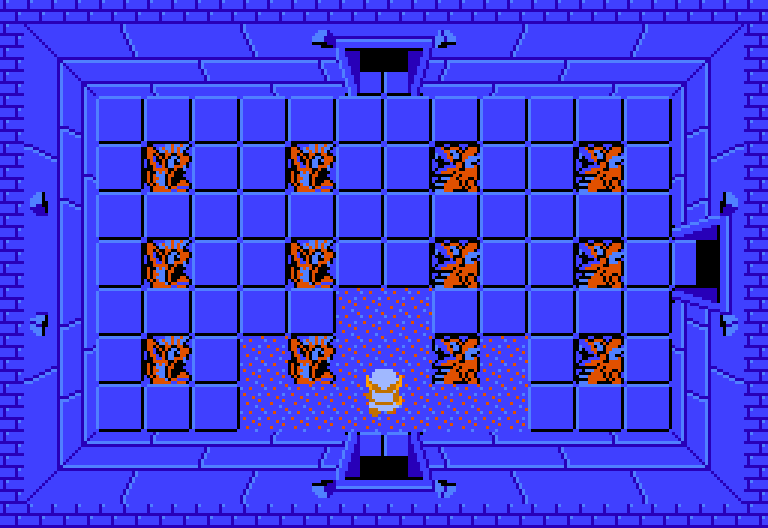
Here you will find four Gels. Once they have been defeated some rupees will be dropped as a reward for you. If you head up through the door, you’ll find the Old Man who gives you a hint about the upcoming boss: “Dodongo Dislikes Smoke”. Backtrack left a screen and up a screen.

x5
Defeat the five Red Goriya in this room and they will leave behind some bombs, which is great as we need them for the room ahead. Also, while completely useless, you can bomb the wall to the right to quickly reach the room with the Old Man. Progress up through the door to take on the dungeon boss.


Dodongo will walk around the room in a random pattern and doesn’t really have any particular attacks. Your sword does no damage to the boss and the only way to do damage is with bombs. The best bet is to get as close to Dodongo as you can as it is walking towards you and drop a bomb in its pathway. You want to get close enough so that you are almost placing the bomb in its mouth. Dodongo will gobble up the bomb and it will explode, doing damage to the boss. Repeat this process once again to defeat Dodongo.
After defeating it, grab the Heart Container that is left behind to increase your overall life meter.