Anedamimik Shrine: Difference between revisions
Jump to navigation
Jump to search
Video Walkthrough of Anedamimik Shrine
Want an adless experience? Log in or Create an account.
mNo edit summary |
No edit summary |
||
| (8 intermediate revisions by 5 users not shown) | |||
| Line 1: | Line 1: | ||
{{Infobox| | {{Infobox|shrine | ||
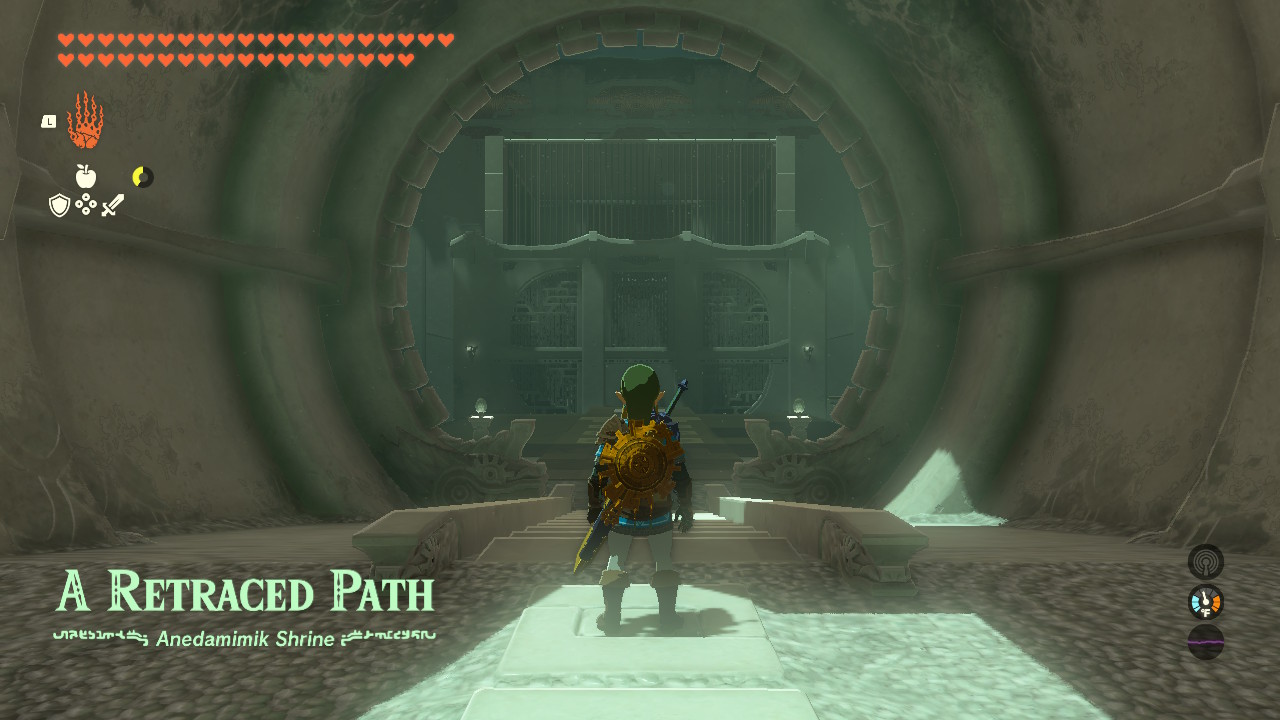
| image = | | image = [[File:TotK Anedamimik Shrine.jpg]] | ||
| caption = | | caption = | ||
| game = ''[[The Legend of Zelda: Tears of the Kingdom|Tears of the Kingdom]]'' | | game = ''[[The Legend of Zelda: Tears of the Kingdom|Tears of the Kingdom]]'' | ||
| Line 6: | Line 6: | ||
| location = | | location = | ||
| pointsint = | | pointsint = | ||
| counterpart_header = Depths Counterpart | |||
| counterpart = [[Kimimadena Lightroot]] | | counterpart = [[Kimimadena Lightroot]] | ||
| reward = [[Light of Blessing]] | | reward = [[Light of Blessing]] | ||
| item = [[Large Zonai Charge]] | | item = [[Large Zonai Charge]] | ||
| related = | | related = | ||
| type = [[Shrine of Light]] | |||
}} | }} | ||
| Line 20: | Line 22: | ||
==A Retraced Path== | ==A Retraced Path== | ||
* Hit the stone at the front to retract the | * Hit the stone at the front to retract the slope. | ||
* Use Recall on the | * Walk to the right side of the room and use [[Ascend]] to access the [[Treasure Chest]] containing a [[Large Zonai Charge]]. | ||
* Hit the stone again and wait for a sphere to fall out. | |||
* Retract the slope again by hitting the stone once again. | |||
* Use [[Recall]] on the sphere to send it back to the start of its path, which will insert it into the hole. | |||
* While still in Recall, pass through the gate to the altar to get your reward. | * While still in Recall, pass through the gate to the altar to get your reward. | ||
==Video Walkthrough== | |||
{{Youtube|5ipw8j4yceU|360|Video Walkthrough of Anedamimik Shrine}} | |||
{{Clear}} | |||
==Gallery== | ==Gallery== | ||
<gallery widths="400px" heights="220px"> | |||
File:Anedamimik-Shrine-1.jpg|<center>Use [[Ascend]] on the right side to reach the chest that has a [[Large Zonai Charge]]</center> | |||
File:Anedamimik-Shrine-2.jpg|<center>Allow the large [[Orb]] to fall down</center> | |||
File:Anedamimik-Shrine-3.jpg|<center>Use [[Recall]] on the orb</center> | |||
File:Anedamimik-Shrine-4.jpg|<center>Slash the switch to change the orientation of the room on the right wall</center> | |||
File:Anedamimik-Shrine-5.jpg|<center>Run to the door and wait for the orb to go into the hole, opening the gate to the altar</center> | |||
</gallery> | |||
{{Listbox|Tears of the Kingdom Shrines}} | |||
{{Cat|Tears of the Kingdom Shrines}} | {{Cat|Tears of the Kingdom Shrines}} | ||
{{Cat|Tears of the Kingdom Necluda Shrines}} | |||
Latest revision as of 20:53, February 20, 2024
Anedamimik Shrine

Games | ||
Depths Counterpart | ||
Items | ||
Rewards | ||
| Attributes | ||
|---|---|---|
Type | ||
Anedamimik Shrine, also known as A Retraced Path, is a Shrine of Light from Tears of the Kingdom.
The Shrine is located east of Hateno Ancient Tech Lab, inside Deepback Bay Cave.
Requirements
To unlock the shrine, you must drain the water surrounding it. Go down the side of the cliff beside the shrine, where you will find a Like Like and a protrusion of stone. In the ceiling above the protrusion, there are breakable rocks. Destroy the rocks to drain the water.
A Retraced Path
- Hit the stone at the front to retract the slope.
- Walk to the right side of the room and use Ascend to access the Treasure Chest containing a Large Zonai Charge.
- Hit the stone again and wait for a sphere to fall out.
- Retract the slope again by hitting the stone once again.
- Use Recall on the sphere to send it back to the start of its path, which will insert it into the hole.
- While still in Recall, pass through the gate to the altar to get your reward.
Video Walkthrough
Video Walkthrough of Anedamimik Shrine
Gallery
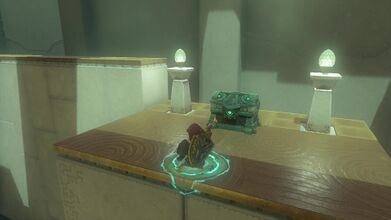
Use Ascend on the right side to reach the chest that has a Large Zonai Charge 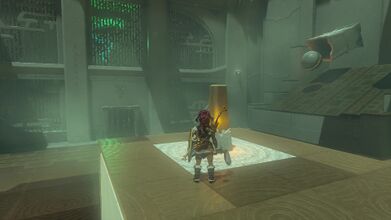
Allow the large Orb to fall down 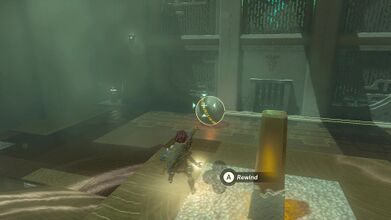
Use Recall on the orb 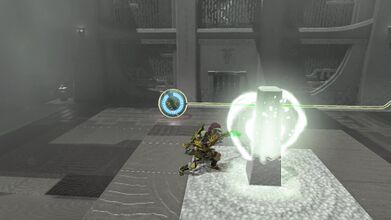
Slash the switch to change the orientation of the room on the right wall 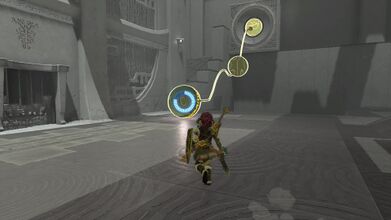
Run to the door and wait for the orb to go into the hole, opening the gate to the altar


