Explosive—Handle With Care: Difference between revisions
Jump to navigation
Jump to search
Want an adless experience? Log in or Create an account.
mNo edit summary |
No edit summary |
||
| Line 2: | Line 2: | ||
{{stub}} | {{stub}} | ||
{{Infobox|scenario | {{Infobox|scenario | ||
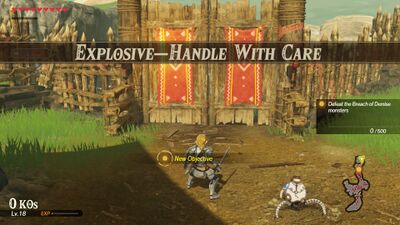
| image = | | image = [[File:Explosive—Handle-With-Care.jpg|400px]] | ||
| caption = | | caption = | ||
| number = Recommended Level Lv. 1 - Lv. 10:<br/>Challenge 3 | | number = Recommended Level Lv. 1 - Lv. 10:<br/>Challenge 3 | ||
Revision as of 18:08, November 20, 2020
| Spoiler Alert! This article describes a subject that is sensitive to plot development. |
| This article is a stub. You can help the Zelda Dungeon Wiki by expanding it. |
Explosive—Handle With Care

Number | Recommended Level Lv. 1 - Lv. 10: | |
Games | ||
Stage | ||
Previous | ||
Mini-bosses | ||
Enemies | ||
Rewards | First Clear: Ethereal Stone (1), Big Hearty Radish (10), Rugged Rhino Beetle x10, Random weapon | |
Warriors | Any unlocked | |
Recommended Level | Lv. 6 | |
"Monsters have appeared near the Breach of Demise. There are bomb barrels nearby—meant for mining—but they'd probably be effective against monsters too..."
— In-game description
Explosive—Handle With Care is the third challenge scenario of Hyrule Warriors: Age of Calamity, unlocked by completing Mastering Remote Bombs. It is the final Challenge available in the free demo version.
- Victory Condition: Defeat the monsters of the Breach of Demise
- Defeat Condition: No defeat conditions
Missions
- Defeat the Breach of Demise monsters (500)
- Defeat the Moblins (5)