- Chapter 1 – Eastern Palace
- Chapter 2 – House of Gales
- Chapter 3 – Tower of Hera
- Chapter 4 – Hyrule Castle
- Chapter 5 – Thieves’ Hideout
- Chapter 6 – Desert Palace
- Chapter 7 – Dark Palace
- Chapter 8 – Swamp Palace
- Chapter 9 – Skull Woods
- Chapter 10 – Turtle Rock
- Chapter 11 – Ice Ruins
- Chapter 12 – Lorule Castle
8.1 Bomb Flower
NOTE: This chapter covers the Swamp Palace. However, almost any of the other Lorule Dungeons can be played at this time. This is just one of the many possible orders to complete the dungeons.
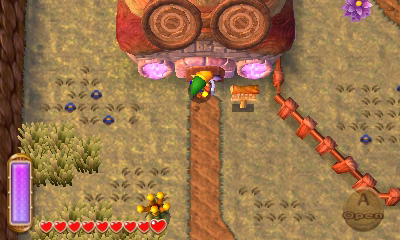
The Swamp Palace is located at the south-central portion of Lorule. However, it is flooded with water, preventing you from navigating inside. The massive boulder found just in front of the palace will need to be destroyed first, allowing water to flow. Additionally, you will need to acquire the Hookshot from Ravio’s Shop. Stop by the shop and either rent or purchase the hookshot.
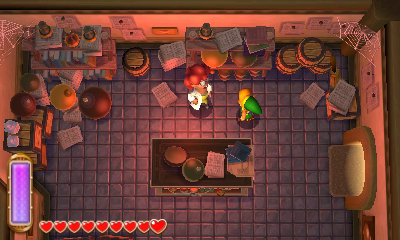
In order to destroy the large boulder you’ll need to get a Bomb Flower. There is a Bomb Flower Store located just southwest of the Blacksmith’s House in Lorule. It is near the same location where the Cucco mini-game was in Hyrule. Walk over and enter the shop. Speak to the shop owner and borrow the bomb for the cost of 200 rupees.
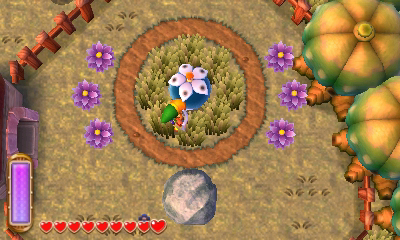
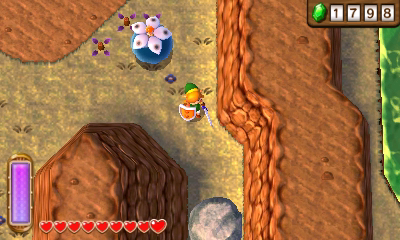
Walk outside and walk over to the bomb flower. Press ‘A’ to lead it and bring it over to the massive boulder to the south. Strike the bomb flower with your sword and it will blowup the boulder. Walk back to the bomb flower and grab another one.
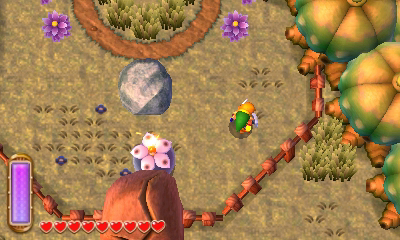
We want to walk this bomb flower all the way to the dungeon entrance at the south portion of Lorule. However, if any enemies strike it, it will detonate. Carefully make your way right a screen, down a screen, and right another screen. You can lift a rock on the right of the screen and then walk southward to reach the dungeon. Detonate the boulder in front of the dungeon, causing the water to drain.
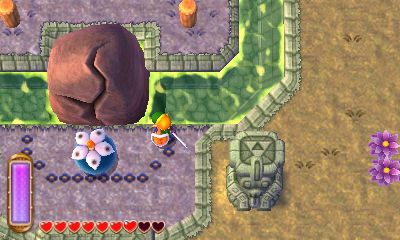
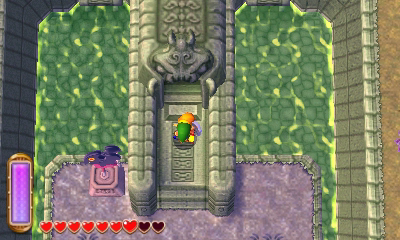
After the water is drained, you’ll need to use the hookshot to grapple over to the pegs located just in front of the dungeon. Do so and then enter the dungeon.

8.2 Swamp Palace
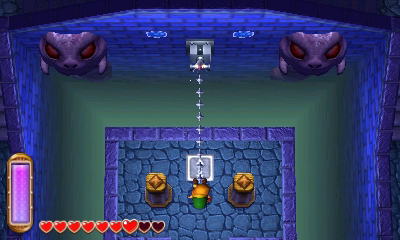
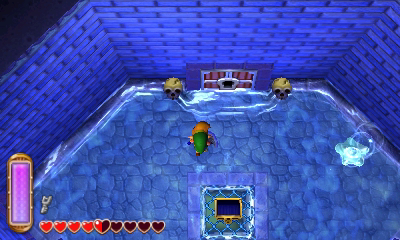
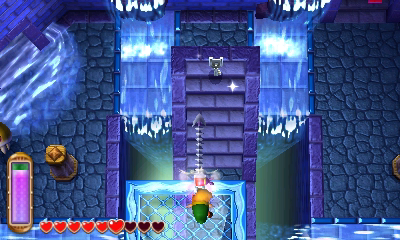
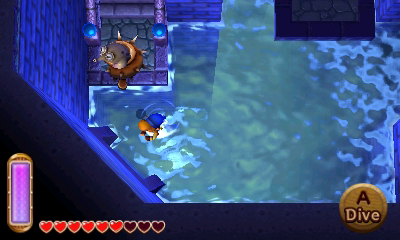
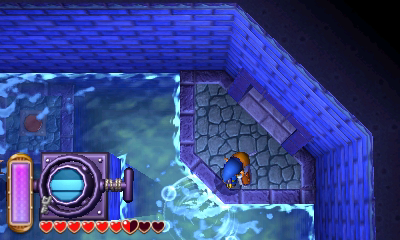
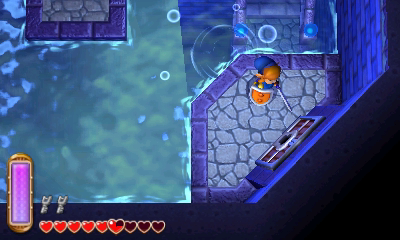
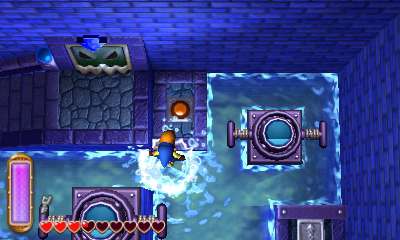
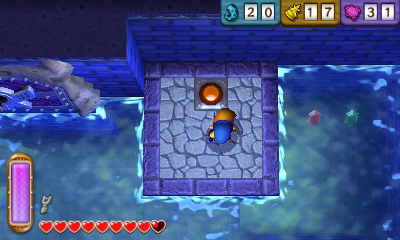
Once you enter the dungeon, grapple over to the lever to the north and pull back, causing the room to fill with water. Swim to the side and head up a screen. Walk to the west end of the room and head left a screen.
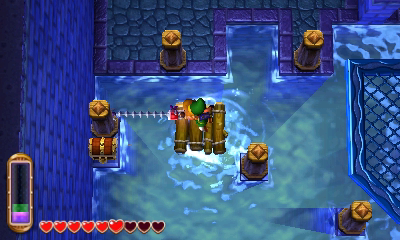
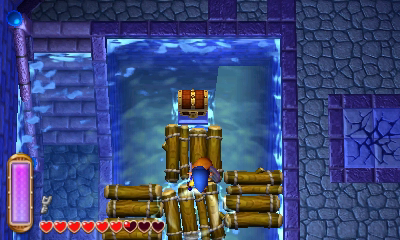
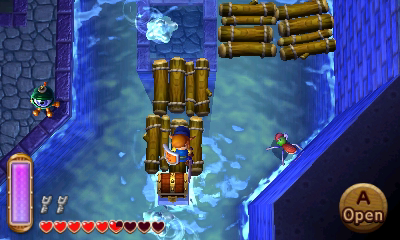
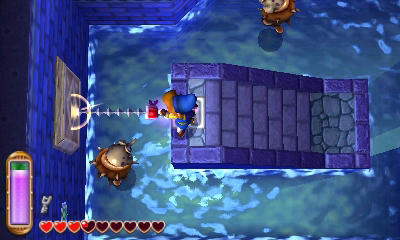
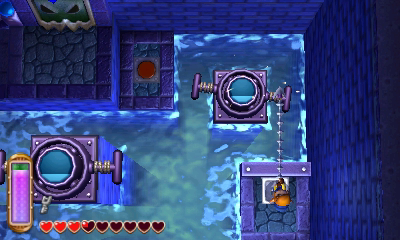
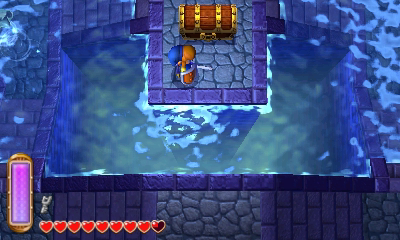
Swim to the steps at the top-left corner and then head down the stairs to reach the basement. Stand on the raft and use the hookshot to grapple down to the lever, causing the raft to move. Grapple to the right and open the treasure chest here to get some monster guts. Grapple to the left side of the room to reach a treasure chest containing a red rupee. It’s important to note that you can grapple diagonally as well.
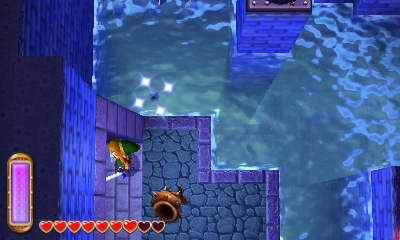
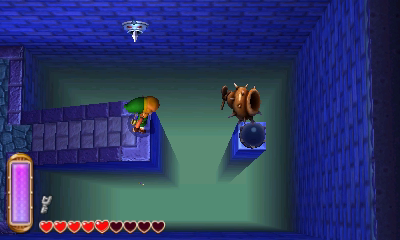
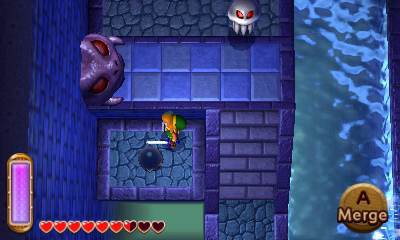
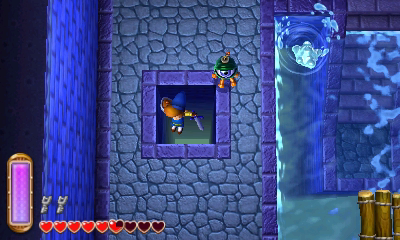
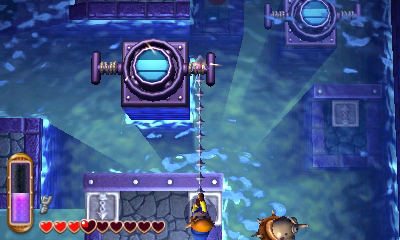
Grapple over to the southeast corner of the room and step onto the ledge. Climb the ladder and use the hookshot to grab the small key. Jump in the water and head to the southwest corner of the room. Go through the door to the south and defeat the enemy by grabbing its shell with the hookshot. Grab the shell and toss it at the crystal switch to the right, causing a treasure chest to appear. Open it to get a gold rupee and then head back to the previous room.

Run to the northeast corner and head to the next room. Open the treasure chest to get the Compass and then head up a screen through the locked door.

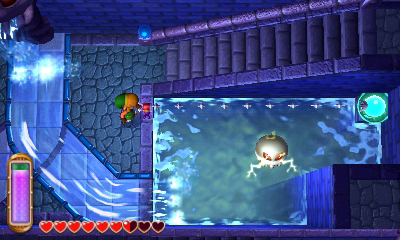
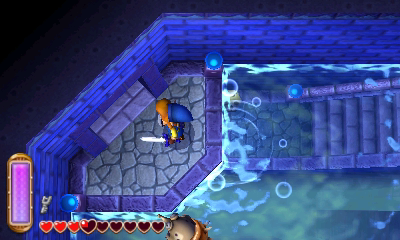
Walk to the left side and use the hookshot to hit the crystal switch, causing the water flow to change to the right. Walk to the right side of the room and the water will push you into a small pond. On the right side of the water, you’ll find a crystal switch. Stand on the left to the left and hit the switch your hookshot, causing more water to flow.
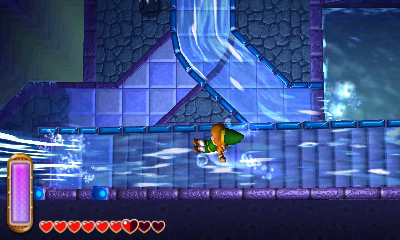
Climb the steps to the northeast corner of the room and then merge with the wall. Make your way to the south and let the water push you all the way to the west side of the room. Climb the steps and then drop down to hit the nearby switch, causing even more water to flow. Merge along the wall to get back to the southern wall. Ride the water to the door at the north end of the room and head back up to the first floor.
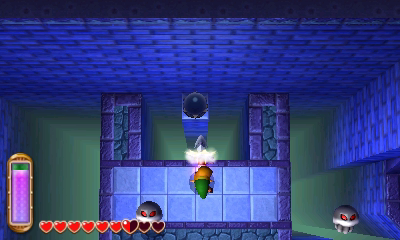
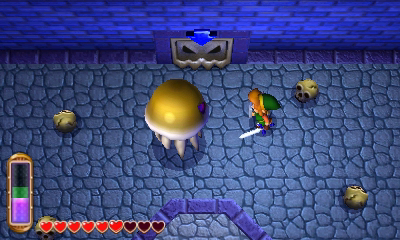
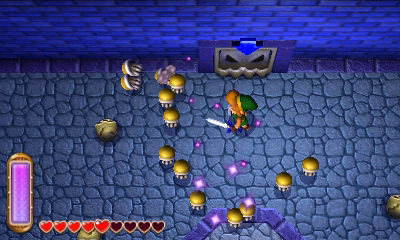
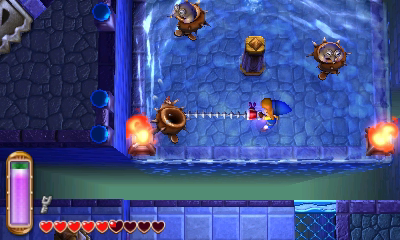
Here you will encounter a Gigabari. You can hit it with your hookshot or other projectiles from a distance. Alternatively, you can just slash away with your sword once its electric has subsided. You can also toss some of the skull pots at the enemy. Once it has been harmed enough, it will break into a bunch of smaller Biri. Slash away to defeat all the enemies.
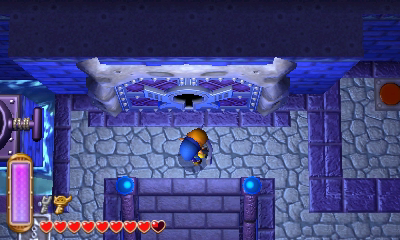
Take the path to the southeast and step on the switch in the next room. Use the bombite nearby to blow a hole in the cracked ground and then drop down to the basement below. Use the hookshot to grab the small key just to the north. Use that key at the nearby door and head southwest.
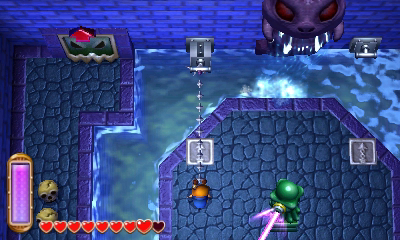
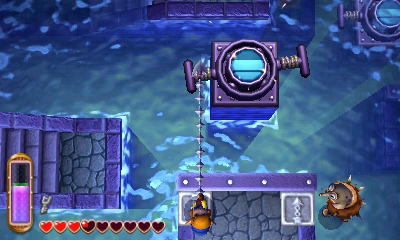
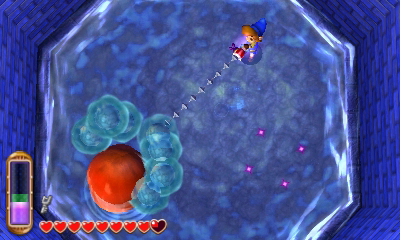
There is a large lever in the center of the room along with hookshot symbols on the ground. If you pull the right side, the water level will rise. If you pull the left side, the water level will fall. The blue bar in the center represents the three levels of water. Pull the lever on the left to lower the water leve. Drop down to the water below and swim north a screen.
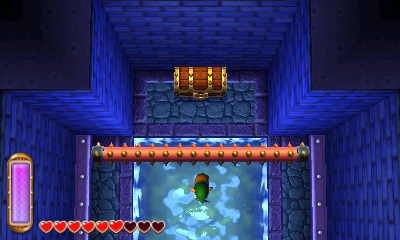
Dive underneath the rolling spike and make your way to the treasure chest. Open it up to get the Blue Mail, which cuts damage in half. Return to the previous room and then swim over to the door at the southwest corner.
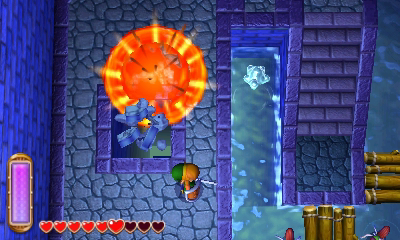
Swim over to the large platform in the center of the room. Watch out for the beamos and defeat all the pesky enemies here. There are two levers against the northern wall and you’ll need to pull the one on the left. Doing so causes the door to the left to open. Swim over to the door and head back up to the first floor.
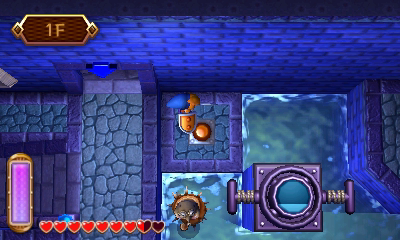
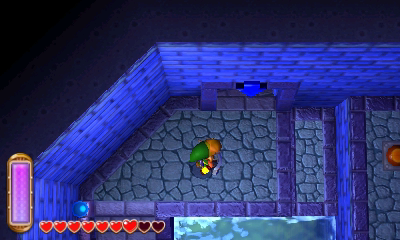
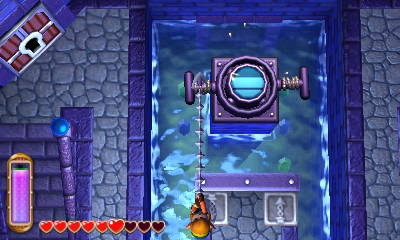
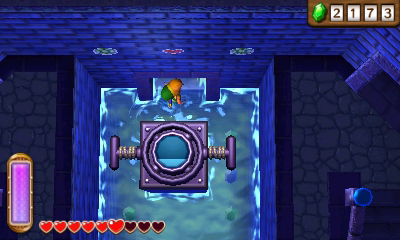
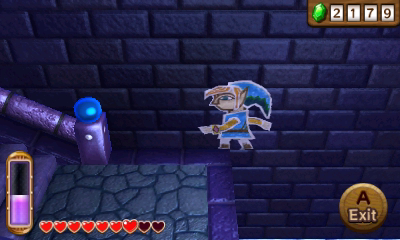
Jump into the water and step on the switch in the center of the room to unlock the door. At the northwest part of the room, there is a strange looking block. Link can use his hookshot to grapple over to this block, sending him crashing into the wall. Right when he hits the wall, press A to merge into it. Walk along the left to reach the southern wall.

Raise the water level twice so that you can reach the treasure chest to the right. Open it to get a small key. Return to the lever and change the water level to the mid-level. Swim over to the door and head northeast a room.

Jump in the water and swim left a screen. You can now reach the treasure chest here to get a small key. You actually can beat the dungeon without getting this key, since you don’t need to open all the doors. Nevertheless, head back right a screen and then continue right one more screen. There is another treasure chest here, this one containing some monster guts. After opening the treasure chest swim to the northwest part of the room and once again fall down to the basement.

Walk to the southwest and then raise the water level to the top. Use the small key on the locked door and head to the southeast. Drop down below and defeat all of the enemies, causing more water to flow. Use the hookshot on the lever to the south and then head up the stairs.


Swim to the platform to the west and then climb the steps. Grapple over to the wall to the west and then merge into the wall. Walk around to the south end of the room and then use the lever to lower the water level.
Drop down to the bottom and step on the red switch to unlock the door. Now swim over to the right side and use that lever to raise the water level to the mid-level. Repeat the process to get back up to the higher lever, and this time raise the water to the top. Jump into the water and swim to the door at the northwest corner of the room.
With the water level now at its highest point, you can swim to the platform at the northeast part of the room. Slash at the skulls and step on the switch that is revealed. Walk to the left side of the room and lower the water level. Now run over to the treasure chest to get the Big Key. With key in hand, head through the locked door to take on the dungeon boss, Arrghus.

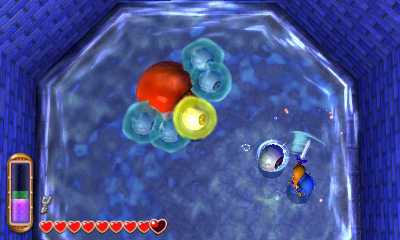
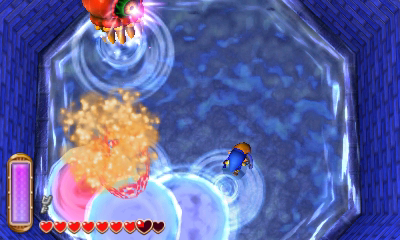
Arrghus is a large eye that has a bunch of smaller eyes surrounding it. Use the hookshot to pull away the smaller eyes and then slash at them with your sword. Repeat this process until all the eyes have been defeated. After the eyes are gone, Arrghus will start to hop around the room and will occasionally shoot beams towards Link. Avoid the attacks and keep hitting Arrghus with your sword until he has been defeated.

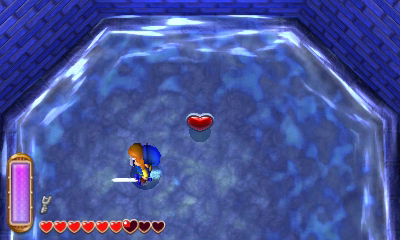
Grab the Heart Container and head up the stairs to the next floor. Walk over and touch the painting to save the sage.

- Chapter 1 – Eastern Palace
- Chapter 2 – House of Gales
- Chapter 3 – Tower of Hera
- Chapter 4 – Hyrule Castle
- Chapter 5 – Thieves’ Hideout
- Chapter 6 – Desert Palace
- Chapter 7 – Dark Palace
- Chapter 8 – Swamp Palace
- Chapter 9 – Skull Woods
- Chapter 10 – Turtle Rock
- Chapter 11 – Ice Ruins
- Chapter 12 – Lorule Castle
