Phantom Hourglass Treasure Maps
Below is a listing of all 31 Treasure Maps that Link finds on his quest, along with the locations and contents of their corresponding Sunken Treasure. Treasure Maps are a great way for Link to acquire Ship Parts as well as Sand of Hours. In addition to the 31 Treasure Maps, Link can also discover a Sunken Treasure by sinking a large Pirate Ship, which triggers an X to appear on the location of the map.
Treasure Map #1
Location: Cannon Island
Conditions: Complete Temple of the Ocean King Part II
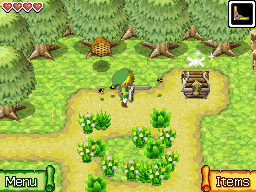
When Link first gains access to the main part of Cannon Island, as he navigates the west side of the island, there is a path that leads inland that has a streasure chest on it. Open it up to get the Treasure Map.
Sunken Treasure: Southwest Quadrant - Southwest of Molida Island
Reward: Ship Part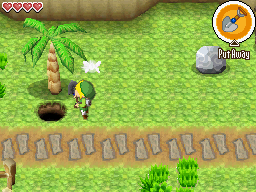
Treasure Map #2
Location: Molida Island
Conditions: Acquire Shovel
After you solve the puzzle to find the second secret hideout of the Old Wayfarer, use the shovel to dig up the hole and drop down. Open the treasure chest here to get the Treasure Map.
Sunken Treasure: Southwest Quadrant - Northeast of Mercay Island
Reward: Sand of Hours (1 Minute)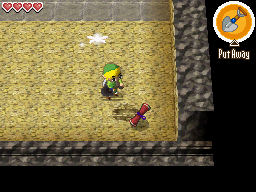
Treasure Map #3
Location: Isle of Ember
Conditions: Acquire Shovel
Return to Astrid's house and make your way to the basement. Dig up the soft soil spots, one of which contains the Treasure Map.
Sunken Treasure: Northwest Quadrant - Southwest of Isle of Gust
Reward: Ship Part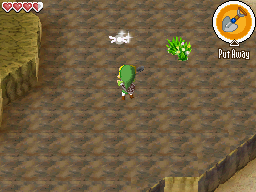
Treasure Map #4
Location: Isle of Ember
Conditions: Acquire Shovel
After acquiring the Shovel, you can speak with Kayo and he gives you a hint that a treasure is buried just northeast of the entrance of the Temple of Fire. Dig up the small flower patch to find the Treasure Map.
Sunken Treasure: Northwest Quadrant - Southeast of Bannan Island
Reward: Sand of Hours (1 Minute)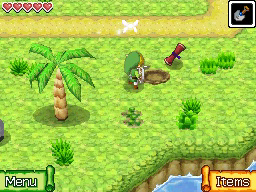
Treasure Map #5
Location: Zauz's Island
Conditions: Reach Northwest Quadrant
At the far north end of Zauz's Island you will find a stone tablet that hints that you should draw lines between the stones on the island and search for a secret at the point where those lines intersect. Run around the island, jot down the four locations of the stones and then trace the two lines. The two lines intersect near a palm tree at the south end of the island. Dig where they intersect and you'll find a Treasure Map.
Sunken Treasure: Southwest Quadrant - North of Molida Island
Reward: Ship Part
Treasure Map #6
Location: Uncharted Island
Conditions: Reach Northwest Quadrant
On the west side of the Uncharted Island, near the Gossip Stone, you can use the shovel to dig up the soil directly in front of the statue to uncover a Treasure Map.
Sunken Treasure: Northwest Quadrant - West of Bannan Island.
Reward: Random Treasure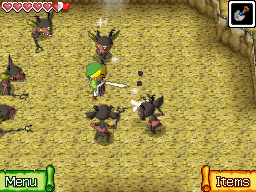
Treasure Map #7
Location: Isle of Gust
Conditions: Reach Isle of Gust
As you make your way through the Isle of Gust, you will be required to head through a cave that is filled with Miniblins. Defeat all of the Miniblins that are in the pit and open the treasure chest that appears to get the Treasure Map.
Sunken Treasure: Northwest Quadrant - East of Isle of Gust
Reward: Ship Part
Treasure Map #8
Location: Isle of Gust
Conditions: Reach Isle of Gust
Located at the north end of the Isle of Gust, where the sandy area is littered with Sandworms. Check out the southeast corner of the sandy area and you'll find a treasure chest containing the Treasure Map.
Sunken Treasure: Southwest Quadrant - Southeast of Mercay Island
Reward: Ship Part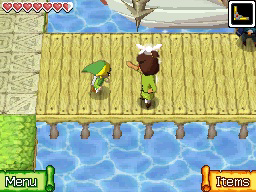
Treasure Map #9
Location: Mercay Island
Conditions: Complete Temple of the Ocean King Part III
When you make your way back to Linebeck's Ship, after getting the Courage stamp on your map from the Temple of the Ocean King, there is a man by the dock who calls out to you. He'll talk about the Salvage Arm that is now available over at Cannon Island. If you tell him you already have the Salvage Arm, he will sell you a Treasure Map for just 50 rupees.
Sunken Treasure: Southwest Quadrant - West of Cannon Island
Reward: Sand of Hours (1 Minute)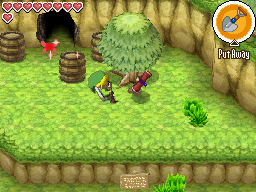
Treasure Map #10
Location: Mercay Island
Conditions: Complete Temple of Courage
Return to Mercay Island and make your way back to just outside of Oshus' house at the west side of the island. If you recall, a statue near the Temple of Courage hinted to a lost treasure. Just south of the tree next to the cave by Oshus' house, pull out the shovel and dig up a Treasure Map.
Sunken Treasure: Northwest Quadrant - Southeast of Isle of Gust
Reward: Ship Part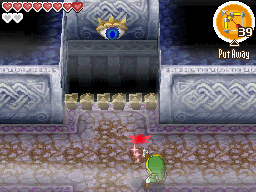
Treasure Map #11
Location: Temple of the Ocean King
Conditions: Complete Ghost Ship
On Floor B6 of the Temple of the Ocean King, use the bow to shoot an arrow at the the eye switch located just west of the entrance. This will cause a treasure chest to appear at the northeast corner. Unfortunately you don't have much time and the Phantom Eyes, as well as Phantoms can get in the way. I suggest defeating the phantom eyes first. Open the treasure chest to get Treasure Chart.
Sunken Treasure: Northwest Quadrant - North of Isle of Gust
Reward: Sand of Hours (1 Minute)
Treasure Map #12
Location: Mercay Island
Conditions: Acquire Southeastern Sea Chart
Once you have acquired the Southeastern Sea Chart, speak with Freedle at the northeast corner of Mercay Island.
Sunken Treasure: Southeast Quadrant - North of Dee Ess Island
Reward: Ship Part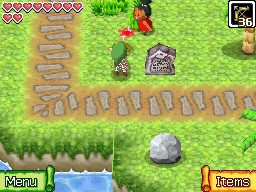
Treasure Map #13
Location: Molida Island
Conditions: Acquire Southeastern Sea Chart
Once you have acquired the Southeastern Sea Chart, return to Molida Island and speak with the young girl in red near the dock to get the Treasure Map.
Sunken Treasure: Southeast Quadrant - East of Harrow Island
Reward: Ship Part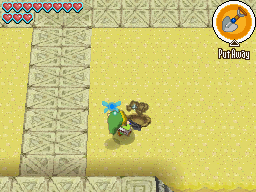
Treasure Map #14
Location: Harrow Island
Conditions: Acquire Southeastern Sea Chart
Once you have acquired the Southeastern Sea Chart, play the digging mini-game over at Harrow Island. There are two random Treasure Maps hidden on Harrow Island for you to find.
Sunken Treasure: Southeast Quadrant - Northwest of Goron Island
Reward: Ship Part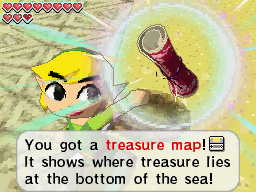
Treasure Map #15
Location: Harrow Island
Conditions: Acquire Southeastern Sea Chart
Once you have acquired the Southeastern Sea Chart, play the digging mini-game over at Harrow Island. There are two random Treasure Maps hidden on Harrow Island for you to find.
Sunken Treasure: Southeast Quadrant - West of Goron Island
Reward: Ship Part
Treasure Map #16
Location: Goron Island
Conditions: Reach Goron Island
There is scared Goron, located just north of where Linebeck's Ship docks. Next to the scared Goron, use the shovel to dig up a wind geyser. From here shoot arrows at the yellow chuchu across the way. With all three of them defeated, the Goron will reward you with a Treasure Map.
Sunken Treasure: Southeast Quadrant - Northeast Goron Island
Reward: Ship Part
Treasure Map #17
Location: Goron Temple
Conditions: Reach Goron Temple
At the northeast end of the first room in the Goron Temple, there is a small sandy area with a switch. You will eventually create a bridge, extending above the sand. From up above, toss a bomb off the ledge so it hits the crystal switch. Then quickly run to the right and open the treasure chest that appears to get the Treasure Map.
Sunken Treasure: Southeast Quadrant - South of Isle of Frost
Reward: Ship Part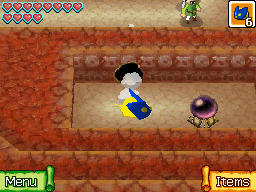
Treasure Map #18
Location: Goron Island
Conditions: Acquire Bombchus
Make your way to the entrance of the Maze at the northeast portion of Goron Island. If you take the left pathway, you'll come across a small hole where you can send a bombchu through. Trace a path so the bombchu hits the switch. This will cause a treasure chest to appear at the northeast corner of the island. It will only appear for a few moments, so quickly run on over and open the treasure chest in time.
Sunken Treasure: Southwest Quadrant - South of Cannon Island
Reward: Ship Part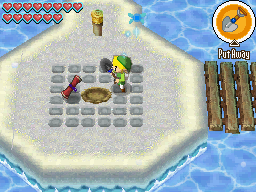
Treasure Map #19
Location: Isle of Frost
Conditions: Reach Isle of Frost
Southwest of the Anouki Estates, cross the bridge to the small island and use the shovel to dig up the center of the area to find a Treasure Map.
Sunken Treasure: Northwest Quadrant - Northeast of Isle of Gust
Reward: Ship Part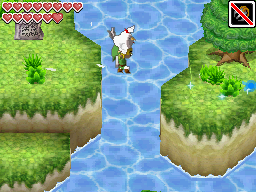
Treasure Map #20
Location: Molida Island
Conditions: Acquire Grappling Hook
Make your way over to the east end of Molida Island. There is a stone tablet here and if you look across the water to the east, you will find a barrel. Use the Grappling Hook on the barrel and the stone tablet. Link will grab the barrel and break it on the tablet, revealing a cucco. Grab the cucco and fly over to the island. Then fly down to the next island and just below the tree, you'll find a spot where you can dig. Use the shovel to dig up the Treasure Map.
Sunken Treasure: Northwest Quadrant - East of Bannan Island
Reward: Ship Part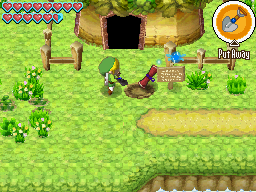
Treasure Map #21
Location: Bannan Island
Conditions: Reach Bannan Island
Over at the Anouki Estates, one of the Gossip Stones gave you a hint about a Treasure near the Old Wayfarer's Hut. Use your Shovel and dig up the soil that is directly to the left of the sign in front of the Old Wayfarer's Hut to find a Treasure Map.
Sunken Treasure: Southwest Quadrant - Northwest of Molida Island
Reward: Ship Part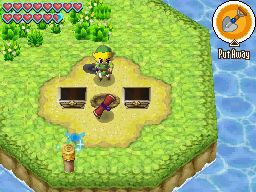
Treasure Map #22
Location: Bannan Island
Conditions: Acquire Grappling Hook
On the island at the northeast portion of Bannan Island, you'll find two wooden pegs. You can create a tightrope and slingshot yourself over to a smaller island that has three stone tablets. Read all three of them and you'll get a hint to dig between the two treasure chests. Go back to the large island and dig between the treasure chest to get a Treasure Map.
Sunken Treasure: Southeast Quadrant - South of Harrow Island
Reward: Ship Part
Treasure Map #23
Location: Temple of the Ocean King
Conditions: Acquire Bombchus
On Floor B4 of the Temple of the Ocean King, there there two different locked doors that have staircases that lead down to Floor B5. The door at the northwest was blocked off due to some spikes. However, you can now send a Bombchu through the small holes, hitting the switch and lowering the spikes. Down on Floor B5, you can dig up the soil spot and hit the switch, allowing you to unlock the chest for the Treasure Map.
Sunken Treasure: Southeast Quadrant - Northwest of Isle of Frost
Reward: Sand of Hours (1 Minute)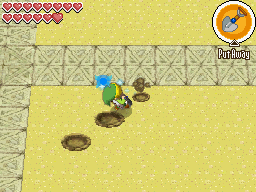
Treasure Map #24
Location: Harrow Island
Conditions: Acquire Northeastern Sea Chart
After acquiring the Northeastern Sea Chart, two additional Treasure Maps are available for you to find at Harrow Island. Keep playing the digging game until you get it.
Sunken Treasure: Northeast Quadrant - West of Isle of Ruins
Reward: Ship Part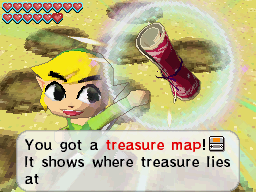
Treasure Map #25
Location: Harrow Island
Conditions: Acquire Northeastern Sea Chart
After acquiring the Northeastern Sea Chart, two additional Treasure Maps are available for you to find at Harrow Island. Keep playing the digging game until you get it.
Sunken Treasure: Northeast Quadrant - East of Isle of the Dead
Reward: Ship Part
Treasure Map #26
Location: Northeast Quadrant Traveler's Ship
Conditions: Acquire Northeastern Sea Chart
Sail over to the Traveler's Ship that is in the Northeast Quadrant. After clearing all of the enemies on the Ship, speak with the Man of Smiles and he'll give you a Treasure Map.
Sunken Treasure: Northeast Quadrant - West of Isle of Ruins
Reward: Ship Part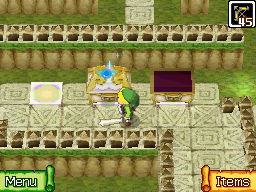
Treasure Map #27
Location: Maze Island
Conditions: Acquire Northeastern Sea Chart
Complete the Normal Map at Maze Island. Refer to our Maze Island Guide for detailed instructions.
Sunken Treasure: Northeast Quadrant - East of Maze Island
Reward: Ship Part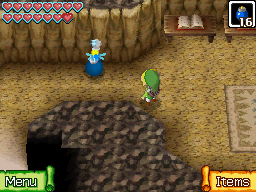
Treasure Map #28
Location: Isle of the Dead
Conditions: Acquire Northeastern Sea Chart
In the first cave at the Isle of the Dead, blast a hole in the wall at the west side and make your way through the Rupoor maze. The Treasure Map is found in one of the treasure chests.
Sunken Treasure: Northeast Quadrant - Northwest of Isle of Ruins
Reward: Random Treasure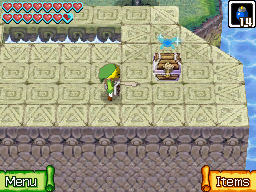
Treasure Map #29
Location: Isle of the Dead
Conditions: Acquire Northeastern Sea Chart
After going through the secret underground cavern at the Isle of the Dead, resurface near the King's Eye and open the nearby treasure chest to get the Treasure Map.
Sunken Treasure: Northeast Quadrant - West of Maze Island
Reward: Ship Part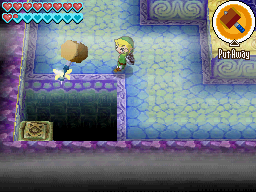
Treasure Map #30
Location: Temple of the Ocean King
Conditions: Acquire Hammer
At Floor B10 of the Temple of the Ocean King, there is a ground switch at the far southwest corner of the room. Use your Hammer to smack it and a large treasure chest will appear. Open it up to get a Treasure Map
Sunken Treasure: Northeast Quadrant - South of Isle of Ruins
Reward: Ship Part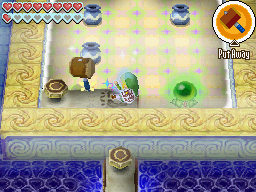
Treasure Map #31
Location: Temple of the Ocean King
Conditions: Acquire Hammer
At Floor B11 of the Temple of the Ocean King, take the staircase at the east side of the room. At Floor B12 hit the crystal switch and a treasure chest will appear at the east end of the room. This treasure chest is on a timer, so you'll have to be quick. Use the Hammer to catapult yourself over the ledge and quickly run to the treasure chest to get the Treasure Map. It might be a good idea to get rid of the Phantom and Phantom Eyes before trying to get this treasure.
Sunken Treasure: Northeast Quadrant - South of Isle of the Dead
Reward: Big Gold Rupee


