Majora's Mask Skulltula Houses
This guide will show you the locations of all 60 Gold Skulltulas that are found in Majora's Mask. There are 30 to be acquired in the Swamp Spider House and another 30 to be acquired in the Oceanside Spider House.
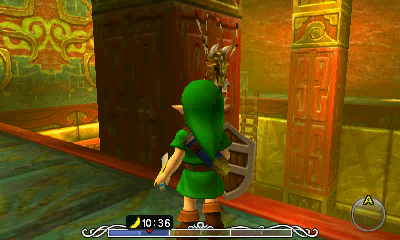
Swamp Spider House
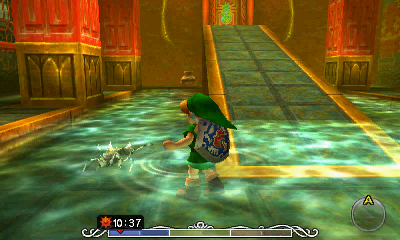
1. At the bottom of the ramp moving back and forth within the water.
2. Moving up and down along the pillar at the northeast corner of the room.
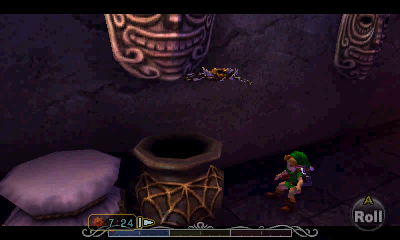
3. Inside of a jar, just to the left of the ramp.
4. There is a soft soil patch on the wall at the east end of the room. Release bugs from your Bottle and they will crawl into the patch, causing a Skulltula to pop out.
5. There is a second soft soil patch on the wall at the west end of the room. Release bugs from your bottle and they will crawl into the patch, causing a Skulltula to pop out.

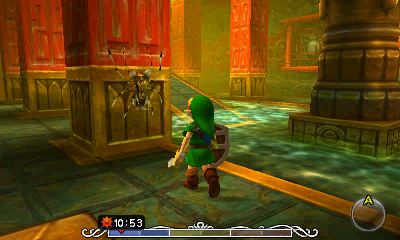
6. In the west room, Roll into the crate that is third from the wall at the northwest part of the room.
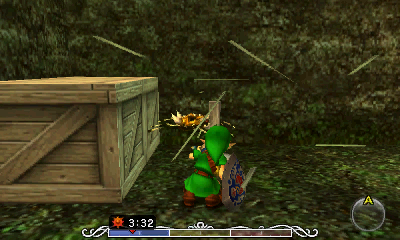
7. Roll into a crate near the southwest part of the room to find a Skulltula.
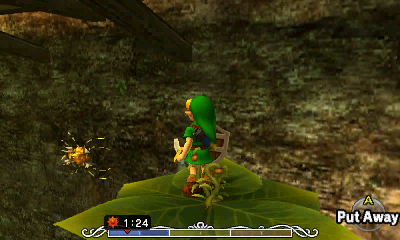
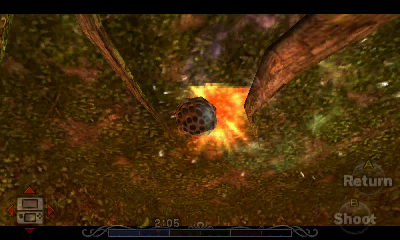
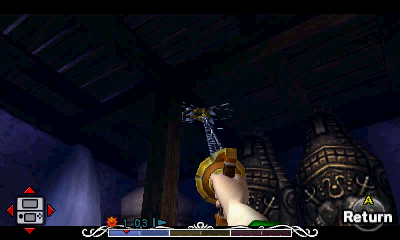
8. At the northeast part of the room, use a Bomb or the Blast Mask to blow up the boulder. Then plant a Magic Bean and use fresh water to cause it to grow. Ride the plant to the western wall where you will find the Skulltula crawling around.

9. On top of the large tombstone in the center of the room. Climb up to the second floor and then jump over to the tombstone.
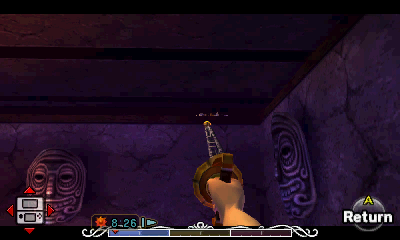
10. Head to the upper part of the room, At the northeast corner of the room, hidden behind the lit torch.
11. Head upstairs, Found on the pillar at the northwest corner of the room.
12. Found along the northern wall a bit higher up. Use an arrow or bubble to defeat the Skulltula. Then use the Deku Flower to grab the token.

13. Use the Deku Flower to get over to the east end of the room. At the southeast portion of the room, use a Bottle of bugs near the soft soil patch to cause a Skulltula to pop out.
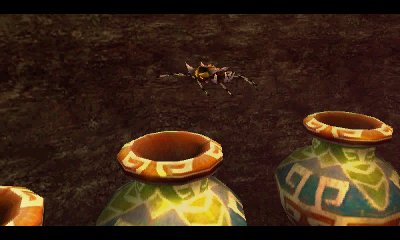
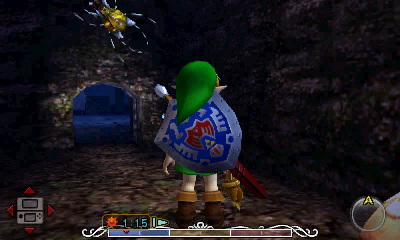
14-15. Once you enter the eastern room, look up and you'll find five beehives. Two of them are holding Gold Skulltulas. Knock them down with your Bow or with a bubble and collect the tokens.
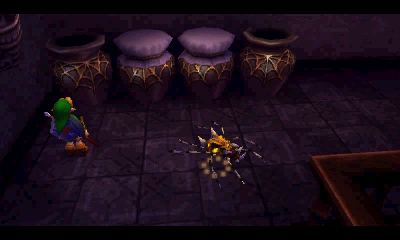
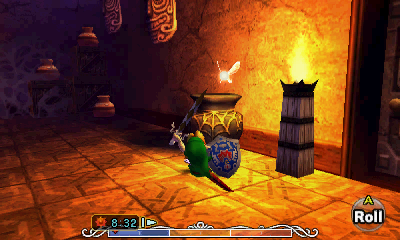
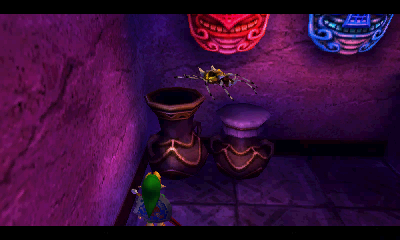
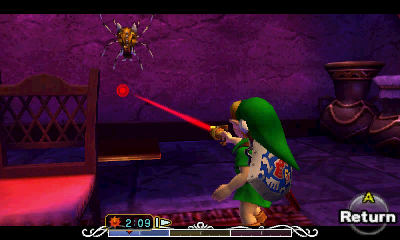
16-17. There are five large pots in this room. The one at the north end of the room and the second from the south end both have Skulltulas inside of them. Roll into the pots to cause the Skulltulas to pop out.
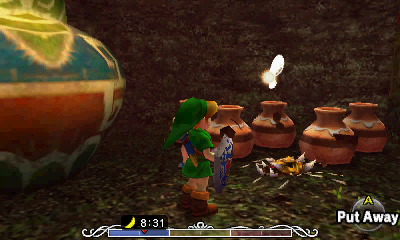
18. There are a few small pots at the south end of the room. Slash at the front one to find the Skulltula.
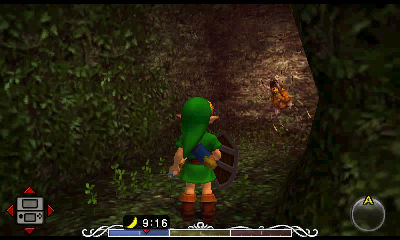
19. At the north end of the room, slash at the wall to reveal a pathway where you will find a Skulltula right around the corner.
20. There is a Deku Scrub that is fast asleep. Play the Sonata of Awakening to cause it to wake up and run off. Use the Deku Flower to reach the higher ledge to the north where you will find a Gold Skulltula along the wall.
21. In the center of the northern room you will find four beehives on the ceiling. The one closest to the north end of the room has a Skulltula, so shoot it down using an arrow.
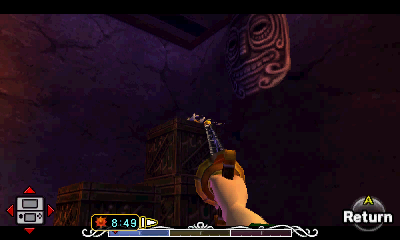
22. There is a Skulltula moving up and down the pillar at the northeast part of the room.
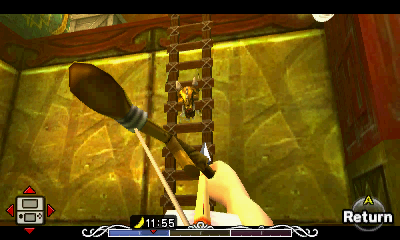
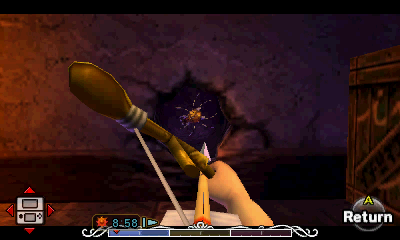
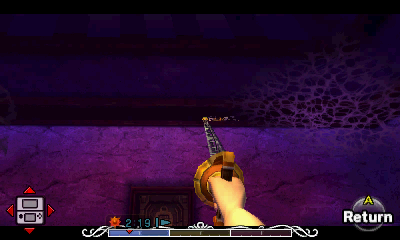
23. There is a Skulltula along the wall where the ladder had appeared. Shoot it down and then climb the ladder to snag the token.
24. There is a Skulltula higher up on the wall at the north end of the room. Plant a Magic Bean at the northwest part of the room and then pour some water to cause it to grow. Ride the plant to the Skulltula and swipe at it to collect the token. Use the plant again to get to the door at the north end of the room and head on through.
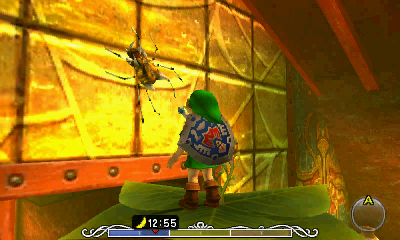
25. There are two beehives in the tree. The one to the northeast has a Gold Skulltula hidden inside, so shoot it down with an arrow or a bubble.
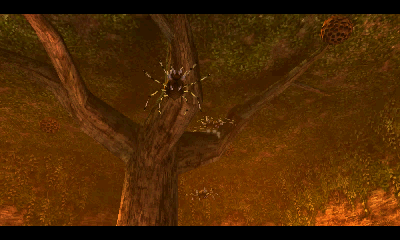
26-28. Roll into the large tree in the center of the room and three Gold Skulltulas will fall out. Run around the room to defeat them.
29-30. There are two more Skulltulas around the perimeter of the room, one of which will crawl around.


Oceanside Spider House
1-2. On the wall on the ramp.
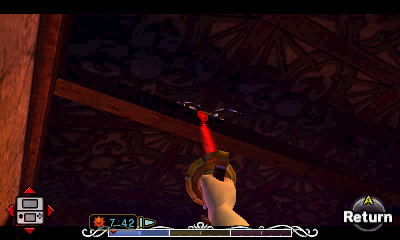
3. On the ceiling in the lower part of the room. Use Fire Arrows to burn the cobwebs on the ceiling, then use the Hookshot on the target behind it and enter the door.
4. Roll into the first large jar.
5. Roll into the last large jar (burn the spider webs first).
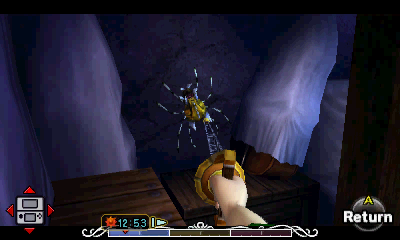
6. On one of the rafters on the ceiling. Climb on top of the crates, then snag it with your Hookshot.
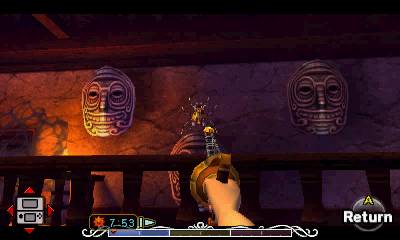
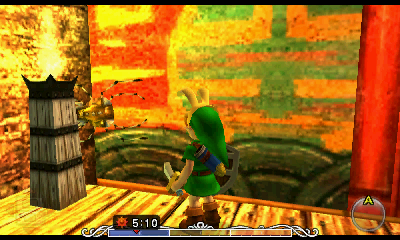
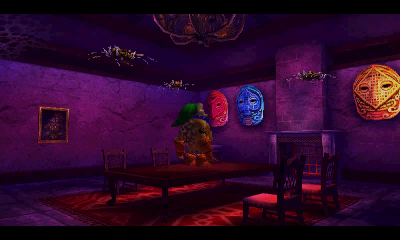
7. Behind the mask on the wall above the stairs (wait for it to come up).
8. While standing on the stairs, look towards the opposite wall. Along the top in a dark crevasse, there's a Skulltula marching back and forth. Kill and snag it with the Hookshot.
9. Roll into the lone jar next to a door.
10. Inside a little hole in the wall. Burn the spider webs and use your Hookshot.
11. In a jar atop some crates in the corner of the room.
12. Behind a mask near the last door.

13-14. On the west side of the room, there is a bookcase against the wall that you can push/pull to the right. Do so to reveal an alcove with two Skulltulas.
15. On the north end of the room, there are three small bookcases. Pull the outer ones away, then push the middle one to either side to reveal a small hole. Use the Hookshot.
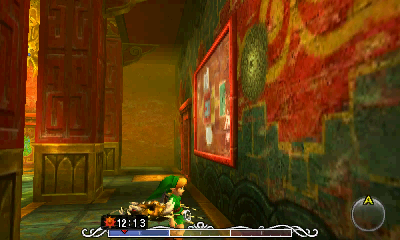
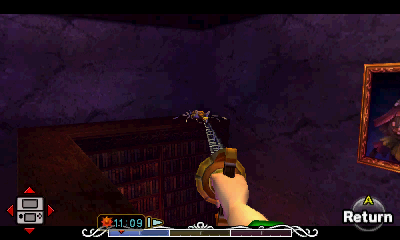
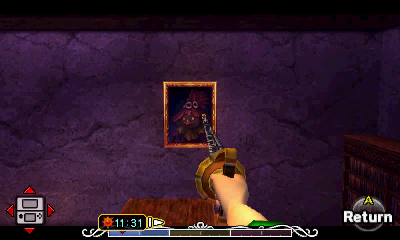
16. Behind a painting, at the northwest corner of the room.
17. Along the ceiling on the north side of the room.
18. On top of a bookcase at the southeast corner of the room.
19. Behind a painting at the southwest part of the room, in a small hole. use the Hookshot.
20. Roll into the brown crate at the north end of the room.
21. There are some canoes leaning up against the western wall opposite the door. NOTE: In the Nintendo 64 version, the Gold Skulltula is right behind the canoes and you have to stand on top of the crates. In the Nintendo 3DS version, it is along the northwestern wall.
22. Behind a spider web on the ceiling.
23. Roll into the brown crate to the left of the door where the boxes are about to start getting higher. Enter the small hole and turn around. It's above the entrance.

24. Climb on top of the crates on the left side of the door as far as they will go. Use your Hookshot on the target in the ceiling area on the right side of the room. In this upper area, slash the jars to find the last Skulltula in this room.
25. Roll into the giant jar in the corner, under the red mask.
26. Behind the painting (Hookshot) closest to the red mask.
27. Crawling along the dark parts of the ceiling, along the walls. Stand on the table for a good shot.
28-30. Put on the Goron Mask and use a Goron Pound (A + B).


