- Chapter 12 – Ganon’s Castle
12.1 Ganon's Castle
As you enter Ganon’s castle, you’re greeted by a descending stairway, lush purple carpet and extravagant torches adorned with triforces show the way. This guy must be vain, because he demands such luxury. Two Green Bubbles will be patrolling the walkway directly in front of you, so take them out however you choose. Making your way down, you’ll encounter an entryway with two statues on pedestals, a slider running in between, and a knight guarding the door.
Of course, the statues are Armos, and they can’t jump down, so dealing with them is easy as can be. To avoid the slider, use any ranged item except your Longshot to provoke the Iron Knuckle to advance towards you, and deal with him when he’s safely crossed over. He drops the three hearts as normal, but there is nothing in the area for him to destroy, so take your time and be careful. When he’s defeated, the door opens, so continue through.
This room is where you’ll proceed to the “six trials” you were warned about. Clockwise from your starting position, they are Spirit, Light, Fire, Shadow, Water, and Forest. Your destination in the center is surrounded by a pulsing forcefield, which will damage you and knock you back should you approach. The only way to open it is to disrupt it’s power supply by clearing all six directions. You can choose any first except for the light. This guide will take them in counterclockwise order, starting with the Spirit; on your left.
Immediately take out the Fire Keese and Torch Slug. When all is clear, shoot the silver eye switch over your entrance to make an Iron Knuckle drop down to fight. Even if you don’t need health, make him destroy the thrones in the center before dealing with him. After he’s gone, you’ll need to use the Megaton Hammer on the rusty switch that was surrounded by the thrones to open the door.
In the next room, eliminate the Green Bubble to claim a chest with Bombchu. Find the hole in the top of the gate and aim a Bombchu so it goes through and hits the crystal switch, opening the next door. (You have to be perfectly straight, as it needs to climb all the way over the fence, then go all the way around the room to hit the switch.) On the other side, kill the Green Bubble to proceed. Play the Sun’s Song and eliminate the Gibdo and Redeads. Use a Fire Arrow to burn the webs on the ceiling to gain access to some sunlight.
The Sun over the archway you walked through releases a Wallmaster. Going clockwise, the next drops a chest with a Recovery Heart. Then you get nothing, then a chest with a Small Key. Another nothing and another Recovery Heart. Shining sunlight on the Spirit Temple symbol will open the door, and the last one gains you the Golden Gauntlets.
Finally, through the last door, you’ll see a floating, glowing seed of pulsing energy. This is the Spirit Barrier seed, and there is one for each of the six trials. The pots to either side of the door will contain the items you need, magic and/or arrows, and recovery hearts also. Using your newest weapon, the Light Arrows received from Princess Zelda, you can destroy these and stop the flow of energy to the forcefield. Shoot this one, and Nabooru will encourage you onward, as well as teleport you back to the main room. Now, head right to the Forest trial.
Through the door, as soon as you step forward you’re ambushed by two Stalfos. Deal with them the usual way to open the door. During the battle you might have heard a whirring sound. Over the door is a fan that periodically spins. To one side is a torch and to the other is a small key. When the fan stops spinning Longshot up there and rush over to grab it before you get blown off. After collecting that, jump down and head through the door.
In the next room you’ll see several Beamos and an Armos on platforms. There are fans blowing in all four corners. Equip a fire arrow and shoot the frozen eye switch in the far corner, then, using a regular arrow, stand on the very right side of the current platform and shoot the eye in the nearest fan. Grab the chest that falls for some arrows. Shoot the armos on the platform at the left twice to destroy it and the Beamos too.
Longshot to the chest on the same platform to claim some Bombs. Chuck some bombs at the Beamos in the center, jump over and proceed to the platform closest to the door. When finally over there, take out the one on the far right, and jump when the wind stops. Equip your Iron Boots and play the Song of Time until the statue falls on the blue button switch. When safe, switch off your boots and jump back (you can also Longshot to the target and take the long way around.
Through the last door, collect the hearts, arrows, and/or magic potion from the pots if you need it, and approach the barrier seed. Shoot it with a Light arrow to dispel the Forest Barrier. Saria will appear to encourage you, and warp you straight back to the main center room. Now, downstairs to the Water door.
In here, quickly eliminate the Freezzards (there are two of them) so they can’t bother you. The ceiling has stalagmites that regenerate and can drop about every eight seconds, so be on a constant watch for that. Heading to the right, a Dead Hand’s hand will be next to an ice pillar. Hiding in this ice pillar is a crystal switch. You can’t even see it, but a spin attack will hit it. This will lower the water fountain briefly, allowing you access to Blue Fire. Grab two bottles full of it. (Your other two bottles would be best invested in fairies.)
Use the first of the blue fire on the center of the wall of red ice near the next door, then refill it. Good placement can melt all four, though only two adjacent ones need to be melted to get through. The other three red ices in this room contain a single heart, a chest with twenty rupees, and nothing at all. Melt them if you so choose, but be sure to have two bottles of Blue Fire as you proceed through the next door. Shoot down the Keese (one Ice, one Fire) with arrows or your Longshot, and get the two on the rocks.
Grab the Silver Rupee in the middle. Climb the nearest block and jump to the one above. Down the small alcove at the left for the third. Equip your Hover Boots to get the fourth one over the hole in the corner. Then, to solve the puzzle. Grab the ice block that is farthest from the entrance, and push it right (towards the rock) then down (so it falls into the hole). Grab the other, and push it right (over the now filled hole), up, and then left into the alcove. Use a Blue Fire to melt the red ice and claim the fifth and final Silver Rupee.
Once the door unbars, either leave and come back, or jump into a pit. Deal with the Keese again, then push the first ice block towards the door. Climb up and use the Blue Fire to access the door. Once again, the pots here can contain hearts, magic, or arrows. Again, shoot the barrier seed with a light arrow. This time, Ruto comes to teleport you back to the main room.
Head to the right, upstairs, and take the shadow door. Shoot down the Green Bubble, then shoot the Bomb Flower on the small platform at the right. Doing so will drop a chest to the left. Longshot to it (it contains arrows, if you need them). Equip your Hover Boots and Lens of Truth, and time a hover run to land on the moving platform. Get the Silver Rupee as you pass, then hover over to the Bomb Flower platform to gain the next.
Time it well to make it back, then over to the platform with a Beamos. Destroy it to gain the next Silver Rupee, and use Din’s Fire or a Fire Arrow to light the torch. On the floating translucent platform, throw a bomb to the middle of the Beamos to destroy them both. On the other side, turn around and shoot the Eye (you’ll have to aim around the translucent block) to claim a chest with a Small Key.
With your Lens on, take the left translucent path. Destroy the Beamos at the end and claim the Silver Rupee. Head back, and take the one heading towards the blade. Time your jump well to avoid it, claiming the last Silver Rupee and opening the door. Inside, break the pots if need be, and shoot the Shadow Barrier seed with a light arrow to. Impa will come and warp you back to the main room.
Equip your Goron Tunic (if you don’t have it you’ll only be given a minute and eight seconds before you overheat. Jump onto the first moving platform. When it goes right, jump forward two spaces and the platform will rise, letting you grab your first Silver Rupee. It will be just above your standing level, so do a backflip to grab it. Be careful not to fall into the lava, as that is an instant start over for this puzzle. After getting that one, when reaching the bottom, head towards the moving platform in front of you. Destroy the Beamos with either Bombchus or Bombs, then jump to it’s platform and toss the pillar into the lava.
Claim the Silver Rupee hiding underneath, and turn around. When the moving platform comes, jump forward along the string. The third one you come to will rise instead of fall, so stop here. Longshot to the target, and jump over to get the next Silver Rupee. Jump down to the Moving Platform to claim the next. On the Torch Slug platform, destroy them both, then chuck the Pillar to the far side, underneath the last Silver Rupee. Longshot to the target again and get back on the rising platform.
Time your jump to land on the large pillar you threw to claim the last Silver Rupee and open the door. Finally, Longshot over to the door and head inside. Destroy the Fire Barrier seed to see Darunia once again. Teleported back outside, head towards the last trial, the Light Trial. Chuck the Pillar against the forcefield. The thing shatters!
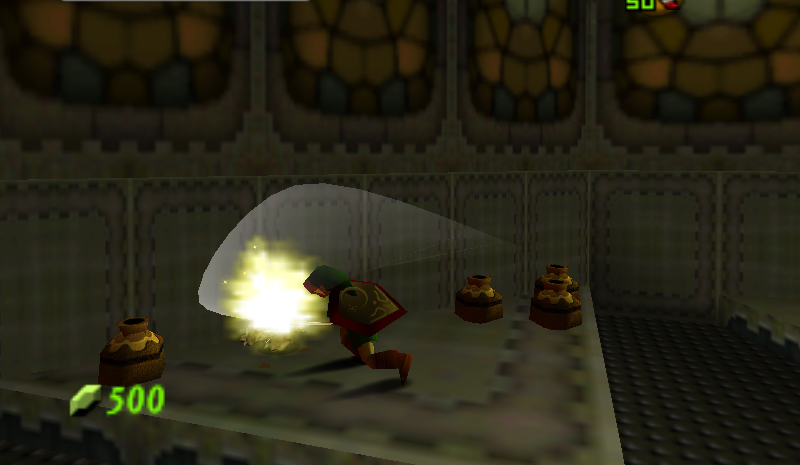
Through the door, face a Dinalfos and two Torch Slugs. They shouldn’t be a problem, so eliminate them to open the door. In the hallway, play Zelda’s Lullaby on the Triforce to drop a chest with a Recovery Heart, then use one of your Keys (you should have two) on the locked door. Wait for the boulder to pass, then throw a bomb (you have to time it right) so it explodes, killing the Beamos. Then, either jump to either alcove for a couple extra Recovery Hearts, or wait for the boulder to pass and jump to the last locked door.
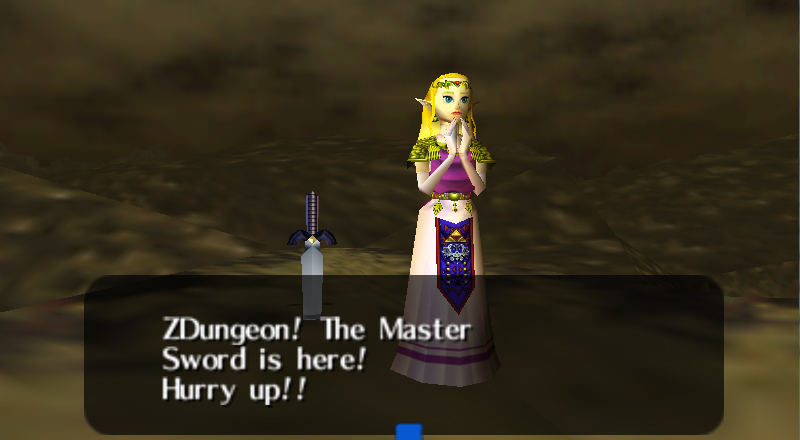
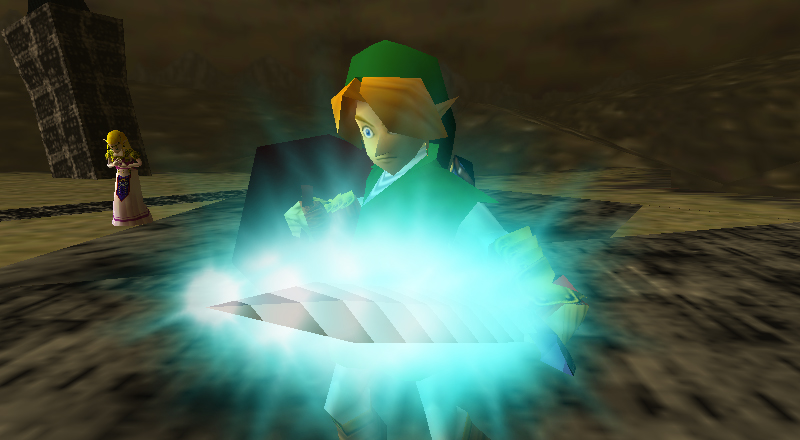
Inside… there is no Light Barrier seed? There’s a Skullwalltula off to the left, but destroying it does nothing. Instead, investigate these strange fires… one of them has a crystal switch. Turning on your Lens of Truth will reveal a false wall blocked by translucent blocks, and this switch removes them. Head through to the REAL Light Barrier seed chamber. Smash the pots if need be, then destroy this final seed. Rauru will teleport you back to the main room, where the forcefield is finally falling.
Before proceeding, head outside. Cross the light bridge and head to the left. Remember the obelisk we couldn’t bother with before? Remove it now to gain access to the final Great Fairy. Play Zelda’s Lullaby to meet the Great Fairy of Courage, and be granted the best power of all, doubled defense! At this point, it would be a good idea to play the Minuet of Forest to head to the fairy fountain and fill all four of your bottles. Whatever you do, when you’re ready, head back to Ganon’s Castle, and enter the center area.
The first room is swarming with Fire Keese. You can hear a faint music in the background. Eliminate them all and head upstairs. Here, two Dinalfos will ambush you, but shouldn’t be a problem. Their deaths opens the next door. Heading upstairs the music gets louder, and the next door has a chest surrounded by fire. Approach it and two Stalfos ambush you. Defeating them opens the door, and grants you access to the Boss Key.
Head upstairs as the music gets louder. The next room contains a white and a black Iron Knuckle. Fight them one at a time and you’ll have no trouble. Further upstairs reveals the door you need the Boss Key for. Open it, and head to the right, to the next door. (The pots here contain supplies, should you need them.) This final, longest climb upstairs is a more extravagant walkway. As the music is very loud, head through this door.
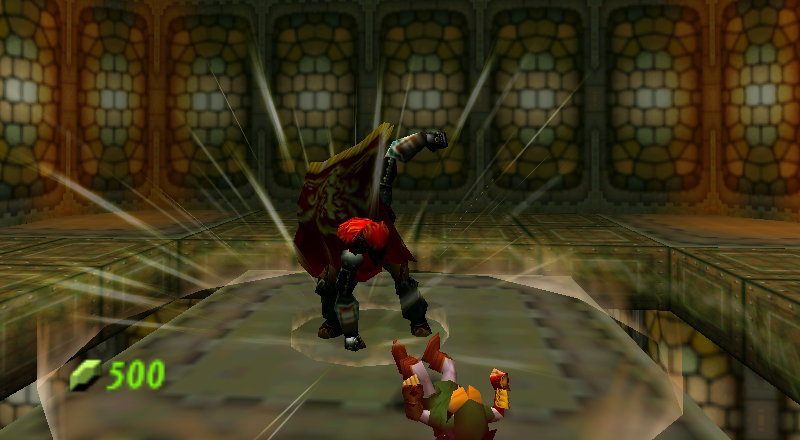
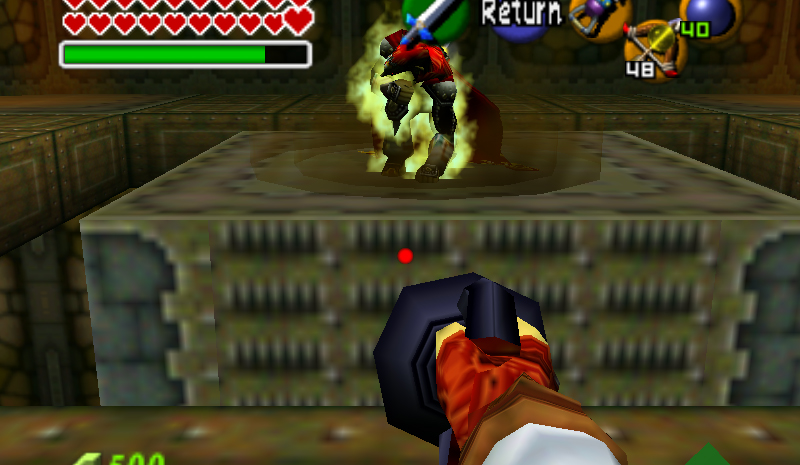
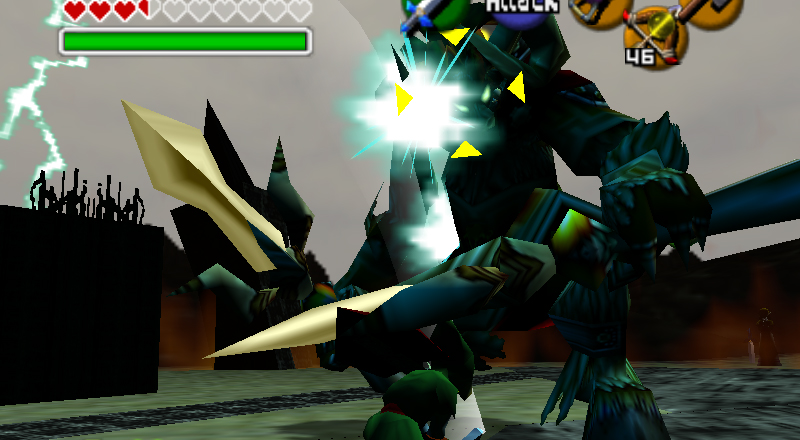
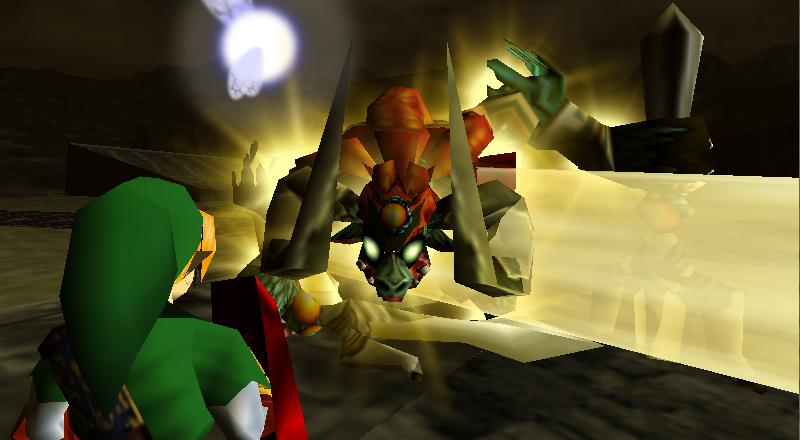
Inside, you gasp at the crystalized Zelda who you thought you’ve lost, floating above an organ playing Ganondorf. As the Triforce is gathered in one location, you are fully healed. Ganondorf gives you a few choice words, then his overwhelming dark energy strips you of Navi. Now, the final battle begins with Ganondorf.
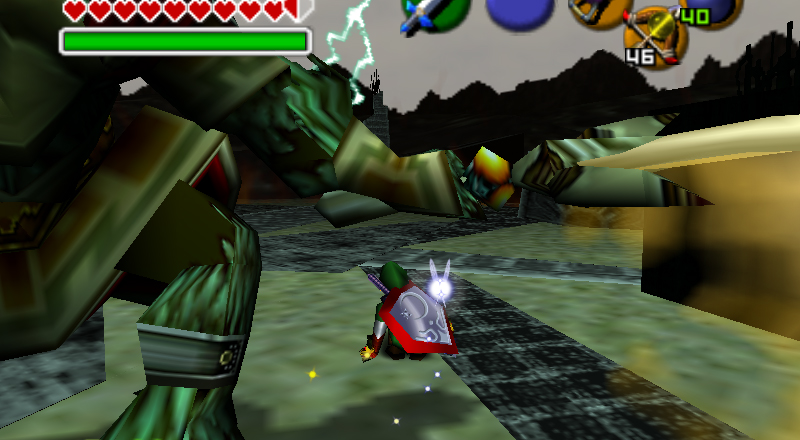
As soon as the battle begins, run away! He slams the ground with his first attack, getting rid of the blocks closest to the center platform. This battle reminds me of the “Don’t Break The Ice” game, except he’s trying to break it. All of his attacks have the potential to remove some of the blocks in the room, making it harder to get to the center. Ganondorf will only use his punching attack when you’re on the center platform. It has quite the range, so don’t linger too long on his platform.

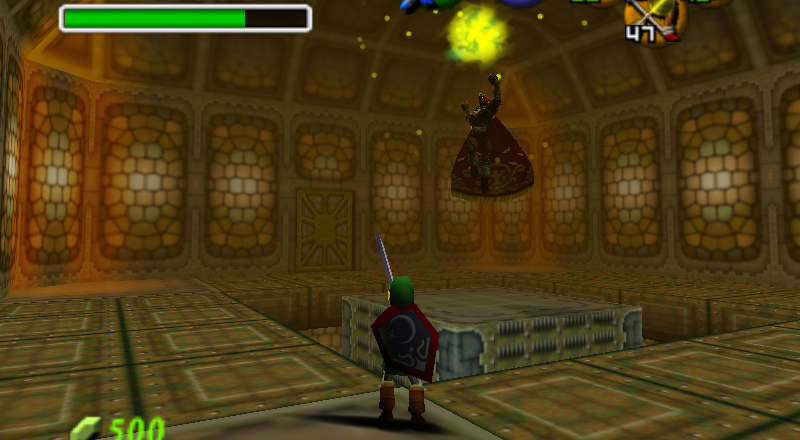
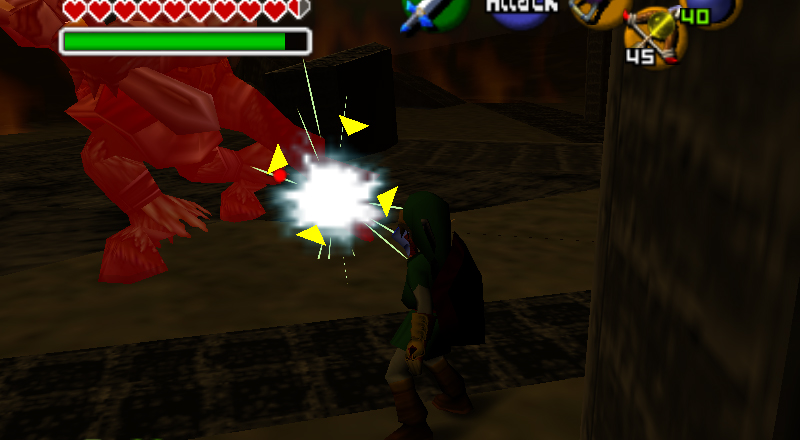
The King of Evil’s primary attack is to toss an energy orb at you, which does four full hearts of damage! You can simply avoid it or use the Mirror Shield to block it, but you have to smack it with your sword to toss it back, playing ping pong, just like the Phantom boss of the Forest Temple. Once you manage to hit him with it, he’ll be stunned for a moment…
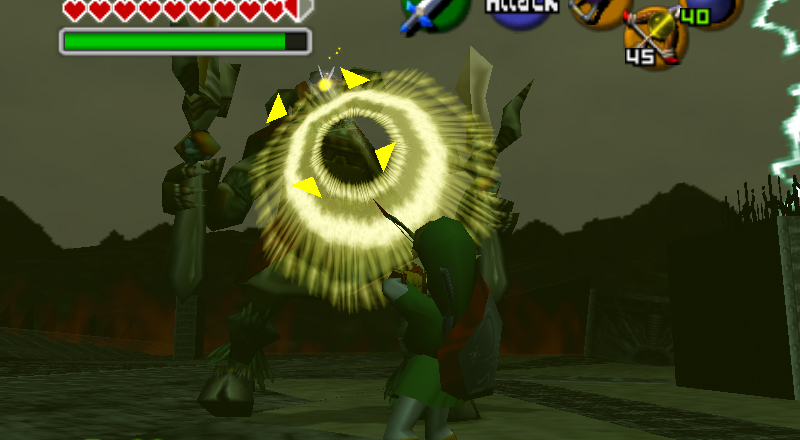
His last attack is to raise his hands in the air and collect this nasty, puke-colored green or black swirlies (depending on the version of the game you’re playing) that he shoots out in the form of lightning balls that zig-zag towards you. Your shield is no good against this attack, but it can be avoided by running at the last second. However, you can shoot him with a Light Arrow while he’s charging up, or simply charge a Spin Attack and release it to reflect the energy orbs back at him!
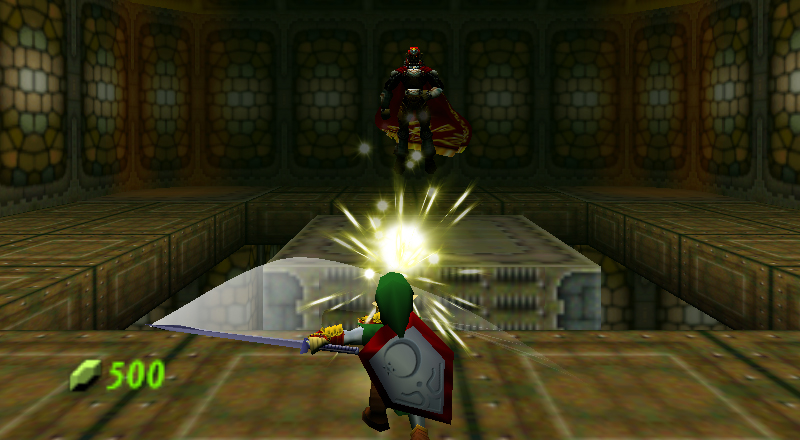

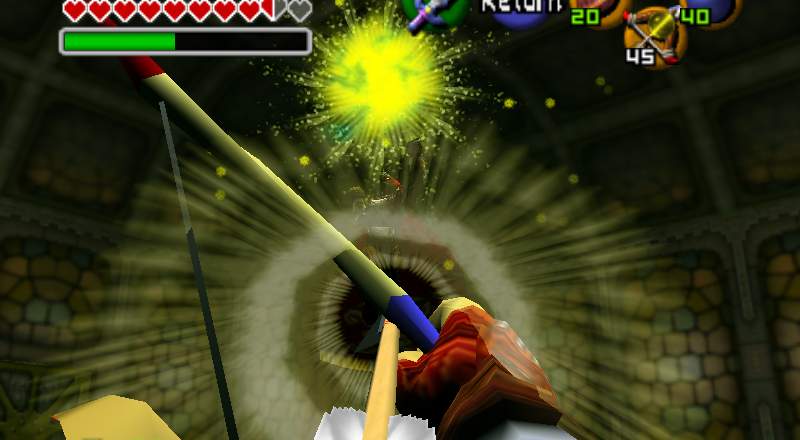
Once you’ve used any of those methods listed above, he’ll be constricted by it, giving you a chance to shoot him with a Light Arrow, which causes him to fall to the platform defenseless.

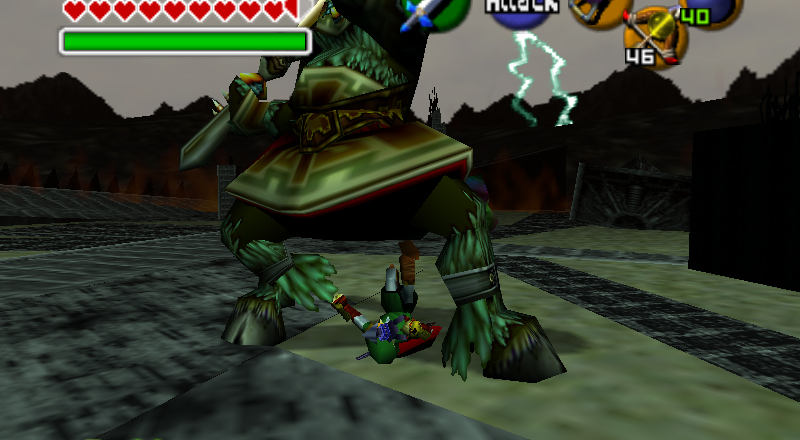
Regardless of the method, smack him up until he begins getting up, then quickly run away! You can use the Hover Boots for this entire fight, which actually gives you less to think about, but simply jumping gives you the chance to do a Jump Attack in mid air, dealing double damage when you land. Since two of his attacks kill the blocks, it may be smart to stay in the corners if your methods lead to him missing a lot (removing blocks).
That’s pretty much all there is to this battle. It’s fairly difficult in that it’s odd to get used to, but like all the bosses, once you get the hang of it, they can be defeated quickly. Using the Biggoron’s Sword will make this process much faster. Remember: if at any time you start running low on Magic or Arrows, jump down into the lower portion of the room (he won’t attack you down here) and smash the jars for goodies. Climb back up and quickly jump to the side.

For veterans, there’s a trick to stand in the center and being prepared to fall back onto the climbable part of the center platform, avoiding Ganondorf’s attacks, as well as being close by every time you have a chance to stun him. Doing it this way allows Ganondorf to be defeated within thirty seconds, easily.
Once he realizes he’s been beaten, he releases all his energy, destroying his own castle in an attempt to destroy you! The top collapses, and you’re on the roof. Ganondorf collapses at your feet, and Zelda is freed! Your reunion is cut short when you realize the tower actually is falling! Follow Zelda down the path, and she’ll use her power to unbar the doorway at the bottom of the path. Inside, avoid falling rubble as she opens the next door. Jump over the holes in the walkway back outside. Take the next door inside, around the burning rubble and back outside.
The path narrows here, so be careful not to fall! Once you make it back inside, Zelda will get trapped in a ring of fire as you are ambushed by two Stalfos. Disregard your own safety and defeat them as quickly as possible! When Zelda is free, she’ll drop some Recovery Hearts out of gratitude; continue following her downstairs. Be careful as you jump the gap outside. Back inside, she’ll straggle around some rubble, and take her sweet time heading downstairs, but stick with her.
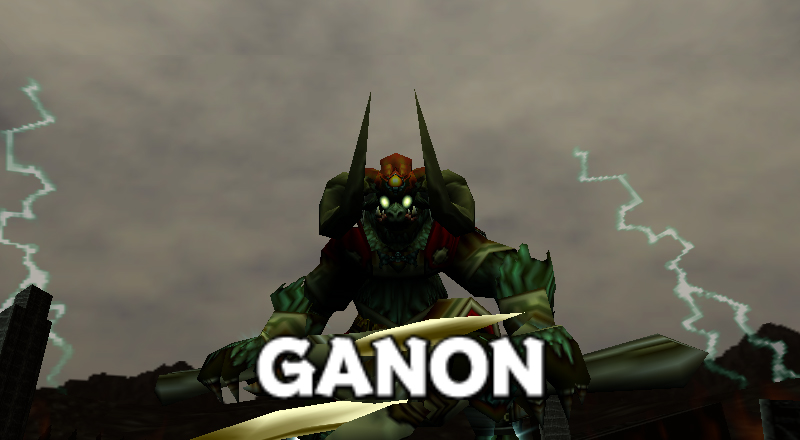
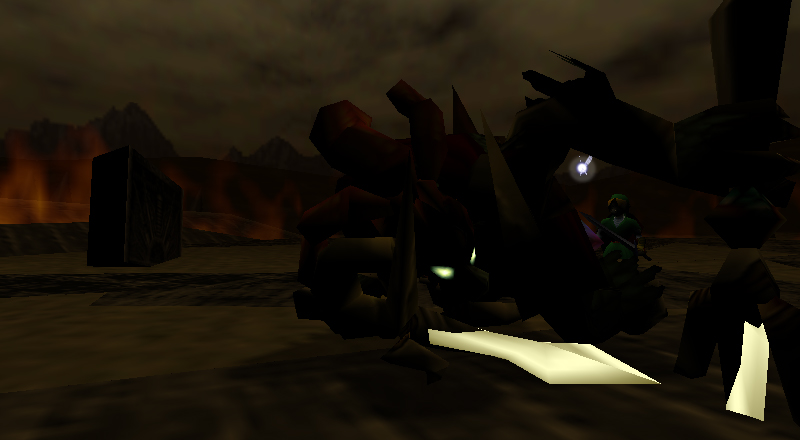
Finally, you’ll come to a bridge, and a Redead will be waiting. Your ocarina (and the Sun’s Song) is unavailable, so give a good jump attack. When it’s out of the way, through the door, take the final stairwell, upstairs this time, and outside to a magnificent view of Ganon’s Castle crumbling. You all stop to take a breather and you hear a large crash coming from the ruins. Go to investigate, and you’ll be blocked in by a wall of fire! Ganondorf emerges, and transforms into Ganon.
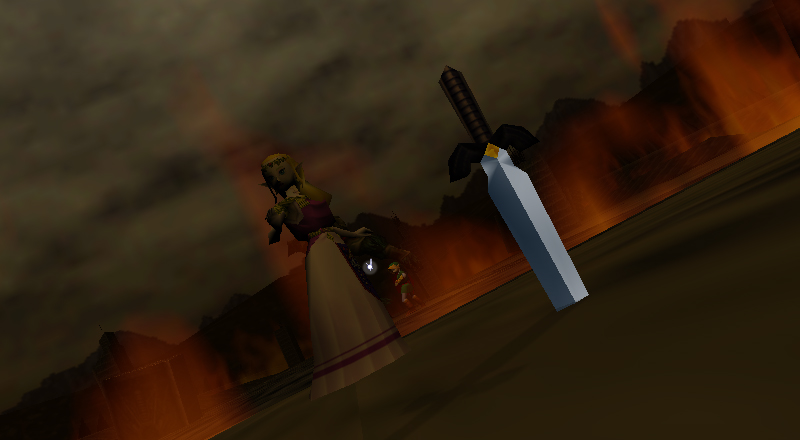
As soon as you start the battle, Ganon will smack the Master Sword out of your grasp and outside the barrier. Why doesn’t Zelda just toss it back? Anyway, we’ll have to make due until then… This boss is actually very simple and can be defeated with most of your other weapons and items, so that’s a good thing. His only attack is to slash you with his sword, which can easily be dodged or rolled to avoid.
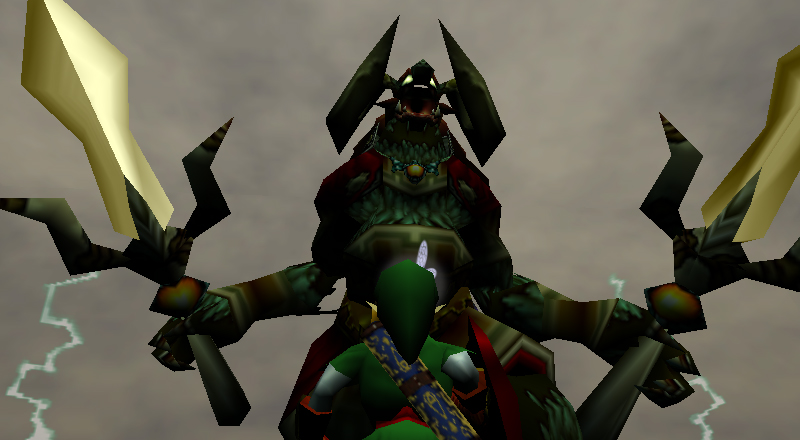
It becomes obvious very quickly that Ganon’s weak point is his brightly colored tail, which can be smacked with anything to hurt him. It’s getting to his backside that’s the problem. There’s two methods to do this… The first is to stun him (by hitting his face):
1. Deku Nut (shortest stun)
2. Longshot (short stun)
3. ump Attack (hard and dangerous)
4. Din’s Fire (long stun)
5. Light Arrow (longest stun)


The Jump Attack method is by far the hardest to pull off, especially without taking loads of damage – don’t do it that way. These other ones can all be done, then a few quick side jumps with A while targeting will get you a view behind him, allowing you to quickly use a Deku Nut, Longshot, Arrow, Megaton Hammer or Sword attack on his tail.
While Navi doesn’t have any useful information to speak of for this battle, her Z targeting is very user friendly and intelligent. If he’s facing you, it’ll automatically target his face, but if he’s turned to you, it’ll target his tail, meaning you can shoot his tail with an Arrow for example if you’re far enough to one side or behind him…
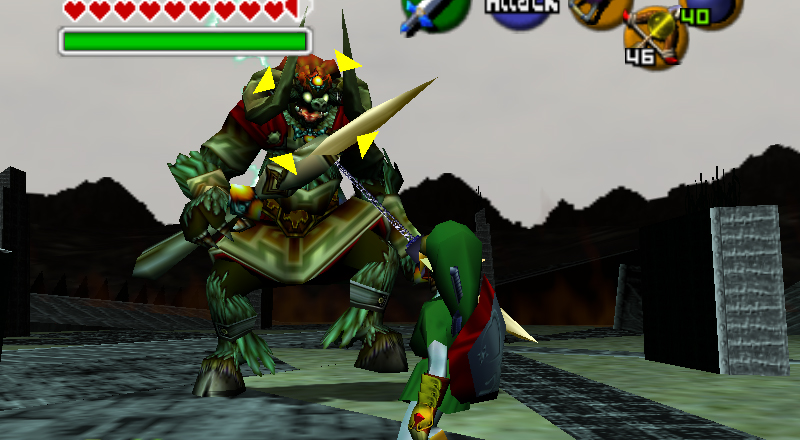
The other method is to attack his tail directly, usually using your sword (or Megaton Hammer). He turns pretty quickly though, so the best way to get behind him (assuming you don’t stun him) is to simply roll.

Both of those methods (ranged vs rolling) work well. Surprisingly, for a last boss, he has a lot of weaknesses. If you begin running low on stuff, you can lure him to attack any of the “ruins” nearby. Each drop a separate item: fairies, magic jars, bombs and arrows. Also, using Nayru’s Love for this battle might not be a bad idea if you’re having trouble with it.
1. Roll – Turn around – Sword/Hammer/Nuts
2. Light Arrows – Side jump (A) – Sword/Hammer/Nuts
3. Deku Nuts – Side jump (A) – Sword/Hammer/Nuts
4. Longshot – Side jump (A) – Longshot
Suffice to say, after a good ten hits or so, Ganon will fall to the ground, temporarily dropping the fiery barrier. Quickly run and get the Master Sword before he gets back up. Return to finish him off, though, this time he’ll be a little faster. Just keep doing what you’ve been doing and after another ten hits or so, he’ll fall down once again.
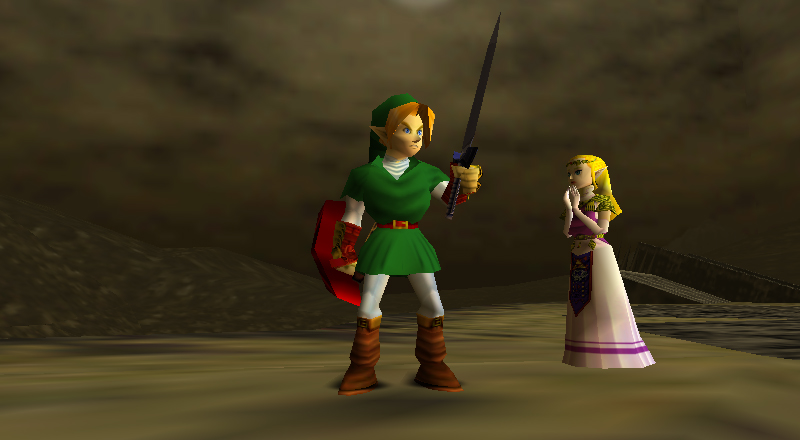
Once you finally manage to knock him down, Zelda will stun him for a bit. Quickly equip the Master Sword and slash it at Ganon’s head, then sit back and enjoy the show…

- Chapter 12 – Ganon’s Castle
