- The Gathering
- Level 1: The Eagle
- Level 2: The Moon
- Level 3: The Manji
- Level 4: The Snake
- Level 5: The Lizard
- Level 6: The Dragon
- Level 7: The Demon
- Level 8: The Lion
- Level 9: Death Mountain
10.1 The Entrance to Death
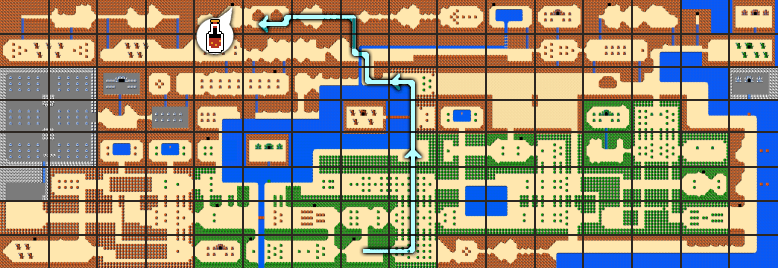
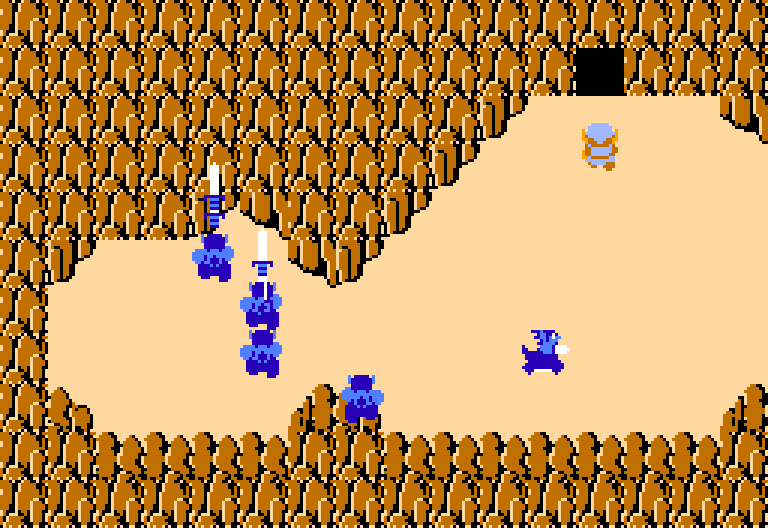
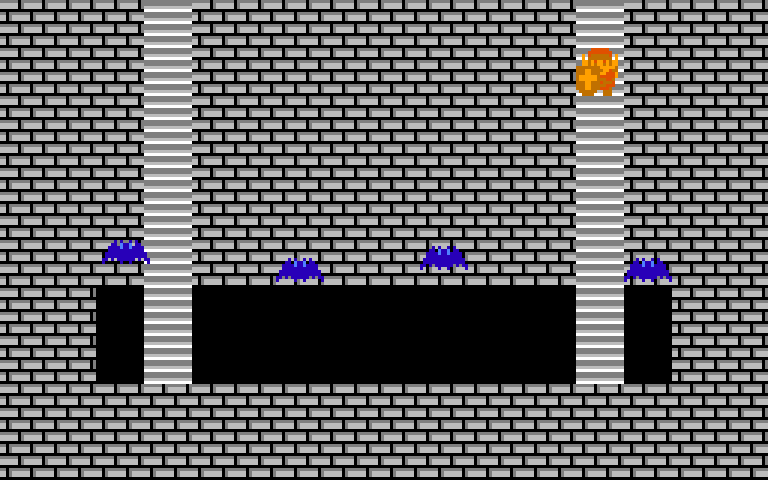
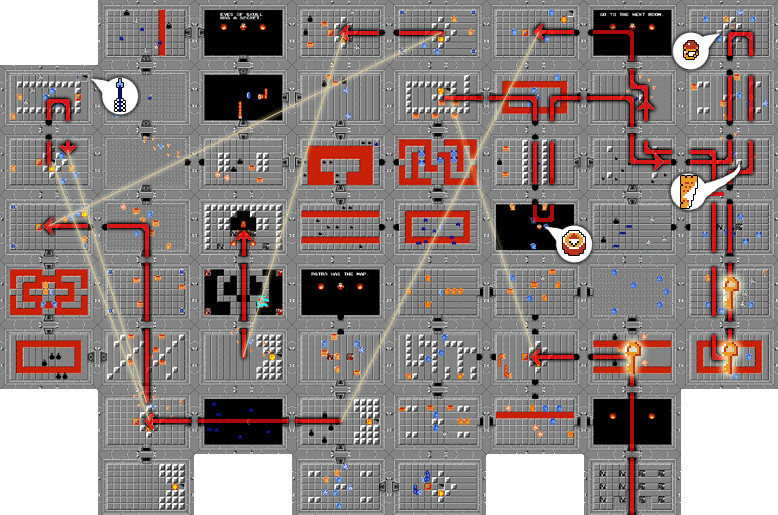
It’s now time to take on the final dungeon of the game, Death Mountain. You could have technically entered the final dungeon right from the start of the game, but without the eight Triforce Shards, we wouldn’t be able to do much. From the start screen head right a screen, up five screens, left a screen, up two screens, and left two screens. Here you will find two large rocks and if you place a bomb just below the rock on the left side, you will blow up the entrance to the next dungeon.
You should not enter Death Mountain without a full Red Potion. Fortunately, there is one nearby, just one screen to the left.
The routes to completing the next dungeon differ greatly, depending on whether or not you have the Magical Key or not. Jump to section 10.2 if you have the Magical Key and to section 10.3 if you do not.
10.2 Death Mountain (Magical Key)


x12
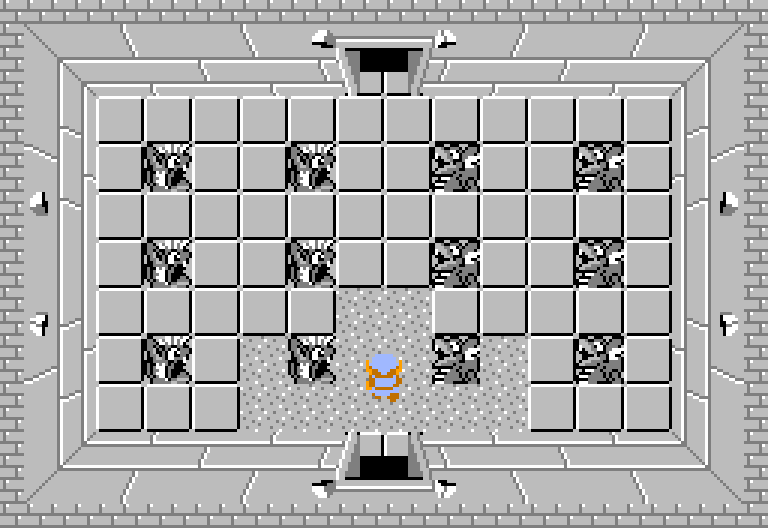
From the entrance head up a screen.

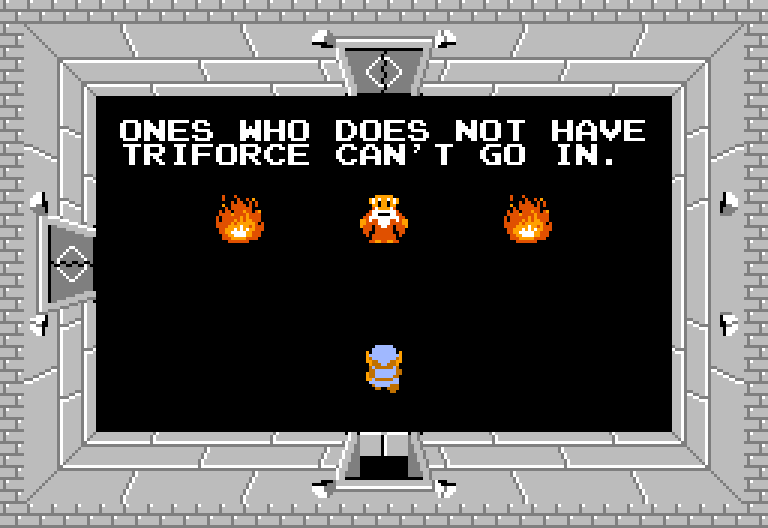

Since we have the full Triforce, the Old Man will allow us to go by. Walk to the left a screen.


x2

x2

x3
 Use a bomb to blast open the wall above and head through.


x3
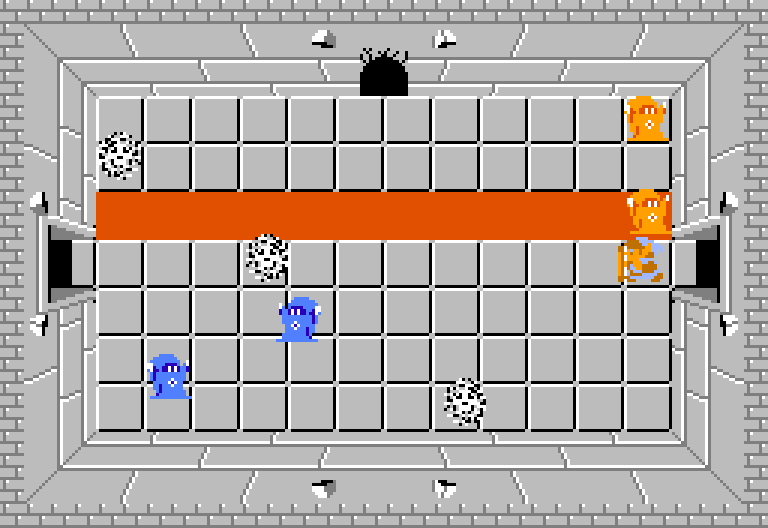
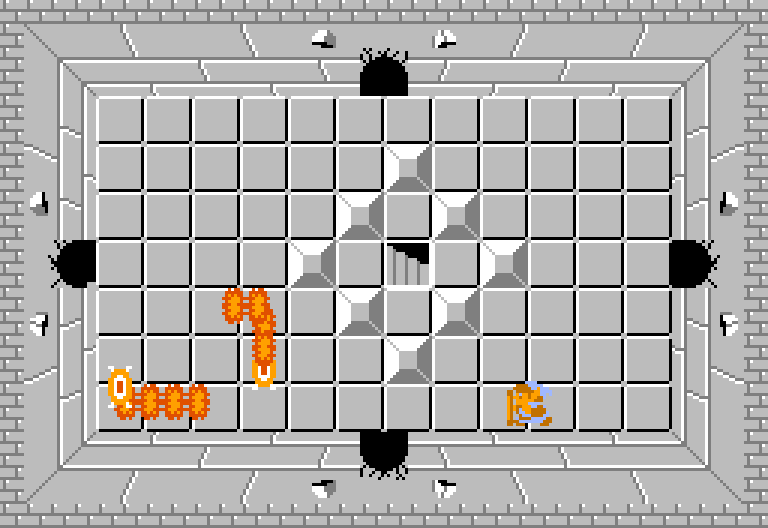
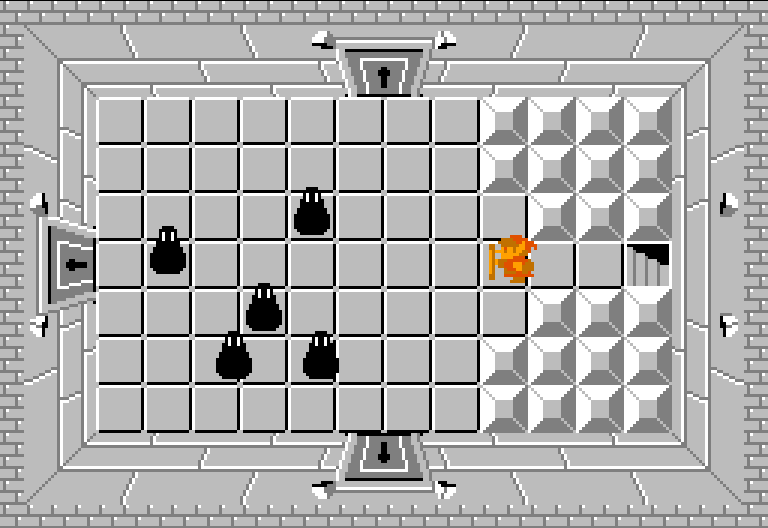
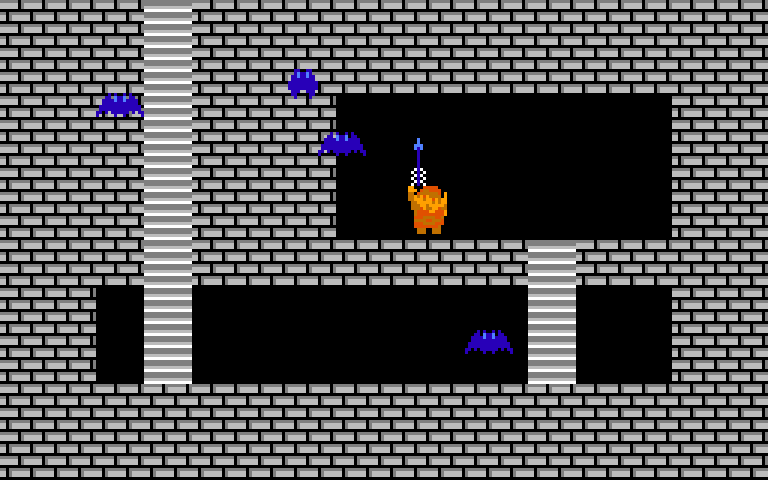
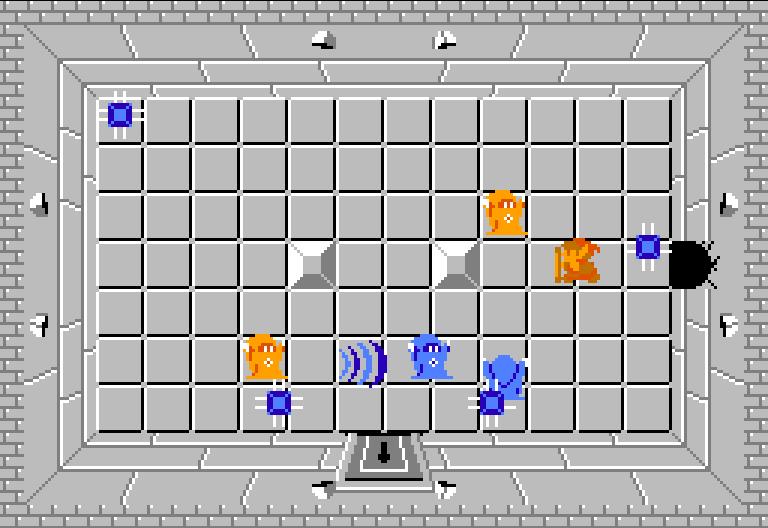
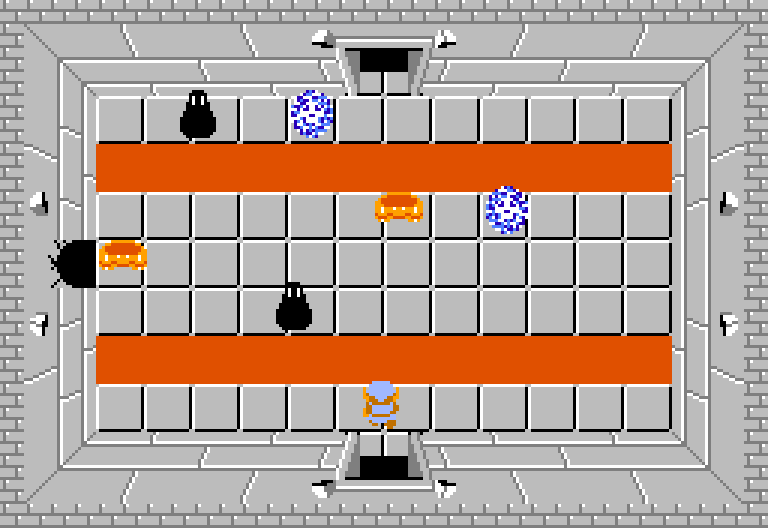
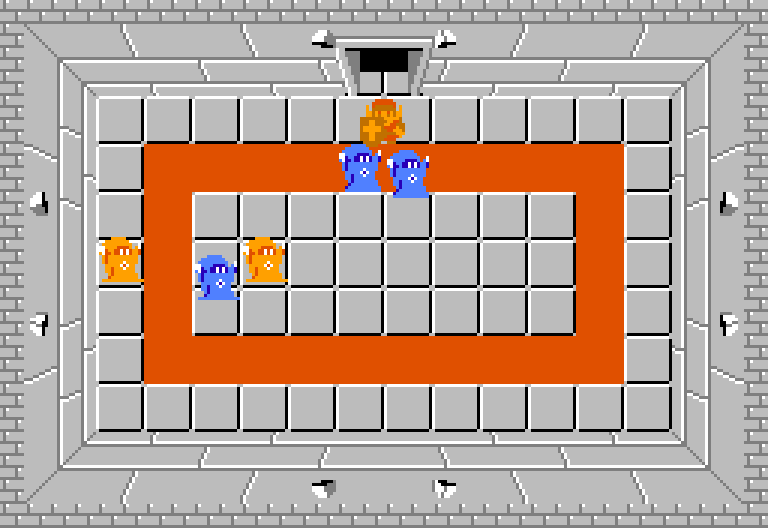
Here you will find a new enemy known as a Lanmola. These are very similar to the Moldorm we fought earlier in the quest, but they are much faster. They will move around the room and you’ll have to strike their head to deal damage. You can bomb all four walls in this room if you’d like to explore this portion of the dungeon. Otherwise, go ahead and push the block on the left and head down the staircase.

x4
Make your way through the underground tunnel.


x5
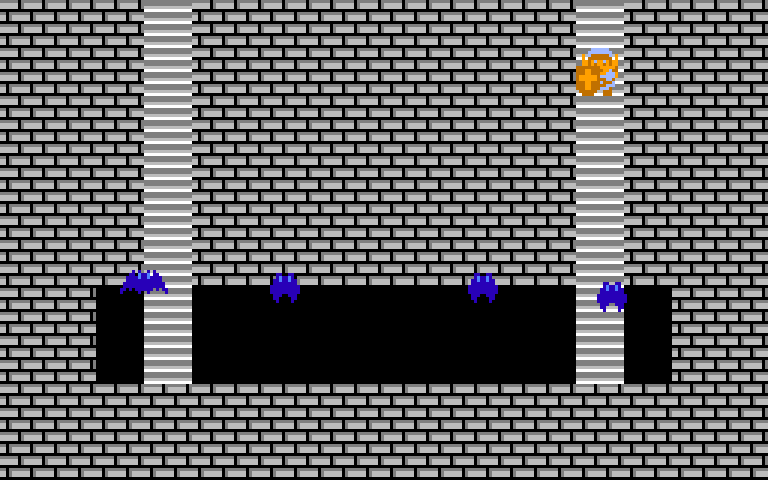
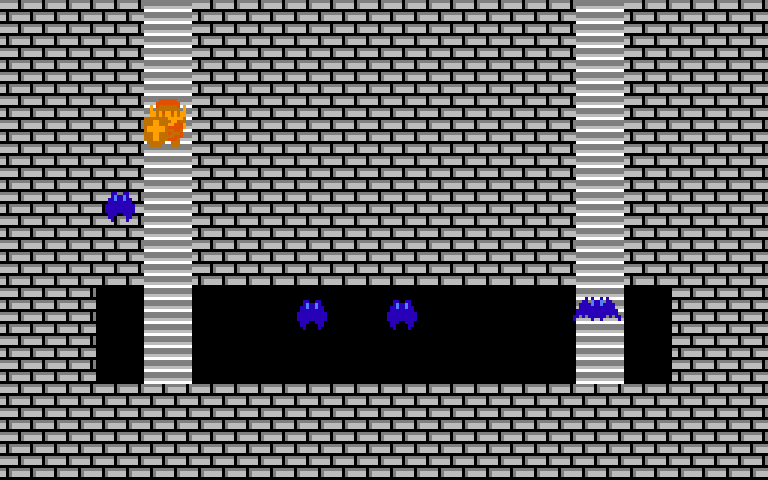
Be careful not to lose your Magical Shield in this room. Defeat the Like-Likes and then use the key to get through the door on the right.


x3
It is best to just avoid these enemies. If you would like to get the Compass, bomb the wall below and head down to the next screen. Otherwise, just progress to the right a screen.


x2

x2
x2
Just walk down and use a bomb to blast through the wall below.


x2
x3
Defeat all of the Wizzrobes that are found in this room and grab the Compass that is left behind. Backtrack by heading up two screens and then head through the door to the right.


x2
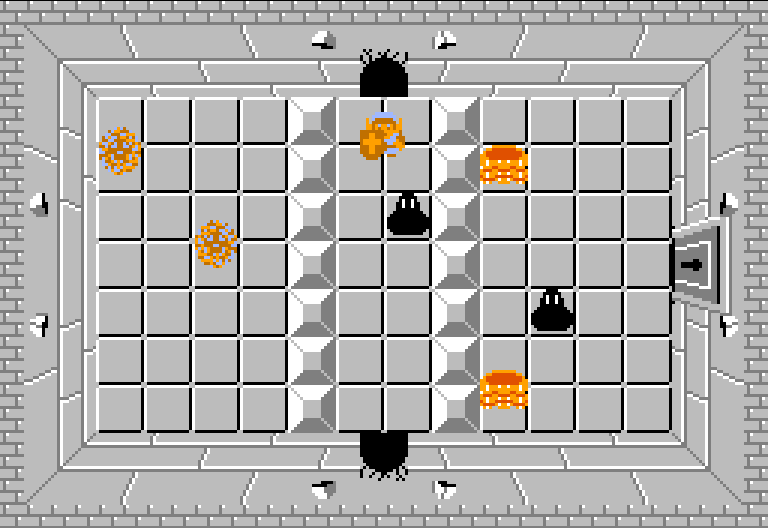
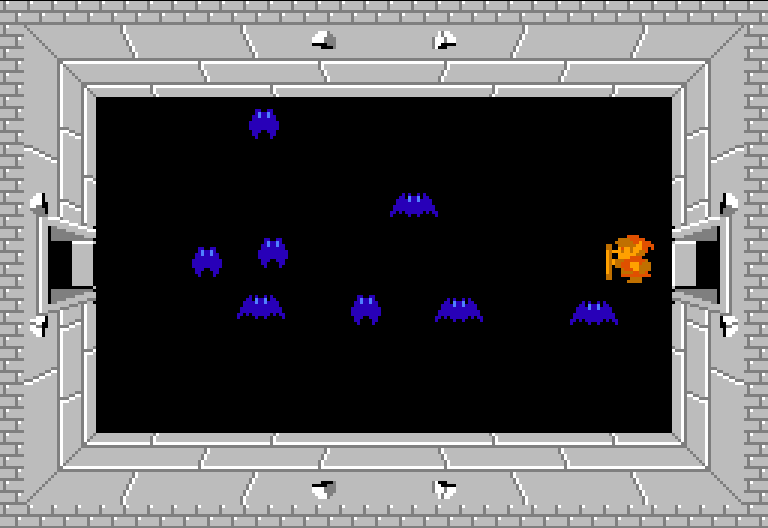
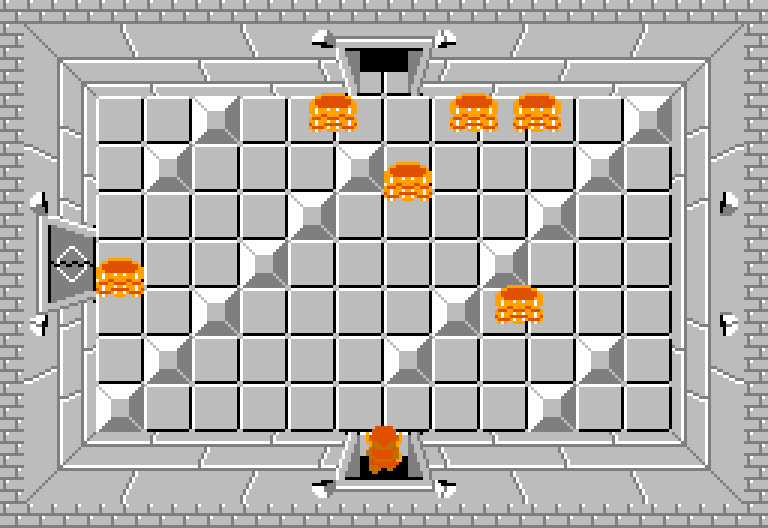
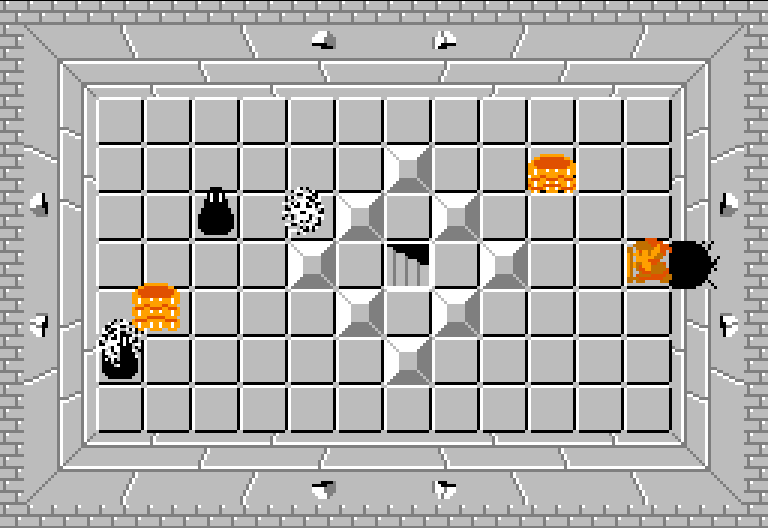
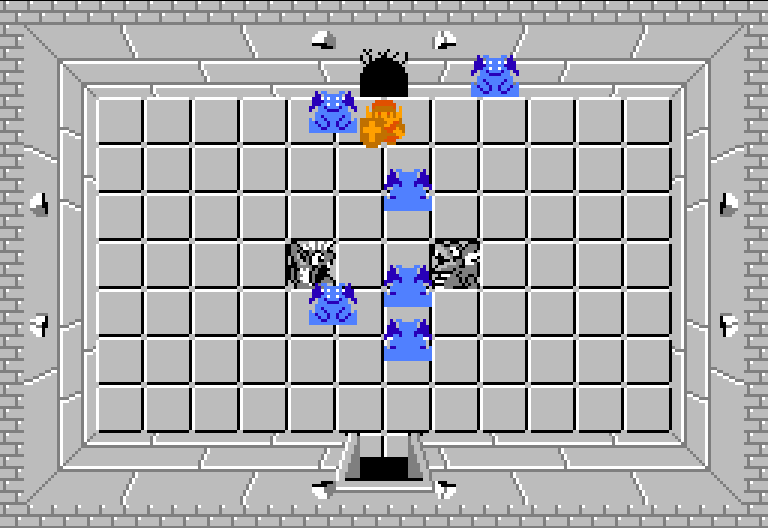
Here you will find a brand new, and perhaps the most difficult enemy in the game, Patra. Its main eye is surrounded by seven smaller eyes. They will rotate around the larger eye and occasionally will create a much larger circle, harming Link if he touches them. You will have to defeat all of the smaller eyes before being able to harm the larger eye. This particular Patra does not need to be defeated, so just avoid it for now and head down a screen.


x8
Defeat all the Gels to get some rupees and then bomb the wall to the right.


x2
Here you will find a second Patra and while you don’t actually have to defeat him, doing so will cause the Dungeon Map to appear. The map might seem more intimidating than most dungeons, but fortunately, the vast majority of rooms are skippable, as long as you follow along with the walkthrough. Use a bomb to blast open the wall above.


x3
x2
x2

x1
This room looks quite intimidating, but fortunately, we don’t have to defeat any of the enemies. Run to the north wall and blast it open with a bomb.


x2
x2
x1
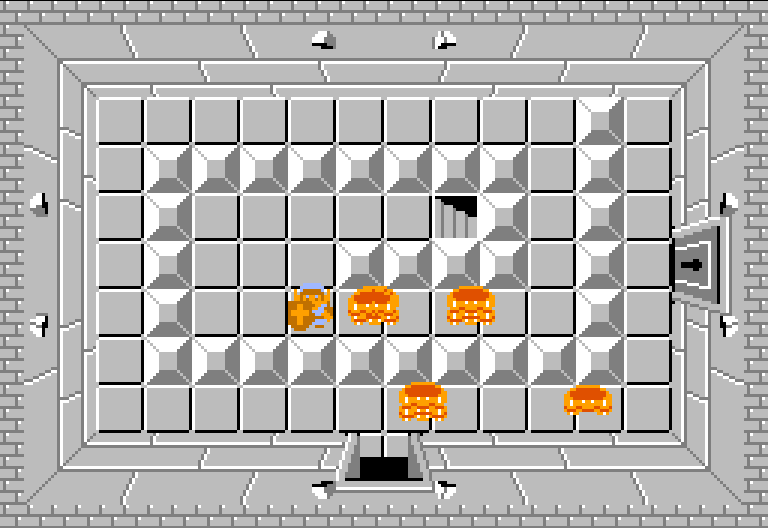
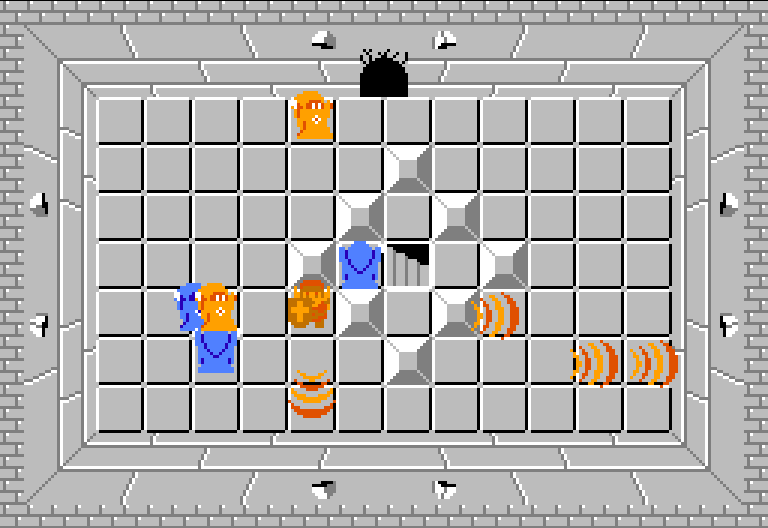
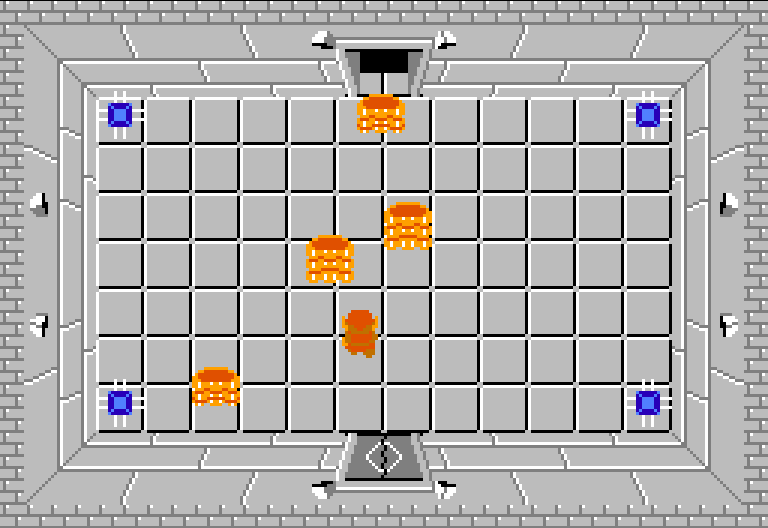
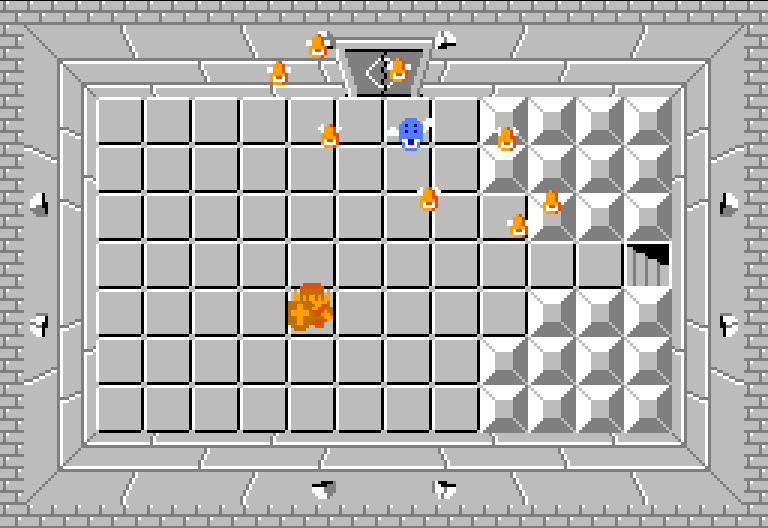
You will have to defeat all the Wizzrobes in this room, which can be quite difficult given all the blocks and bubbles that are in your way. Use a potion if you need, but once all the enemies have been defeated, push the block to the left and head down the steps.


x4
Run over and grab the Red Ring. This will cut the amount of damage you take when getting hit. Link will take half the damage that he did before when he had the Blue Ring, or one quarter of the damage he took from when he had the Green Tunic. Resurface and then head back down two screens to where we fought Patra to get the Dungeon Map.
Continue to backtrack left a screen and up a screen to where you fought the first Patra. Go through the locked door above.

The Old Man gives some rather direct advice this time around. Use a bomb to blast open the wall to the left.

x2
x3
Defeat the Wizzrobes and push the block to the left to reveal a staircase.
x4
Make your way through the underground passage.

x5
Defeat or ignore the Zols and head left through the locked door.

x8
You can defeat all the Keese here to get some rupees, but then head left a screen.


x1
Here we will find another Patra, but this one is slightly different as its eyes will move in a more elliptical formation. Defeat the enemy and then push the block on the left to reach the staircase.
x4
Make your way through the underground passage.

x2
x3
You can avoid thee enemies for now if you’d like, but we’ll eventually have to defeat them. Bomb the wall above and head through.


x2
x3
x3
You’ll have to defeat all the Wizzrobes in this room and the Bubbles make that rather annoying. Use a Potion if needed. Once all the Wizzrobes have been defeated, push the block in the middle on the right to reveal a staircase.

x4
Run on over and pick up the Silver Arrow. This item is a much stronger version of the Arrow and is also the only item that is capable of defeating Ganon.
Resurface and then head down a screen. Defeat the Wizzrobes to reach the staircase and go back through the underground tunnel to get back to the room where you fought Patra. From there head up a screen.

x6
Defeat of avoid the Like-Likes in this room and head up a screen.

x4

x4
There are more Like-Likes here, as well as some Blade Traps. Avoid them and head up a screen.

x2
x2
x3
x1
Place a bomb against the wall on the left and blast it open.

x2
x2
x4
Defeat all the Wizzrobes and then push the block on the left. A hidden staircase appears beneath the Blade Trap, so step in front of it to trigger it and then quickly run towards the staircase.
x4
Make your way through the underground passage.


x2
x2
x4
Avoid the enemies and bomb the wall on the left.

x2
x2
x2
Defeat all the enemies and then push the block on the left to reach the staircase.
x4
Make your way through the underground passage.

x1
Here we have one last Patra fight. Defeat the enemy and then head up through the door that opens to take on the final boss, Ganon.
10.3 Death Mountain (No Magical Key)
x12
From the entrance head up a screen.
Since we have the full Triforce, the Old Man will allow us to go by. Walk up a screen.

x2
x2
x2
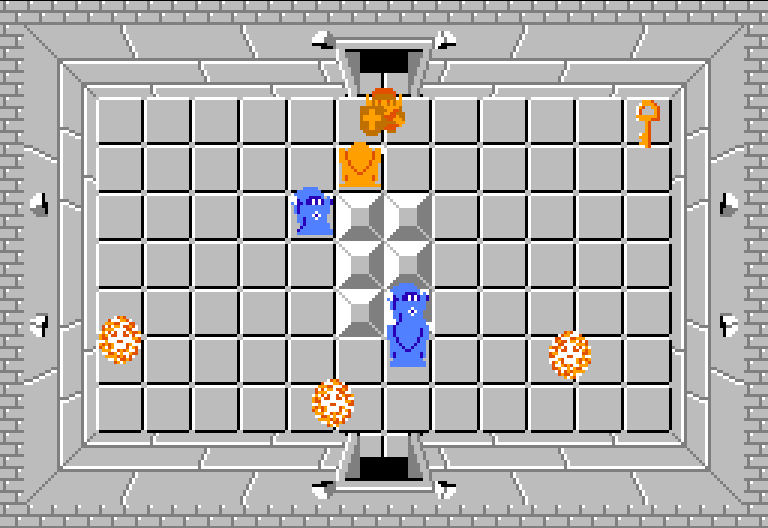
Defeat all the enemies here and then grab the key that is left behind. Use a bomb to blast open the wall on the left.
x3
Here you will find a new enemy known as a Lanmola. These are very similar to the Moldorm we fought earlier in the quest, but they are much faster. They will move around the room and you’ll have to strike their head to deal damage. You can bomb all four walls in this room if you’d like to explore this portion of the dungeon. Otherwise, go ahead and push the block on the left and head down the staircase.
x4
Make your way through the underground tunnel.
x5
Be careful not to lose your Magical Shield in this room. Defeat the Like-Likes and then use the key to get through the door on the right.
x3
It is best to just avoid these enemies. If you would like to get the Compass, bomb the wall below and head down to the next screen. Otherwise, just progress to the right a screen.
x2
x2
x2
Just walk down and use a bomb to blast through the wall below.
x2
x3
Defeat all of the Wizzrobes that are found in this room and grab the Compass that is left behind. Backtrack by heading up two screens and then head through the door to the right.
x2
Here you will find a brand new, and perhaps the most difficult enemy in the game, Patra. Its main eye is surrounded by seven smaller eyes. They will rotate around the larger eye and occasionally will create a much larger circle, harming Link if he touches them. You will have to defeat all of the smaller eyes before being able to harm the larger eye. This particular Patra does not need to be defeated, so just avoid it for now and head down a screen.
x8
Defeat all the Gels to get some rupees and then bomb the wall to the right.
x2
Here you will find a second Patra and while you don’t actually have to defeat him, doing so will cause the Dungeon Map to appear. The map might seem more intimidating than most dungeons, but fortunately, the vast majority of rooms are skippable, as long as you follow along with the walkthrough. Use a bomb to blast open the wall above.
x3
x2
x2
x1
This room looks quite intimidating, but fortunately, we don’t have to defeat any of the enemies. Run to the north wall and blast it open with a bomb.
x2
x2
x1
You will have to defeat all the Wizzrobes in this room, which can be quite difficult given all the blocks and bubbles that are in your way. Use a potion if you need, but once all the enemies have been defeated, push the block to the left and head down the steps.
x4
Run over and grab the Red Ring. This will cut the amount of damage you take when getting hit. Link will take half the damage that he did before when he had the Blue Ring, or one quarter of the damage he took from when he had the Green Tunic. Resurface and then head back down two screens to where we fought Patra to get the Dungeon Map.
From there, bomb the south wall if you haven’t already and head down a screen.


x6
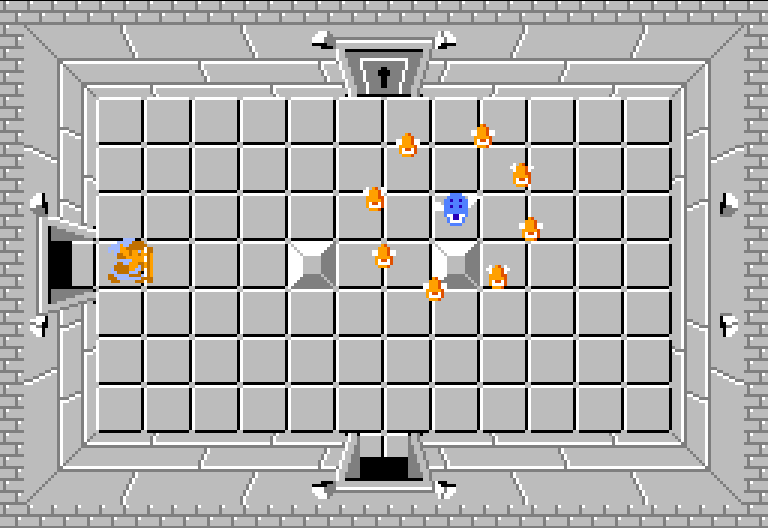
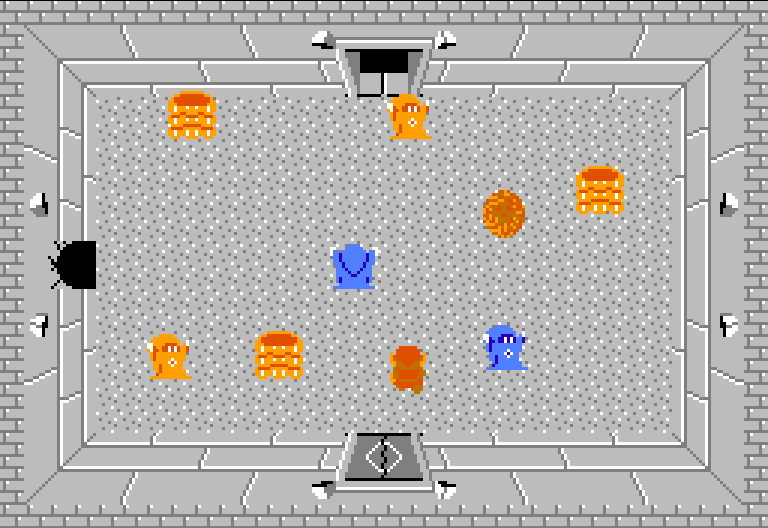
Defeat the six Vires in this room to get some Bombs and then head down a screen.

x2
x3
x3
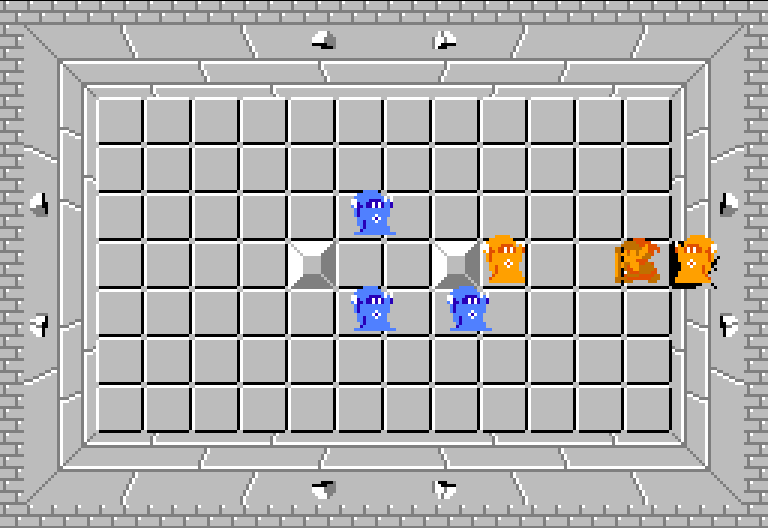
Another combination of these enemies. Grab the key in the corner and then head down a screen.

x2
x3
Defeat all the Wizzrobes in this room and grab the key that is left behind. Backtrack by heading up three screens, left a screen, and up a screen to get back to the first Patra room. From there head up through the locked door.
The Old Man gives some rather direct advice this time around. Use a bomb to blast open the wall to the left.
x2
x3
Defeat the Wizzrobes and push the block to the left to reveal a staircase.
x4
Make your way through the underground passage.
x5
Defeat or Ignore the Zols and head left through the locked door.
x8
You can defeat all the Keese here to get some rupees, but then head left a screen.
x1
Here we will find another Patra, but this one is slightly different as its eyes will move in a more elliptical formation. Defeat the enemy and then push the block on the left to reach the staircase.
x4
Make your way through the underground passage.
x2
x3
You can avoid thee enemies for now if you’d like, but we’ll eventually have to defeat them. Bomb the wall above and head through.
x2
x3
x3
You’ll have to defeat all the Wizzrobes in this room and the Bubbles make that rather annoying. Use a Potion if needed. Once all the Wizzrobes have been defeated, push the block in the middle on the right to reveal a staircase.
x4
Run on over and pick up the Silver Arrow. This item is a much stronger version of the Arrow and is also the only item that is capable of defeating Ganon.
Resurface and then head down a screen. Defeat the Wizzrobes to reach the staircase and go back through the underground tunnel to get back to the room where you fought Patra. From there head up a screen.
x6
Defeat of avoid the Like-Likes in this room and head up a screen.
x4
x4
There are more Like-Likes here, as well as some Blade Traps. Avoid them and head up a screen.
x2
x2
x3
x1
Place a bomb against the wall on the left and blast it open.
x2
x2
x4
Defeat all the Wizzrobes and then push the block on the left. A hidden staircase appears beneath the Blade Trap, so step in front of it to trigger it and then quickly run towards the staircase.
x4
Make your way through the underground passage.
x2
x2
x4
Avoid the enemies and bomb the wall on the left.
x2
x2
x2
Defeat all the enemies and then push the block on the left to reach the staircase.
x4
Make your way through the underground passage.
x1
Here we have one last Patra fight. Defeat the enemy and then head up through the door that opens to take on the final boss, Ganon.
10.4 Prince Darkness, Ganon
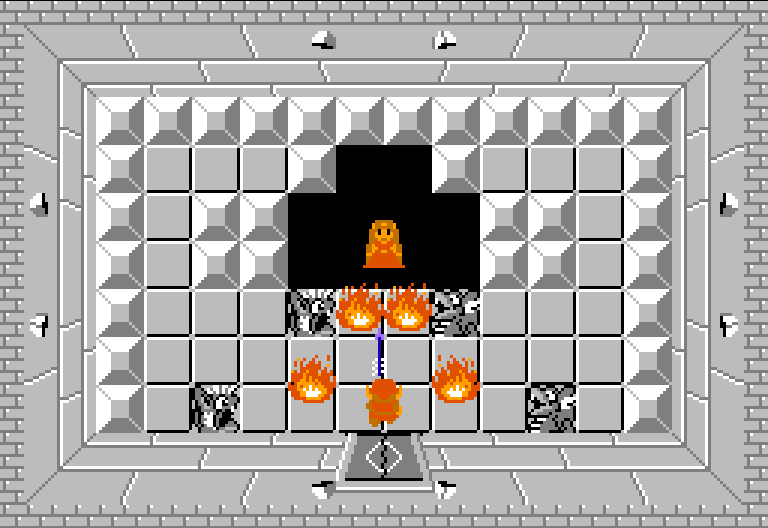
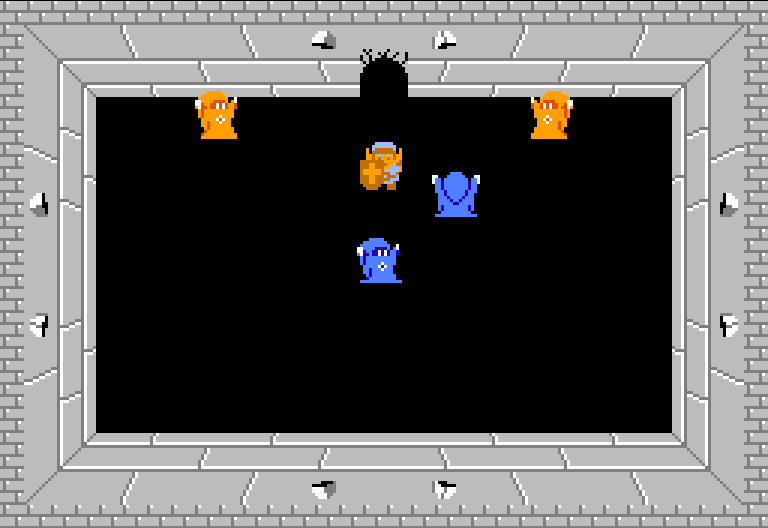
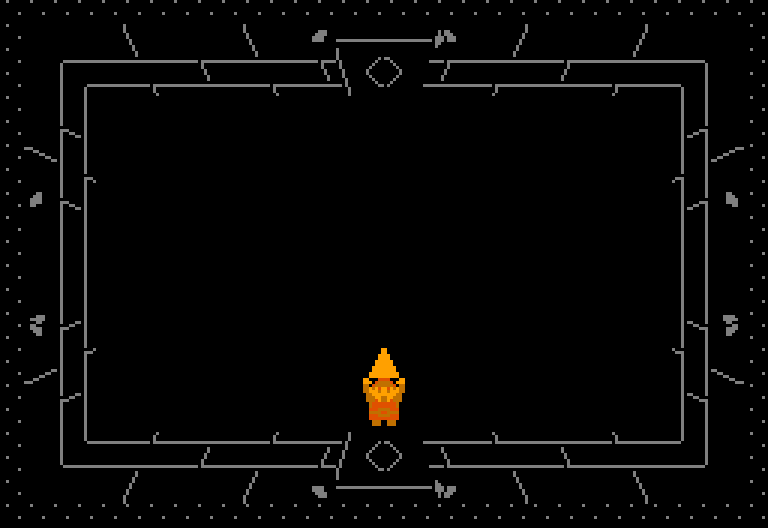
Upon entering this room, it will turn dark. Link will hold up the Triforce of Wisdom and the room will light up with Ganon appearing. Let the battle begin!
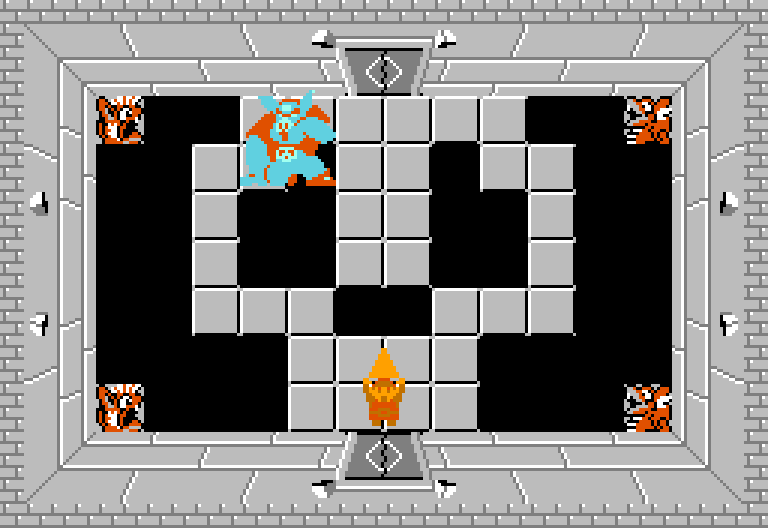
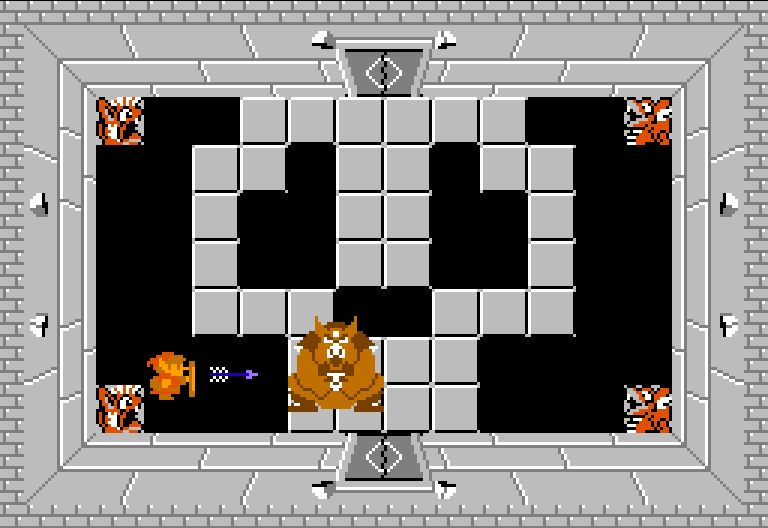
Ganon will disappear and begin to shoot fireballs at you, which are unblockable by your Magical Shield. He moves around in a pattern, so hit at one of the locations he shoots from and you’ll hit him. Each time you strike him, he will change his pattern. This phase is quite random and could be annoying. I find it best to stay at one corner or part of the room and just keep slashing away until you hit him.
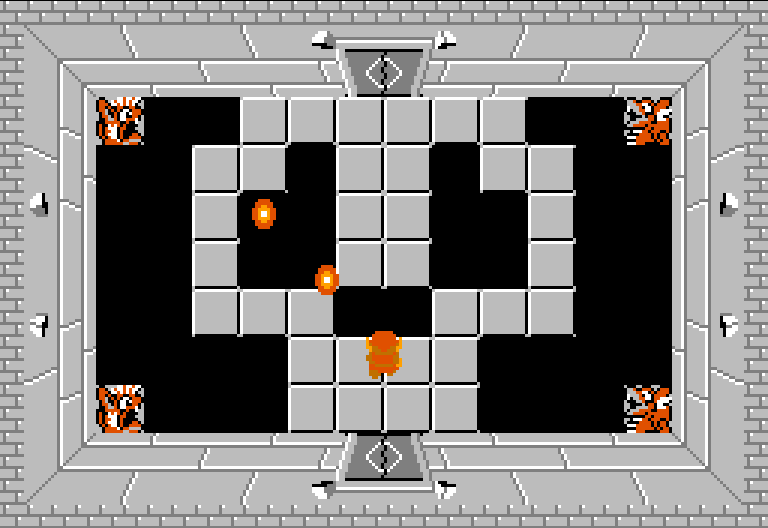

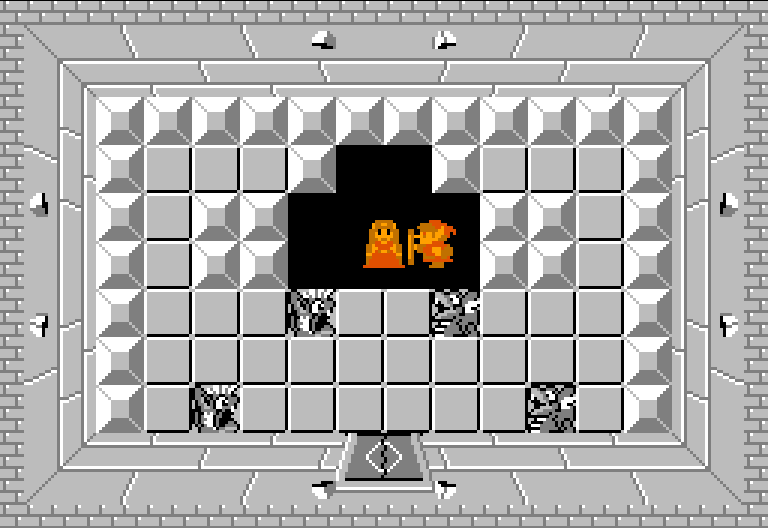
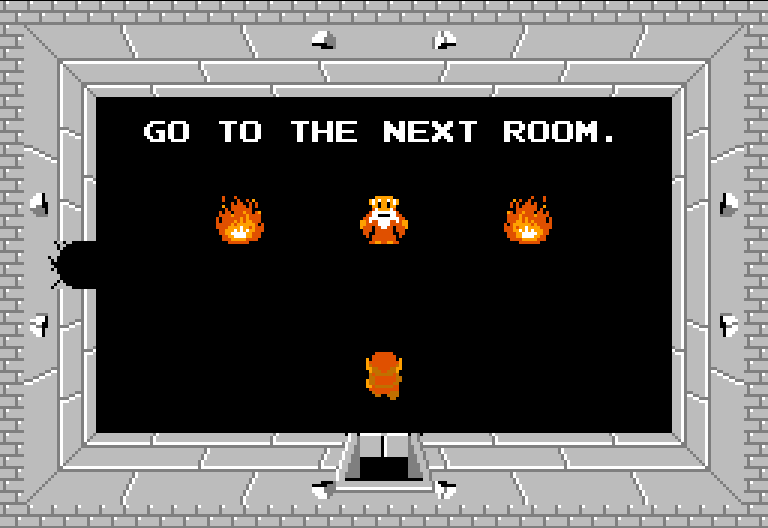
After striking him four times, he’ll become brown. This is your sign that he is nearly defeated. Whip out that bow and sling the Silver Arrow at him, causing him to explode. The Triforce of Power falls into his ashes, so grab it to unlock the doors. Head up.

10.5 Ending
Slash at the fire and approach Princess Zelda. You will each hold up pieces of the Triforce, and the Credits will roll. Congratulations on saving Hyrule! A second quest awaits…