- The Gathering
- Level 1: The Eagle
- Level 2: The Moon
- Level 3: The Manji
- Level 4: The Snake
- Level 5: The Lizard
- Level 6: The Dragon
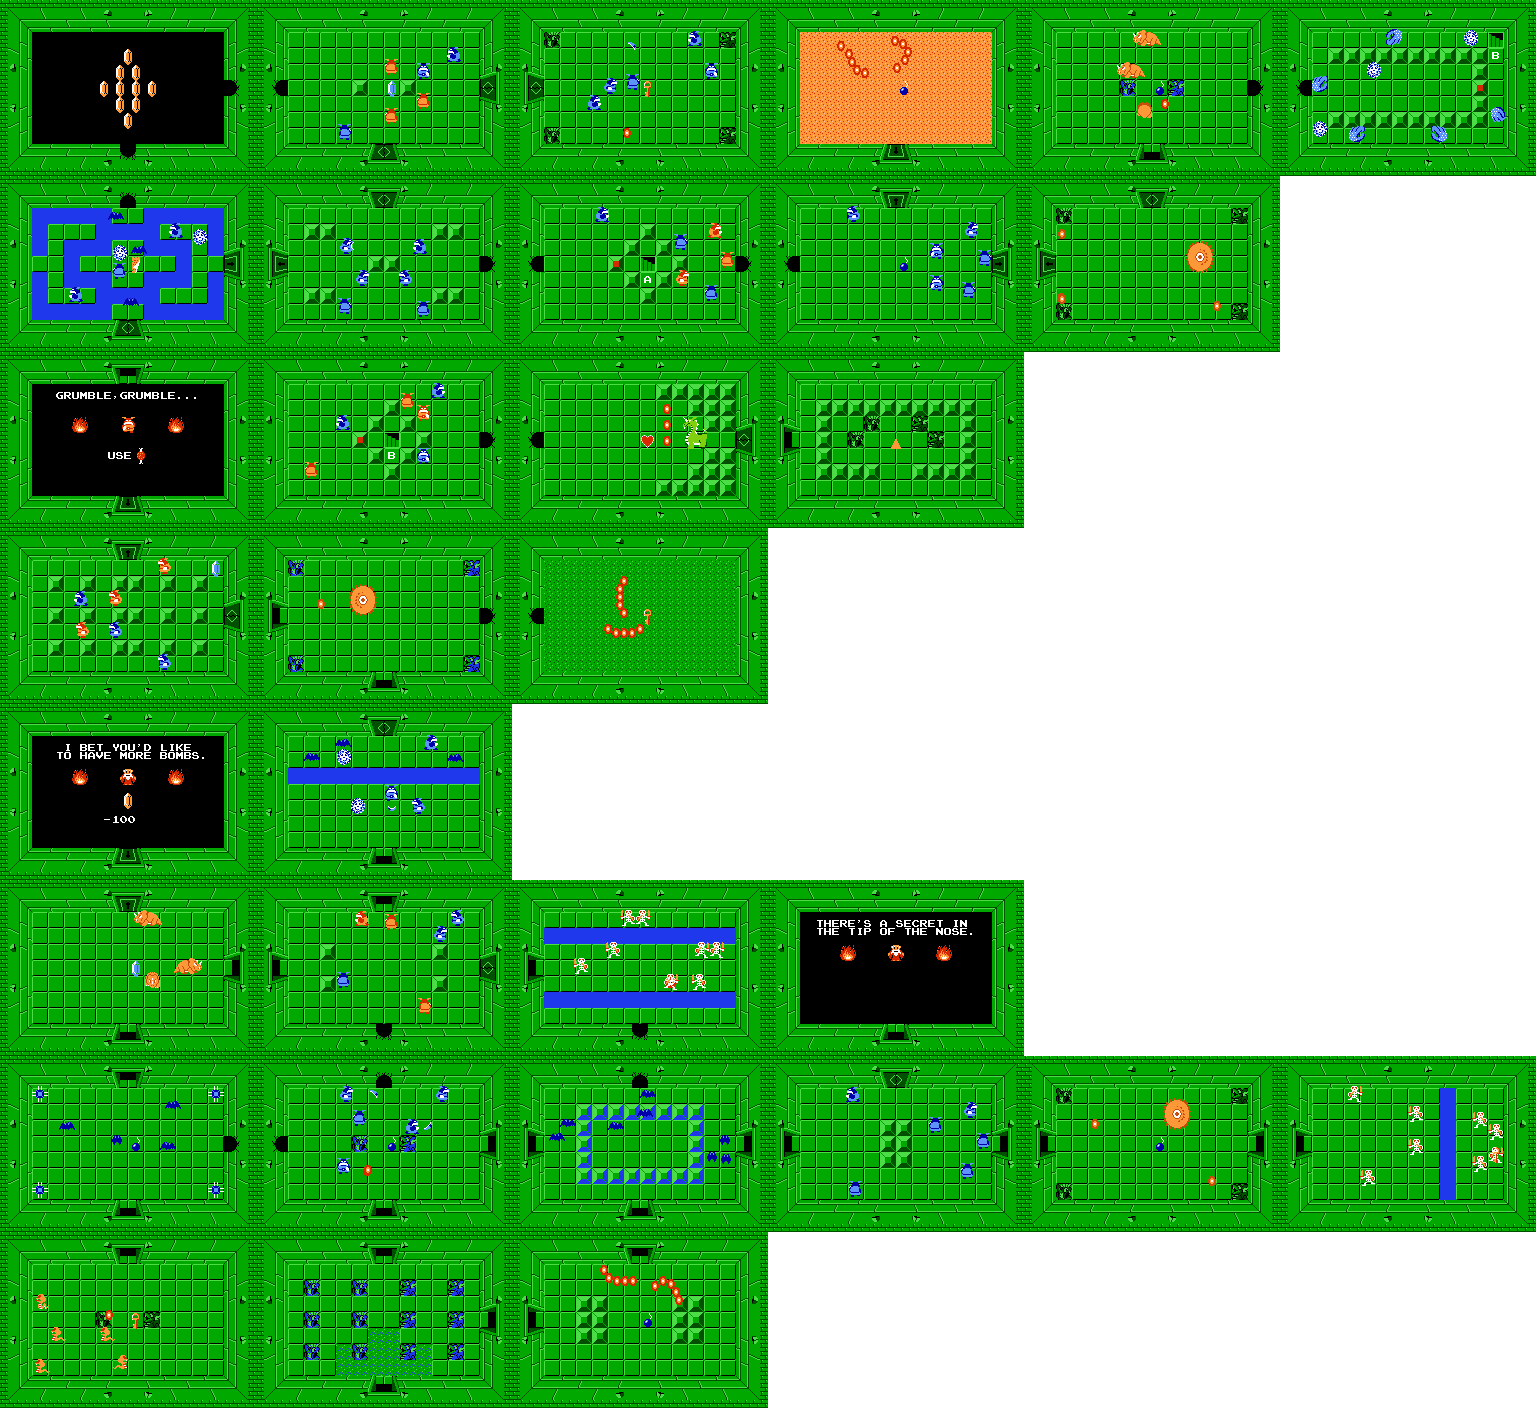
- Level 7: The Demon
- Level 8: The Lion
- Level 9: Death Mountan
8.1 Getting to Level 7
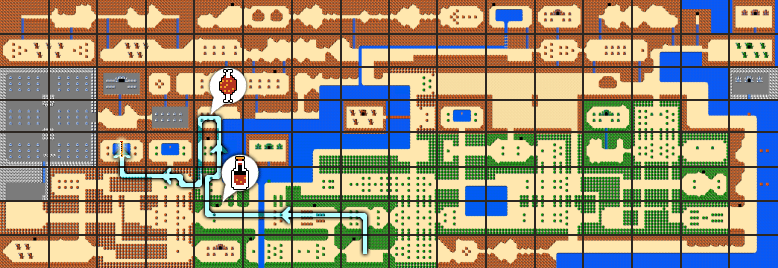
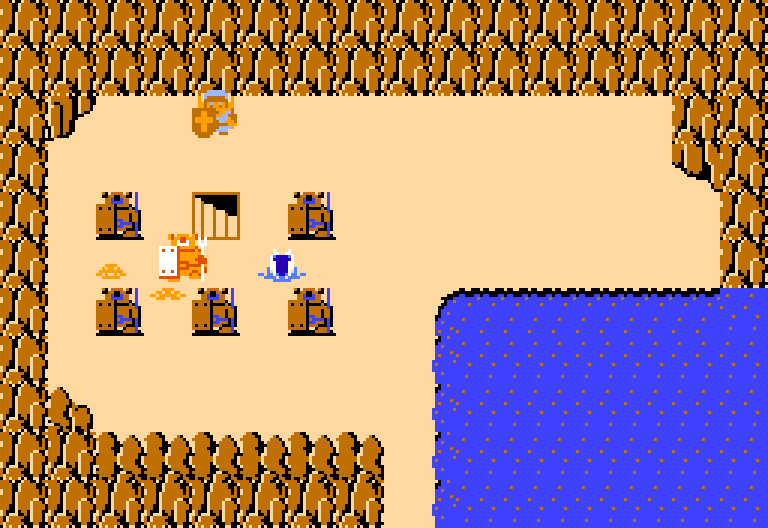
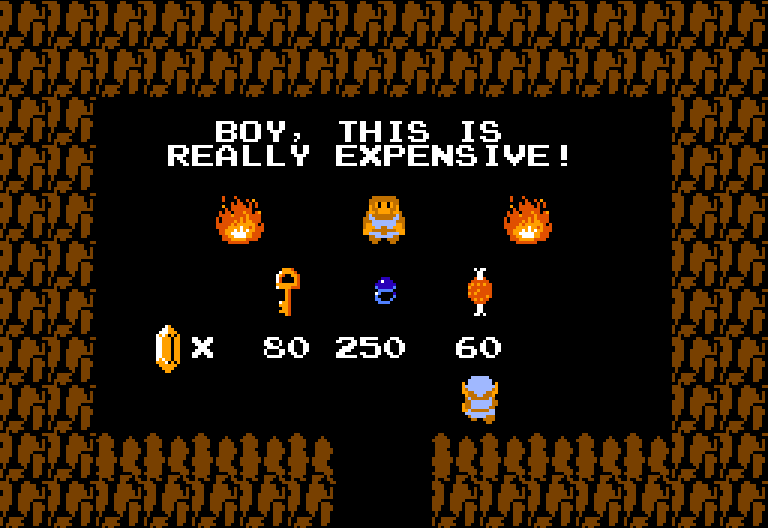
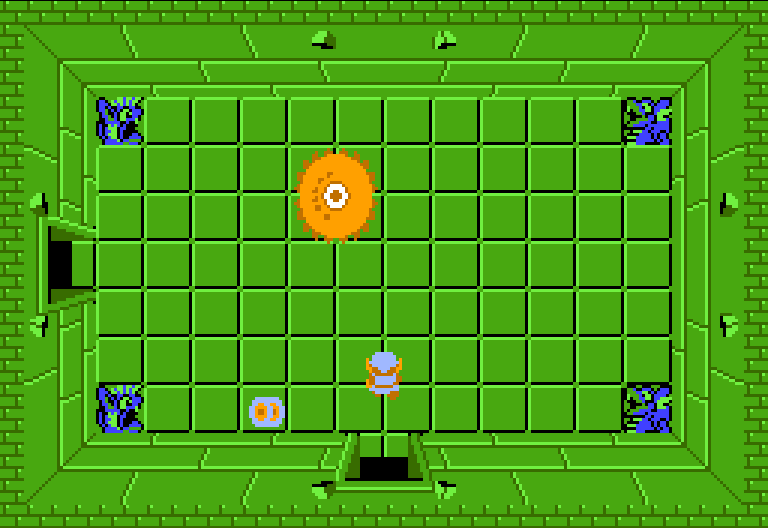
Before progressing to the next dungeon we will need to acquire some enemy Bait. This item can be purchased in some of the hidden Shops, as well as the Special shop in the Overworld. The cheapest place to get it is at the special shop. From the start screen, walk up a screen, left three screens, and up three screens. Tap the Armos statue that is on the top row in the middle to reveal the staircase. Purchase the Bait for 60 rupees.
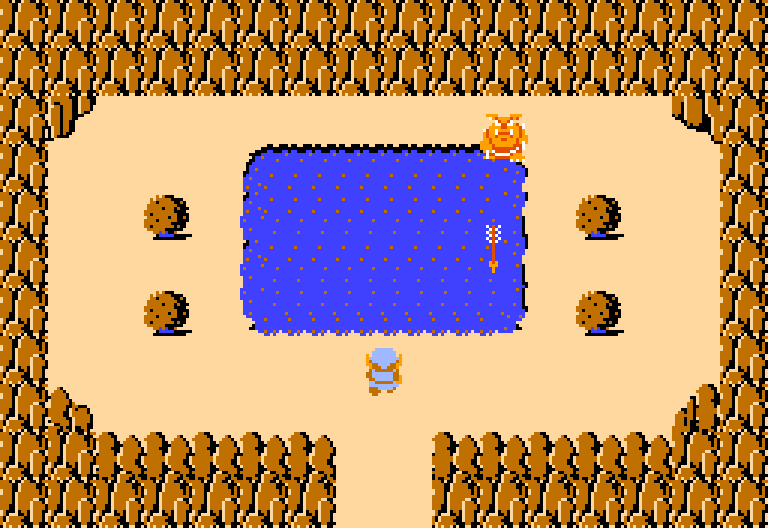
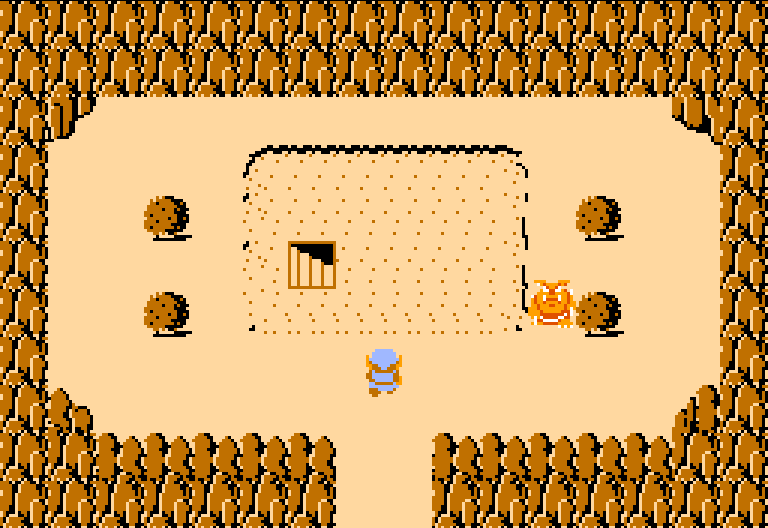
From the secret shop, go down two screens, left two screens, and up a screen to reach a pond. Pull out the Whistle and use it, causing the pond to drain and a staircase to appear, revealing the entrance to the next dungeon.
8.2 The Demon


x12
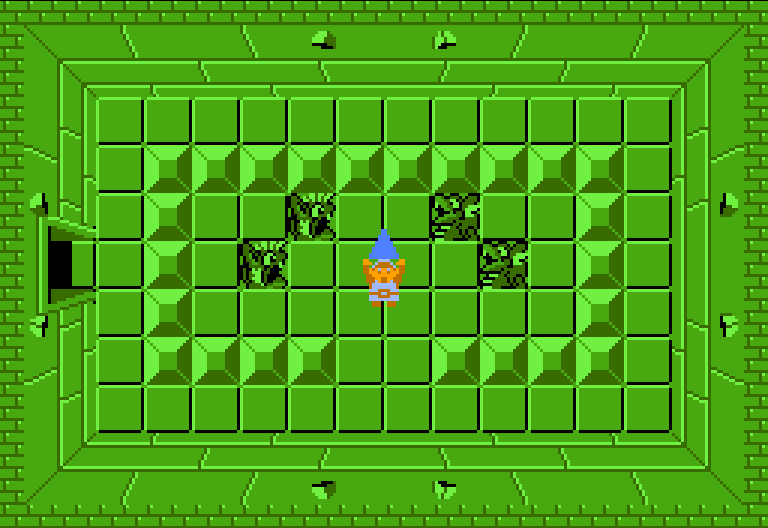
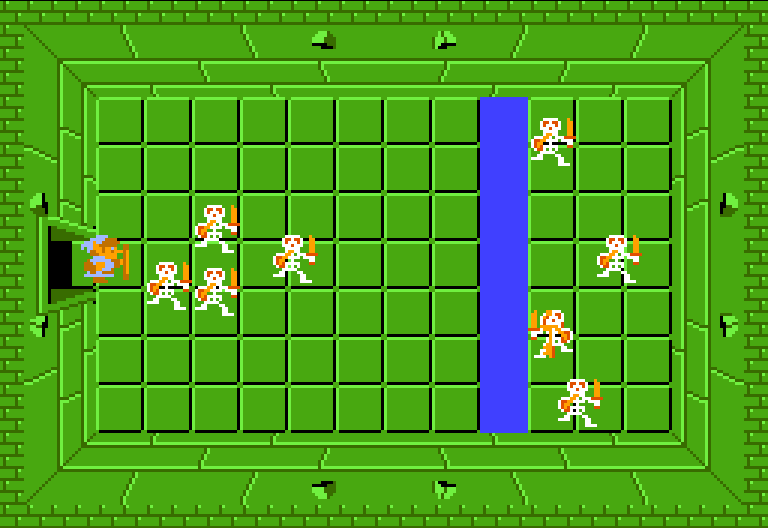
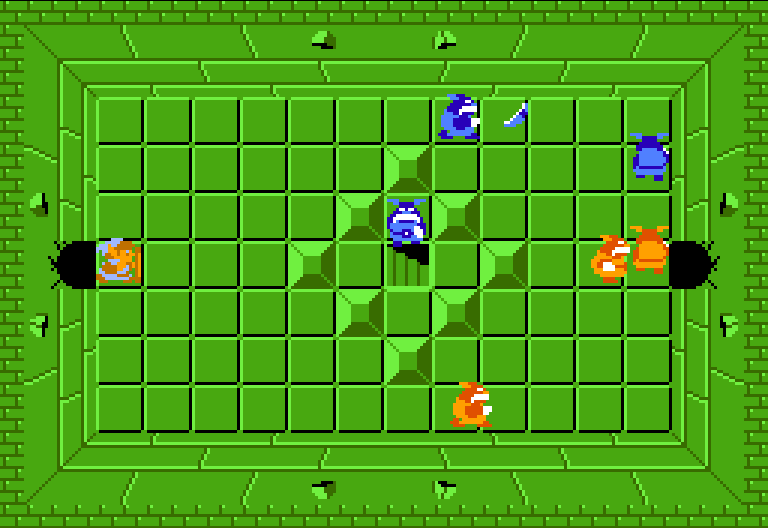
This dungeon has a lot of optional rooms and a ton of secret walls that can be blasted open. Furthermore, there are only 4 keys in this dungeon, but there are 5 locked doors. You can skip several of the locked doors if you have enough bombs, or you can just skip a certain room and get by with four keys. If you want to explore every single room in this dungeon, you will need to have an extra key before you enter.
Go through the door to the right.


x2
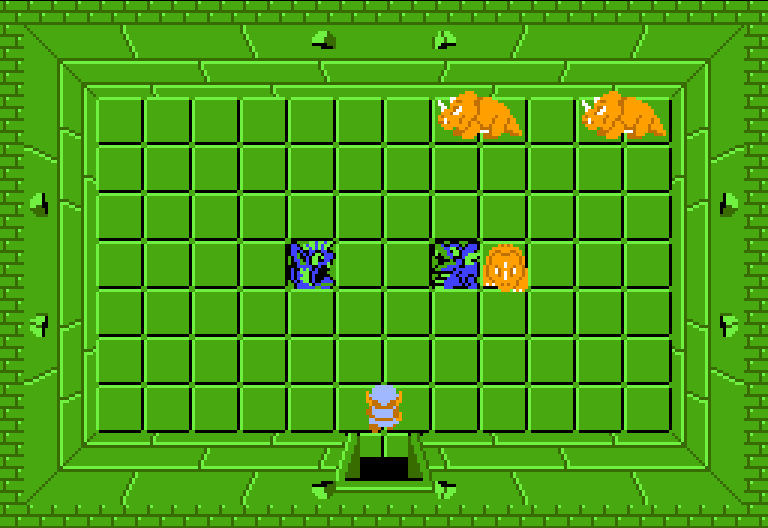
You can avoid the two Moldorms here if you have full bombs, but if not, use your sword to defeat these enemies and grab the bombs that are left behind. Continue up through the door.


x8
 The wall to the north can be blasted open using a bomb, but for now just head right a screen.


x6
If you defeat all the Goriyas the door above will open, leading to an Old Man. He tells you that THERE’S A SECRET IN THE TIP OF THE NOSE. This is a somewhat cryptic, yet important tip in order to progress in this dungeon. You’ll first have to get the Dungeon Map to see the layout of the dungeon to further understand what this tip means. Nevertheless, continue to the right a screen.


x4
Here you will find Digdogger, who becomes a reoccurring enemy in this dungeon. When you play the whistle, this time around Digdogger will split into multiple smaller versions of itself. You can defeat the enemy if you’d like and get some bombs as a reward; otherwise just skip ahead and progress to the next room.


x8
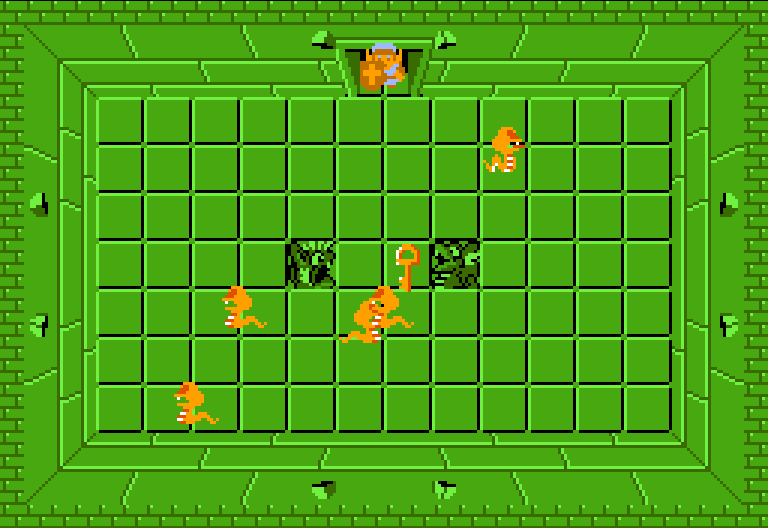
Defeat the Stalfos and grab the key that one of the enemies is holding. With the key in hand, backtrack by heading left four screens.

x8
x2
Both the top and left walls in this room can be blasted open with a bomb. We technically only need to go through one of the two passage ways. If you defeat all the Goriya in this room, some bombs will be left as a reward. Watch out for the stone statues and progress through the secret wall to the left.

x4

x4
Defeat the Keese in this room to grab some bombs and then head down a screen.


x5
Defeat the enemies if you’d like, and then grab the key. Walk up two screens.


x3
Here you will encounter three Dodongos. If you do defeat them all, you will get 5 rupees as a reward. It’s really not worth it as you can just skip them. Use a key and head up through the locked door.


Here is the second and final bomb upgrade, which will now allow you to carry up to 16 bombs. Get the upgrade and then head down and right a screen.


x3
x3
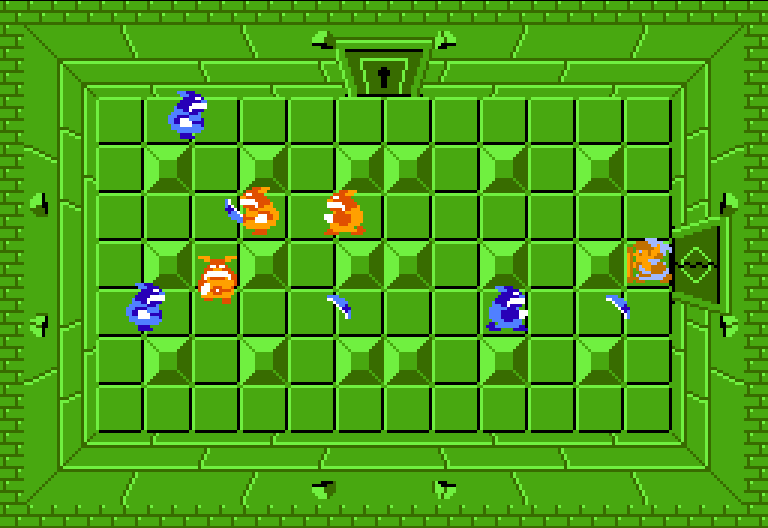
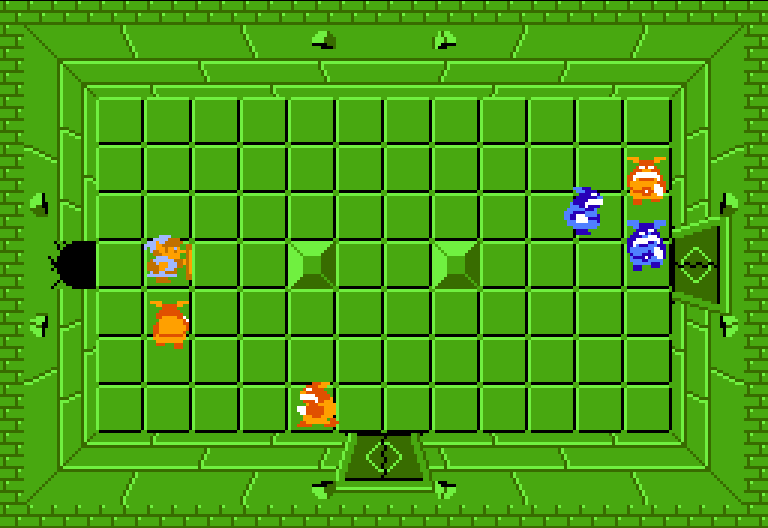
We have an assortment of Goriyas here but they should give you too much trouble. Defeat them all and then head right through the door that opens.


x8
One of the Stalfos in this room is holding the Compass, so go ahead and defeat him to grab the item. Walk back left a screen and then up a screen.

x3
x3

x2
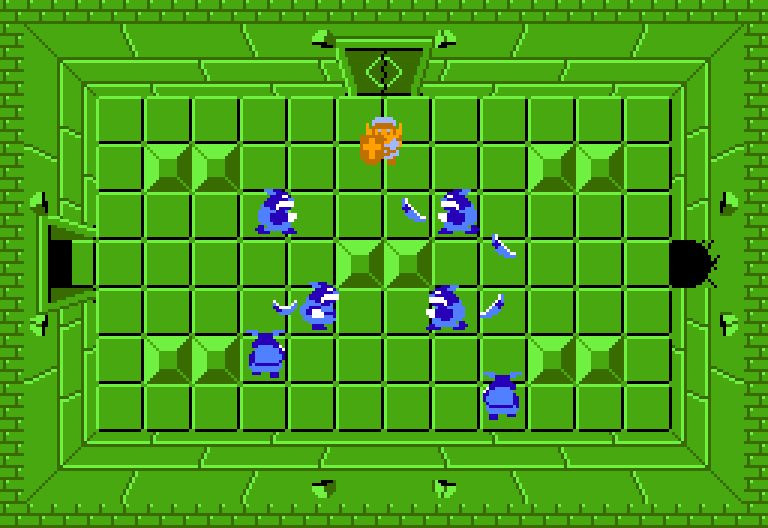
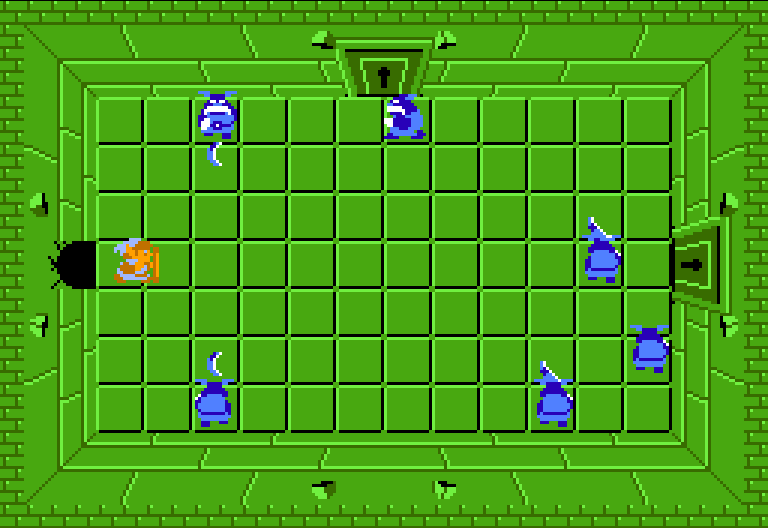
You’ll have to defeat all the Goriyas and Keese in this room to progress. Avoid the Bubbles and then head up a screen.

x4
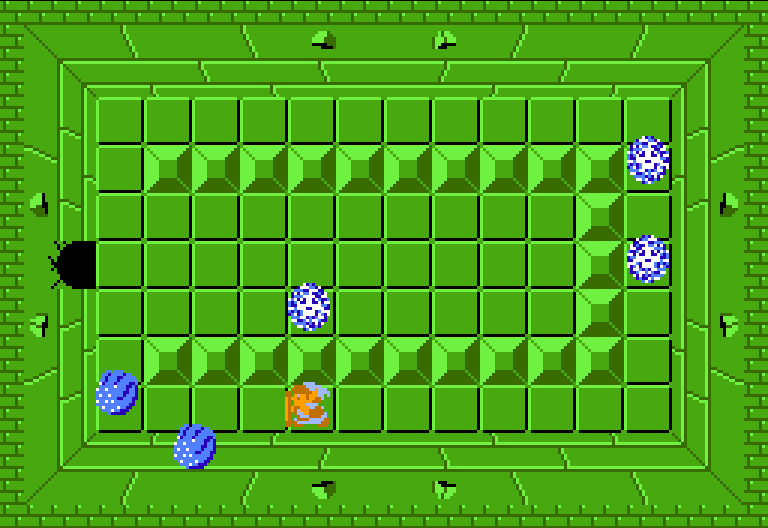
Here we have another Digdogger, but we can avoid it. You can blast a hold in the wall on the right side here, and it leads to a room that has a pair of Moldorms that will reward you with a key. However, if you follow along, we won’t need that key, so just head through the door to the left.

x3
x3
Six more Goriyas in this room and they can be avoided if you’d like. If you do defeat them, they will drop 5 rupees. Use a key and head up through the locked door.

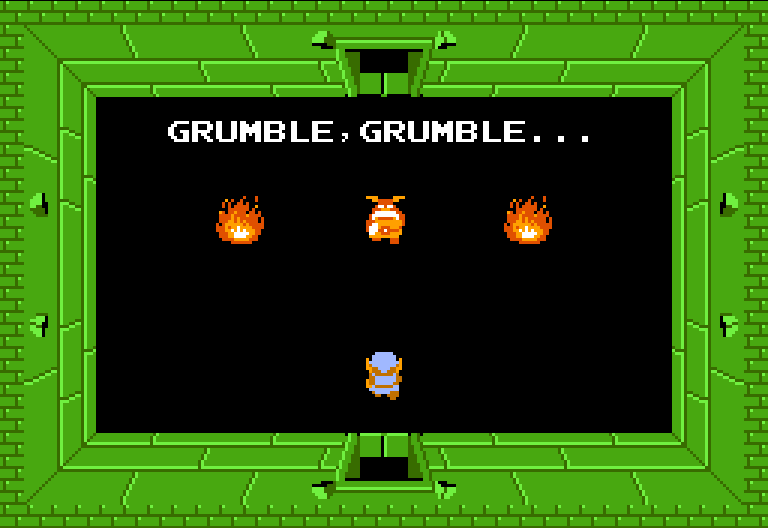
Here you will find a friendly Goriya who is hungry. Pull out the bait and leave it for the Goriya, who will then allow you to pass.


x3
x3
x2
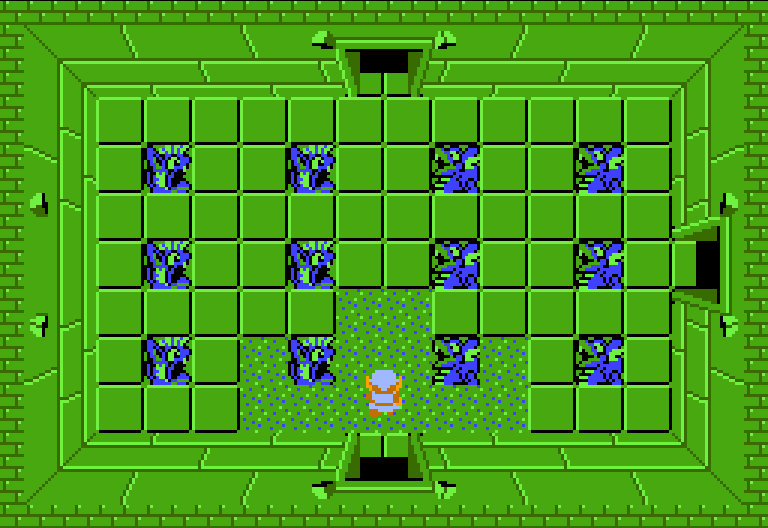
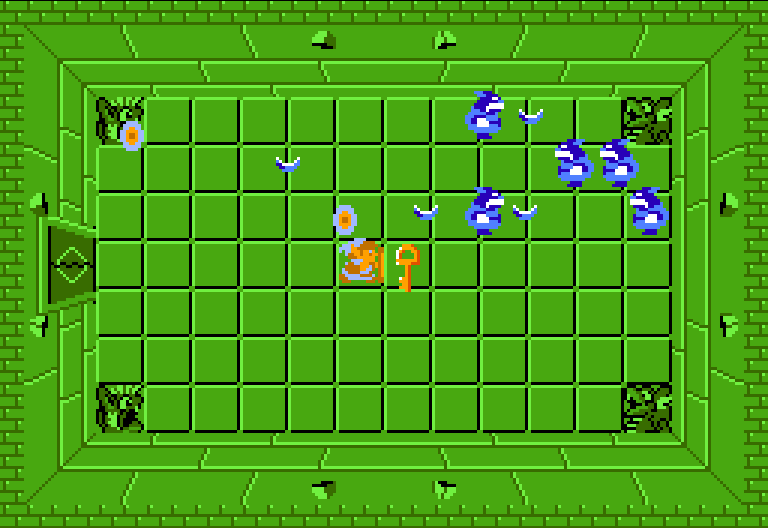
Walk over and grab the Dungeon Map located in the center of the room. There is a locked door to the right, but we can avoid using a key by instead blasting a hole in the wall above, so go ahead and do that. Despite it not appearing on the map, there is in fact a room above.

 x10
x10
Grab the 10 rupees and then blast another hold in the wall to the right.

x3
x3
There are more Goriyas to defeat and these guys will drop some rupees for you when you defeat them. Defeat them and then head right a screen.

x5
x4
Defeat all the Goriyas in this room to open up the door once again. Grab the key and then backtrack left a screen and then down a screen.

x6
The door on the left is locked, but just leave it that way. We don’t want to waste a key there as it leads back to a room we’ve already been. While it doesn’t appear there is a room to the right on the map, there actually is. Blast open a hole with a bomb and head right a screen.

x3
x3
Defeat all the Goriyas and then push the block that is on the left side of the room.

x4
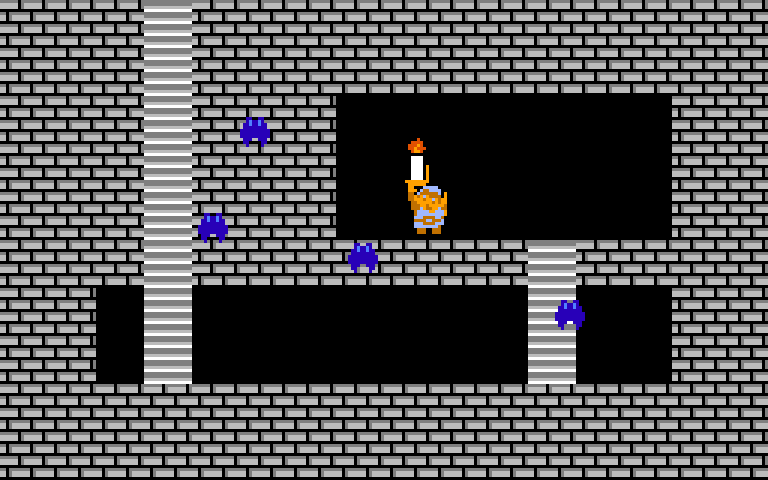
Run over and pickup the Red Candle. This item works just as the Blue Candle, except it allows you to use it more than one time per screen. This is particularly useful in the Overworld if you were just searching around to try to find secrets. Fortunately, this guide takes care of that for you. Exit the room and then blast the wall on the right side of the room using a bomb.

x6
Defeat the Goriyas in this room to get some Bombs as you’ll need them in an upcoming room. The locked door above just leads to a room with Moldorms that will give you some extra bombs. Just ignore it and head through the locked door to the right.

x4
Here you will find Digdogger and this one you will actually have to defeat. I suggest placing a bomb right by Digdogger and then use the Whistle to shrink it down. Once it has been defeated, head up a screen.

x3
x2
There are three Dodongos in this room, and if you defeat them, they will leave some bombs. It’s not worth fighting them as all we have to do is head right a screen. Place a bomb to blast open a secret hole in the wall.


x5
x3
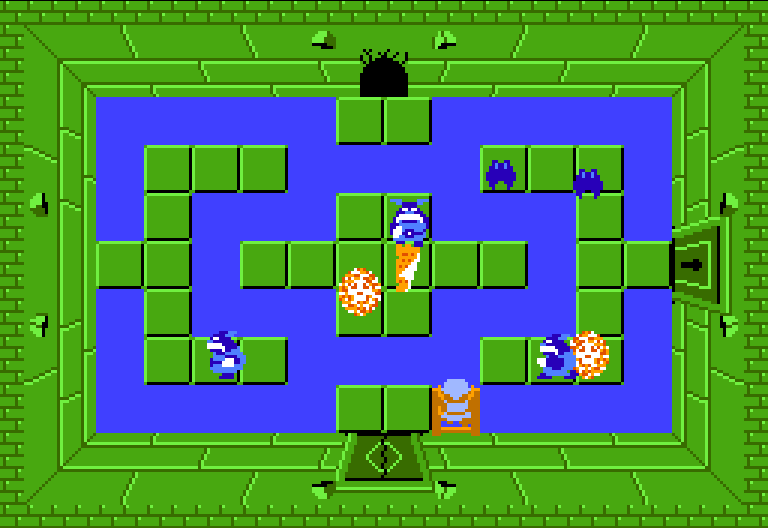
If you recall the Old Man quote, THERE’S A SECRET IN THE TIP OF THE NOSE. If you glance at the map, we are now at that Tip. This room has a handful of Wallmasters that will come out of the room. Defeat the five wallmasters so they don’t get in your way. If they grab you, they will take you all the way back to the entrance of the dungeon. The secret is that you can push the middle block that is on the right side of the room. Push it and it will cause a secret staircase to appear.
x4
Navigate through the underground passage.


x3
x3
Use a bomb to blast open the wall on the right side and then head through to take on the dungeon boss.


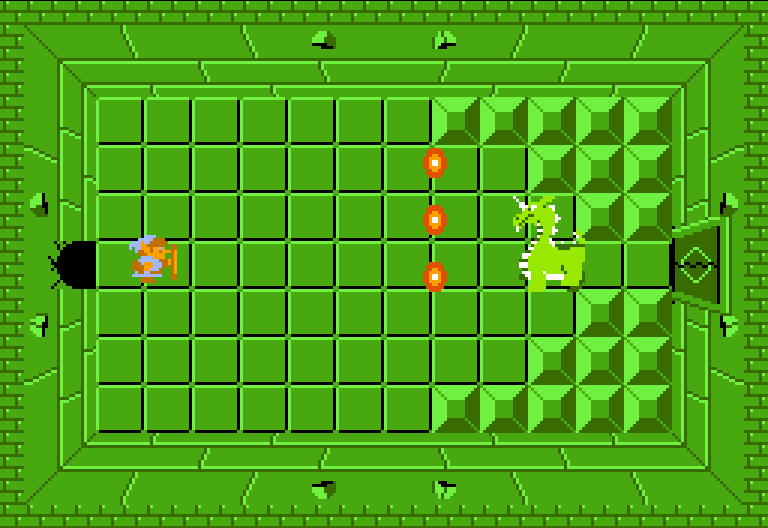

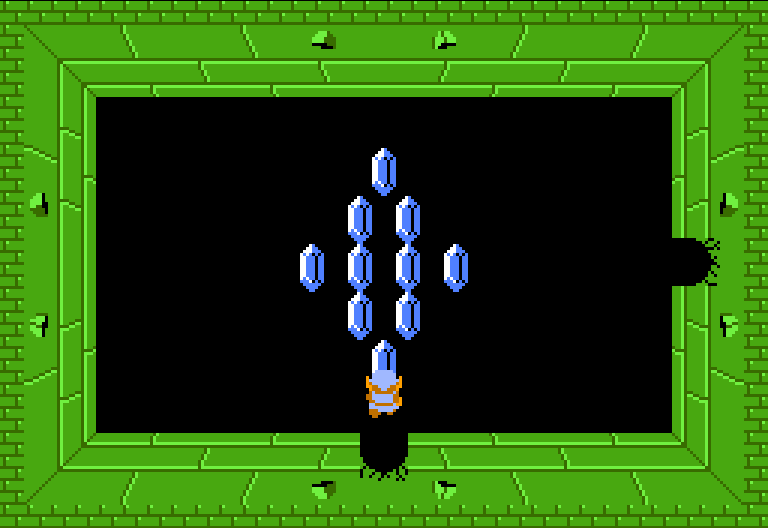
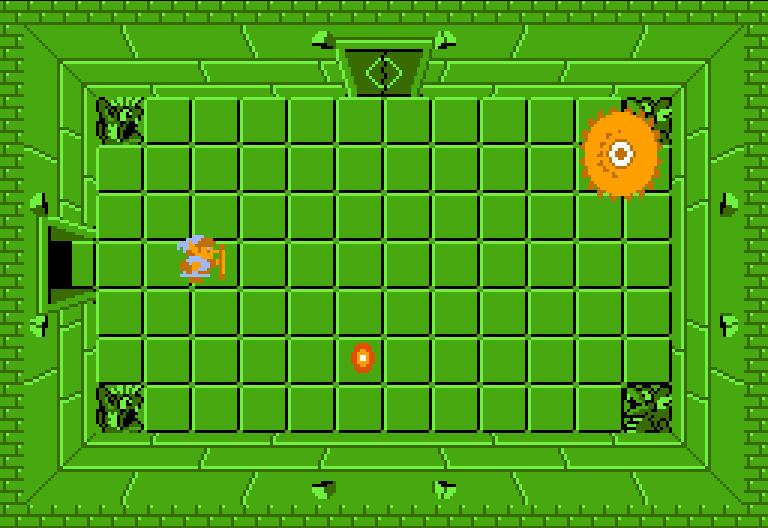
Here you will find Aquamentus, the same boss from the first dungeon. Unlike some of the other bosses who we faced off for a second time, this battle is identical. There is nothing different at all, except for the fact that Link is considerably stronger. With the Magical Sword, this boss is a piece of cake.
After defeating him, grab the Heart Container that is left behind to increase your overall life meter.