- The Gathering
- Level 1: The Eagle
- Level 2: The Moon
- Level 3: The Manji
- Level 4: The Snake
- Level 5: The Lizard
- Level 6: The Dragon
- Level 7: The Demon
- Level 8: The Lion
- Level 9: Death Mountan
2.1 Getting to Level 1
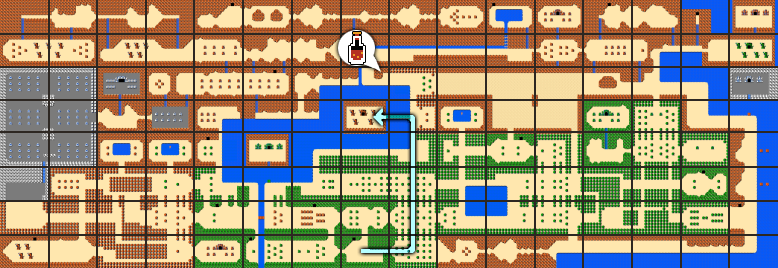
The first dungeon of the game is located right in the center of the Overworld and it is a rather straight forward path to get there. The enemies encountered along the way are fairly simple and shouldn’t give you too much trouble, especially if you’ve gathered all the upgrades from the first chapter.
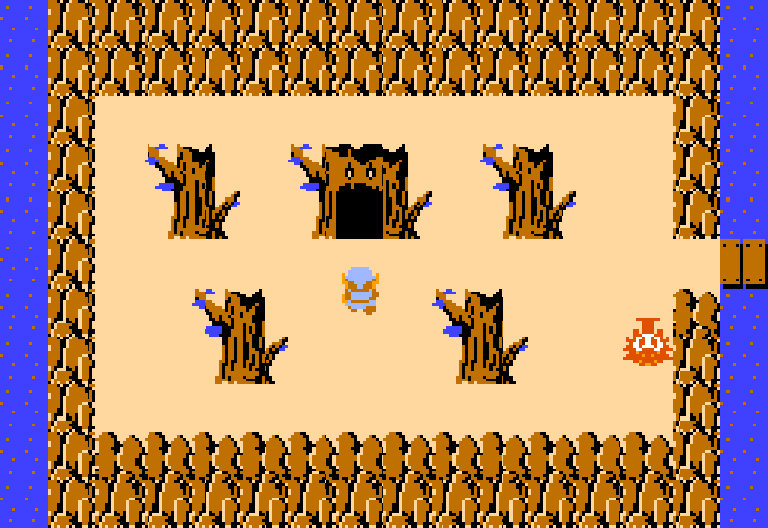
From the start screen, walk right a screen, up four screens, and then cross the bridge to the left. Enter the tree trunk to take on the first dungeon: The Eagle.
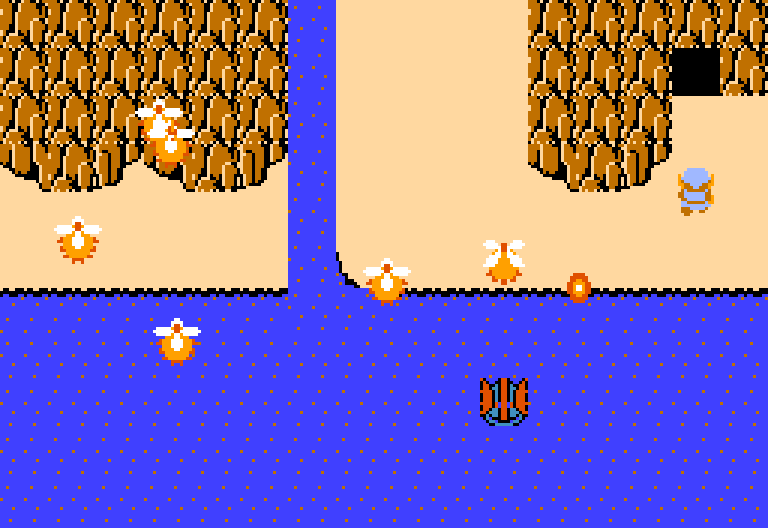
At any point if you find that the enemies are giving you a hard time, there’s a potion shop nearby that you can go to. A Blue Potion can be bought for 40 rupees, while a Red Potion can be bought for 68 rupees. From the dungeon head across the bridge and head up one and left one. Place a bomb right before where the wall juts out.
2.2 The Eagle


x12
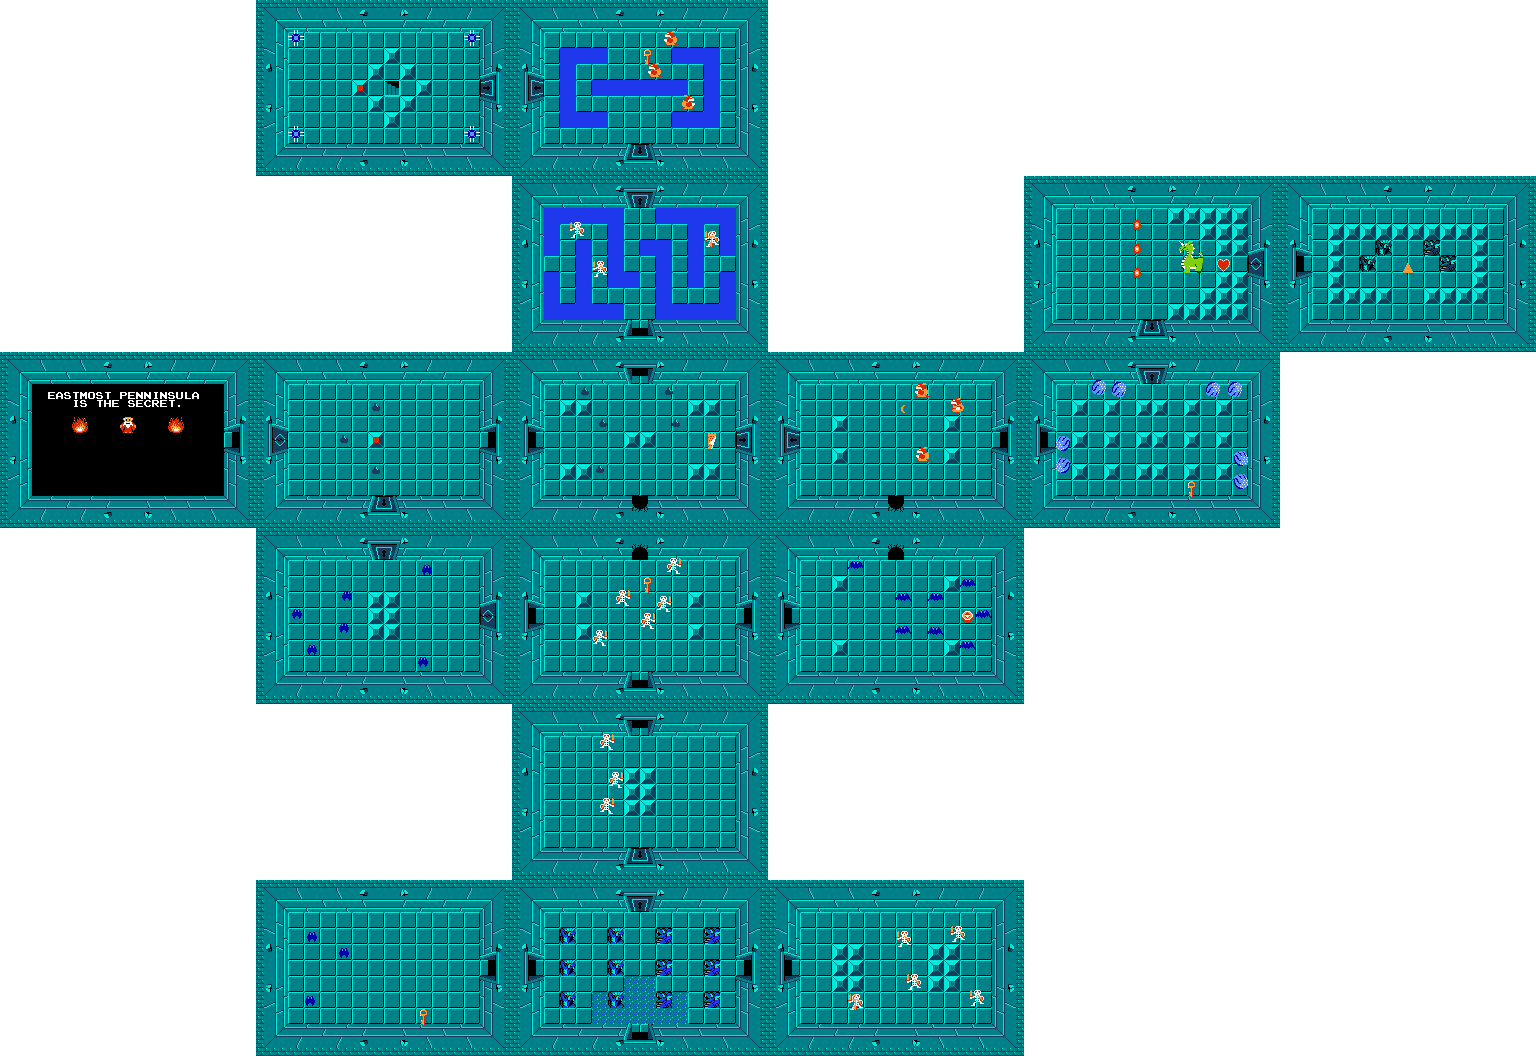
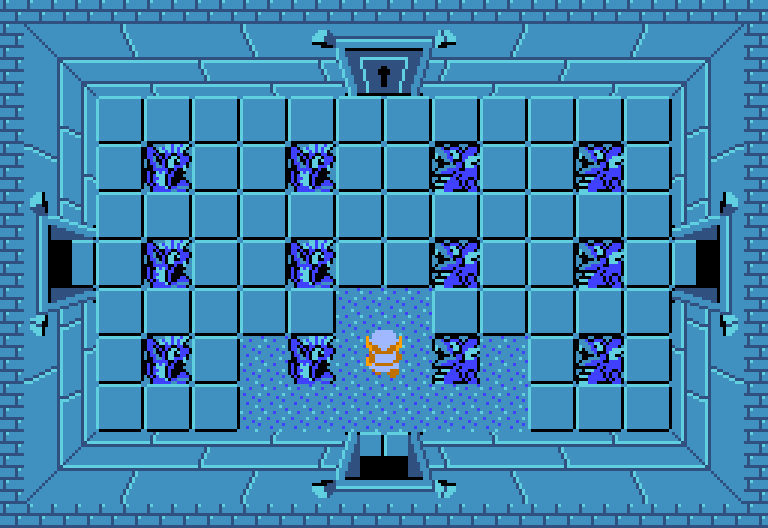
The twelve stone statues in this room are completely harmless and will not attack you. The door to the north is locked and you’ll need a small key to unlock it. However, there is a trick here in the first room. Simply exit the dungeon and immediately re-enter it to find the door to be unlocked. Either way, head left a screen.


x3
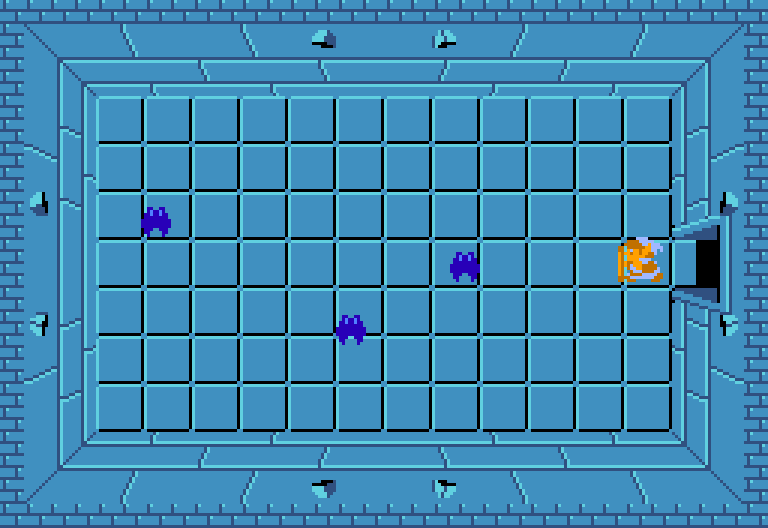
This room contains three enemy Keese. These weak enemies can be defeated with a single sword slash or sword beam. You can also defeat them with a blue candle. After all three have been defeated, grab the key that is left behind and head back right two screens.


x5
Here you will find skeleton enemies known as Stalfos. They are easy to defeat with your sword and are a good source of rupees and recovery hearts. Defeat the stalfos that is holding a key then backtrack left a screen and up a screen.

x3
Defeat the enemies if you’d like and continue up a screen.

x5
Defeat the five Stalfos in this room to grab another key. If you have bombs, you can place one along the northern wall to blast open a shortcut, allowing you to bypass a number of rooms. We will skip this for now and instead you can head to the right a screen.


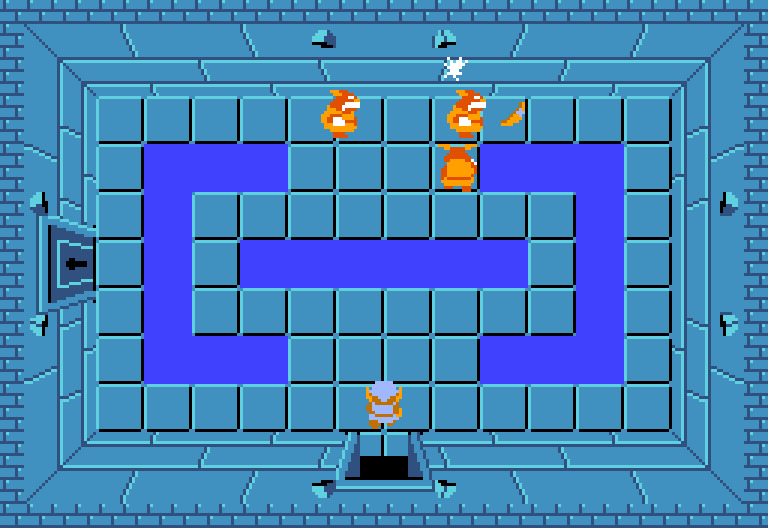
x8
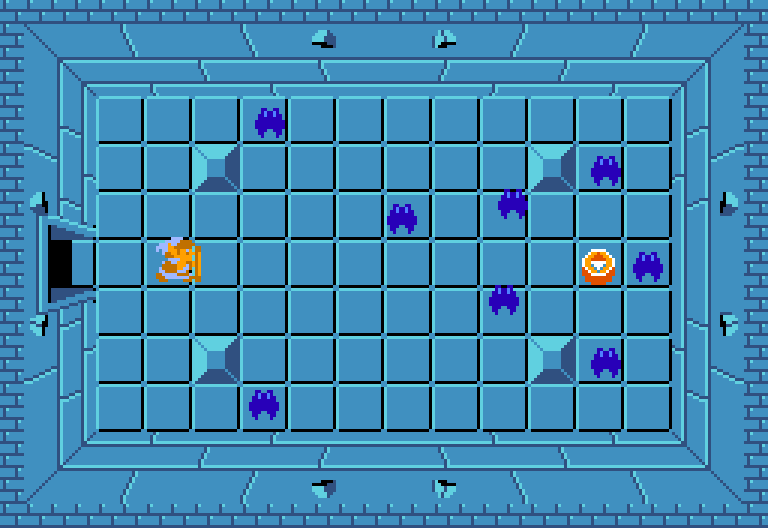
This room is loaded with a bunch of Keese. At the far right of the room is the Compass. Upon acquiring the item, it will show you the location of the Triforce within the dungeon, which guides you towards the boss. It’s completely optional and not very useful. This room also has a secret wall to the north that you can blast open with a bomb. Grab the Compass if you’d like and then progress to the left two screens.


x6
Once you enter this room, the door behind you will close. You will need to defeat all 6 Keese in order to return to the previous room. Use a key and head through the locked door ahead.


x3
This room has the small enemy Gel, perhaps the weakest enemies in the entire game. They defeated with virtually any weapon and defeating all three of them will allow you to push the block in the center of the room. This will unlock the door and you can head left to hear a secret from the Old Man. Return to this room and head right a screen.


x5
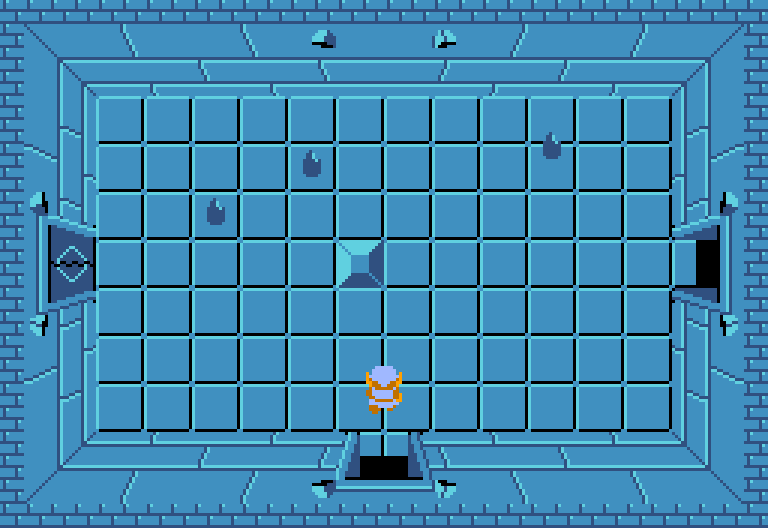
Avoid the enemy Gel and grab the Dungeon Map located on the right side of the room. This will display the full layout of the dungeon. The door to the right is locked, but for now, let’s head up a screen as there is more to do in the dungeon before progressing to the boss.

x3
Defeat the three Stalfos and grab the key that is left behind. Use the key and head up a screen.


x3
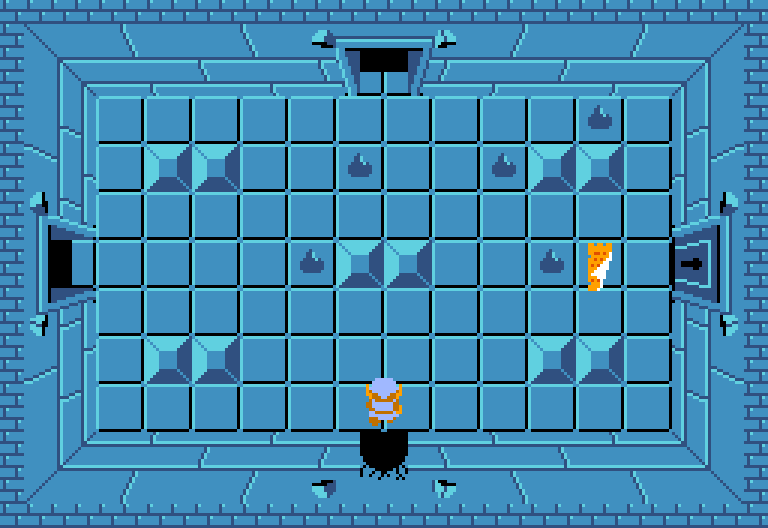
Here you will find an enemy Goriya. These guys will walk around and toss a boomerang straight ahead. They are also a bit stronger than your standard enemies and if you have the Wooden Sword, they will take multiple hits to defeat. Defeat them, grab the key, and then head left through the locked door.


x4
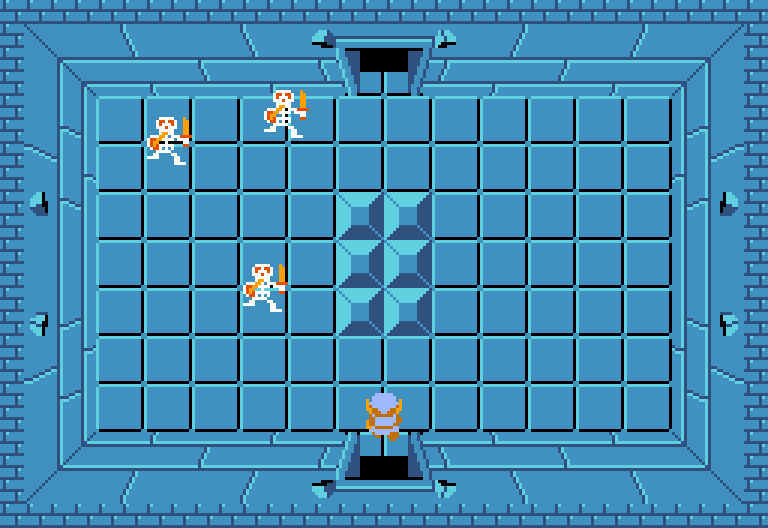
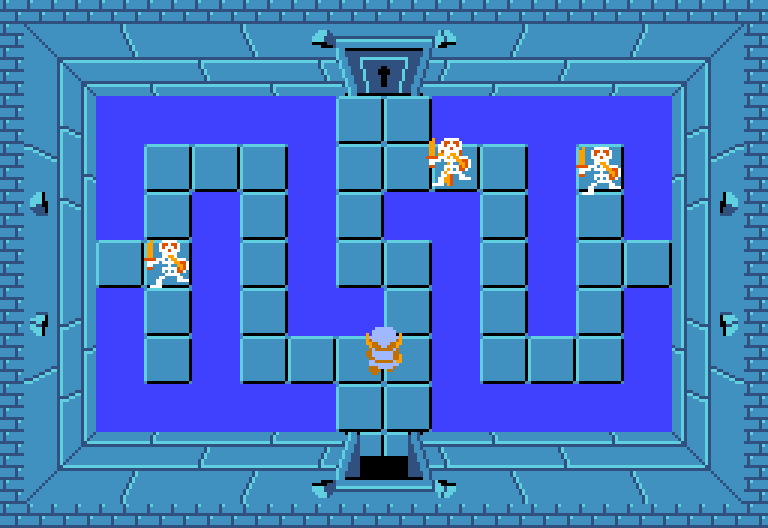
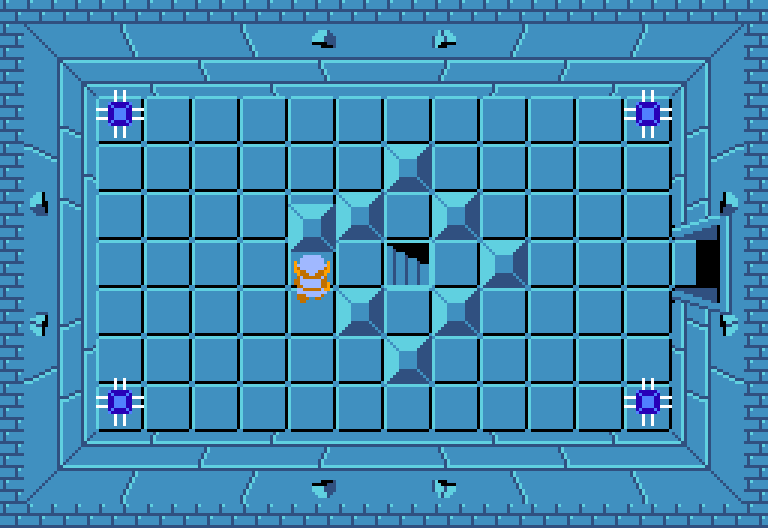
The four corners of the room have Blade Traps and if you walk between two Blade Traps, they will attack, trying to squish you. Just quickly run passed them so they don’t harm you. Blade Traps cannot be defeated so just try to avoid them. You have to make it to the left side of the room, so step in the path of the Blade Traps, and while they are recoiling, quick run by. Push the block on the left side of the room and then climb down the staircase.


x4
Here you will find yourself in an alternative viewing angle. These rooms are common in dungeons whenever you find a dungeon item. Defeat the Keese and walk over and grab the Bow. The Bow can only be used if you purchased the Arrow from one of the Overworld Shops. If you’ve done so, you can now shoot an arrow and each time you shoot one, one rupee is deducted. While this is the dungeon item, we don’t actually need it until much later in the quest. Exit the room and backtrack all the way to the room where we got the Dungeon Map. From there, head through the locked door to the right.


x3
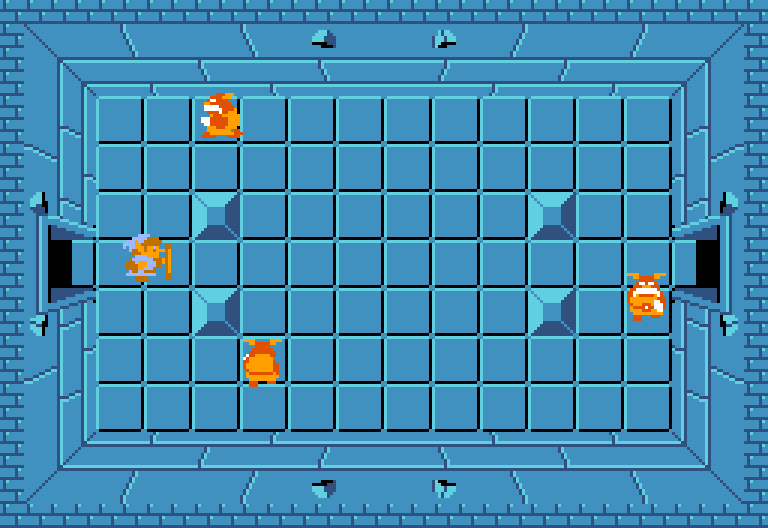
Defeat the three Goriyas that are found here and another item will be left for you in the center of the room. This is the Boomerang and can be used to stun enemies momentarily. Some very weak enemies such as Keese can be defeated with a hit from the Boomerang. Continue onward to the room to the east.


x3
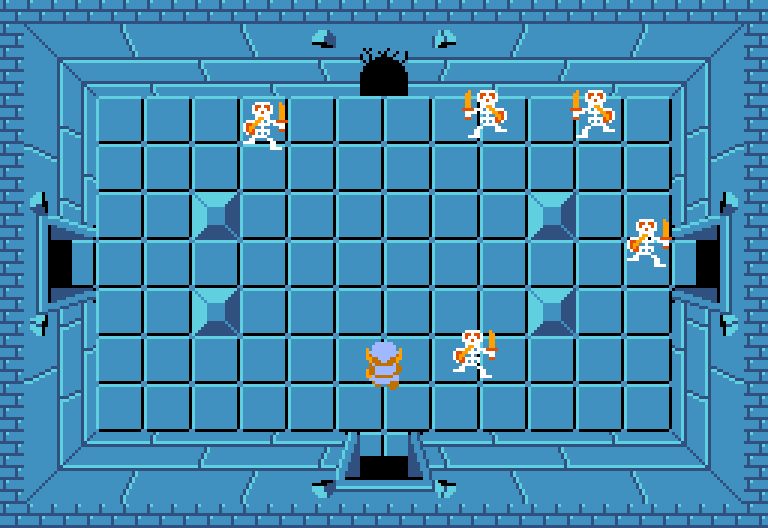
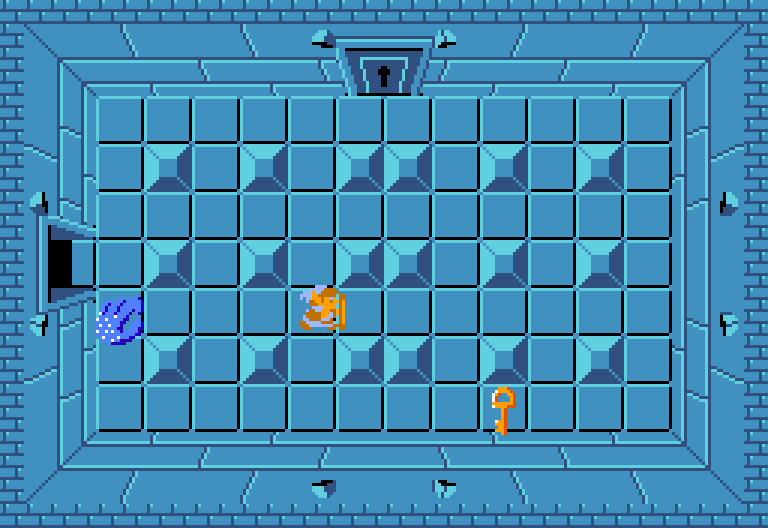
Once you step into this room, you will here the grown from the dungeon boss. This indicates that the boss is in an adjacent room. Here you will also find one of the more annoying enemies in the game, the Wallmaster. These enemies come out of the wall and try to grab you. If they do grab you, they will take you all the way back to the entrance of the dungeon. Defeat them with your sword and then grab the key. Go through the locked door to take on the dungeon boss.


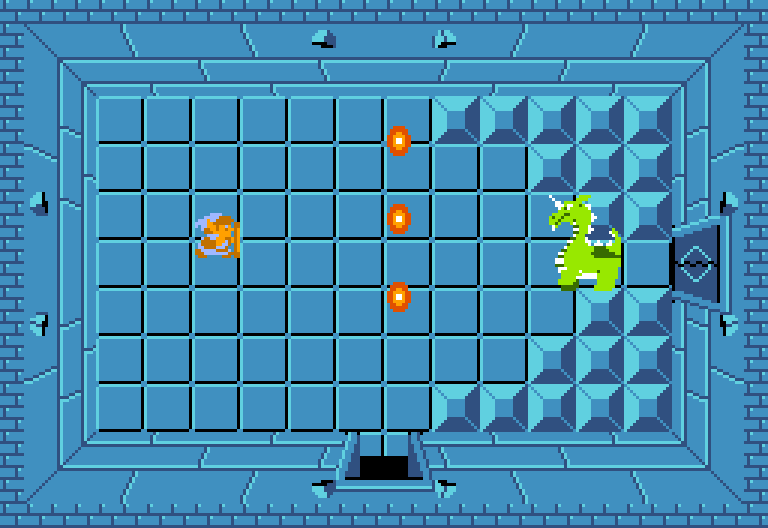

This room contains the first dungeon boss: Aquamentus. Aquamentus attacks by shooting beams which can either be blocked with the Magical Shield, or easily dodged by speedy maneuvering. His head is his only vulnerability, so either snipe it with sword beams from across the room if you’re at full health, or slash at him close range to take him down.
As an alternate method, bombs can also be used to defeat him quicker.
After defeating him, grab the Heart Container that is left behind to increase your overall life meter.


x4
This room has no enemies, but in the center is the shard of the Triforce of Wisdom we are after. Make your way over to it and grab it. You will be healed to full health and warped to the entrance of the dungeon.
