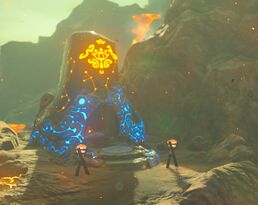
Shae Mo'sah Shrine
Games | ||
Inhabitants | ||
Items | ||
| Guides | ||
|---|---|---|
Walkthrough | ||
The Shae Mo'sah Shrine is one of the many Shrine of Trials found in Breath of the Wild.
Requirements
Swinging Flames
There's a couple different options for getting through the first gate. One of the fastest and simplest is to just step on the switch, then use Stasis on it and continue. The slower method, burn the ivy and platform to obtain the barrel, place it on the switch.
As soon as you pass through the gate, turn left and open the chest for a Stone Smasher.
Continue on and fight two Guardian Scout I and one Guardian Scout II.
Open the by the ramp chest for a Ruby, and then head up the ramp.
At the top you will see a locked door. Turn around and you will see some stairs with that lead to a platform with a switch on top. On the other side of the platform is another chest. Open it for Ice Arrow x10.
Head back around, up the stairs and step on the switch. This gives you a lantern that you can use (swing it with Magnesis) to light the ivy on the wall, or burn it some other way. This in turn releases a metal boll which rolls down a chute until a gate blocks it.
Follow along the path the chute takes you until you find the switch that opens that gate. The ball will continue, powering a paddle wheel and opening a gate you passed. U-turn back to the gate before it closes again, and open the chest on the right for a Small Key.
Head up the ramp and drop down. Now head to the back wall in front of you and take a right. You should pass the ramp up from below and the stairs to that first switch. Continue past to the locked door, unlock it and continue.
Not entirely sure what the puzzle here was meant to be, probably involving swinging flames, but it's way easier to just step on the switch near the door, use Stasis, and head to the altar for your Spirit Orb.


