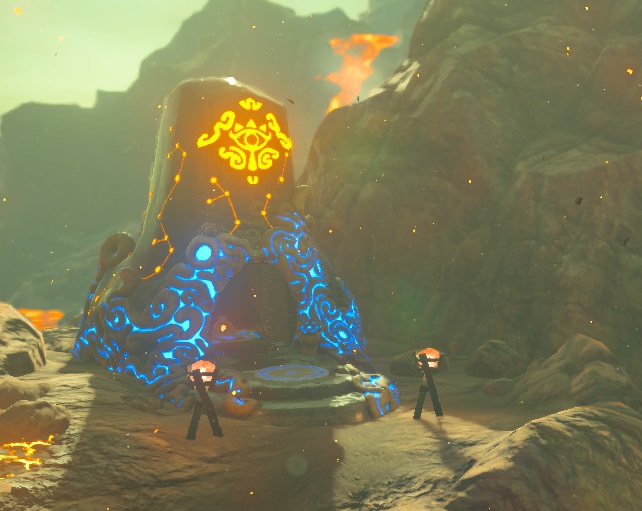
Shae Mo'sah Shrine
Games | ||
Inhabitants | ||
Items | ||
| Guides | ||
|---|---|---|
Walkthrough | ||
The Shae Mo'sah Shrine is one of the many Shrine of Trials found in Breath of the Wild.
Requirements
It is located close to Goron City, just north on the hill overlooking the city.
Swinging Flames
This shrine begins in a long empty room with a sealed door at the end, You’ll notice a hole in the ceiling and below a large amount of leaves leading up a wall next to the door to a barrel - and a switch next to it. Stepping on the switch opens the gate but only if something stays.
Looking up through the ceiling you’ll find a hanging lantern. You’ll need to fire an arrow at the rope tied to the lantern to send it crashing down, lighting the leaves that burn the ledge holding the barrel.
Note: As you enter the next room, check around the left to find a chest behind a torch that holds a Stone Smasher.
This room is a strange one, with a large hall leading to a water wheel, and three Guardian Scouts lurking to the right among several different platforms. Behind them is another chest that holds a Ruby, and a slope leading to the second floor. Up here, another door is sealed, so move right to find an interesting contraption - a sphere on a wooden plank next to more leaves and a switch that causes a lantern to descend. You’ll need to use Magnesis here to swing the lantern into the wall to catch fire.
Note: just below where the lantern is you’ll find another chest holding 10 Ice Arrows.
The sphere will go down a slope but be stopped by a gate, so run past it to find a ledge with another switch that opens the gate. This will cause the sphere to hit the wheel, and as it spins another gate will open near you. Quickly run in before the wheel stops and the gate closes again.
Once inside, look right to find yet another chest with a Small Key. Now you can return to the other sealed door and open it with the key. Inside here you’ll be above the first room. The switch up the stairs lowers two more lanterns - and you’ll need to light up the leaves on the far side. This means you’ll need to use Magnesis to push a lantern back so it swings, then hit it with an arrow when it’s swinging back towards the leaves.
Use the barrel that drops to open the last door, and speak with Monk Shae Mo’sah to get your Spirit Orb.


