Qua Raym Shrine: Difference between revisions
(removing shrine image from map summary) |
|||
| Line 19: | Line 19: | ||
==A Balanced Approach== | ==A Balanced Approach== | ||
On the scale right in front of you, burn the box on the left scale, then open the chest on the right. | On the scale right in front of you, burn the box on the left scale, then open the chest on the right for a [[Small Key]]. | ||
Use this key on the door ahead to open up three metal cubes. | Use this key on the door ahead to open up three metal cubes. | ||
| Line 25: | Line 25: | ||
Bring two of these cubes to the other scale in the room. Lower the side closest to the entrance with one, and use the other as a stair to get up to the scale. You can't climb them so you have to position them where you can just jump up to them. | Bring two of these cubes to the other scale in the room. Lower the side closest to the entrance with one, and use the other as a stair to get up to the scale. You can't climb them so you have to position them where you can just jump up to them. | ||
Once on the scale with one of the cubes, move it to the other scale to lift yourself up to a chest. | Once on the scale with one of the cubes, move it to the other scale to lift yourself up to a chest for, depending on your progress in the quest, a [[Knight's Claymore]] or [[Royal Claymore]] . | ||
Now return to the first chest and look on the wall above it for some bombable sections. Blow them up. Your objective is now to get up there without smashing into the spikes. | Now return to the first chest and look on the wall above it for some bombable sections. Blow them up. Your objective is now to get up there without smashing into the spikes. | ||
Revision as of 15:20, September 10, 2017
| This article is a stub. You can help the Zelda Dungeon Wiki by expanding it. |
Games | ||
Inhabitants | ||
Items | ||
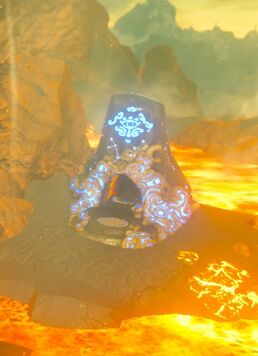
Qua Raym Shrine is one of the many Shrine of Trials from Breath of the Wild.
Requirements
A Balanced Approach
On the scale right in front of you, burn the box on the left scale, then open the chest on the right for a Small Key.
Use this key on the door ahead to open up three metal cubes.
Bring two of these cubes to the other scale in the room. Lower the side closest to the entrance with one, and use the other as a stair to get up to the scale. You can't climb them so you have to position them where you can just jump up to them.
Once on the scale with one of the cubes, move it to the other scale to lift yourself up to a chest for, depending on your progress in the quest, a Knight's Claymore or Royal Claymore .
Now return to the first chest and look on the wall above it for some bombable sections. Blow them up. Your objective is now to get up there without smashing into the spikes.
To do this, put one metal cube on the platform with you to protect you from the spikes. This means two metal cubes will have to go on the other scale in order to lift you up.
Once you're up there, just head to the altar for your Spirit Orb.


