Gallery:Phantom Hourglass Enemies: Difference between revisions
Jump to navigation
Jump to search
Want an adless experience? Log in or Create an account.
No edit summary |
mNo edit summary |
||
| (9 intermediate revisions by one other user not shown) | |||
| Line 1: | Line 1: | ||
Below is a listing of all the | Below is a listing of all the ''[[The Legend of Zelda: Phantom Hourglass|Phantom Hourglass]]'' enemies that appear throughout the game. | ||
<center>{{Gallery}} | <center>{{Gallery}} | ||
| Line 13: | Line 13: | ||
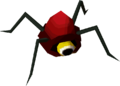
{{Gallery/Box|file=Craykling.png|link=Craykling|caption=[[Craykling]]}} | {{Gallery/Box|file=Craykling.png|link=Craykling|caption=[[Craykling]]}} | ||
{{Gallery/Box|file=PH-Crow.png|link=Crow|caption=[[Crow]]}} | {{Gallery/Box|file=PH-Crow.png|link=Crow|caption=[[Crow]]}} | ||
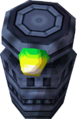
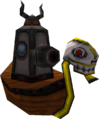
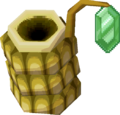
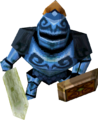
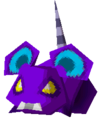
{{Gallery/Box|file= | {{Gallery/Box|file=PH-Hinox.png|link=Eye_Brute|caption=[[Eye Brute]]}} | ||
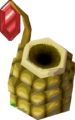
{{Gallery/Box|file=Eye-Plant.png|link=Eye_Plant|caption=[[Eye Plant]]}} | {{Gallery/Box|file=Eye-Plant.png|link=Eye_Plant|caption=[[Eye Plant]]}} | ||
{{Gallery/Box|file=Eye-Slug.png|link=Eye_Slug|caption=[[Eye Slug]]}} | {{Gallery/Box|file=Eye-Slug.png|link=Eye_Slug|caption=[[Eye Slug]]}} | ||
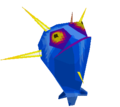
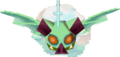
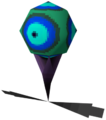
{{Gallery/Box|file=Face-Lamp.png|link= | {{Gallery/Box|file=Eyeball-Monster.png|link=Eyeball_Monster|caption=[[Eyeball Monster]]}} | ||
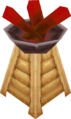
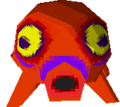
{{Gallery/Box|file=Face-Lamp.png|link=Torch_Trap|caption=[[Torch Trap|Face Lamp]]}} | |||
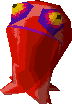
{{Gallery/Box|file=Fire-Bubble.png|link=Fire_Bubble|caption=[[Fire Bubble]]}} | {{Gallery/Box|file=Fire-Bubble.png|link=Fire_Bubble|caption=[[Fire Bubble]]}} | ||
{{Gallery/Box|file=PH-Fire-Keese.png|link=Fire_Keese|caption=[[Fire Keese]]}} | {{Gallery/Box|file=PH-Fire-Keese.png|link=Fire_Keese|caption=[[Fire Keese]]}} | ||
{{Gallery/Box|file=Floor-Spikes.png|link=Floor_Spikes|caption=[[Floor Spikes]]}} | {{Gallery/Box|file=Floor-Spikes.png|link=Floor_Spikes|caption=[[Floor Spikes]]}} | ||
{{Gallery/Box|file=Flying-Fish.png|link=Flying_Fish|caption=[[Flying Fish]]}} | {{Gallery/Box|file=Flying-Fish.png|link=Flying_Fish|caption=[[Flying Fish]]}} | ||
{{Gallery/Box|file=Flying-Pot.png|link= | {{Gallery/Box|file=Flying-Pot.png|link=Flying_Jar|caption=[[Flying Jar]]}} | ||
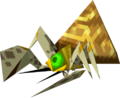
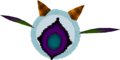
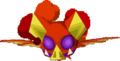
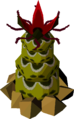
{{Gallery/Box|file=Giant-Eye-Plant.png|link=Giant_Eye_Plant|caption=[[Giant Eye Plant]]}} | {{Gallery/Box|file=Giant-Eye-Plant.png|link=Giant_Eye_Plant|caption=[[Giant Eye Plant]]}} | ||
{{Gallery/Box|file=PH-Green-ChuChu.png|link=Green_ChuChu|caption=[[Green ChuChu]]}} | {{Gallery/Box|file=PH-Green-ChuChu.png|link=Green_ChuChu|caption=[[Green ChuChu]]}} | ||
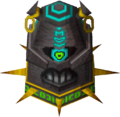
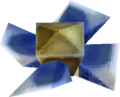
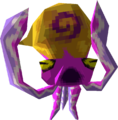
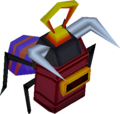
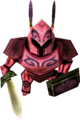
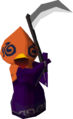
{{Gallery/Box|file=Gold-Phantom.png|link=Gold_Phantom|caption=[[Gold Phantom]]}} | |||
{{Gallery/Box|file=Rupee-Like-Green.png|link=Rupee_Like|caption=[[Rupee Like|Green Rupee Like]]}} | {{Gallery/Box|file=Rupee-Like-Green.png|link=Rupee_Like|caption=[[Rupee Like|Green Rupee Like]]}} | ||
{{Gallery/Box|file=PH-Gel.png|link=Gel|caption=[[Gel]]}} | {{Gallery/Box|file=PH-Gel.png|link=Gel|caption=[[Gel]]}} | ||
{{Gallery/Box|file=PH-Gyorg.png|link=Gyorg|caption=[[Gyorg]]}} | {{Gallery/Box|file=PH-Gyorg.png|link=Gyorg|caption=[[Gyorg]]}} | ||
{{Gallery/Box|file=Ice-Bubble.png|link=Ice_Bubble|caption=[[Ice Bubble]]}} | {{Gallery/Box|file=Ice-Bubble.png|link=Ice_Bubble|caption=[[Ice Bubble]]}} | ||
{{Gallery/Box|file=Ice-Keese.png|link=Ice_Keese|caption=[[Ice Keese]]}} | {{Gallery/Box|file=Ice-Keese.png|link=Ice_Keese|caption=[[Ice Keese]]}} | ||
| Line 56: | Line 56: | ||
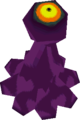
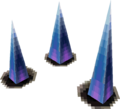
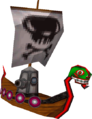
{{Gallery/Box|file=PH-Sandworm.png|link=Sandworm|caption=[[Sandworm]]}} | {{Gallery/Box|file=PH-Sandworm.png|link=Sandworm|caption=[[Sandworm]]}} | ||
{{Gallery/Box|file=Sea-Trap.png|link=Sea_Trap|caption=[[Sea Trap]]}} | {{Gallery/Box|file=Sea-Trap.png|link=Sea_Trap|caption=[[Sea Trap]]}} | ||
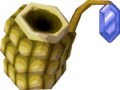
{{Gallery/Box|file=Hardhat-Beetle.png|link=Shell_Beast|caption=[[Shell Beast]]}} | |||
{{Gallery/Box|file=PH-Terrorpin.png|link=Shell_Spinner|caption=[[Shell Spinner]]}} | |||
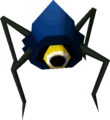
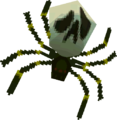
{{Gallery/Box|file=Skulltula.png|link=Skulltula|caption=[[Skulltula]]}} | {{Gallery/Box|file=Skulltula.png|link=Skulltula|caption=[[Skulltula]]}} | ||
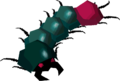
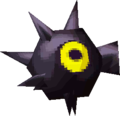
{{Gallery/Box|file=Stag-Beetle.png|link=Stag_Beetle|caption=[[Stag Beetle]]}} | {{Gallery/Box|file=Stag-Beetle.png|link=Stag_Beetle|caption=[[Stag Beetle]]}} | ||
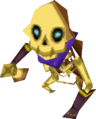
{{Gallery/Box|file=PH-Stalfos.png|link=Stalfos|caption=[[Stalfos]]}} | {{Gallery/Box|file=PH-Stalfos.png|link=Stalfos|caption=[[Stalfos]]}} | ||
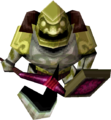
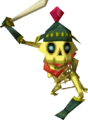
{{Gallery/Box|file=Stalfos-Warrior.png|link=Stalfos_Warrior|caption=[[Stalfos Warrior]]}} | {{Gallery/Box|file=Stalfos-Warrior.png|link=Stalfos_Warrior|caption=[[Stalfos Warrior]]}} | ||
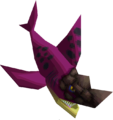
{{Gallery/Box|file= | {{Gallery/Box|file=Swift-Phantom.png|link=Swift_Phantom|caption=[[Swift Phantom]]}} | ||
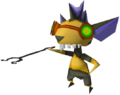
{{Gallery/Box|file=|link=Winder|caption=[[Winder]]}} | {{Gallery/Box|file=PH-Winder.png|link=Winder|caption=[[Winder]]}} | ||
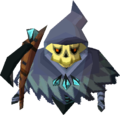
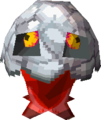
{{Gallery/Box|file=PH-Wizzrobe.png|link=Wizzrobe|caption=[[Wizzrobe]]}} | {{Gallery/Box|file=PH-Wizzrobe.png|link=Wizzrobe|caption=[[Wizzrobe]]}} | ||
{{Gallery/Box|file=Yellow-ChuChu.png|link=Yellow_ChuChu|caption=[[Yellow ChuChu]]}} | {{Gallery/Box|file=Yellow-ChuChu.png|link=Yellow_ChuChu|caption=[[Yellow ChuChu]]}} | ||
| Line 67: | Line 69: | ||
{{Gallery/Box|file=PH-Zora-Warrior.png|link=Zora_Warrior|caption=[[Zora Warrior]]}} | {{Gallery/Box|file=PH-Zora-Warrior.png|link=Zora_Warrior|caption=[[Zora Warrior]]}} | ||
{{Gallery/Bottom}}</center> | {{Gallery/Bottom}}</center> | ||
{{Galleries}} | |||
{{cat|Phantom Hourglass Enemies| Gallery}} | |||
Revision as of 00:02, June 27, 2020
Below is a listing of all the Phantom Hourglass enemies that appear throughout the game.
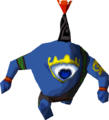
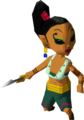
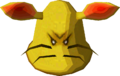
Miniblin Pirate