Gallery:Breath of the Wild Enemies: Difference between revisions
Jump to navigation
Jump to search
Want an adless experience? Log in or Create an account.
m (whoops) |
Tags: Mobile edit Mobile web edit |
||
| Line 71: | Line 71: | ||
{{Gallery/Bottom}}</center> | {{Gallery/Bottom}}</center> | ||
===Bosses=== | ===Sub-Bosses=== | ||
<center>{{Gallery}} | <center>{{Gallery}} | ||
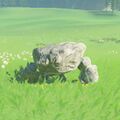
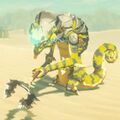
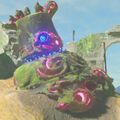
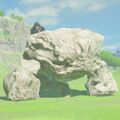
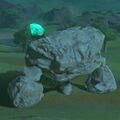
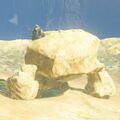
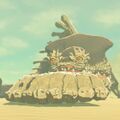
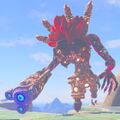
{{Gallery/Box|file=Stone-talus.jpeg|link=Stone Talus|caption=[[Stone Talus]]}} | {{Gallery/Box|file=Stone-talus.jpeg|link=Stone Talus|caption=[[Stone Talus]]}} | ||
| Line 85: | Line 85: | ||
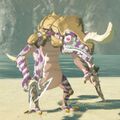
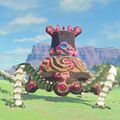
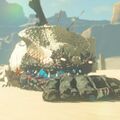
{{Gallery/Box|file=Molduga.jpg|link=Molduga|caption=[[Molduga]]}} | {{Gallery/Box|file=Molduga.jpg|link=Molduga|caption=[[Molduga]]}} | ||
{{Gallery/Box|file=Molduking.jpg|link=Molduking|caption=[[Molduking]]}} | {{Gallery/Box|file=Molduking.jpg|link=Molduking|caption=[[Molduking]]}} | ||
==Bosses== | |||
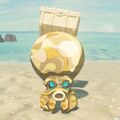
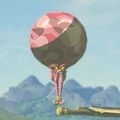
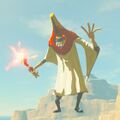
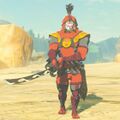
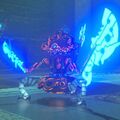
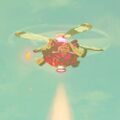
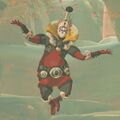
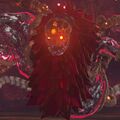
{{Gallery/Box|file=Master-kohga.jpg|link=Master Kohga|caption=[[Master Kohga]]}} | {{Gallery/Box|file=Master-kohga.jpg|link=Master Kohga|caption=[[Master Kohga]]}} | ||
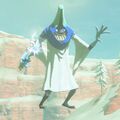
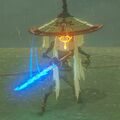
{{Gallery/Box|file=Monk-maz-koshia.jpg|link=Monk Maz Koshia|caption=[[Monk Maz Koshia]]}} | {{Gallery/Box|file=Monk-maz-koshia.jpg|link=Monk Maz Koshia|caption=[[Monk Maz Koshia]]}} | ||