Digdogg Suspension Bridge: Difference between revisions
Jump to navigation
Jump to search
Want an adless experience? Log in or Create an account.
(move summary for Seed112 to Mount Nabooru) |
No edit summary |
||
| Line 30: | Line 30: | ||
<section begin=Seed145summary />[[File:Korok145.png|200px|thumb|left|Solve the block puzzle.]]<section end=Seed145summary />Solve the block puzzle.{{Korok Seed|Seed145}}{{Clear|left}} | <section begin=Seed145summary />[[File:Korok145.png|200px|thumb|left|Solve the block puzzle.]]<section end=Seed145summary />Solve the block puzzle.{{Korok Seed|Seed145}}{{Clear|left}} | ||
<section begin=Seed124summary />[[File:Korok124.jpg|200px|thumb|left|Throw a rock into the circle.]]<section end=Seed124summary />Throw a rock into the circle.{{Korok Seed|Seed124}}{{Clear|left}} | |||
{{Cat|Breath of the Wild Locations}} | {{Cat|Breath of the Wild Locations}} | ||
Revision as of 01:15, March 29, 2017
| This article is a stub. You can help the Zelda Dungeon Wiki by expanding it. |
Digdogg Suspension Bridge
Games | ||
Related | ||
The Digdogg Suspension Bridge is a location found in Breath of the Wild.
Nearby Landmarks
Nearby Shrines
Dah Kaso Shrine
Rota Ooh Shrine
Nearby Korok Seeds
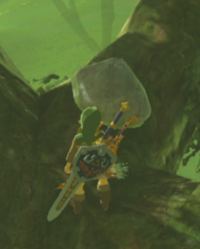
Climb up the tree and lift up the rock. Beware of the Wizzrobe who is up on the hill right by the tree, as long as you keep your distance you can take him down easily with bomb or fire arrows.
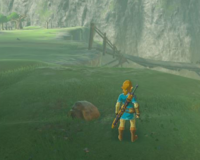
On the ledge there is a lone rock that you can pick up.
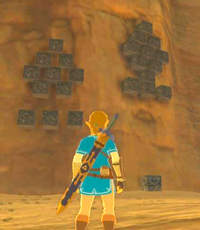
Solve the block puzzle.
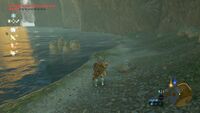
Throw a rock into the circle.


