The Legend of Zelda Locations
This is a list of locations found in The Legend of Zelda.
Overworld
Death Mountain
- Main article: Death Mountain
Death Mountain is the area at the top of the overworld that houses the final dungeon of the game. Death Mountain is assumed to be the source of falling rocks found throughout the area below Death Mountain.
Fairy Fountain
- Main article: Fairy Fountain
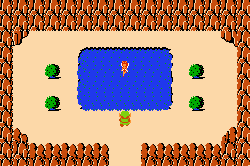
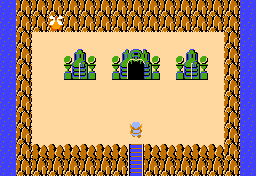
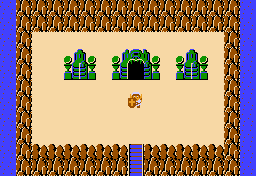
Fairy Fountains are the home of the Fairies, who completely restore Link's health upon his entrance of the screen.
Graveyard
- Main article: Graveyard (The Legend of Zelda)
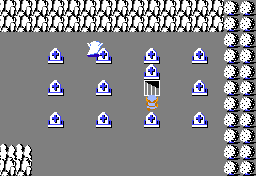
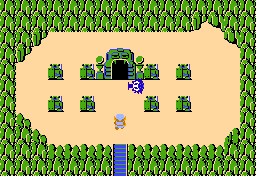
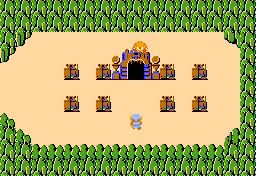
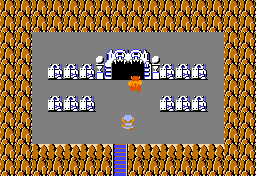
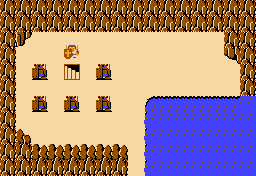
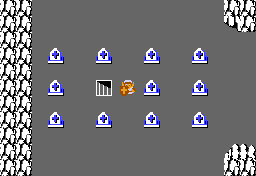
The Graveyard consists of six screens full of graves and Ghinis. it serves as the pathway to get to the sixth dungeon, Level 6: The Dragon. the Magical Sword is found under one of the graves in the top-right screen. If a grave is pushed, it may reveal a Ghini or a hidden hole.
Hyrule
- Main article: Hyrule
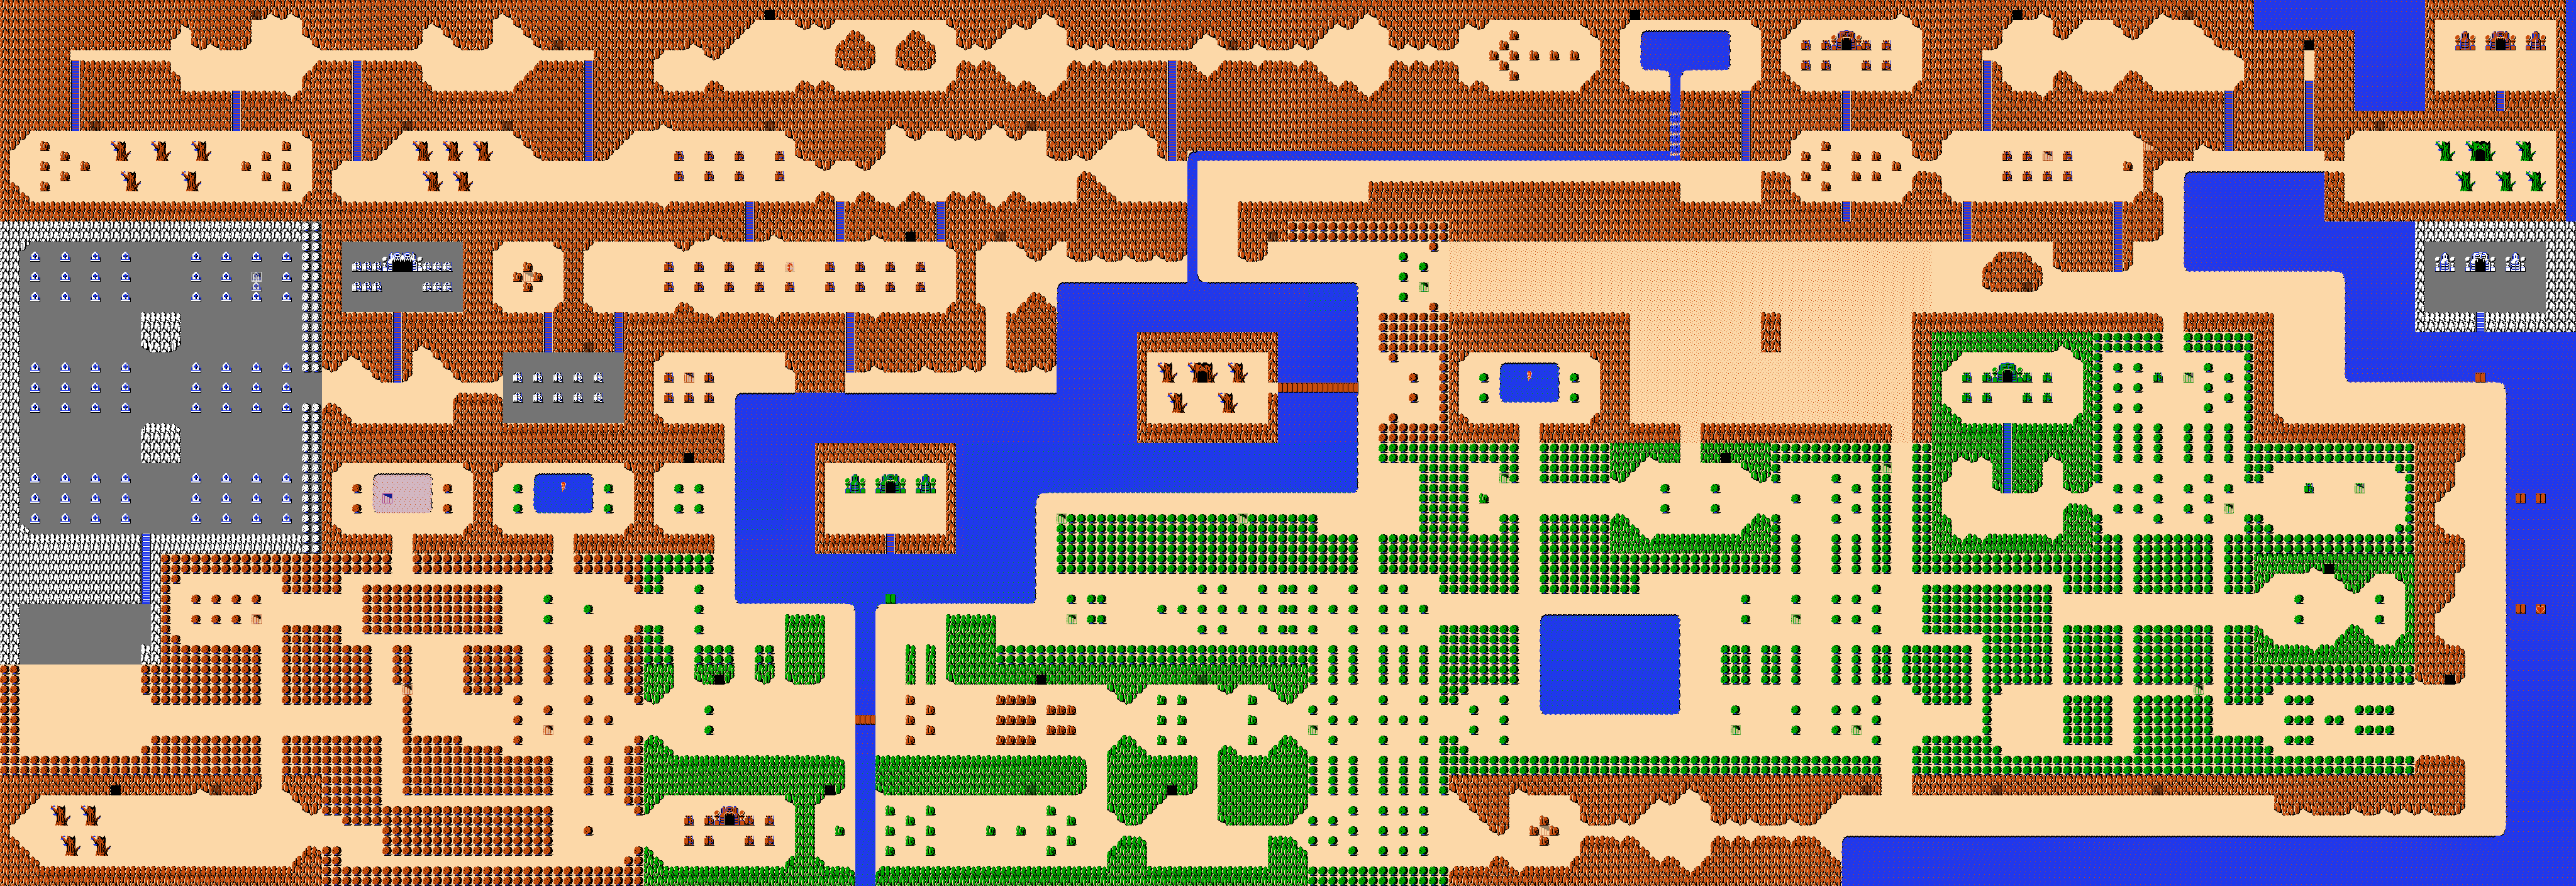
The overworld section of the game is a large place, which links all the areas together. Hyrule consists of Rocky hills, woods, deserts, lakes, rivers, and quite needless to say, the sea.
Item Shop
- Main article: Item Shop
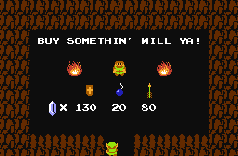
There are many shops along Links travels in which Link can obtain items. Some shops are hidden and others are caves already exposed. Link pays Rupees to the merchants in return for the item. It is important to note that some shops have cheaper prices than others.
Lost Hills
- Main article: Lost Hills
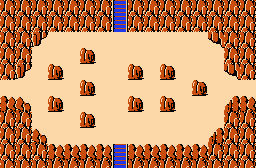
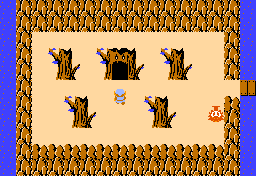
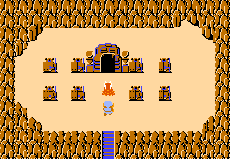
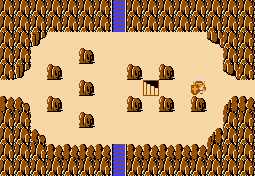
The Lost Hills at first appears to be barren, with a pathway out of it in each compass direction, and the common snail-like rocks everywhere. However, if Link tries to head in any direction other than to the left, he will end up back on the Lost Hills screen. In order for Link to acquire the fifth Triforce Shard, he must travel through the Lost Hills to find the fifth dungeon, The Lizard. In order to do so, he should head north from the Lost Hills four consecutive times, which will take him right to the dungeon.
Lost Woods
- Main article: Lost Woods
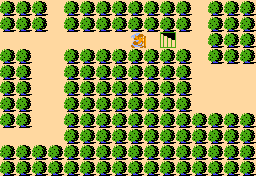
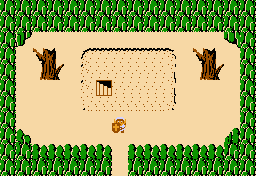
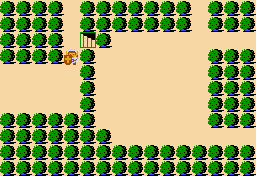
The Lost Woods are an area in the southwest of Hyrule. At first, this area seems pointless, as going in any direction leads back to the same screen. However, there is a combination of paths that'll allow Link to get through. The combination is: north, west, south, west.
Money Making Game
- Main article: Money Making Game
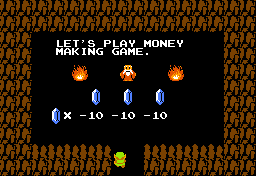
The Money Making Game serves as a gambling game where Link can bet ten Rupees in hope of making money. It is run by the Old Man
Potion Shop
- Main article: Potion Shop (The Legend of Zelda)
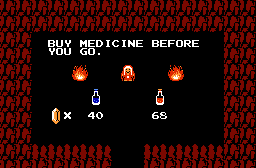
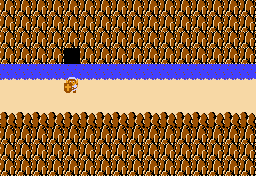
The potion shop is located just across the bridge, north of the third dungeon. The player cannot do anything here unless he obtains the letter from the old man at the North East corner of Hyrule. The player must equip the letter to the B button, and then "show" it to the old women by using the letter like an item in the old woman's face. She will allow Link to buy potions from her.
Spectacle Rock
- Main article: Spectacle Rock
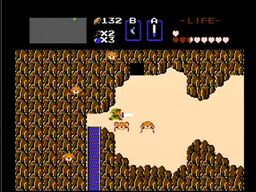
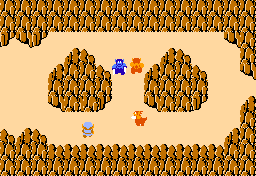
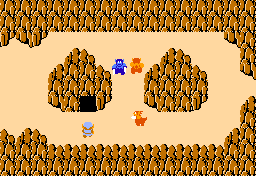
Spectacle Rock is found to the far north of Hyrule, on the Death Mountain range that runs alongside the northern barrier of Hyrule. Link can Bomb the left rock formation on this screen to reveal a cave. Inside this cave is Ganon's lair, which is also the final dungeon in The Legend of Zelda, Level 9: Death Mountain. This screen is infested with many Blue and Red Lynels. These enemies are merely a distraction; they do not need to kill or interacted with at all to gain admittance to Ganon's lair.
Starting Screen
- Main article: Starting Screen
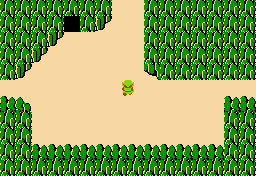
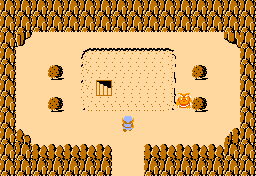
The Starting Screen is the first screen Link sees when they turn on the game. There is nothing much on this screen except for a cave, inside of which Link can collect the original Sword from the Old Man. Link spawns here if he dies in the overworld.
First Quest Dungeons
The Eagle
- Main article: Level 1: The Eagle
Level 1: The Eagle is the first dungeon in The Legend of Zelda. It is found to the northwest of the Starting Screen, and is easily the easiest dungeon of the game. The main items Link can obtain in this dungeon are the Bow and Boomerang. Additionally, the Boss of The Eagle is Aquamentus. The reward for defeating Aquamentus, and collectively the dungeon, is the first Triforce Shard.
The Moon
- Main article: Level 2: The Moon
Level 2: The Moon is the second dungeon in The Legend of Zelda. It is slightly more difficult than The Eagle, but is rather simple compared to later dungeons. The main item in this dungeon is actually an upgrade to a previous item, namely the Magical Boomerang. The Boss of The Moon is a Dodongo, and once the Dodongo has been defeated Link can collect the second Triforce Shard.
The Manji
- Main article: Level 3: The Manji
Level 3: The Manji is the third dungeon in The Legend of Zelda. It is found west of the Starting Screen, near the Lost Woods. The main item Link can collect in this dungeon is called the Raft, and it has only one use; it allows Link to cross large bodies of water. This item is required to enter the next dungeon. Furthermore, the Boss of The Manji is the first appearance of Manhandla. Manhandla is guarding the third Triforce Shard, which can be collected once Manhandla has been defeated.
The Snake
- Main article: Level 4: The Snake
Level 4: The Snake is the fourth dungeon in The Legend of Zelda. It is only accessible via the Raft, which is found inside of Level 3. The main item Link can collect in this dungeon is similar to Raft, and is called the Stepladder. It is used to cross small gaps, instead of large ones. It is required to complete most of the later dungeons. The Snake is the first dungeon in The Legend of Zelda to feature a Mini-Boss, namely, Manhandla. The Boss is Gleeok, and once Gleeok has been defeated Link can collect the fourth Triforce Shard.
The Lizard
- Main article: Level 5: The Lizard
Level 5: The Lizard is the fifth dungeon in The Legend of Zelda. It can be found by solving the puzzle of the Lost Hills, which is to go up five screens. The main item found in this dungeon is the Recorder, which is required to defeat the boss. Speaking of which, the boss of The Lizard is known as Digdogger. Using a combination of the aforementioned Recorder and Link's Sword will allow Link access to the fifth Triforce Shard.
The Dragon
- Main article: Level 6: The Dragon
Level 6: The Dragon is the sixth dungeon in The Legend of Zelda. This dungeon is considerably harder than the previous ones, and is arguably the toughest in the game, apart from Level 9. The main item Link can collect in this dungeon is the Magical Rod, which is actually completely optional. This dungeon features a mini-boss, Gleeok, and a boss, Gohma. Once Gohma has been defeated, Link can collect the sixth Triforce Shard.
The Demon
- Main article: Level 7: The Demon
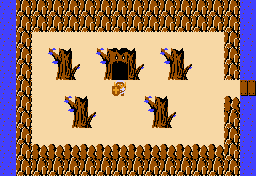
Level 7: The Demon is the seventh dungeon in The Legend of Zelda. Its entrance is hidden, and is only found if Link plays the Recorder while on the correct screen. The main item of this dungeon is the Red Candle, which is an upgrade to the optional Blue Candle that can be bought from the Item Shops found across Hyrule. This dungeon is the first to feature multiple mini-bosses; three to be exact. Digdogger is the mini-boss of this dungeon, and appears three times. The boss of The Demon is Aquamentus, a returning Boss from Level 1: The Eagle. This dungeon hides the seventh Triforce Shard.
The Lion
- Main article: Level 8: The Lion
Level 8: The Lion is the eighth and penultimate dungeon in The Legend of Zelda. Its entrance is concealed by a bush, which must be burnt down using the Candle. There are two items Link can find in this dungeon. First, there is the Book of Magic, which is an upgrade to the Magical Rod. Also, Link can find the Magical Key. Neither one is required to complete the game. This dungeon features five mini-bosses; three Manhandlas and two Gohmas. The Boss of The Lion is Gleeok, who is guarding the eighth Triforce Shard.
Death Mountain
- Main article: Level 9: Death Mountain
Level 9: Death Mountain is the ninth and final dungeon in The Legend of Zelda. It is the lair of Ganon, and can only be entered once Link has fully restored the Triforce of Wisdom. There are two items Link can find in this dungeon. Firstly, Link can find the Red Ring, which is an upgrade to his tunic that sustains more damage. The second is the Silver Arrow, which is required to defeat Ganon. The Boss of this dungeon is Ganon, and defeating him saves Princess Zelda and completes the game.
Second Quest Dungeons
Level 1
- Main article: Level 1 (Second Quest)
Level 1 of the Second Quest is in the same location as it was in the first quest. This time around, the only item that Link can obtain is the Boomerang. Aquamentus remains the boss of this dungeon.
Level 2
- Main article: Level 2 (Second Quest)
Level 2 of the Second Quest is located under an Armos statue, where the Blue Ring was located in the first quest. This time, the Recorder is the dungeon item. Manhandla appears as a mini-boss, whereas a two-headed Gleeok is now the main boss.
Level 3
- Main article: Level 3 (Second Quest)
Level 3 of the Second Quest is in the same location as Level 2 was in the first quest. Link has to play the Recorder to reveal the dungeon entrance. Inside, the dungeon item is the Magical Boomerang. The room with the Magical Boomerang is blocked by a hungry Goriya, so Link needs to have Food with him. The dungeon boss is three Dodongos.
Level 4
- Main article: Level 4 (Second Quest)
Level 4 of the Second Quest is located within the Lost Hills. Link has to push one of the boulders to reveal the entrance to the dungeon. The dungeon items are the Raft and the Book of Magic. There are multiple mini-bosses in this dungeon, including Digdogger, Aquamentus, a single Dodongo and even three Dodongos. An additional Digdogger also appears as the main boss.
Level 5
- Main article: Level 5 (Second Quest)
Level 5 of the Second Quest is located where the 4th dungeon of the first quest was, accessible only by using the Raft. The dungeon item is the Bow. The boss of this dungeon is a three-headed Gleeok.
Level 6
- Main article: Level 6 (Second Quest)
Level 6 of the Second Quest is located in the Graveyard, under one of the tombstones. Link has to play the Recorder to reveal the entrance. The dungeon item is the Stepladder. The boss is a blue Gohma.
Level 7
- Main article: Level 7 (Second Quest)
Level 7 of the Second Quest is located directly west of Level 8's location in the first quest. Link must burn a bush to uncover the entrance. Many Darknuts reside here, as well as two Old Men who take either one heart container or 50 Rupees from you. The dungeon item is the Red Candle. The boss of this dungeon is a four-headed Gleeok.
Level 8
- Main article: Level 8 (Second Quest)
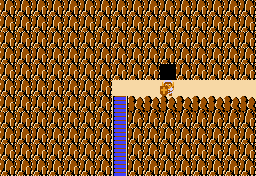
Level 8 of the Second Quest is located one screen left of the waterfall below Death Mountain. To find the entrance, Link must use the Stepladder to stand on the river and bomb the wall at the correct spot. This dungeon houses a hungry Goriya, so be sure to have some Food. The dungeon items are the Magical Rod and the Magical Key. There are many mini-bosses here, which include multiple Digdoggers, Aquamentus and many rooms containing three Dodongos. The final boss of the dungeon is also three Dodongos.
Level 9
- Main article: Level 9 (Second Quest)
Level 9 of the Second Quest is located in the northwestern-most square on the map. Link must bomb the wall to find the entrance. This dungeon can be very confusing with many one-ways and hidden passages through walls. As it was in the first quest, the dungeon items are again the Red Ring and the Silver Arrows. Navigate your way through the dungeon to find and defeat Ganon and rescue Princess Zelda.


