Uploads by Fused shadows
Jump to navigation
Jump to search
Want an adless experience? Log in or Create an account.
This special page shows all uploaded files.
| Date | Name | Thumbnail | Size | Description | Versions |
|---|---|---|---|---|---|
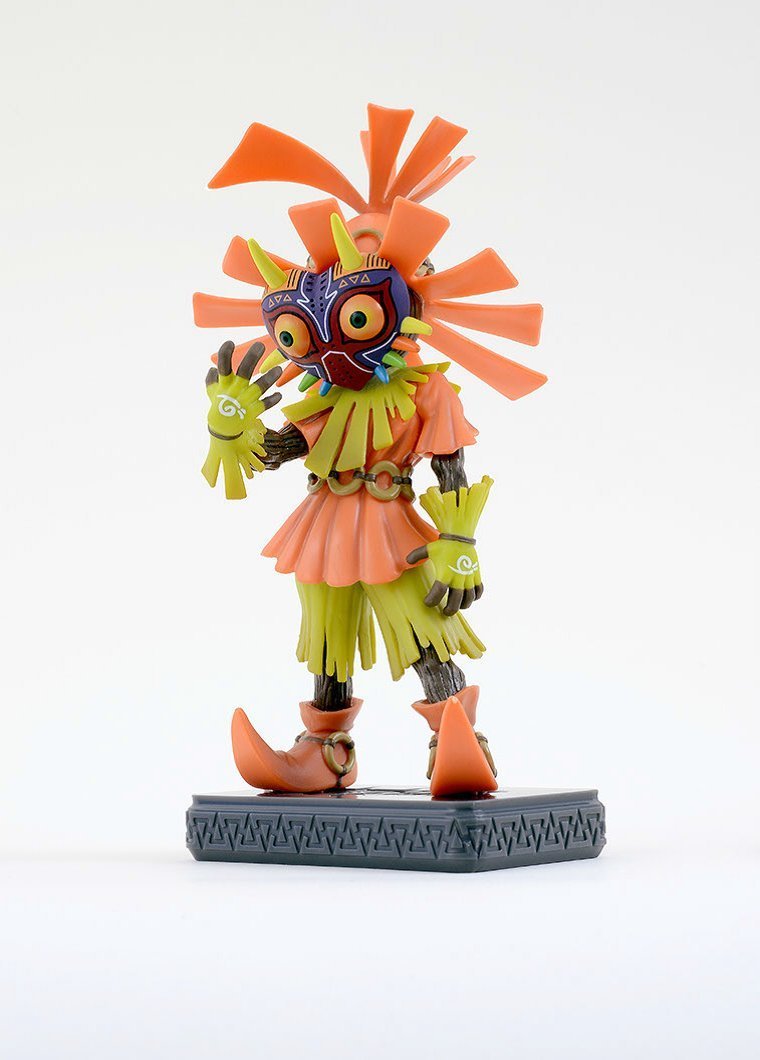
| 21:07, January 8, 2015 | Skull-Kid-Figurine-2.jpg (file) |  |
73 KB | Image of the Skull Kid figurine from the Majora's Mask 3D Limited Edition Bundle. {{Cat|Majora's Mask 3D Files}} | 1 |
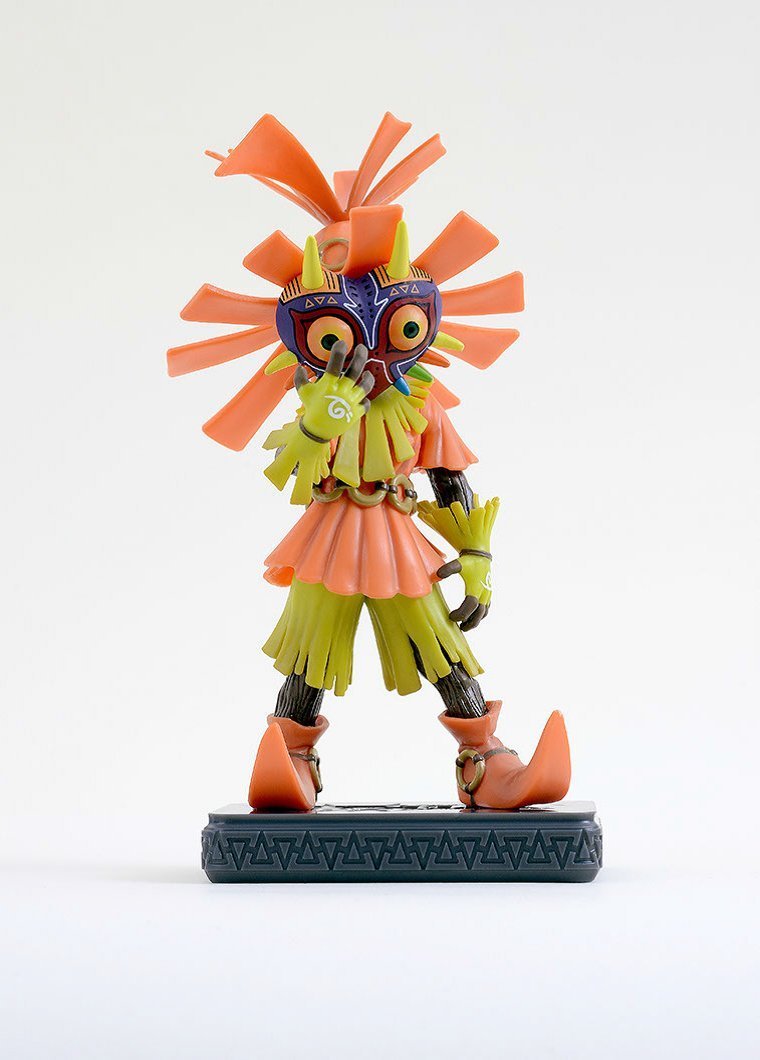
| 21:06, January 8, 2015 | Skull-Kid-Figurine.jpg (file) |  |
70 KB | Image of the Skull Kid figurine featured in the Majora's Mask 3D Limited Edition Bundle. {{Cat|Majora's Mask 3D Files}} | 1 |
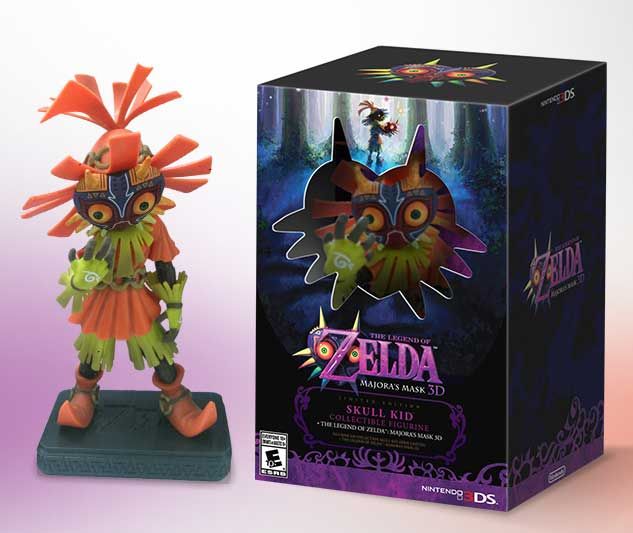
| 21:05, January 8, 2015 | Majora's-Mask-3D-Limited-Edition-Box-2.jpg (file) |  |
43 KB | Image of the Skull Kid figurine and the box of the Majora's Mask 3D Limited Edition Bundle. {{Cat|Majora's Mask 3D Files}} | 1 |
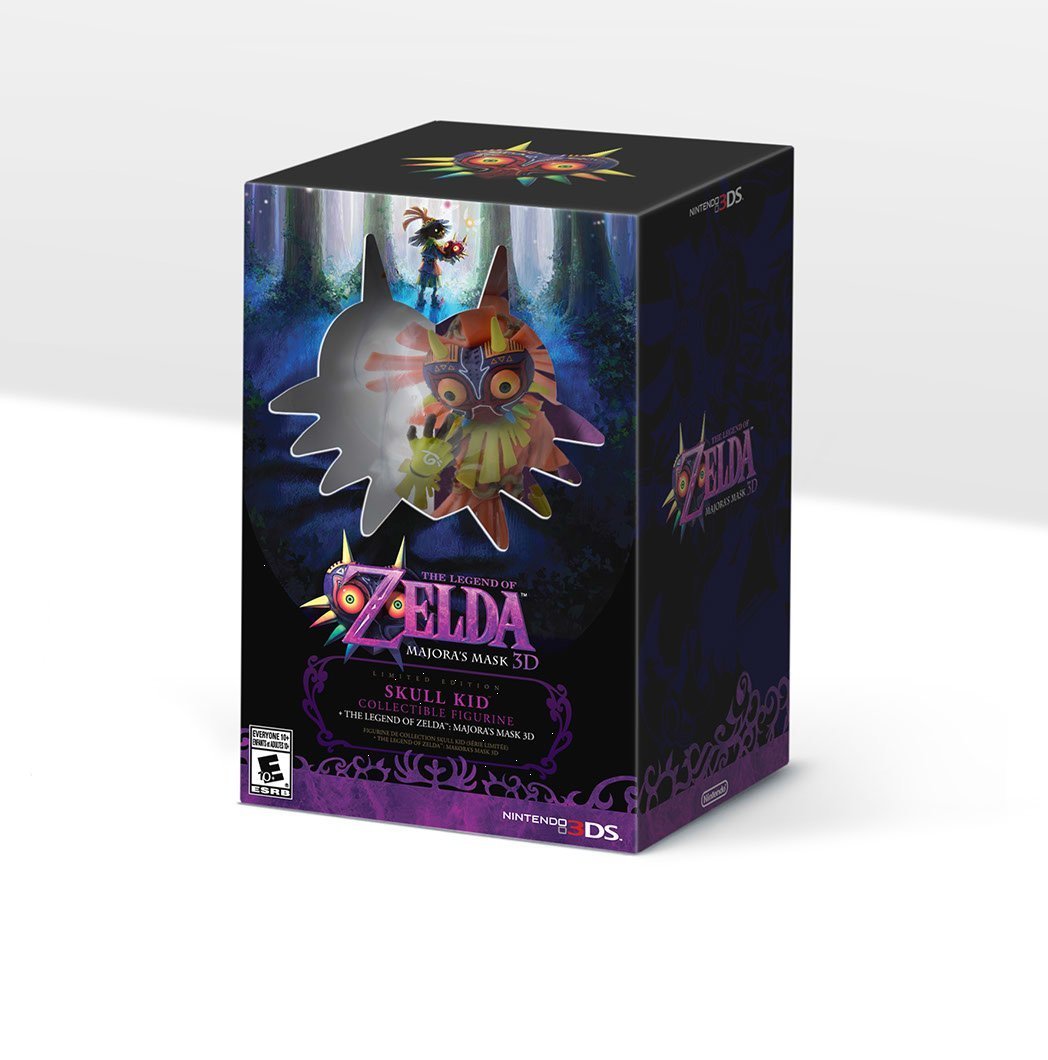
| 21:04, January 8, 2015 | Majora's-Mask-3D-Limited-Edition-Box.jpg (file) |  |
93 KB | Image of the box of the Majora's Mask 3D Limited Edition Bundle. {{Cat|Majora's Mask 3D Files}} | 1 |
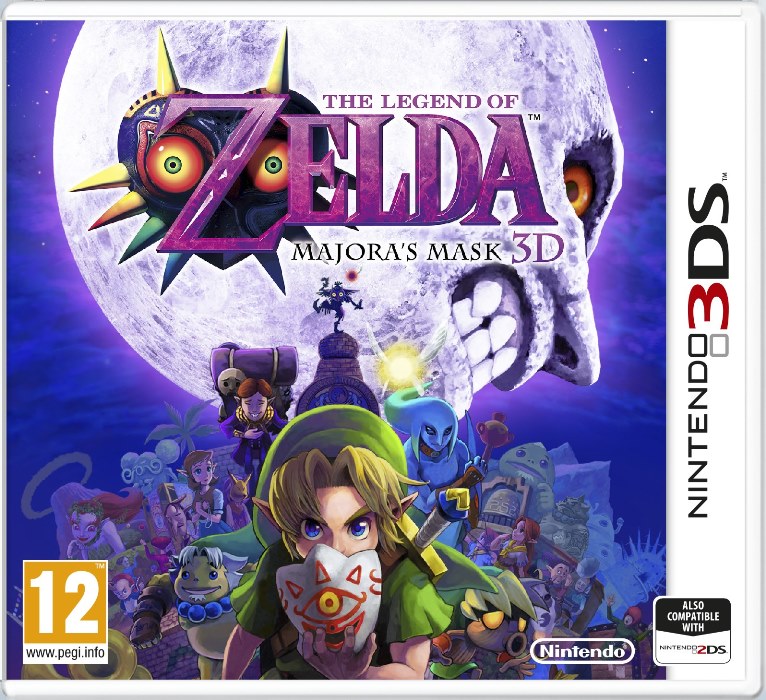
| 22:04, November 6, 2014 | MM-3D-Boxart-NA.jpg (file) |  |
394 KB | ''Majora's Mask 3D'' North American boxart. {{Cat|Majora's Mask 3D Files}} | 1 |
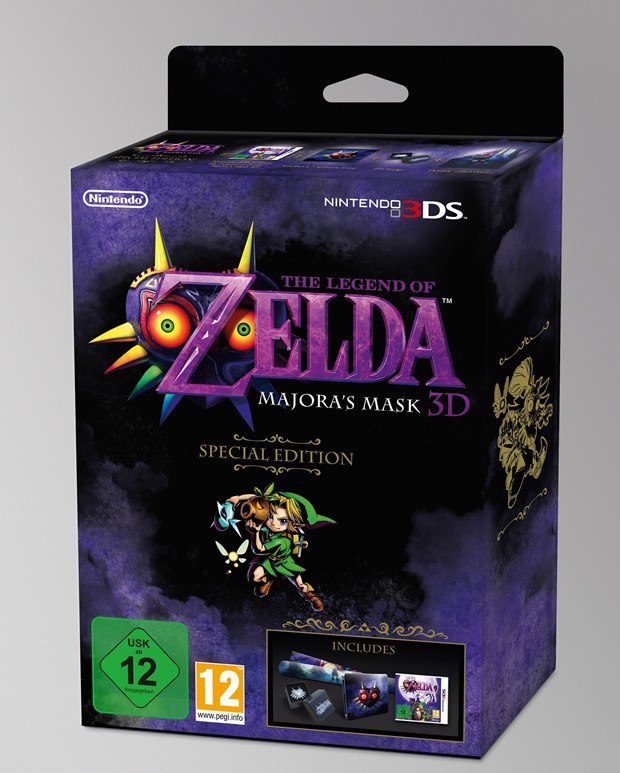
| 20:26, November 6, 2014 | MM-3D-Special-Edition.jpg (file) |  |
94 KB | ''Majora's Mask 3D'' Special Edition box. {{Cat|Majora's Mask 3D Files}} | 1 |
| 20:25, November 6, 2014 | MM-3D-Boxart.jpg (file) |  |
175 KB | ''Majora's Mask 3D'' European Boxart. {{Cat|Majora's Mask Files}} | 1 |
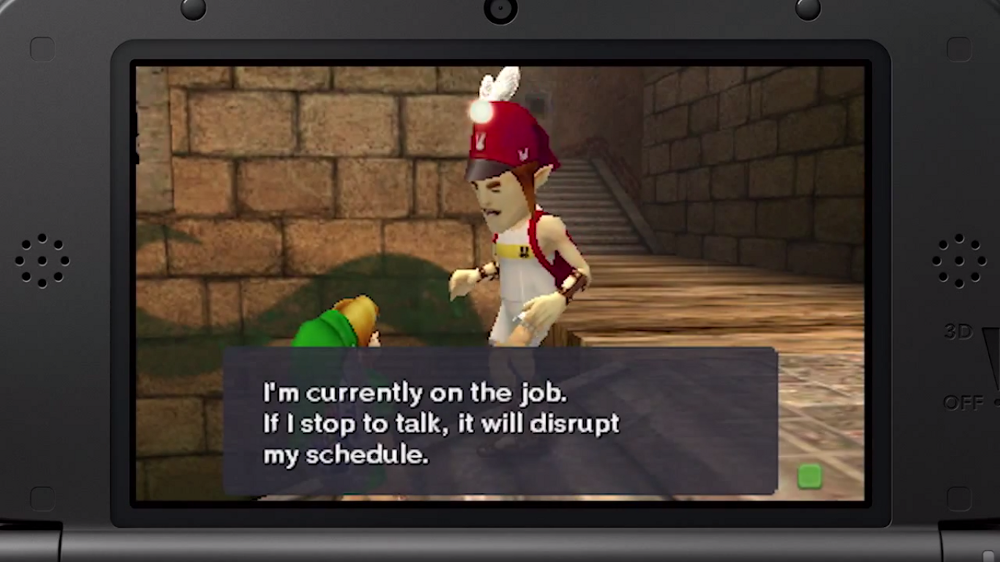
| 00:18, November 6, 2014 | Postman-MM3D-3.png (file) |  |
551 KB | Screenshot of Link talking to the Postman from ''Majora's Mask 3D''. {{Cat|Majora's Mask Files}} | 1 |
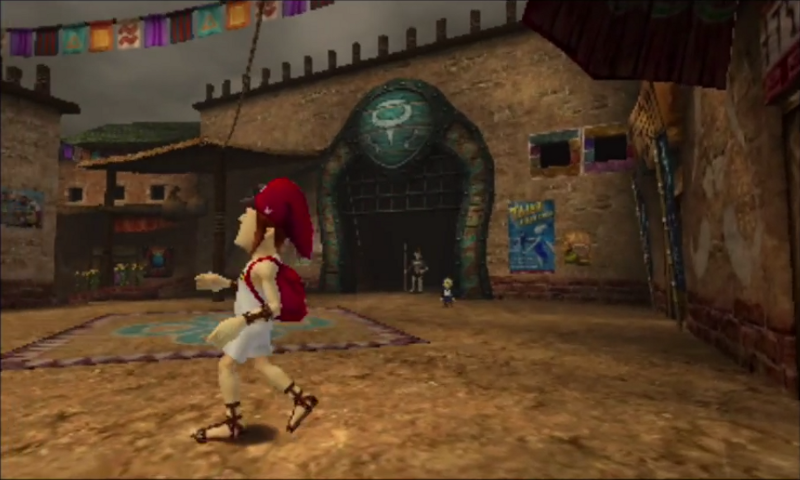
| 00:17, November 6, 2014 | Postman-MM3D-2.png (file) |  |
479 KB | Screenshot of the Postman running through Clock Town from ''Majora's Mask 3D''. {{Cat|Majora's Mask Files}} | 1 |
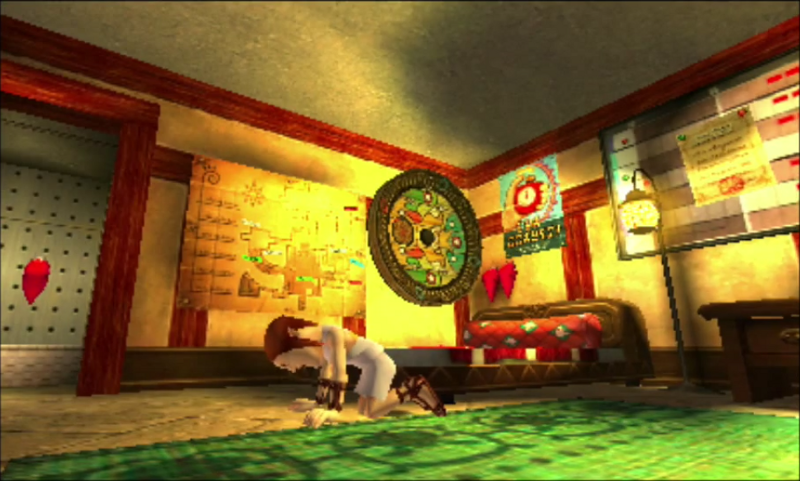
| 00:16, November 6, 2014 | Postman-MM3D.png (file) |  |
568 KB | Screenshot showing the Postman kneeling within the Post Office from ''Majora's Mask 3D''. {{Cat|Majora's Mask Files}} | 1 |
| 23:53, November 5, 2014 | MM-3D-Official-Poster.jpg (file) |  |
106 KB | ''Majora's Mask 3D'' double-sided poster. {{Cat|Majora's Mask Files}} | 1 |
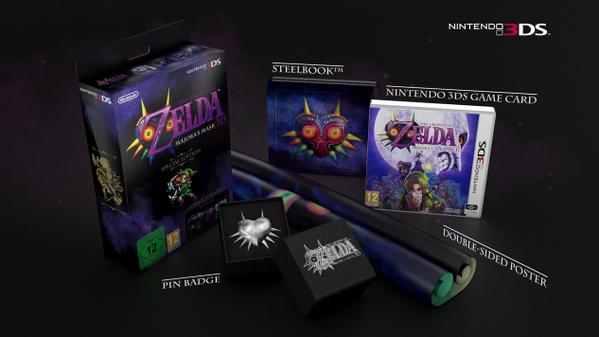
| 23:50, November 5, 2014 | MM-3D-Limited-Edition.jpg (file) |  |
22 KB | The ''Majora's Mask 3D'' limited edition bundle. {{Cat|Majora's Mask Files}} | 1 |
| 23:37, November 5, 2014 | MM-3D-Logo.jpg (file) | 26 KB | ''Majora's Mask 3D'' logo. {{Cat|Majora's Mask Files}} | 1 | |
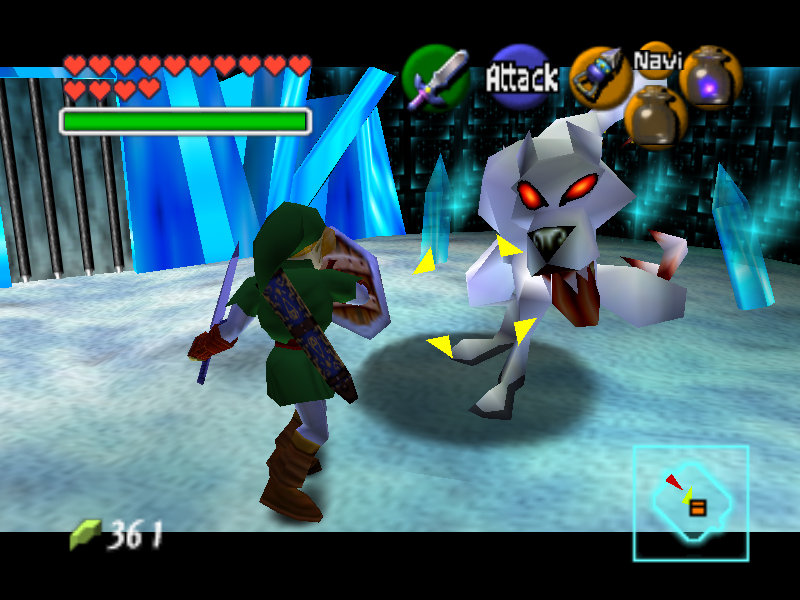
| 02:42, November 1, 2014 | W-Wolfos-MM.png (file) |  |
414 KB | Link battling a White Wolfos in ''Majora's Mask''. {{Cat|Majora's Mask Files}} | 1 |
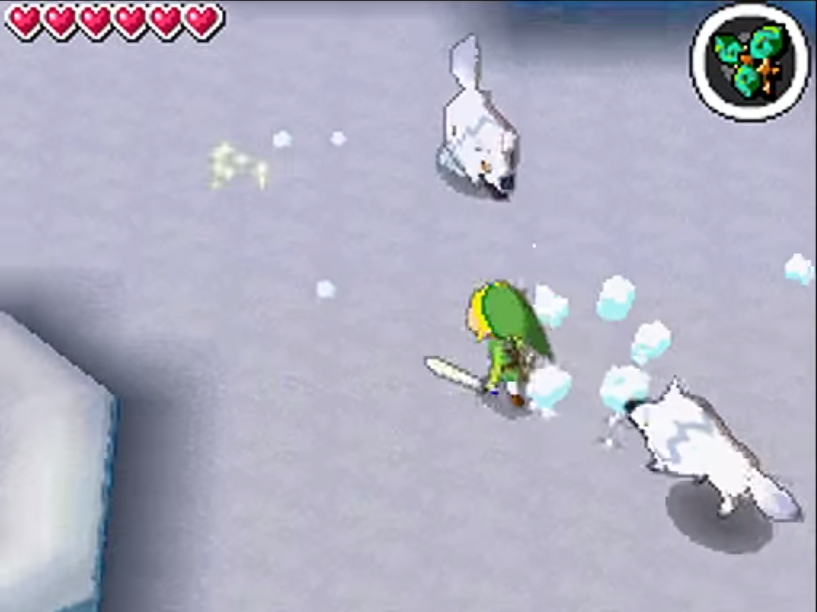
| 20:43, October 31, 2014 | W-Wolfos-ST-2.png (file) |  |
486 KB | Link killing three White Wolfos using the Spin Attack from ''Spirit Tracks''. {{Cat|Spirit Tracks Files}} | 1 |
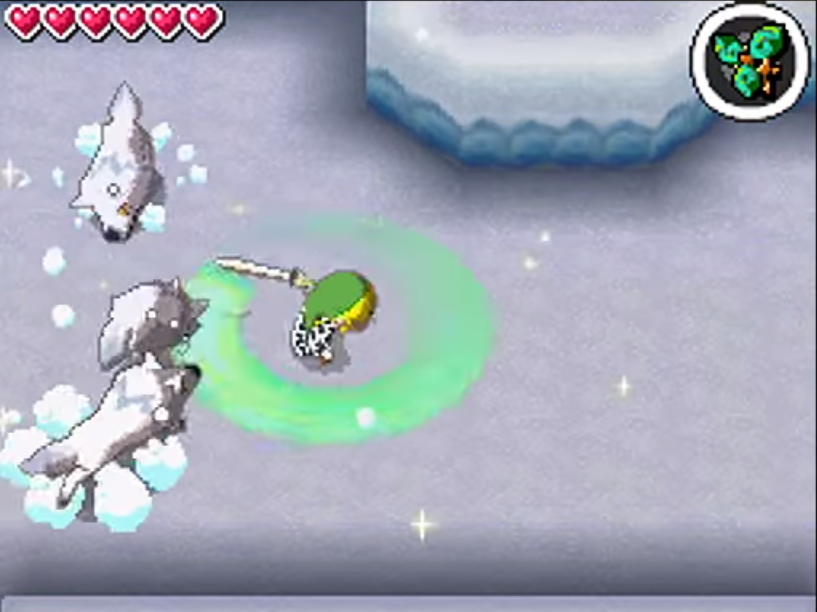
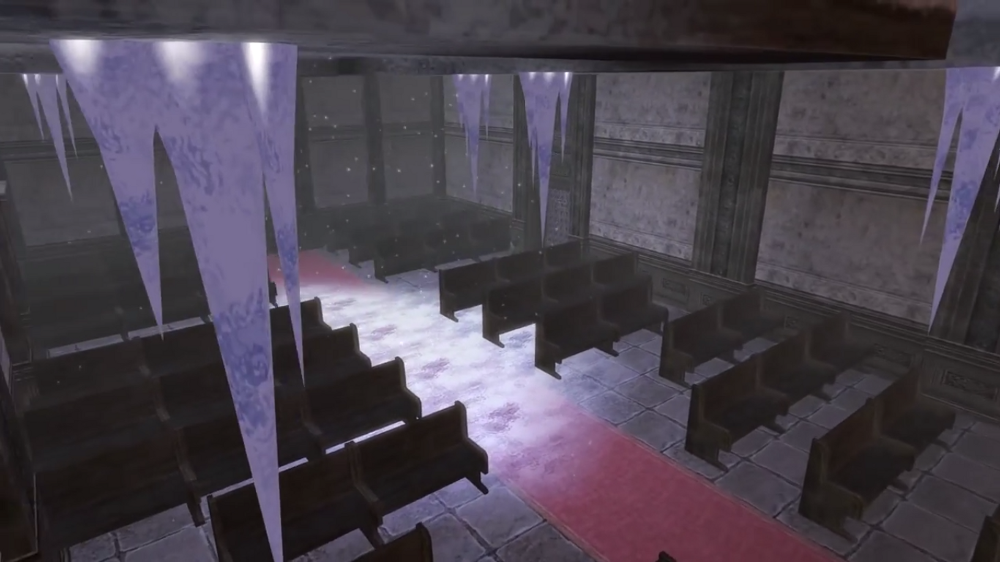
| 20:42, October 31, 2014 | W-Wolfos-ST.png (file) |  |
396 KB | Screenshot of Link battling three White Wolfos in the Snow Sanctuary from ''Spirit Tracks''. {{Cat|Spirit Tracks Files}} | 1 |
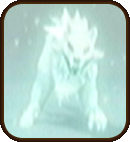
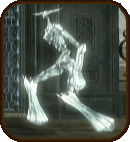
| 20:40, October 31, 2014 | W-Wolfos-TP.png (file) |  |
23 KB | White Wolfos icon from ''Twilight Princess''. {{Cat|Twilight Princess Files}} | 1 |
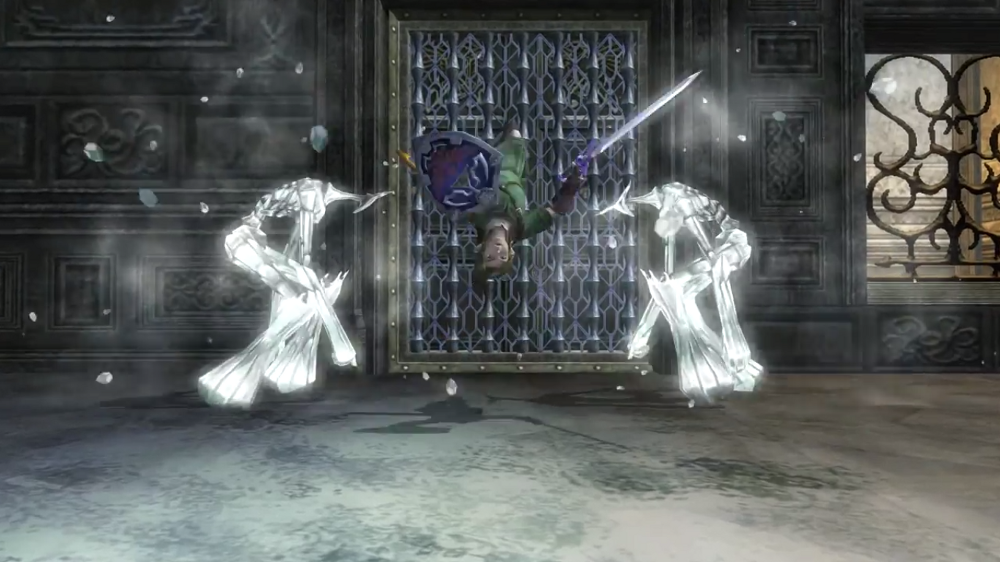
| 20:39, October 31, 2014 | W-Wolfos-OoT-2.png (file) |  |
407 KB | Link battling two White Wolfos within the Gerudo Training Ground from ''Ocarina of Time''. {{Cat|Ocarina of Time Files}} | 1 |
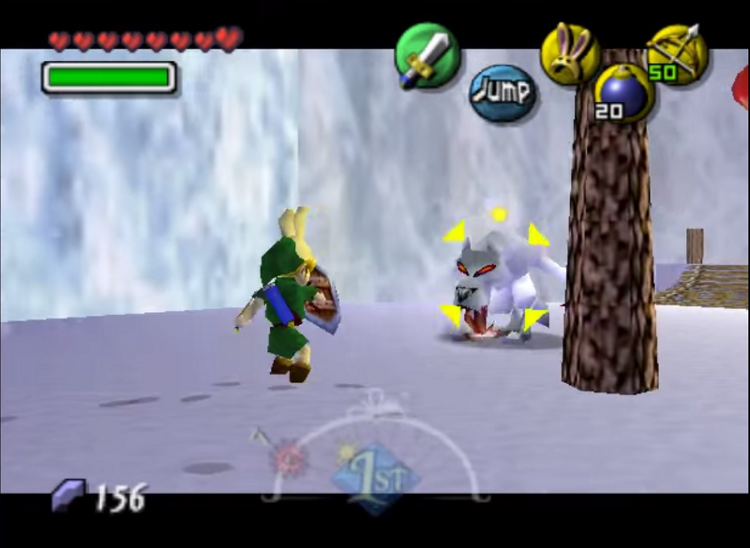
| 20:37, October 31, 2014 | W-Wolfos-OoT.png (file) |  |
483 KB | Link battling a White Wolfos within the Ice Cavern from ''Ocarina of Time''. {{Cat|Ocarina of Time Files}} | 1 |
| 21:07, October 30, 2014 | Ooccoo-HH-Art.png (file) |  |
94 KB | Ooccoo artwork from ''Hyrule Historia''. {{Cat|Twilight Princess Files}} | 1 |
| 20:55, October 30, 2014 | Oocca-Wall.png (file) |  |
651 KB | Screenshot showing the Oocca's wall climbing ability from ''Twilight Princess''. {{Cat|Twilight Princess Files}} | 1 |
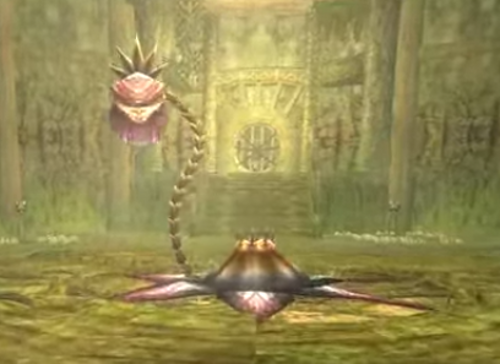
| 21:01, October 28, 2014 | Chilfos-Ice-Clumps.png (file) |  |
602 KB | Overview showing the ice clumps on the ceiling which are actually Chilfos from ''Twilight Princess''. {{Cat|Twilight Princess Files}} | 1 |
| 21:00, October 28, 2014 | Chilfos-Fight.png (file) |  |
751 KB | Link fighting a couple of Chilfos in ''Twilight Princess''. {{Cat|Twilight Princess Files}} | 1 |
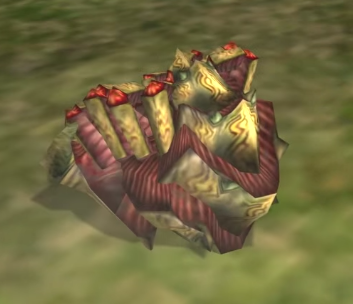
| 20:59, October 28, 2014 | Chilfos-SR.png (file) |  |
719 KB | Chilfos blocking a door within the Snowpeak Ruins from ''Twilight Princess''. {{Cat|Twilight Princess Enemies}} | 1 |
| 20:58, October 28, 2014 | Chilfos-Backflip.png (file) |  |
735 KB | Link doing a backflip to get away from some Chilfos in ''Twilight Princess''. {{Cat|Twilight Princess Files}} | 1 |
| 20:57, October 28, 2014 | Chilfos-Icon.png (file) | 34 KB | Chilfos Icon from ''Twilight Princess''. {{Cat|Twilight Princess Files}} | 1 | |
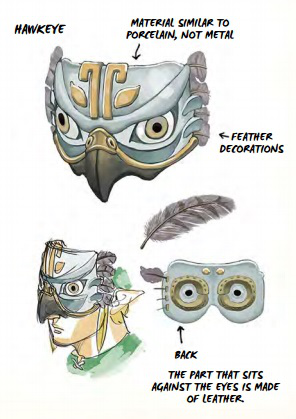
| 18:48, October 27, 2014 | Hawkeye-HH-Full.png (file) |  |
150 KB | A scan of artwork of the Hawkeye from ''Hyrule Historia''. {{Cat|Twilight Princess Files}} | 1 |
| 18:41, October 27, 2014 | Bomskit-TP-2.png (file) |  |
833 KB | Screenshot showing Link approaching a Bombskit from ''Twilight Princess''. {{Cat|Twilight Princess Files}} | 1 |
| 18:40, October 27, 2014 | Bomskit-Attack.png (file) |  |
825 KB | Screenshot showing a Bombskit attacking Link from ''Twilight Princess''. {{Cat|Twilight Princess Files}} | 1 |
| 18:33, October 27, 2014 | Bomskit-Icon.png (file) | 12 KB | Bombskit icon. {{Cat|Twilight Princess Files}} | 1 | |
| 18:25, October 27, 2014 | Big-Baba-TP.png (file) |  |
223 KB | Big Baba screenshot from ''Twilight Princess''. {{Cat|Twilight Princess Files}} | 1 |
| 18:24, October 27, 2014 | Big-Baba-Key.png (file) |  |
890 KB | A Big Baba swallowing a key from ''Twilight Princess''. {{Cat|Twilight Princess Files}} | 1 |
| 18:23, October 27, 2014 | Big-Baba.png (file) |  |
6 KB | Big Baba icon. {{Cat|Twilight Princess Files}} | 1 |
| 23:58, October 20, 2014 | Dr-Borville-Credits.png (file) |  |
616 KB | Dr. Borville as seen in the ending credits of ''Twilight Princess''. {{Cat|Twilight Princess Files}} | 1 |
| 19:42, October 18, 2014 | Hammer-AoL.png (file) |  |
6 KB | Link acquiring the Hammer within Death Mountain from ''The Adventure of Link''. {{Cat|The Adventure of Link Files}} | 1 |
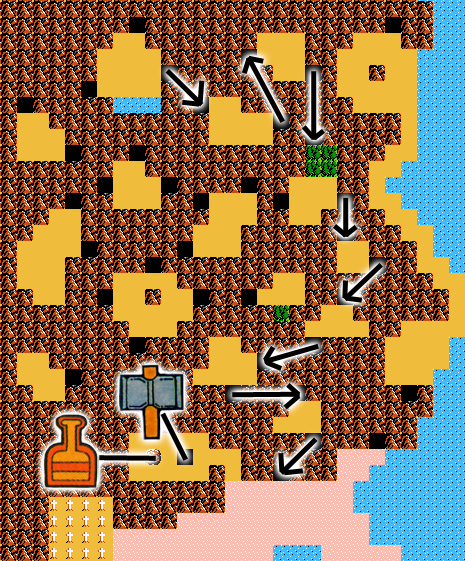
| 19:40, October 18, 2014 | Hammer-Map-AoL.png (file) |  |
82 KB | Map of the route needed to get through Death Mountain and to the location of the Hammer from ''The Adventure of Link''. {{Cat|The Adventure of Link Files}} | 1 |
| 19:39, October 18, 2014 | Hammer-Sprite-AoL.png (file) | 4 KB | Hammer Sprite from ''The Adventure of Link''. {{Cat|The Adventure of Link Files}} | 1 | |
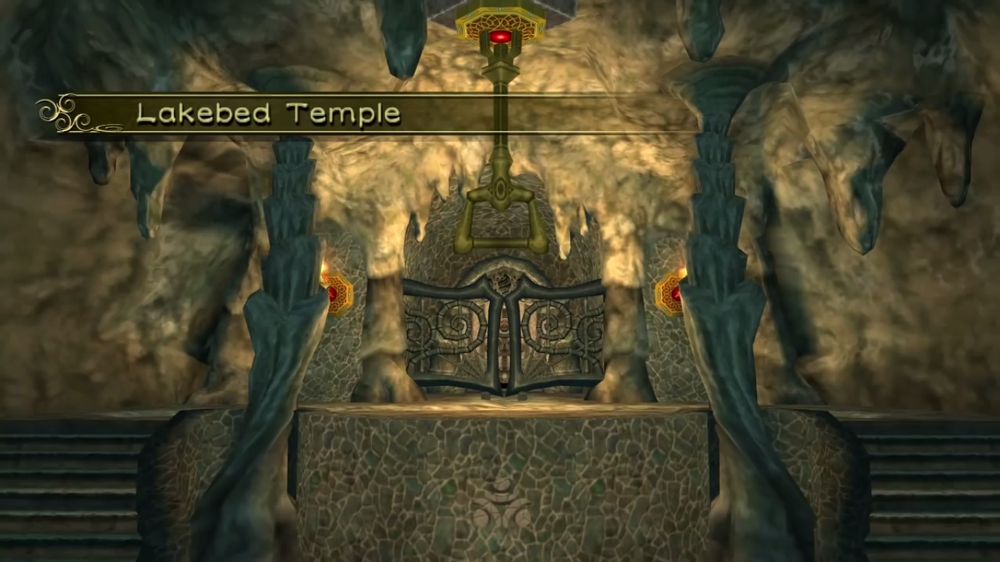
| 04:05, July 23, 2014 | Lakebed-Temple-Boss-Door.png (file) |  |
659 KB | Link standing next to the Boss door in the Lakebed Temple from ''Twilight Princess''. {{Twilight Princess Files}} | 1 |
| 04:03, July 23, 2014 | Lakebed-Temple-Compass-Chest.png (file) |  |
758 KB | Screenshot showing the location of the Treasure Chest which contains the Compass in the Lakebed Temple from ''Twilight Princess''. {{Twilight Princess Files}} | 1 |
| 04:02, July 23, 2014 | Lakebed-Temple-Big-Key.png (file) |  |
755 KB | Screenshot showing Link standing beside a Treasure Chest which contains the Big Key in the Lakebed Temple from ''Twilight Princess''. {{Twilight Princess Files}} | 1 |
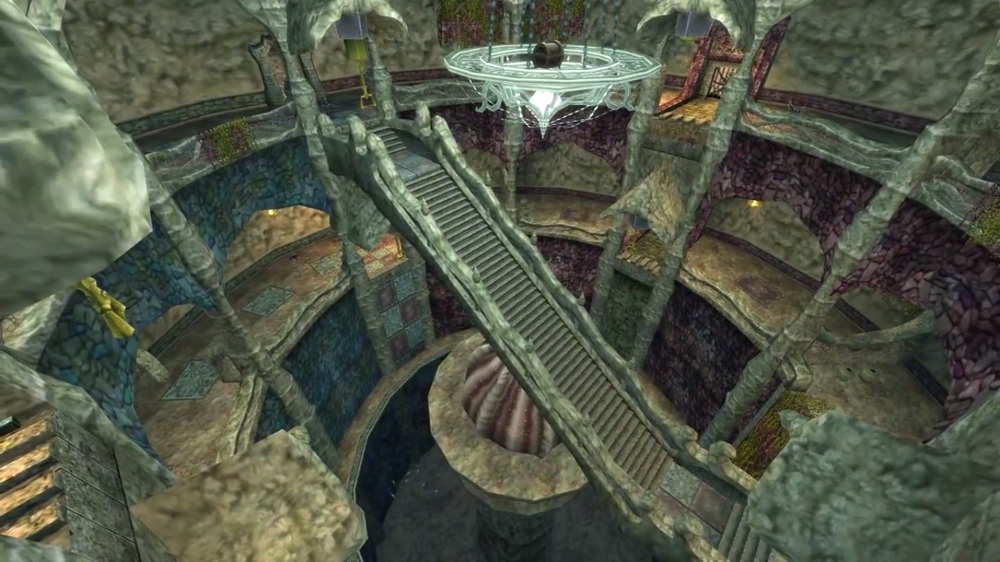
| 03:49, July 23, 2014 | Lakebed-Temple-Staircase.png (file) |  |
972 KB | Screenshot showing the large staircase featured in the Lakebed Temple from ''Twilight Princess''. {{Cat|Twilight Princess Files}} | 1 |
| 03:48, July 23, 2014 | Lakebed-Temple-Falling-Rock.png (file) |  |
749 KB | Screenshot showing the vulnerable boulders hanging from the ceiling in the Lakebed Temple from ''Twilight Princess''. {{Twilight Princess Files}} | 1 |
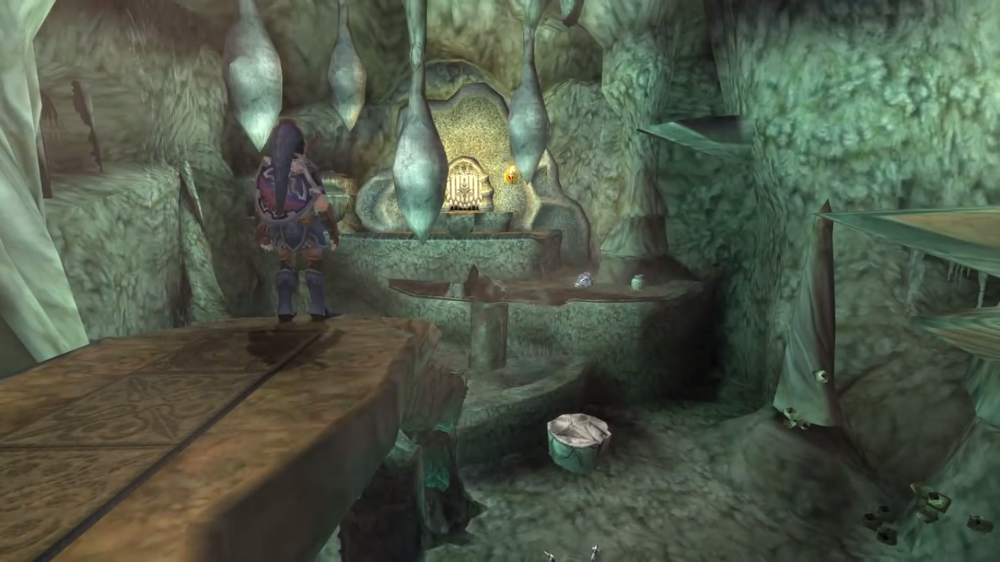
| 03:46, July 23, 2014 | Lakebed-Temple-Entrance.png (file) |  |
772 KB | First room of the Lakebed Temple from ''Twilight Princess''. {{Twilight Princess Files}} | 1 |
| 17:42, July 17, 2014 | Joy Butterfly.png (file) |  |
517 bytes | Made the background transparent. | 2 |
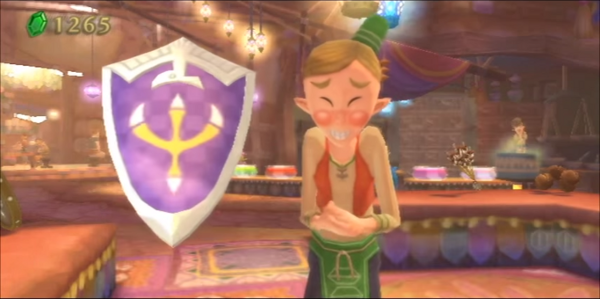
| 08:10, July 11, 2014 | Sacred-Shield-SS.png (file) |  |
215 KB | Screenshot of Link with the Sacred Shield equipped from ''Skyward Sword''. {{Cat|Skyward Sword Files}} | 1 |
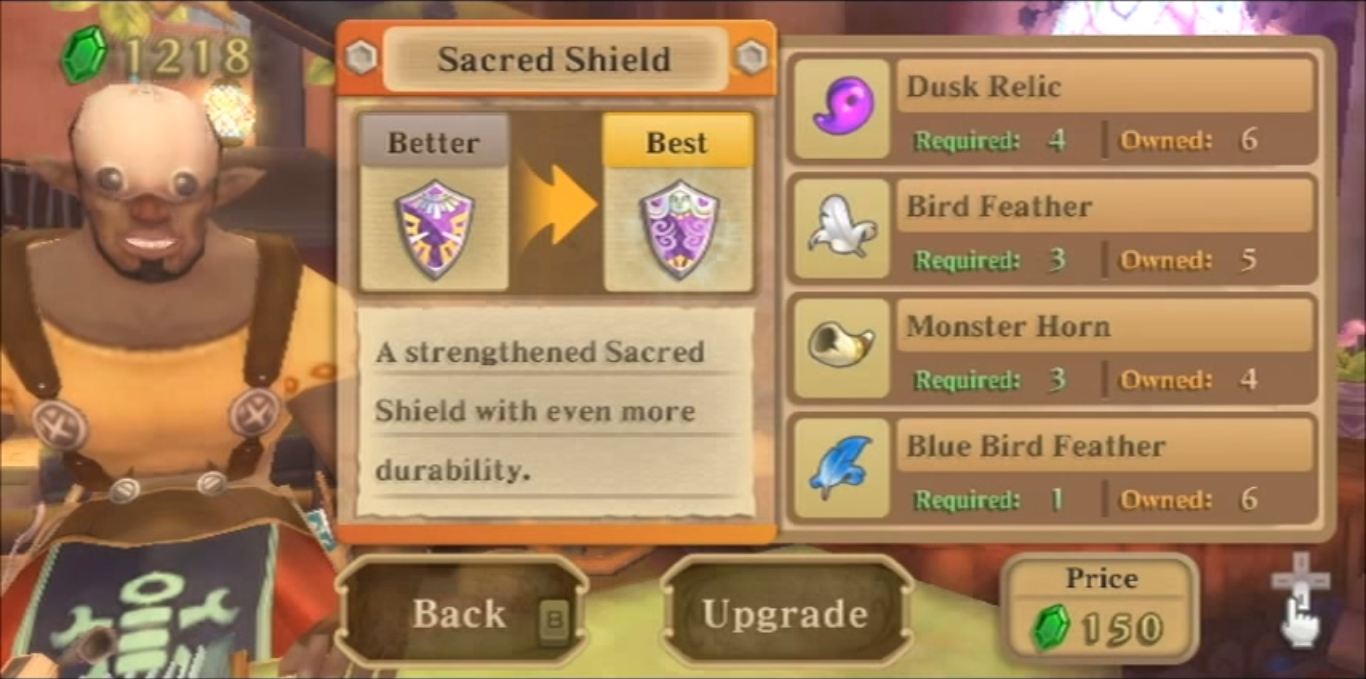
| 02:06, July 11, 2014 | Sacred-Shield-Gondo-2.png (file) |  |
869 KB | Screenshot showing requirements for the Divine Shield to Goddess Shield upgrade from ''Skyward Sword''. {{Cat|Skyward Sword Files}} | 1 |
| 02:05, July 11, 2014 | Sacred-Shield-Gondo.png (file) |  |
246 KB | Screenshot showing requirements for the Sacred Shield to Divine Shield upgrade from ''Skyward Sword''. {{Cat|Skyward Sword Files}} | 1 |
| 02:04, July 11, 2014 | Sacred-Shield-Rupin.png (file) |  |
255 KB | The Sacred Shield being sold by Rupin in ''Skyward Sword''. {{Cat|Skyward Sword Files}} | 1 |
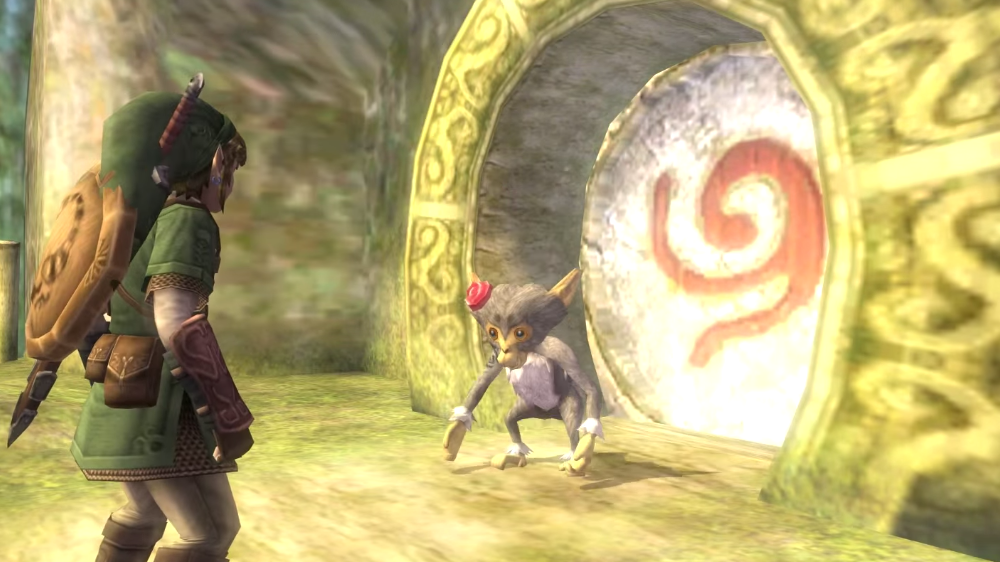
| 01:28, July 5, 2014 | Bug-Ook-TP.png (file) |  |
141 KB | The creature that possessed Ook from ''Twilight Princess''. {{Cat|Twilight Princess Files}} | 1 |
| 01:21, July 5, 2014 | Forest-Temple-Kokiri-TP.png (file) |  |
761 KB | Screenshot showing the Kokiri Symbol design on a door in the Forest Temple in ''Twilight Princess''. {{Cat|Twilight Princess Files}} | 1 |