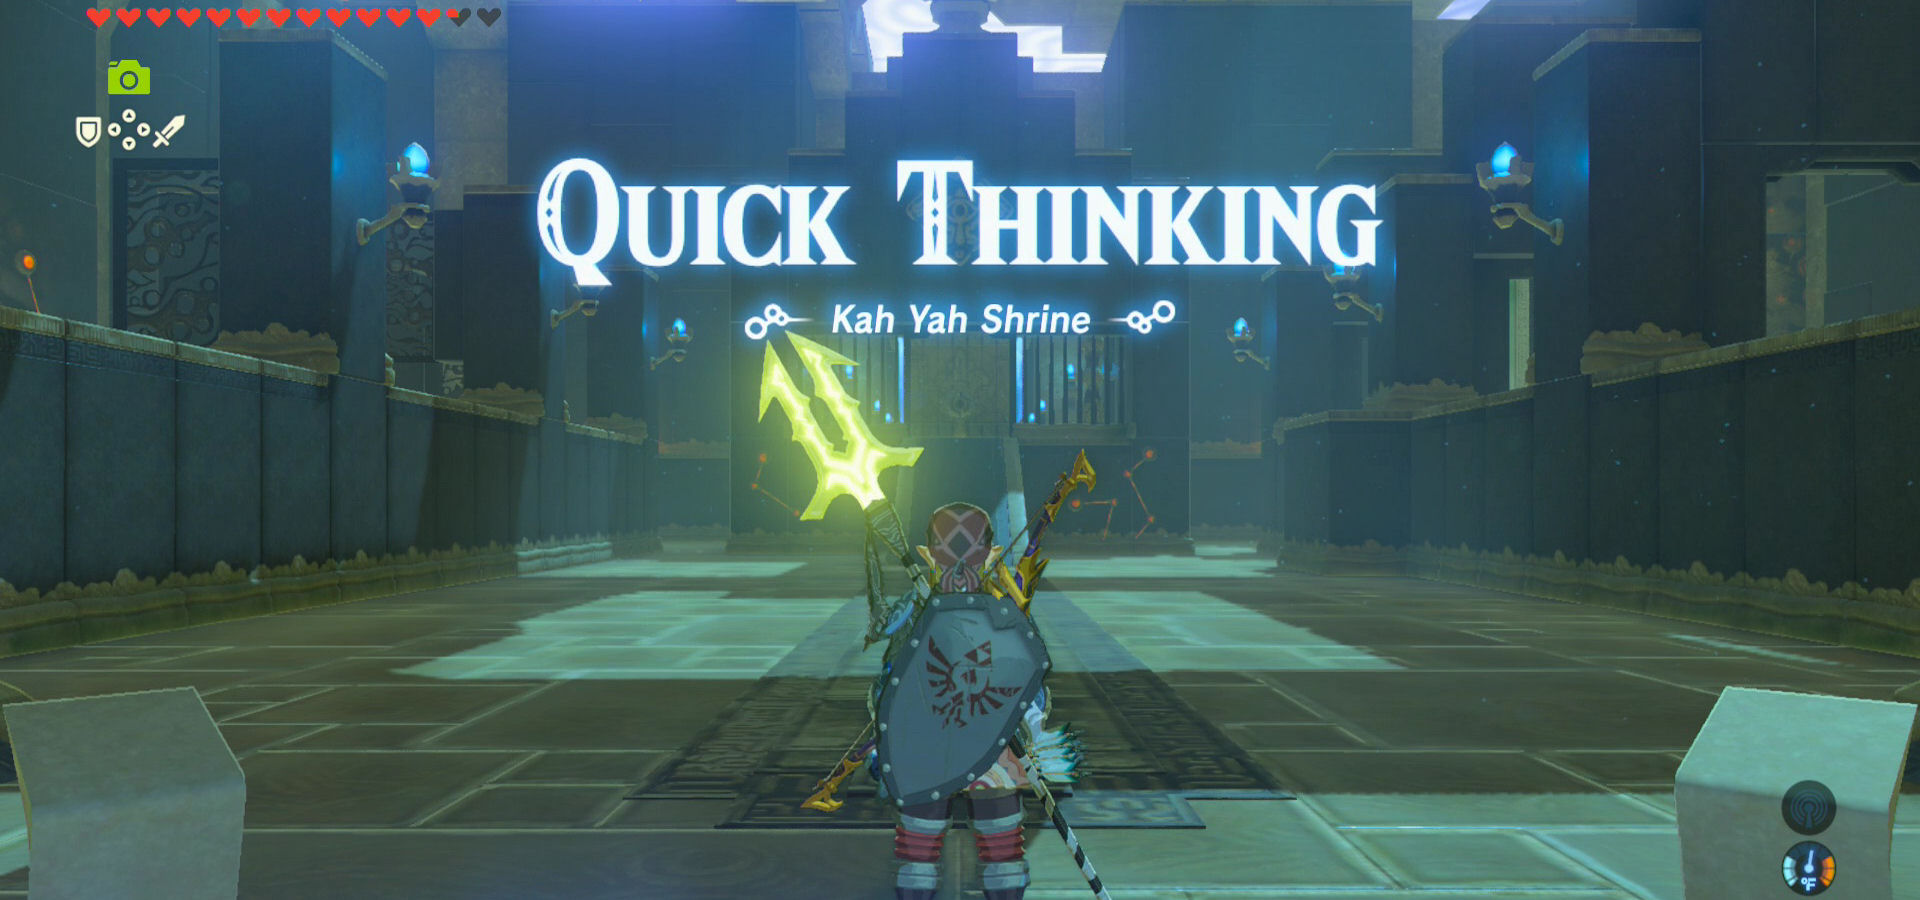
Location of Shrine
- View location on the Breath of the Wild Interactive Map.
- Located at the Palmorae Ruins, east of Lurelin Village.
- You will need to complete a Shrine Quest to access the shrine.
Walkthrough
While looking around Lurelin Village, you will find a young boy named Zuta and if you talk to him, he’ll lead you to the Palmorae Ruins where Garini can be found. The ruins are almost all the way to the water, just north of the Palmorae Beach. Garini is standing in front of a broken stone monument and after talking to him, it will trigger a Shrine Quest where you will need to find the three fragments. Garini will ask you to draw a picture of them, which basically translate to taking a picture with the game. This starts the shrine quest titled, A Fragmented Monument.


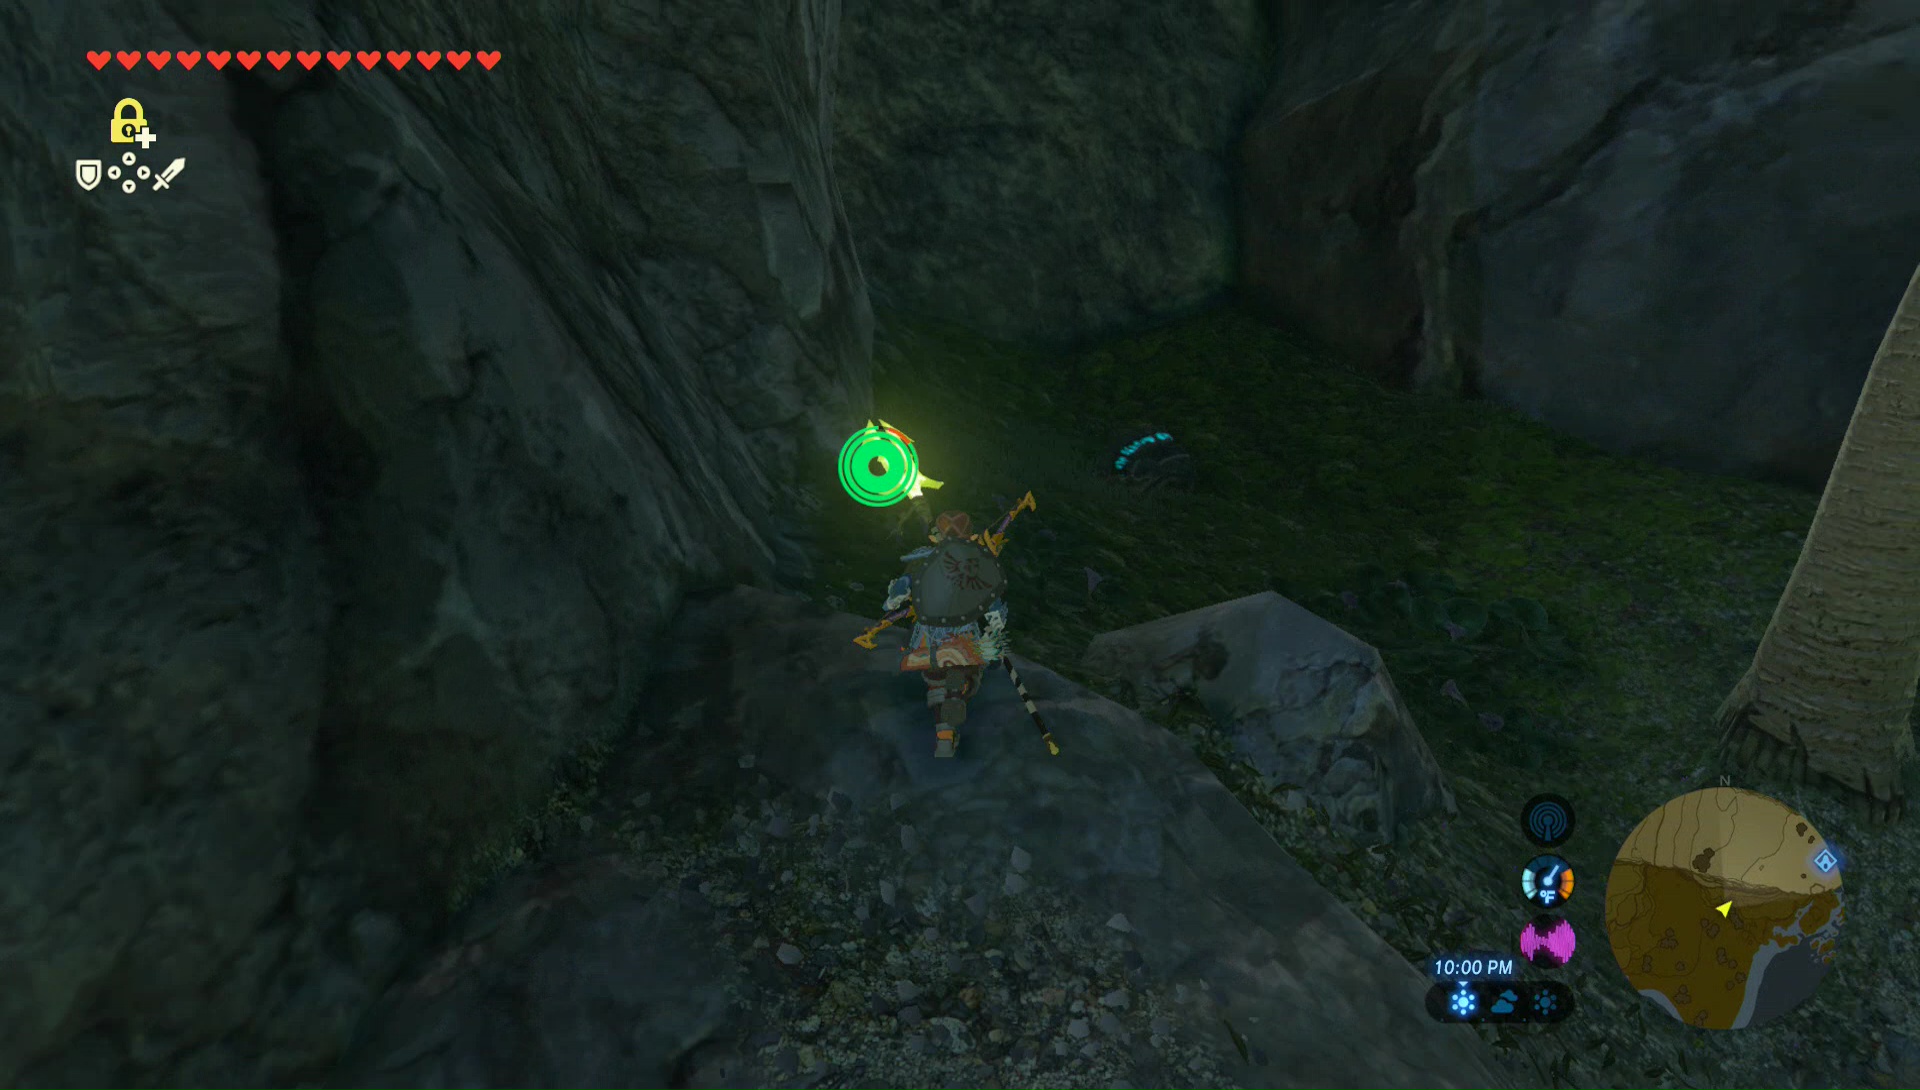
The first fragment is found just to the east, next to two palm trees, right up against the wall. Pull out your camera and take a photo of the fragment.
The second fragment is found just southwest of the ruins. It is in an area with a handful of crates and barrels, that are in the shallow water. Run on over and take a picture.


The third fragment is a bit further away. It is at the very edge of the Peninsula, at the Soka Point on the map. This is far southeast corner of the Overworld map. Make the long journey over and take a picture of the third fragment.
After you return to Garini, he will be able to decipher the message, but he still can’t solve the riddle. It says that you must kneel in reference for the shrine to reveal itself. Step onto one of the nearby circular platforms and kneel right in the middle. After a moment, Garini will see you and will run over and kneel on the other pedestal. This will cause the shrine to appear.


Climb the steps on the left and you’ll find a few barrels. Pick up one of them and wait for the moving platform to arrive. Step onto it and stay on the left side, to avoid hitting the wall. Immediately move to the right and drop the barrel on the right side of the moving platform. Then kneel down so that you can duck underneath and stay on the platform. Then lift the barrel and make sure you are on the right of the wall. At the end of the area, drop the barrel on the floor switch and it will open up a gate. Run on over and open the small chest here to get a small key.


There is another similar puzzle on the right side of the room that is optional. This time grab a barrel and stand on the moving platform. There is a crystal switch on the right and if you hit it with an arrow, it will change which gates are up or down. The puzzles starts with the 1st and 3rd gates already up and only the 2nd gate is blocking your way. Wait until the moving platform passes the first gate and then shoot the crystal switch. Wait until it passes the 2nd gate and shoot the switch again. Place the barrel on the floor switch. Run over and open the treasure chest here to get a Claymore.


Run over and open the locked door to reach the monk, Kah Yah. He will reward you with a Spirit Orb.


